Open for Business

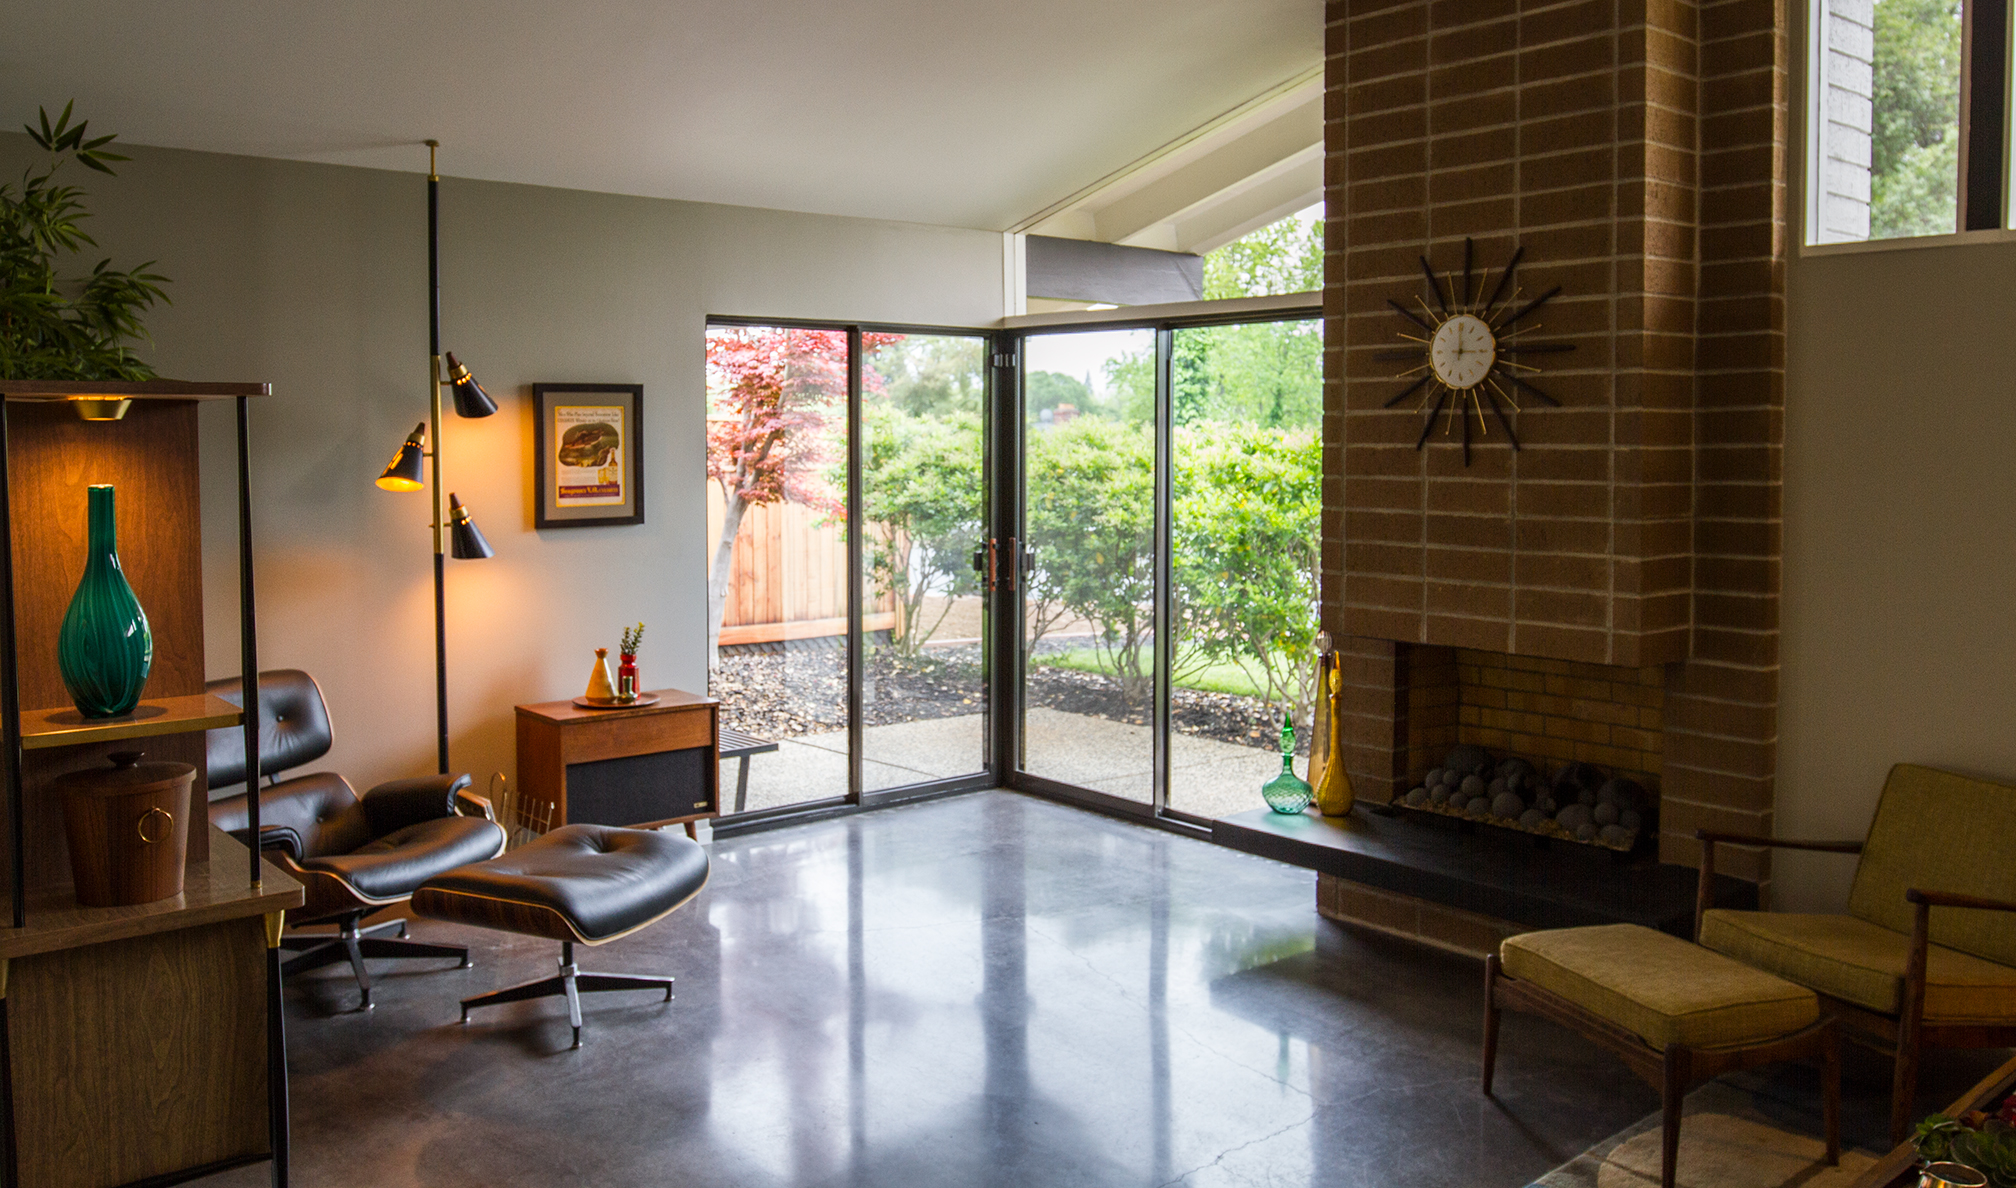
When I first acquired my home, one thing I immediately fell in love with was the abundance of sliding doors. The common areas of the home are filled with natural light, showcasing the surrounding landscape, bringing the outdoors in.
While all of the bedrooms do have windows, I hoped to someday continue the slider motif by installing more throughout the house. Having original Blomberg sliding doors to match was paramount, so until I had those in-hand, there would be no modifications to existing windows.

Last summer, just before the Home Tour, I was fortunate enough to come across a post on the Streng Homes Facebook group for an original Blomberg sliding door and frame. It was from a ‘70s Streng home in Elk Grove’s Williamson Ranch, so I immediately rented a truck and hit the road. Thankfully, I had Glen with me because these puppies were heavy. On the truck they went, and I safely wrapped them in the garage until I was able to get around to the endeavor of installing them.
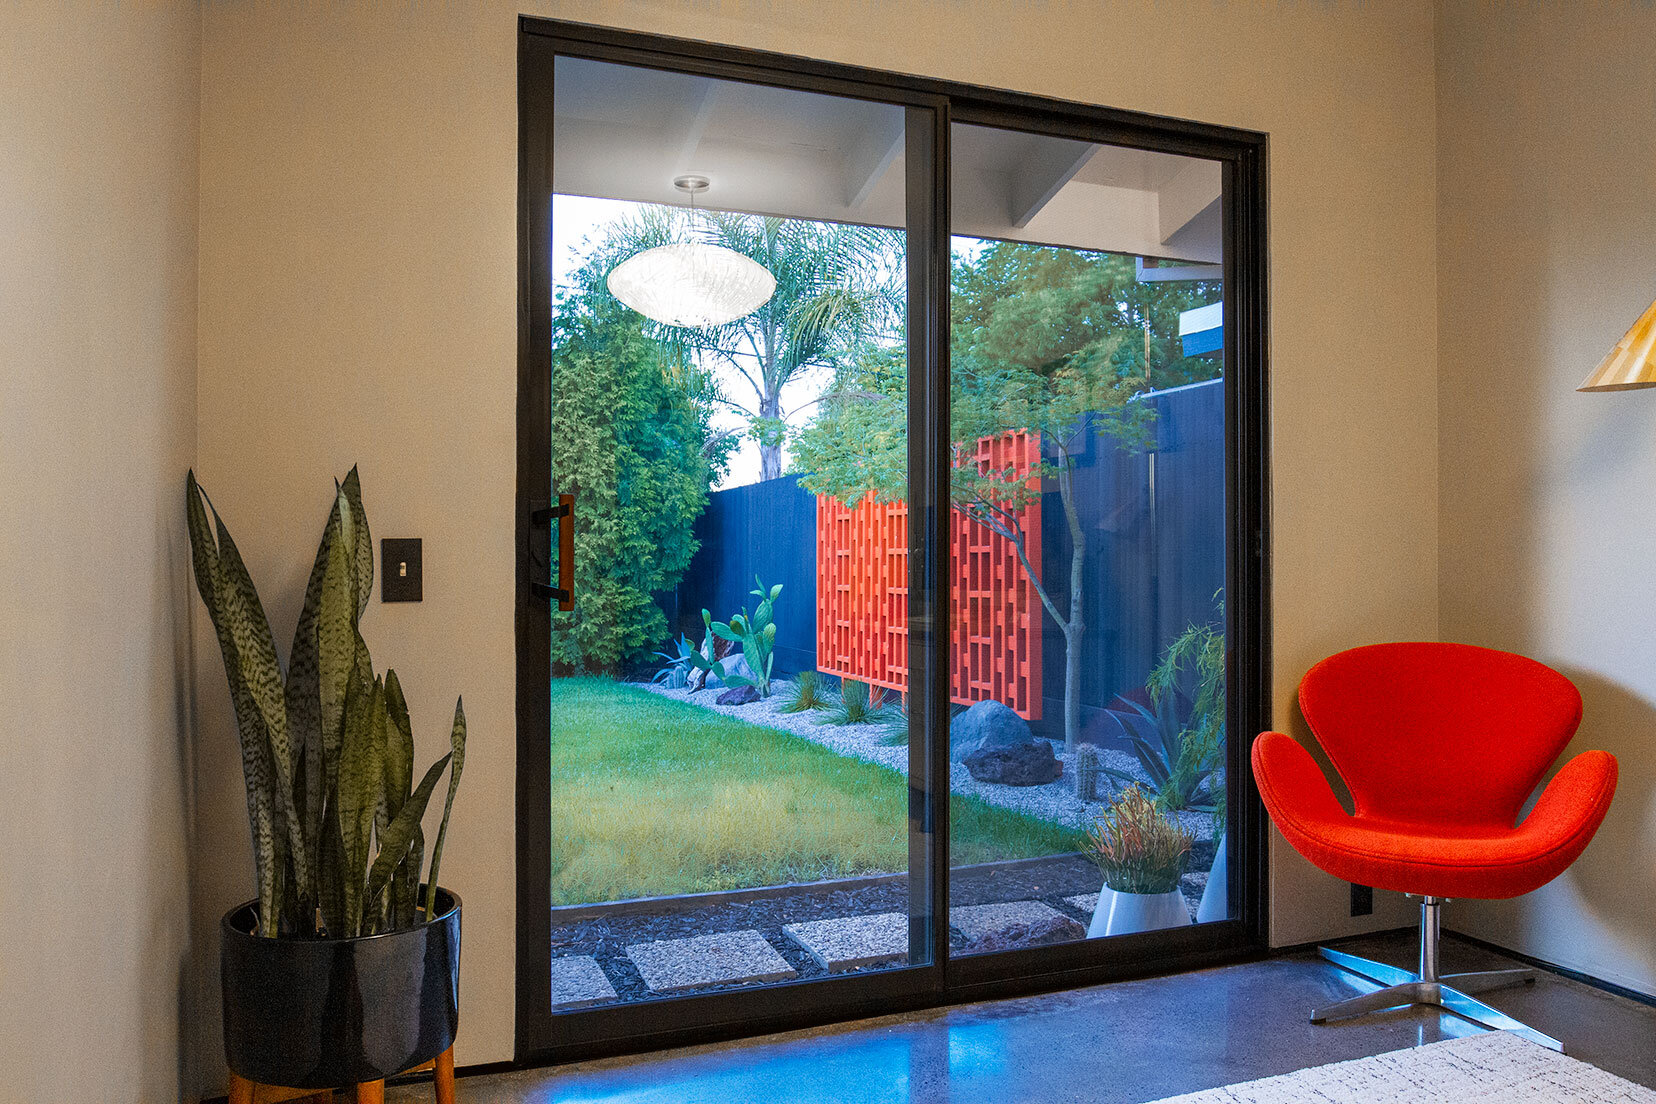
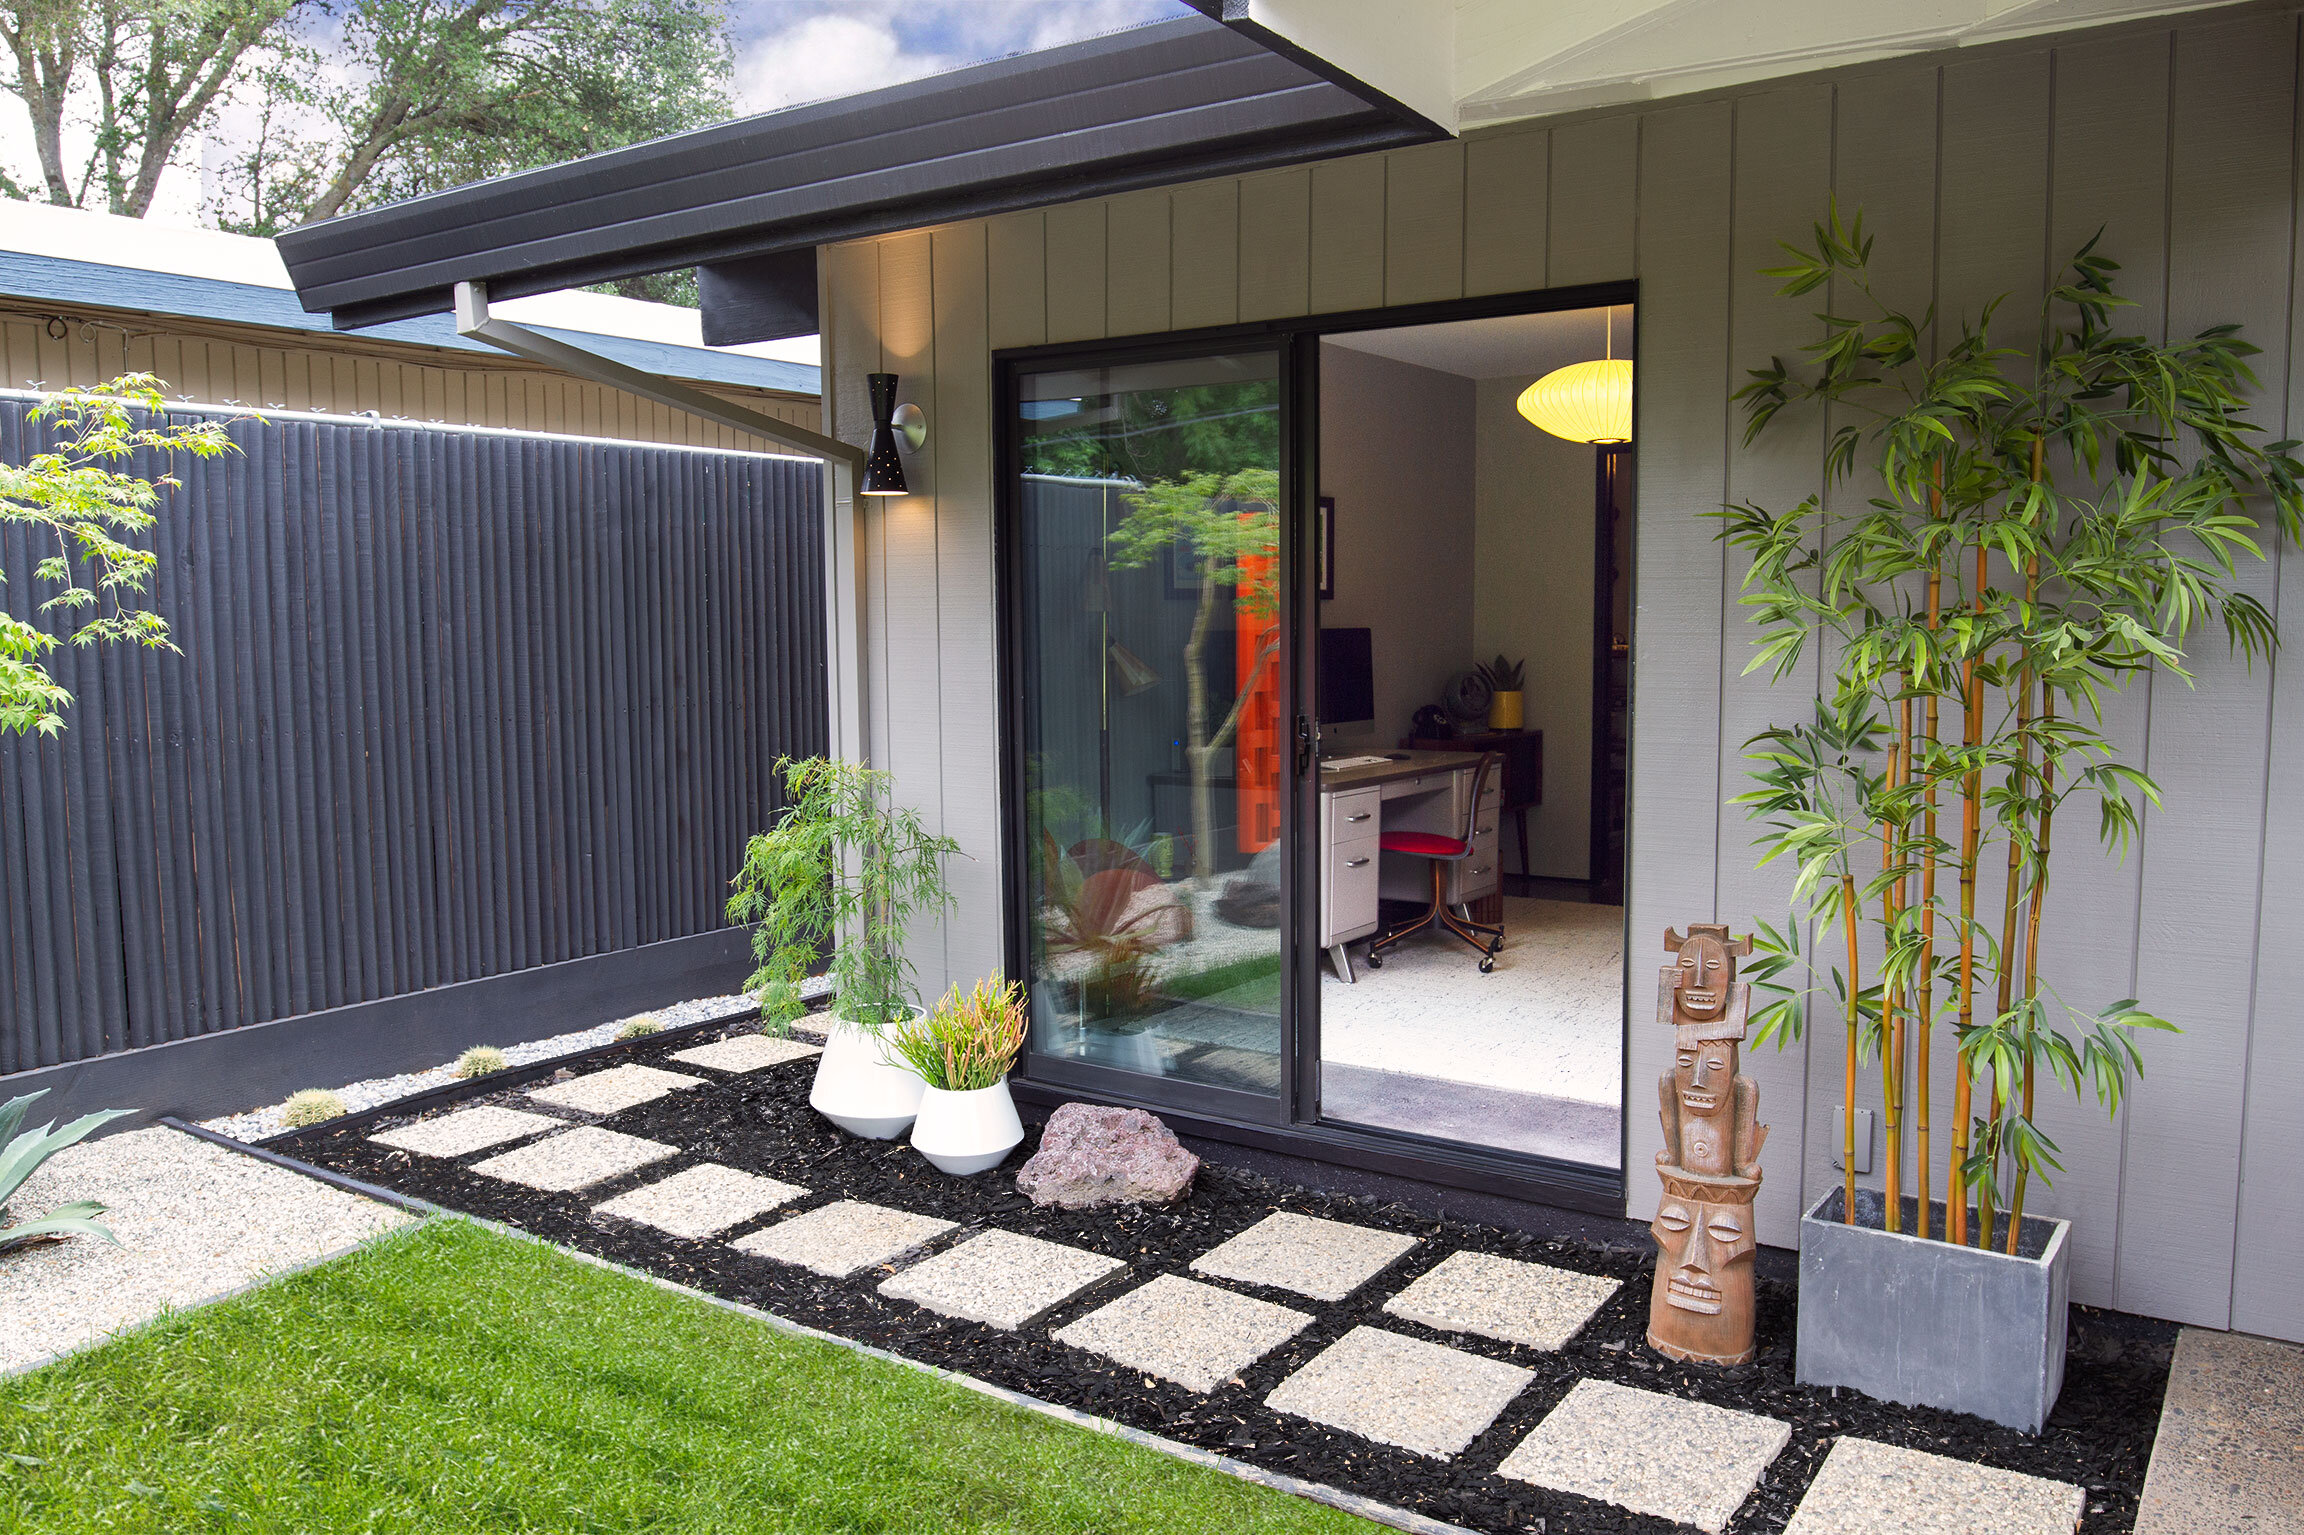
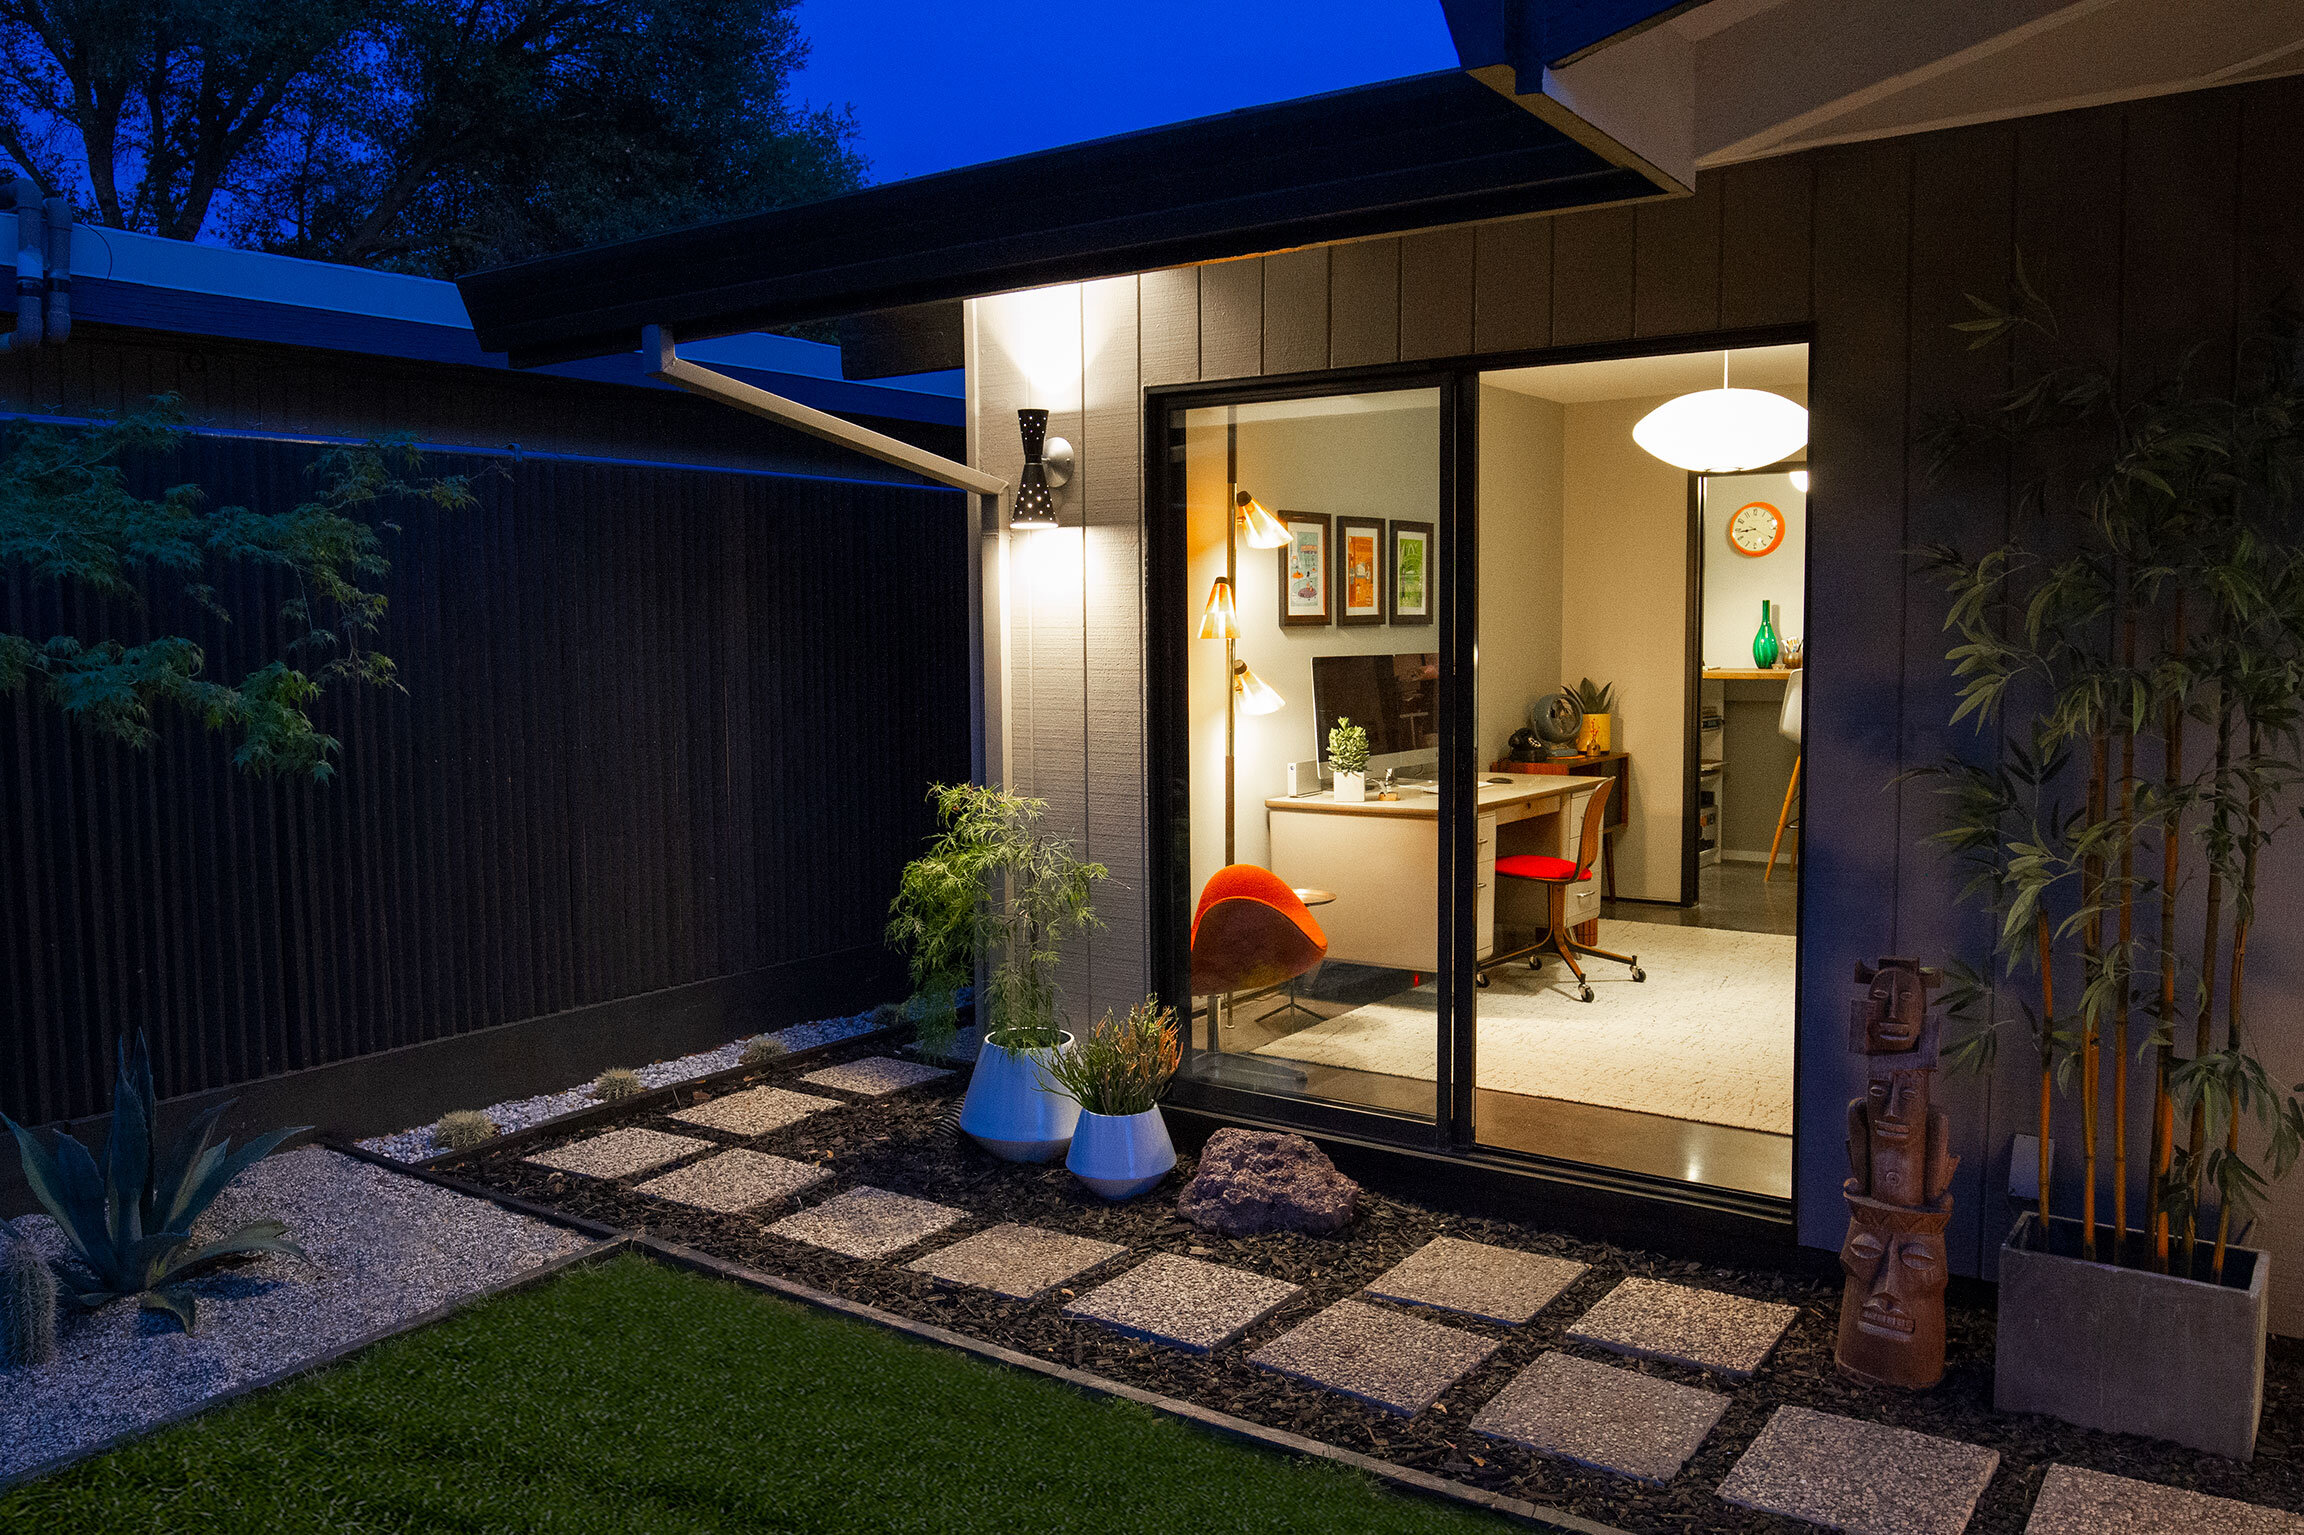
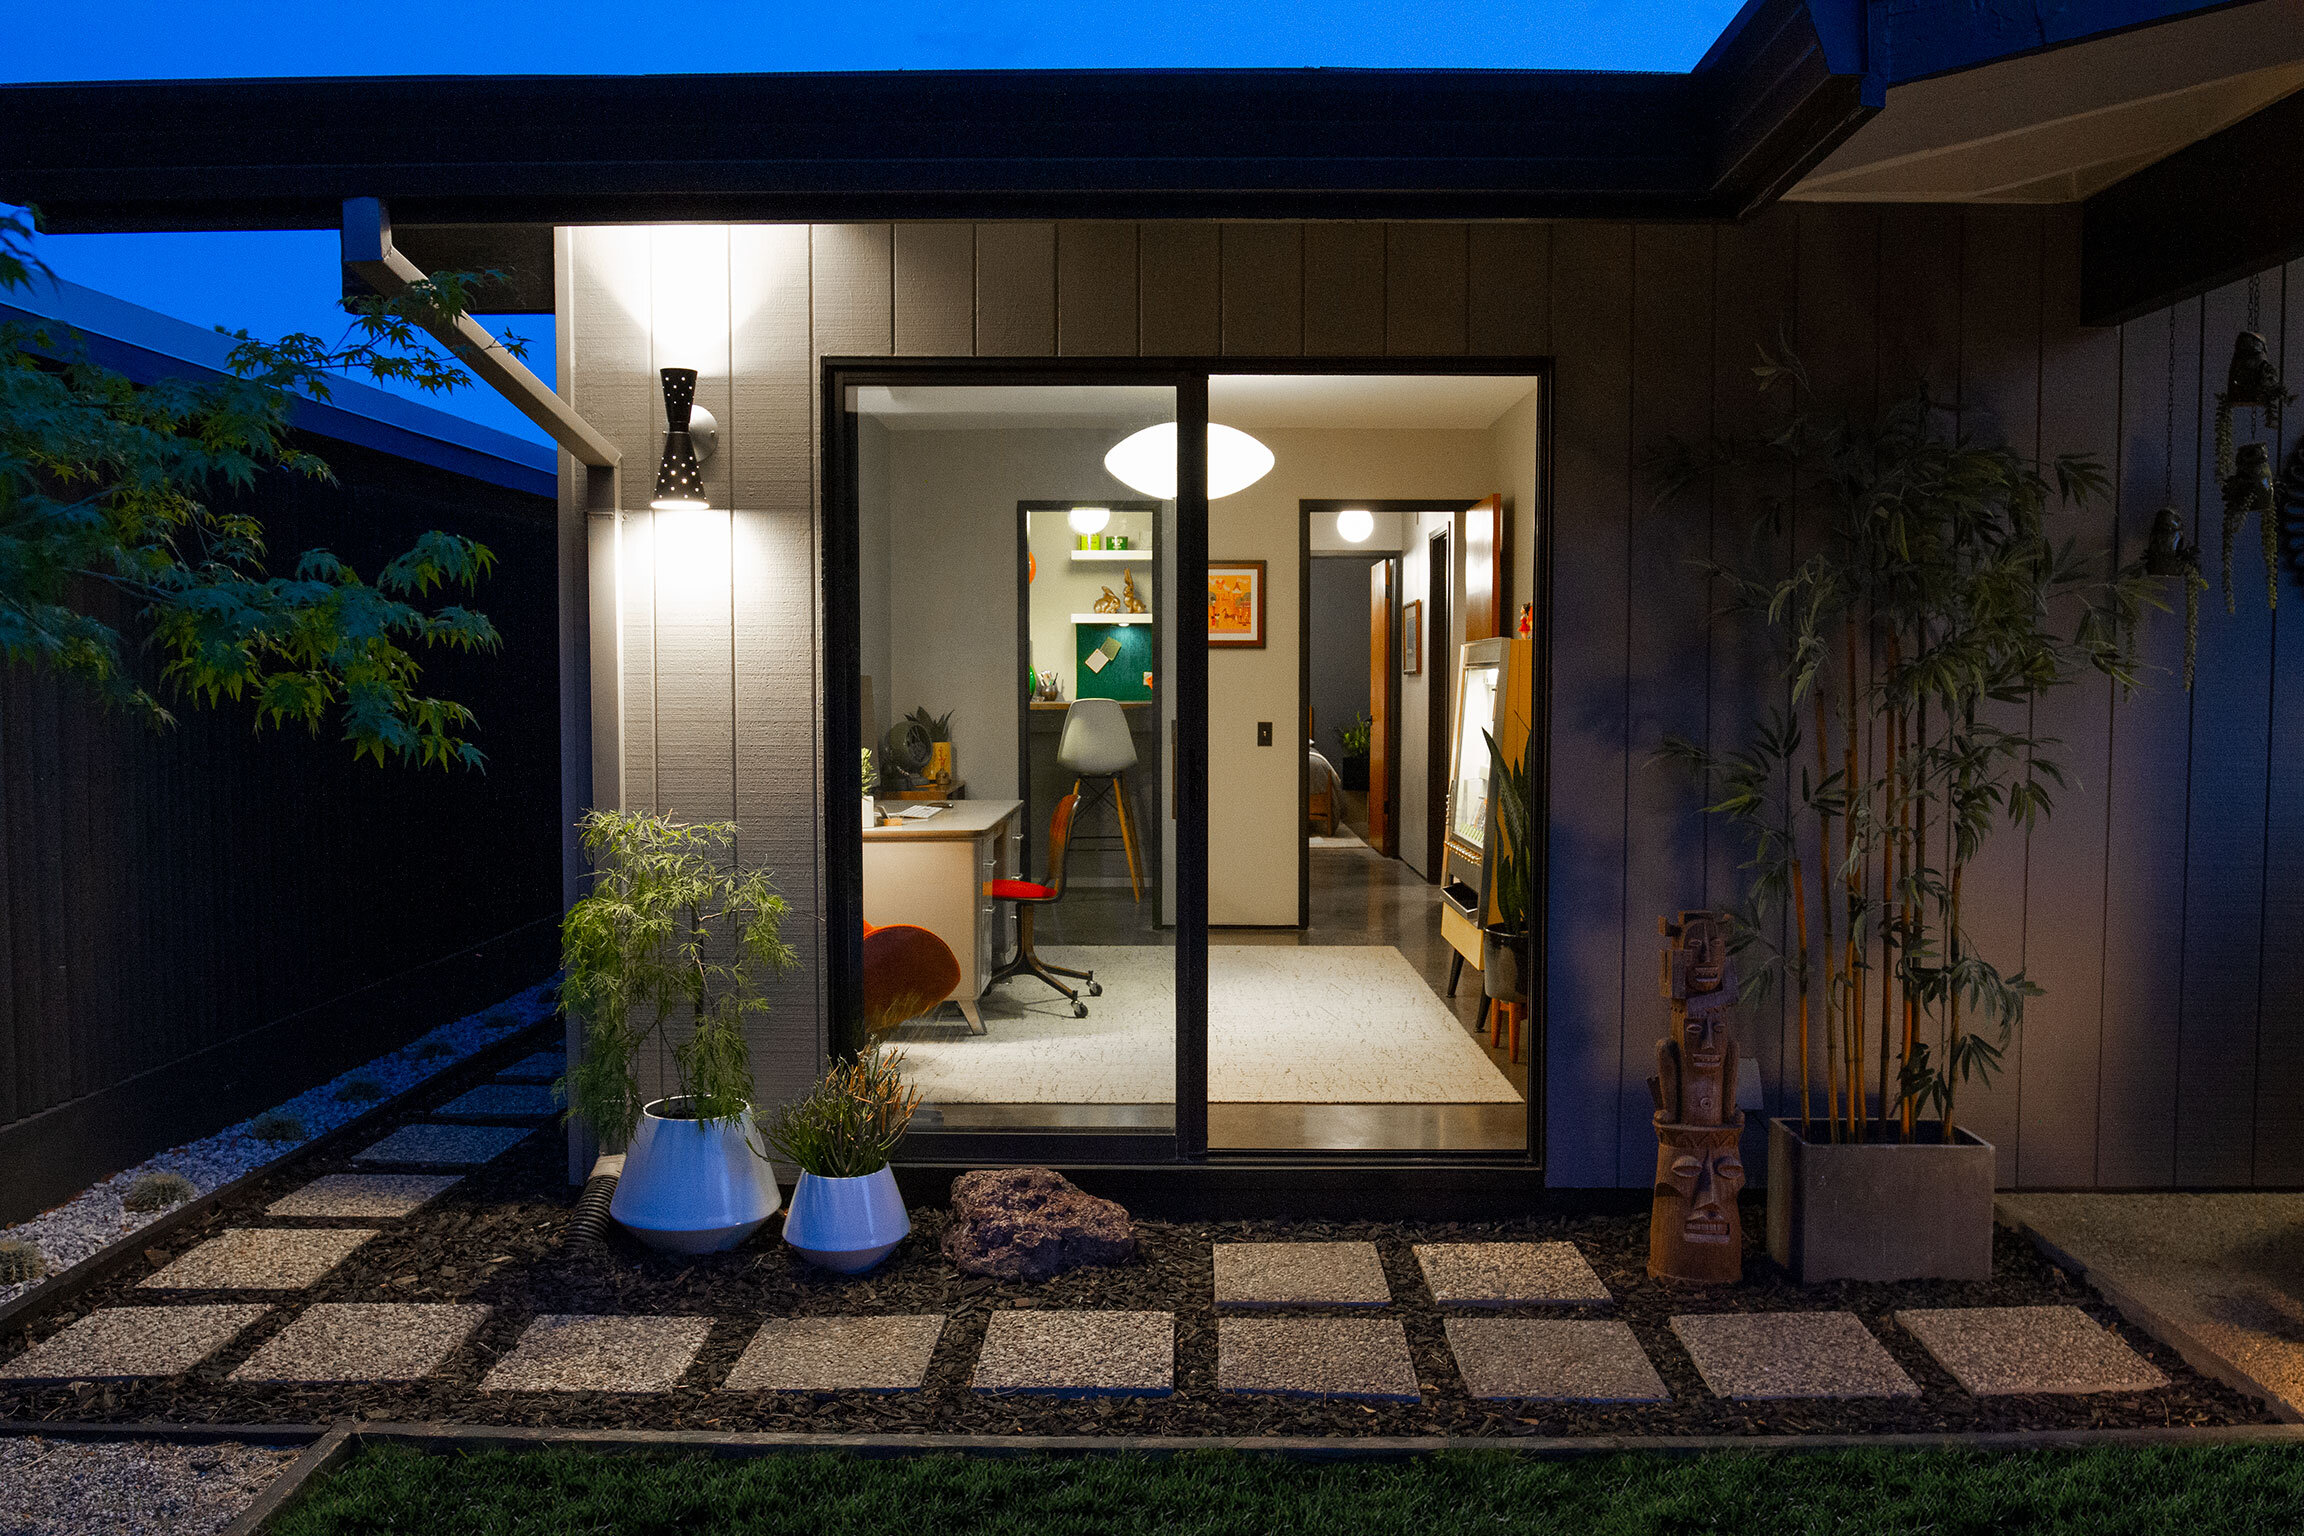
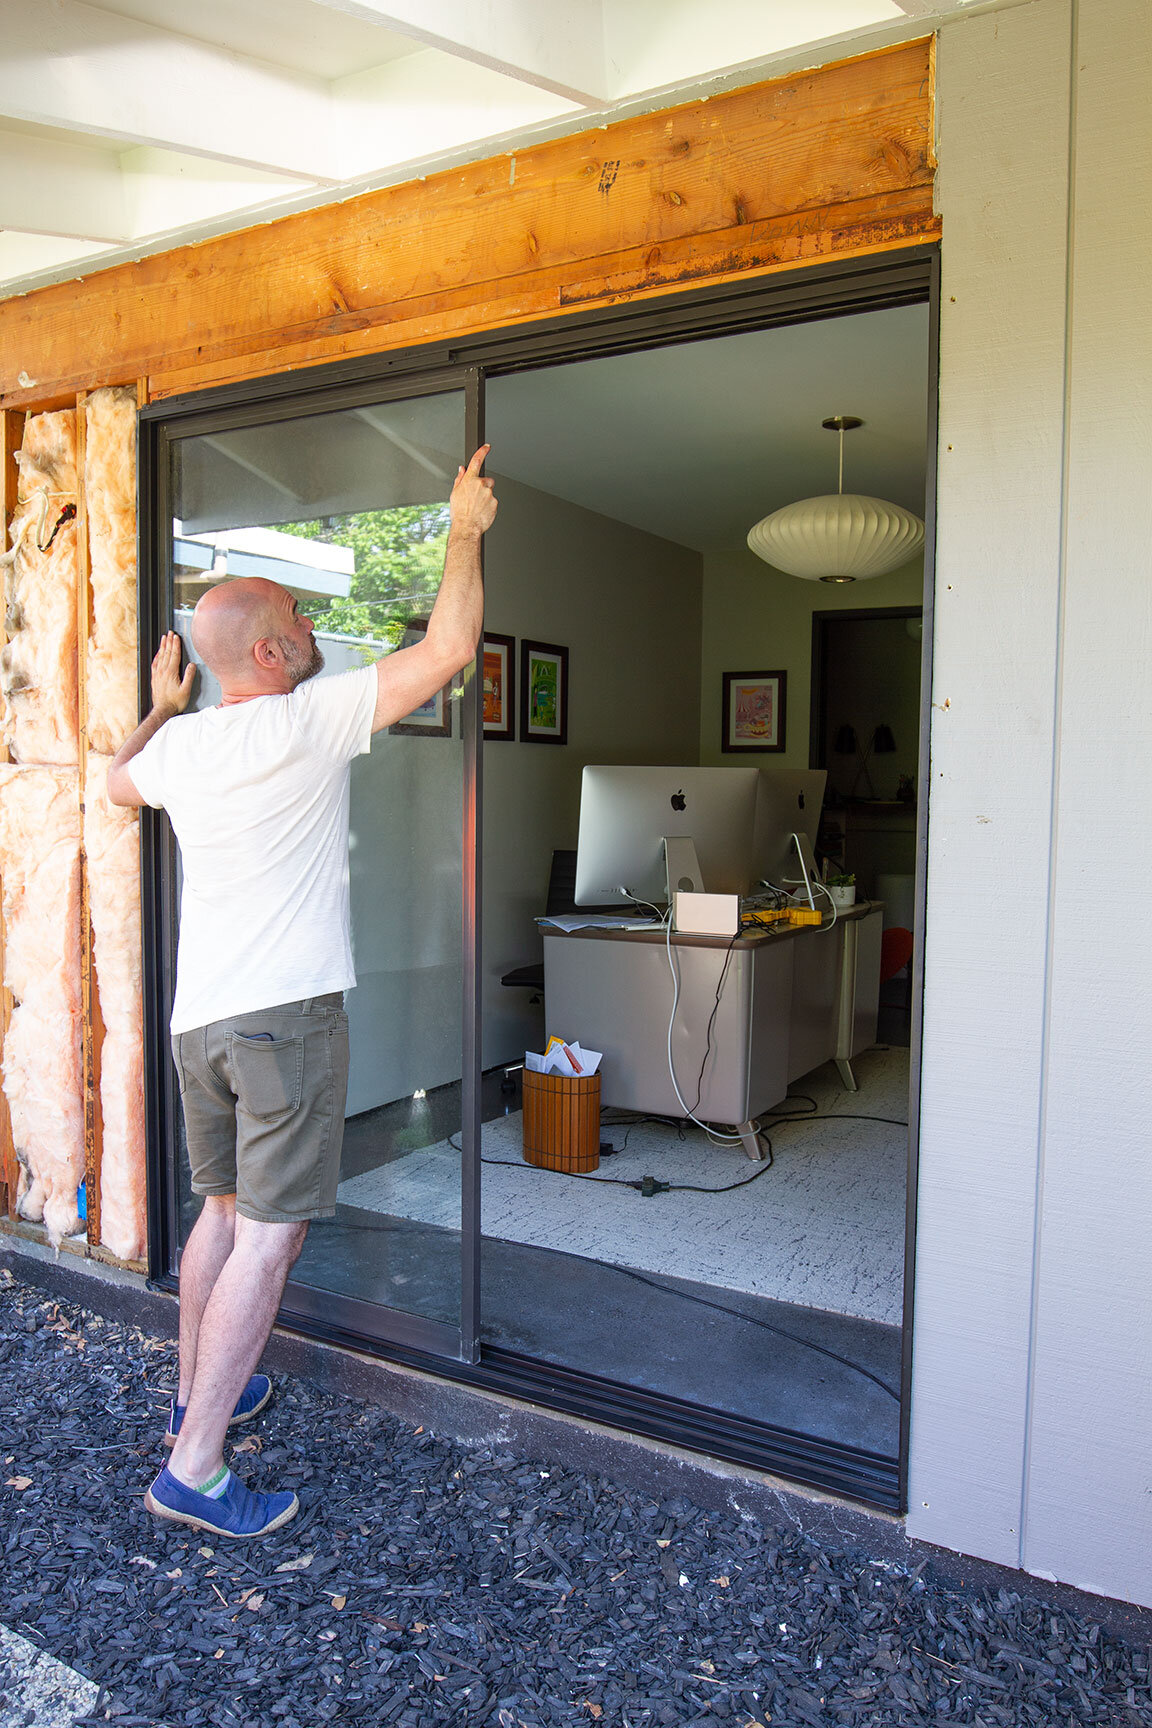
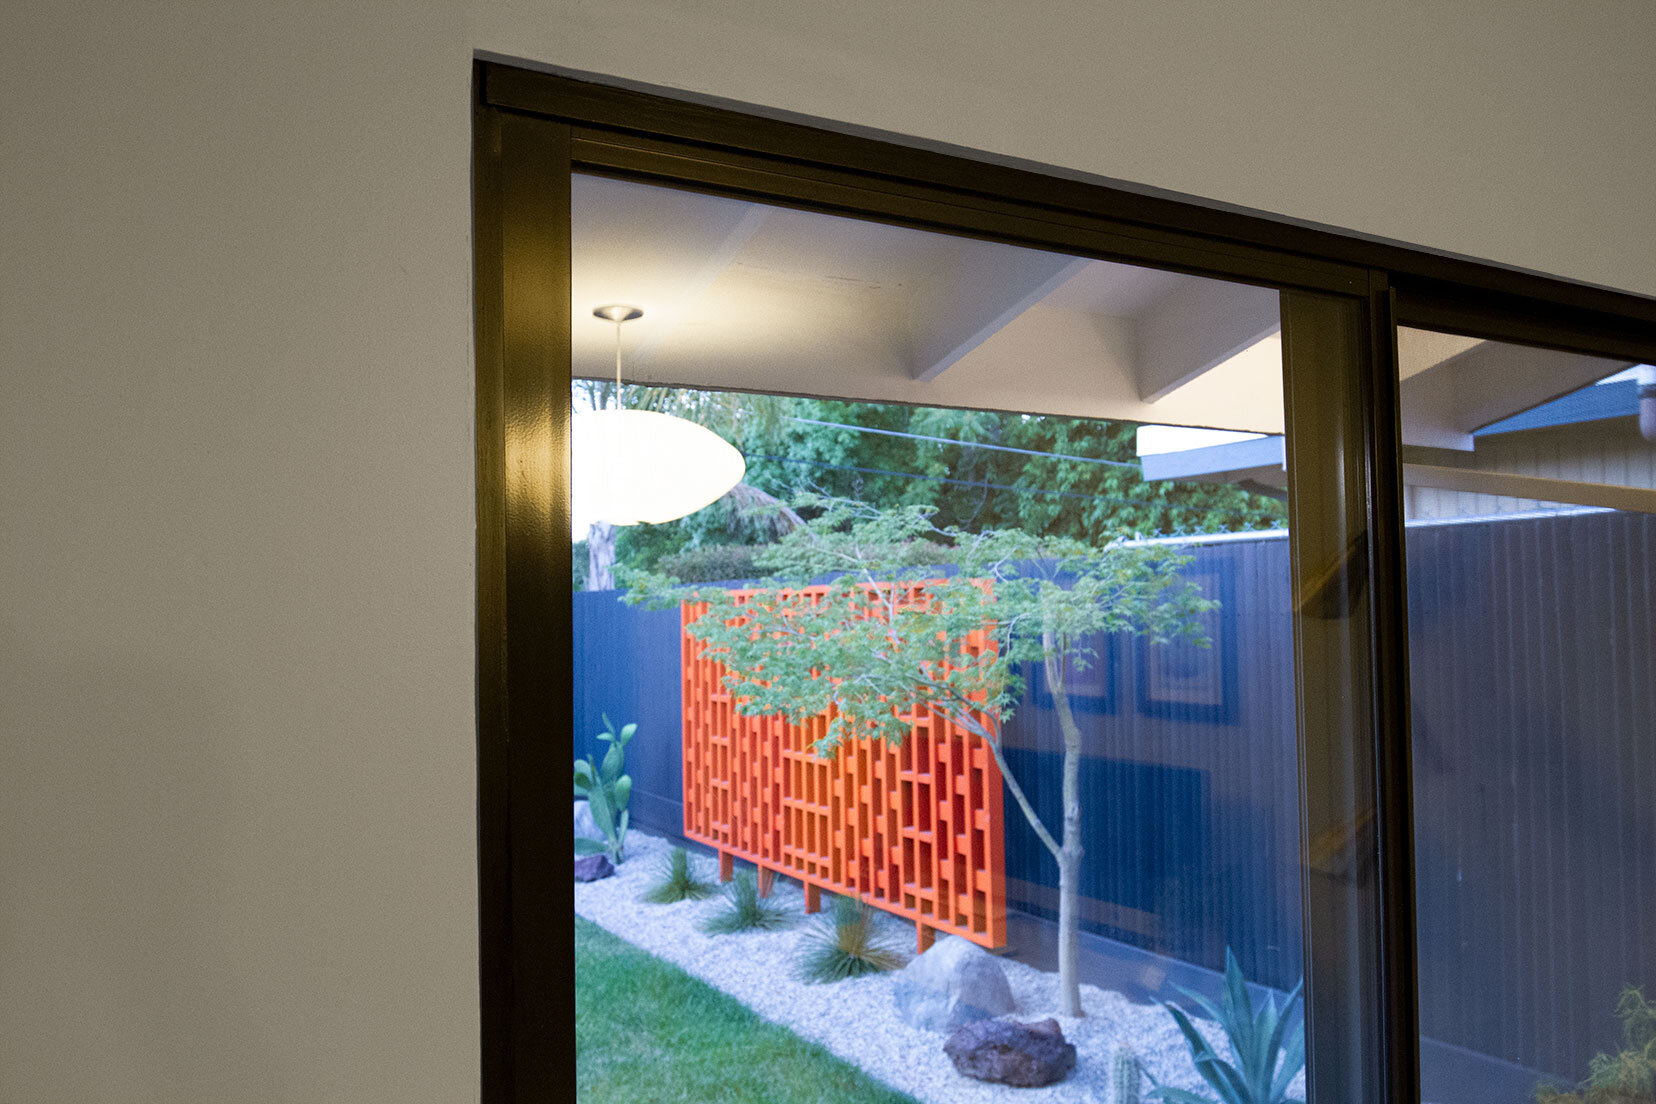
When it came time to dive into this project, I took a good, hard look at my house and how I use it day-to-day. The majority of my time is spent in the home office, so adding light and functionality to this room made the most sense. Having a dedicated space that energizes and inspires me is of great importance, and a clear view of nature does just that.
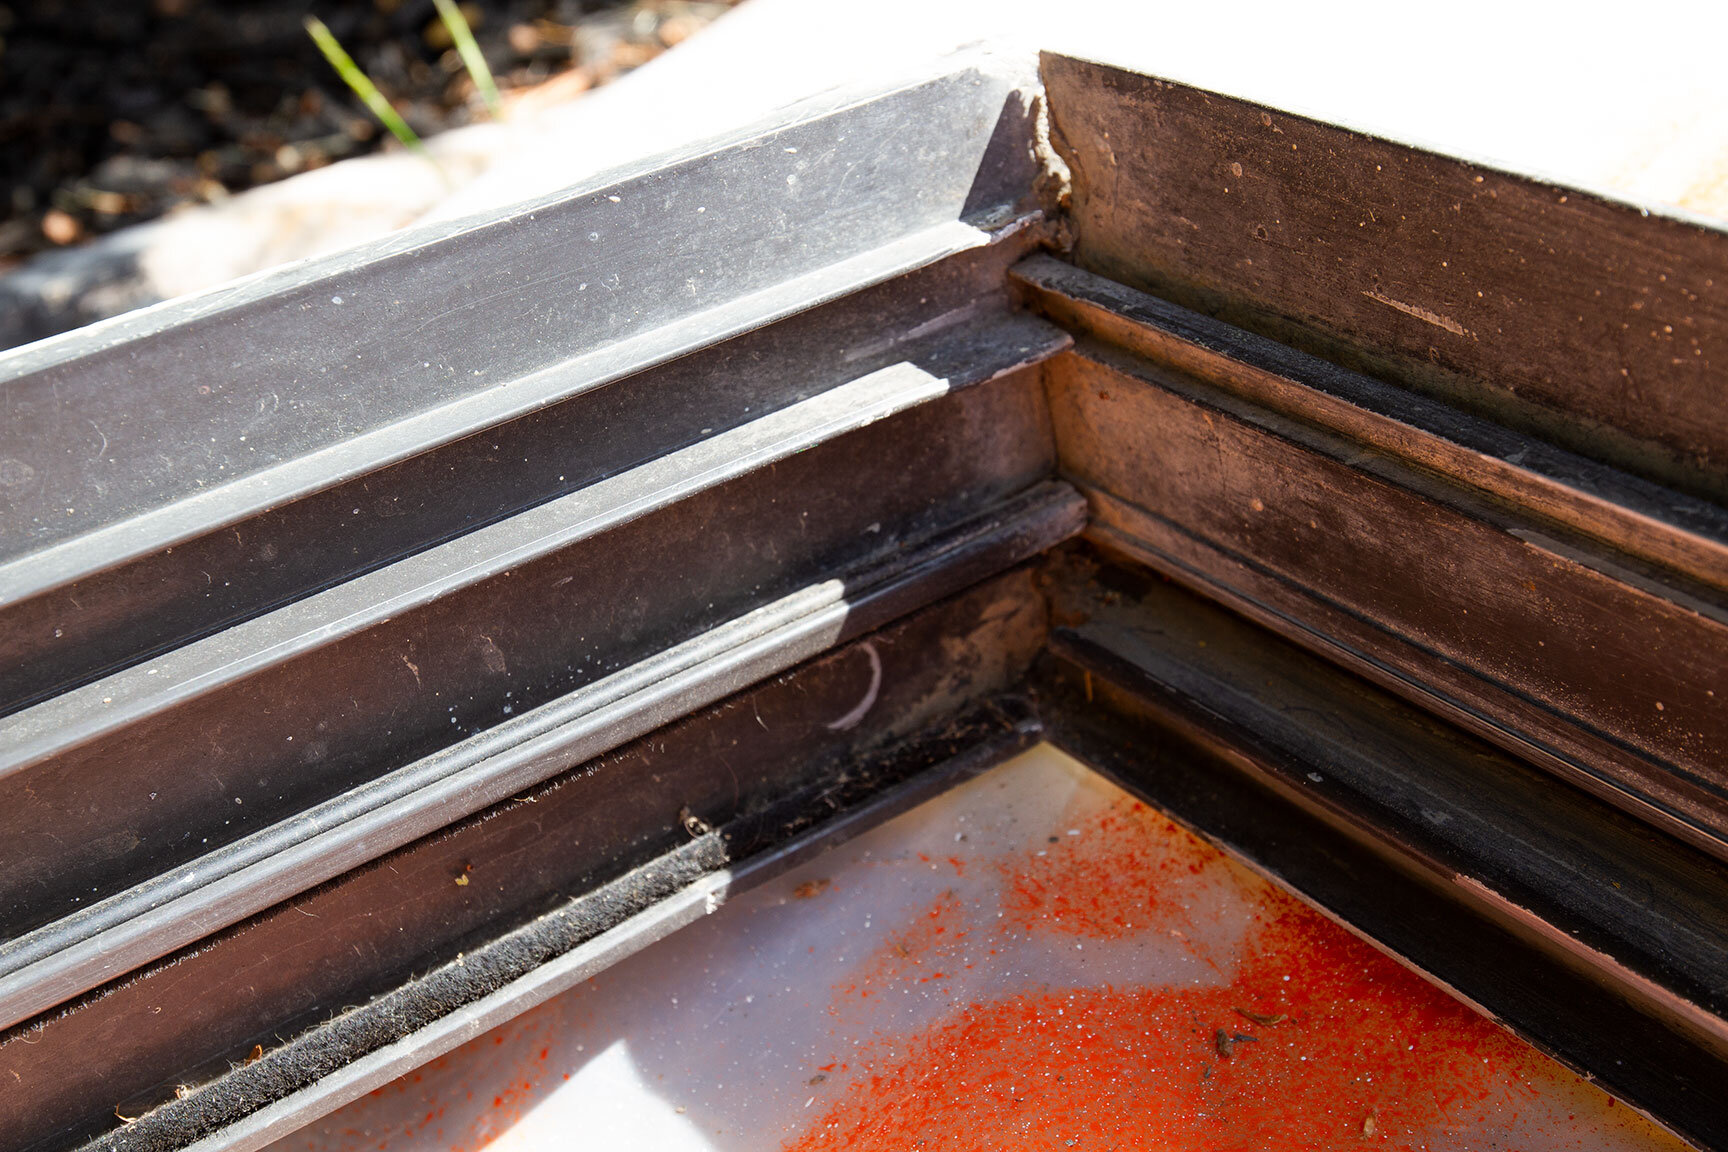
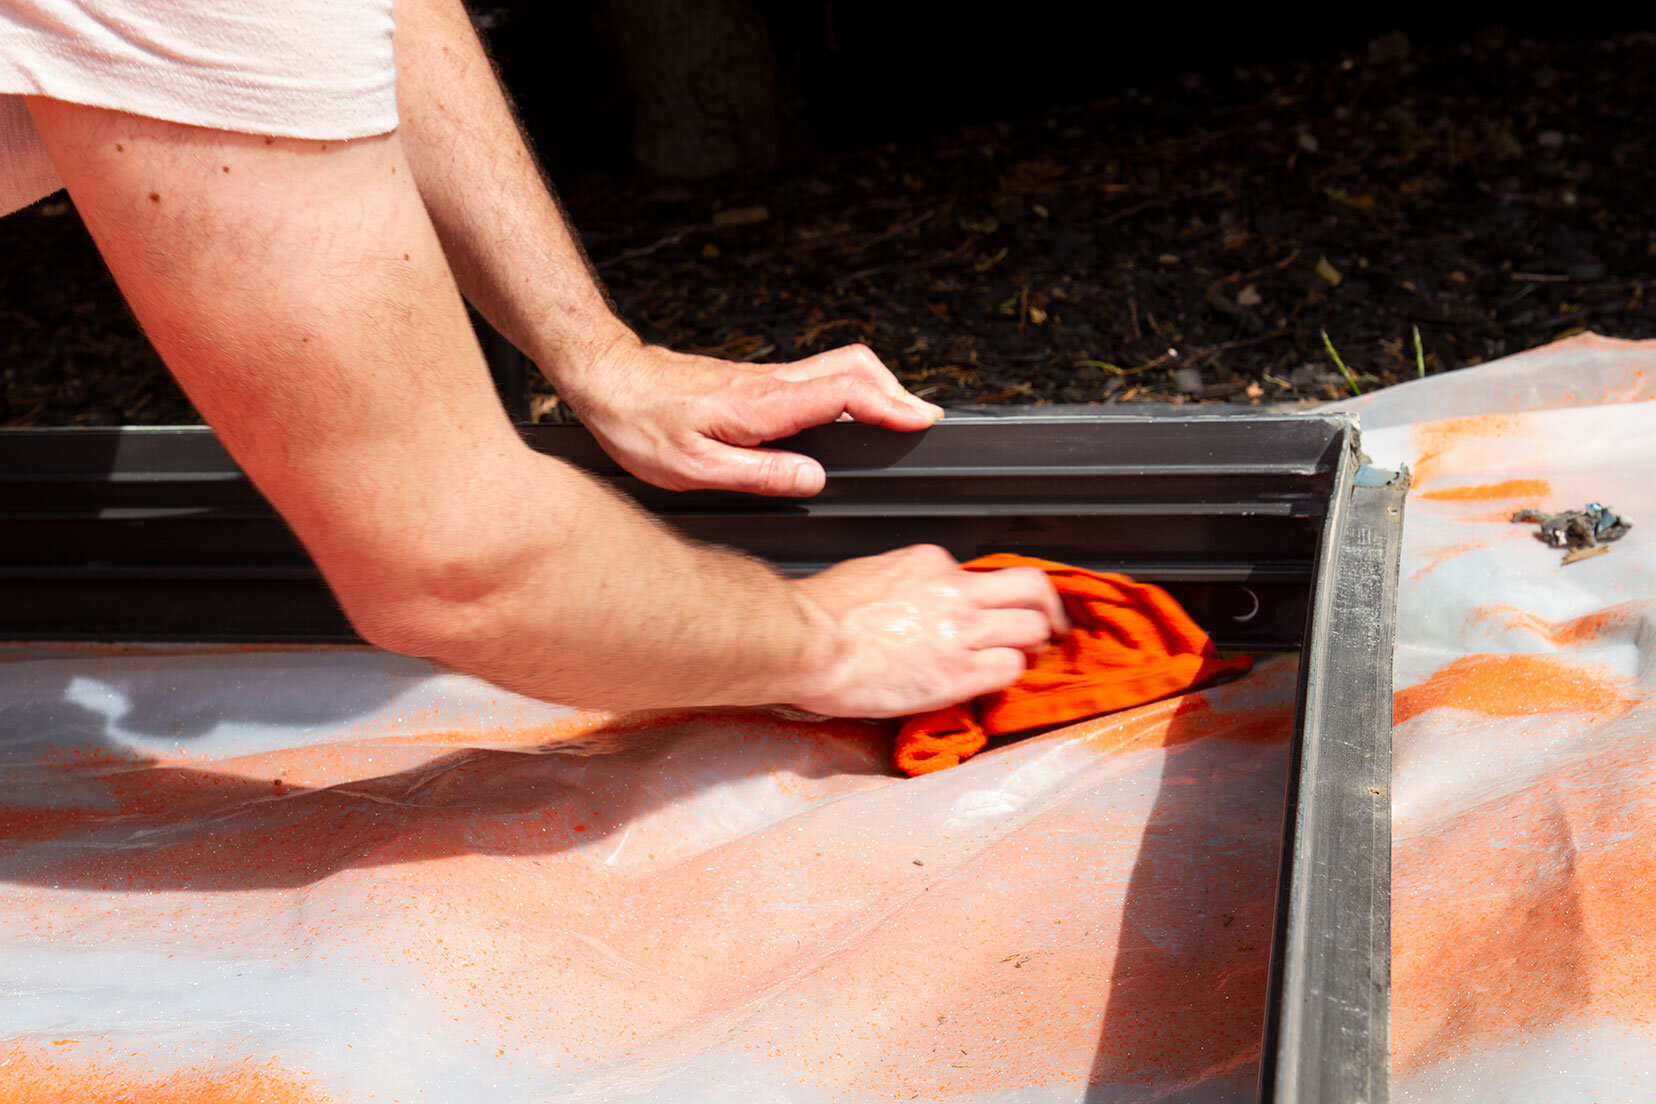
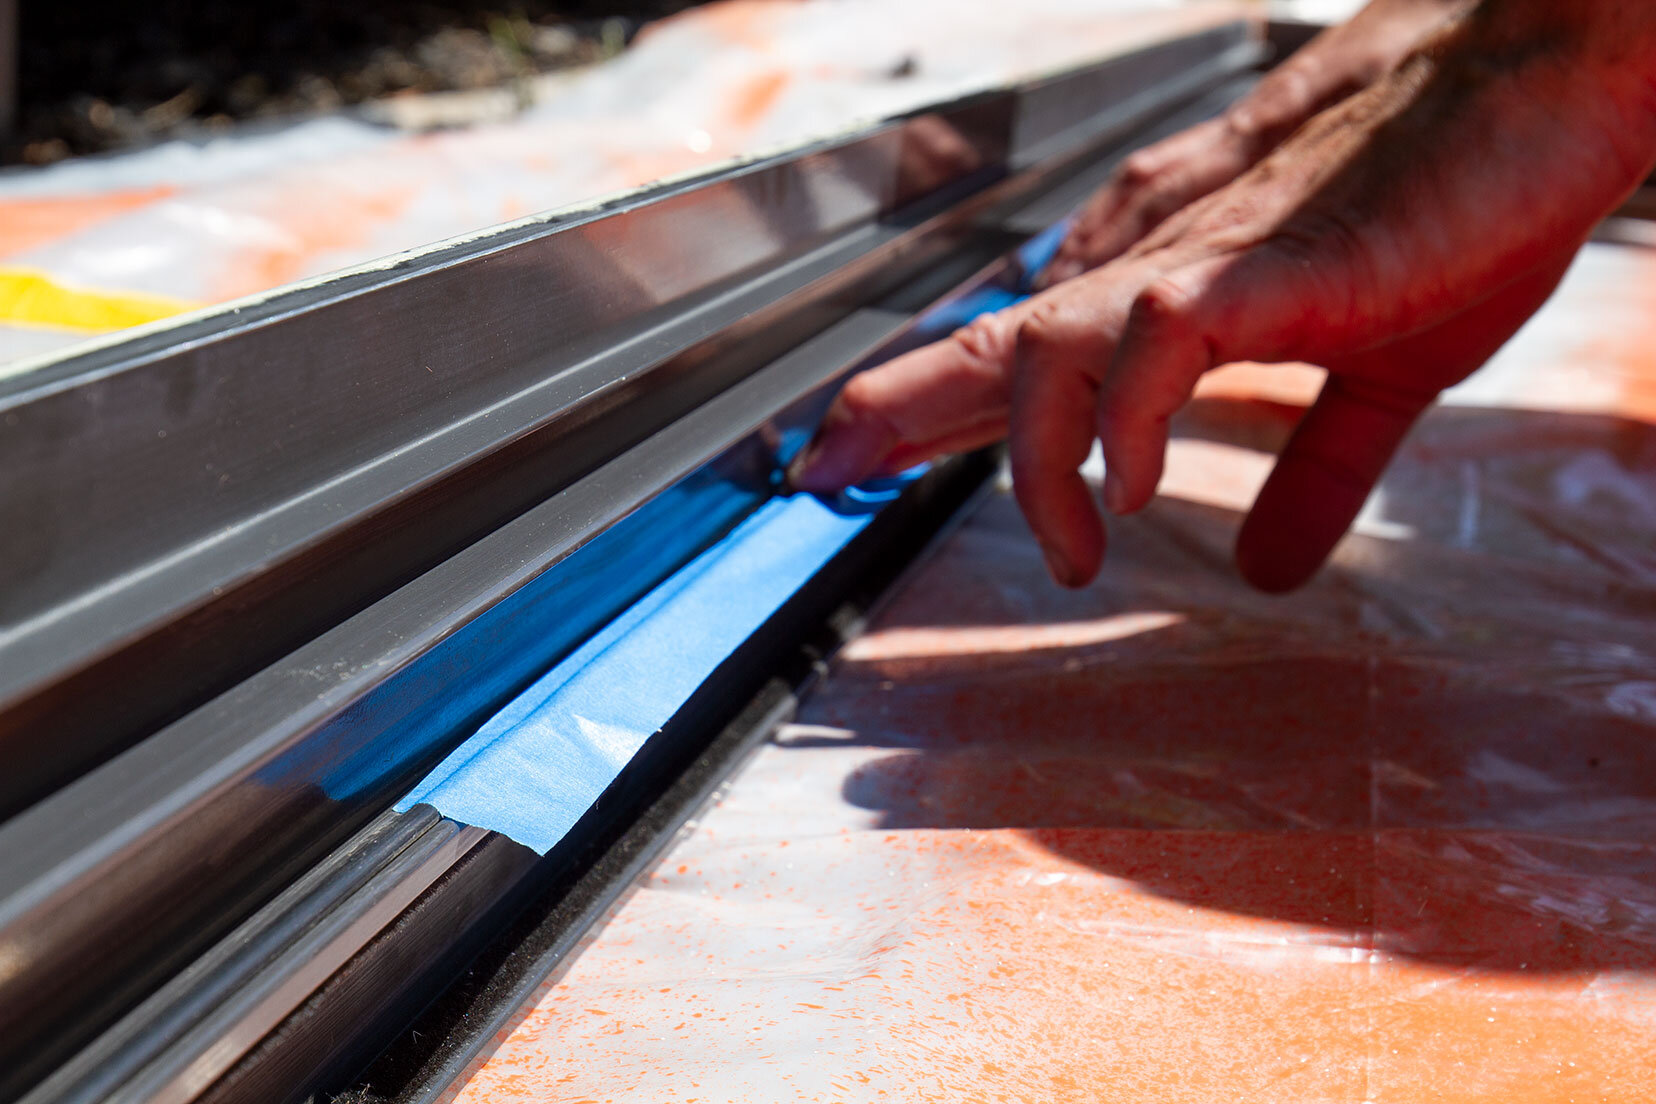
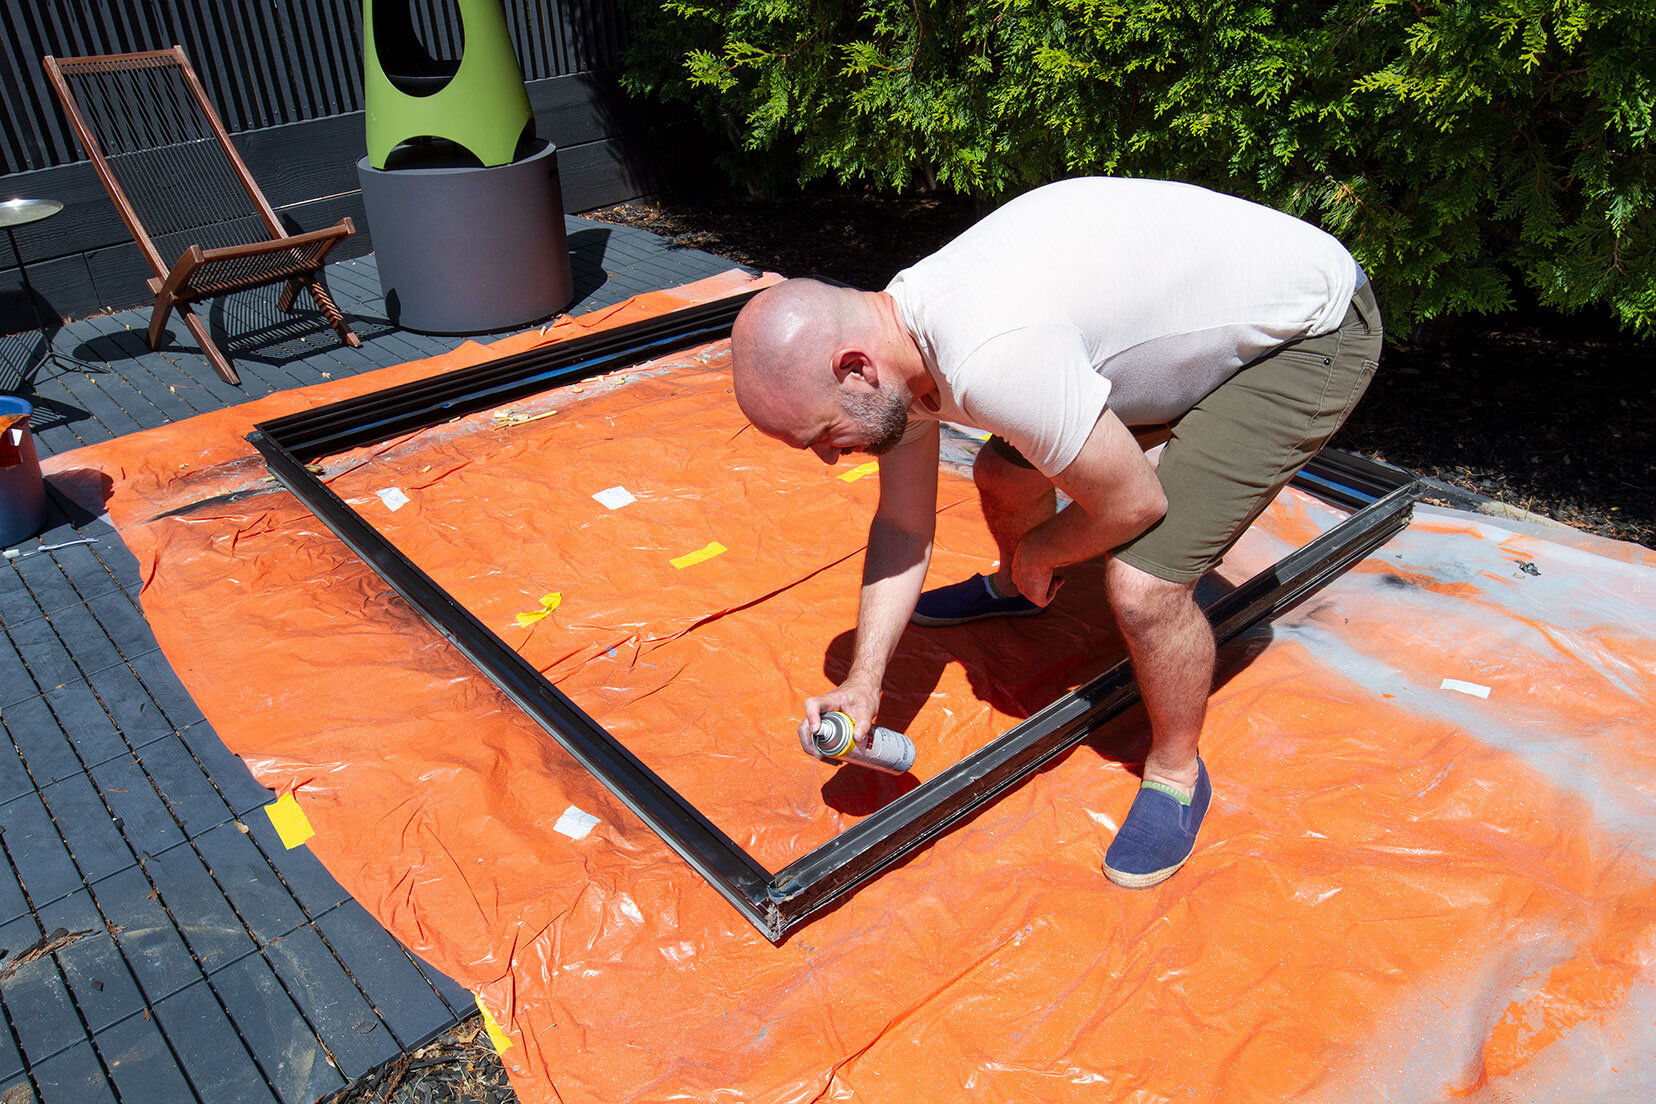
Overall, these vintage sliders were in decent shape. The glass was clear and free of scratches while the frame and tracks were going to need a little more attention. Dirt, concrete, cobwebs, relic spiders — all these lovely textures were removed using some of the same cleaning methods from my living room slider rehab. Once the grime was cleared, we were able to hammer out some of the dents, and bend a few of the frame pieces back into alignment with pliers. All rubber trim and weatherstripping was masked with painters tape, and we then gave the entire frame 2 coats of matte black spray paint and a topcoat of clear matte protectant.
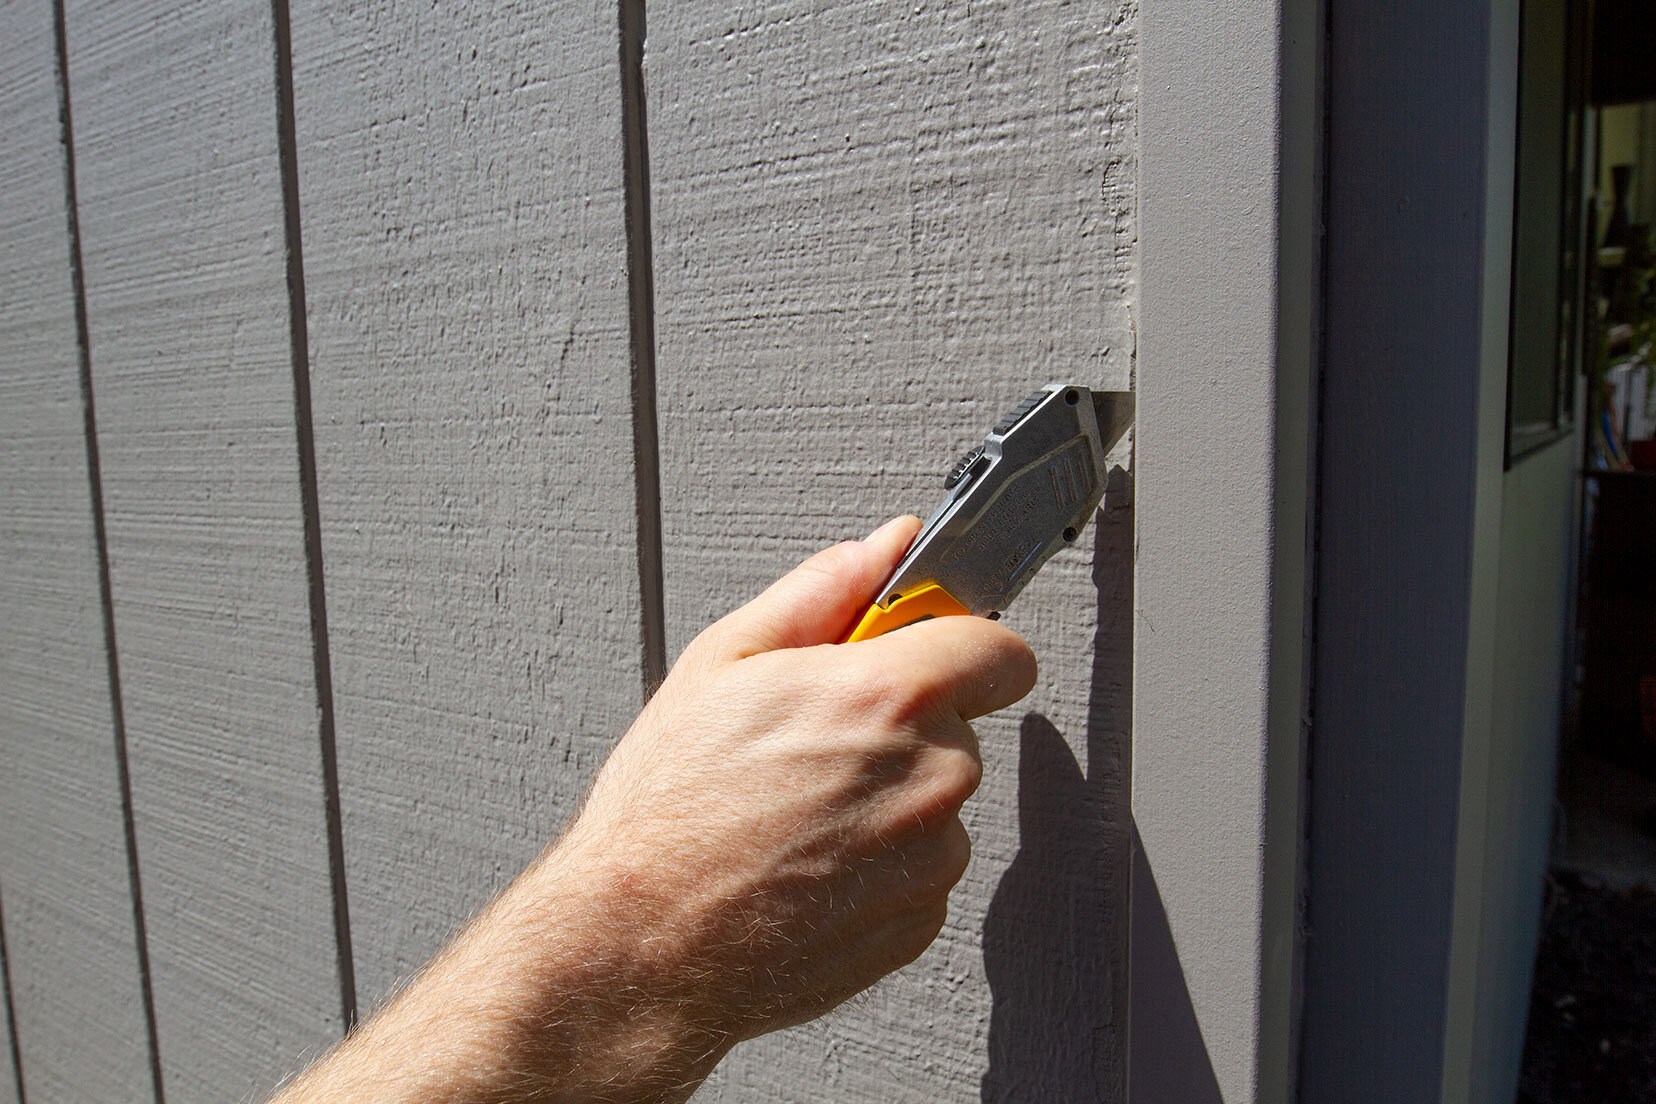
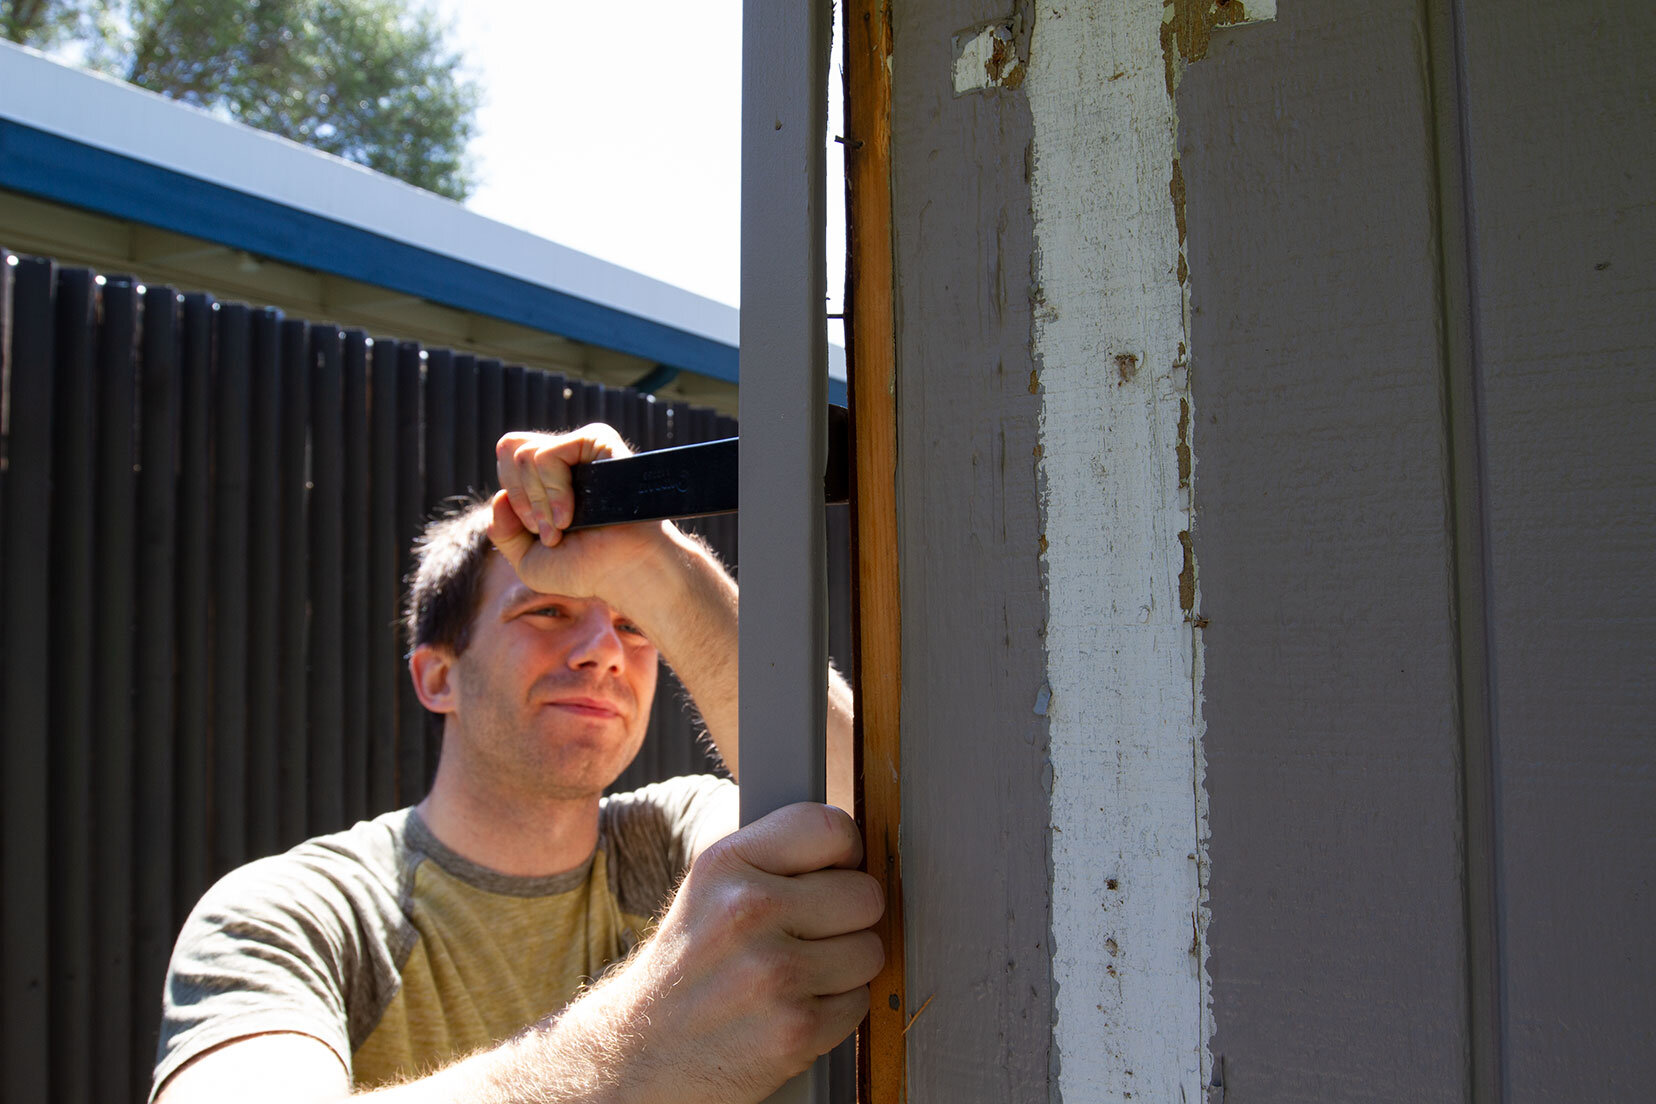
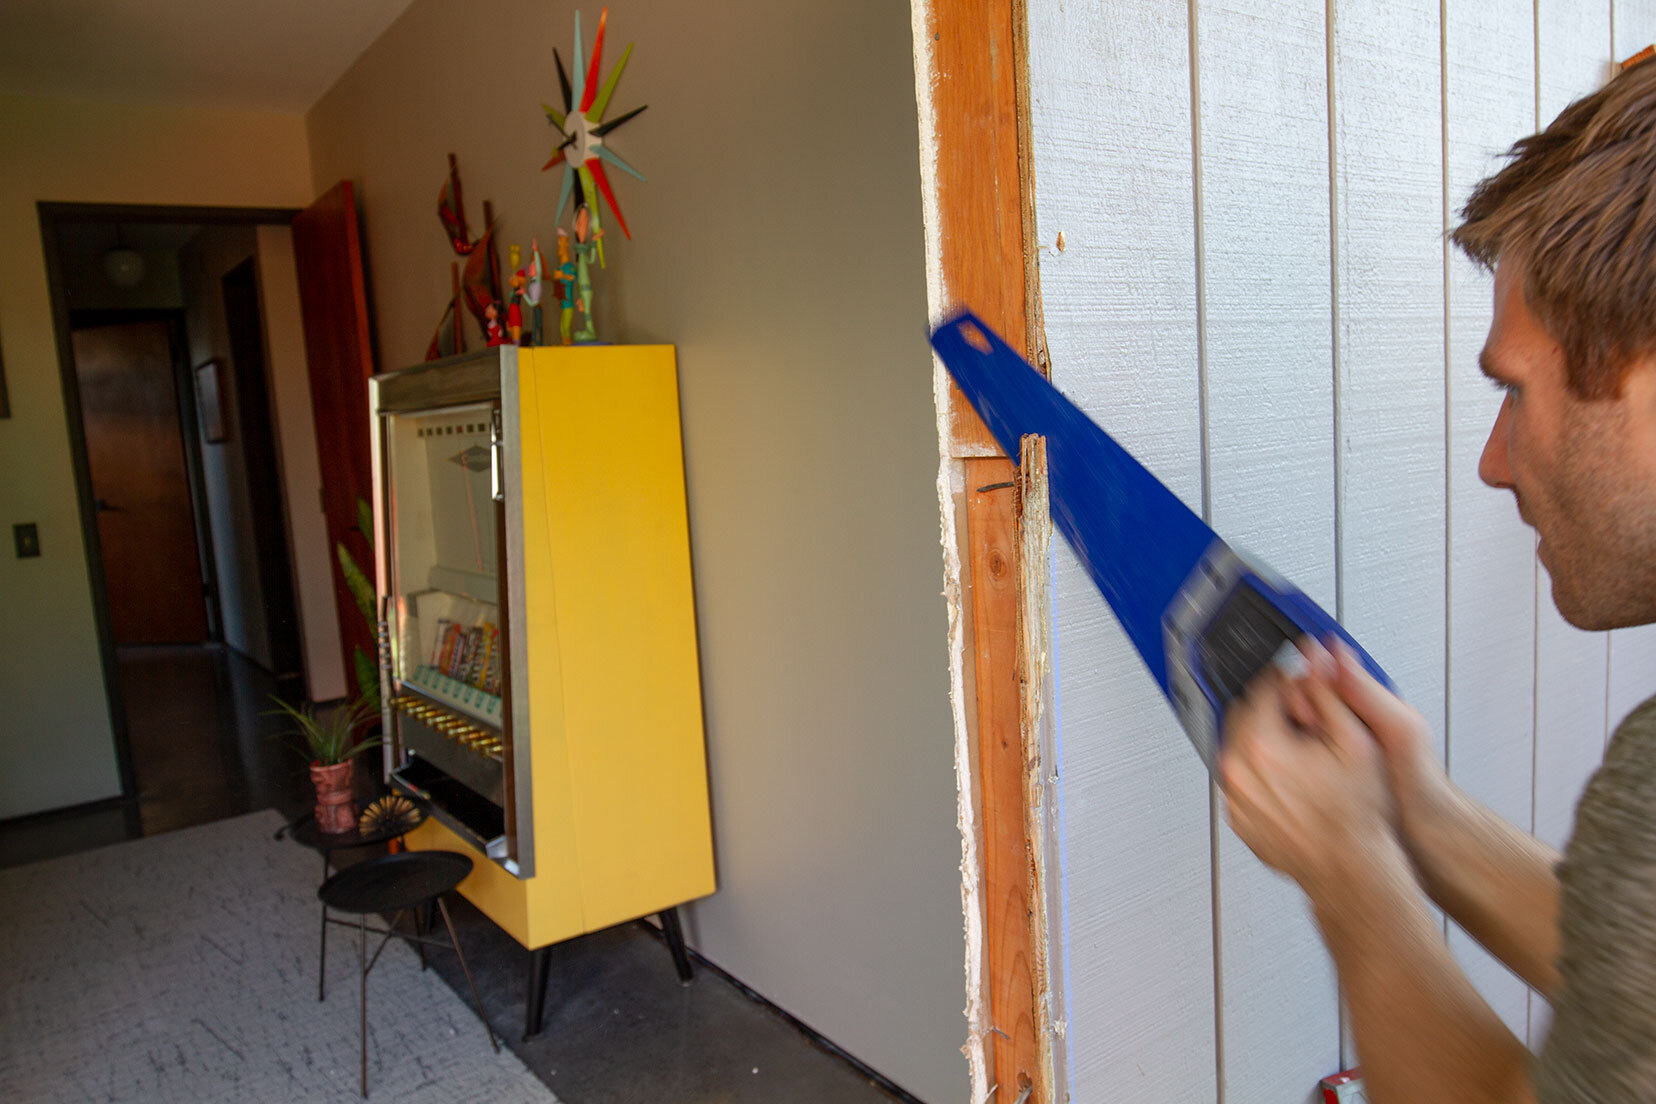
While the paint was left to cure in the sun, we ventured into the uncharted territory of window demolition. Knives and crowbars were out, so there was no going back. Admittedly, I was intimidated and a little freaked out about the thought of removing siding, a window, and cutting a hole in the back of my house. However, preservation was at top of mind for this project, so we were able to forge ahead with mindfulness and a delicate hand through every step.

“We have a distinct responsibility as mid-century homeowners.”
Once we were down to the studs, we were able to carefully remove nails from the flashing and lift the window out. It was wrapped and stored away for future use or reinstallation. One thing I like to remind our clients tackling a renovation is that we have a distinct responsibility as mid-century homeowners. If you can save original architectural elements you’re replacing, do it! If you’re not going to use the pieces you replace, chances are, someone else can. Once those pieces are gone, they’re gone forever.
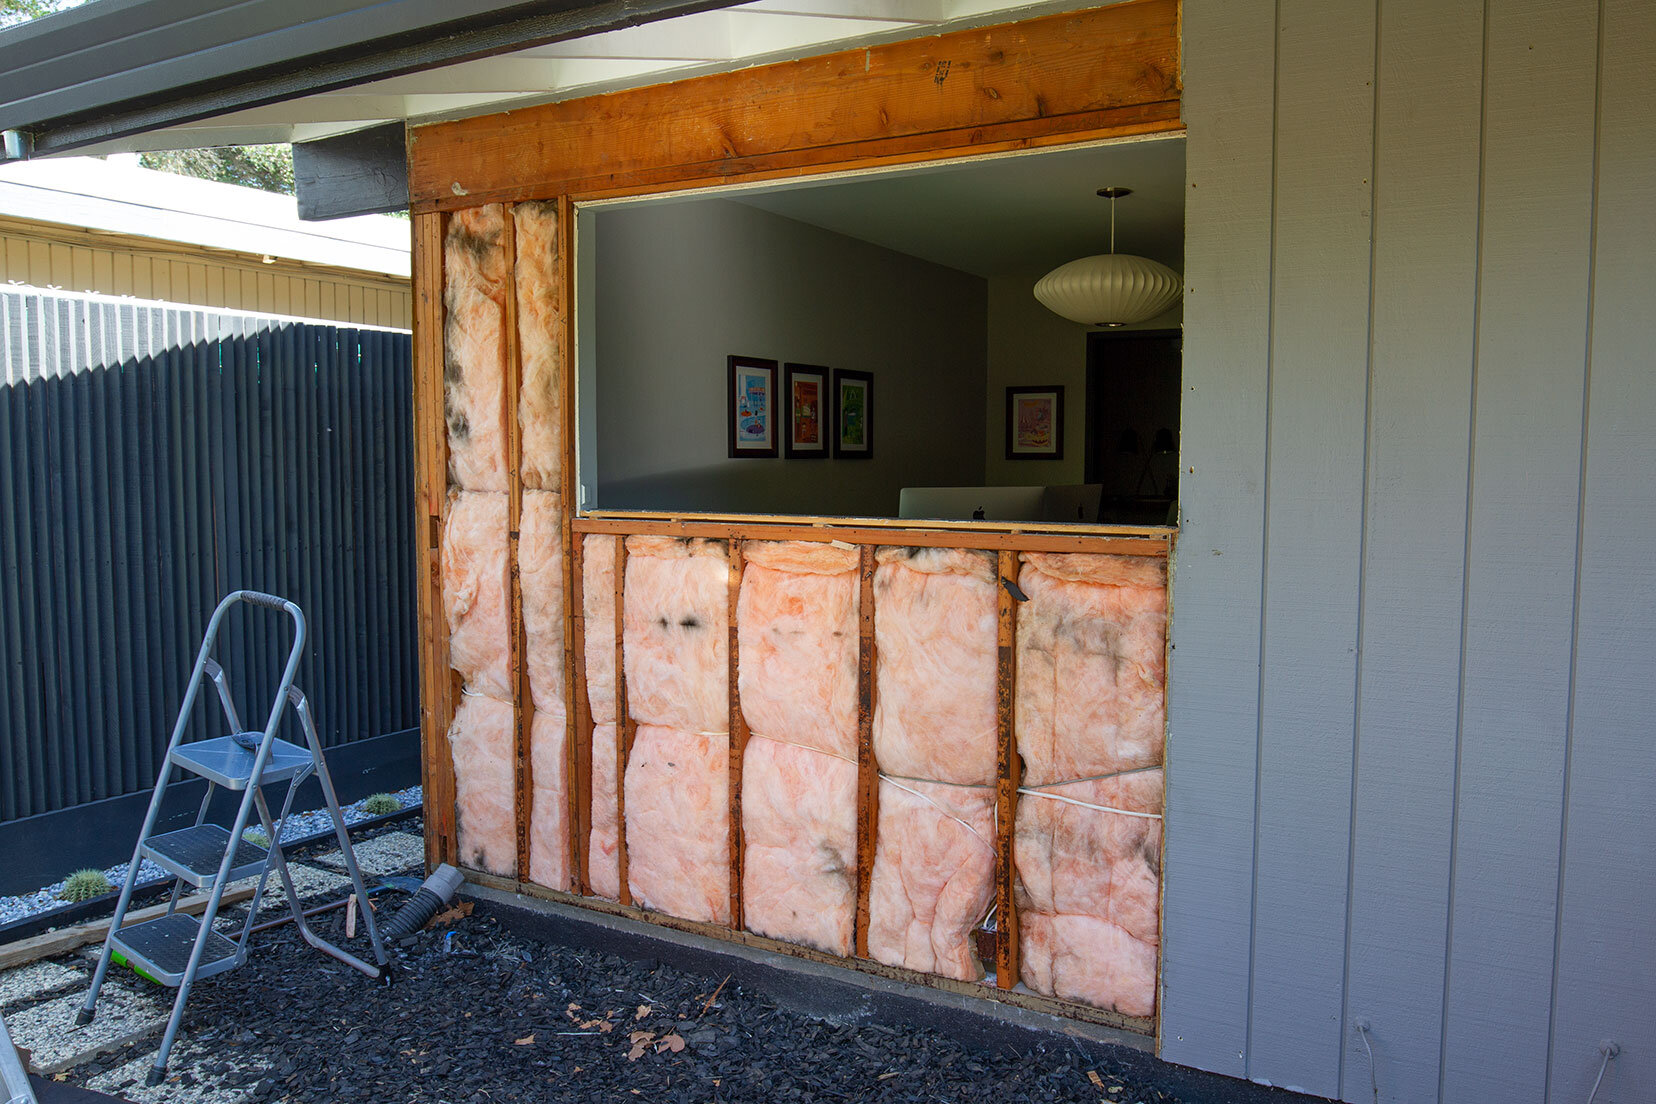
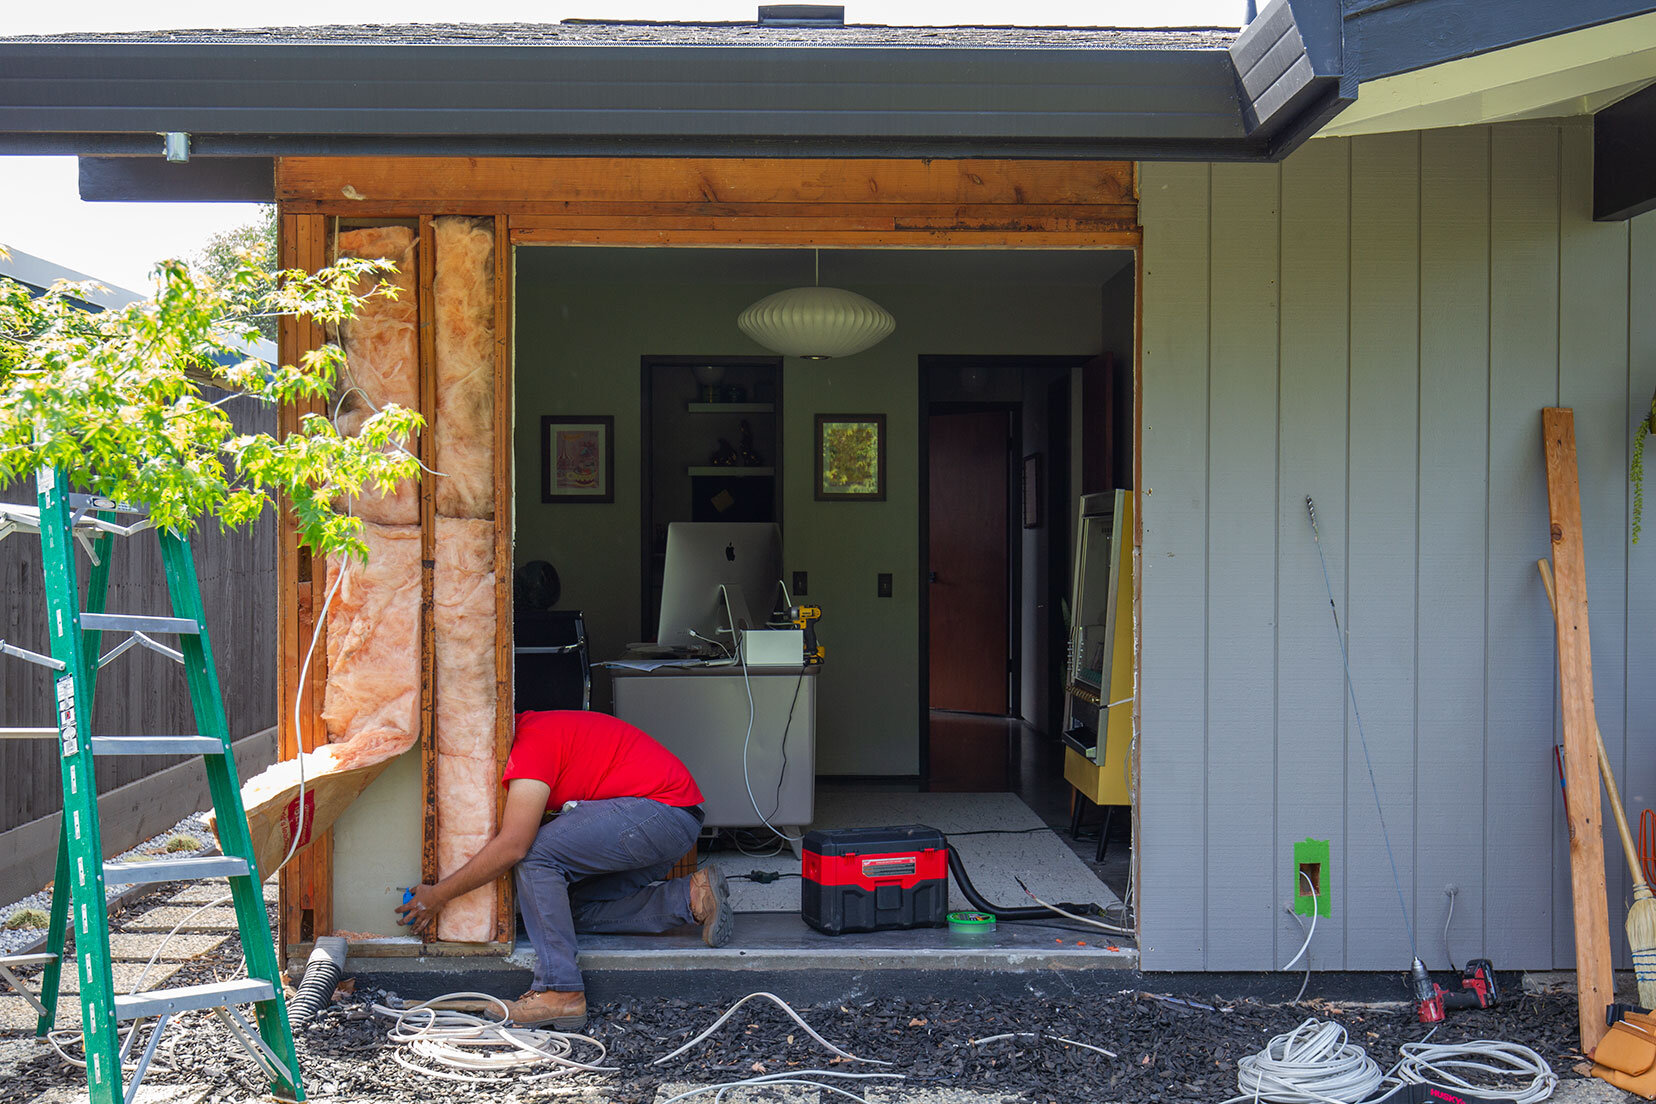
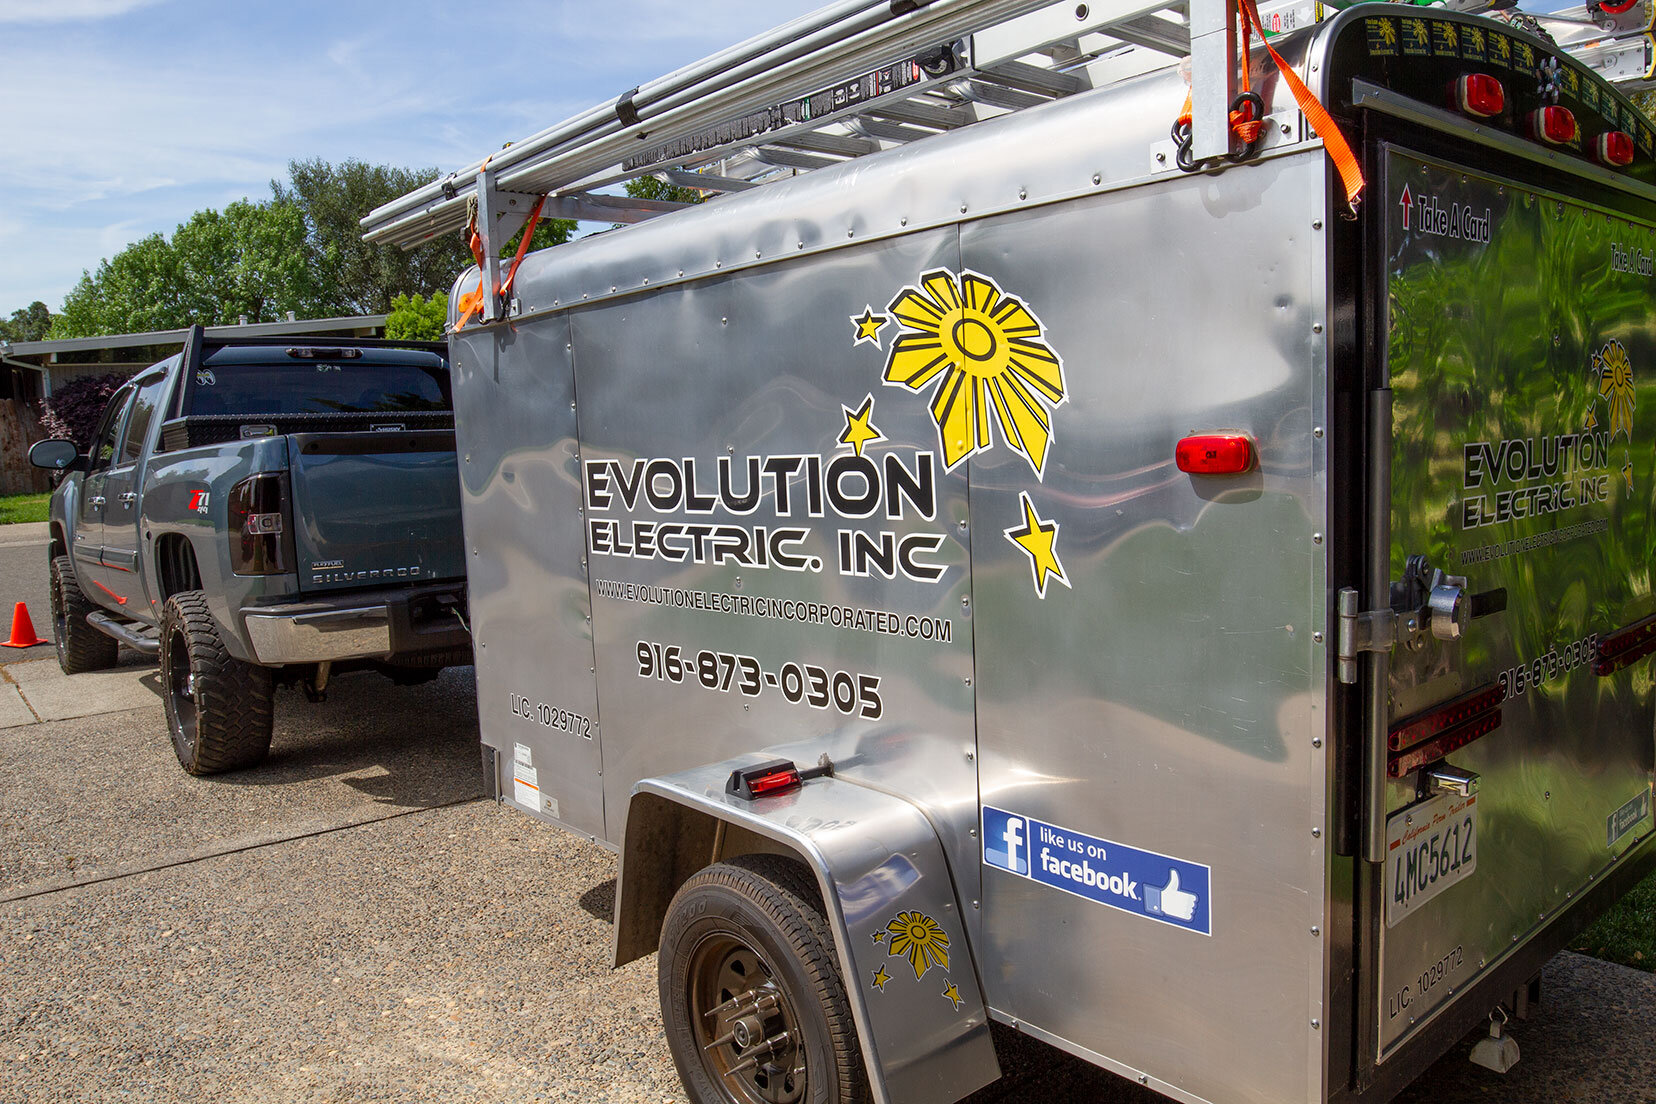
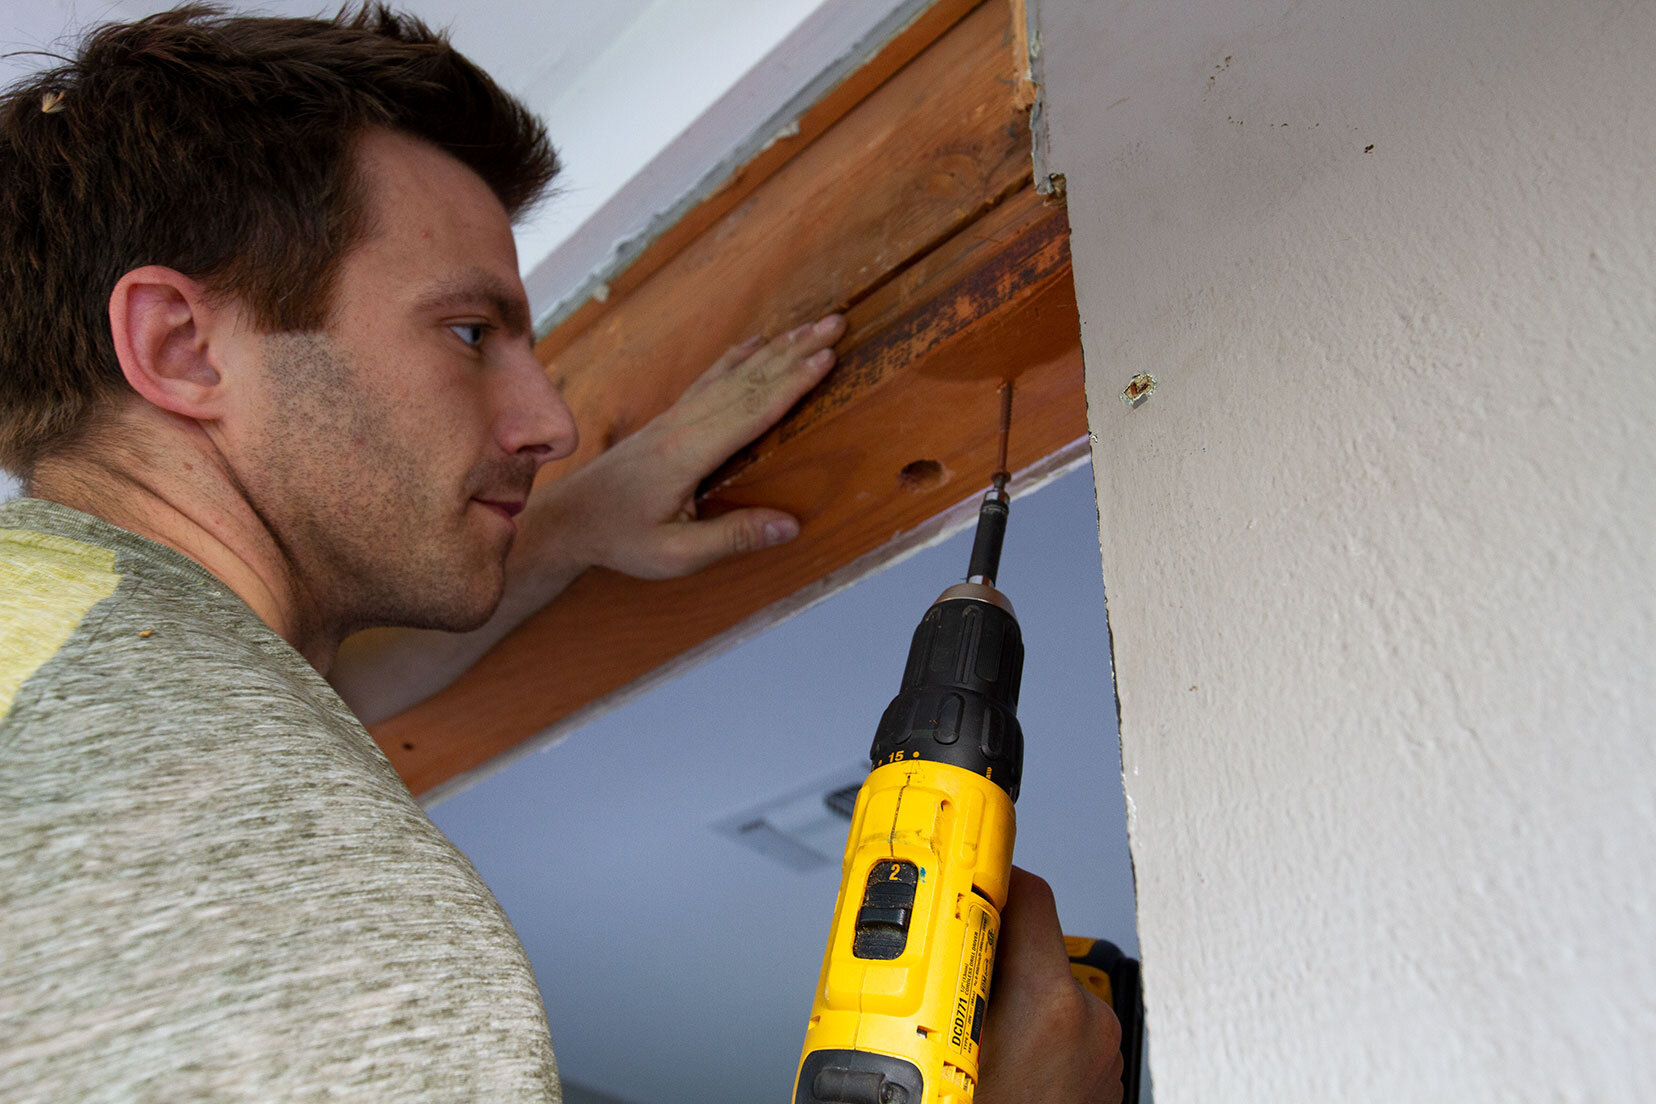
We moved along to taking out the studs below the window, and edges were cleaned up with a handsaw. I figured this stage of the project would be a good opportunity to add some electrical outlets both inside and out, as well as an exterior sconce. I called on our friends at Evolution Electric to make these upgrades, and they made quick work of the tasks at hand. They’ve worked on many Streng homes in my neighborhood, and have greatly improved electrical features throughout my home.
We were then left with a nice clean opening for the slider framing. Now it just so happened that this slider I acquired was the exact width of my existing office window. The Streng Bros. used various sized sliders throughout their plans over the years, but these were exactly 6 feet wide. This made for less work when it came to framing the opening. Just two horizontal studs were added across the top to meet the frame for a snug fit. Silicone caulk was applied to the concrete slab, and the frame was screwed into place along the sides and top. The anxiety of unknown renovation territory was starting to dissipate by this point.
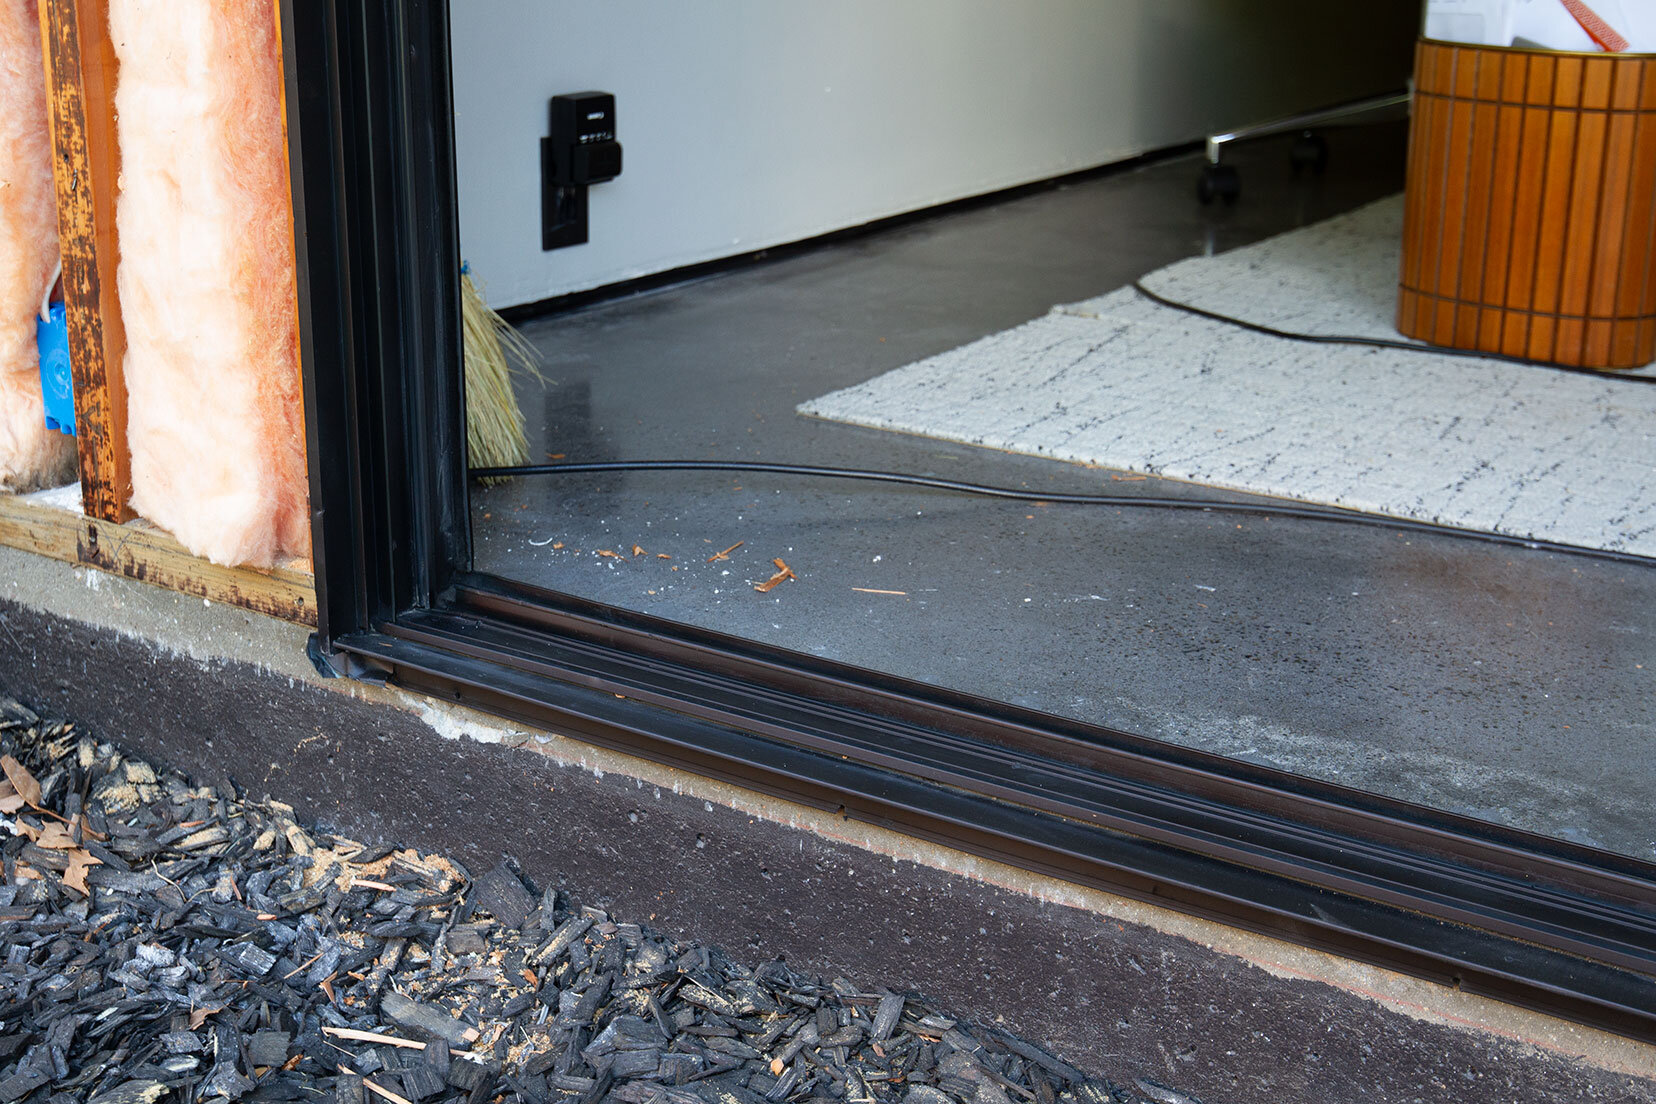
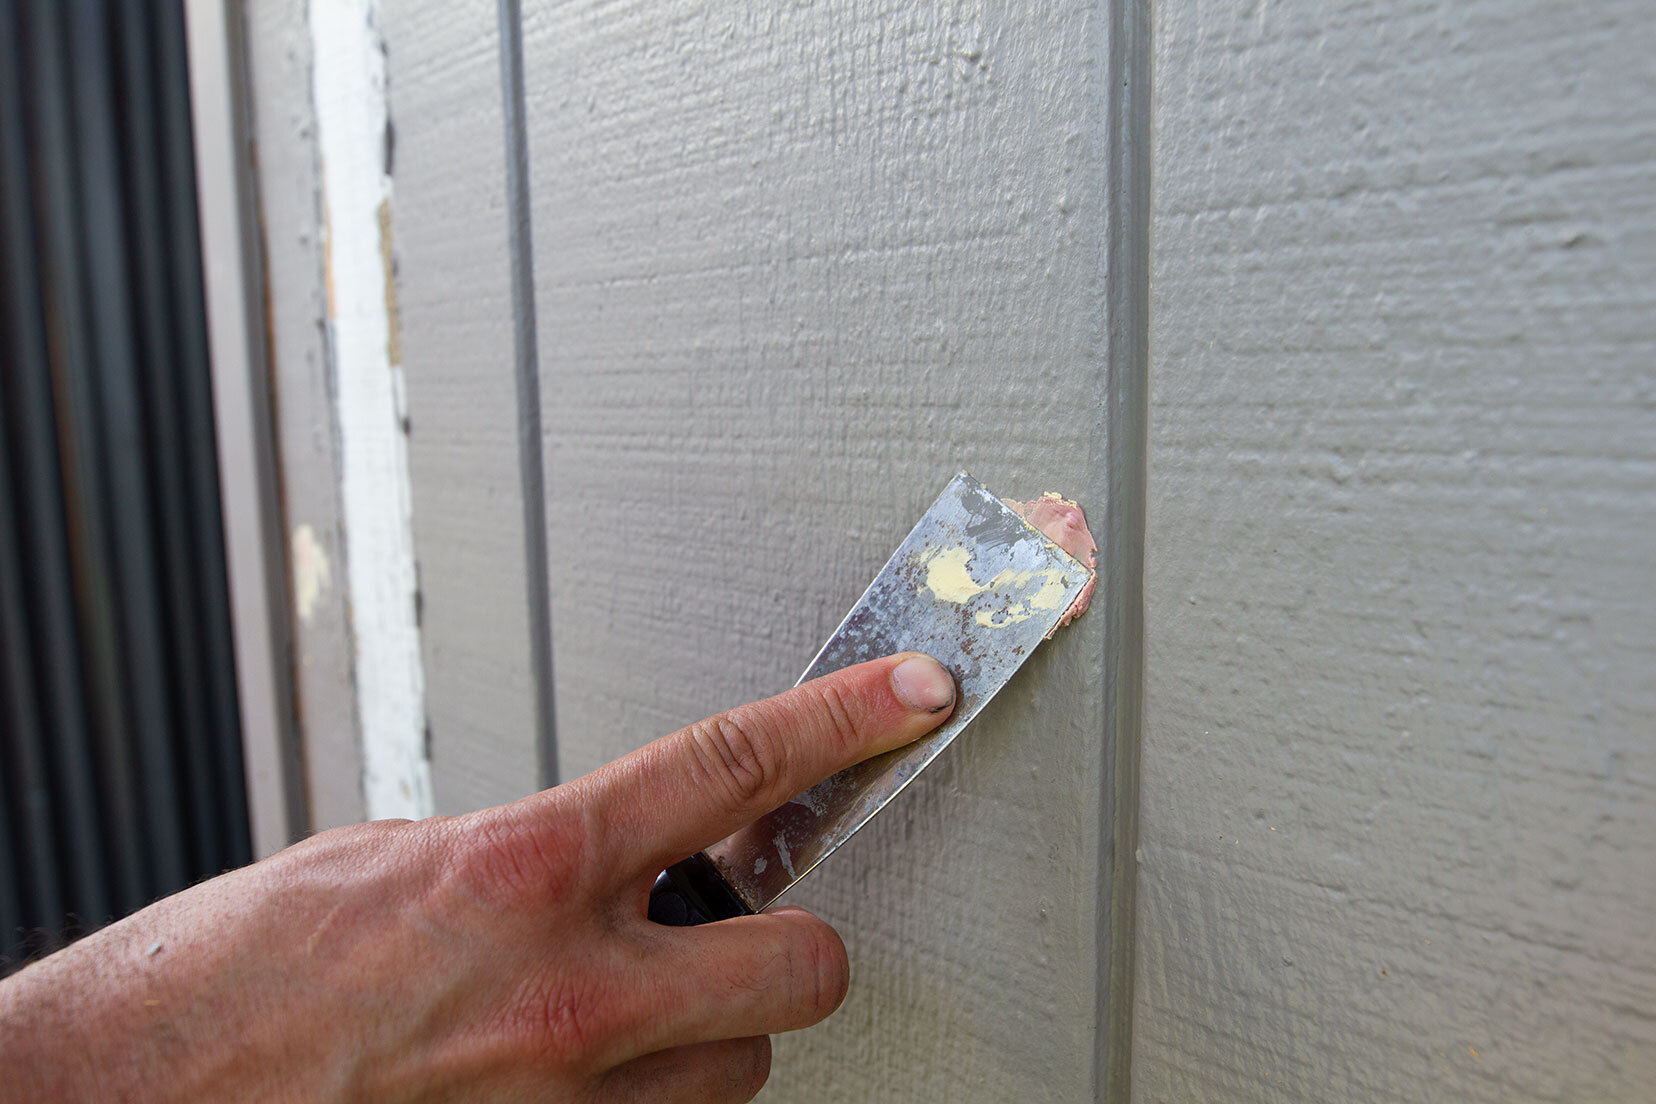
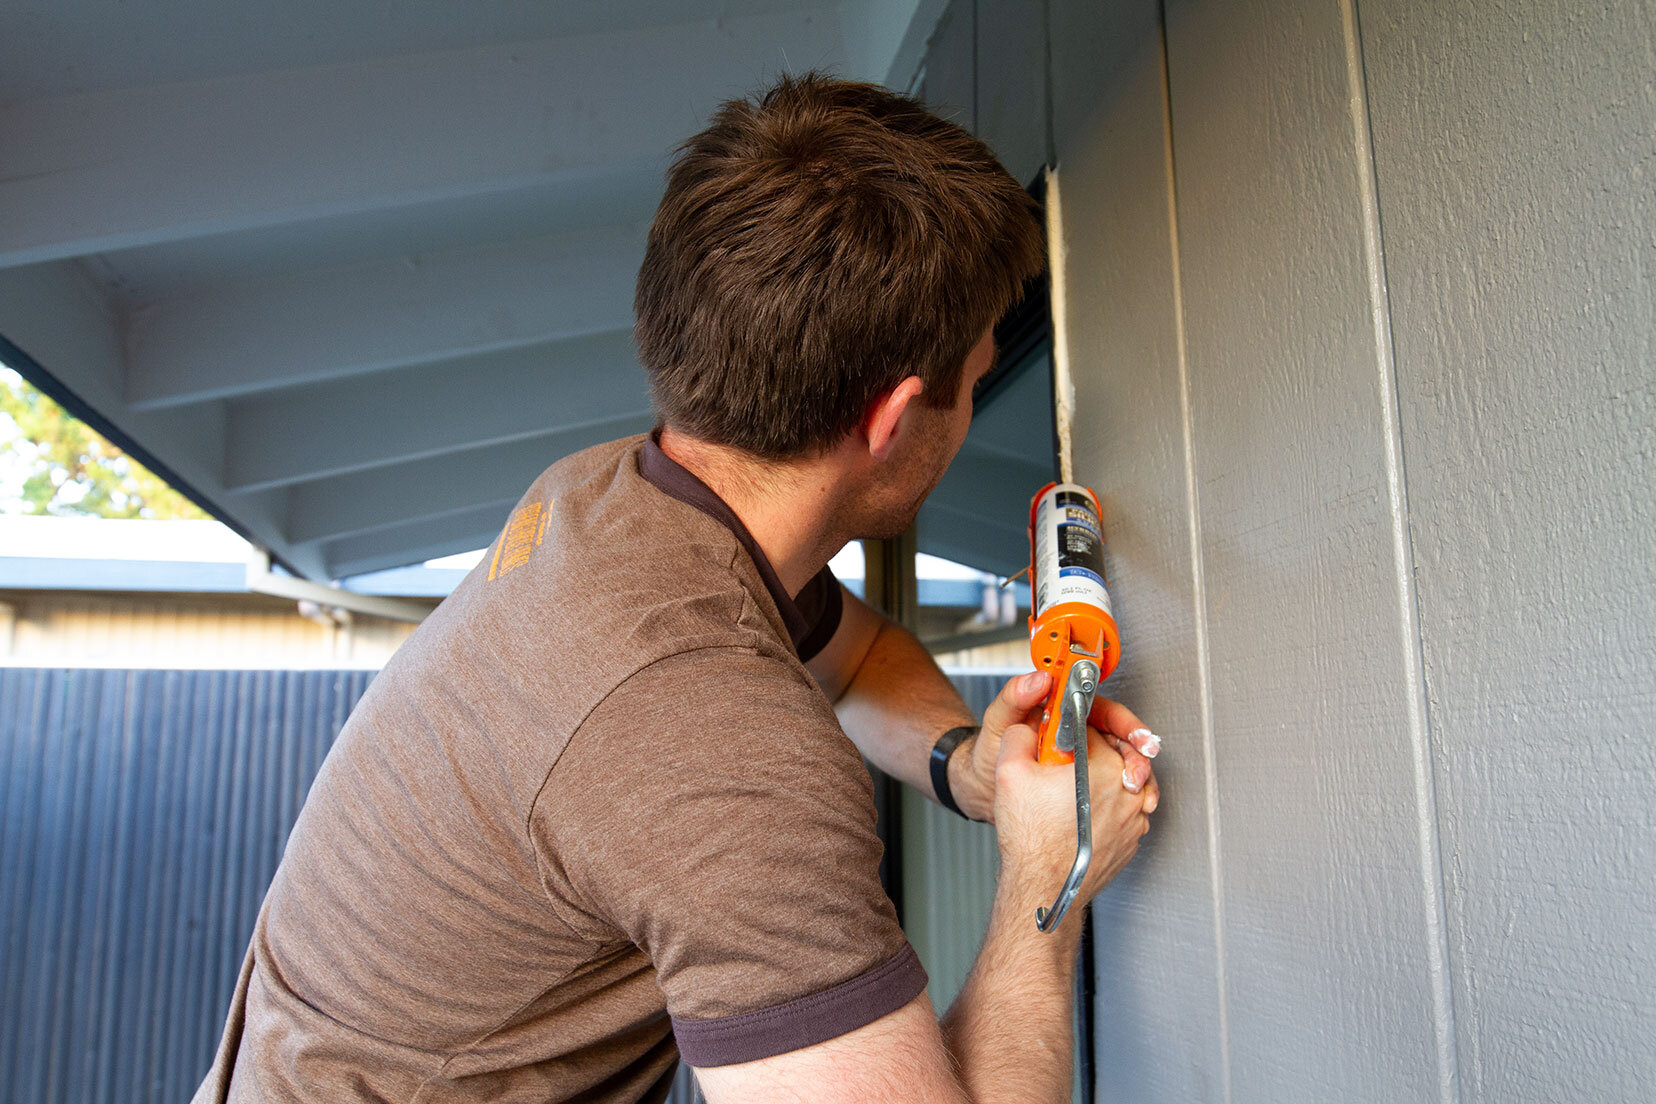
Finally, we were able to place the glass doors on the track, and reattach the siding, trim, and gutters — carefully recessing all screw heads and backfilling with wood putty. The area of siding from below the old window was cut to fit the larger void above the new door. Surrounding trim was sealed with waterproof caulking, and a fresh coat of paint was applied to the areas of siding we had removed. On the interior, drywall was patched, plastered, and painted.
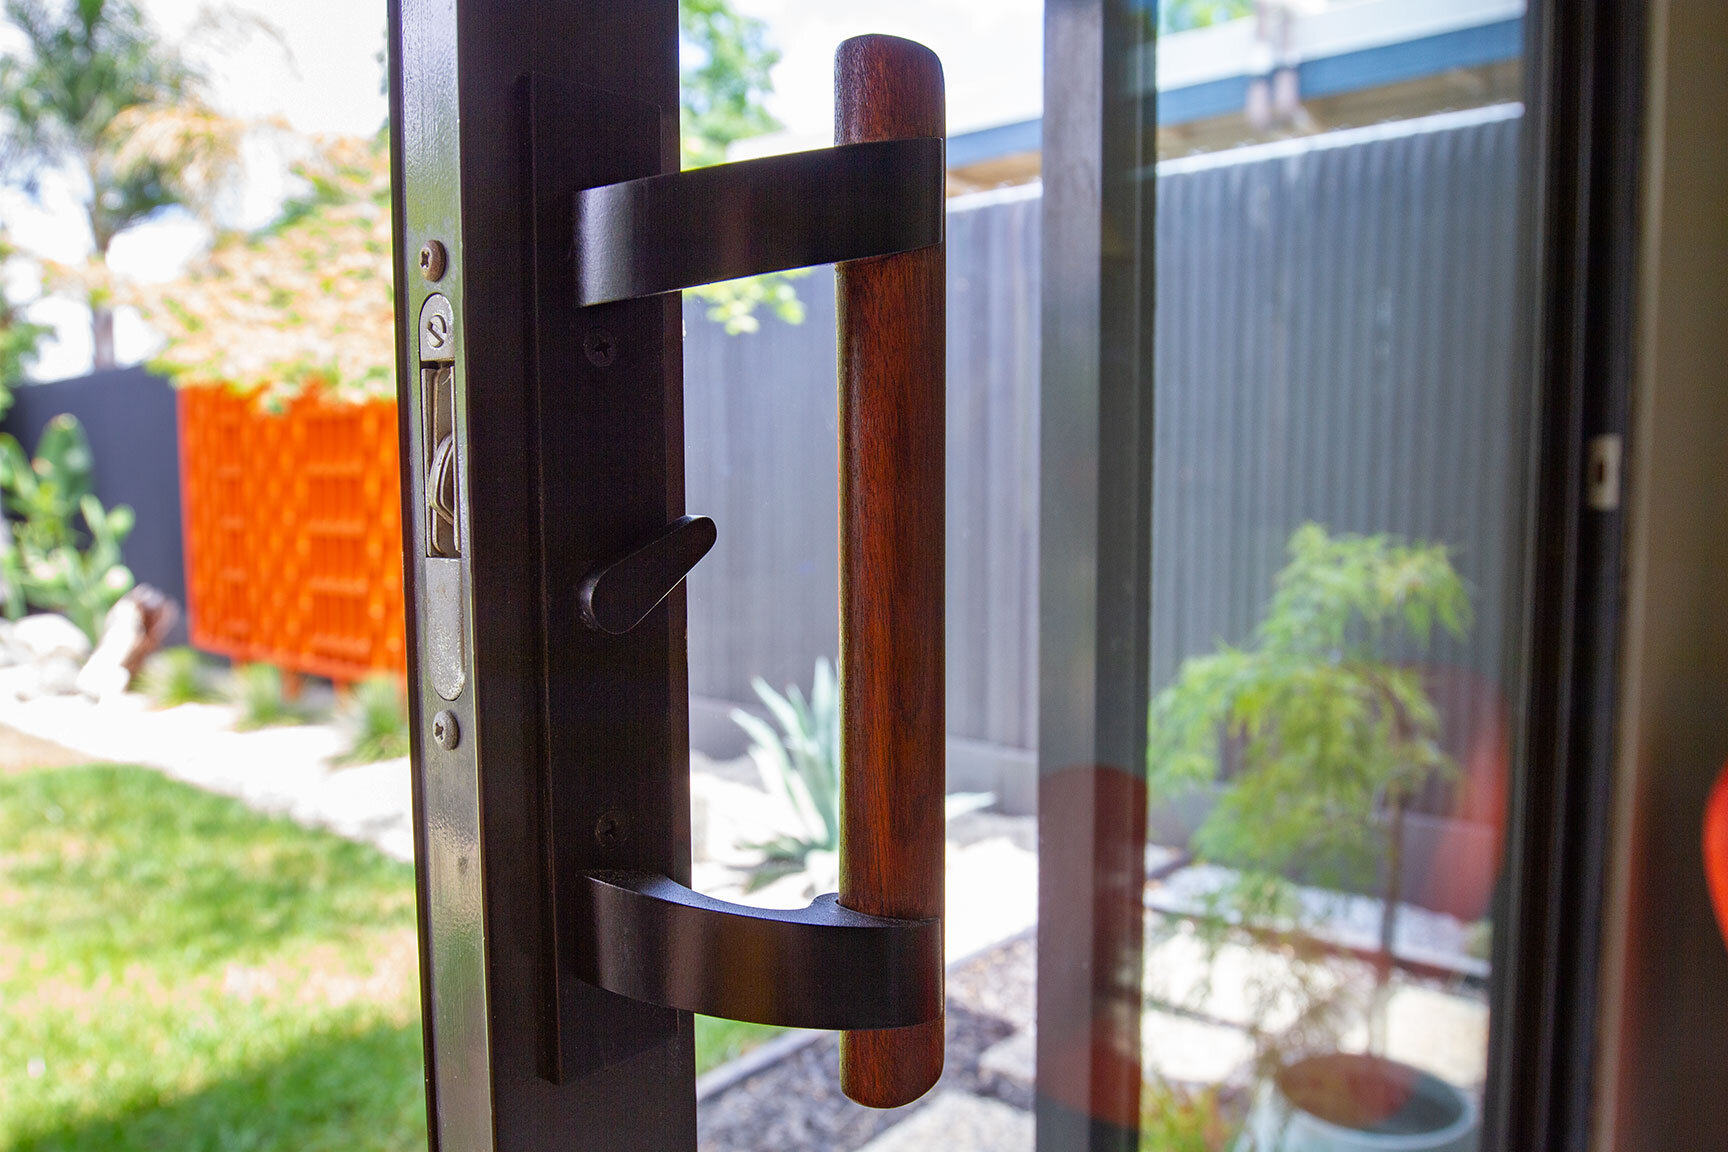
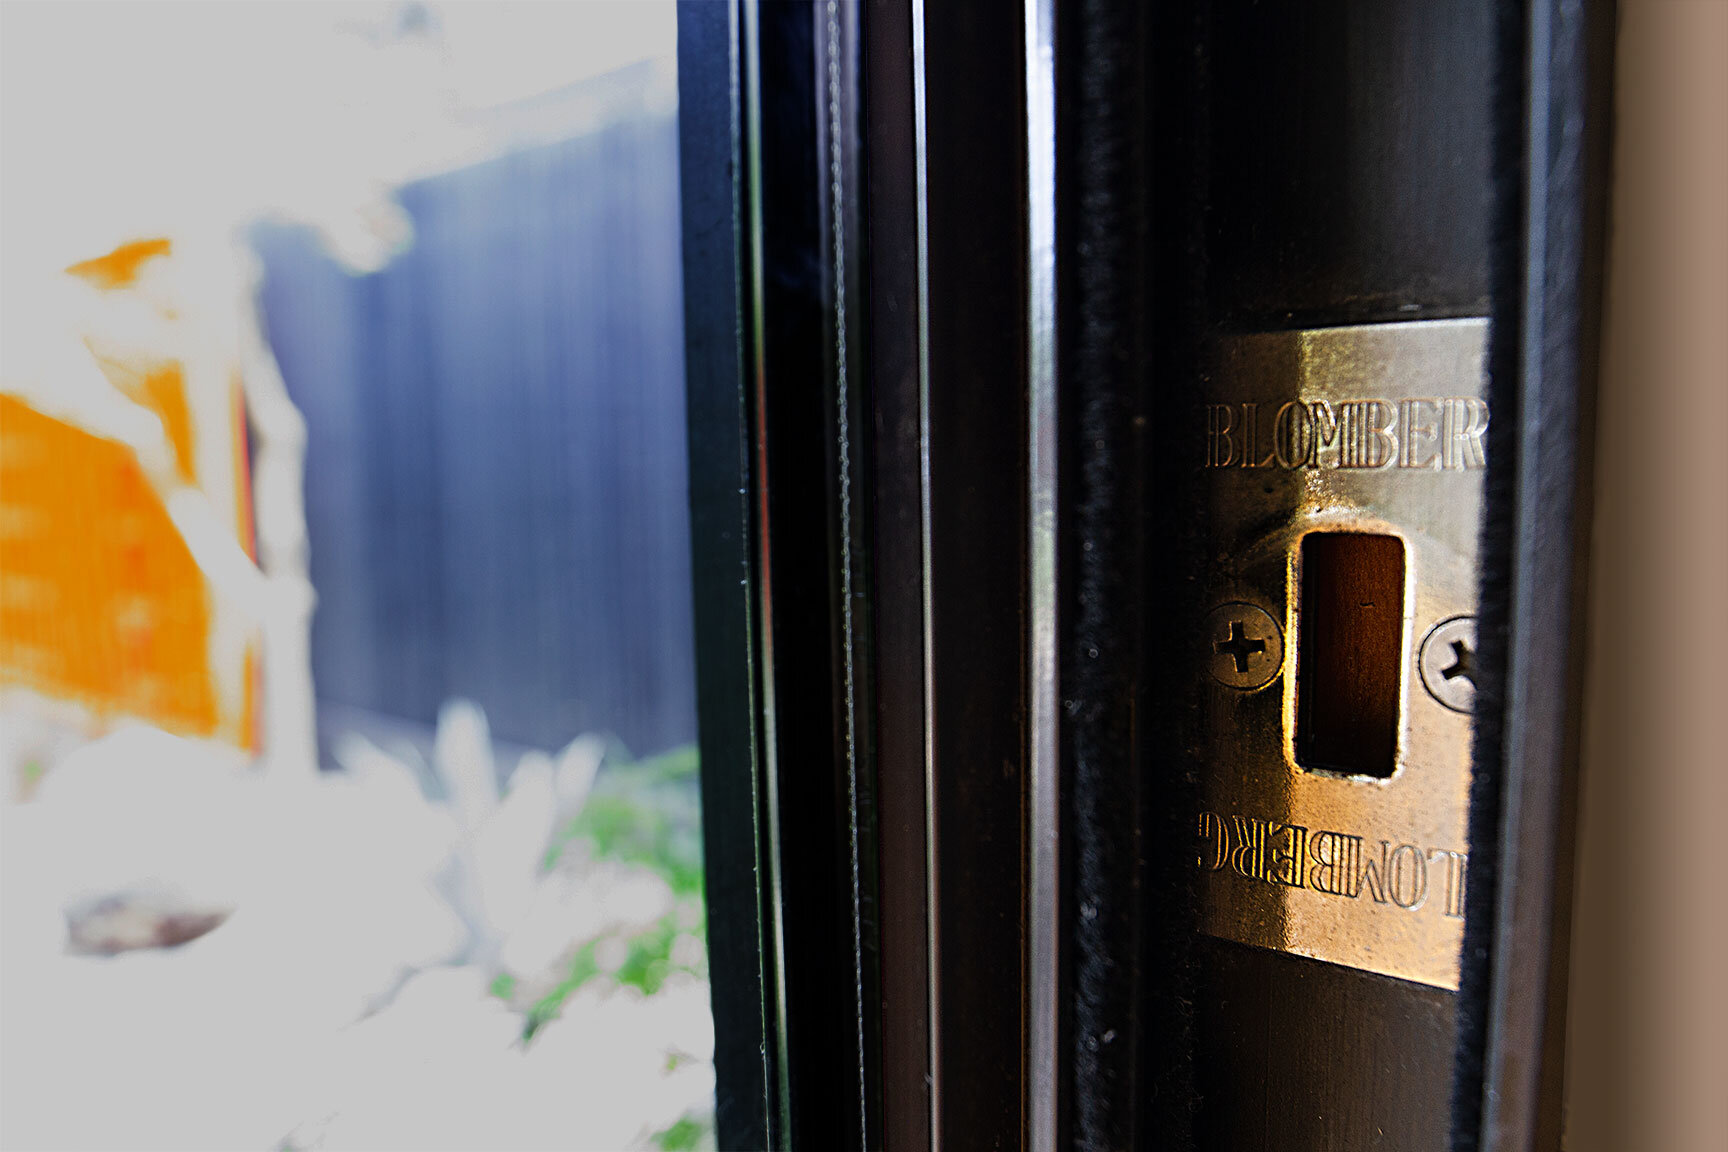
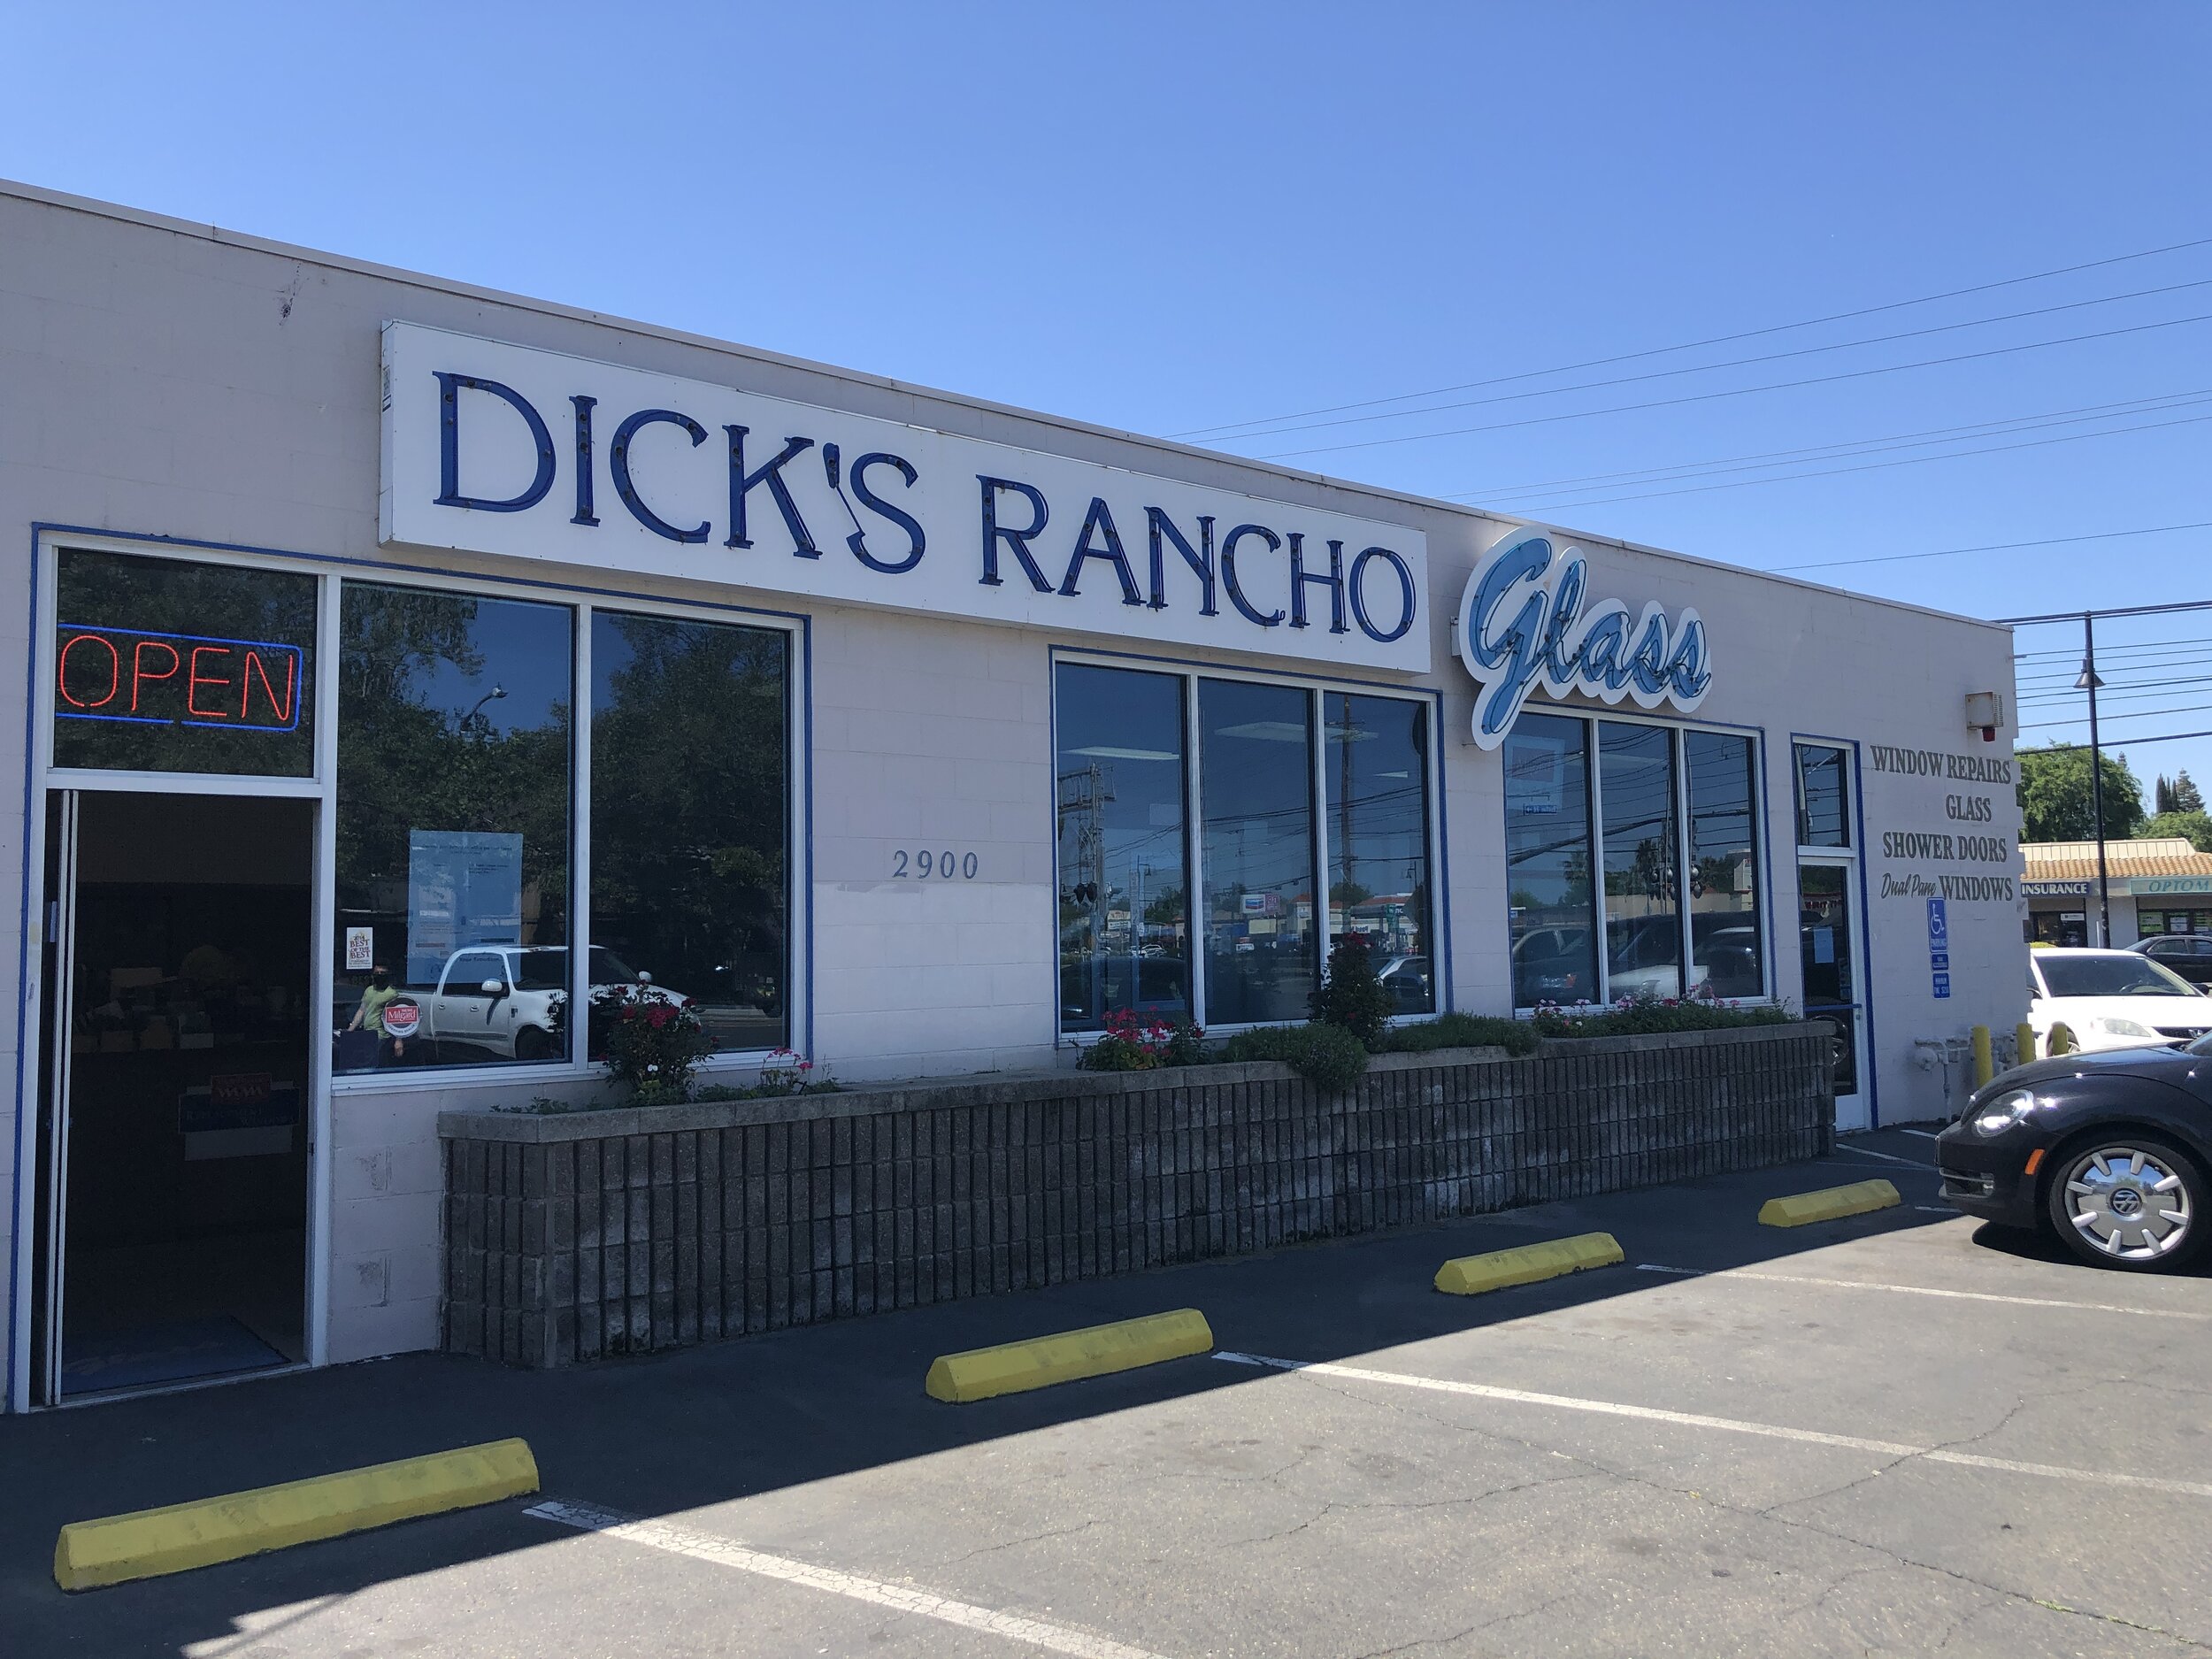
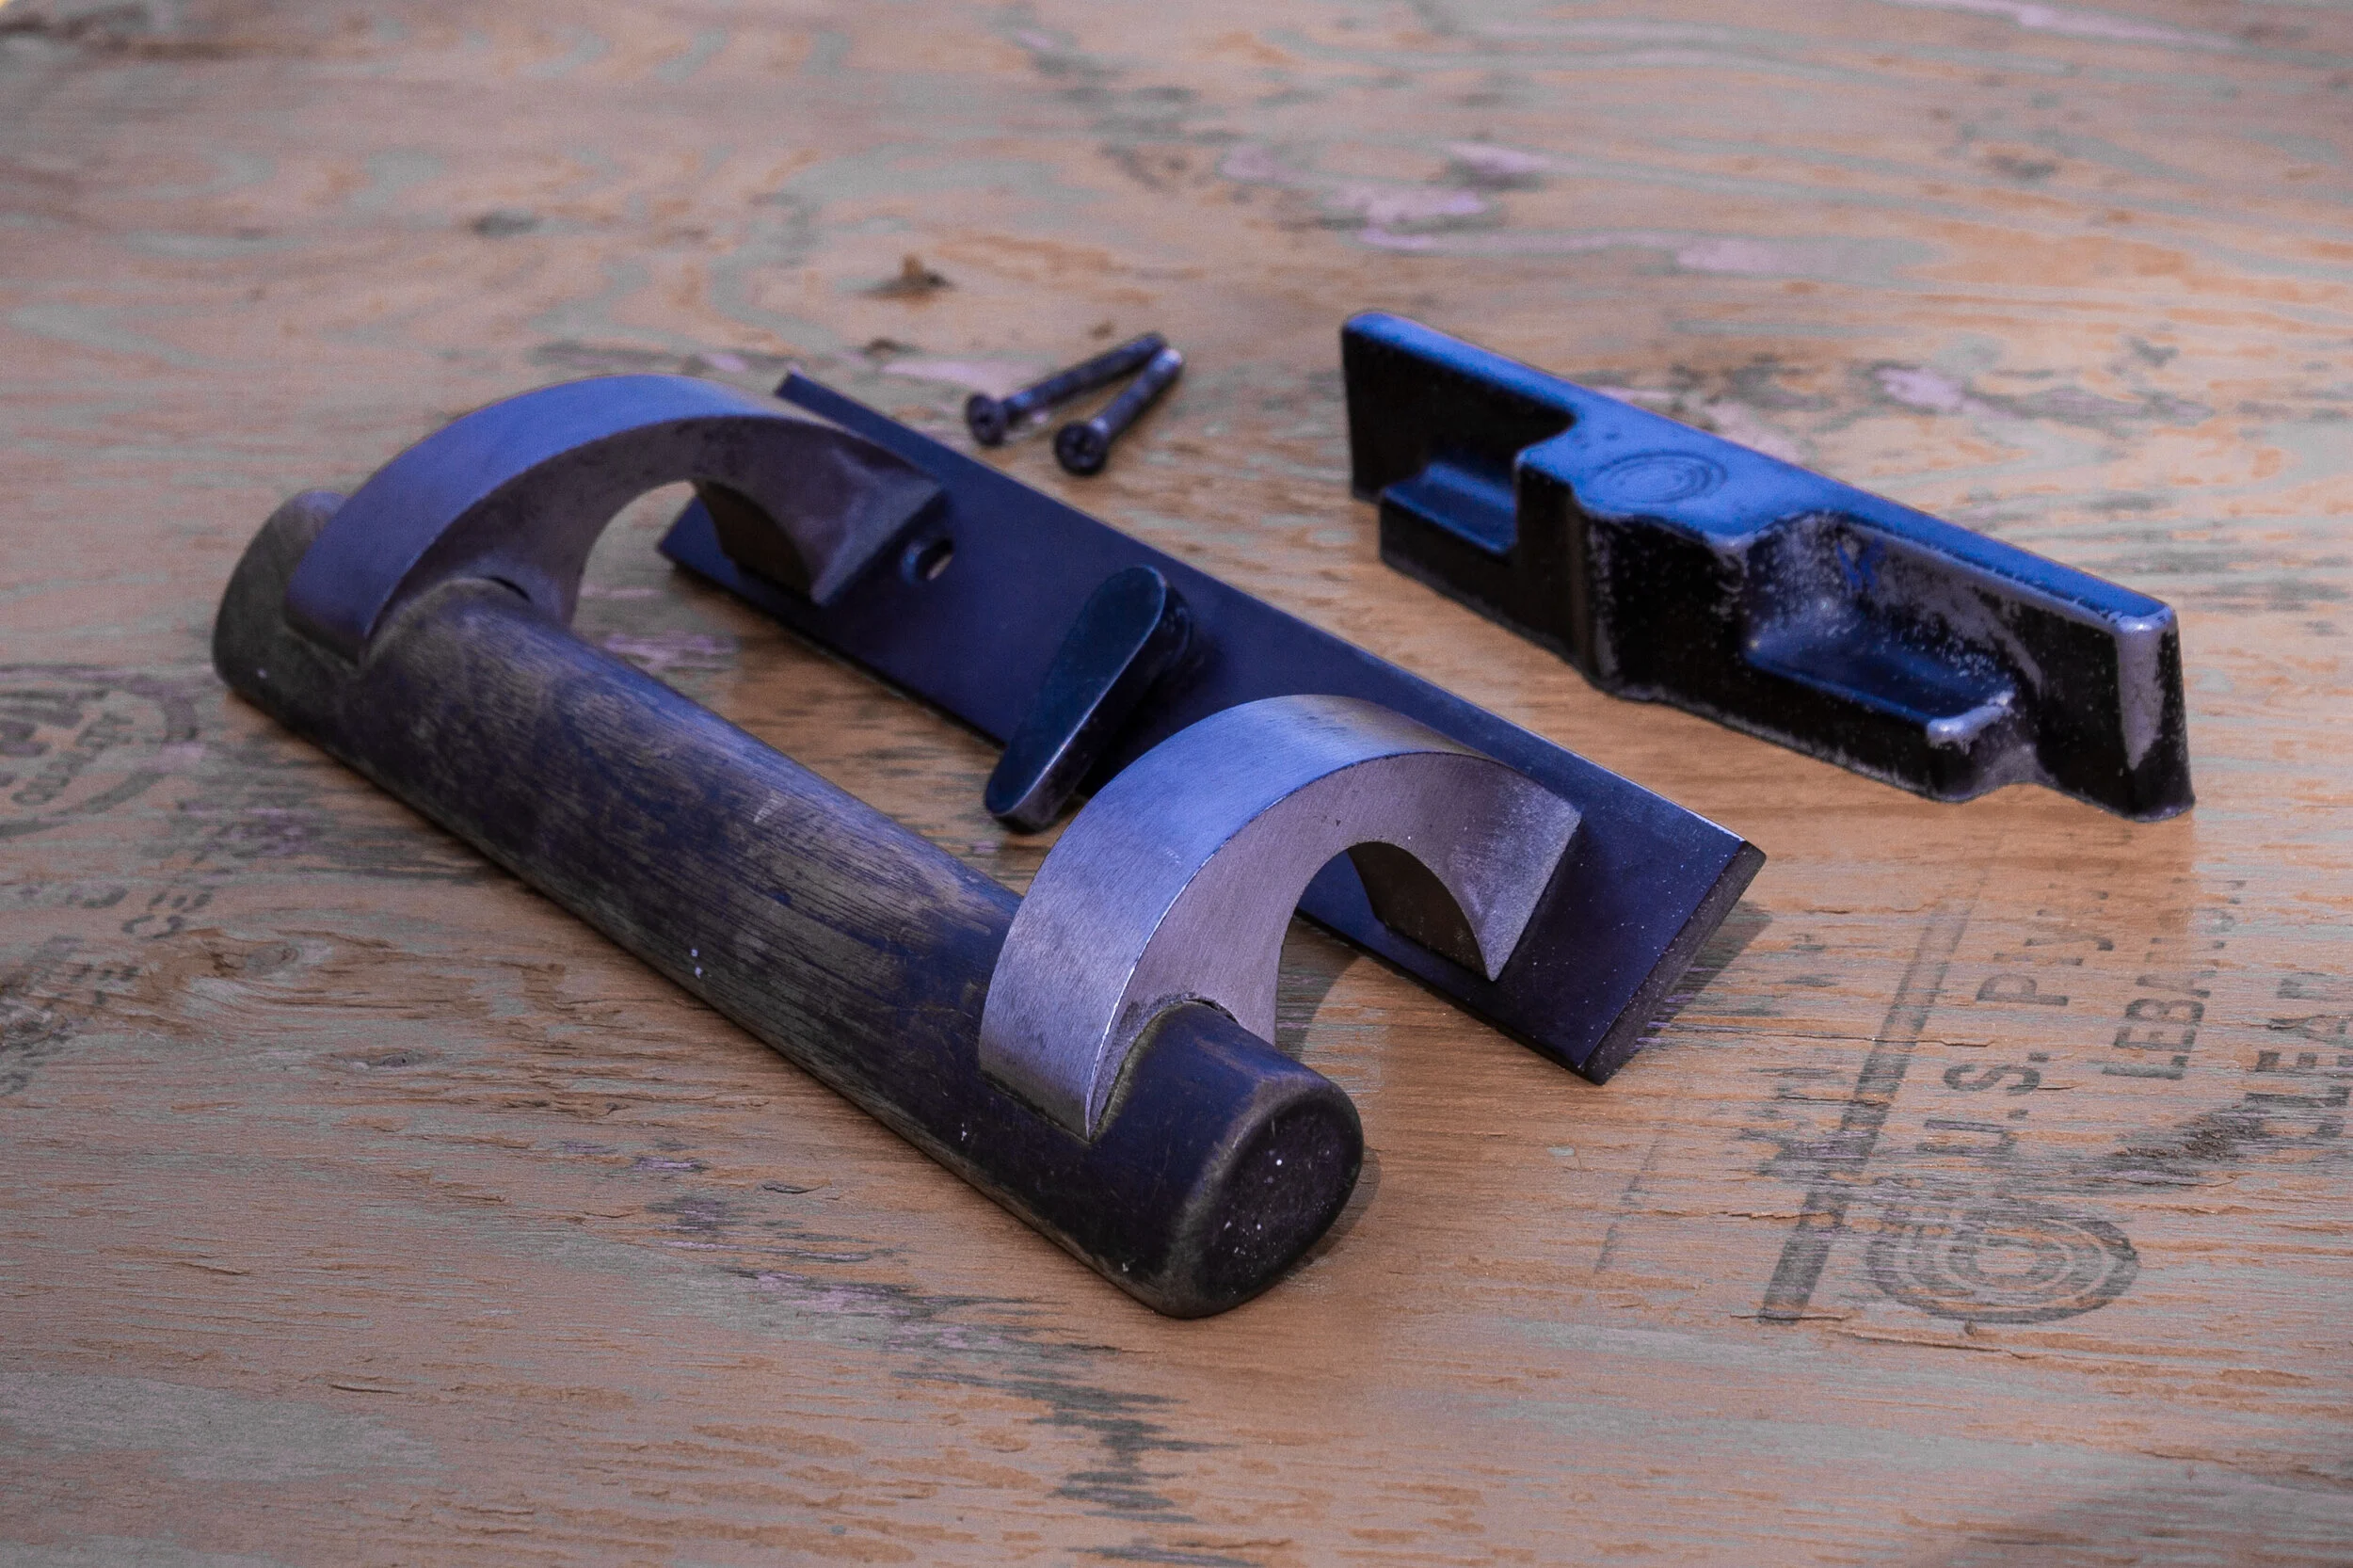
One obstacle I faced in this project was that the slider did not come with a handle. Once again, we turned to the Streng Homes Facebook group in search of a salvage Blomberg handle. One helpful user suggested we try Dick’s Rancho Glass in Rancho Cordova. As it turns out, they had a whole box of vintage Blomberg window and door hardware, and many that matched my exact models. This one was rough to say the least, but having restored the handles on my other sliders, I was certain it could be cleaned up and refinished. Thank you, Dick’s Rancho Glass for having the forethought to save these pieces and make them available to your customers. I’m so very grateful to have this handle, and I feel as though I’ve reunited old friends.
With a successful installation behind me, I’m considering installing a slider in the master and/or guest bedroom in time. But for now, I’m getting work done, taking in the summer breeze, and reflecting on this substantial upgrade to my most used creative space. I hope this inspires you to take a moment to get outside today, or at least take in the outdoors from where you are indoors.