The Kitchen, Part I: Cabinets

Birch, Please!
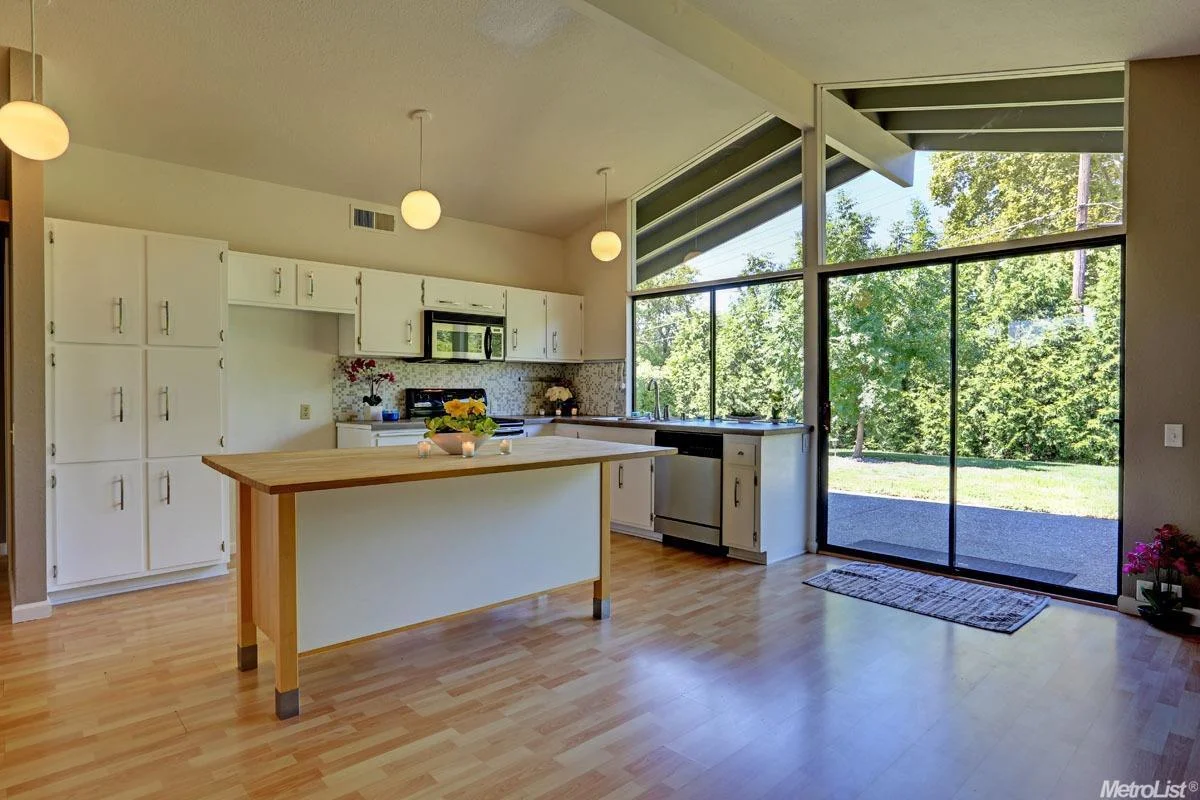
Way back in 1974, this kitchen was equipped with a sea of beautiful birch cabinetry. When I was on the search for my dream home, original cabinets were at the top of my criteria. Finding a Streng home with an untouched kitchen proved to be quite the feat over a rigid 2-year search, but I finally found one that I felt I could transform back to its original beauty.
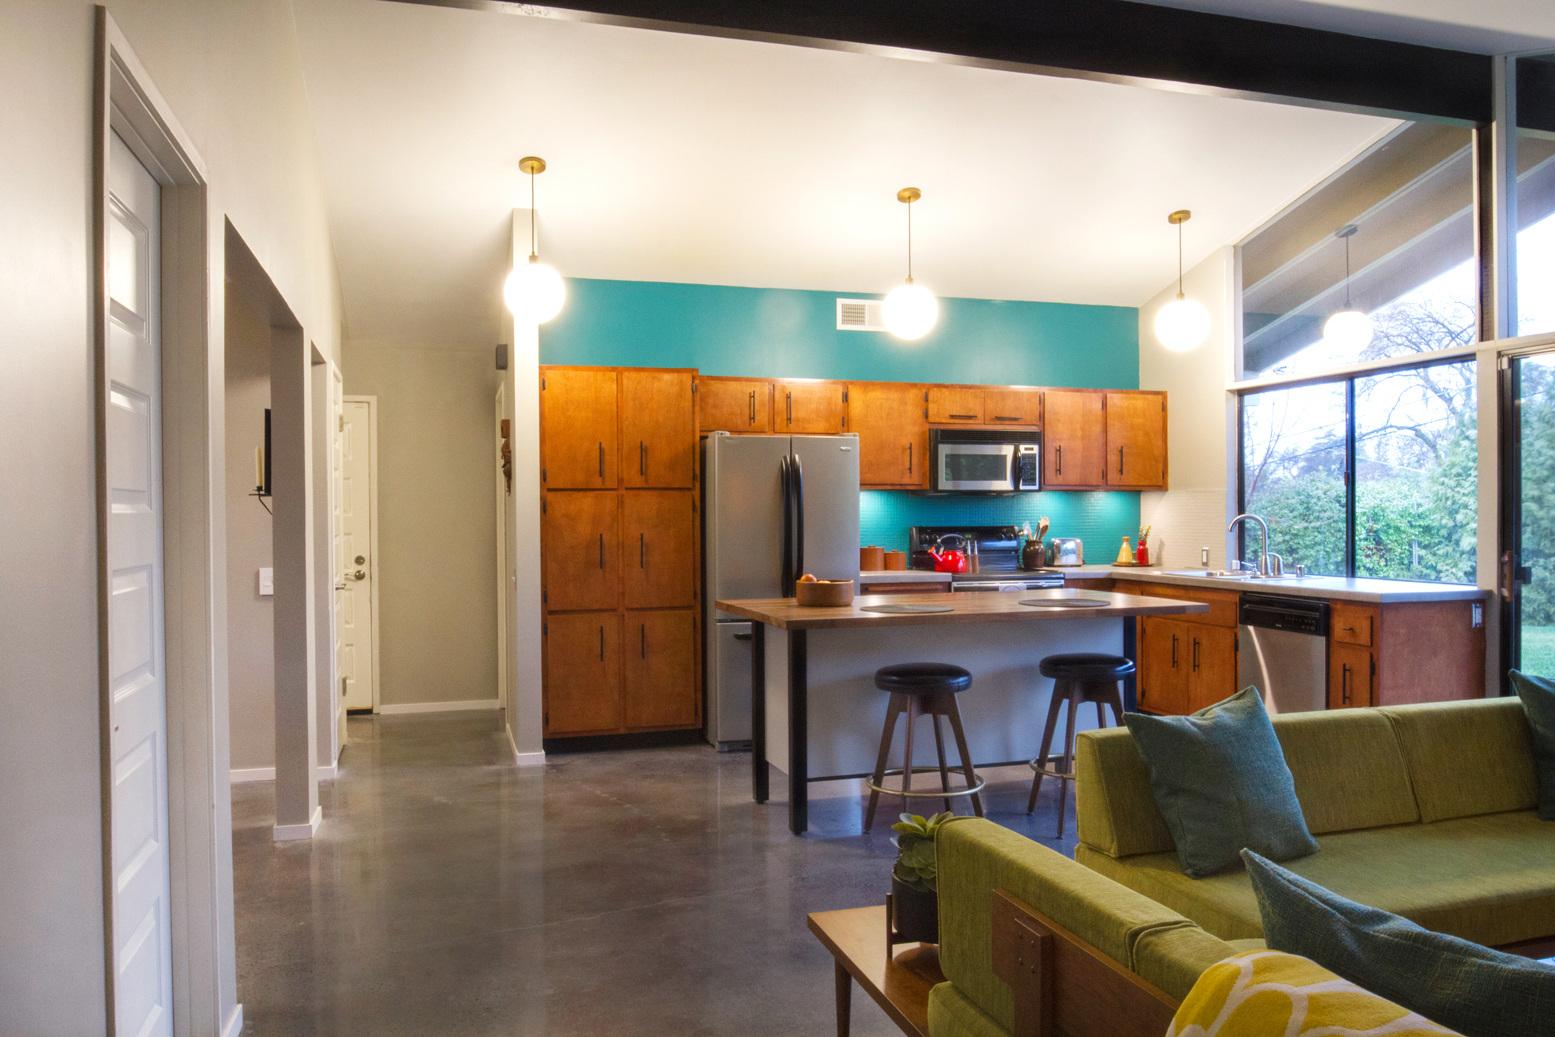
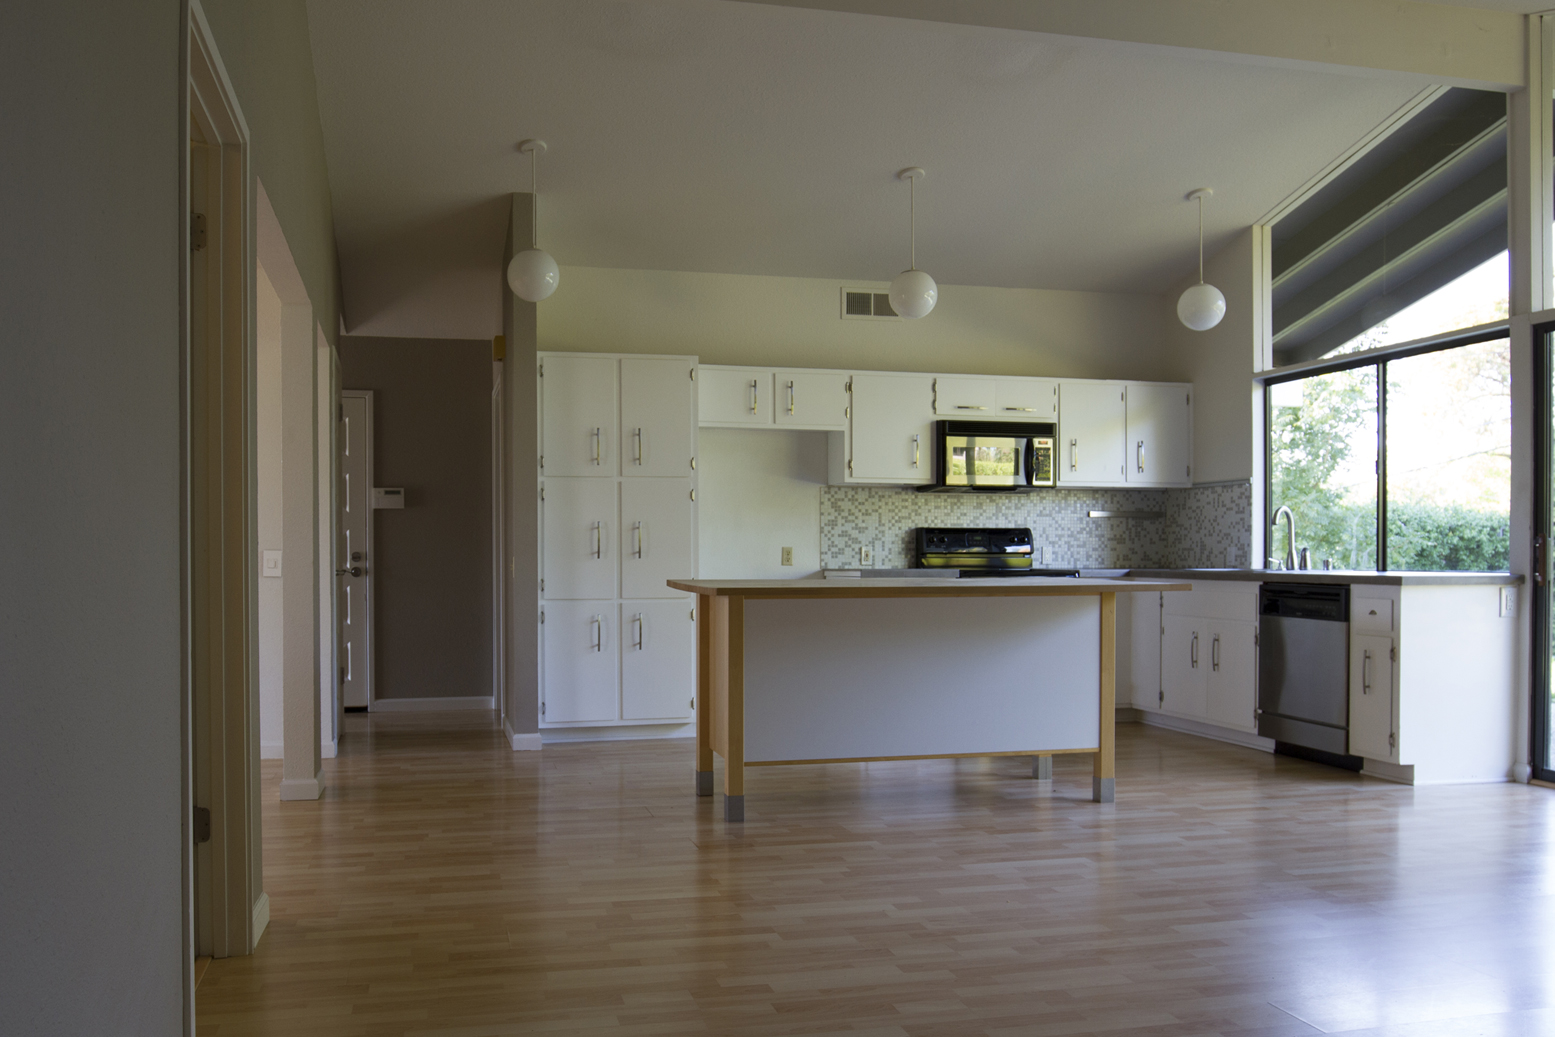
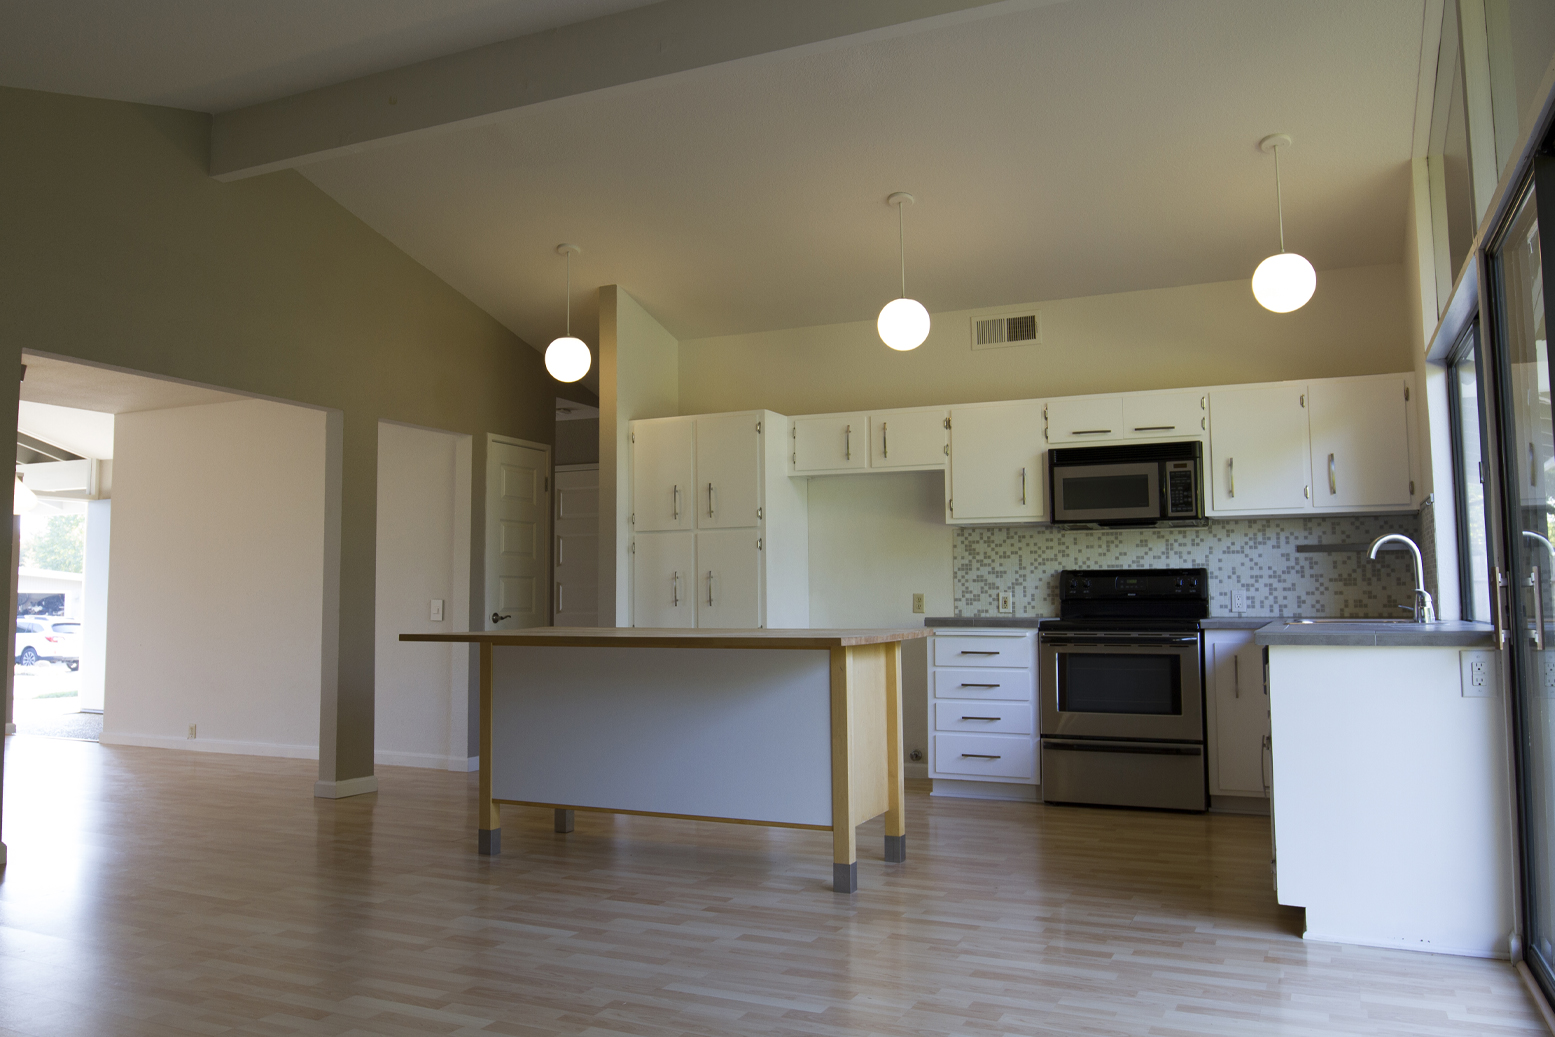
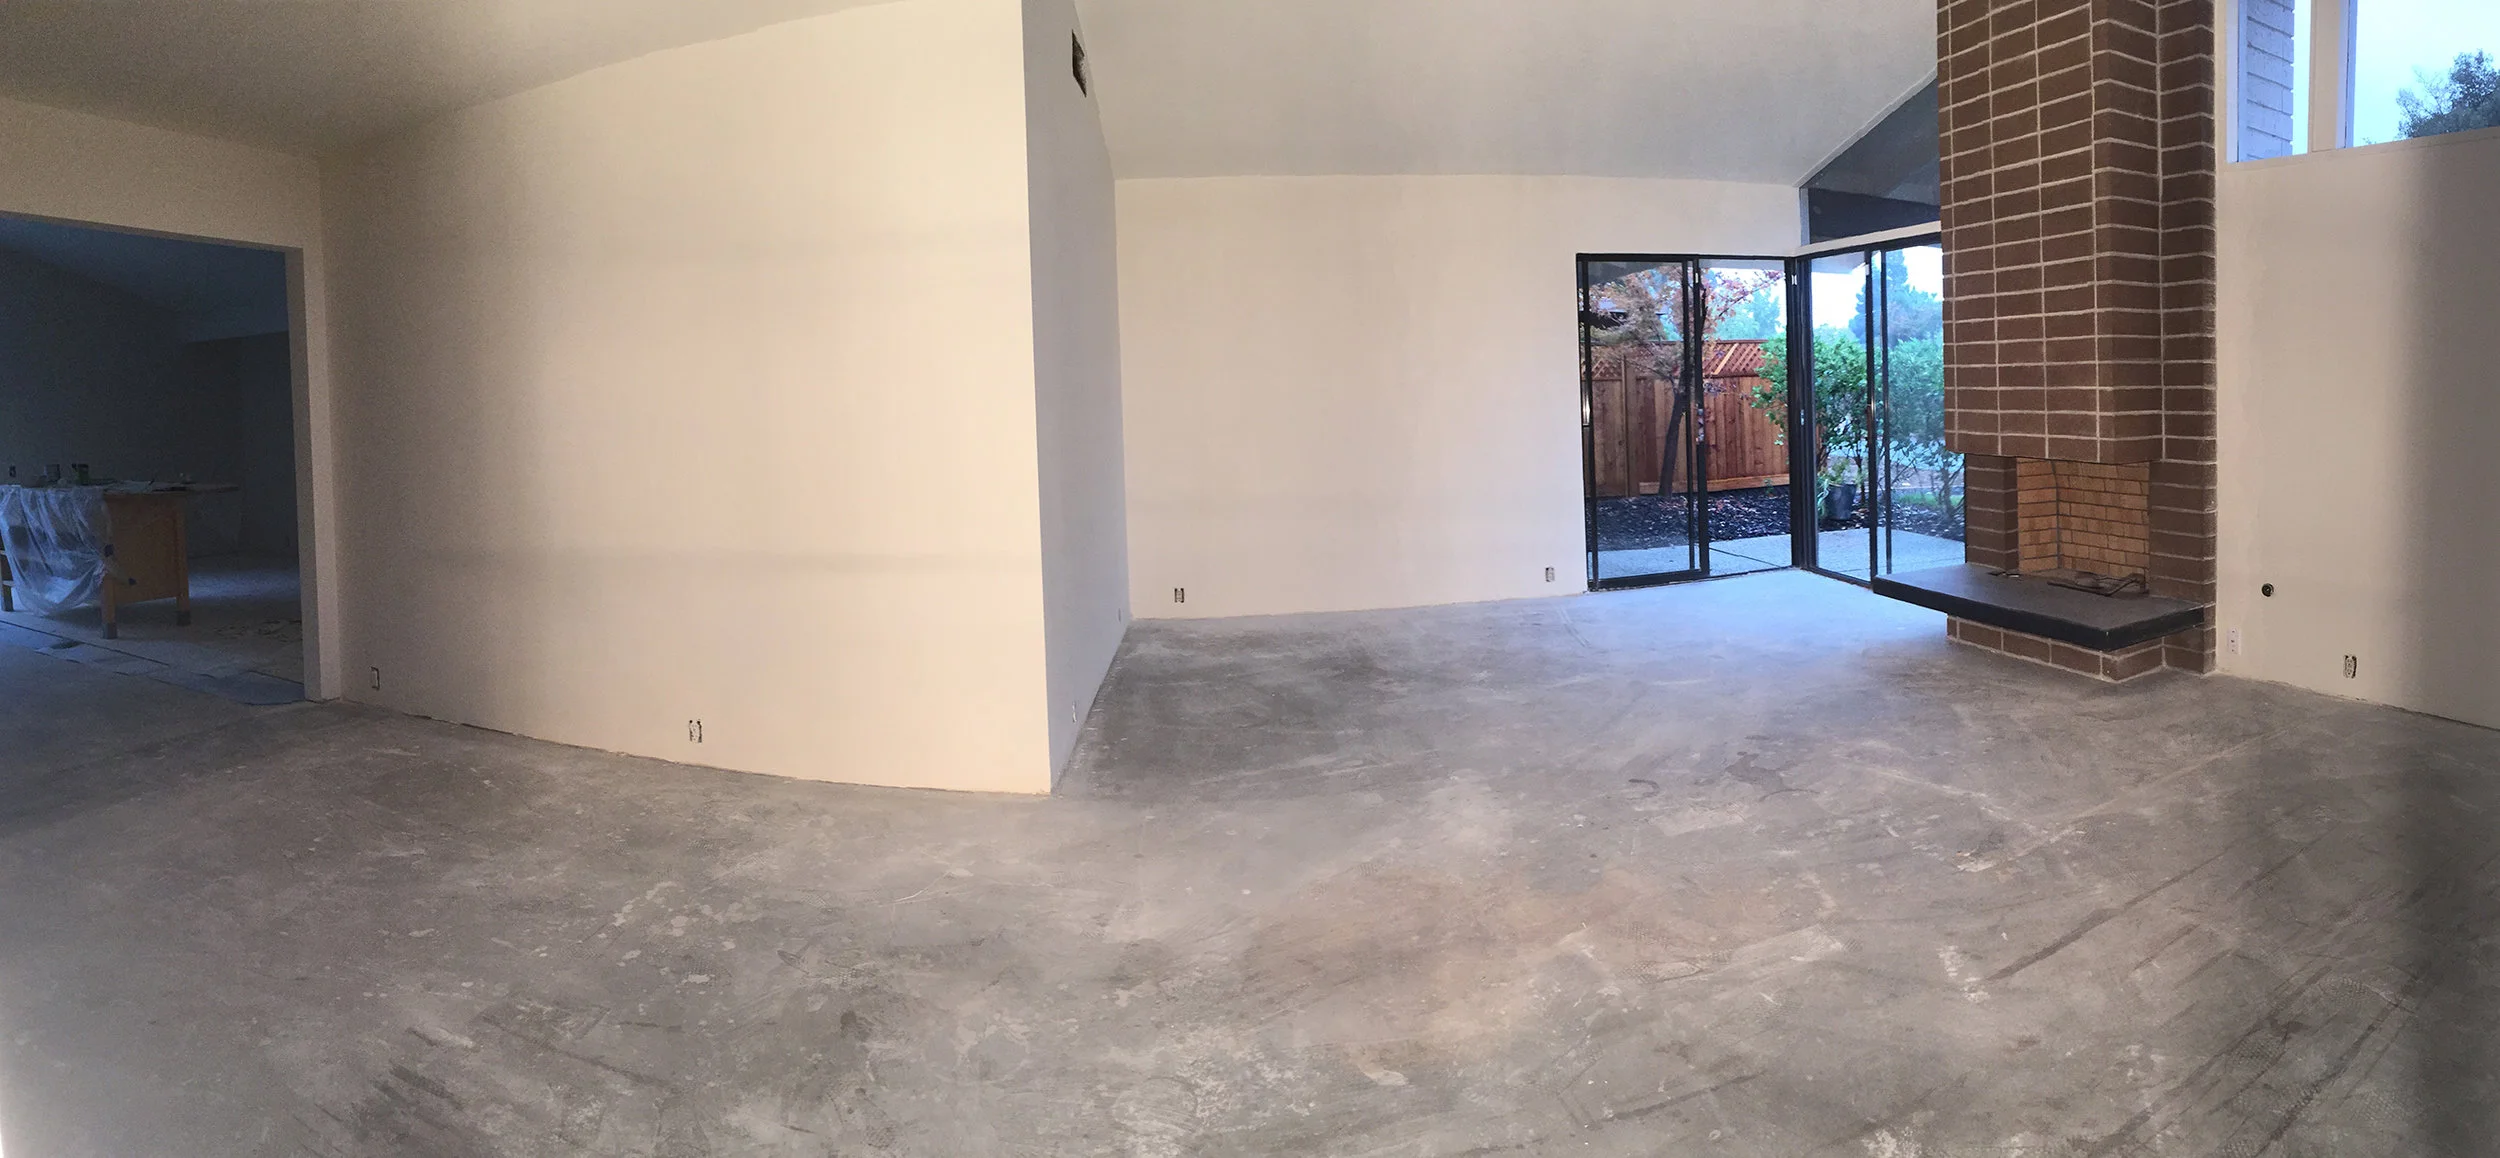
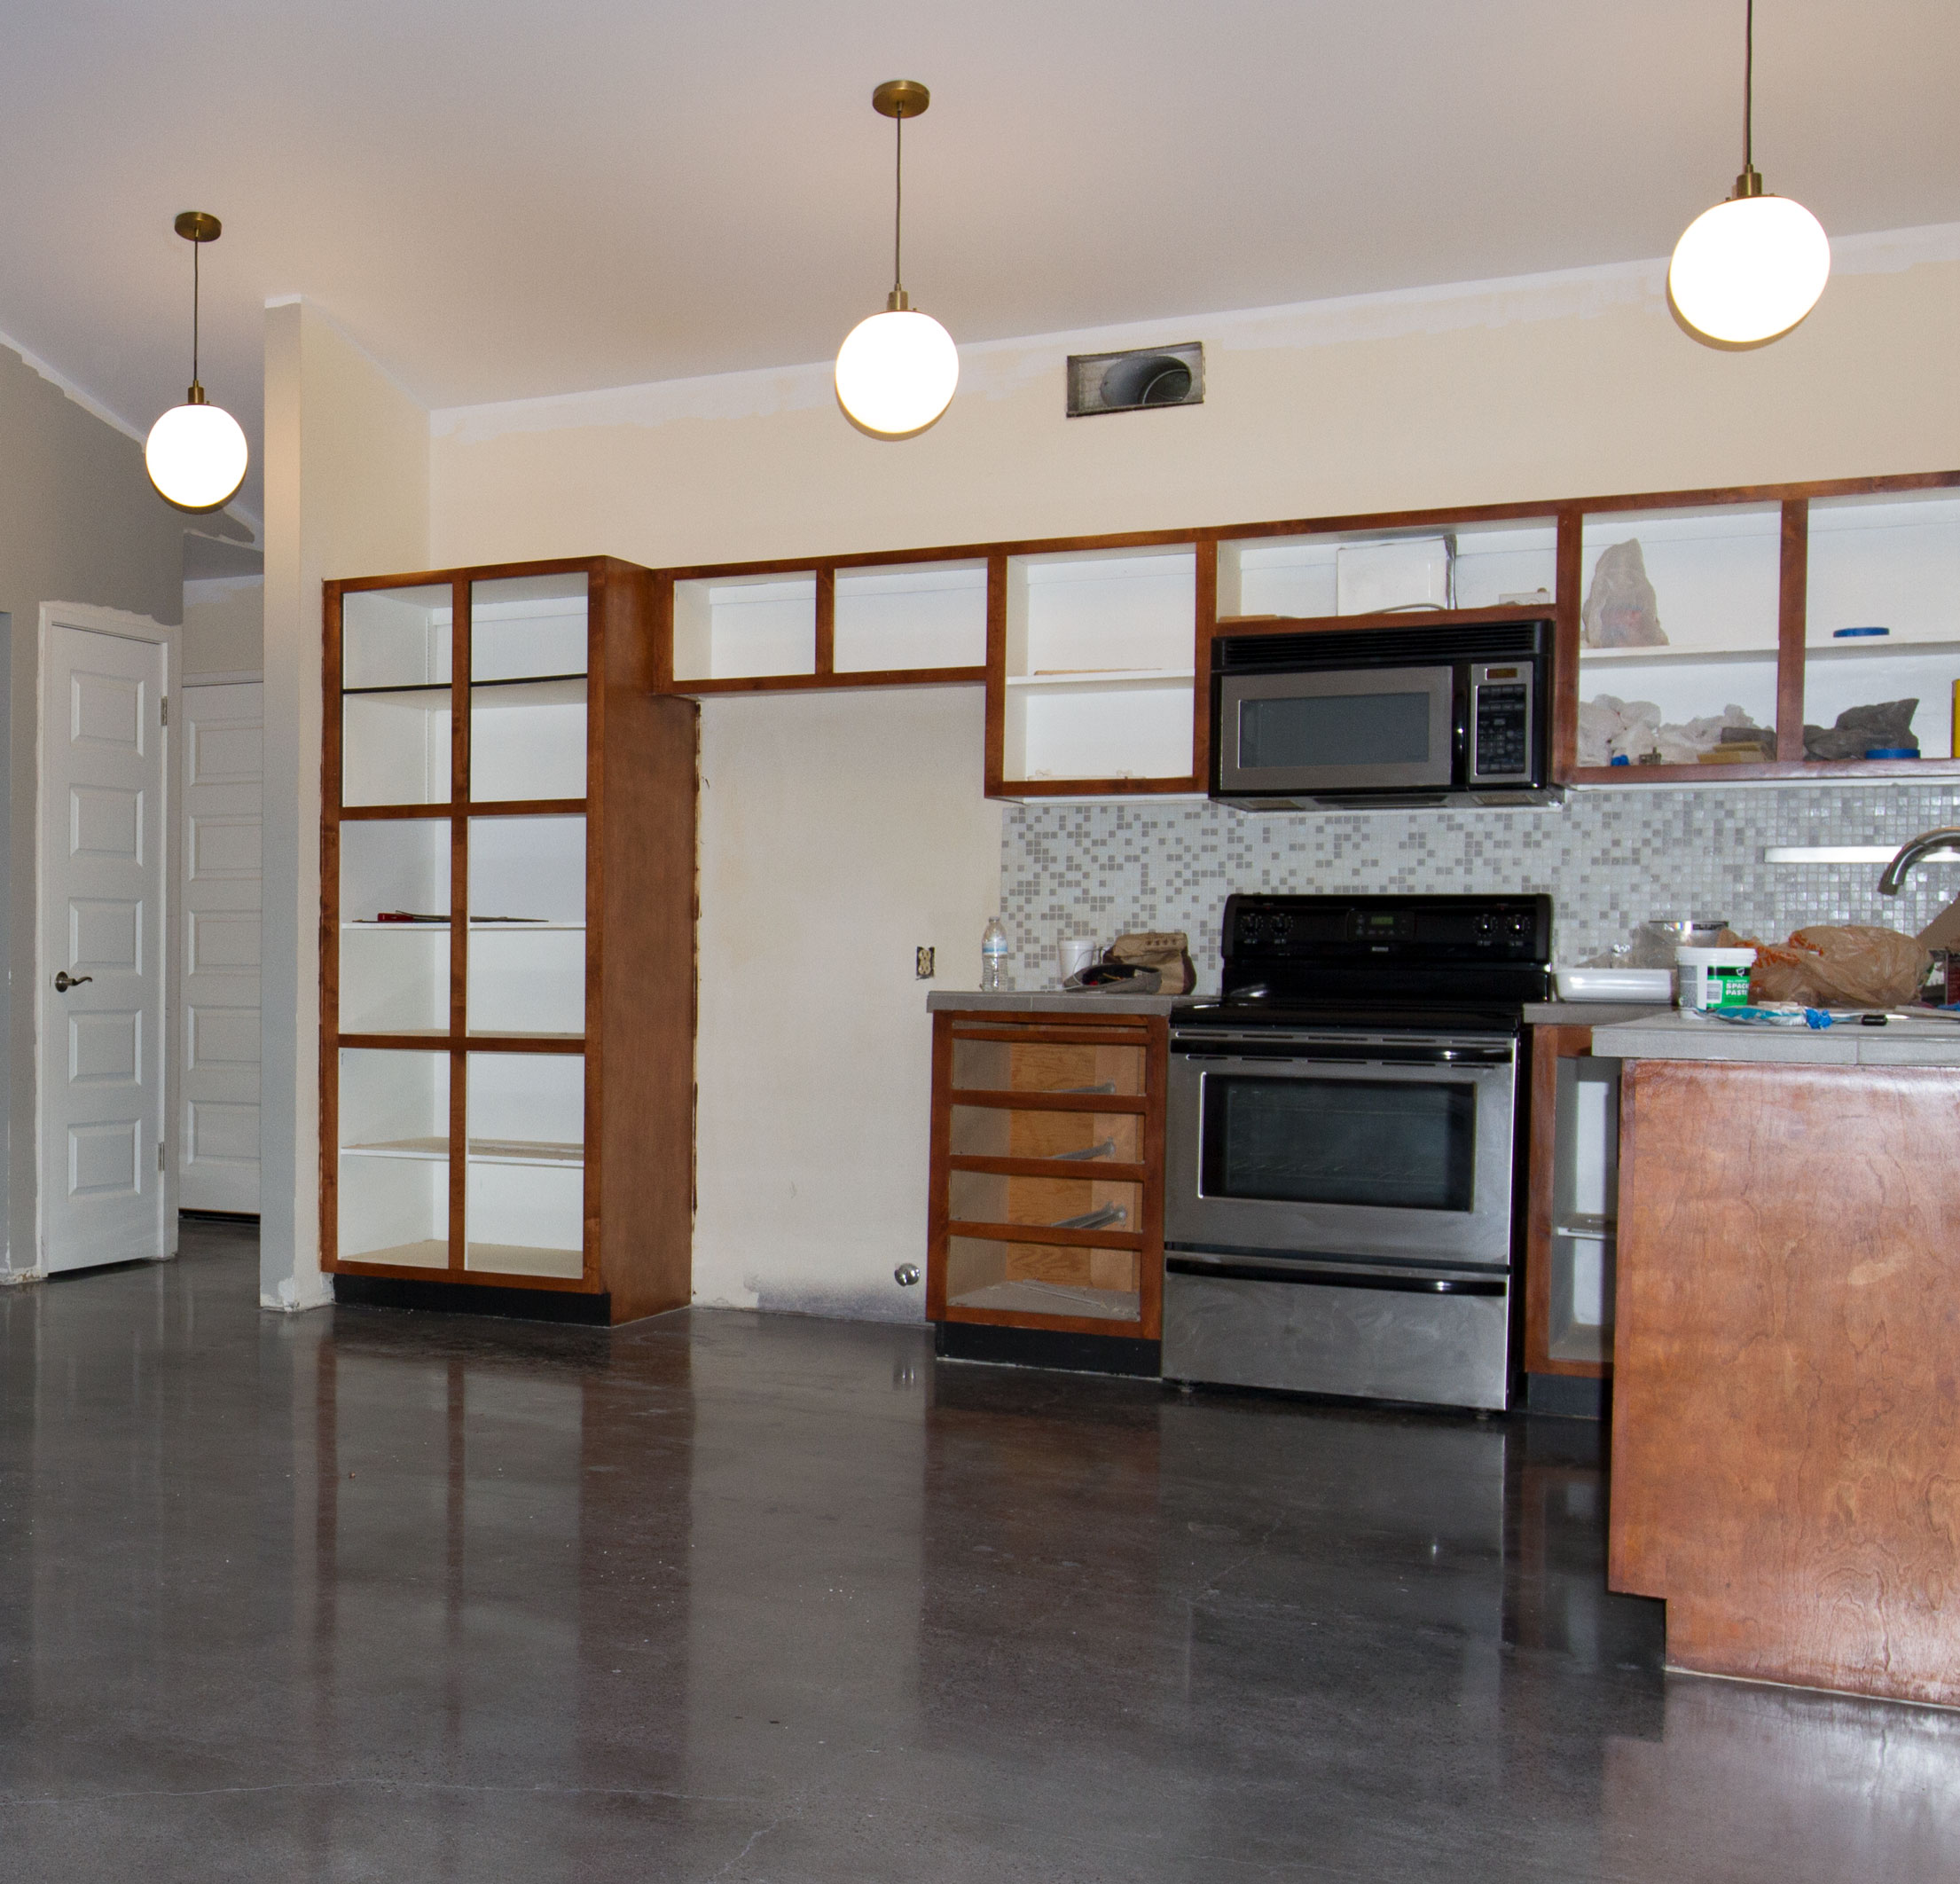
Typically, a Streng kitchen would have a tall pantry alongside a set of upper cabinets suspended from the ceiling looking out to the family room. Below, would have been a table-height island/eating surface. If you look closely at the photo below, you will see a white patch in the ceiling where the support beam would have descended. The previous owners had removed this set of cabinetry along with the table, and instead put in a butcher block island. While I am generally a proponent of vintage authenticity, this was a change that I really liked. Removing the cabinet further enhances the airy, open feeling of the space, and allows the post and beam construction to be the star. A full view of the clerestory windows lets plenty of light shine from the front of the house to the back.
After a closer inspection of the cabinets, I found that they had only been painted one time in 42 years! This was great news as removing paint from wood can be a real nightmare, especially when dealing with multiple layers. With my keys in hand, I immediately got to work by removing hardware and hinges.
Step 1: Sanding
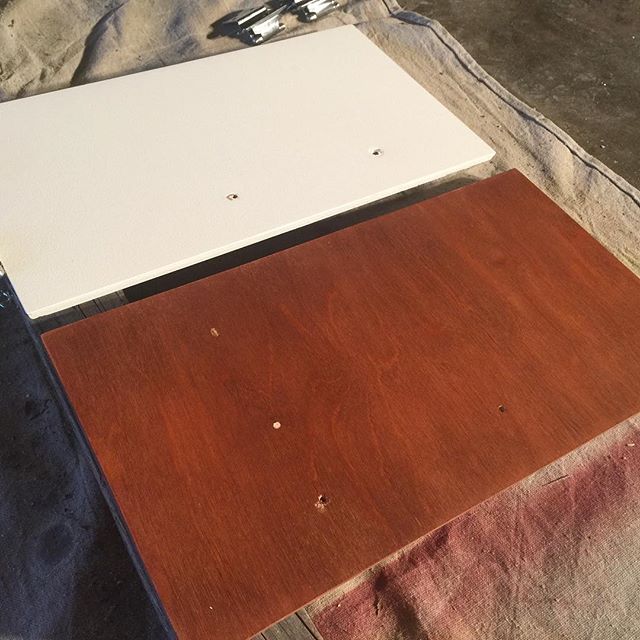
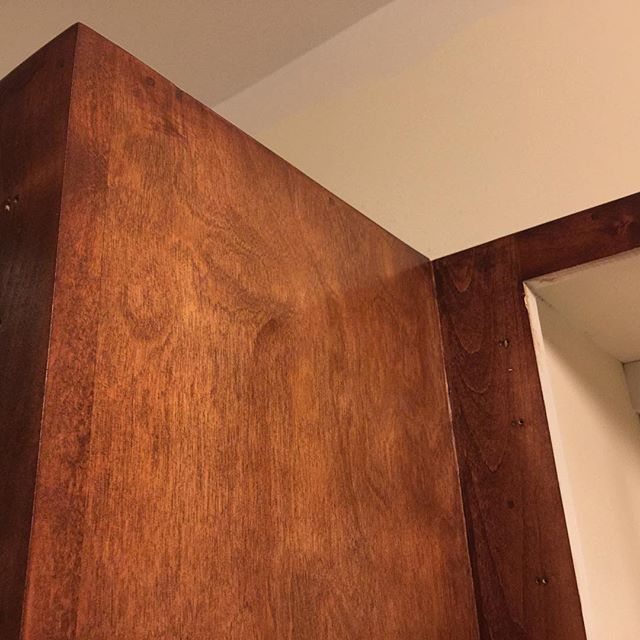
With the concrete floor preparation in the works, the kitchen was ready for take-off, and I was cleared to stir up as much dust as I pleased. The mission started with sanding away the white paint -- working my way through a 3-step process of 80 grit, 150 and 220 sandpapers with a rotary sander. I opted to not use chemical stripping agents on the frames as it is extremely messy and toxic. While the chemicals do cut through the paint with ease, the process of after washing and scraping were just not of interest to me. So, over the course of several days, I worked my way through sanding the layers, revealing beautiful, natural woodgrain that appeared to be in miraculous shape for its age.
Compared to the cabinet doors, the frames were a piece of cake. To give you a little more perspective, 18 doors were sanded on the exterior face 3 separate times, then the same process was repeated to the back, plus 6 drawer fronts. Needless to say, I was sanding in the back yard for days...and nights (sorry new neighbors). A lot of care went into the sanding process as not to cut through the veneer. Once you sand through to the plywood, it's impossible to save the surface without completely removing and replacing the veneer. Slow and steady won the race in this endeavor.


Step 2: Stain, Oil, Steel Wool
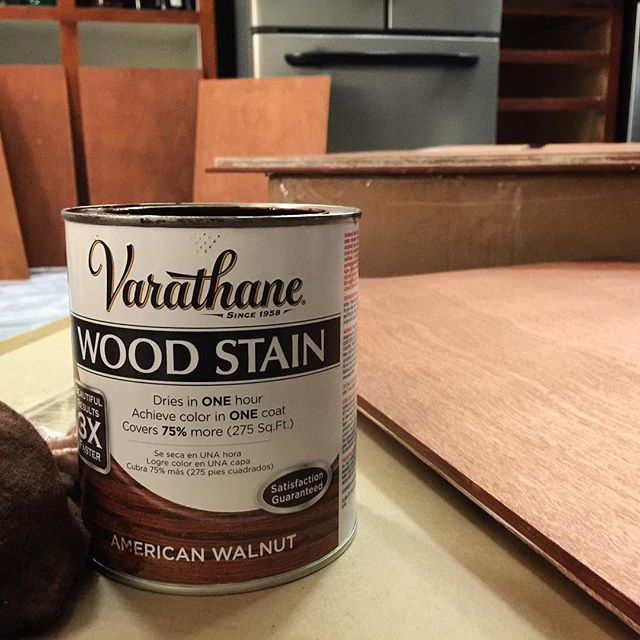
I chose a warm nutmeg for the cabinets. This tone matches a lot of my furniture, and gives that sophisticated vintage look I wanted to achieve. I used Varathane American Walnut wood stain, which produced beautiful results. They say color can be achieved in one coat with this product, but I found that I needed 2 coats to get the full, rich color I wanted.
I've refinished a lot of furniture over the years, but when it comes to applying a top coat, I always turn to tung oil. Polyurethane can be great for durability in some cases, but it doesn't stand up well to heat, which is a problem in the kitchen. Tung oil, however, actually hardens the wood with each coat, giving it more protection and lasting beauty. Because it is an oil that penetrates the surface, additional coats can be applied anytime I like should the finish need some livening up down the road. Every door, drawer and frame received 4 coats of oil with a thorough #0000 steel wool sanding between each coat. Yes, I slept very well after four days of oiling sessions.
Step 3: Accenting
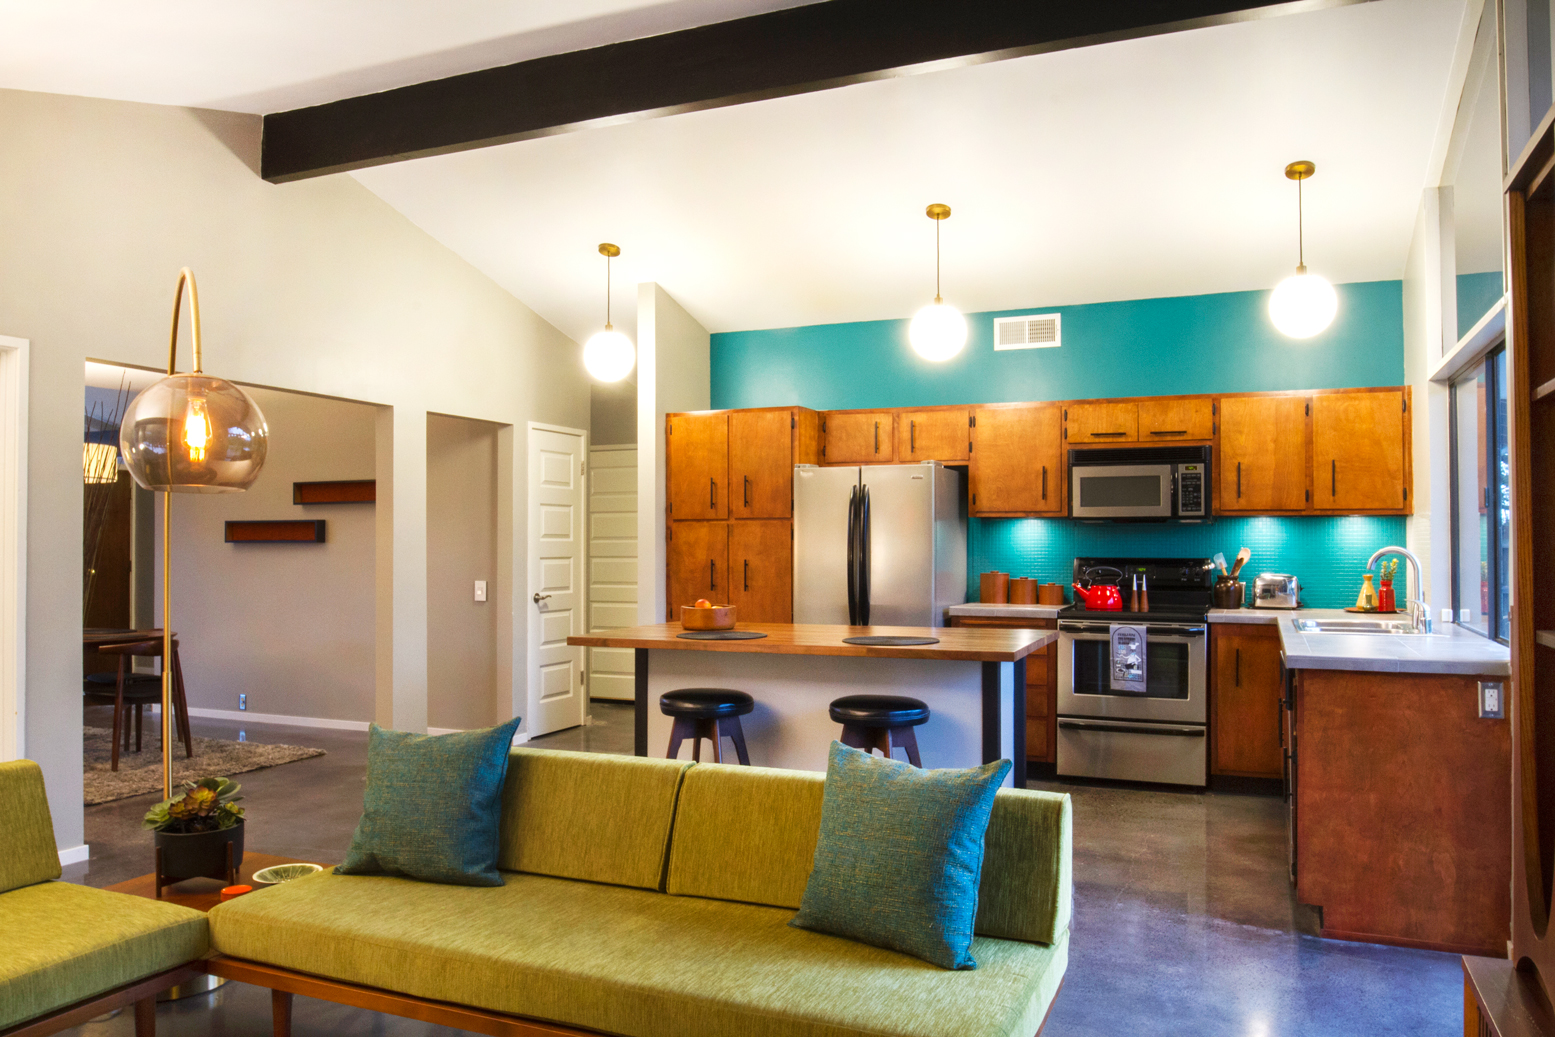
After all that labor-intensive insanity, I was able to put the focus on the surrounding accents. Maintaining the iconic globe lamp aesthetic was important to me, but the original fixtures were caked with paint and had seen better days. I boxed them up, and stored them in the garage for another use down the road. These were replaced with 11" mid-century style globes from West Elm. The milk glass paired with antique brass and fabric-wrapped cords are timeless jewels that make a luxurious and warm statement over the workspace.
Additional lighting was installed under the cabinets, which have 2 brightness settings, making them optimal for task lighting or a soft night light.
New hardware was also a must. The previous handles were brushed nickel with a chunky, curved profile. This new look demanded a more sleek, timeless option. I chose a matte black single bar with matching hinges. This use of black pairs nicely with the surrounding appliances and further enhances the mid-mod design aesthetic of the space.
Lastly, I painted the toe kick and base trim area black. This is a technique I also used on the exterior concrete slab, which provides a visual break and the feeling that the cabinets are floating over the concrete.


Step 4: Island Makeover
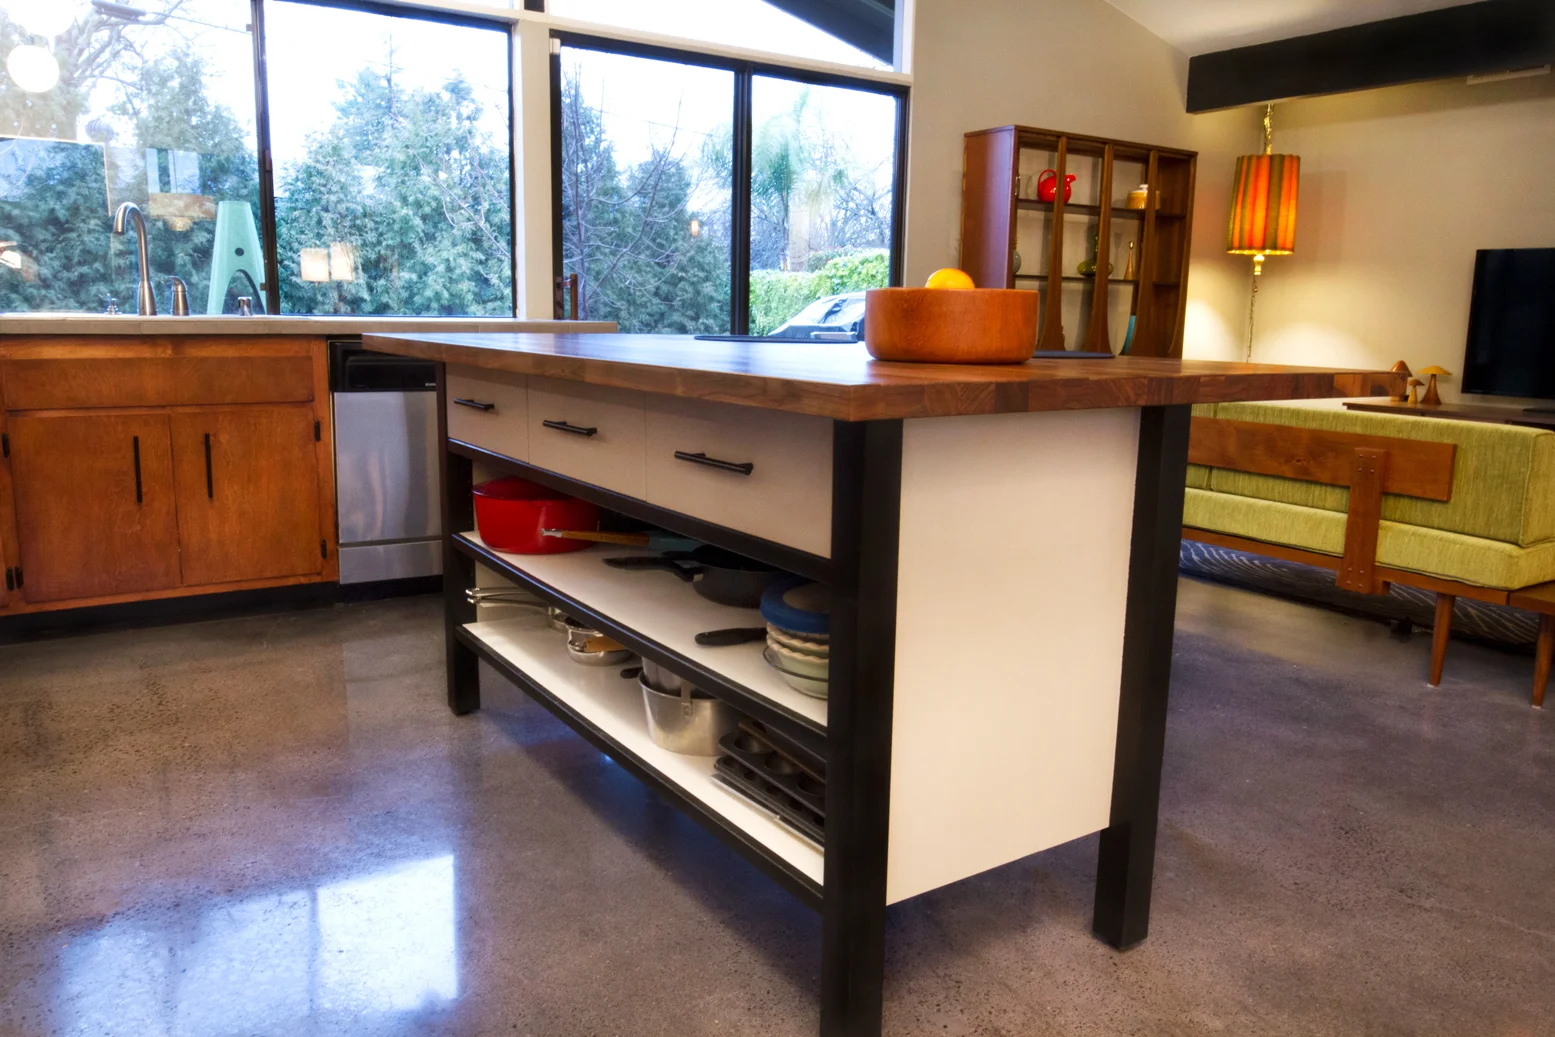
When I first saw this hulking Ikea monstrosity in the kitchen, I thought I was going to get rid of it right away. The light beech wood posts, bright white face and warped, knife gouge-covered top were not quite jiving with my vision. However, after some planning and consideration of the newly finished elements around the island, I found there just may be hope for this piece of furniture yet.
The legs and shelf fronts were painted the same black as the interior/exterior ceiling beams, while drawer fronts and side panels were painted the same gray as the interior wall color. Matching hardware was installed on the drawers and a brand new, 2-inch thick walnut slab was installed on the top. While this may not be my permanent solution for the kitchen island, it functions quite well, and the look is bright, modern and airy. For the cost of a new countertop ($270) and a little elbow grease, this piece of furniture has new life breathed into it, and I use it every day.
Before and After Gallery
Slide between the two photos to see the before and after.