The Kitchen - Part 2: Counters & Tile

The past few months have been no joke at the Maurer household. Demolition has been in full swing as I continue through the kitchen makeover. Part 1 of this series featured the rescuing and refurbishment of the original birch cabinetry. Since then, I have been working on plans for new counters and a tile feature wall.
Color Confirmation
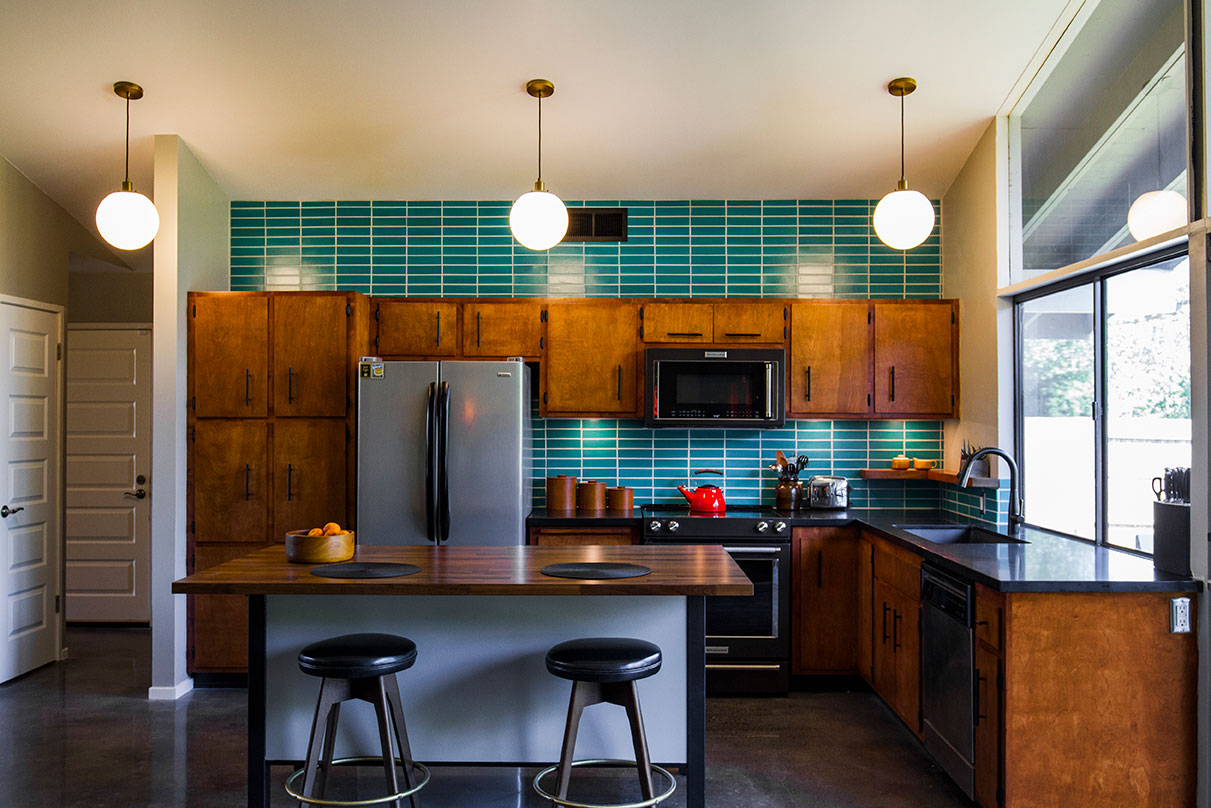
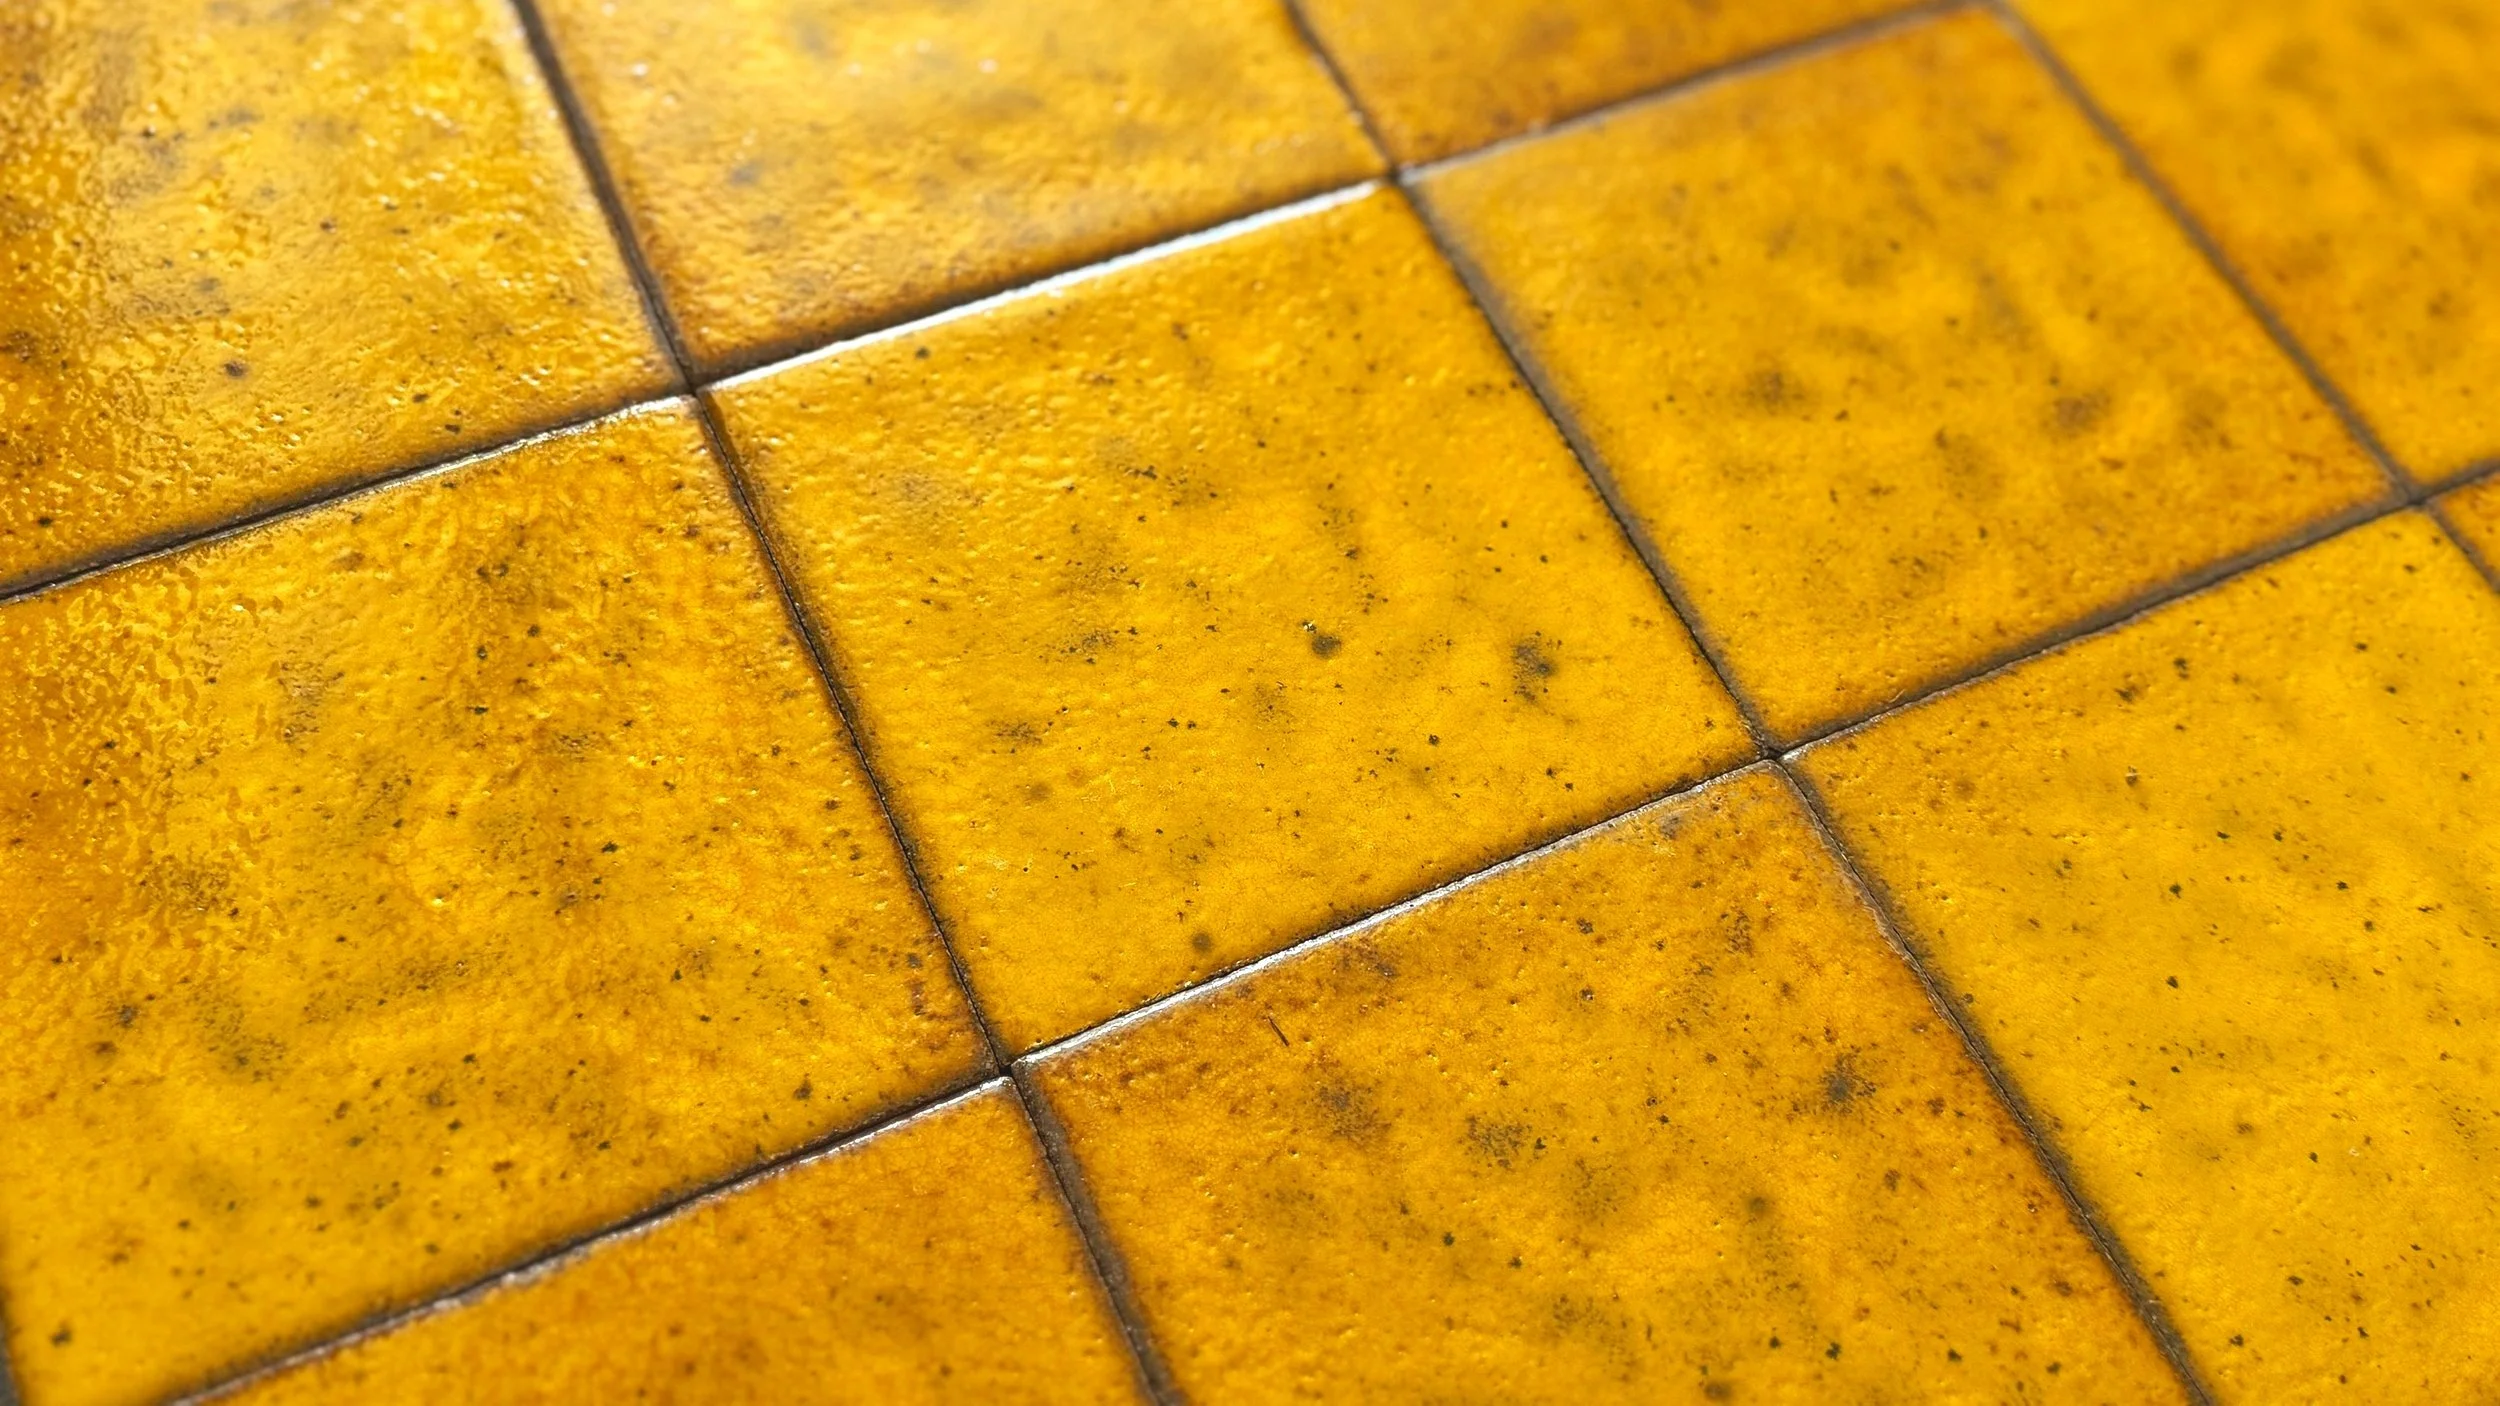
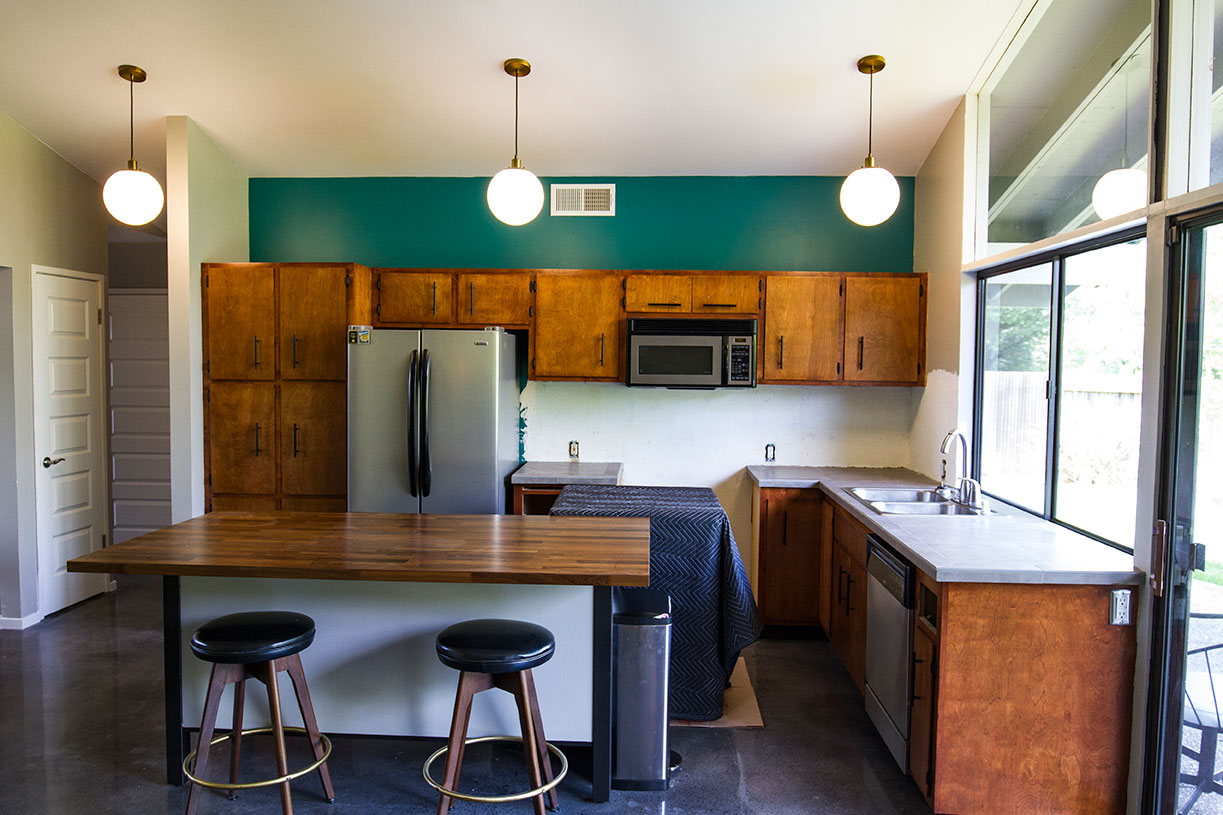
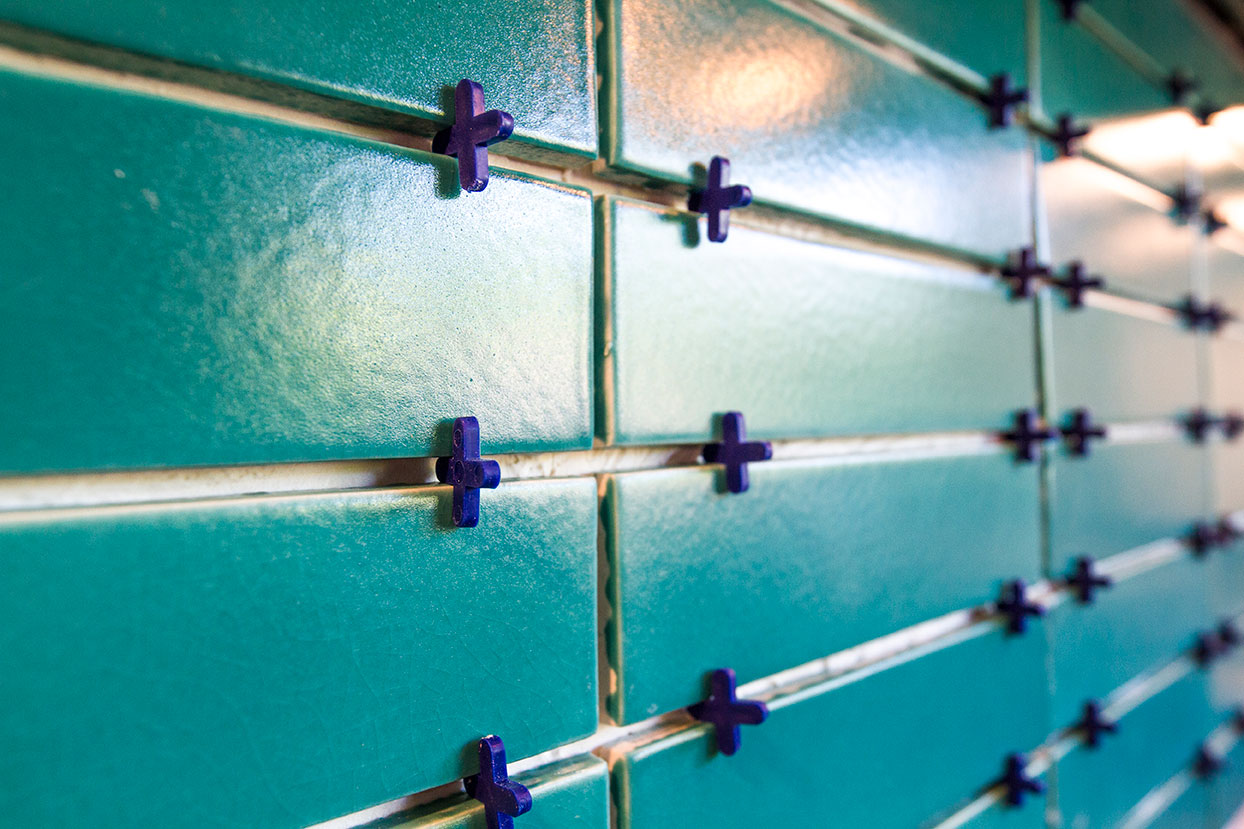
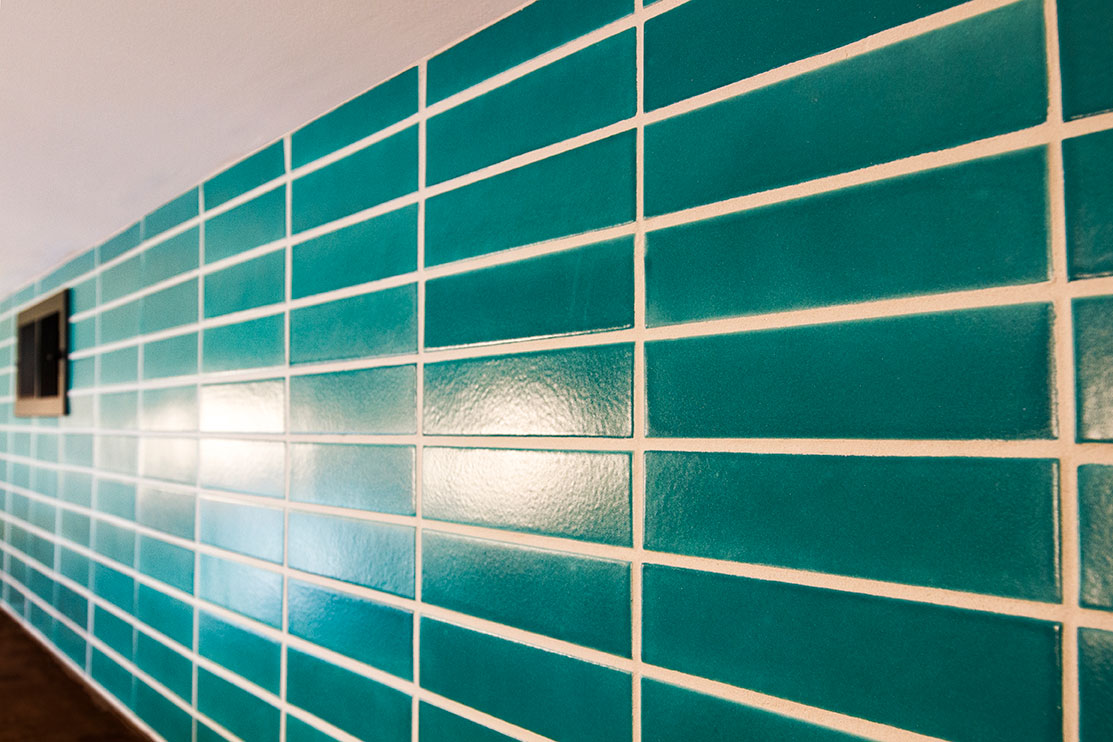
In looking at my original kitchen cabinetry, I was certain I wanted to tile not only the backsplash above the range, but also the entire wall above the upper cabinets. The kitchen is quite large, so rather than continue with gray walls as used throughout the house, I wanted this to be an opportunity to introduce a bold pop of mid-century color. I brought home a collection of tile samples from a variety of vendors in an assortment of colors from mustard, to olive to peacock and teal. I found it difficult to get a real sense of how an entire wall would look in any of these colors, so I decided to match my favorite tile samples to paint swatches so that I could paint the wall before committing to a particular tile. Clay tile is not cheap, and once you order it, it is yours to keep! Painting the wall and tile ended up being the perfect solution that saved me a lot of time and money. I tested 2 paint colors, olive and turquoise, and lived with both for a couple of months while tackling other projects throughout the house. Olive green felt heavy and muddy, but turquoise was bright, vibrant and energetic. The tile color "Fluorite" from Fireclay Tile was the perfect compliment for the warm, nutmeg colored cabinets and rich, black counters. It made me smile every time I looked at the kitchen, so I knew it was the one.

California Soul
My experience with Fireclay was nothing short of fantastic. Based right here in Northern California, their locally-sourced materials make for a stunning finished product. I highly recommend visiting their San Francisco showroom for a look at all of their beautiful products. I was lucky enough to be paired up with Tiffannie White (@thenappybohemian) as my design consultant when I requested my quote. Tiffannie is an incredible, multi-talented, enthusiastic and all-around-fun individual. We hit it off instantly, geeked out on tile and southern food together, and became friends throughout the process. The Fireclay team is amazing. In about 4 weeks, I had my tile in-hand. It was every bit as beautiful as I had hoped, and I got to work on the installation right away.
Tackling the Tile
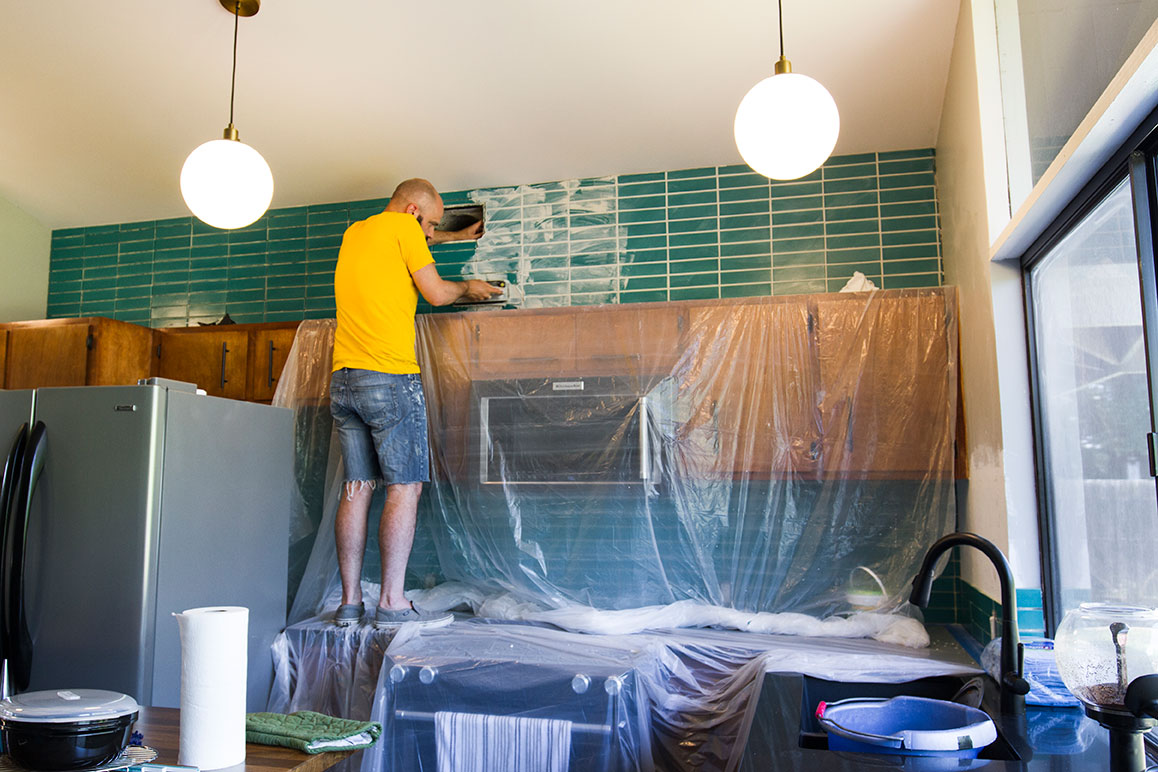
Busting out the existing glass mosaic tile was messy, loud and labor-intensive. The tiles had been adhered directly to the drywall (Awesome!), so by the time I got finished chiseling the tile away, the sheetrock was left with significant damage. All of these areas had to be repaired or replaced before I could continue. Several days, and a few showers later, I had cleaned up all the glass shards and plaster and had a fresh slate all ready for tile installation.

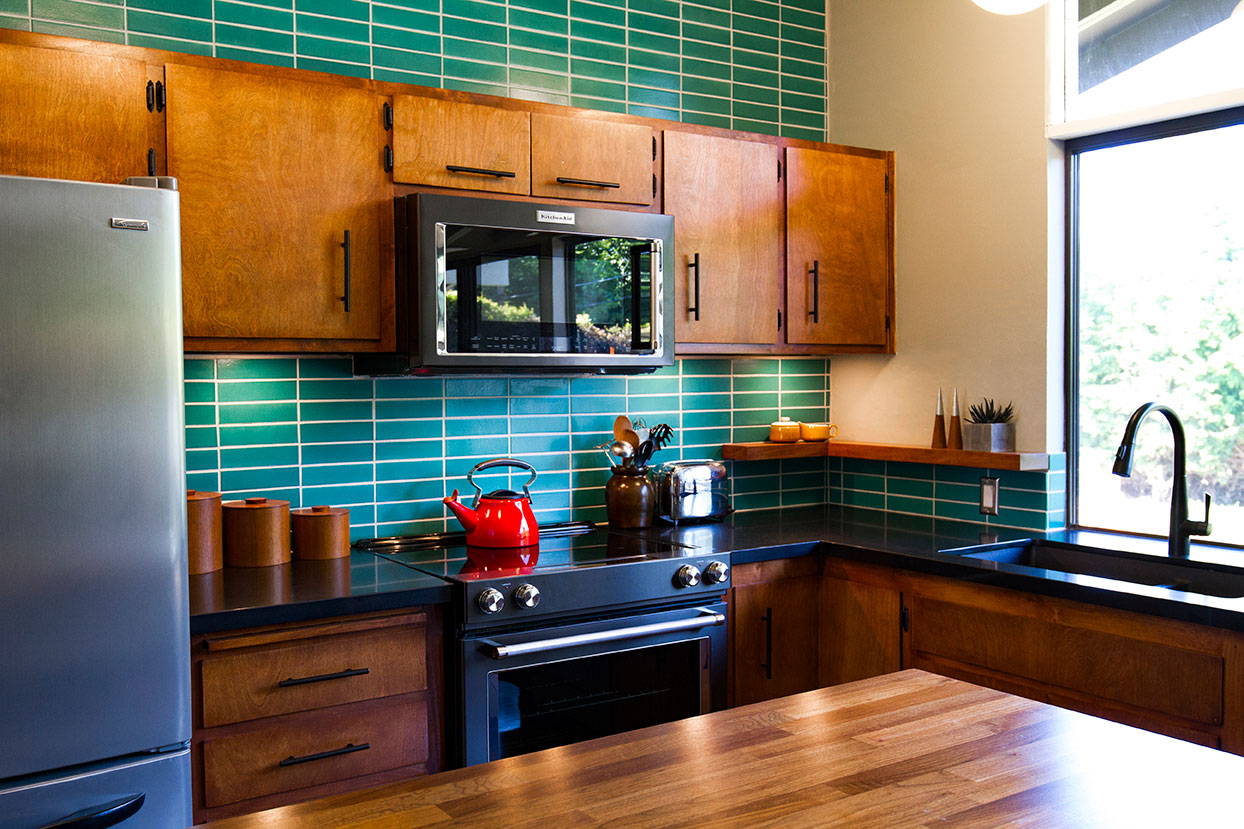
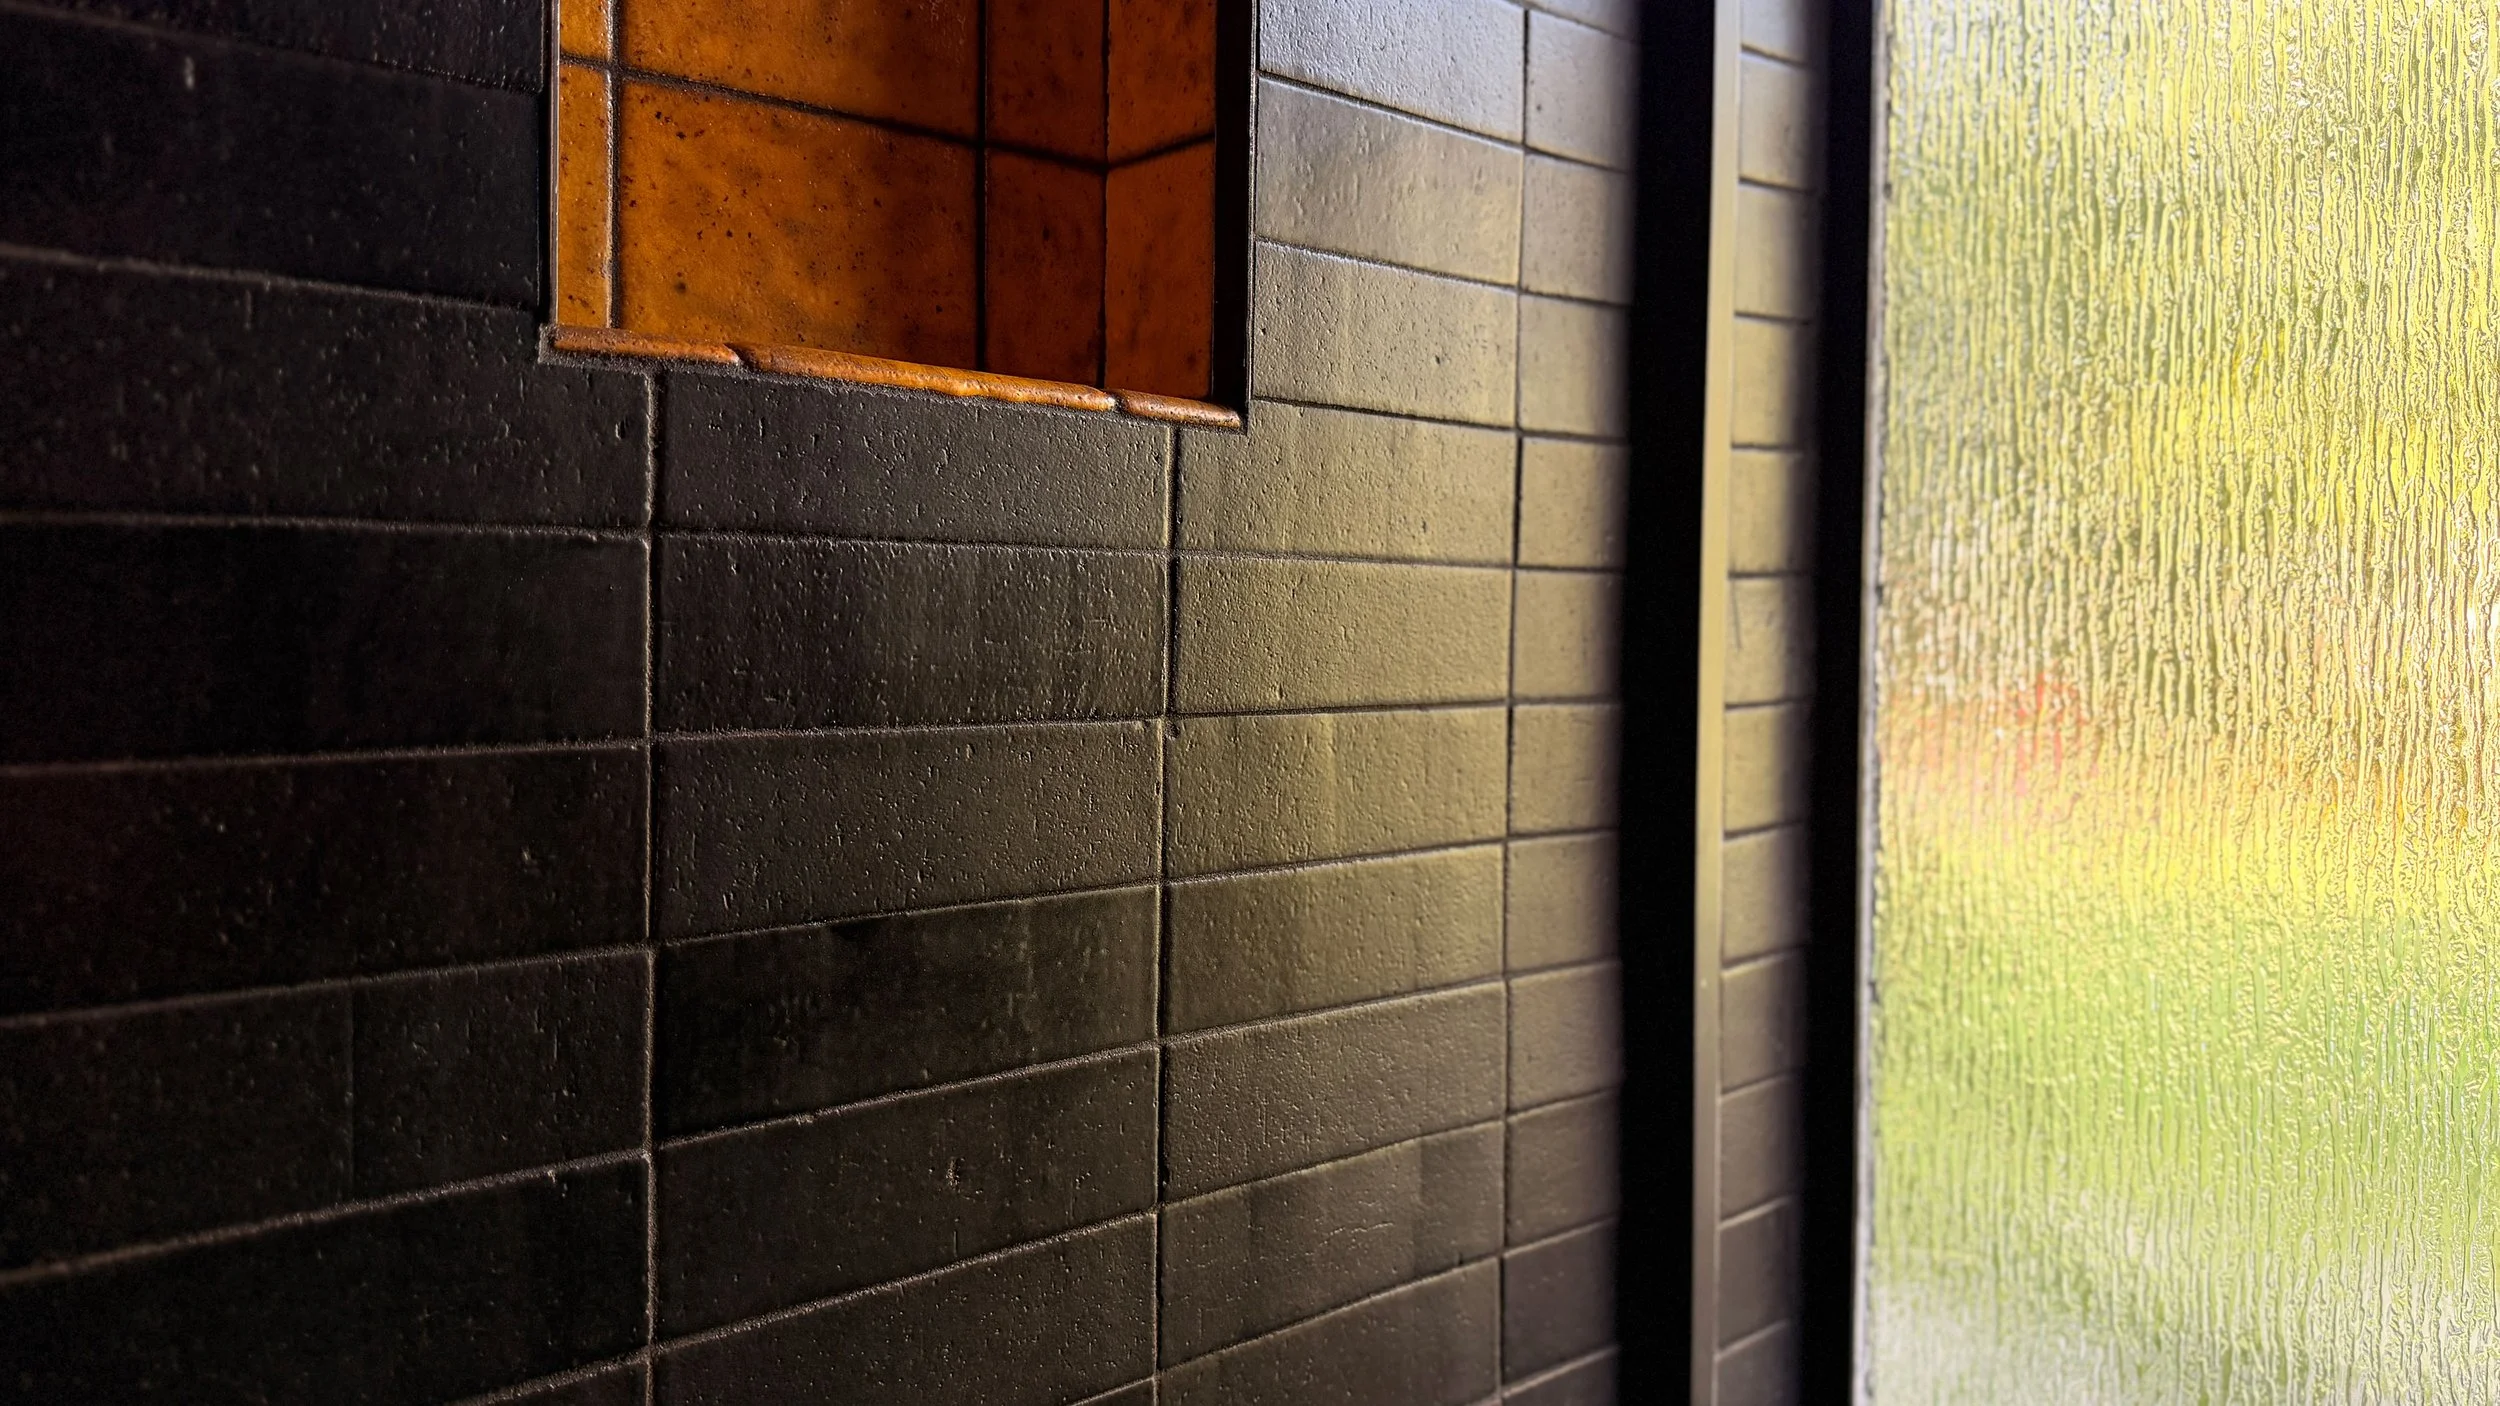
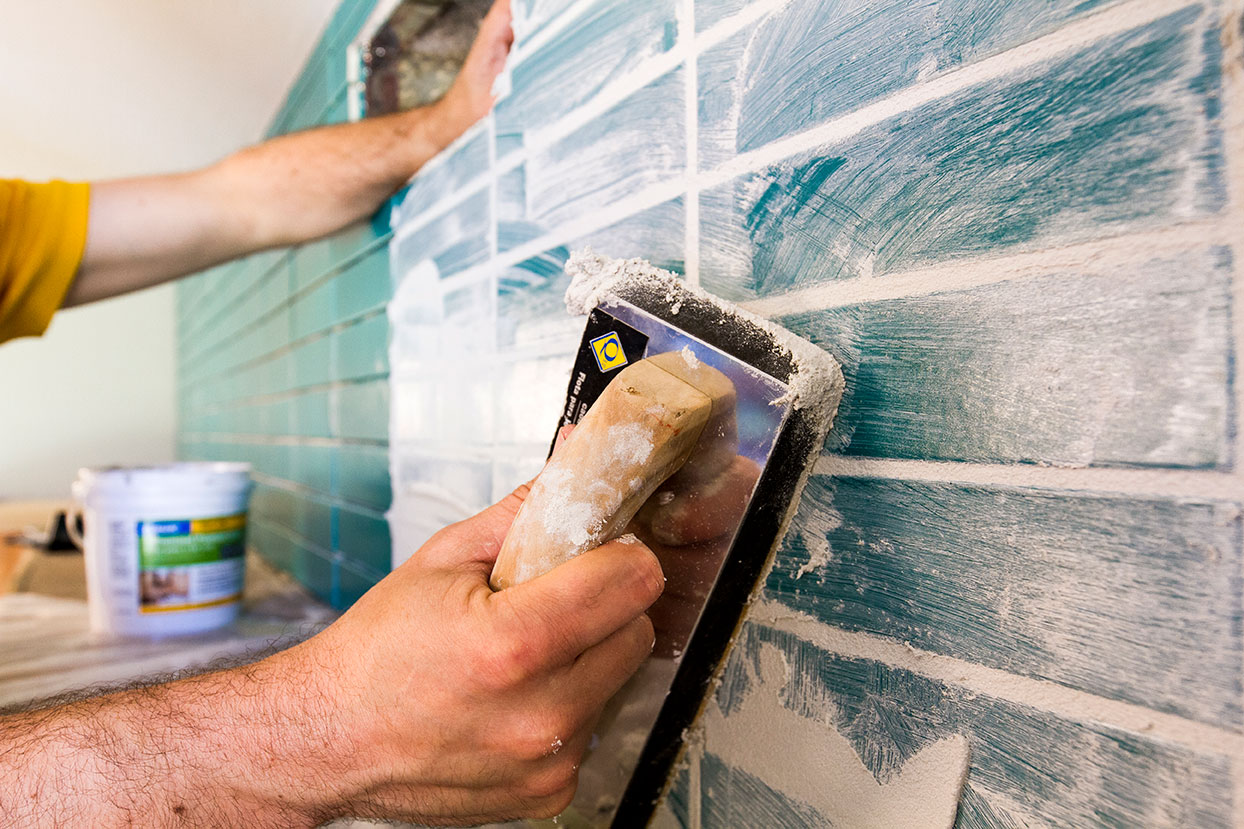
I wanted to mimic the brick layout of the iconic Streng fireplace, which can be seen from the kitchen, so I chose to layout 2x8 tiles in a straight set pattern. I used 3/16" spacers and a warm gray sanded grout to coordinate with the adjacent walls. If you've never worked with clay tile, it takes a great deal of patience and some skill to install correctly. Because the tiles have a high color variation, I had to pull individual tiles from 6 different boxes and lay them out on the counter to ensure the varying colors were distributed in a pleasing pattern on the wall. Another challenge was size variance from each box. Though the size of tile is 2x8, each tile is unique and can vary by small fractions. Slightly larger tiles may fit better next to a smaller tile and vice versa. Placing 50 sq. ft. of tile took the better part of 2 days. After about one week, the grout was sealed with silicone.
May the Quartz be with You
When I moved in, the kitchen counters were covered with gray ceramic floor tile. Cooking in a kitchen with grouted counters has always made me cringe. The aesthetics, the lack of function, the bacteria -- it's a problem. I considered a few options for the new counters, including concrete and Staron, but I ultimately decided on Silestone quartz for its durability, high gloss, and deep, uniform color. Quartz is a breeze to clean with plain water and a dry soft cloth, plus, it is a non-porous, stain-resistant and bacteria resistant material. Genoa Soapstone handled my installation, and they were purely professional. John, Josh and their team were always quick to respond to my every question (I had quite a few), and they went out of their way to accommodate my requests. My installation was scheduled promptly, and in less than 2 weeks, I had a beautiful slab of Iconic Black quartz installed and ready to use. The color and finish is stunning. From a distance, the counters are a rich black, mirror-like surface. At a closer look, fine charcoal/black variegated speckling can be seen.

I also chose a Blanco Precis granite composite undermount sink in anthracite finish. When wet, tiny sparkles appear on the sink surface. Switching out the standard top mount stainless steel sink for this high-end option has made a world of difference in day-to-day cooking and cleaning. No more seams to collect crumbs and bacteria. Wiping the counters directly into the sink is way more my speed. The matte black faucet is from the Delta Essa collection. It functions beautifully with a magnetic retractable sprayer and easy clean features, all while maintaining a minimal, modern look.
Custom Build
If the counters, tile and sink weren't enough, I wanted to build a unique display shelf for the corner of the kitchen. I used a solid, 2" thick piece of birch, cut in two lengths to make an "L" shape. Shelf support rods were used to mount the shelves to the wall. The wood had to be drilled into in order to insert the rods, and a Dremel tool was used to route out the rectangular bracket shape. This required a great deal of precision and careful measuring, but after some initial sweating and nail-biting, everything lined up perfectly. The result is a beautiful floating ledge for items that keep the counters free from clutter.

I chose to only take the tile up to the base of the shelf in this area for a more interesting effect. By ordering a few tiles with finished edges, I was able to get a tailored look where the shelf meets the window wall.
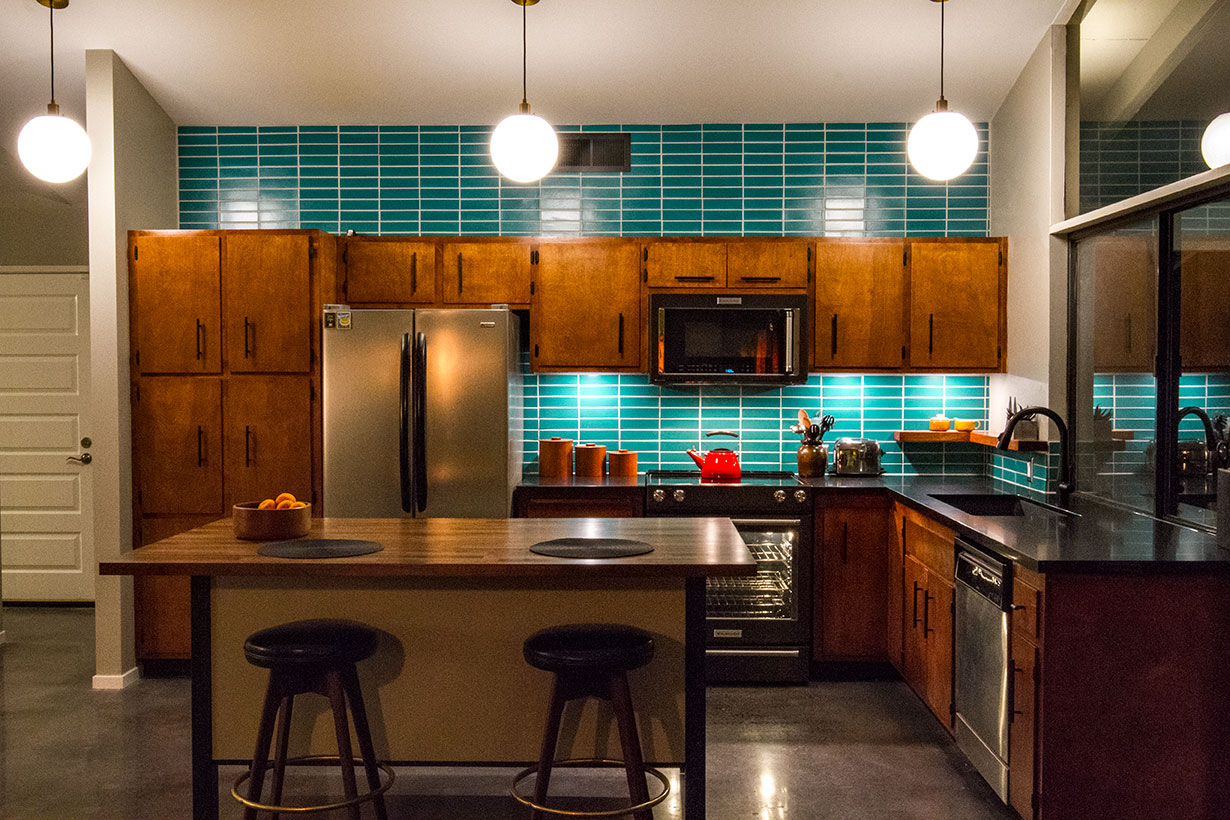
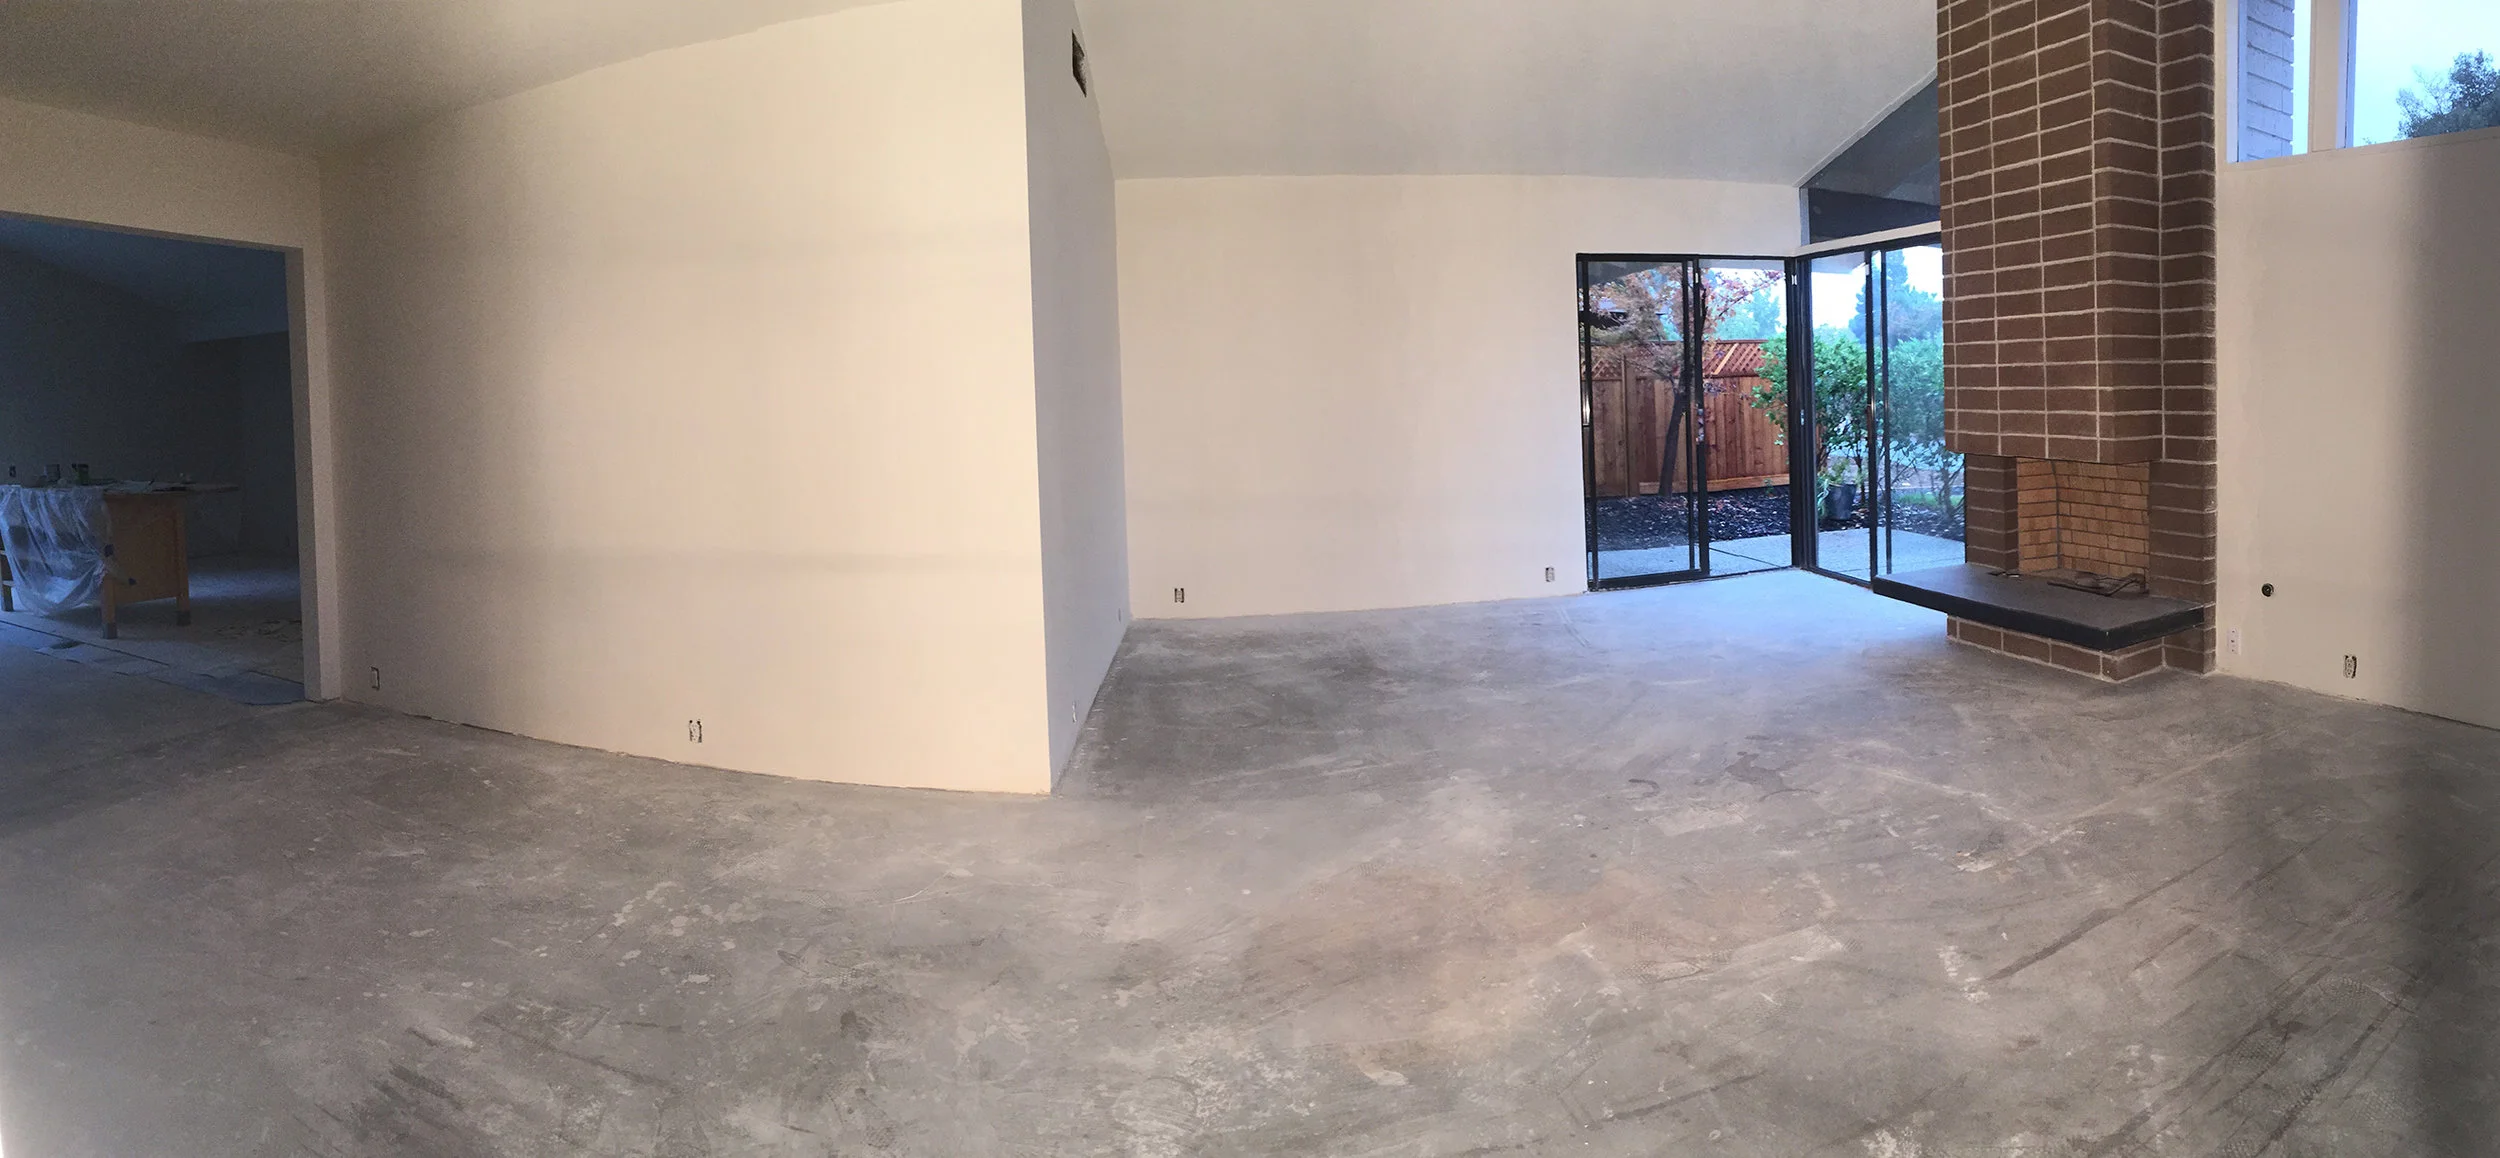
Here's a look back at where I started 5 months ago to where I am today:
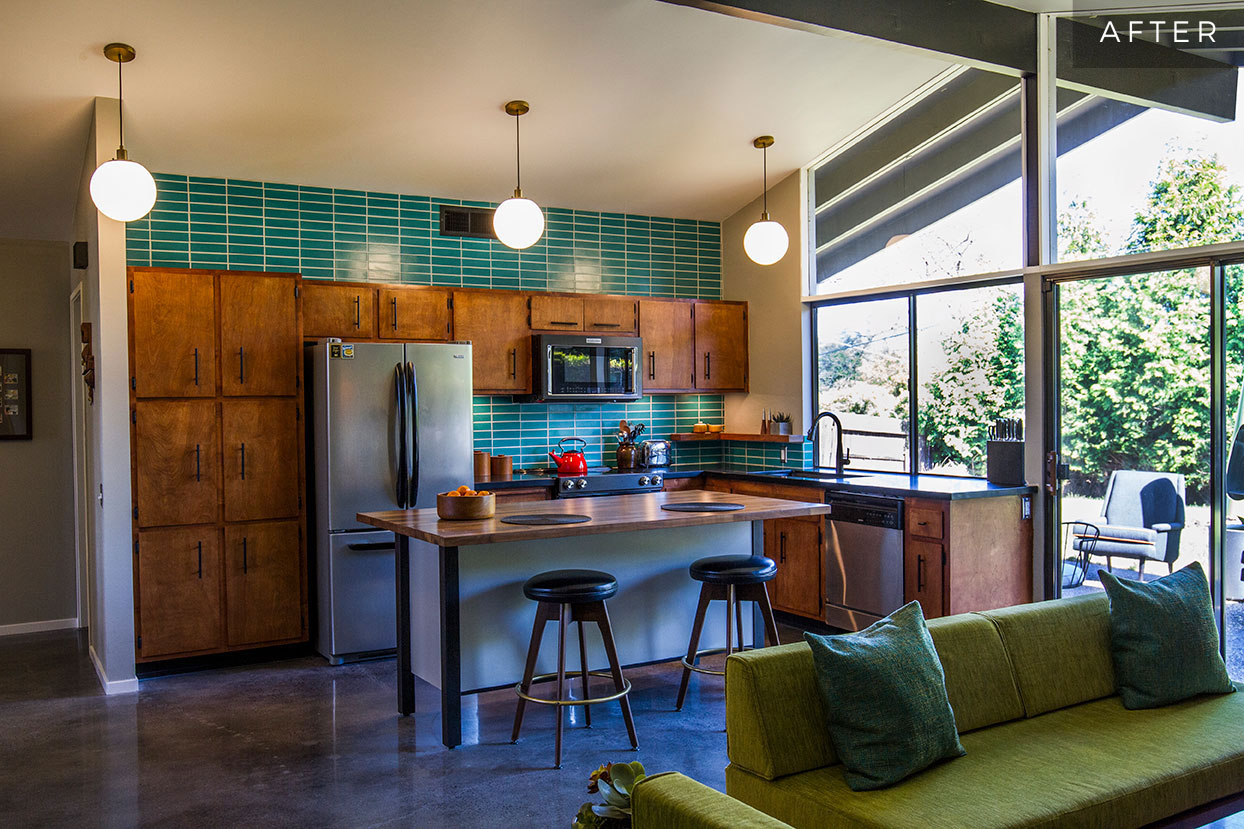
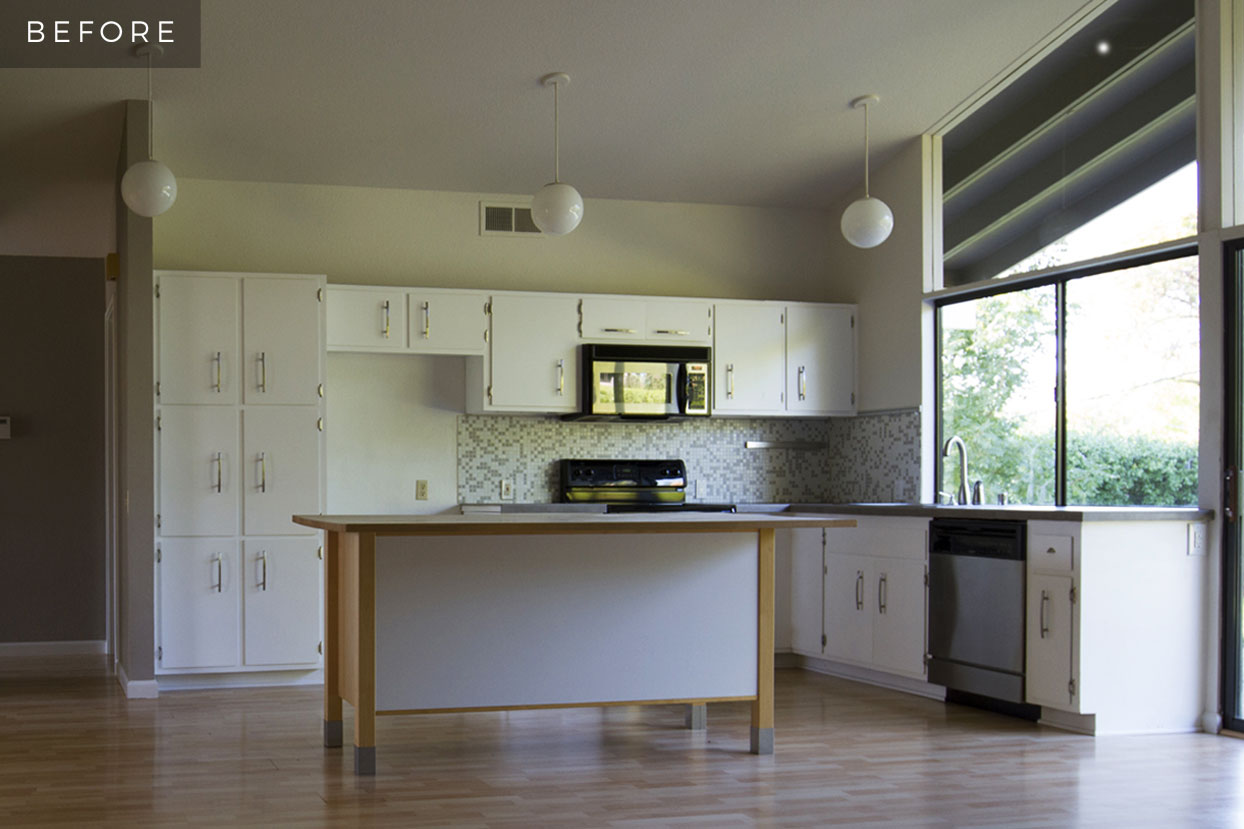
With a lot of dust, sweat and sore muscles behind me, I am proud to say that I finally have my kitchen nearly complete. You may have noticed that some of my appliances changed during this transformation. The new KitchenAid black stainless stove and microwave are amazing upgrades, and I will eventually get the dishwasher and refrigerator swapped out. Until then, it's time for a massage, a nap, and maybe a gourmet meal.