En Suite Dreams - Part 2
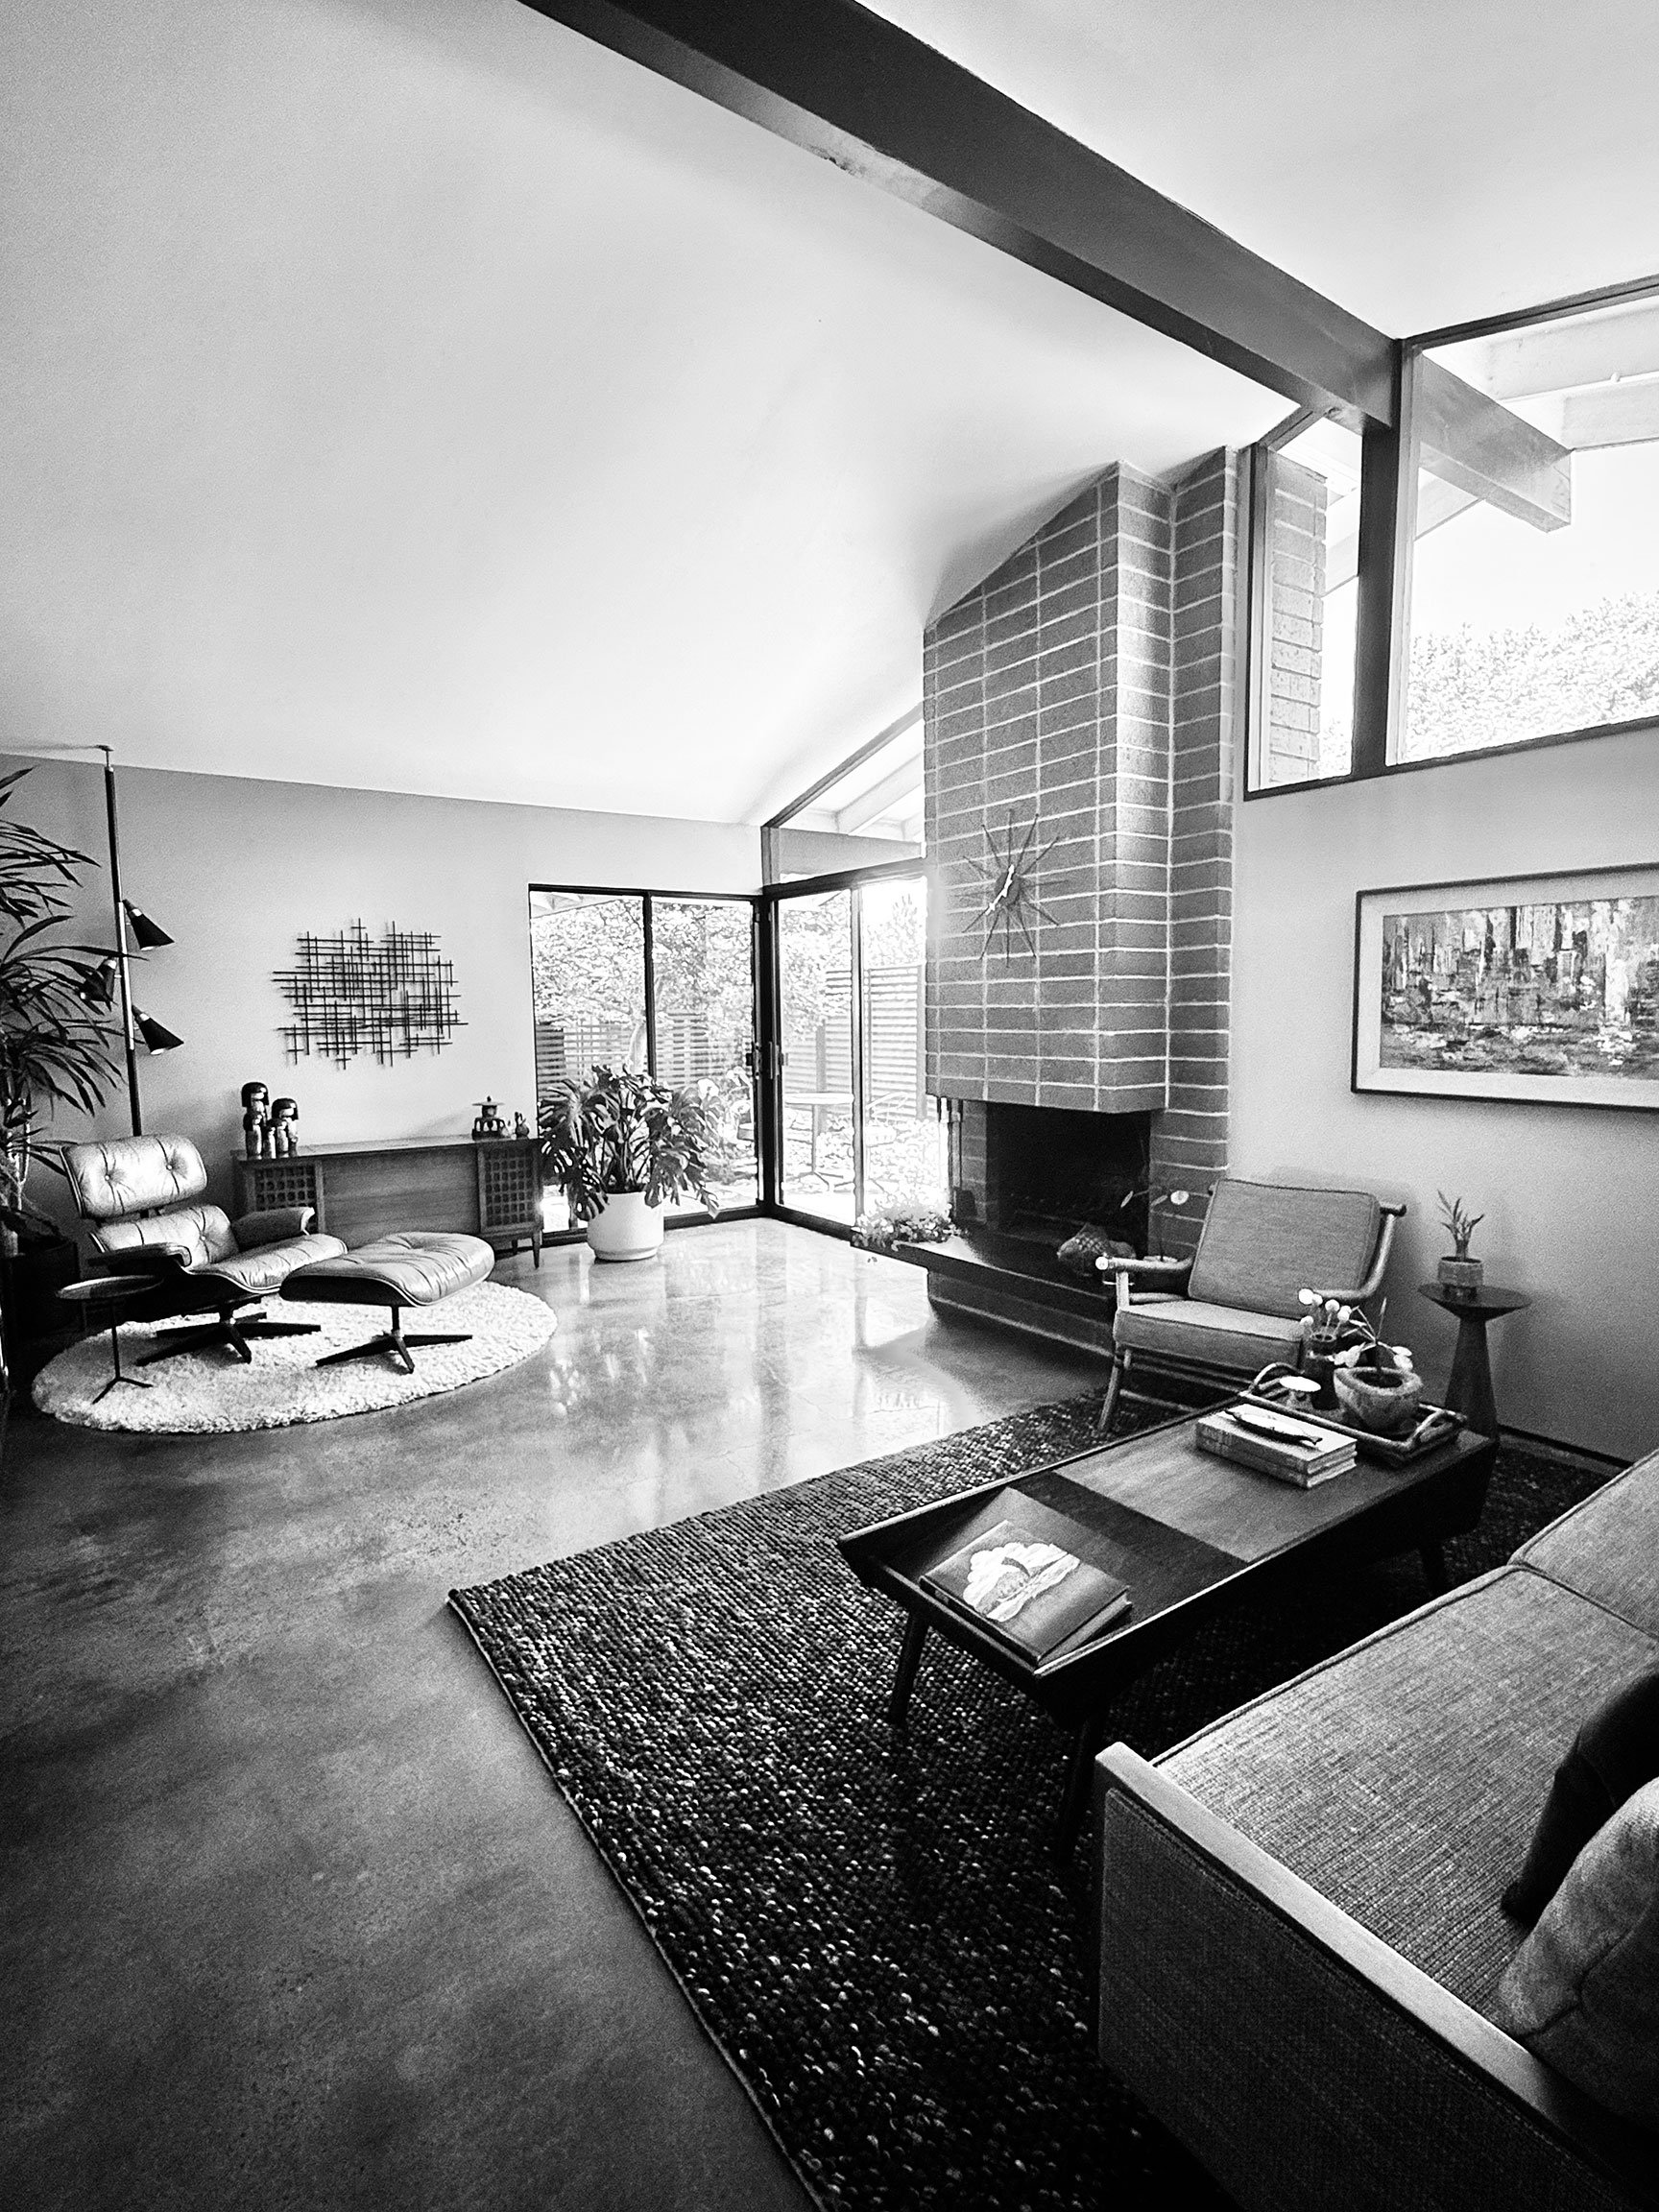
Polished concrete slab in my 1974 Streng Bros./Carter Sparks Plan 103 home.
Perhaps one of the most impactful features of my home renovation is its very foundation — the polished concrete flooring. Having the slab finished was one of the very first projects I tackled with the help of Prep Concrete. When it came time to address the master shower floor, this expert team was invited back.
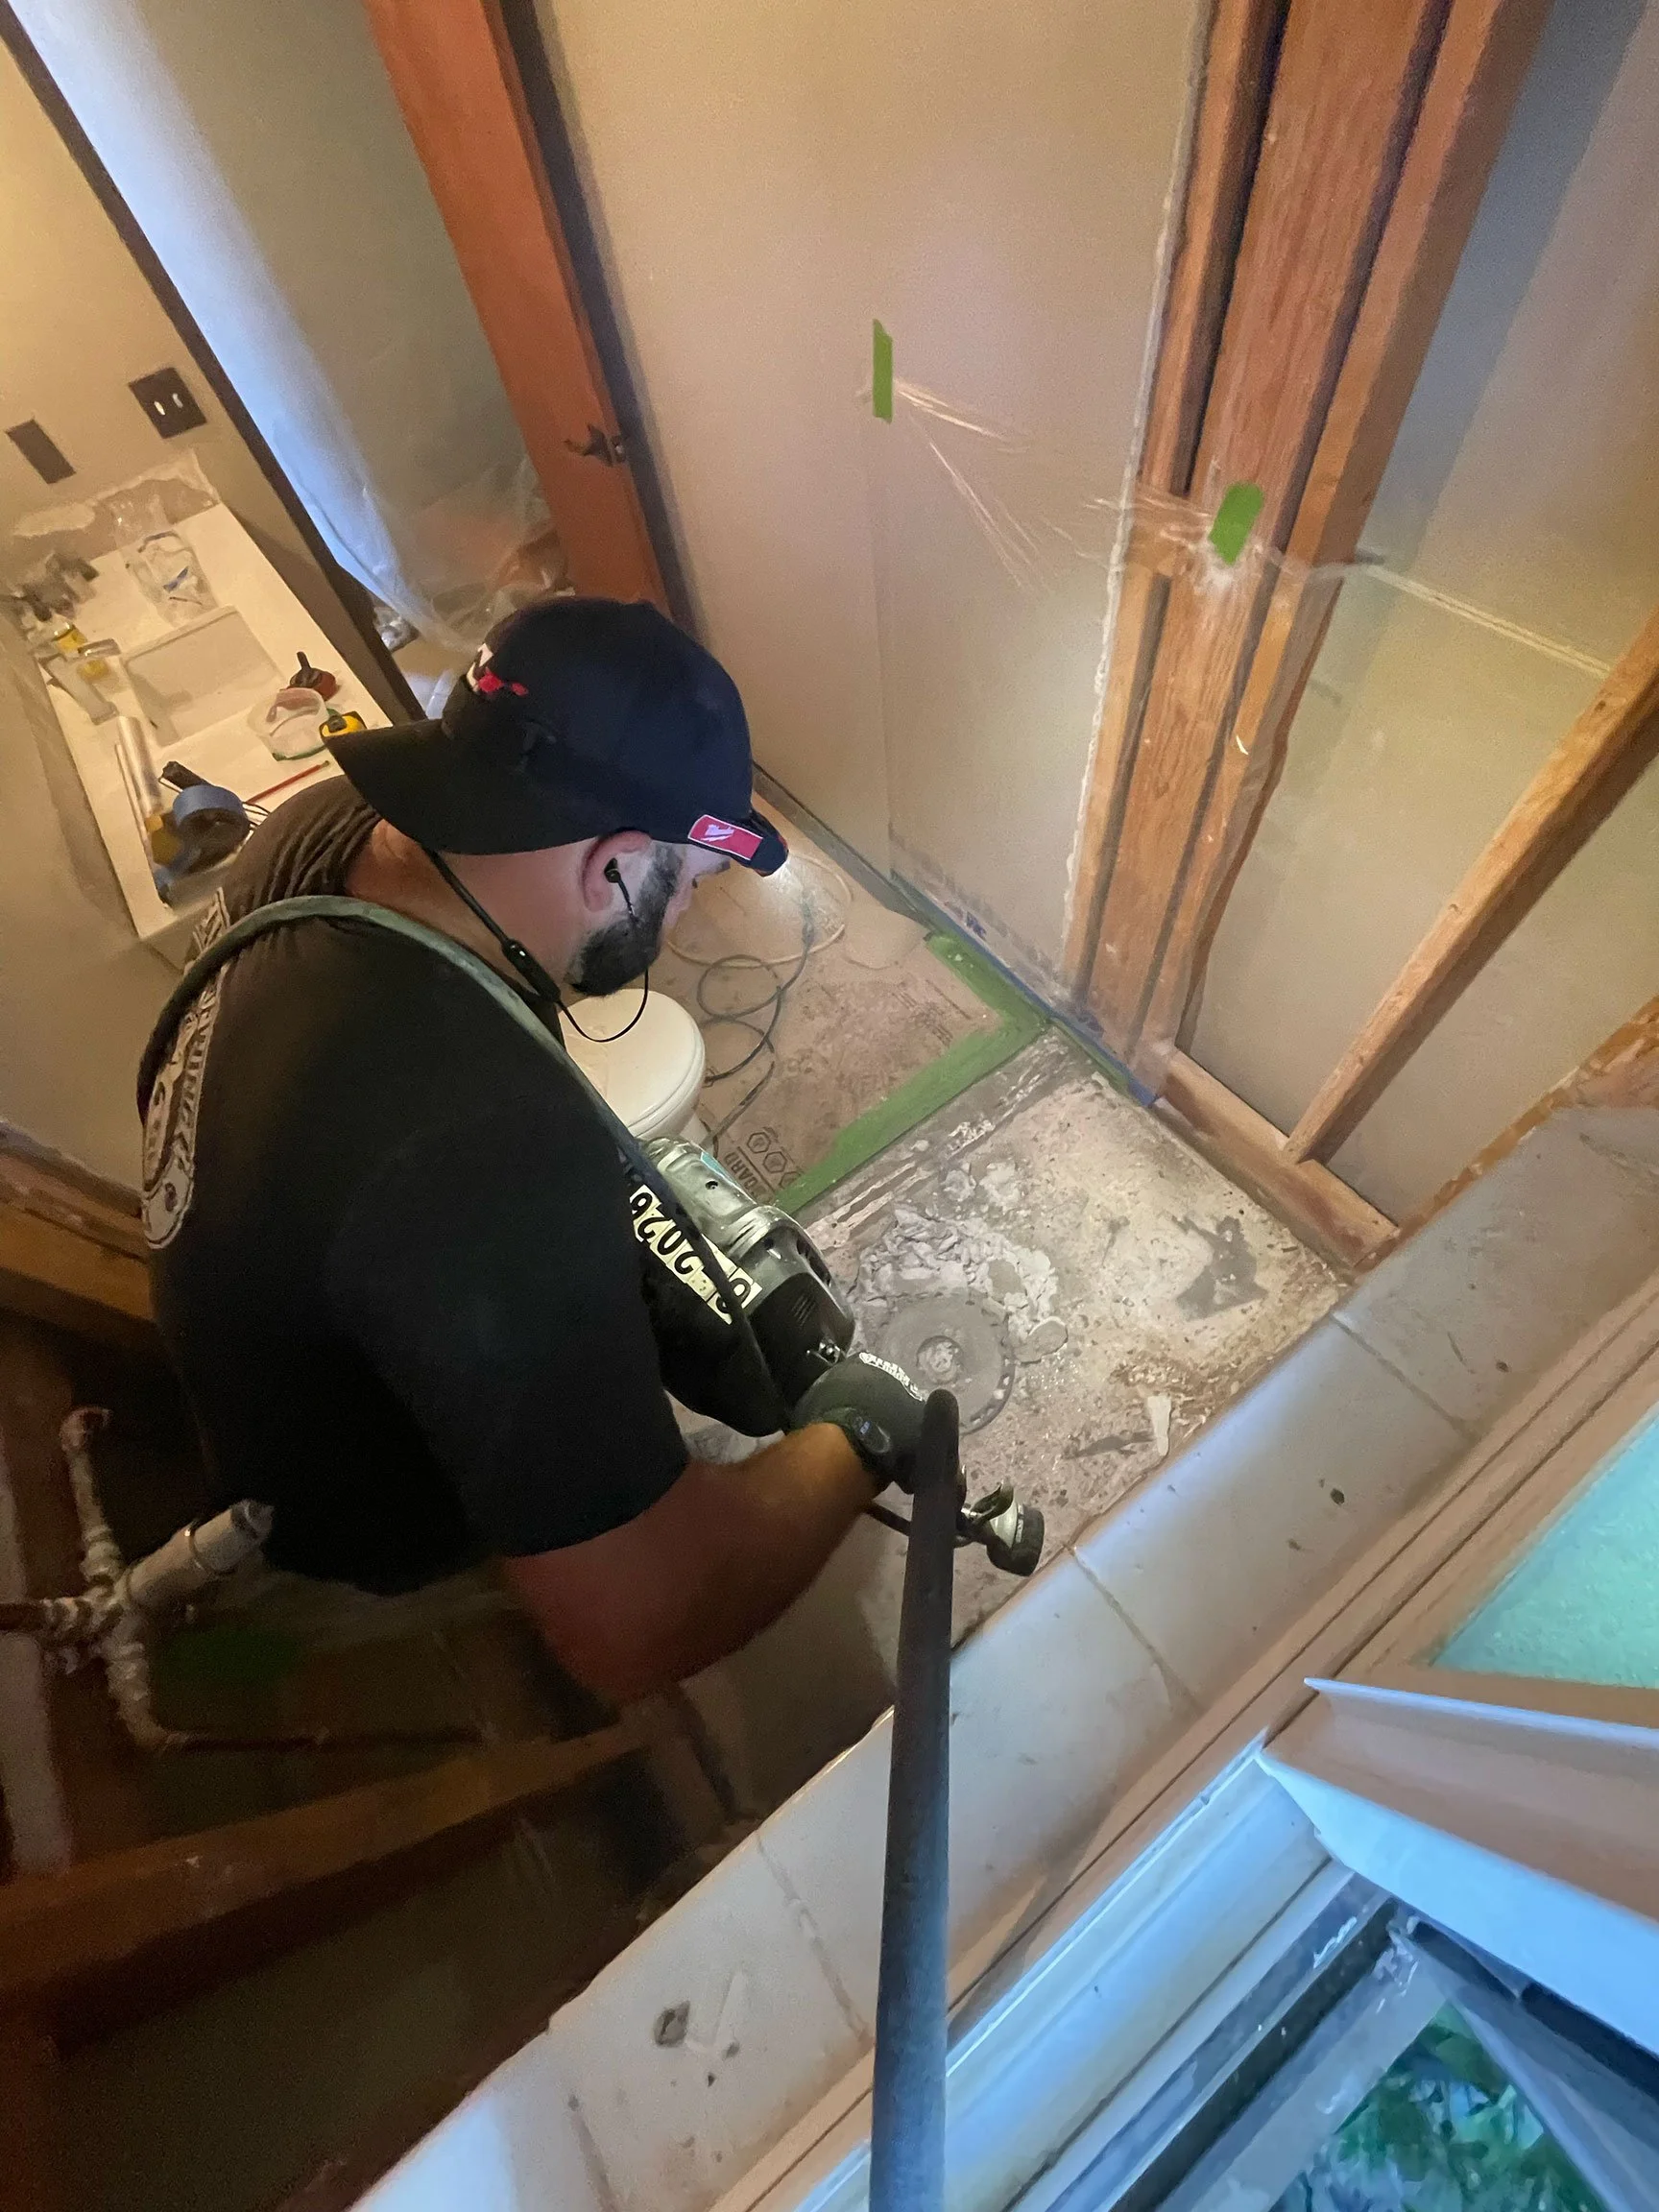
All jacked up
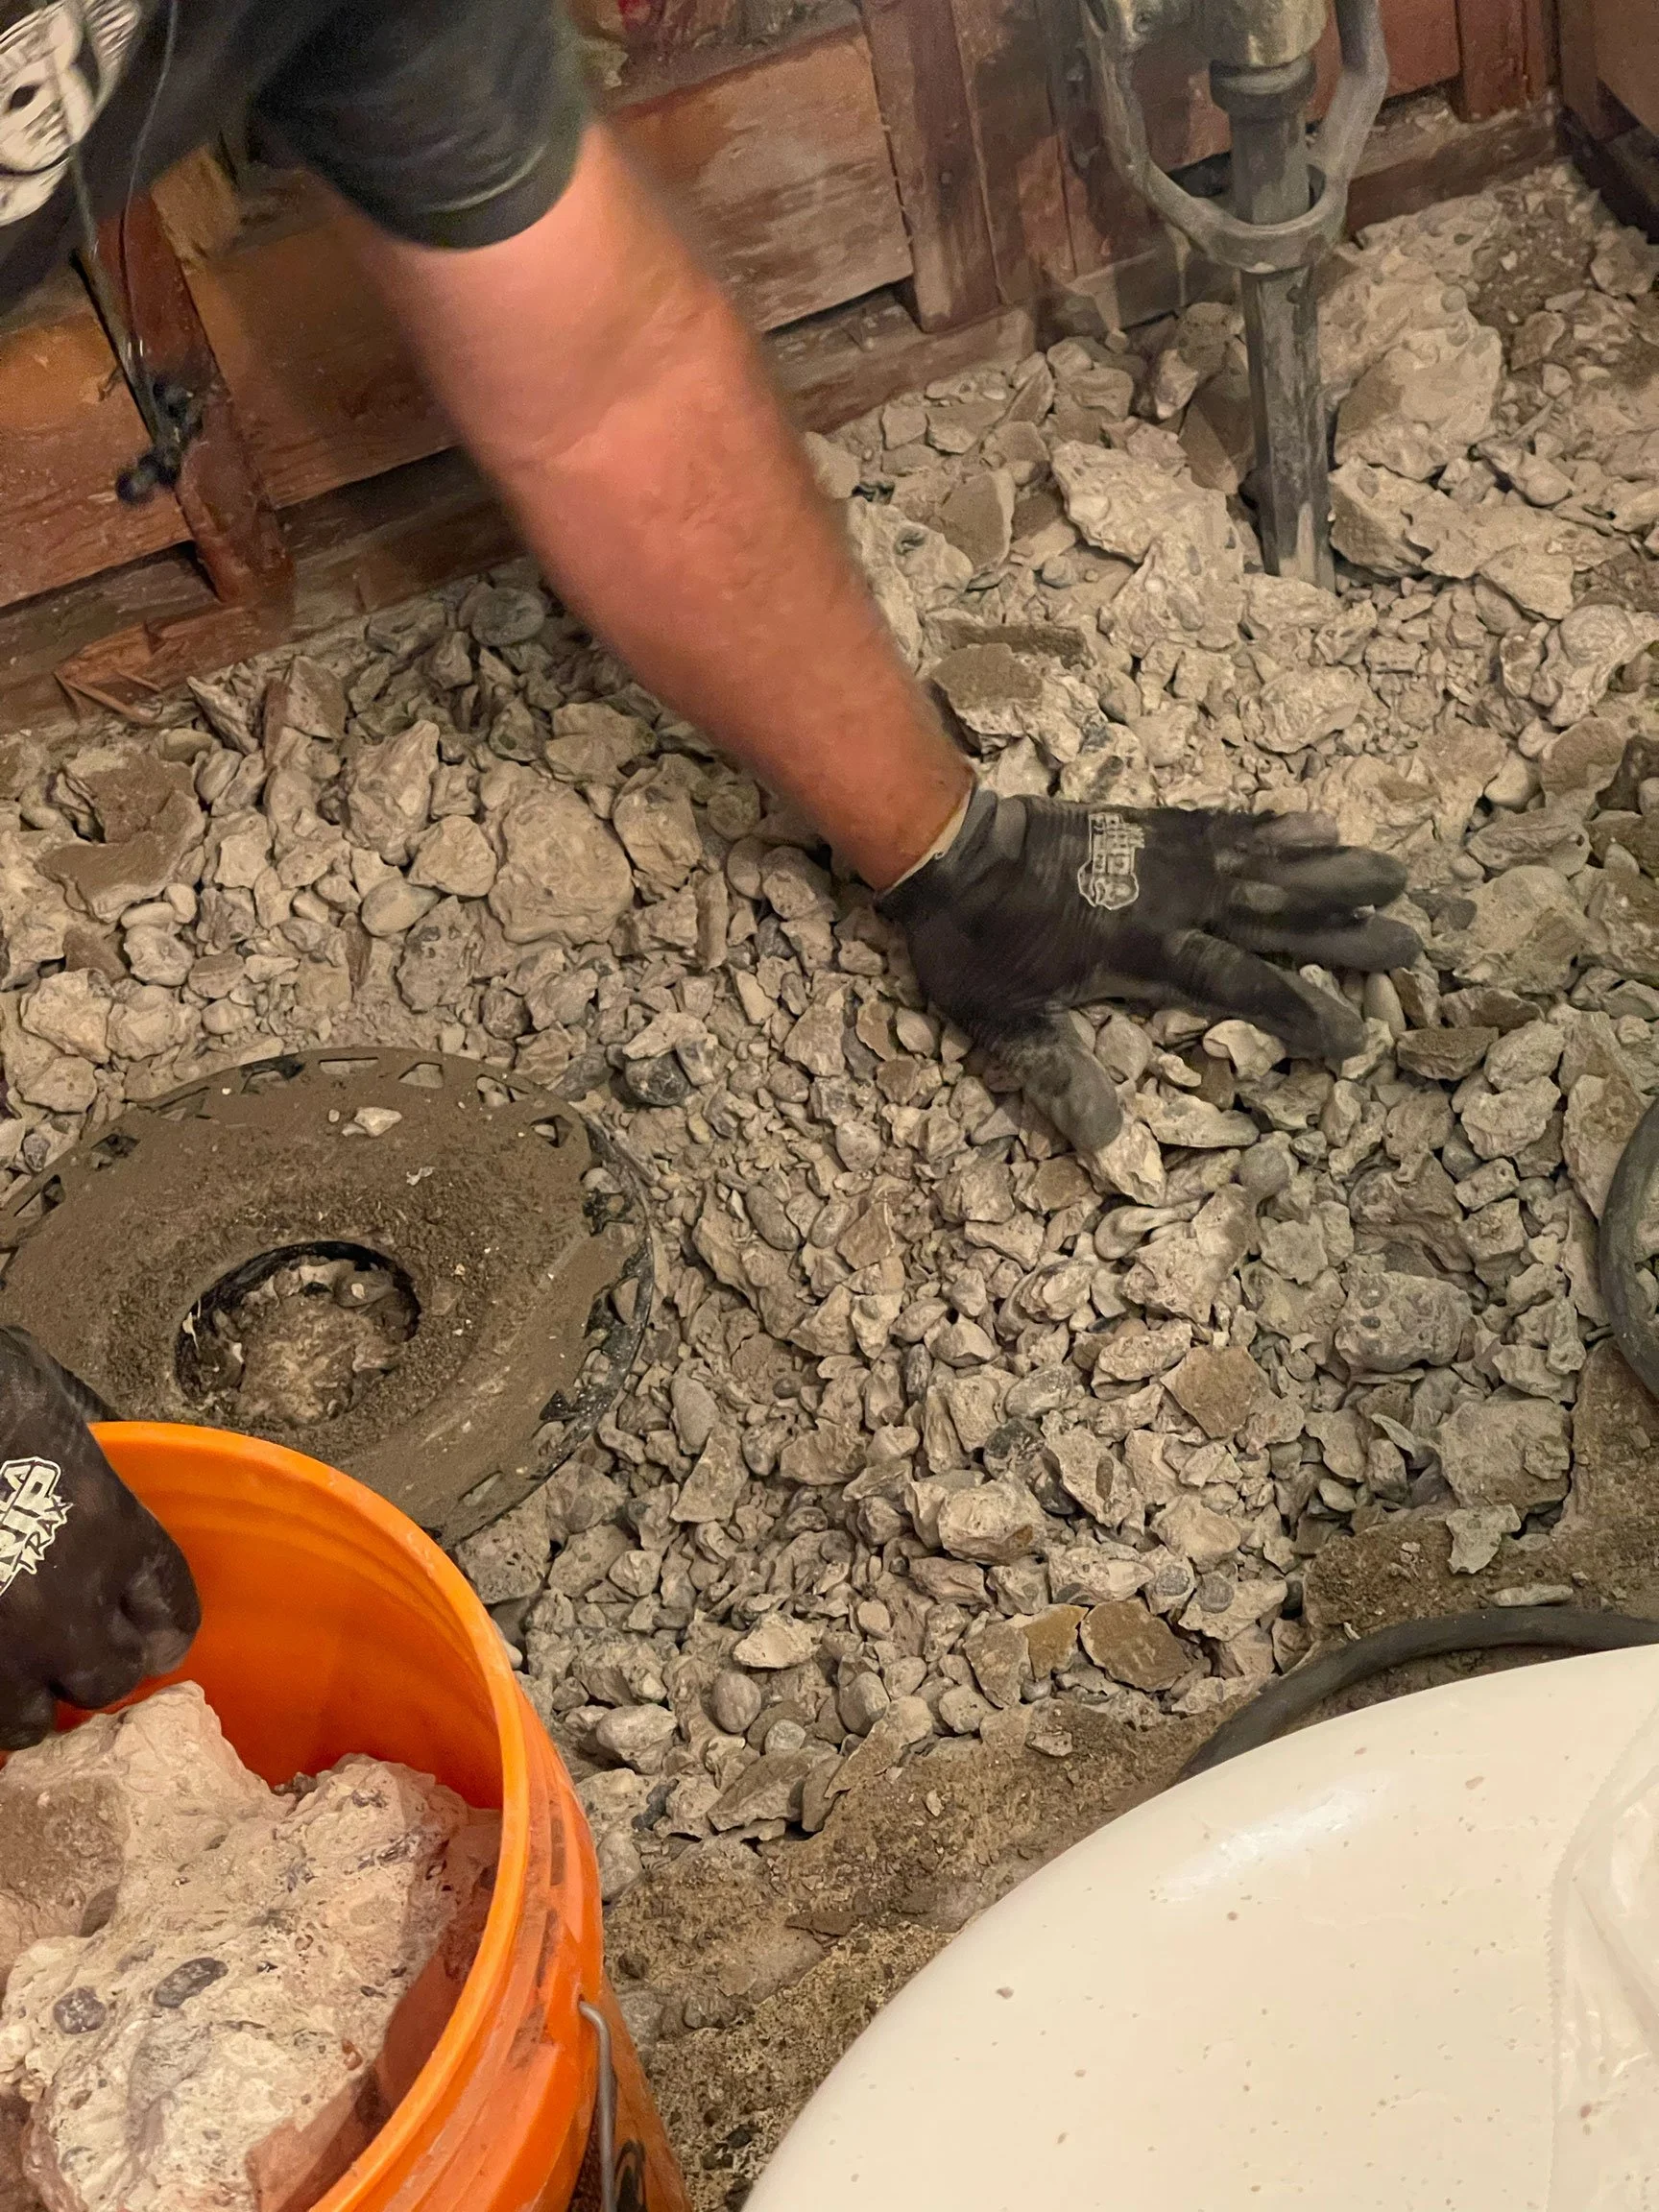
My desire was to eliminate the curb to create a walk-in shower, and one continuous surface throughout my home. In order to achieve this, the existing shower floor had to be removed, fit with a new drain assembly, concrete poured and sloped. I had gone as far as I could with the demo of the space, and it was time bring in the jackhammer to make quick work of it. Before I knew it, the existing concrete was broken up and hauled out.
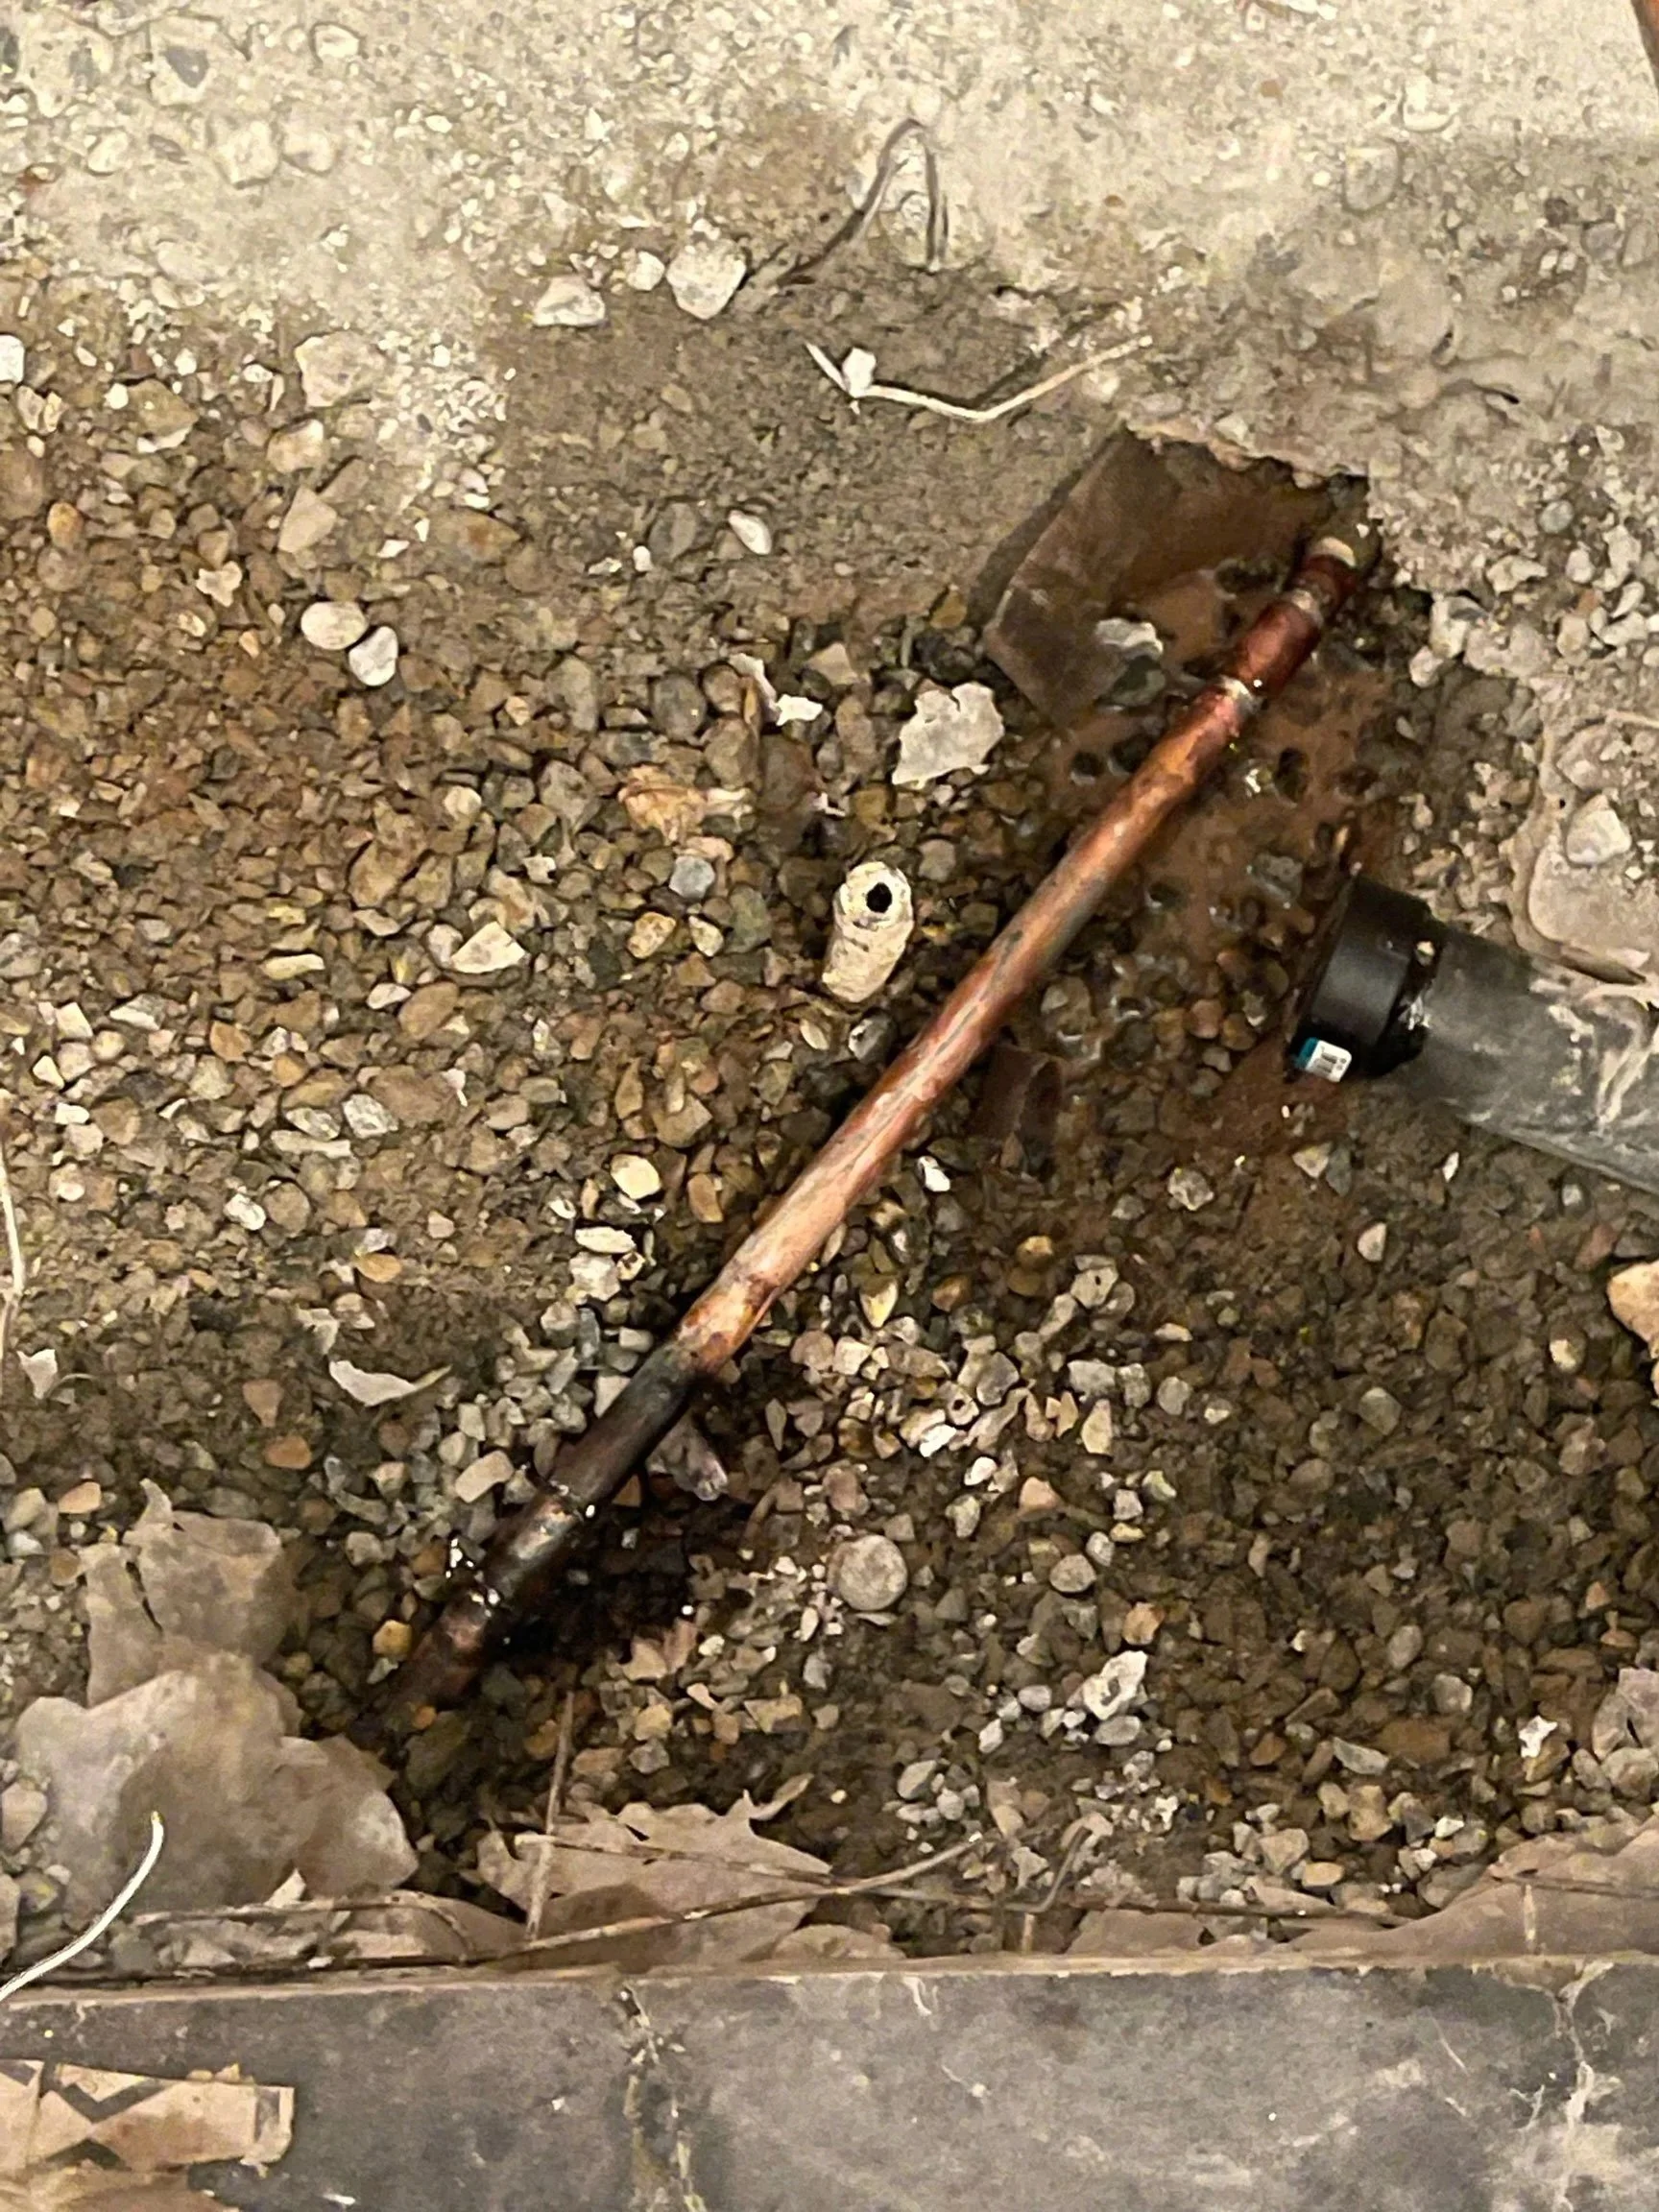
However, we hit a snag, er umm, a pipe in the process. The jackhammer nicked the copper water line leading to the exterior spigot just enough to cause it to break, and sent water gushing. The pipe was running at an angle from outside, and there was no way to see it beneath the slab. Unfortunately, these types of accidents are common, but we were able to shut off the water supply quickly and bring the project to a halt.
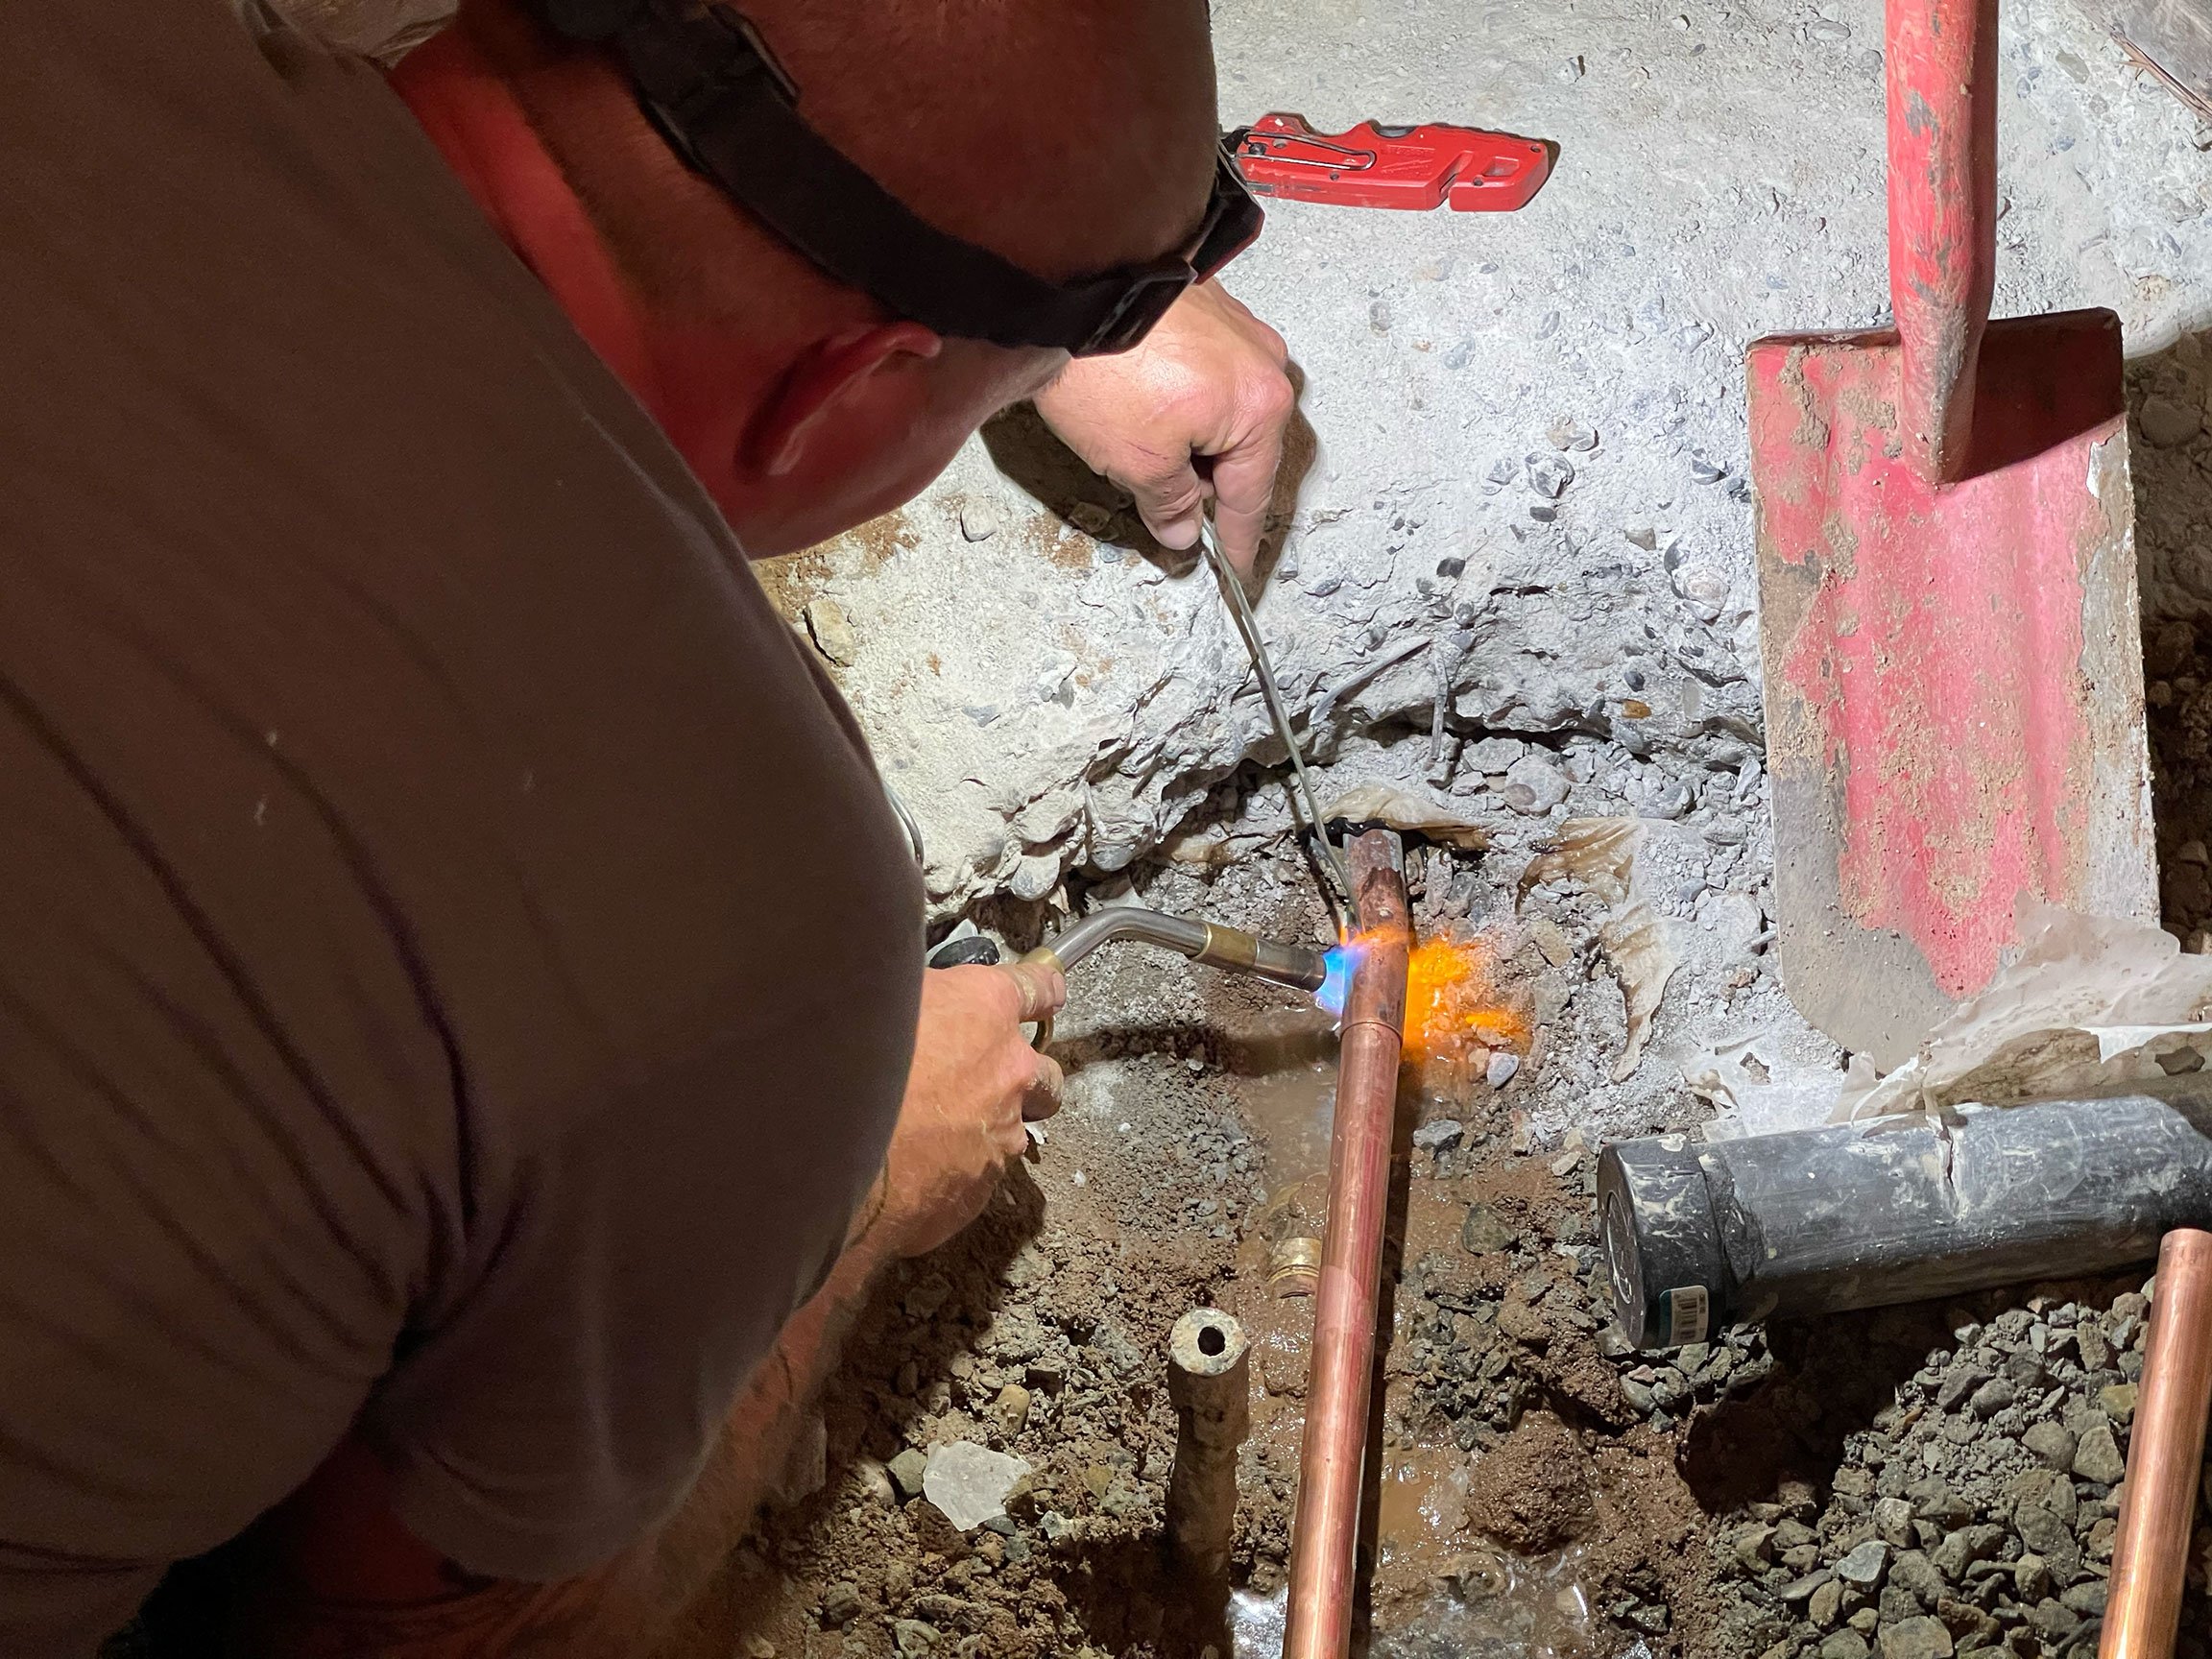
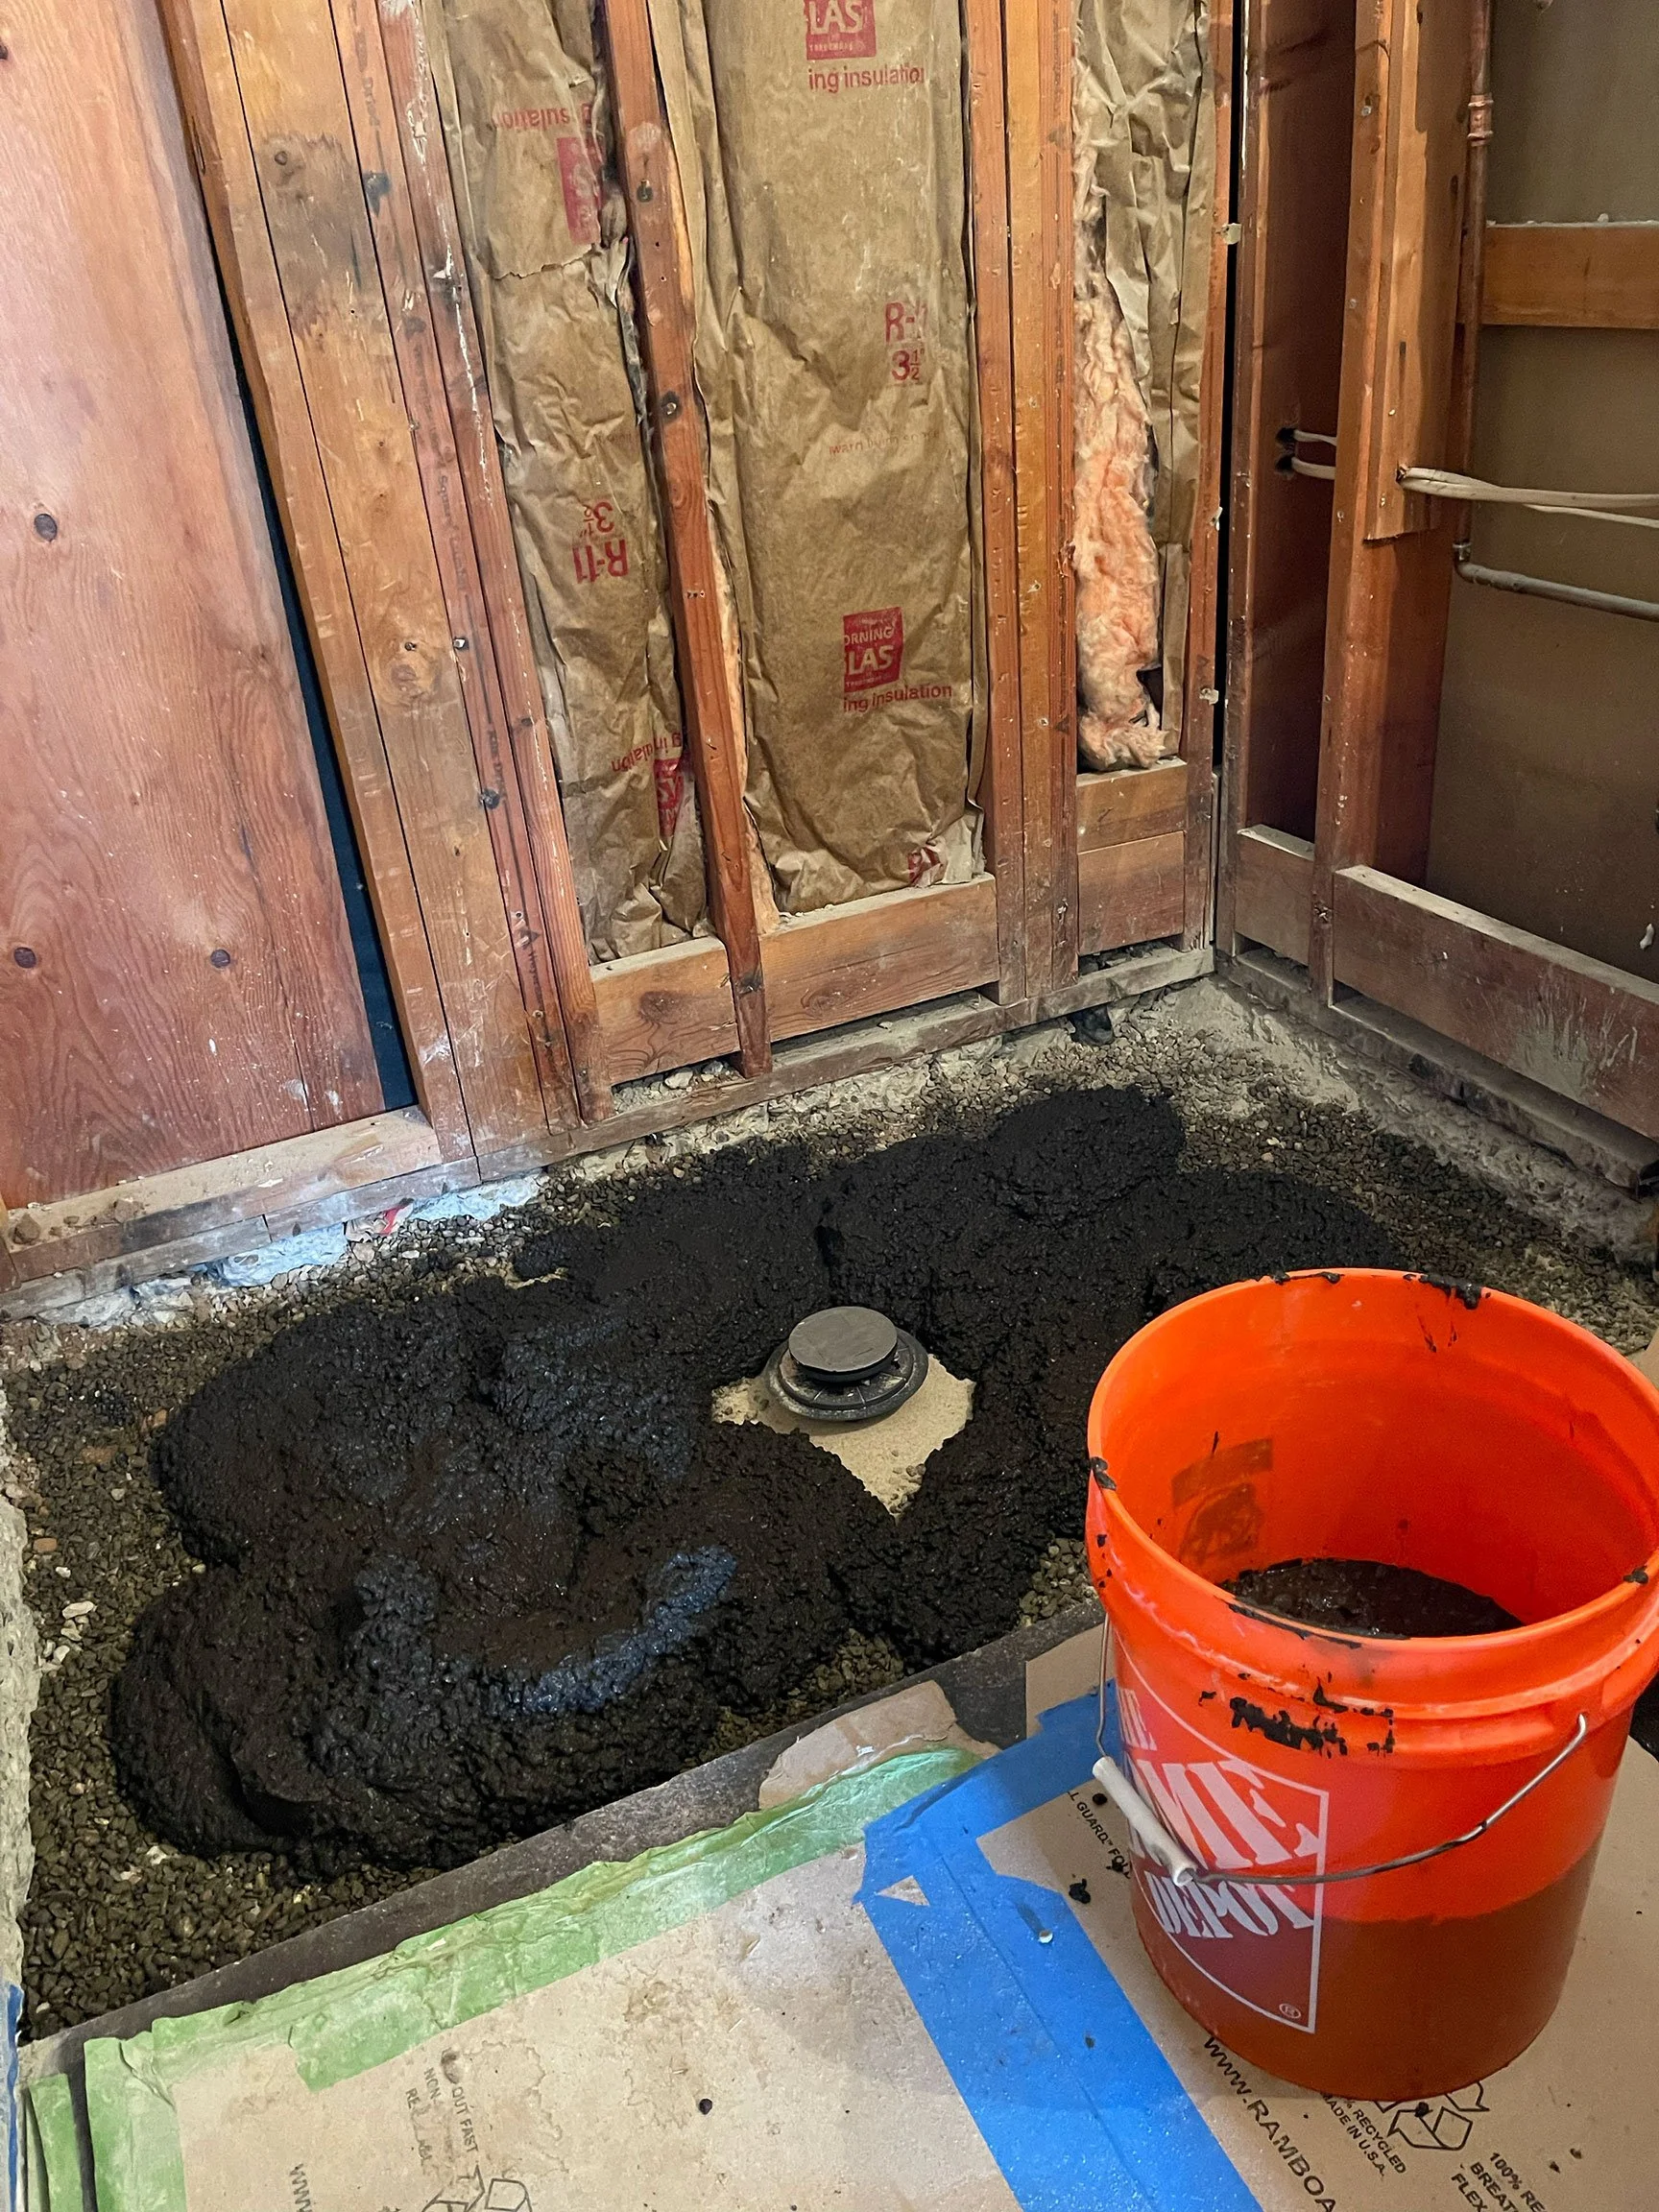
Thankfully, my plumber was able to make an emergency call, and arrived right away to perform his soldering magic and save the day. With him on site, I also took this opportunity to have the new shower valve installed, and the shower head connection raised. The previous shower used a traditional sprayer at standard height, but I wanted to change it to a rain shower at a higher distance for a spa-like experience. Temporary fittings and capped connections were put in place until I was ready to install the finished fixtures.
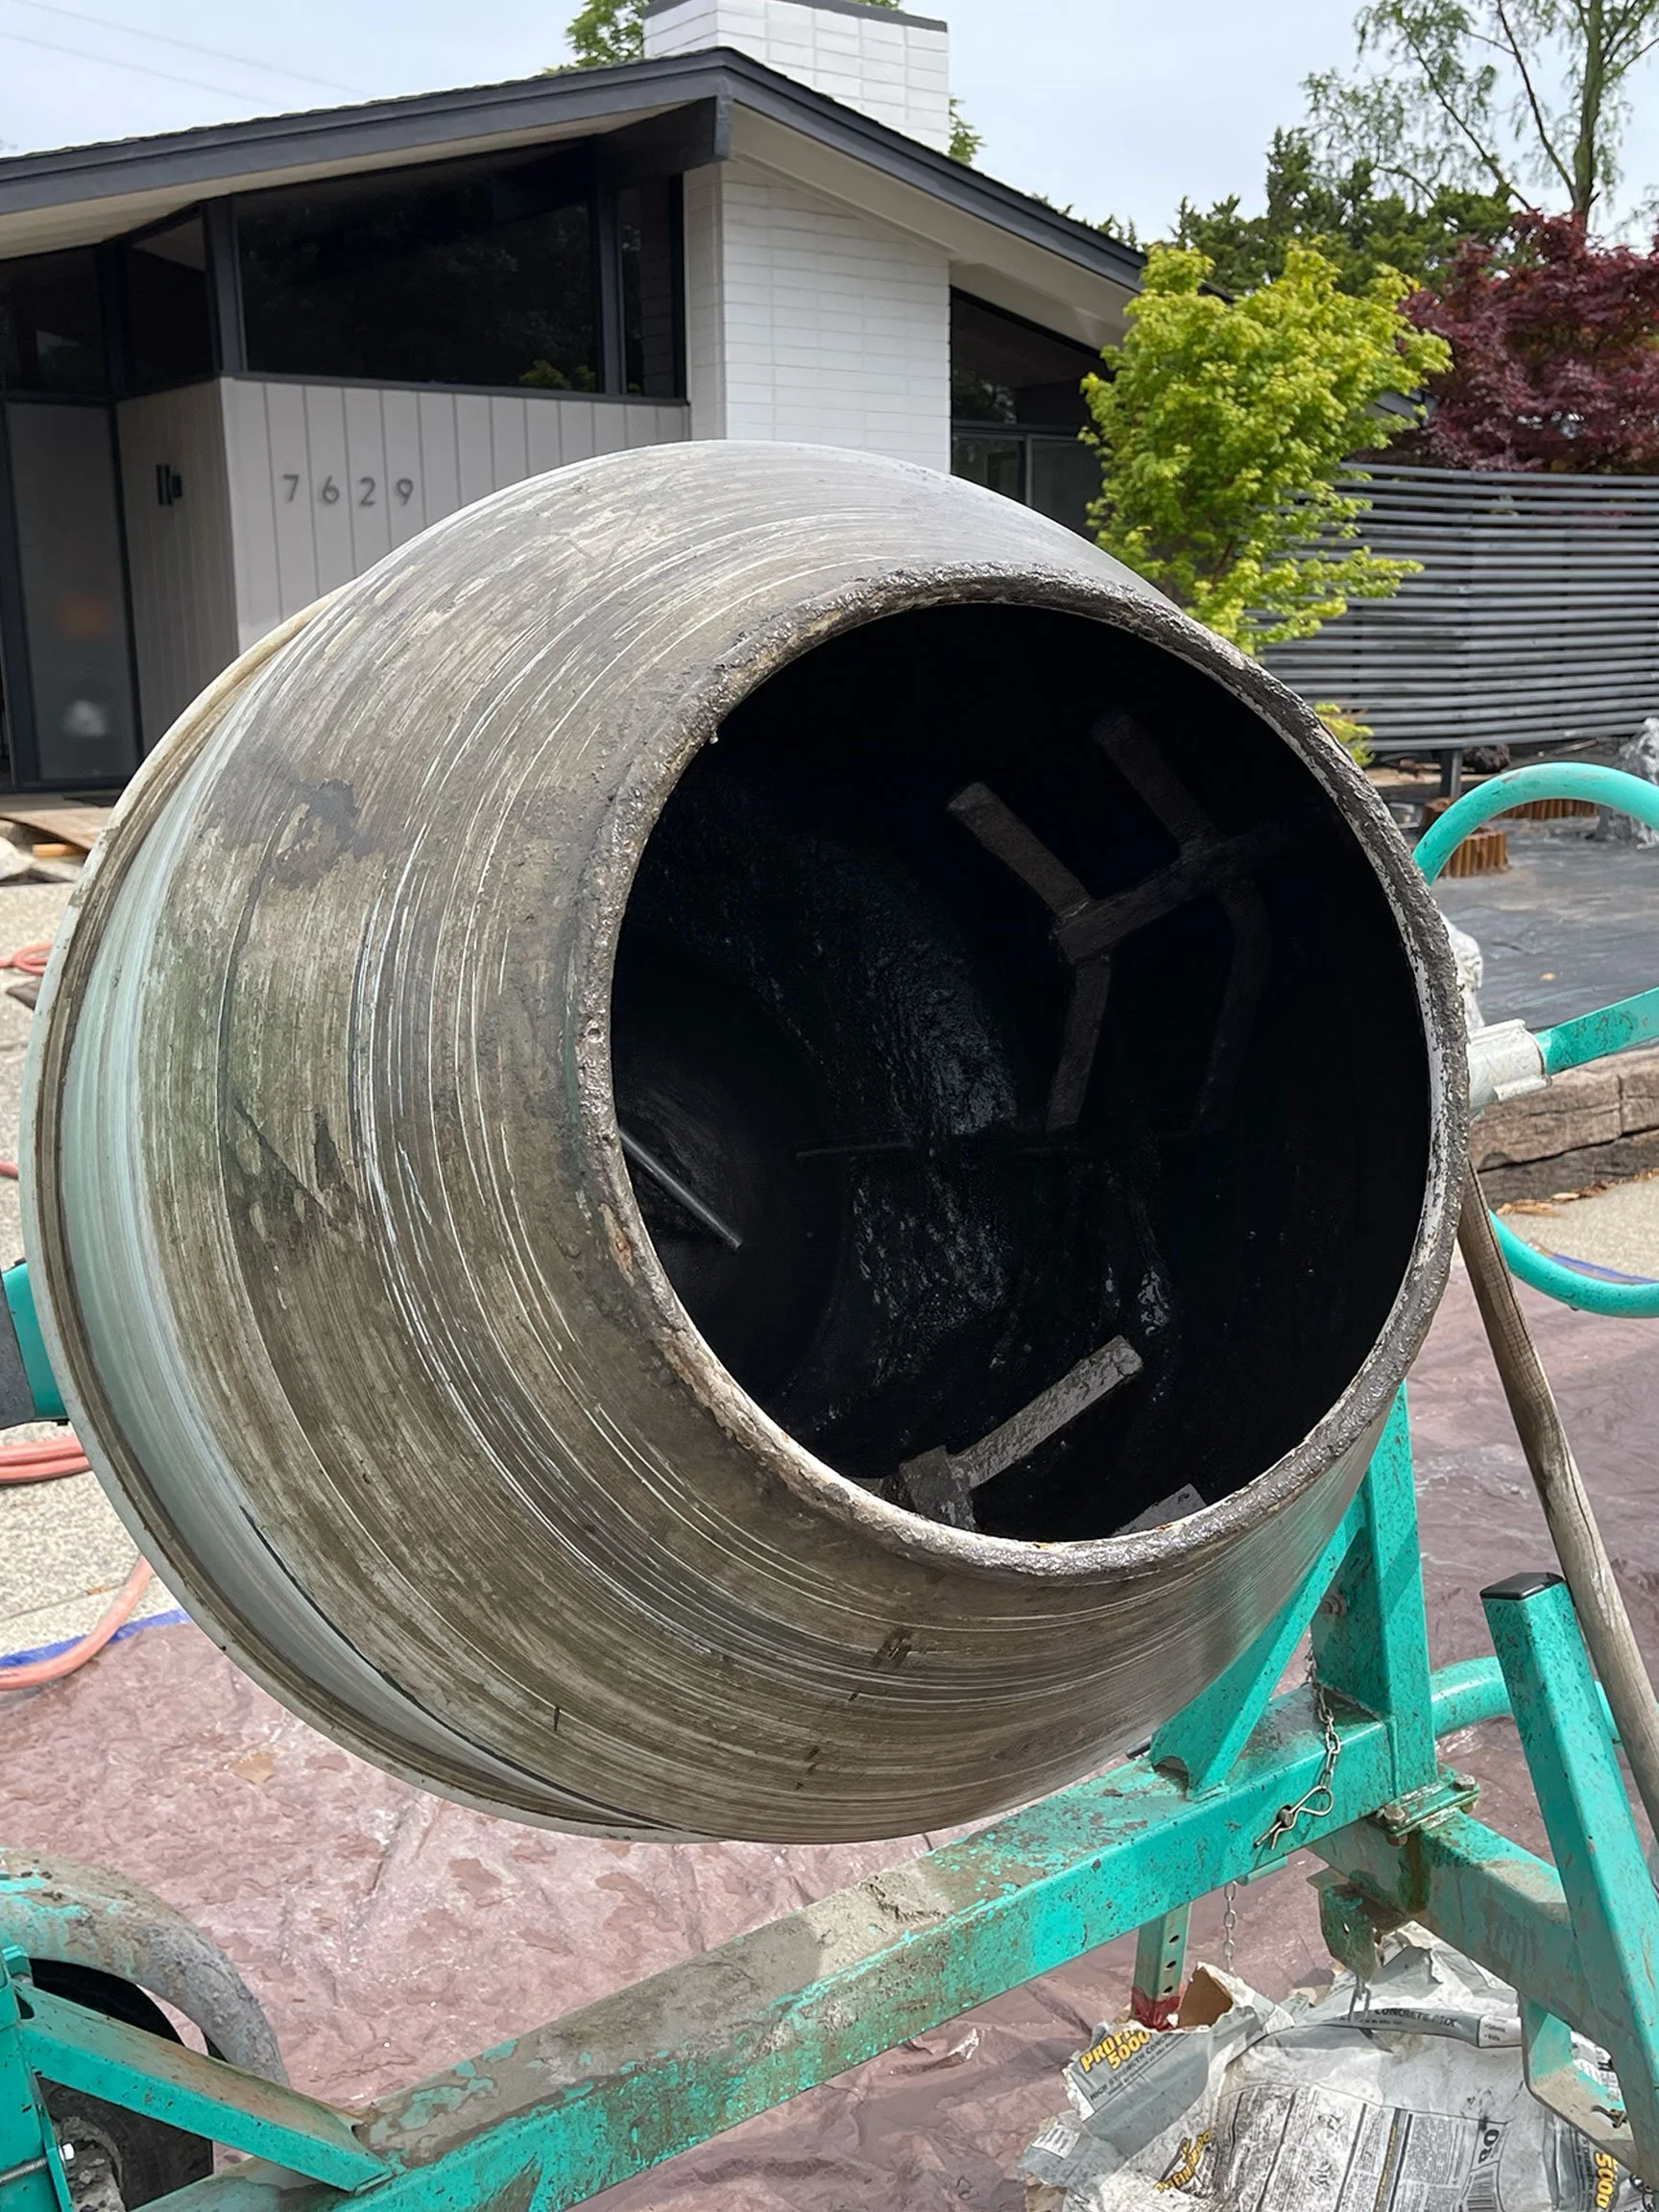
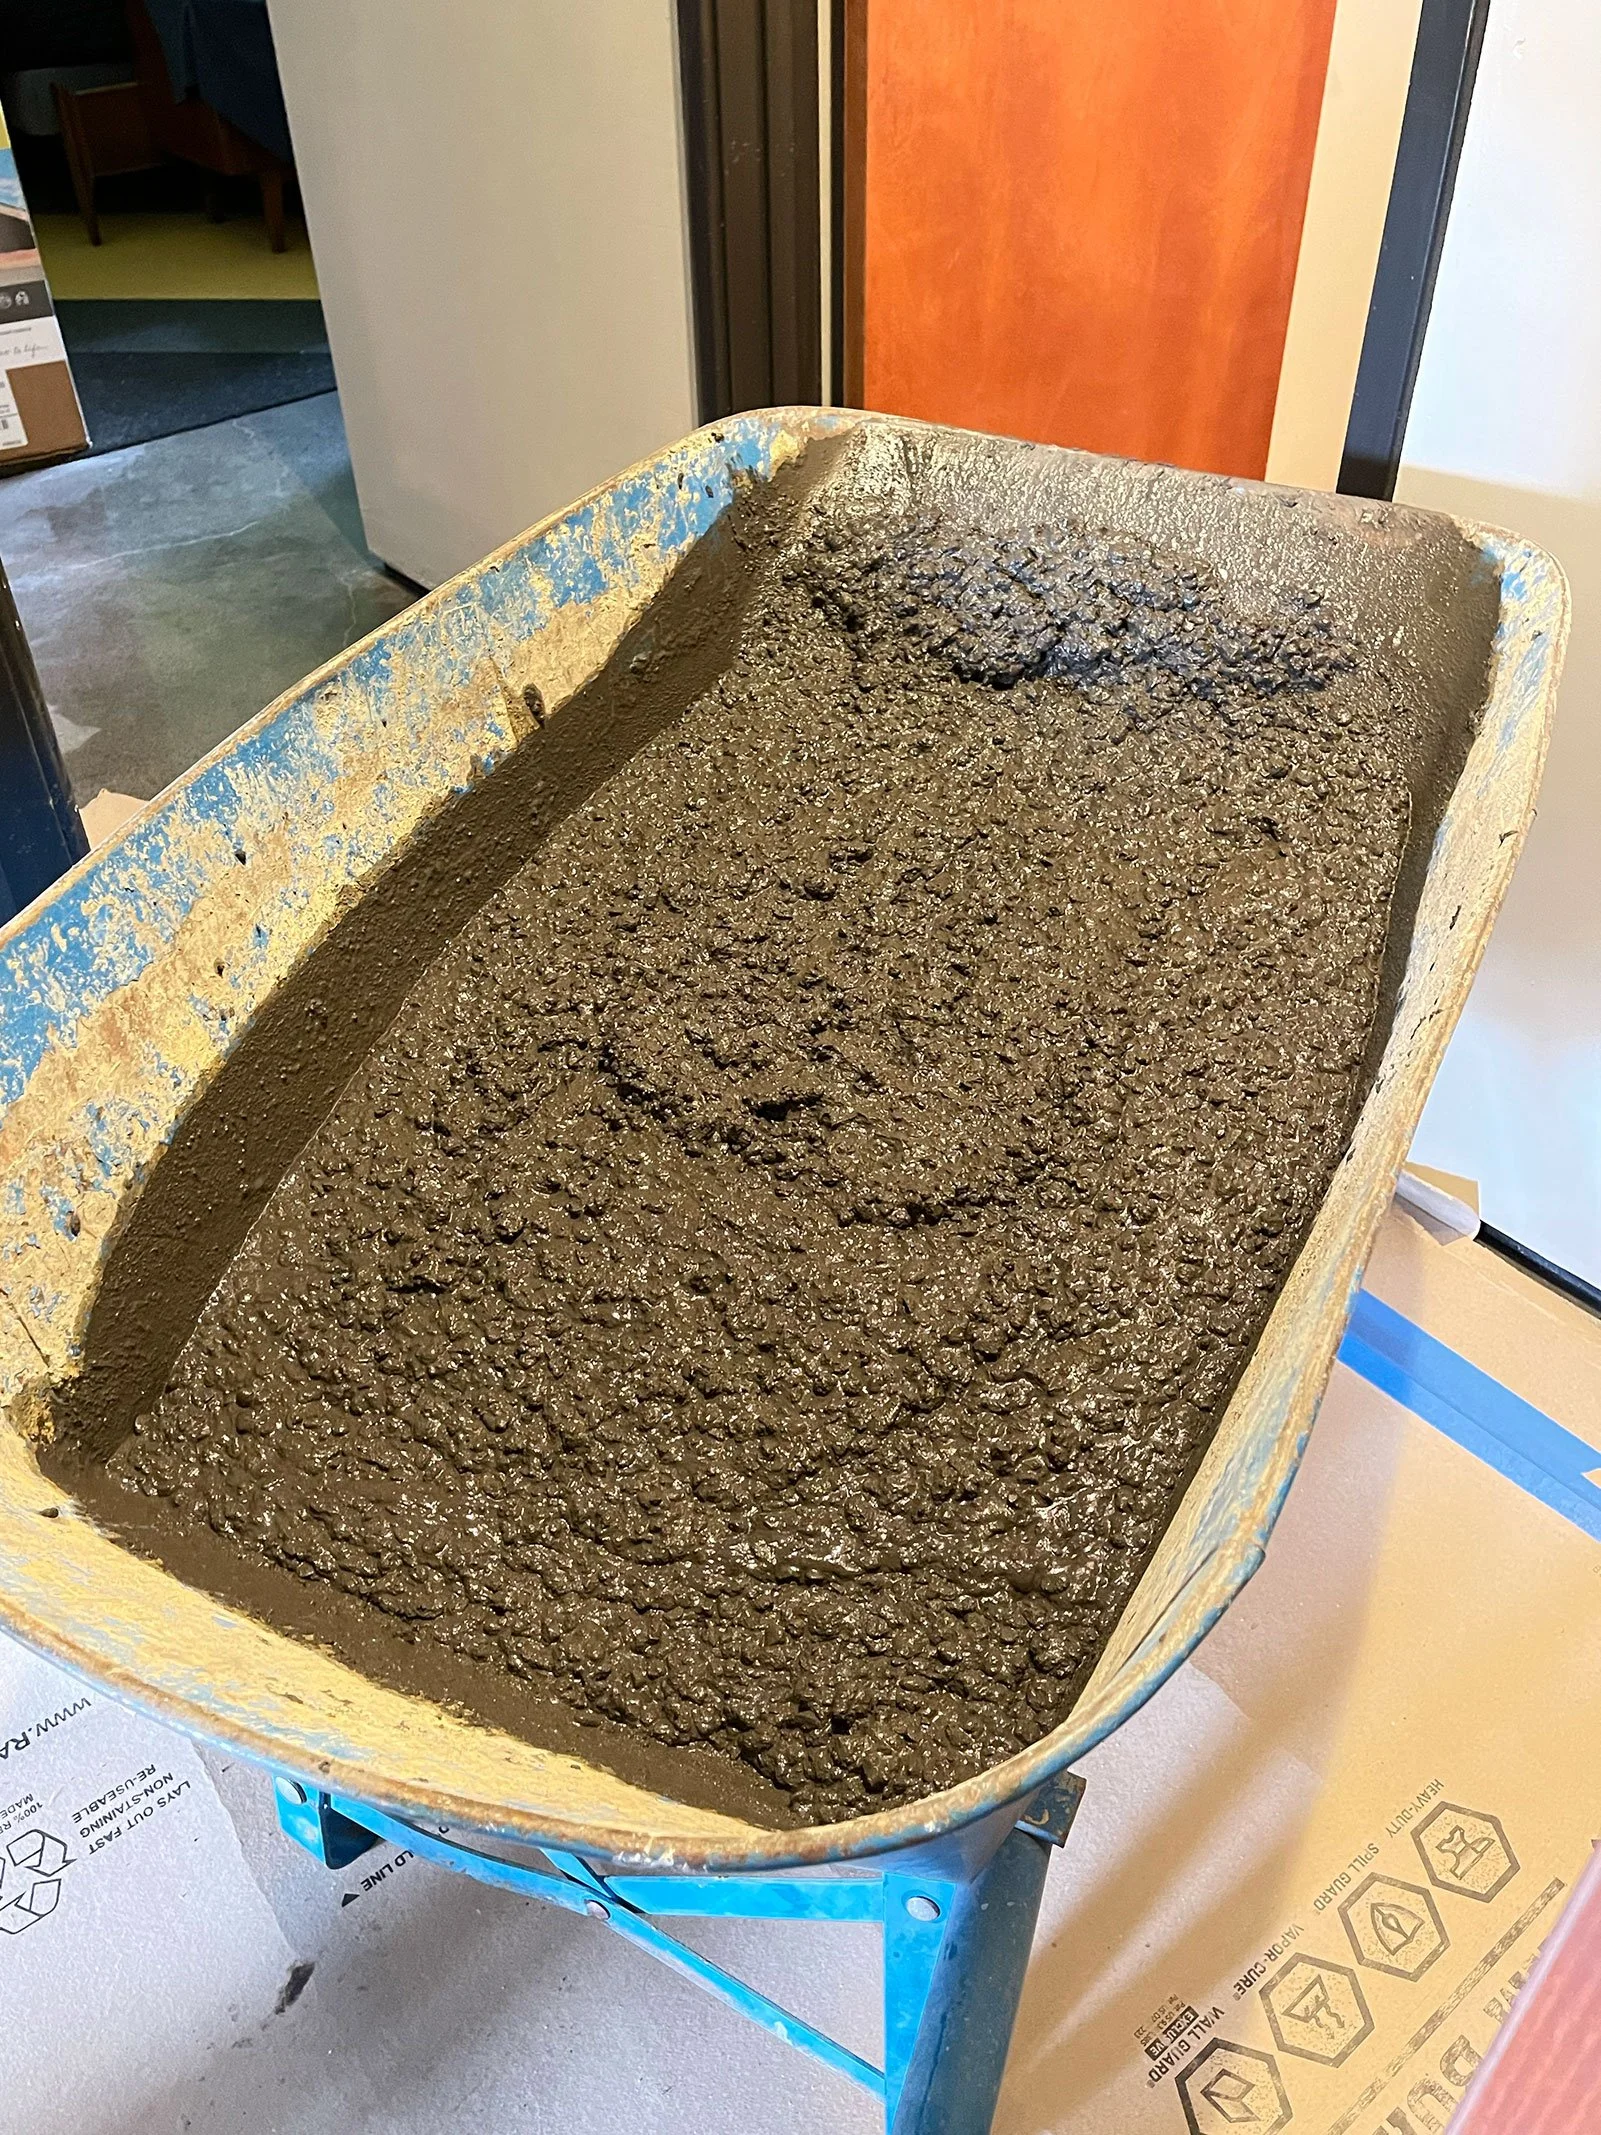
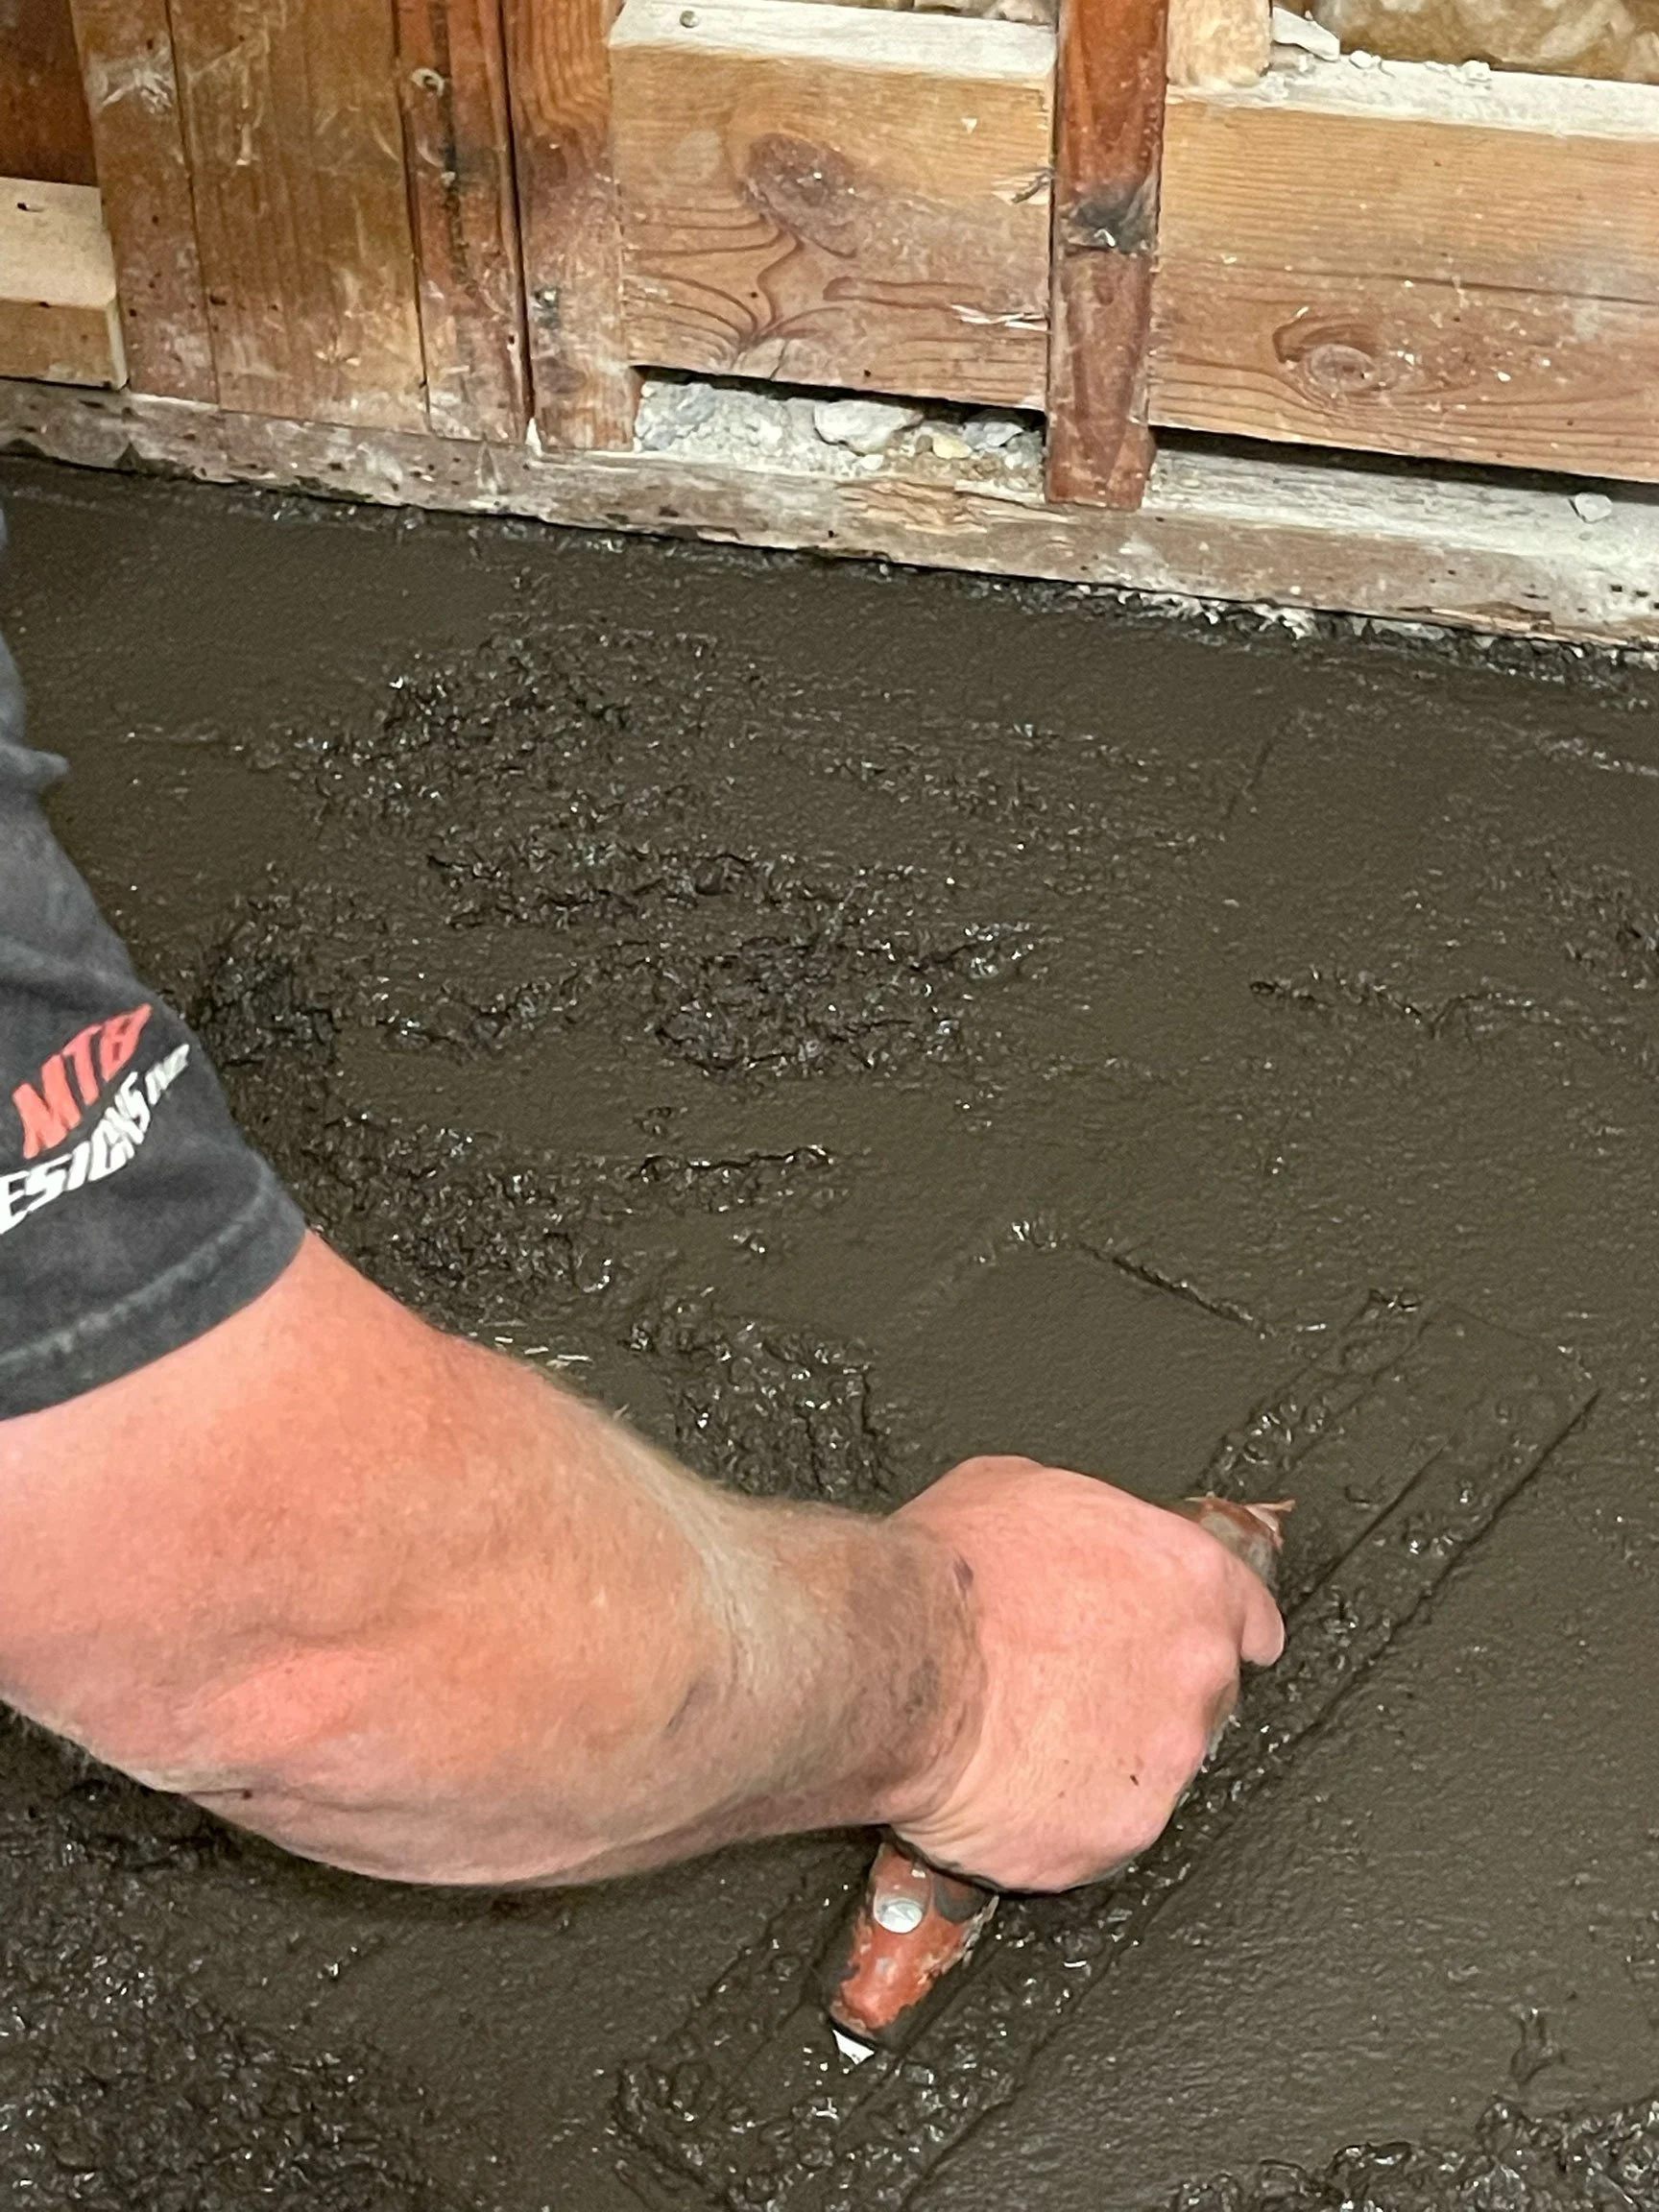
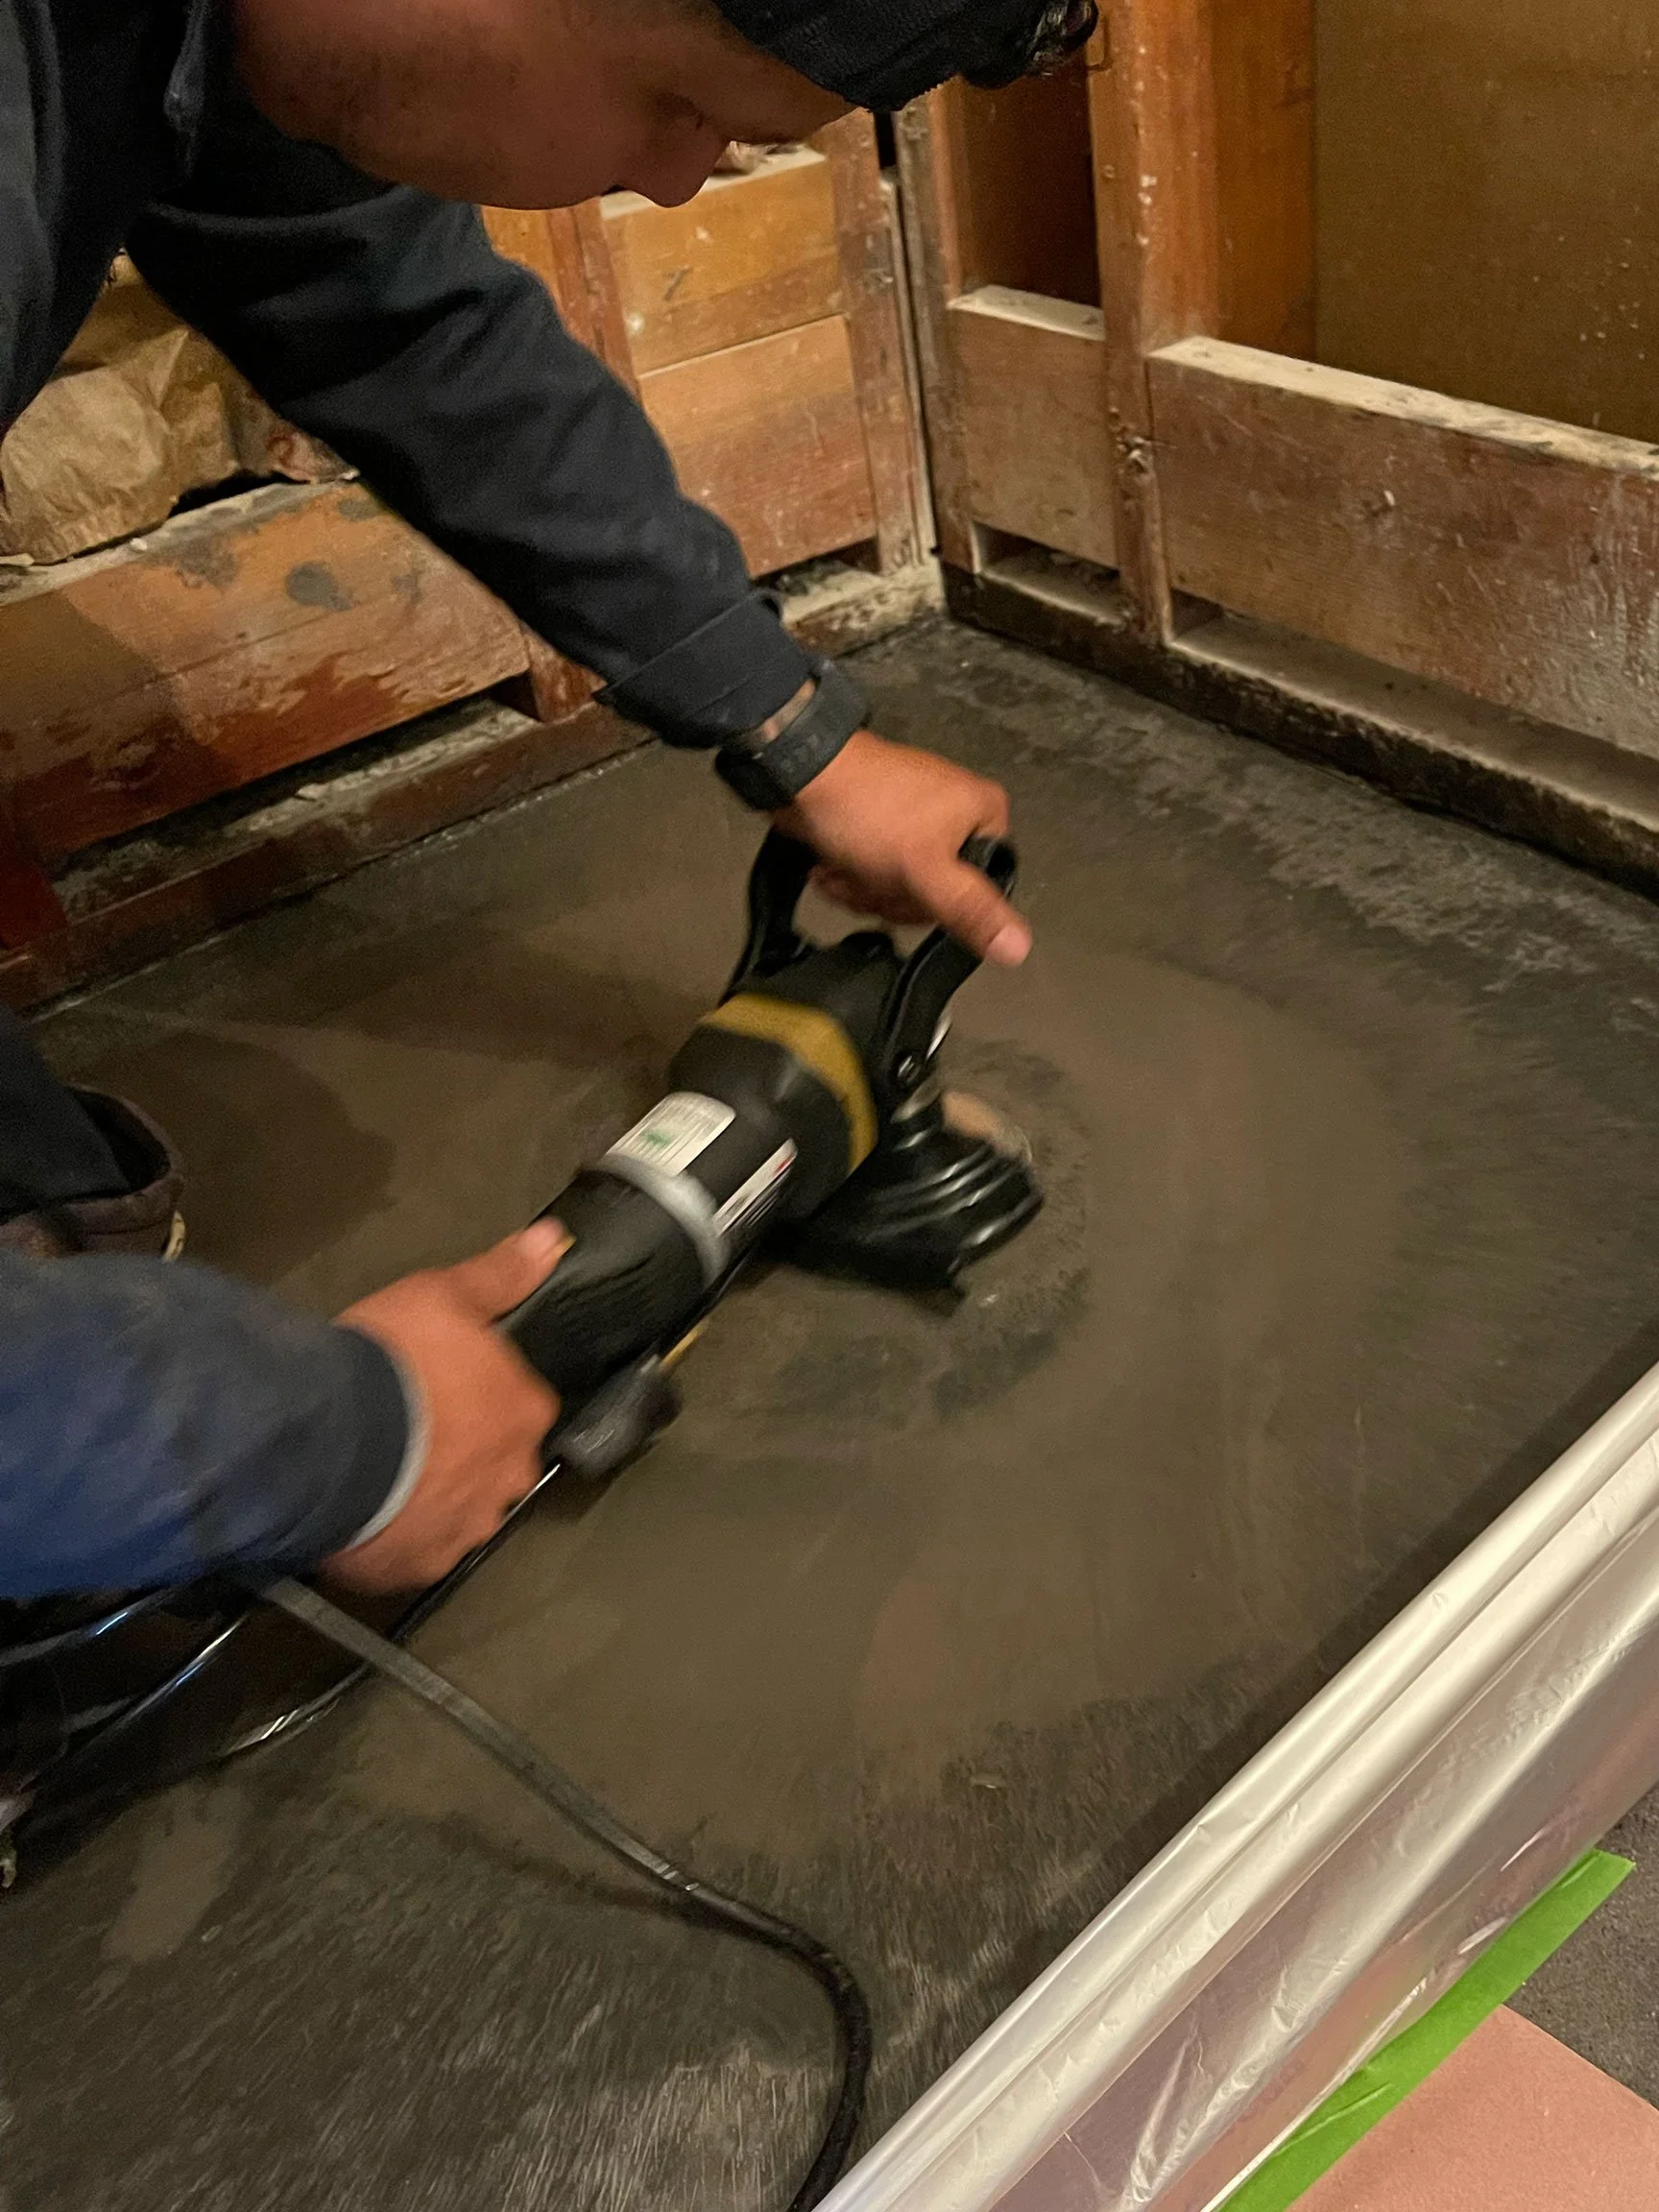
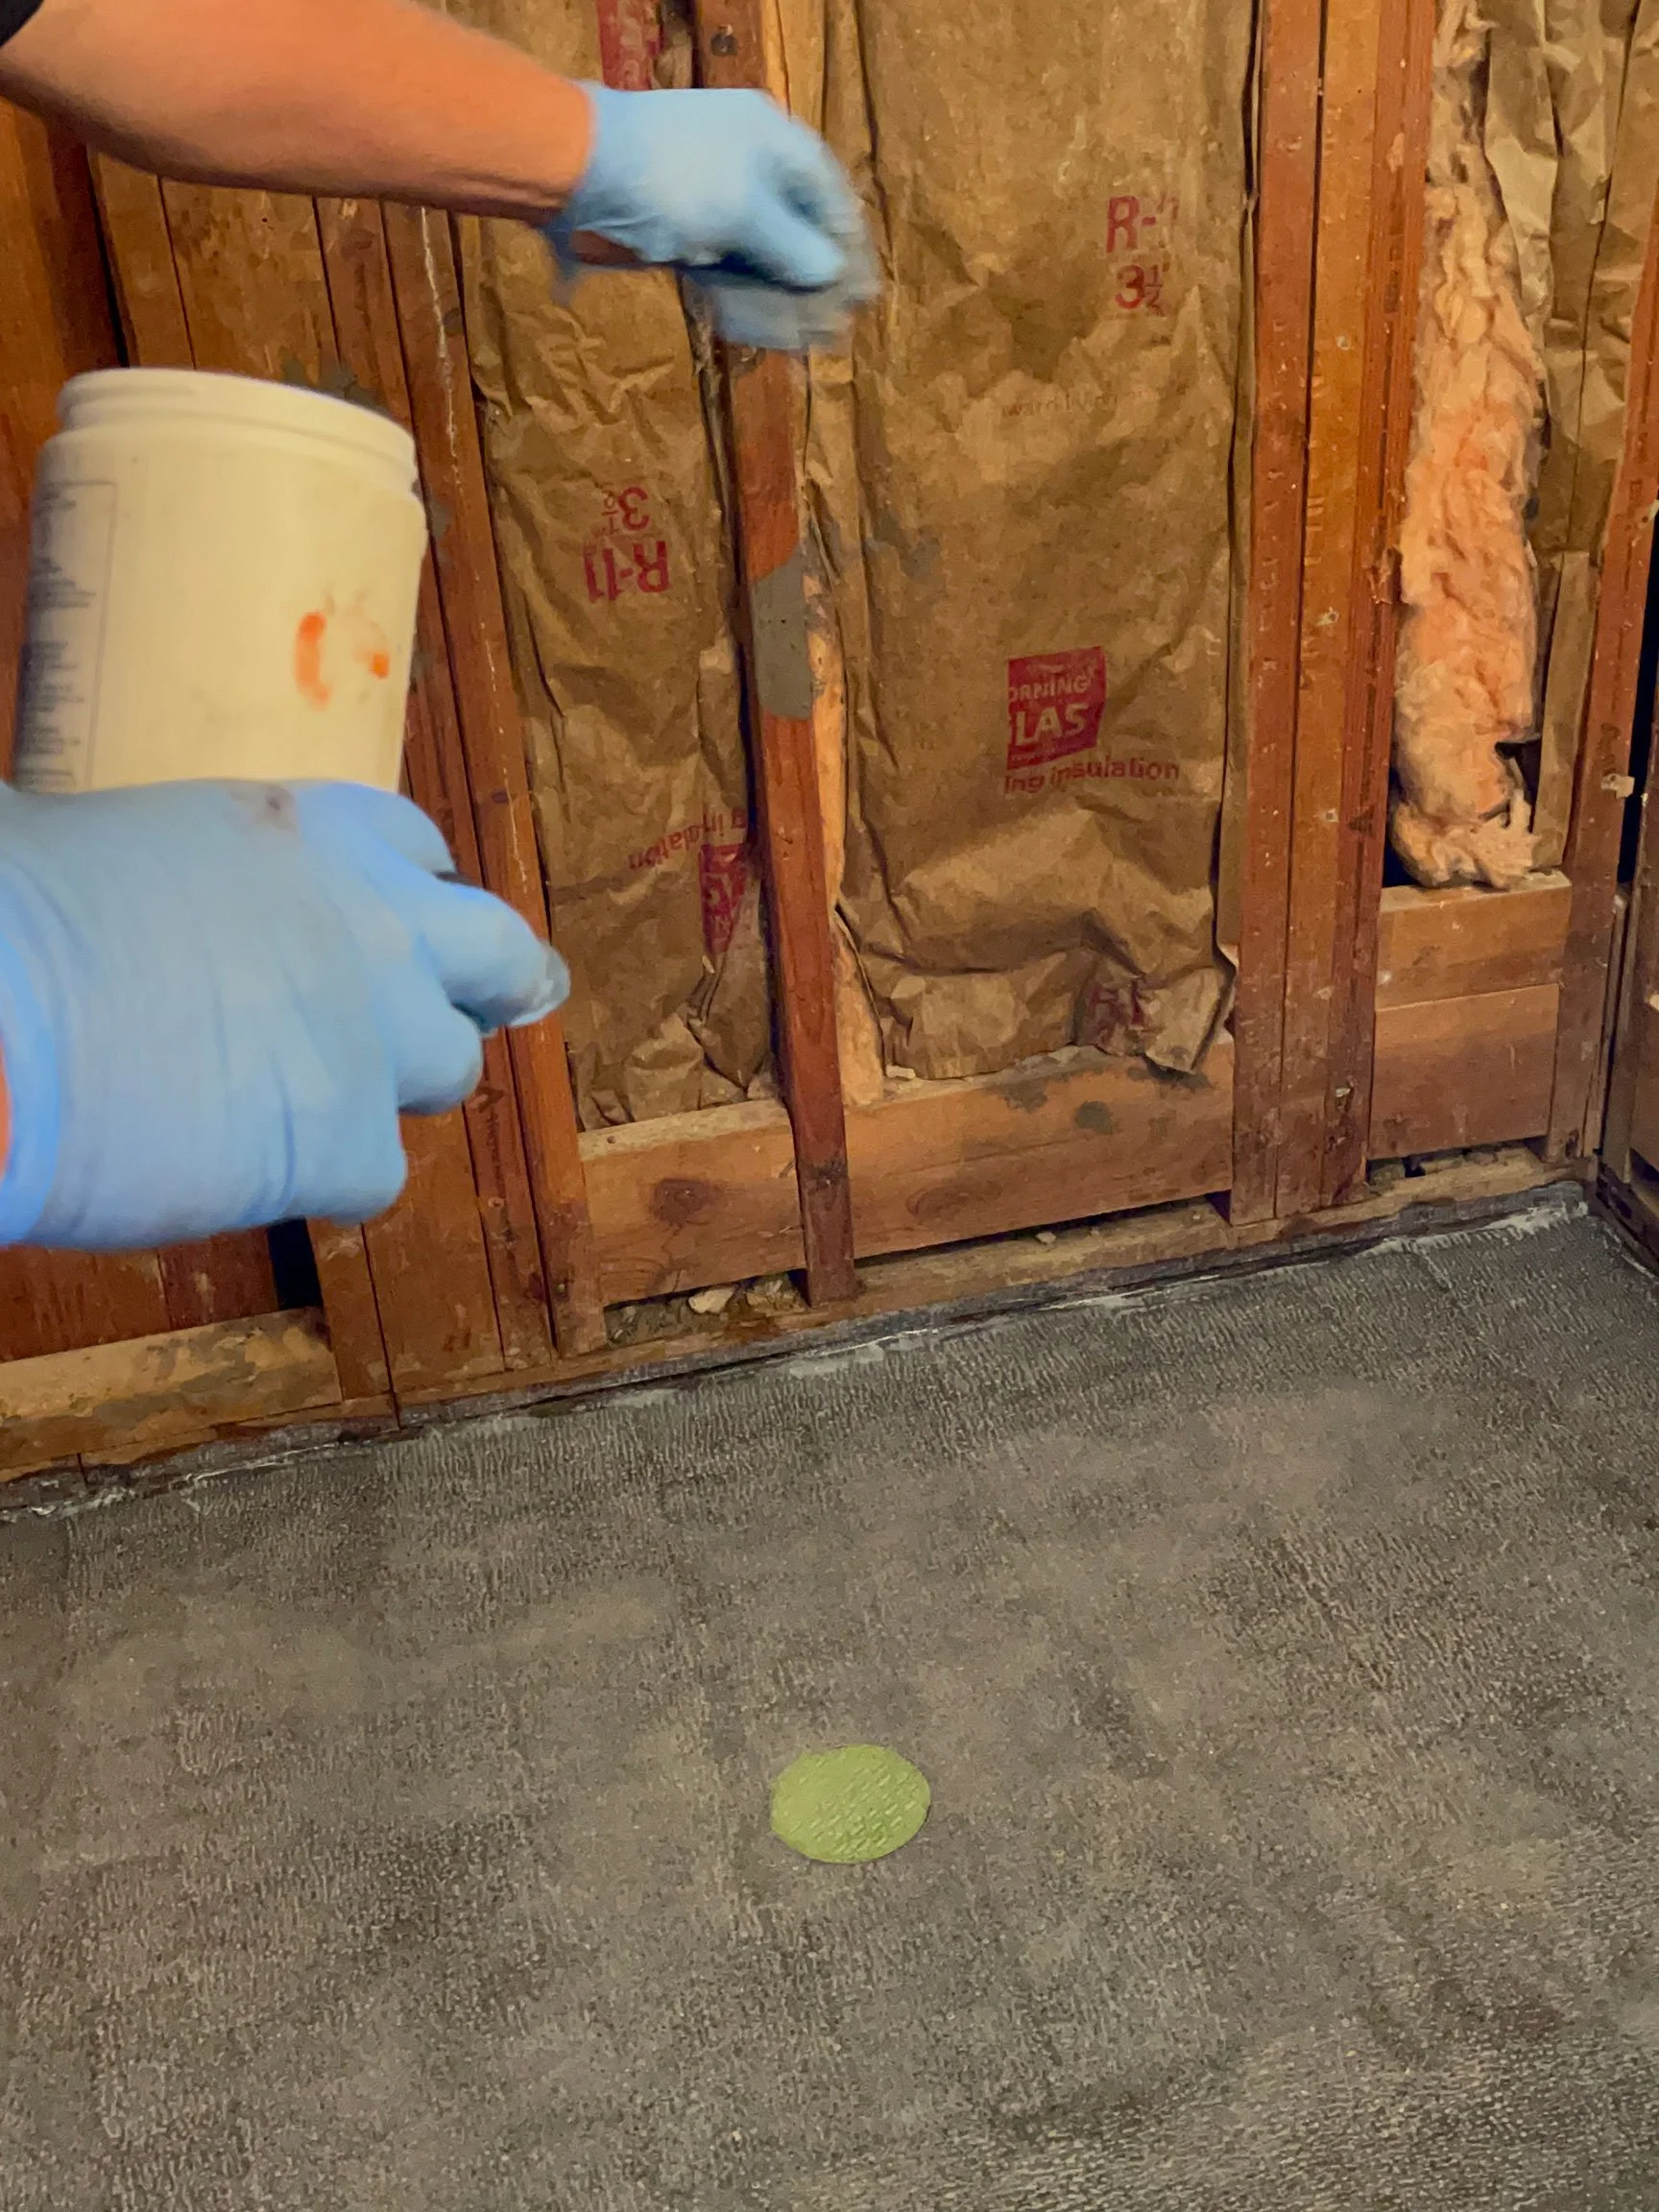
The following day, the concrete mixer was fired up in the driveway, and we were back on track. I had the flooring throughout my home stained with a black/clear mix, and wanted this new floor to match it as closely as possible. Black dye was added to the overall mix, giving it a beautiful, matching tone. Careful leveling and sloping toward the drain was performed with a hand trowel. The entire surface was ground with a hand grinder to reveal a beautiful salt and pepper exposed aggregate. As a final step, the concrete was sprinkled with a fine silica sand to provide a non-slip texture to the shower floor.

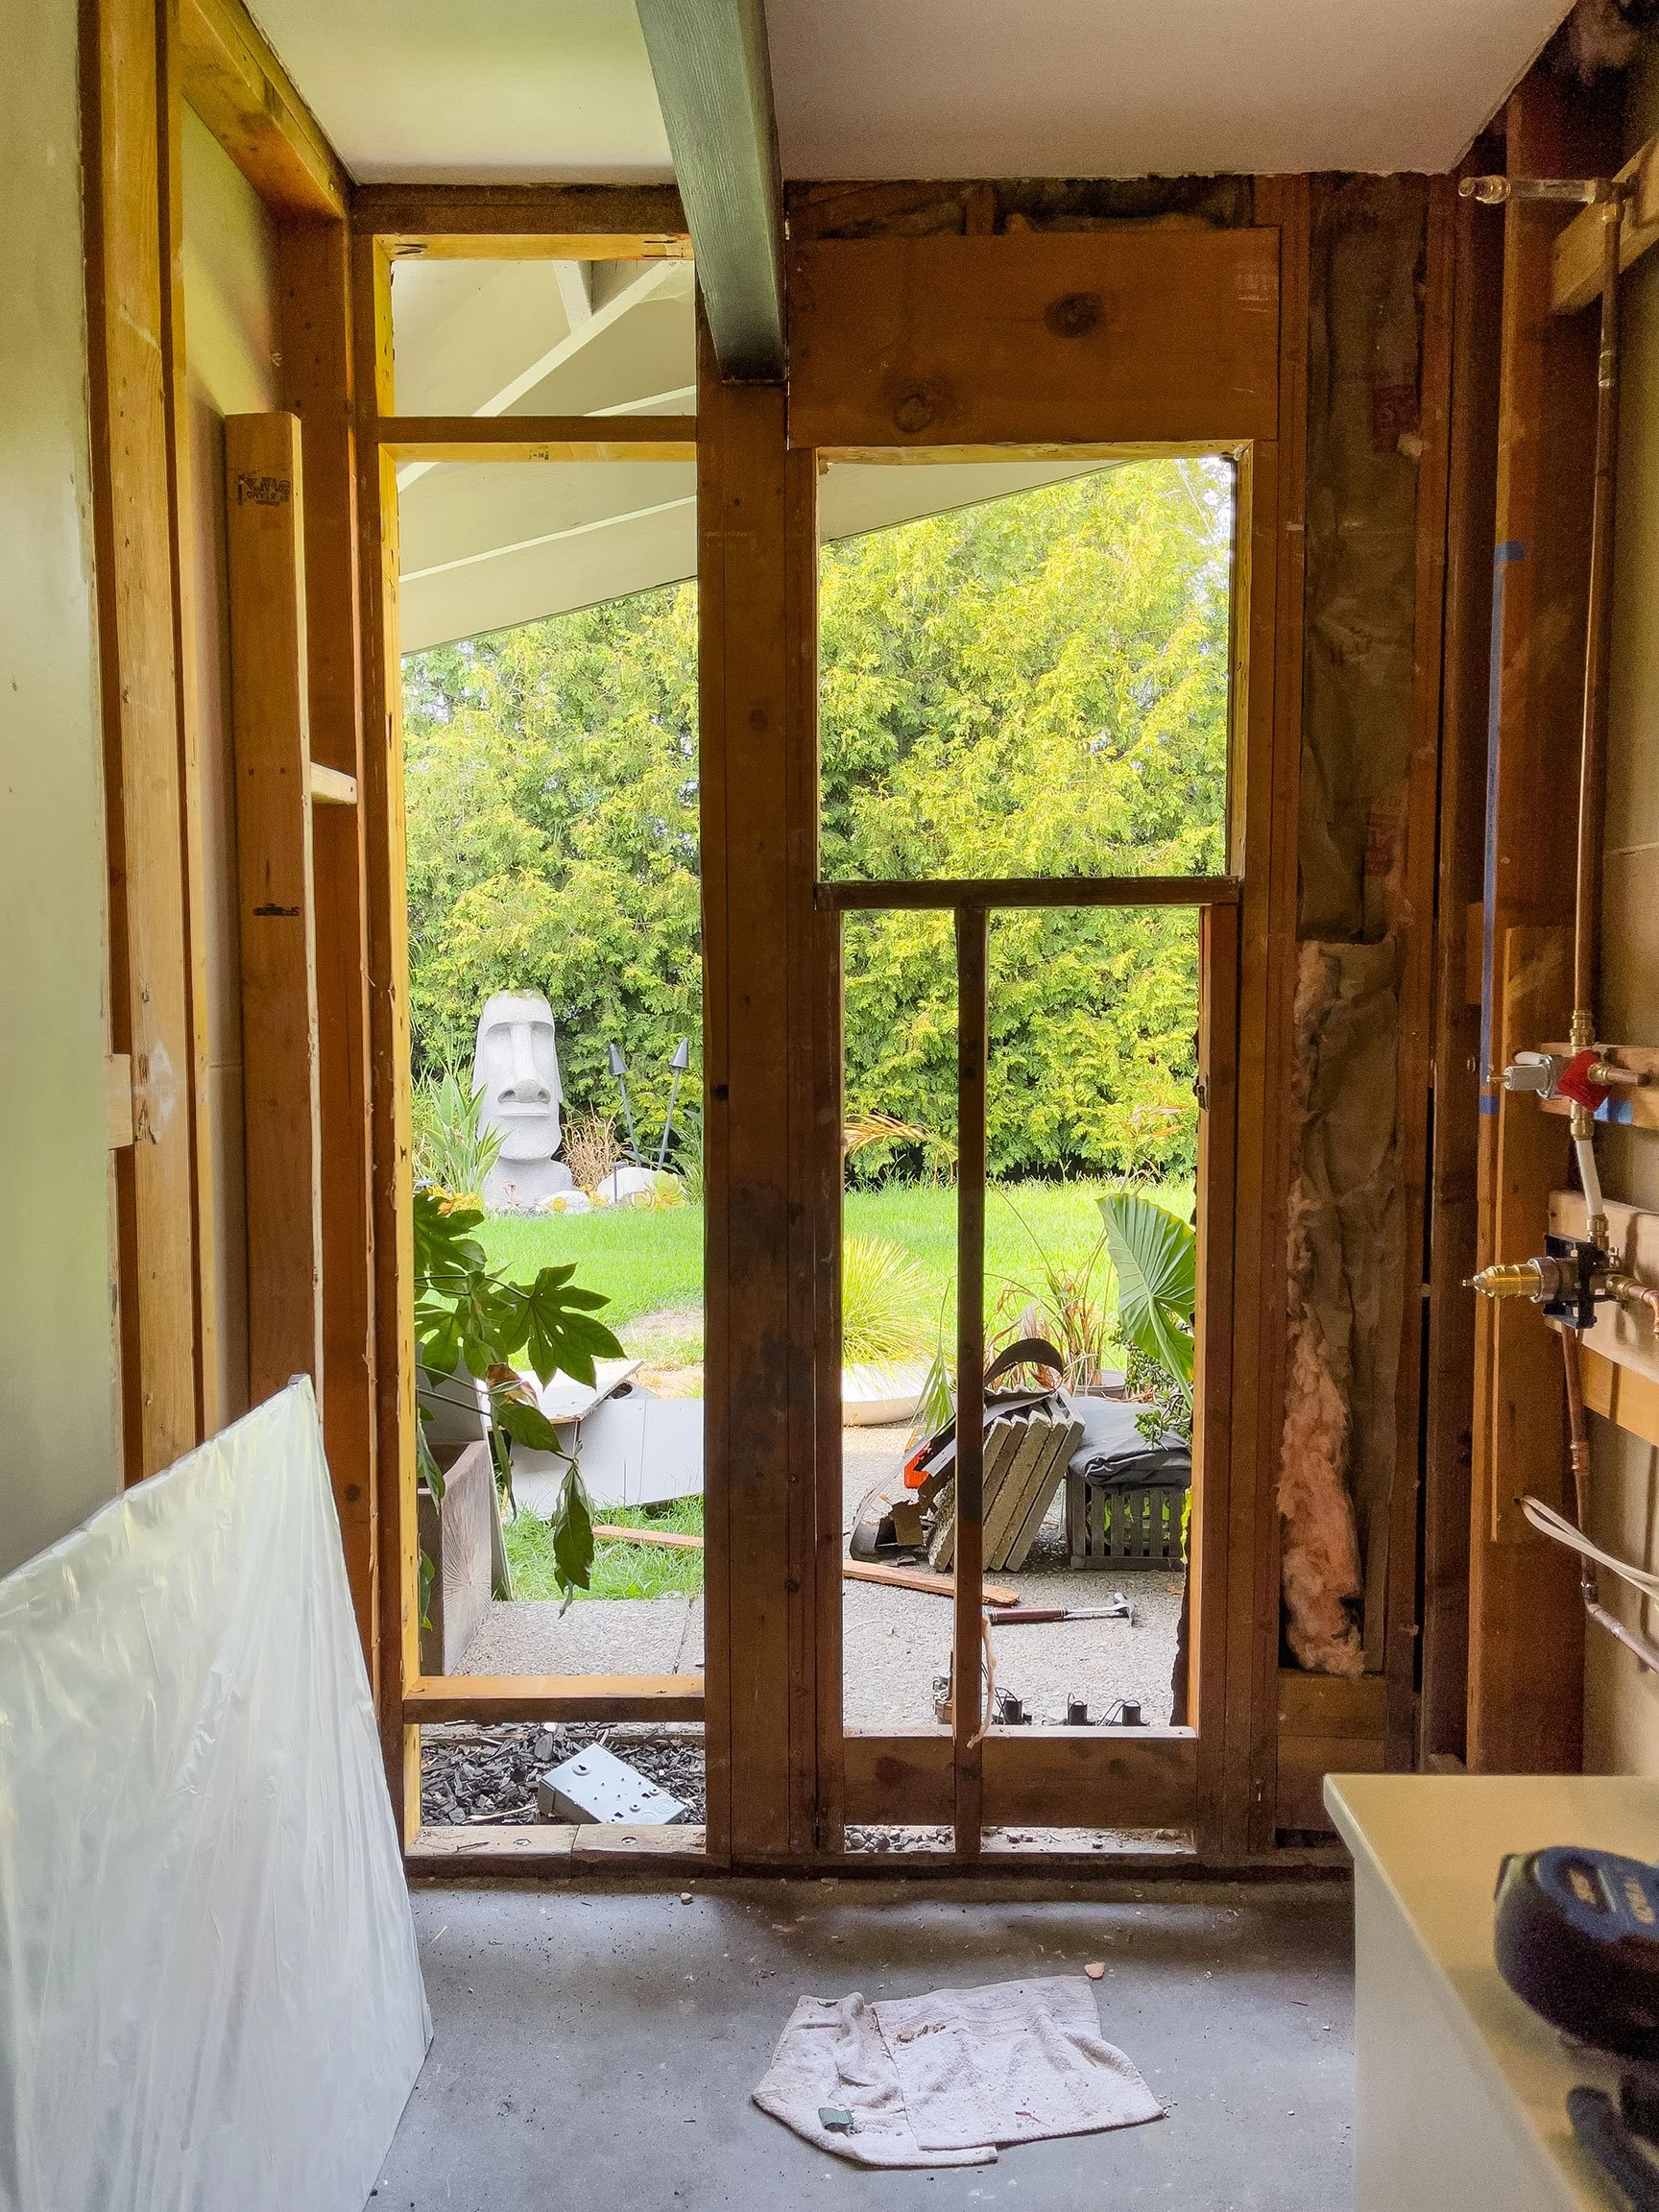
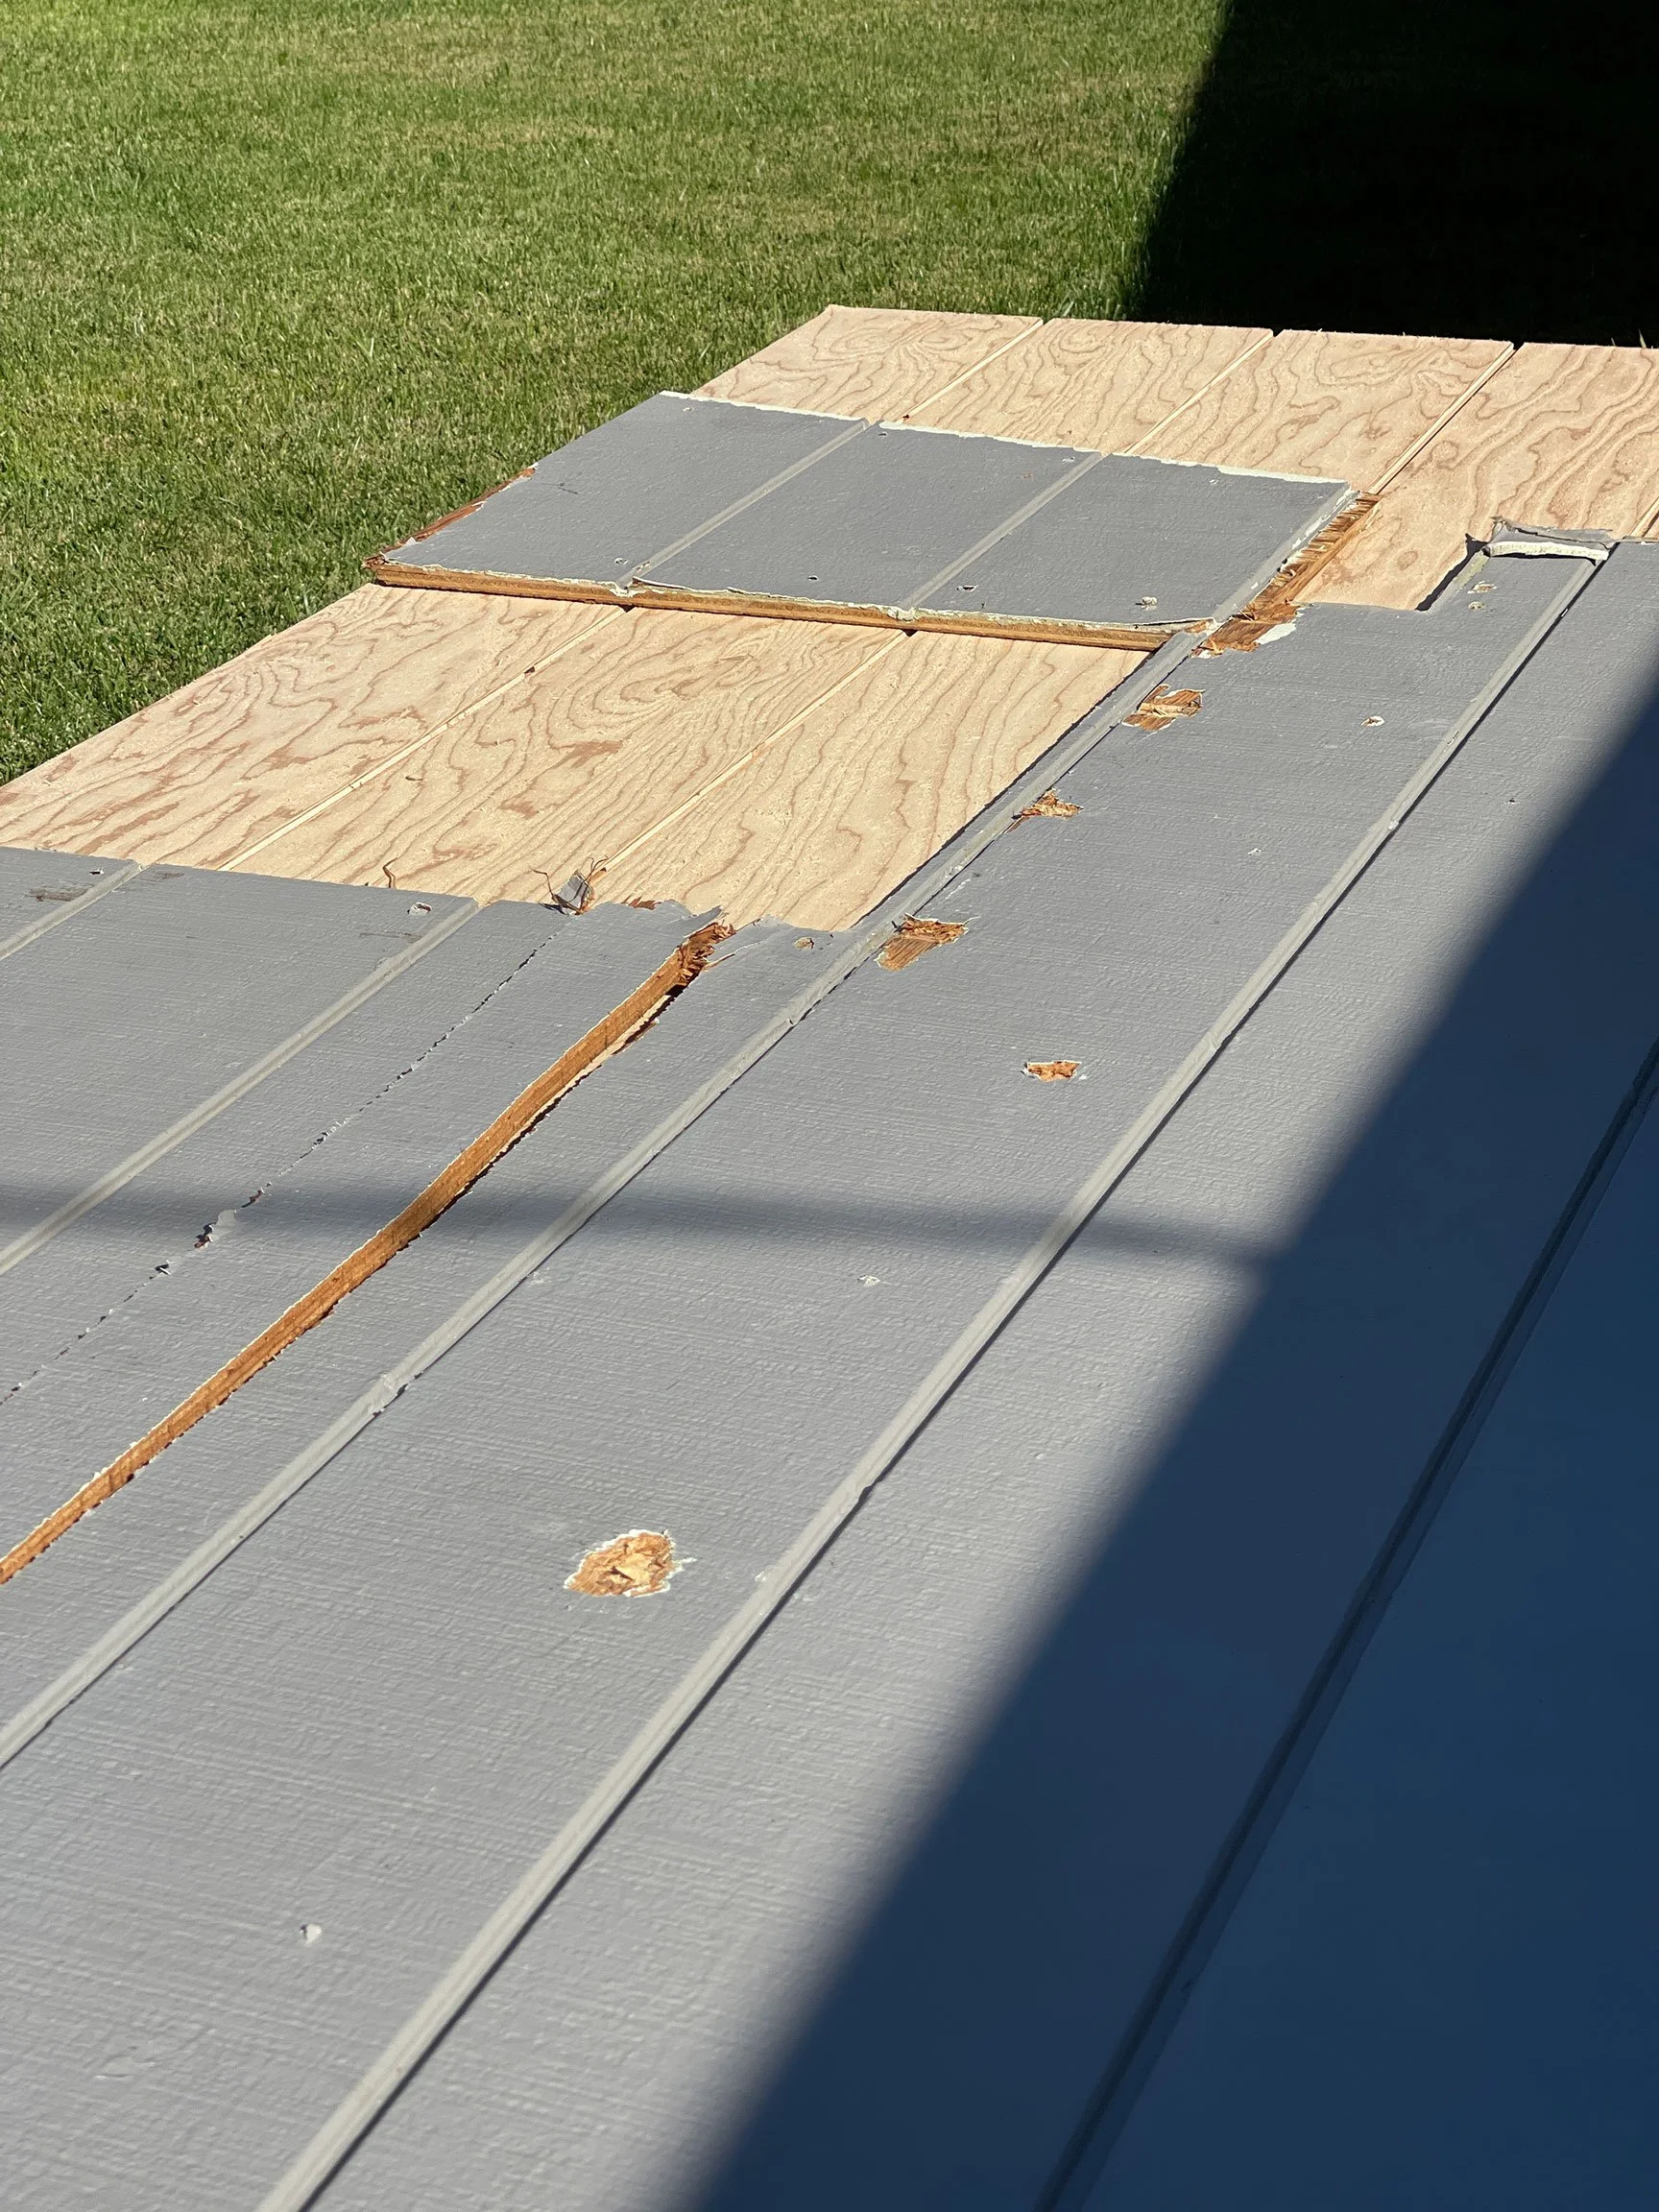
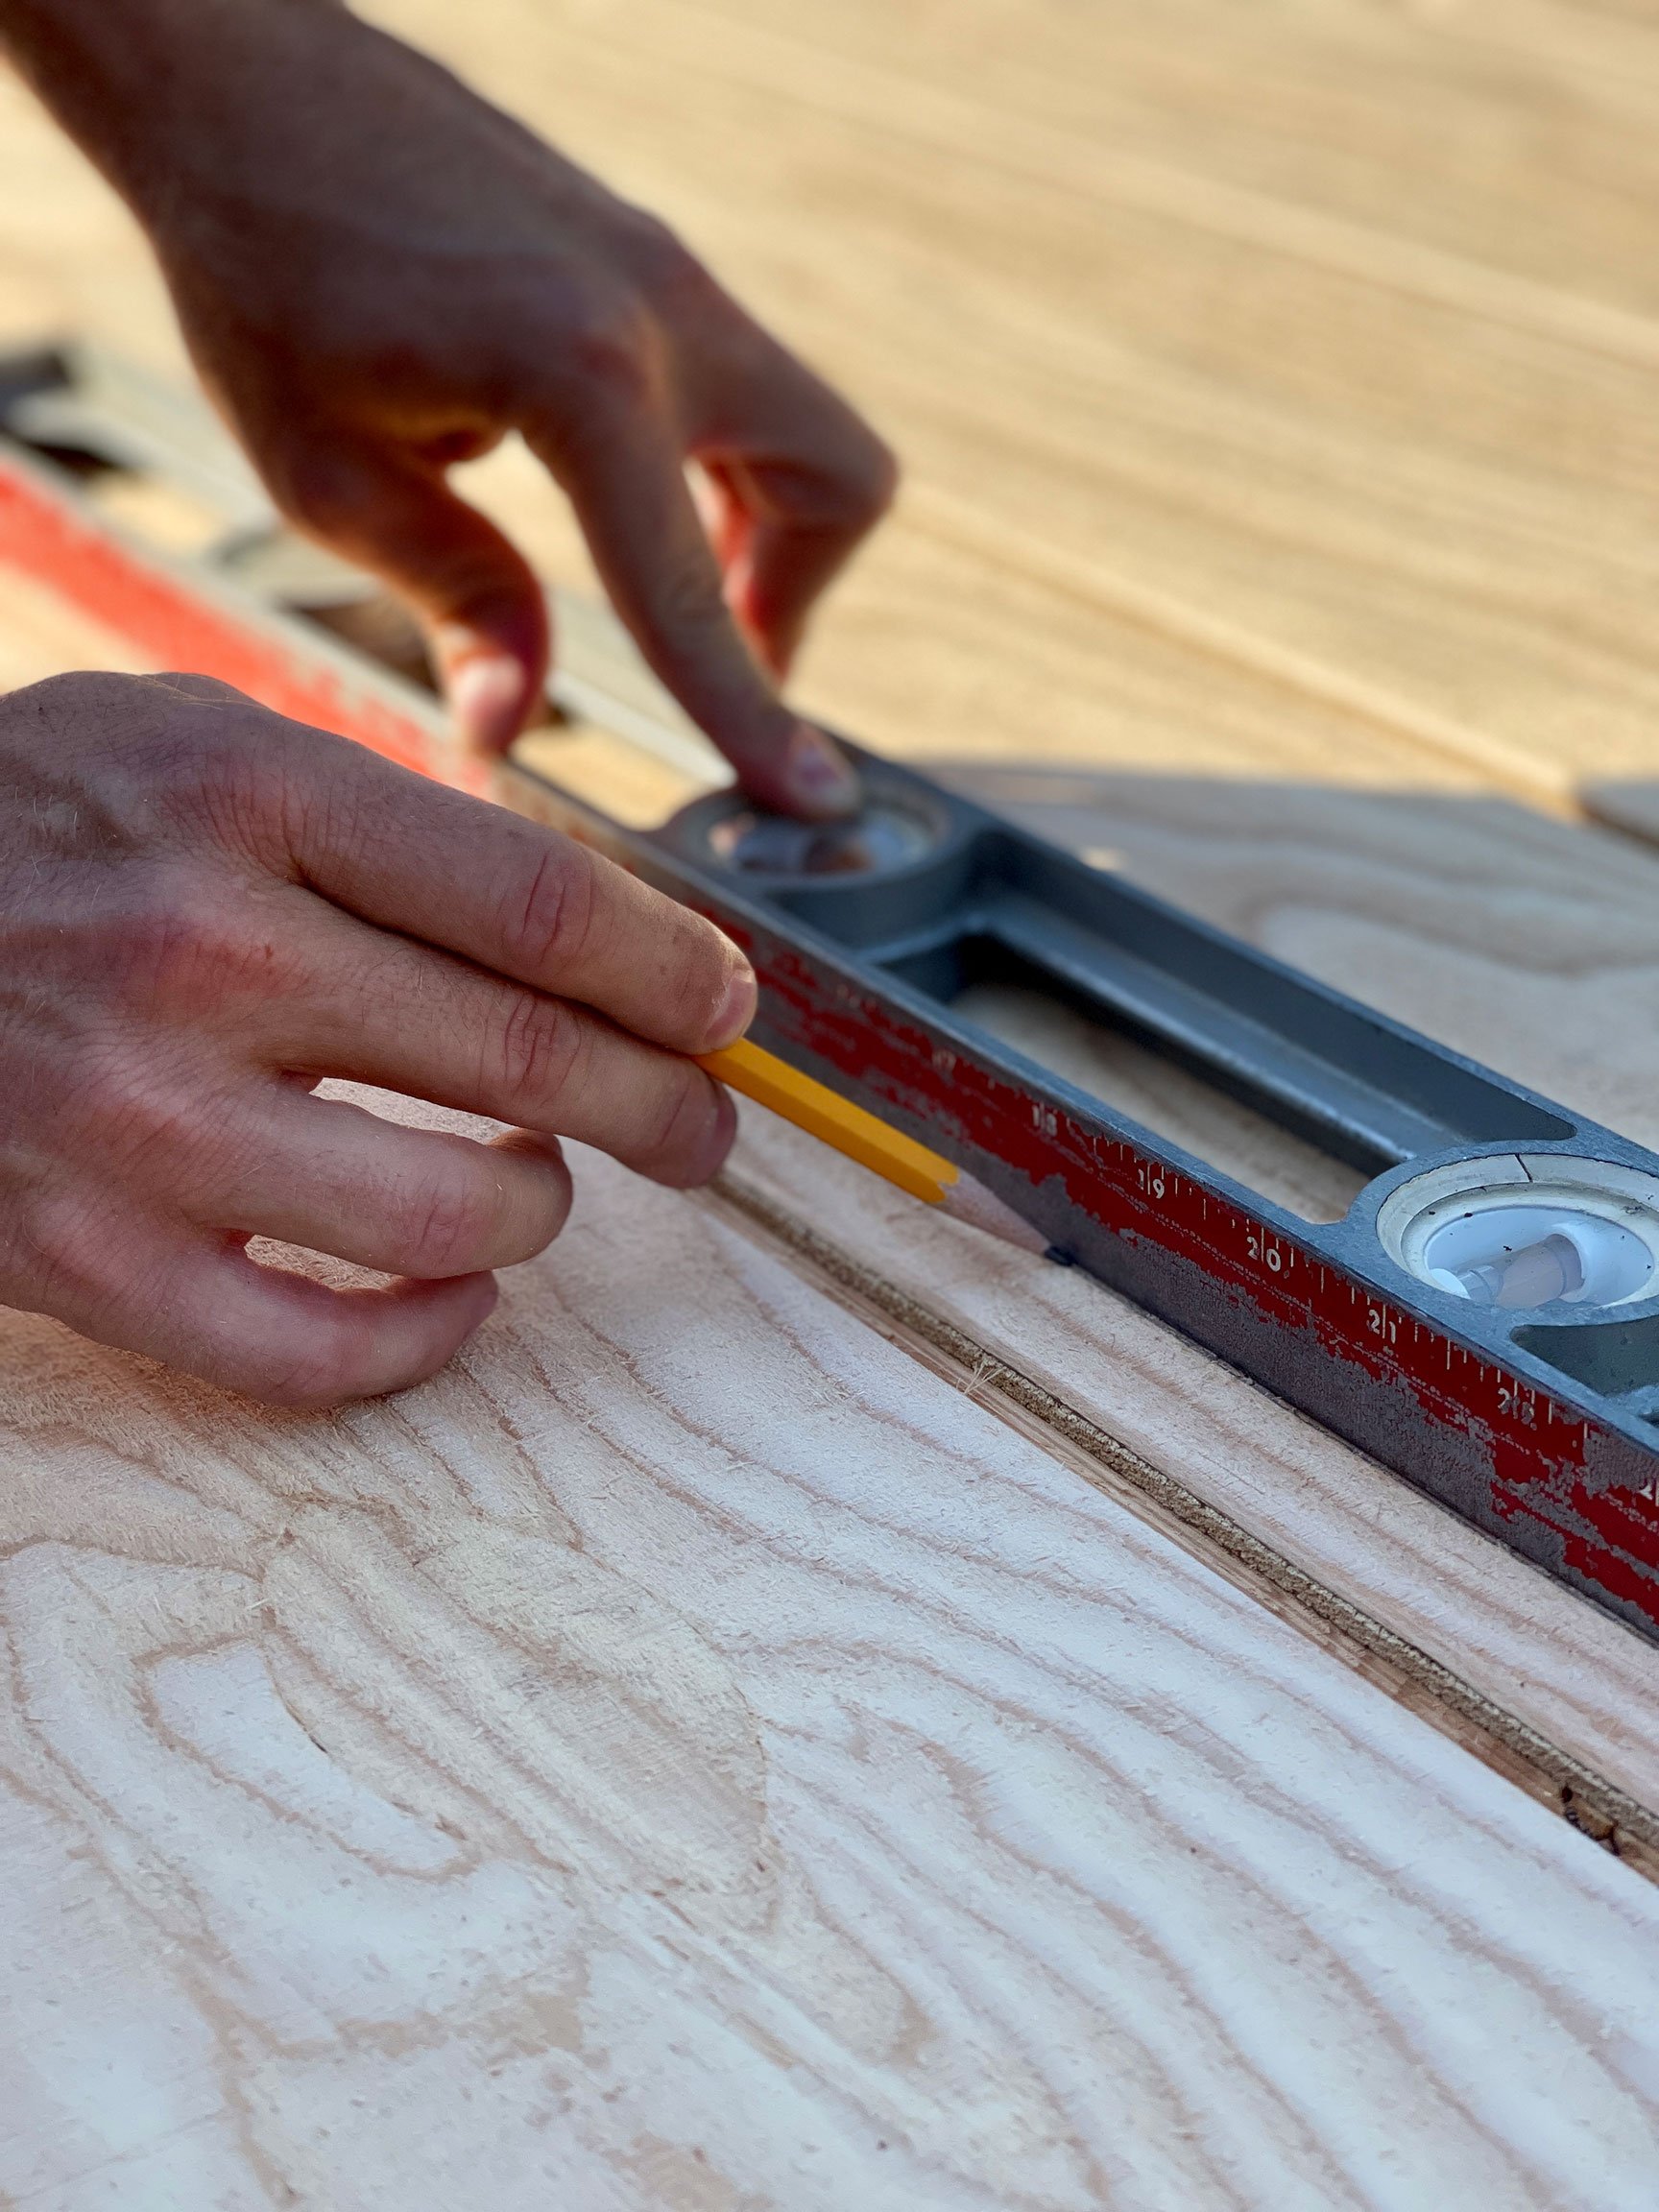
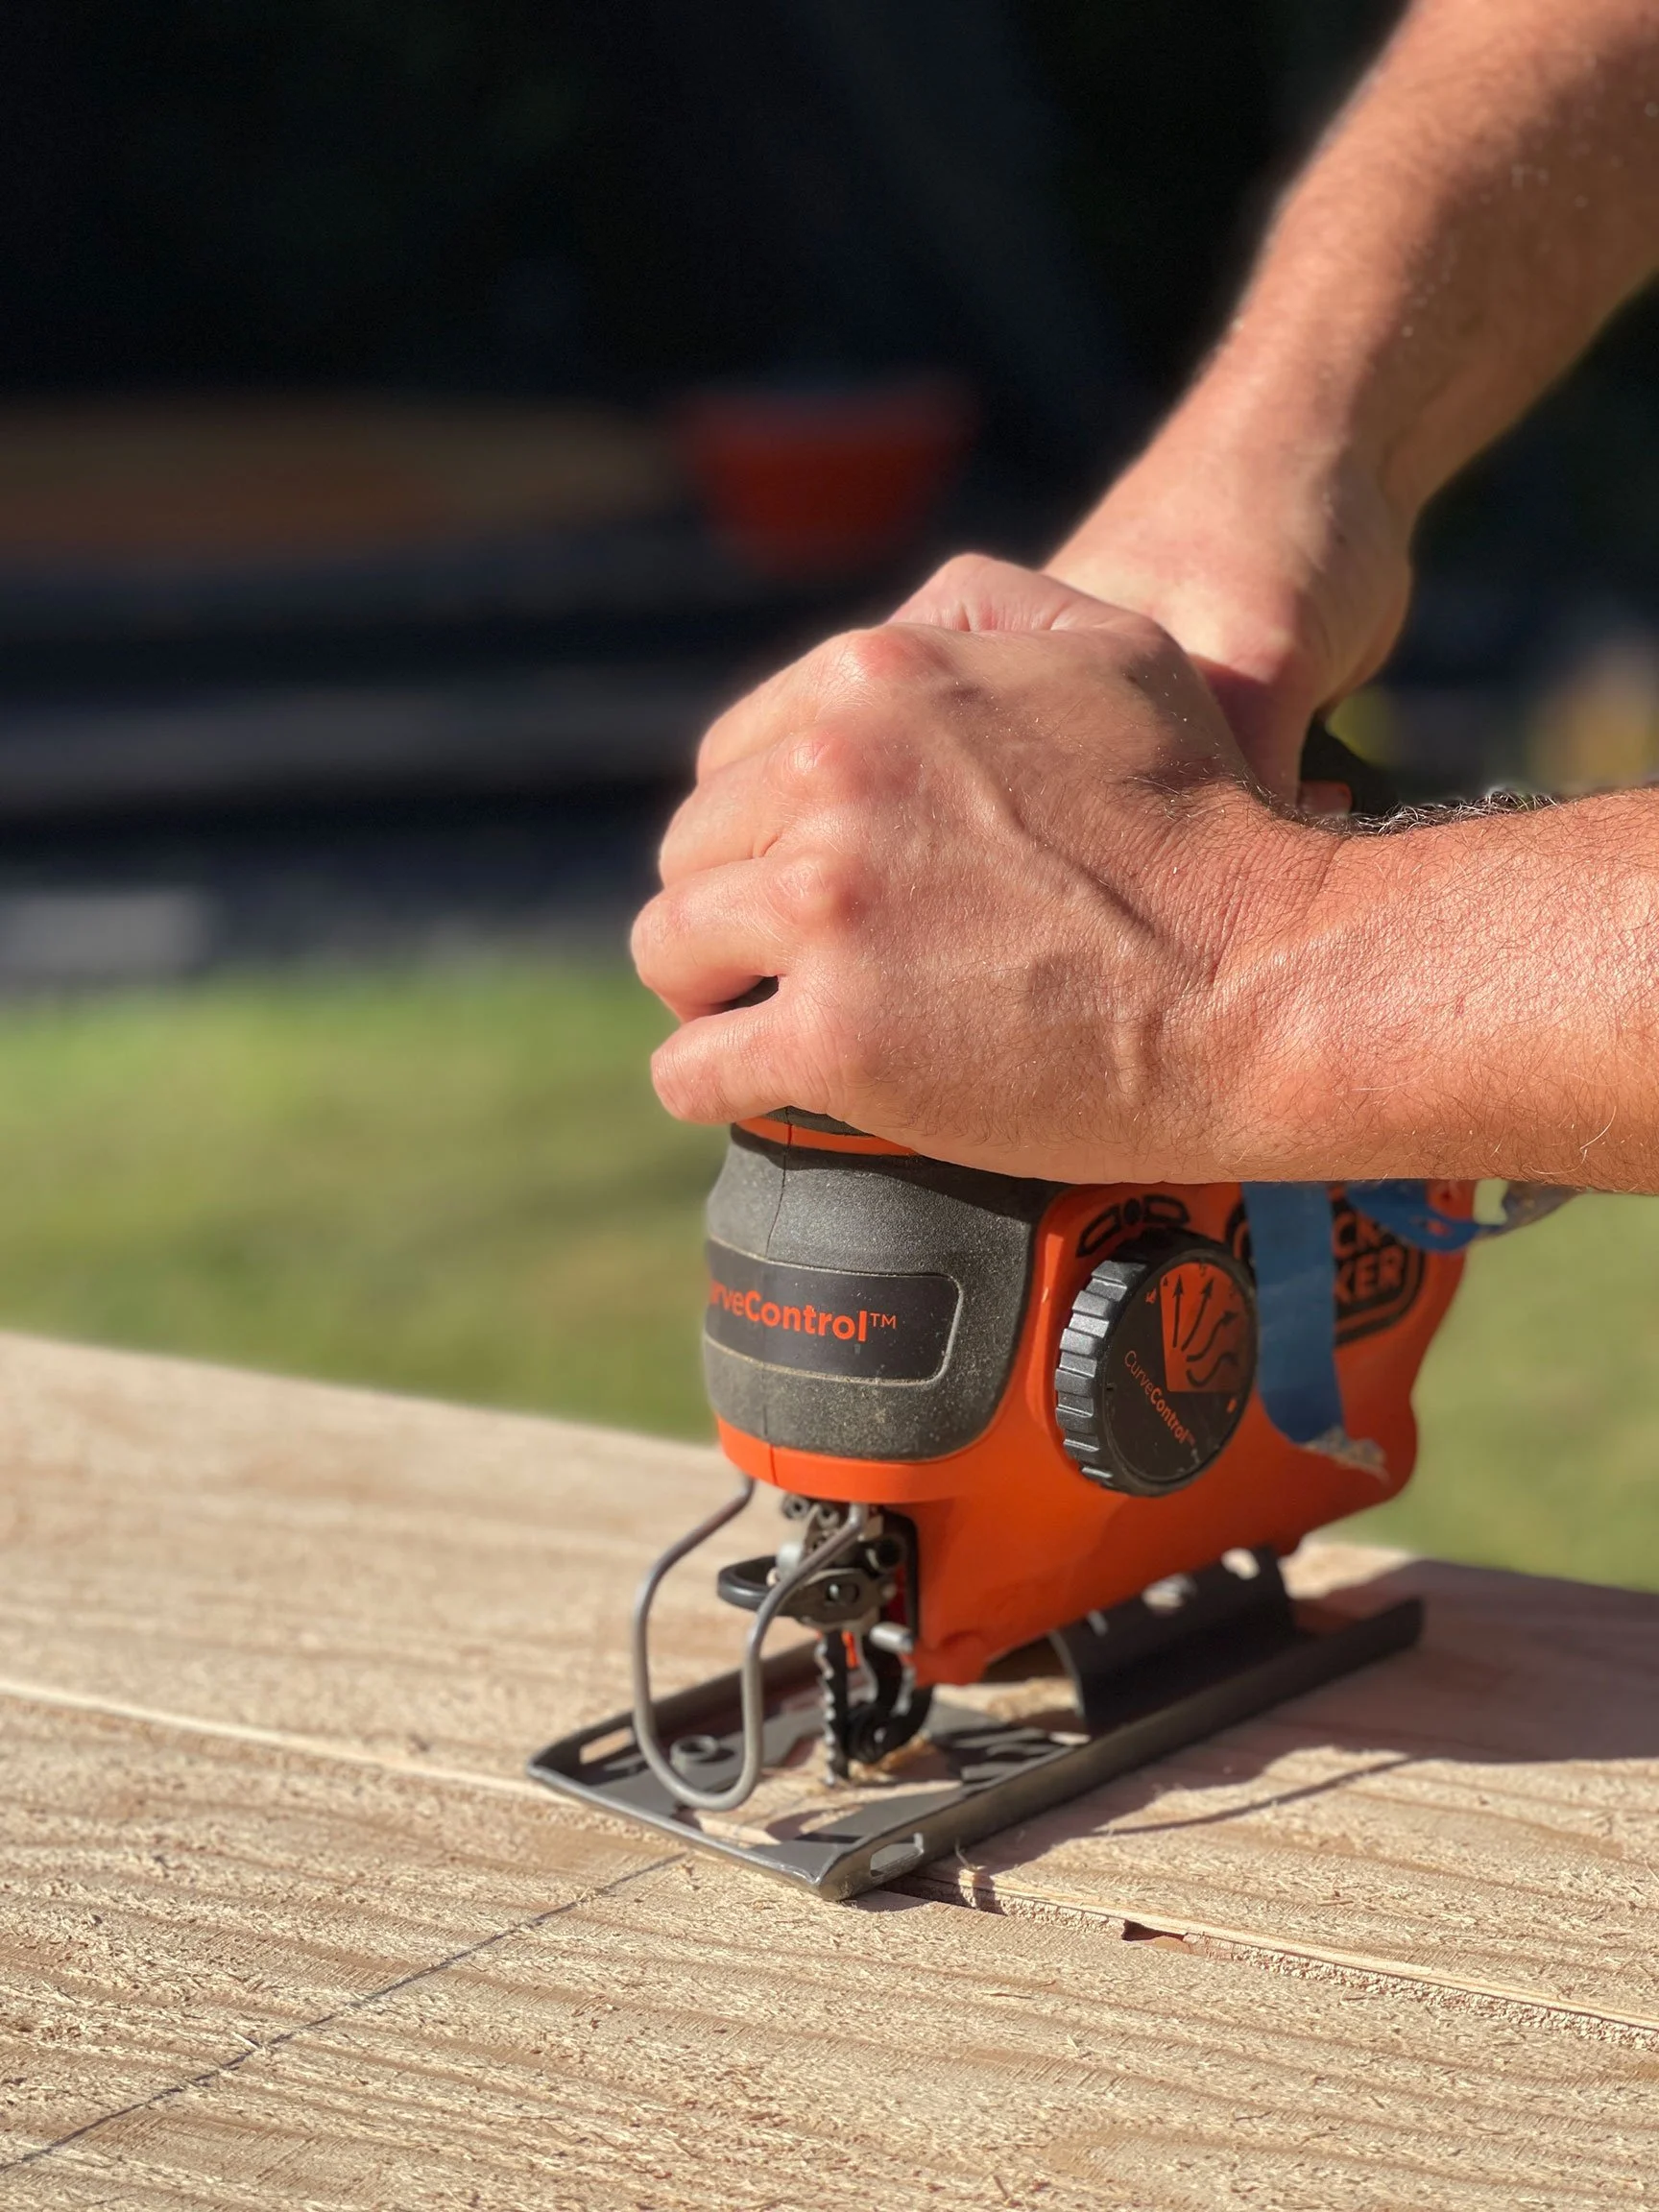
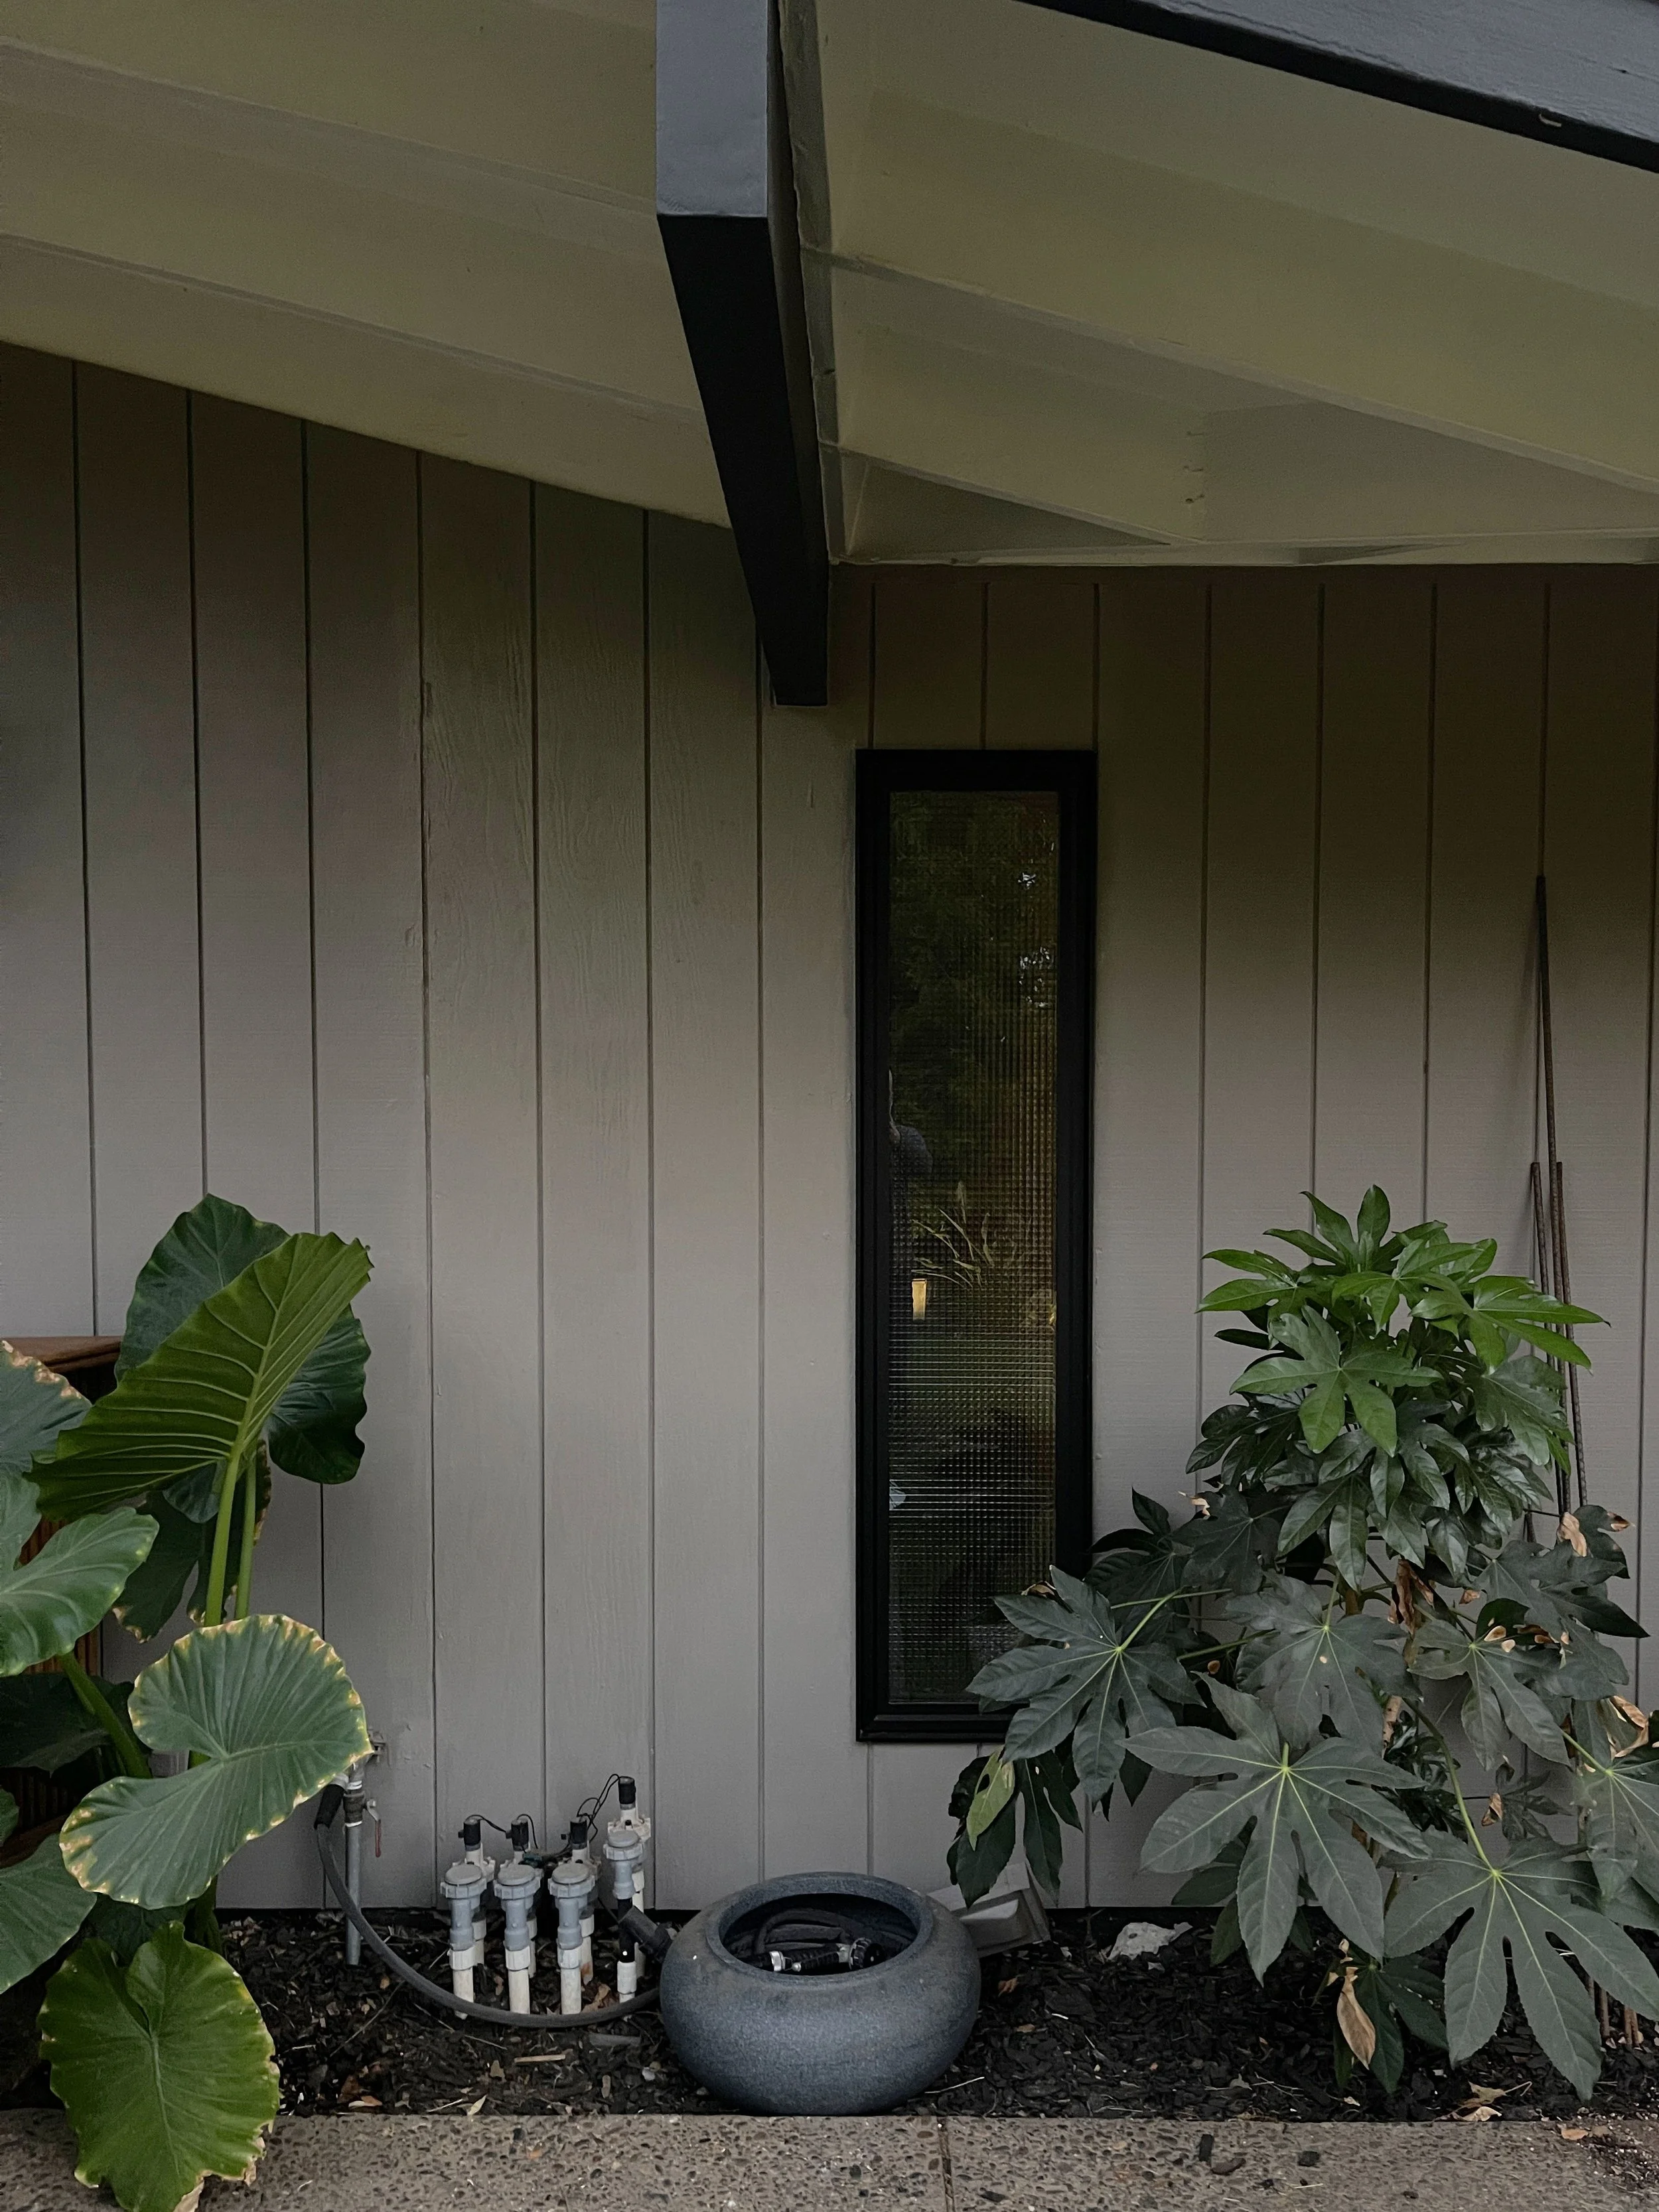
A couple days of curing, and I was able to get back into the space to get the window installed. Similar to the installation of the Blomberg sliding door in the office, I removed the exterior siding, and began setting up my template for the new window. The roof pitch on this segment of the house is just under 10 feet, so I had to order a longer specialty sheet of T1-11 siding for a proper match. The former white, vinyl window was gone, and would be replaced with. a new 15”x70” black aluminum, push-out casement window. Much larger than its predecessor, it would be repositioned to the right of the exterior outrigger beam instead of the left.
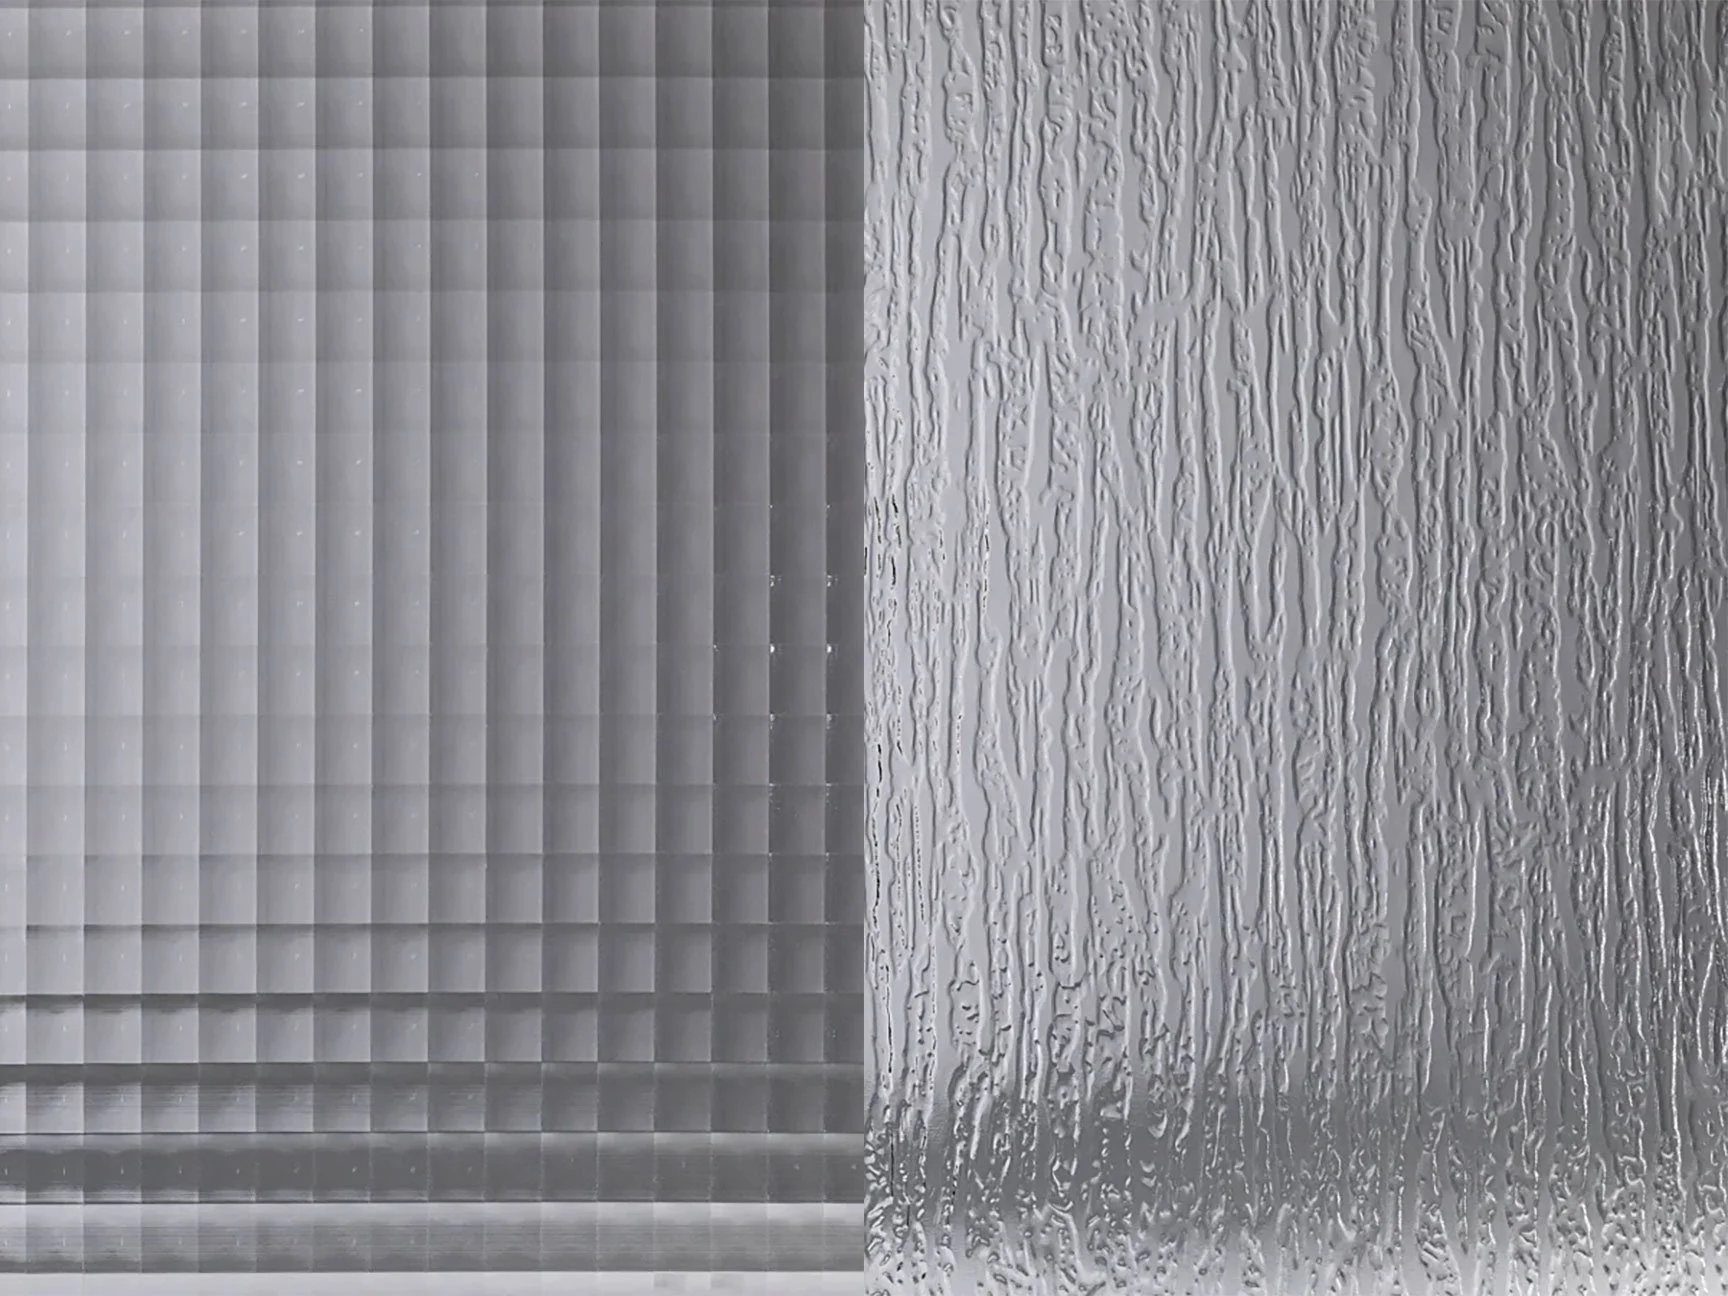
1/2” cross-reed glass (left) vs. rain glass (right).
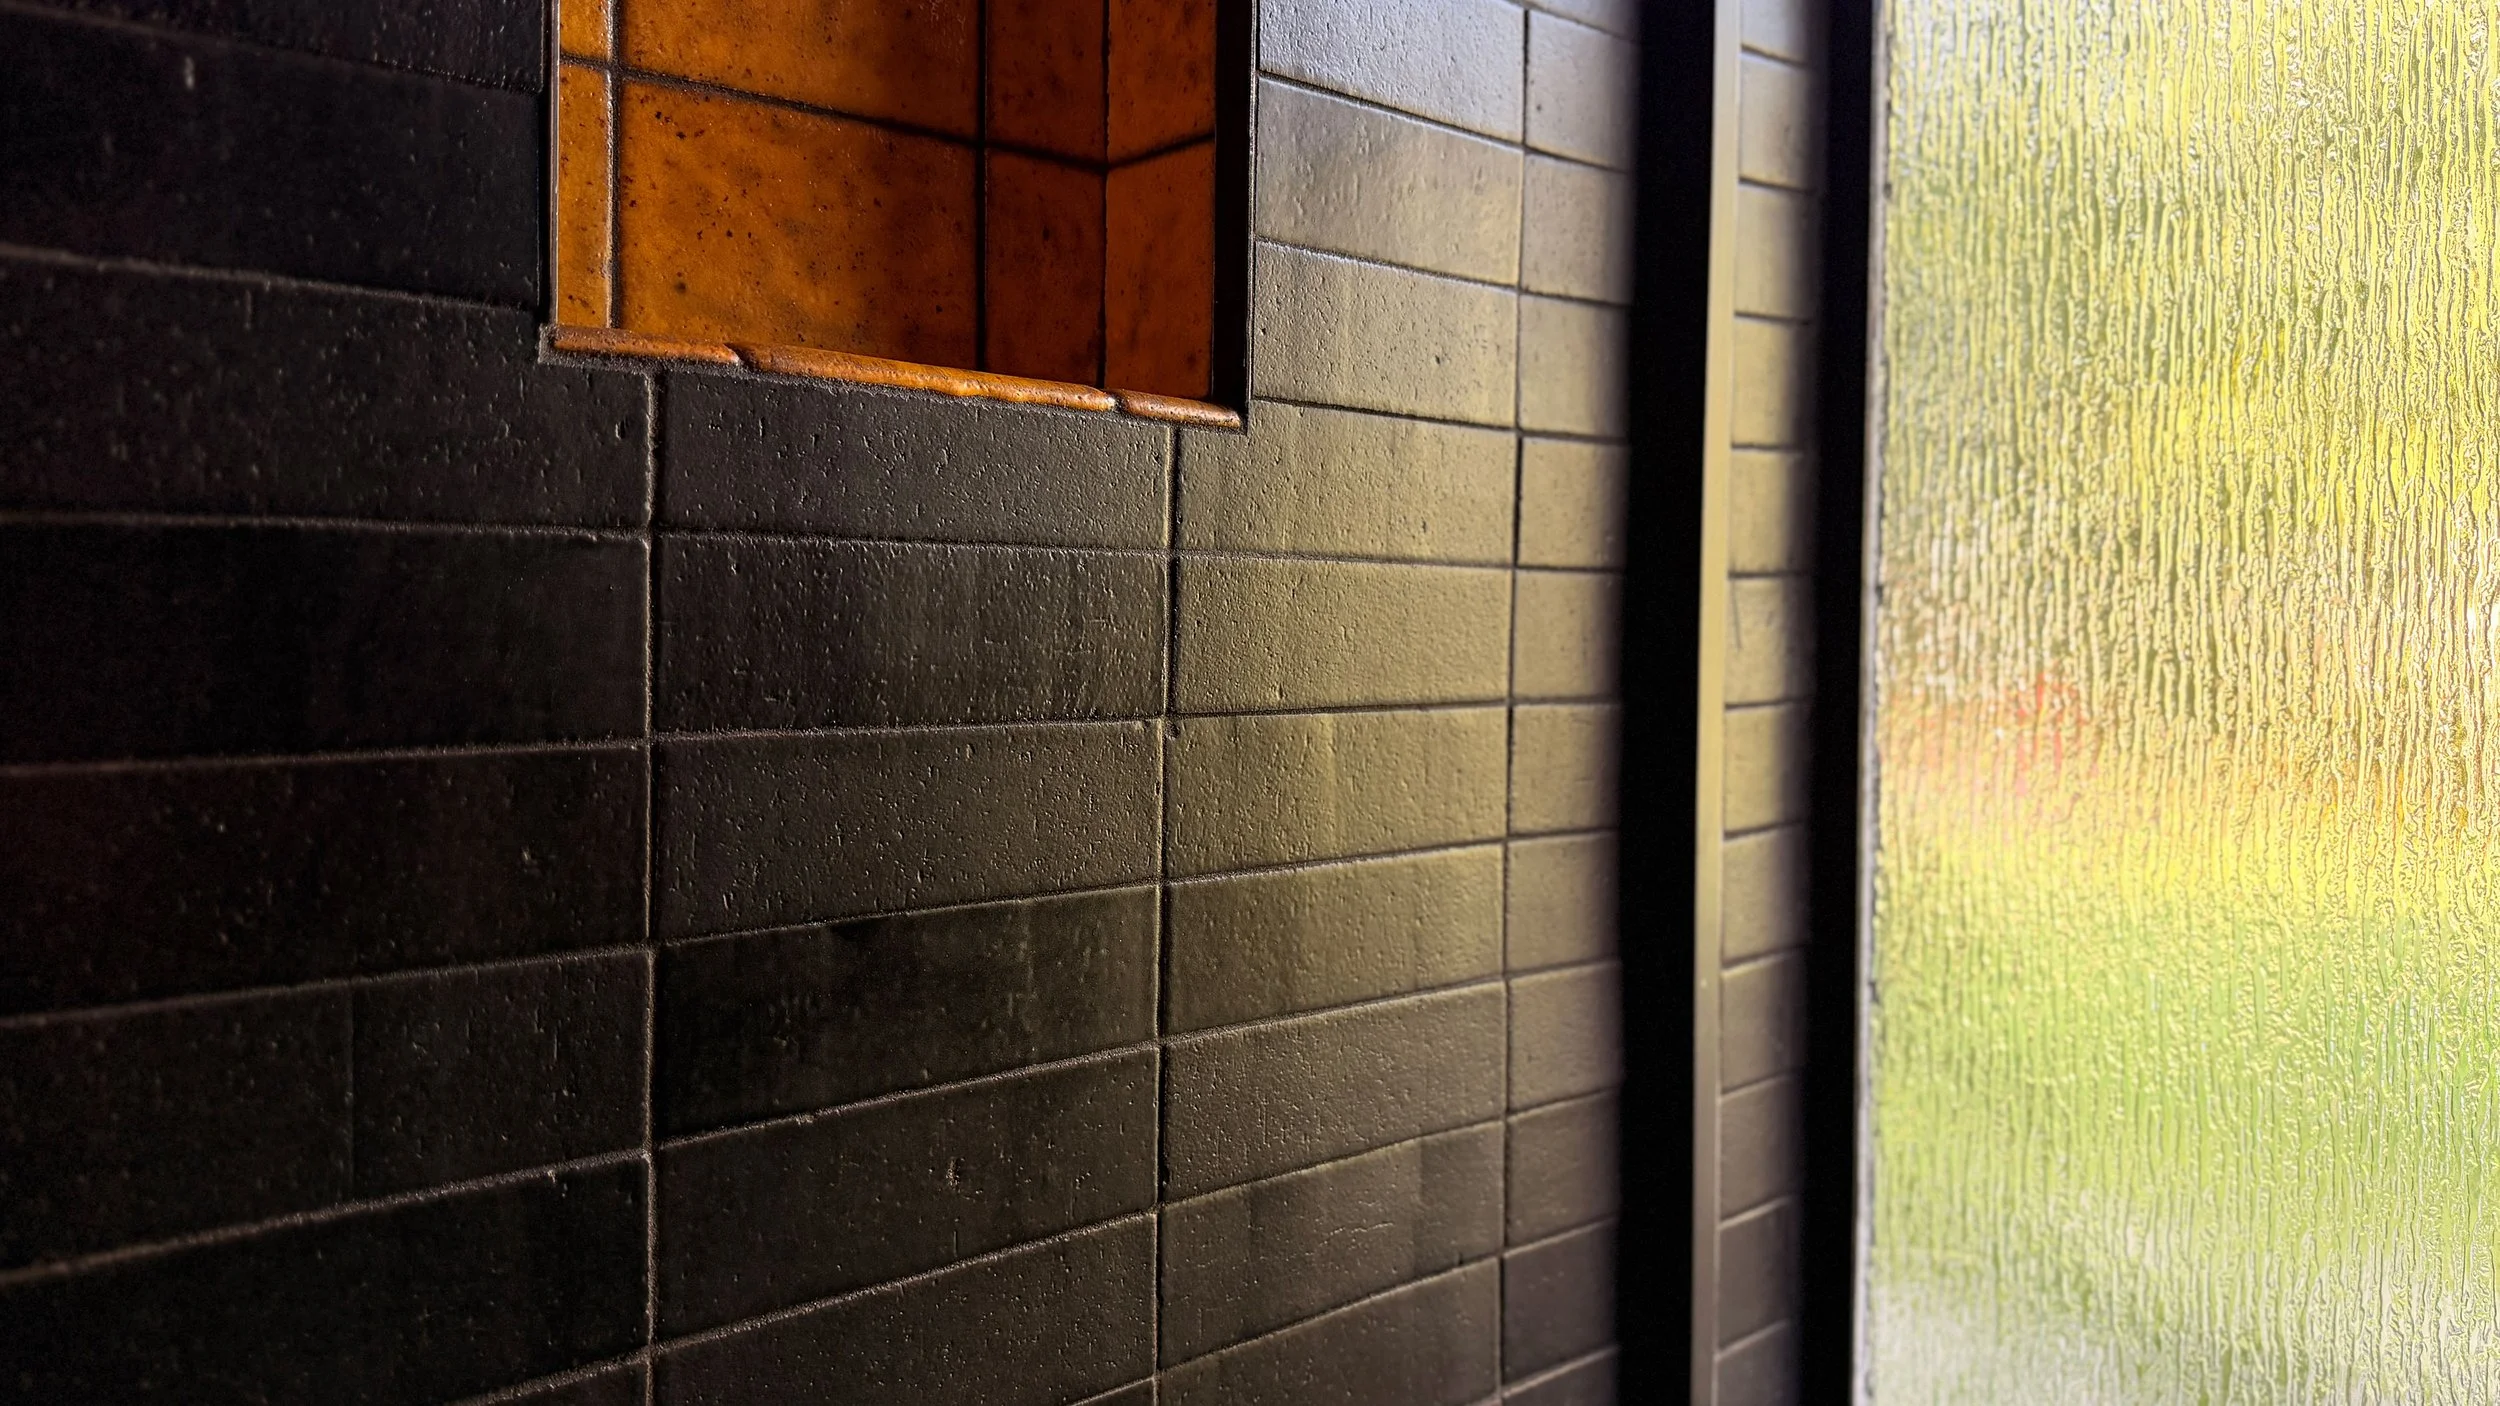
The window took a few months to be fabricated. I had ordered it with rain glass for privacy and an organic, Japanese look, but it arrived with 1/2” cross-reed glass by mistake. While not a bad option, it felt too contemporary for the space, and at this stage, I wasn’t looking to compromise. Thankfully, I was able to proceed with the installation of the window frame, but I had to wait another couple of months for the replacement glass to arrive. No shortage of adventures on this project!
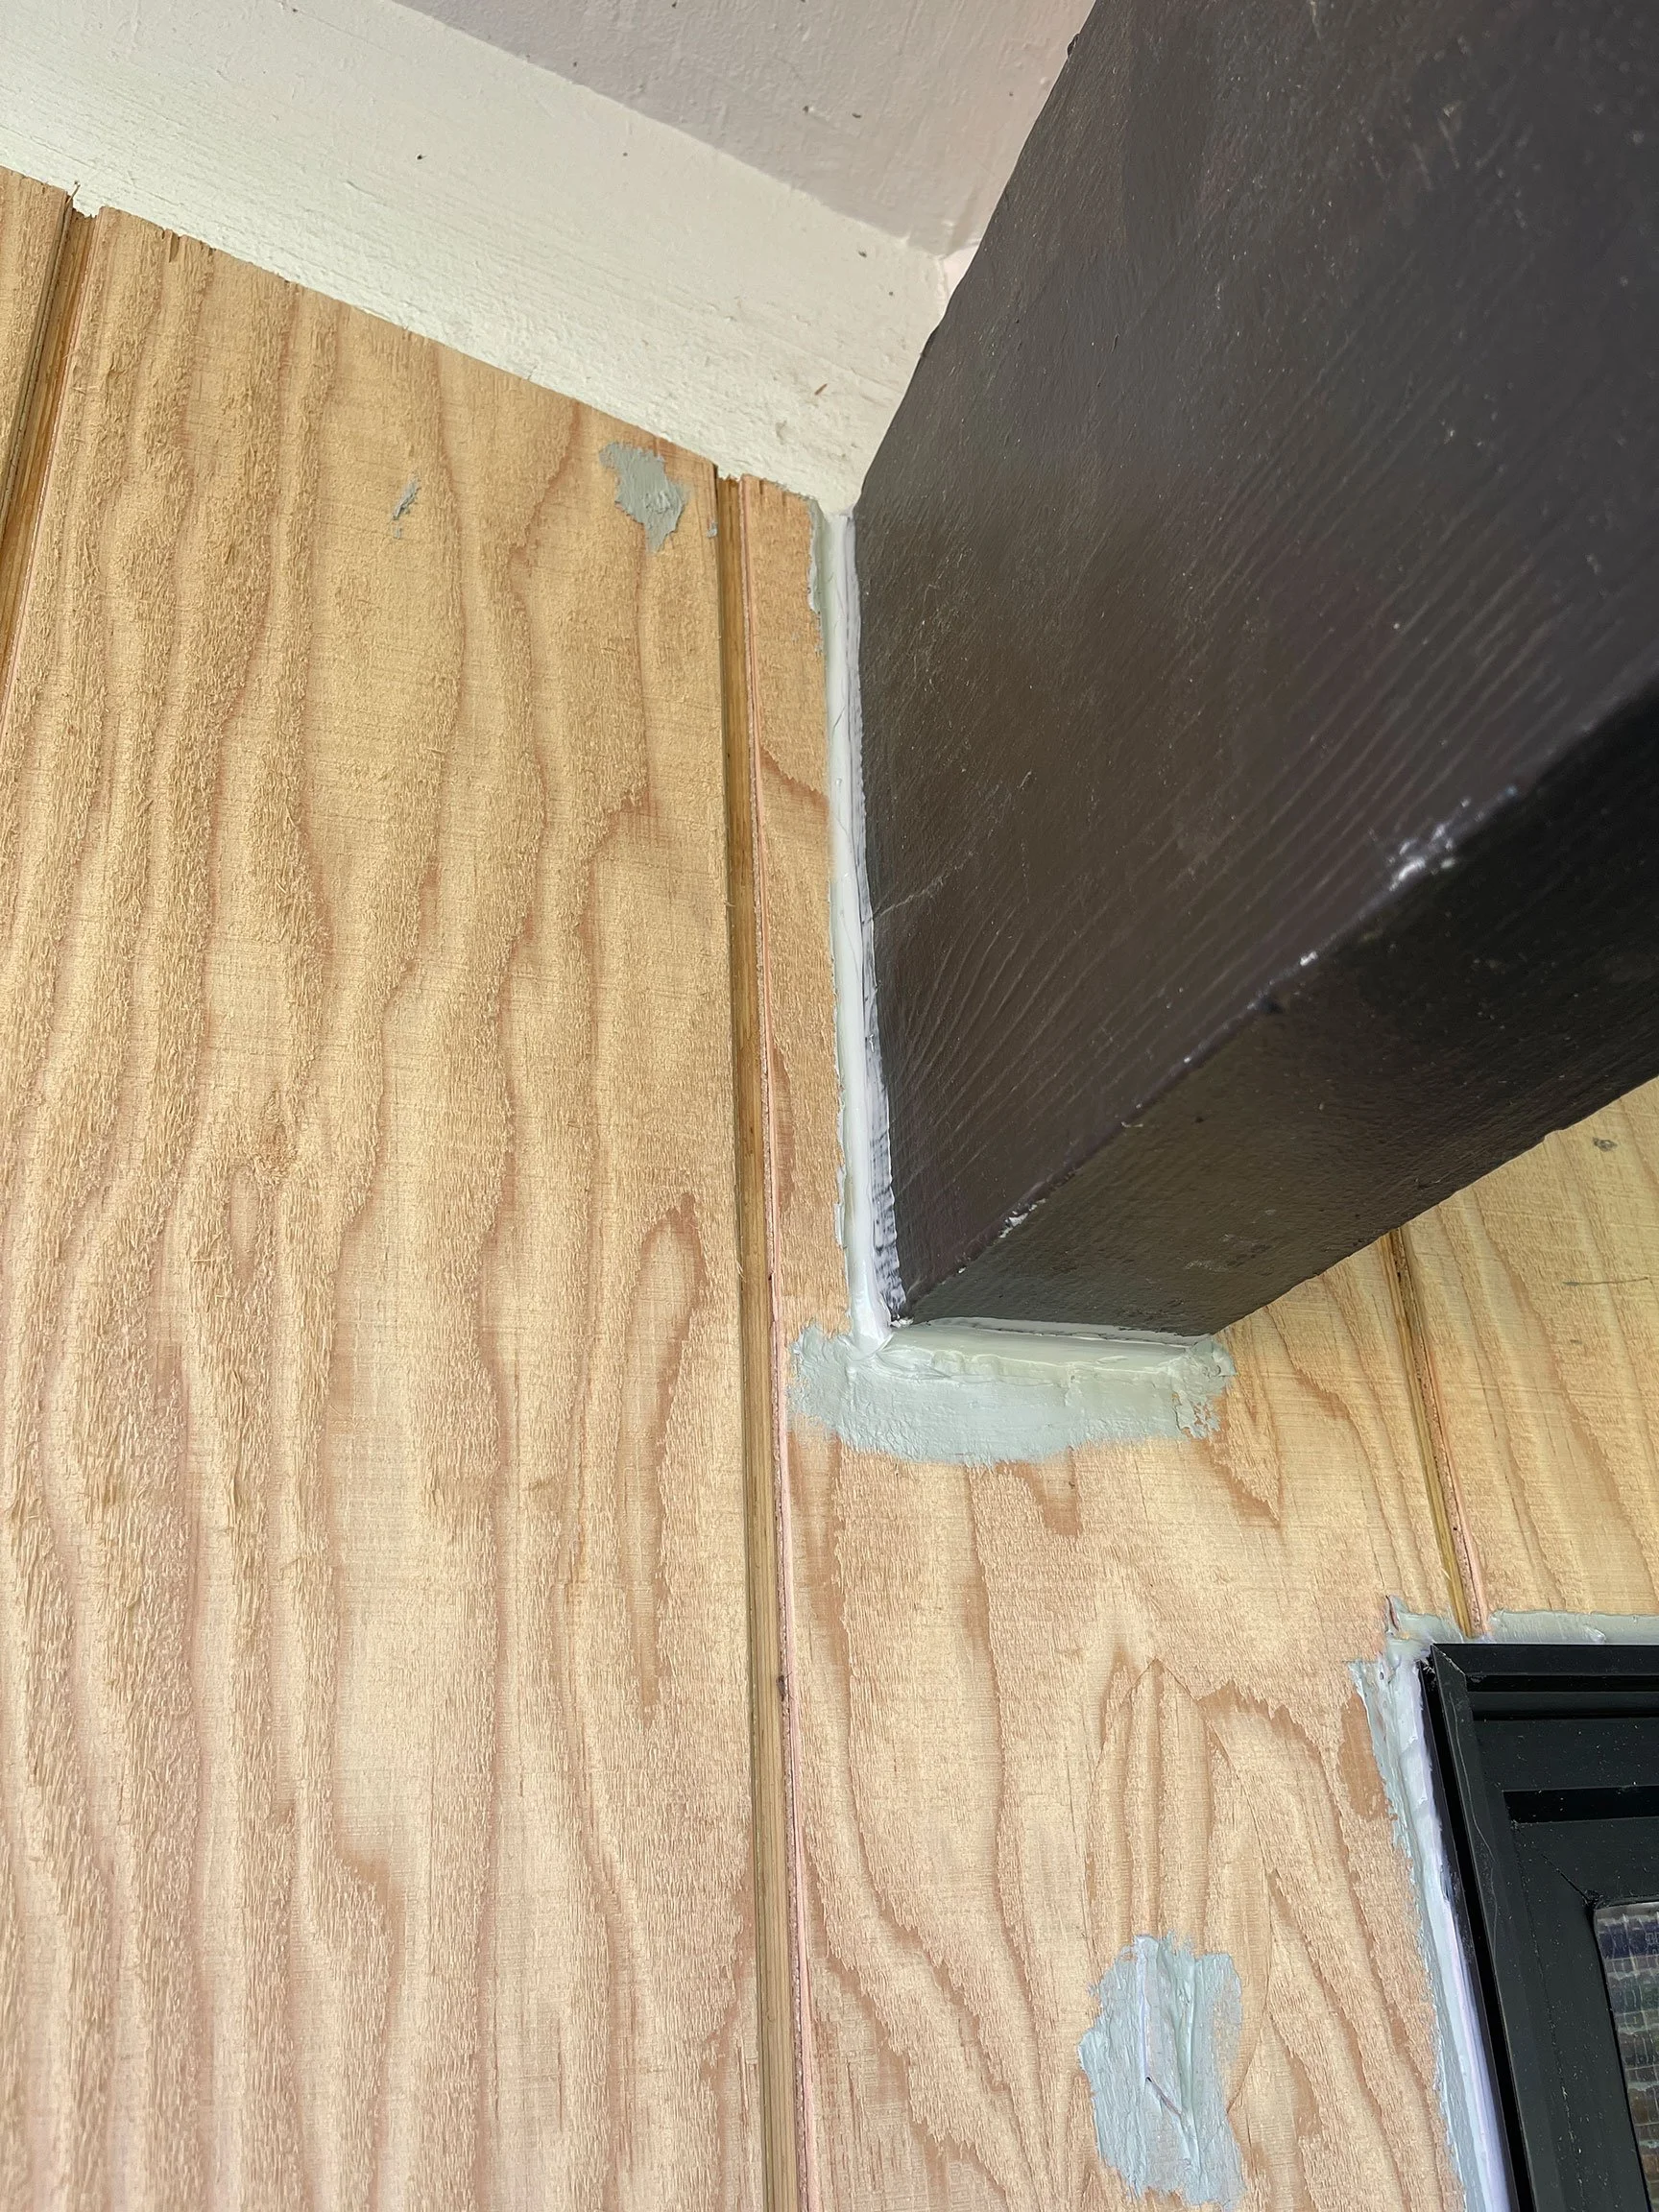
With the proper window installed, caulked, and new siding painted, it was finally time to line the interior shower walls with foam board. I opted for Schluter Kerdi-Board for its waterproof properties and ease of install. I used their sealant and waterproofing tape in conjunction with the boards for all joints and seams. I also used this sealant and tape along the floor, creating a 1/2” sealed edge to sit beneath the foam board for an added layer of protection. Overkill? Maybe, but it made me feel better. I stuck with all Schluter products for this installation as per manufacturer instructions. This was especially important for the thin-set mortar as it needed to be unmodified.
For protected edges, and a clean, finished look, I used 3/4” Schluter Jolly in black. This treatment was also used for edges surrounding the window. The 3/4” depth was required for the thin bricks once mortar was added.
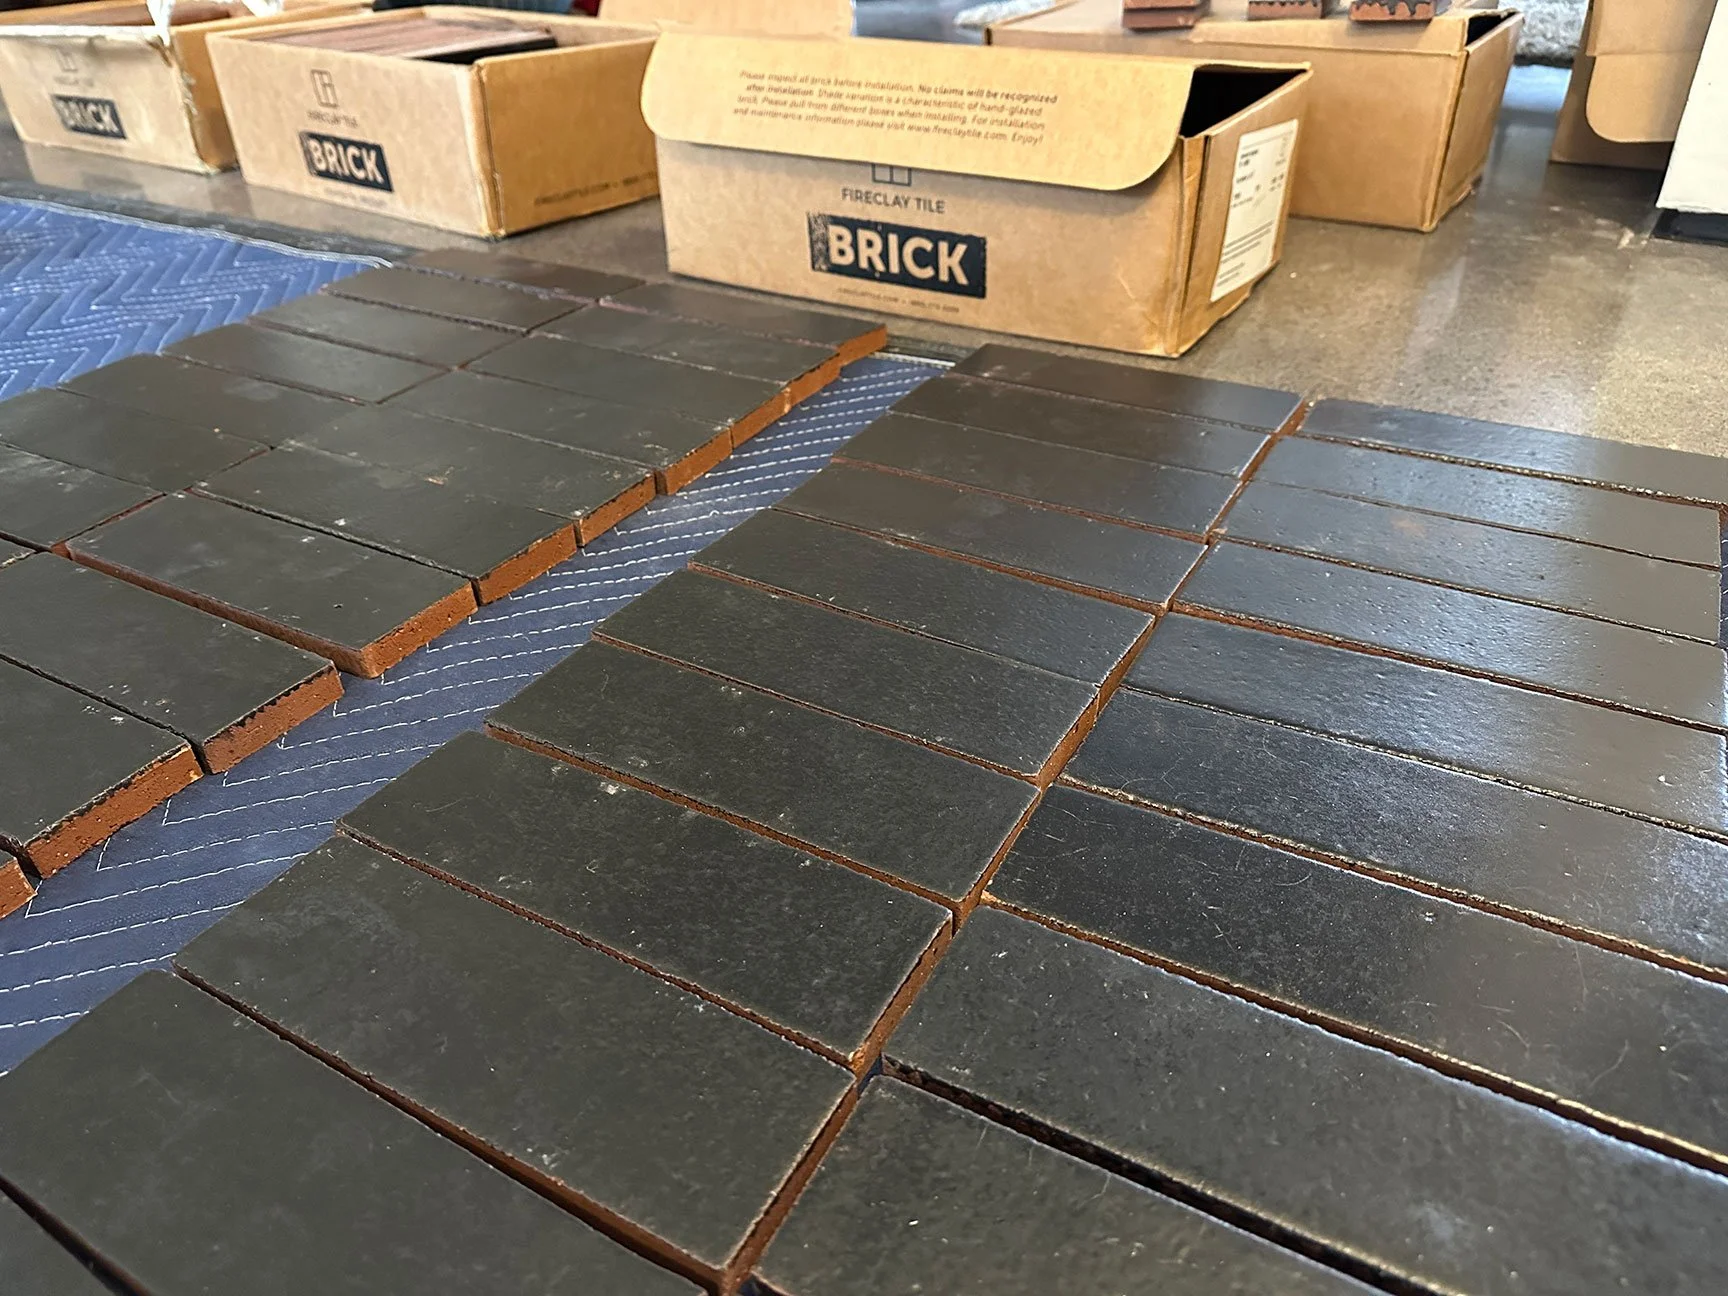

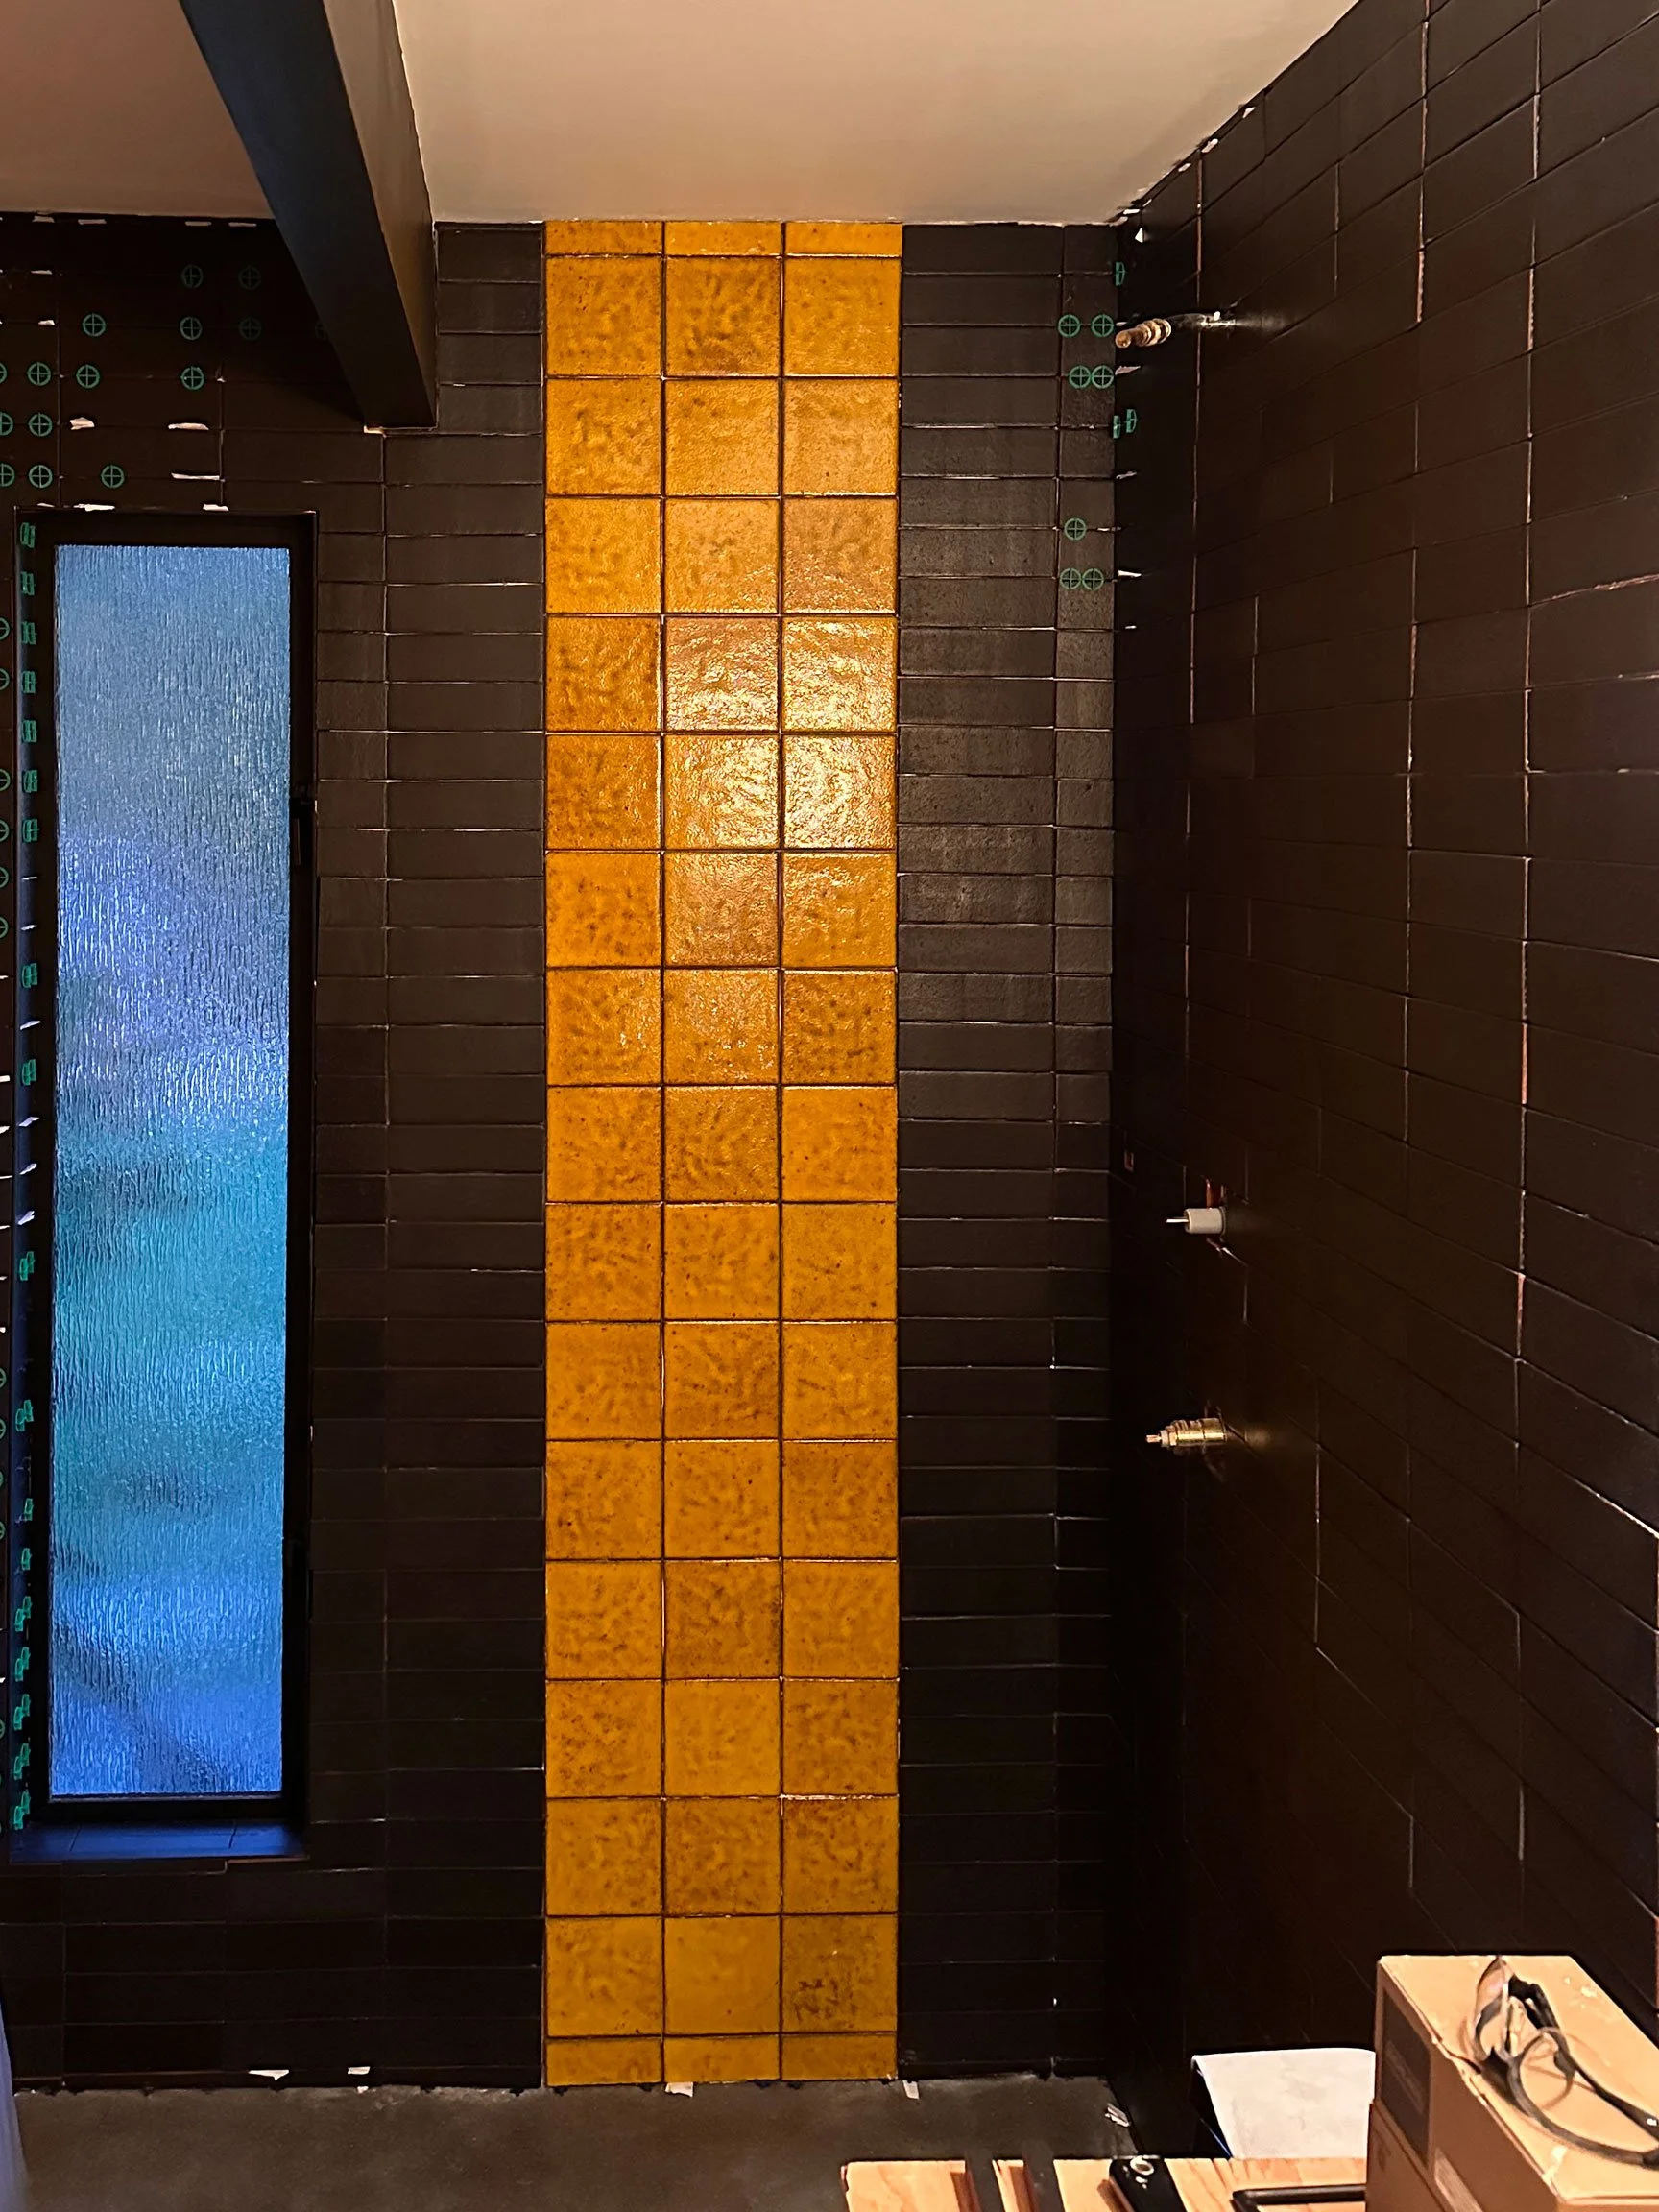
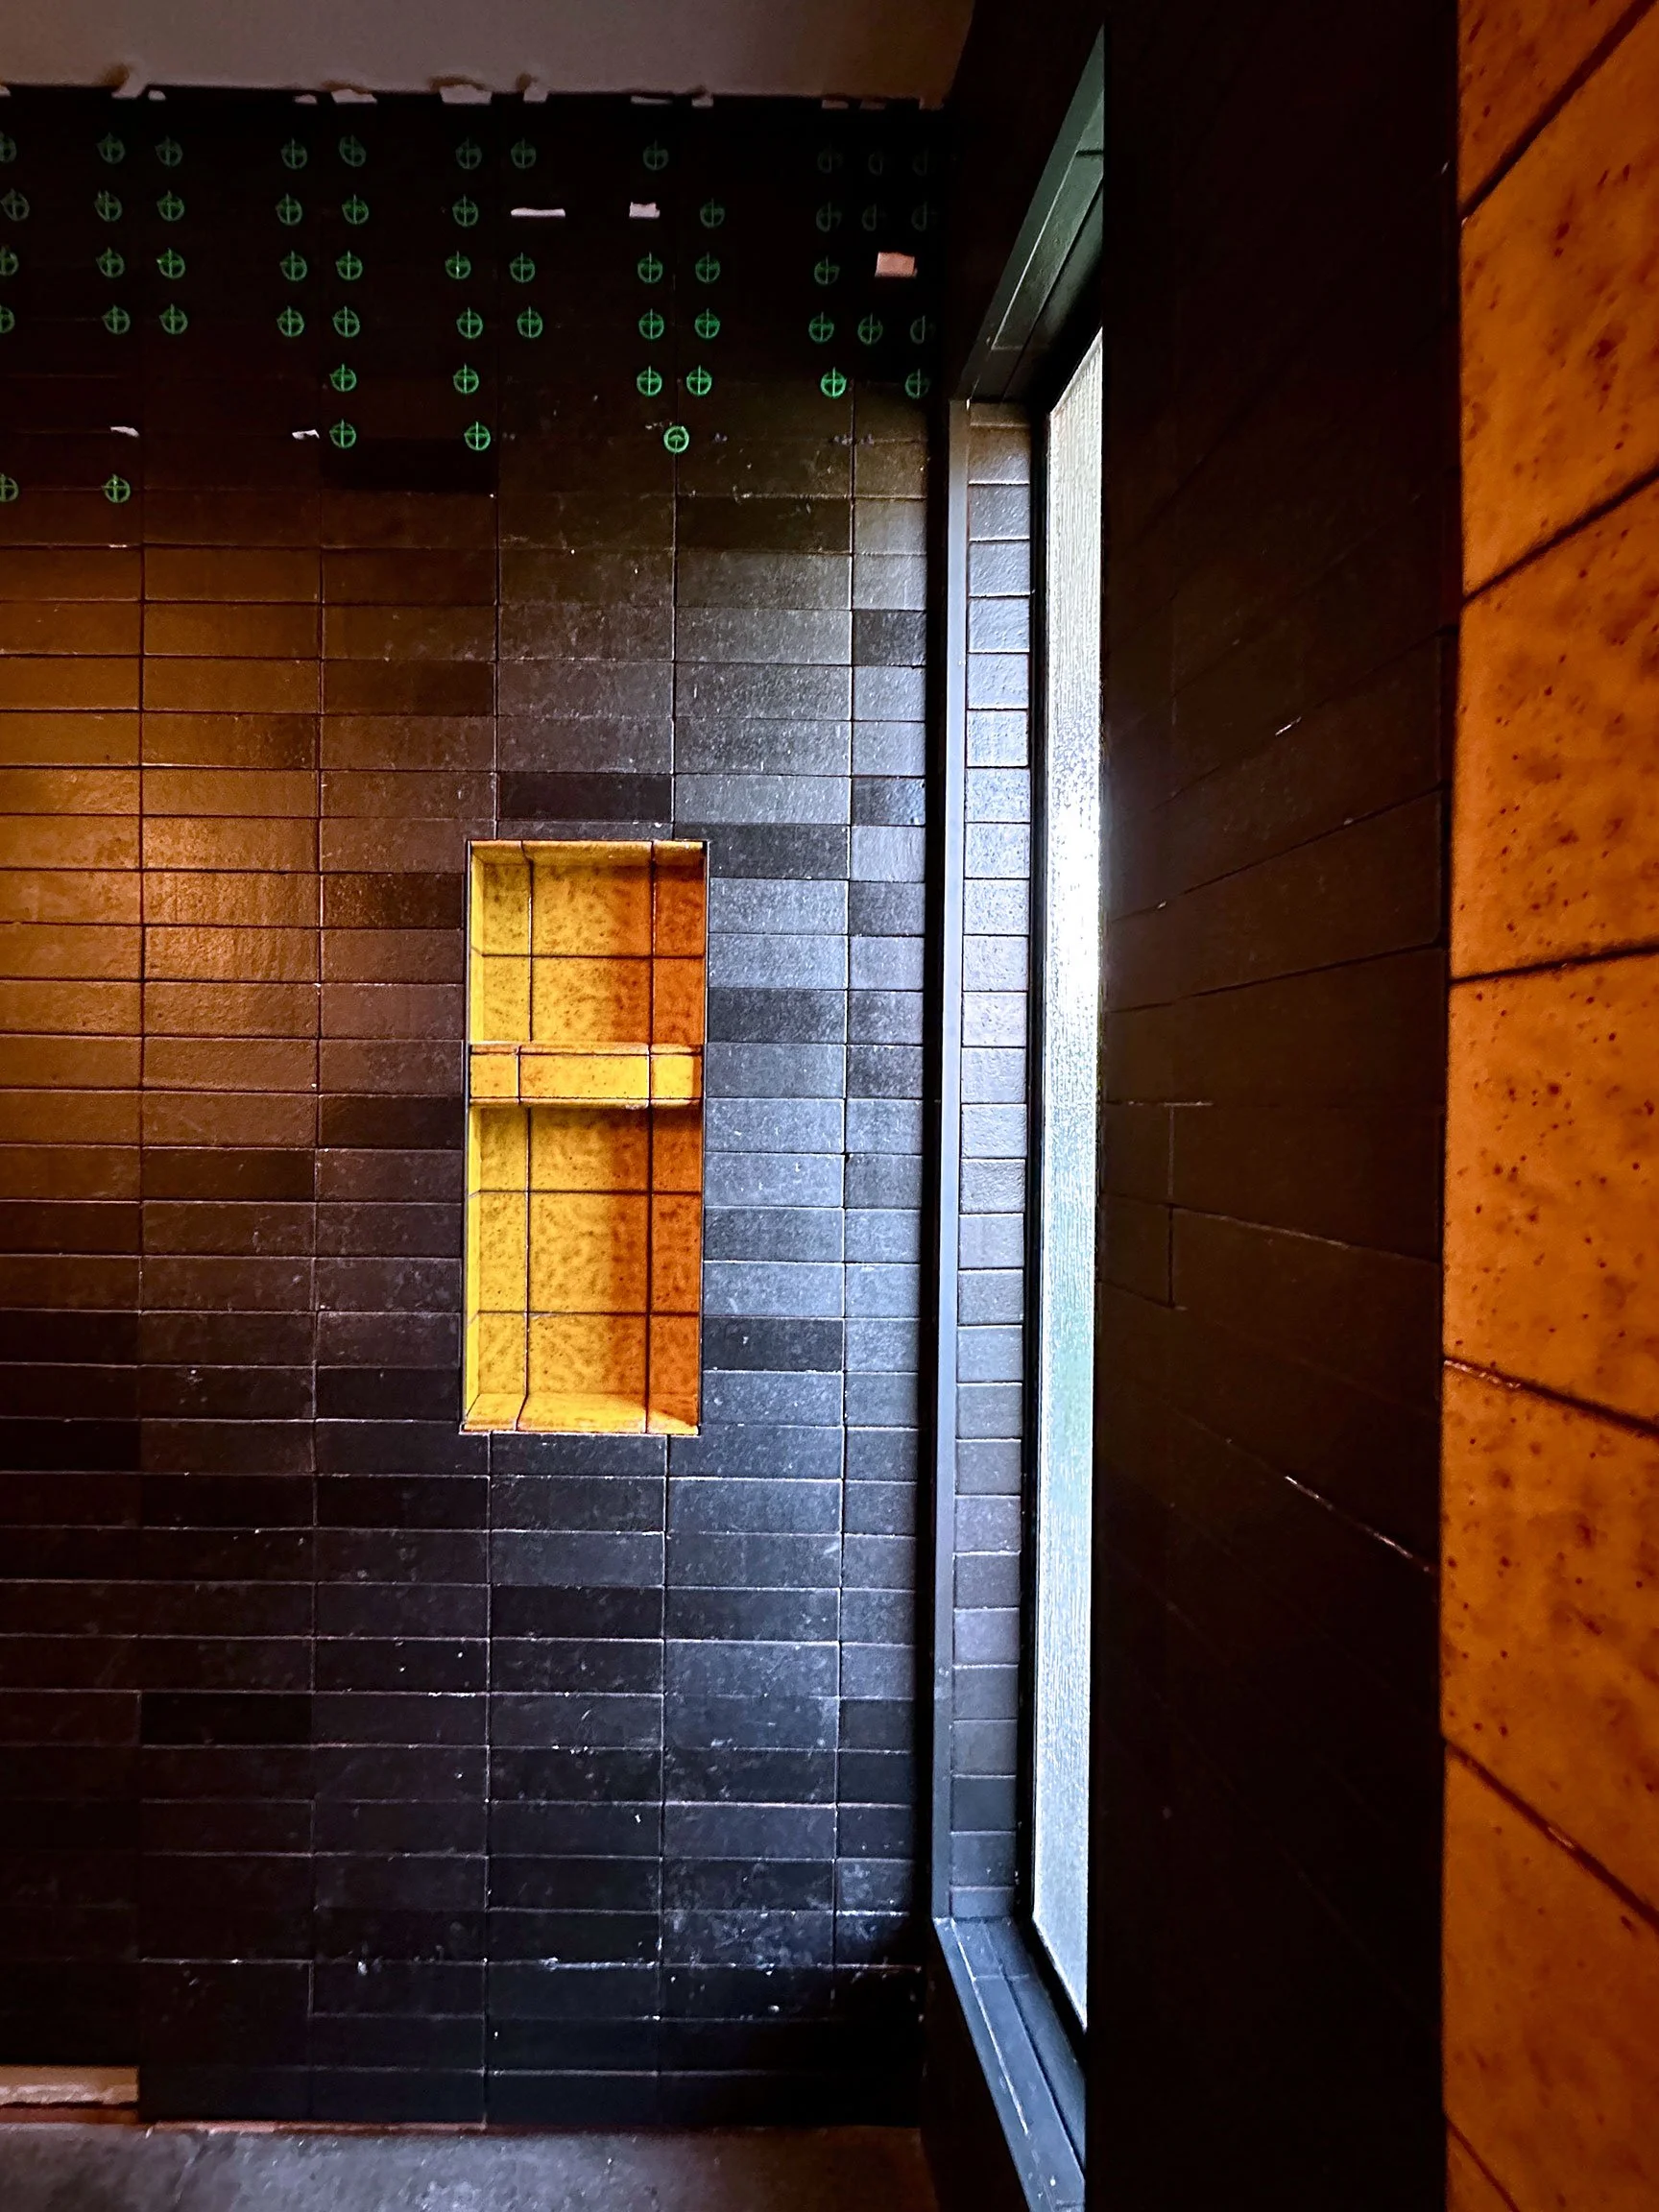
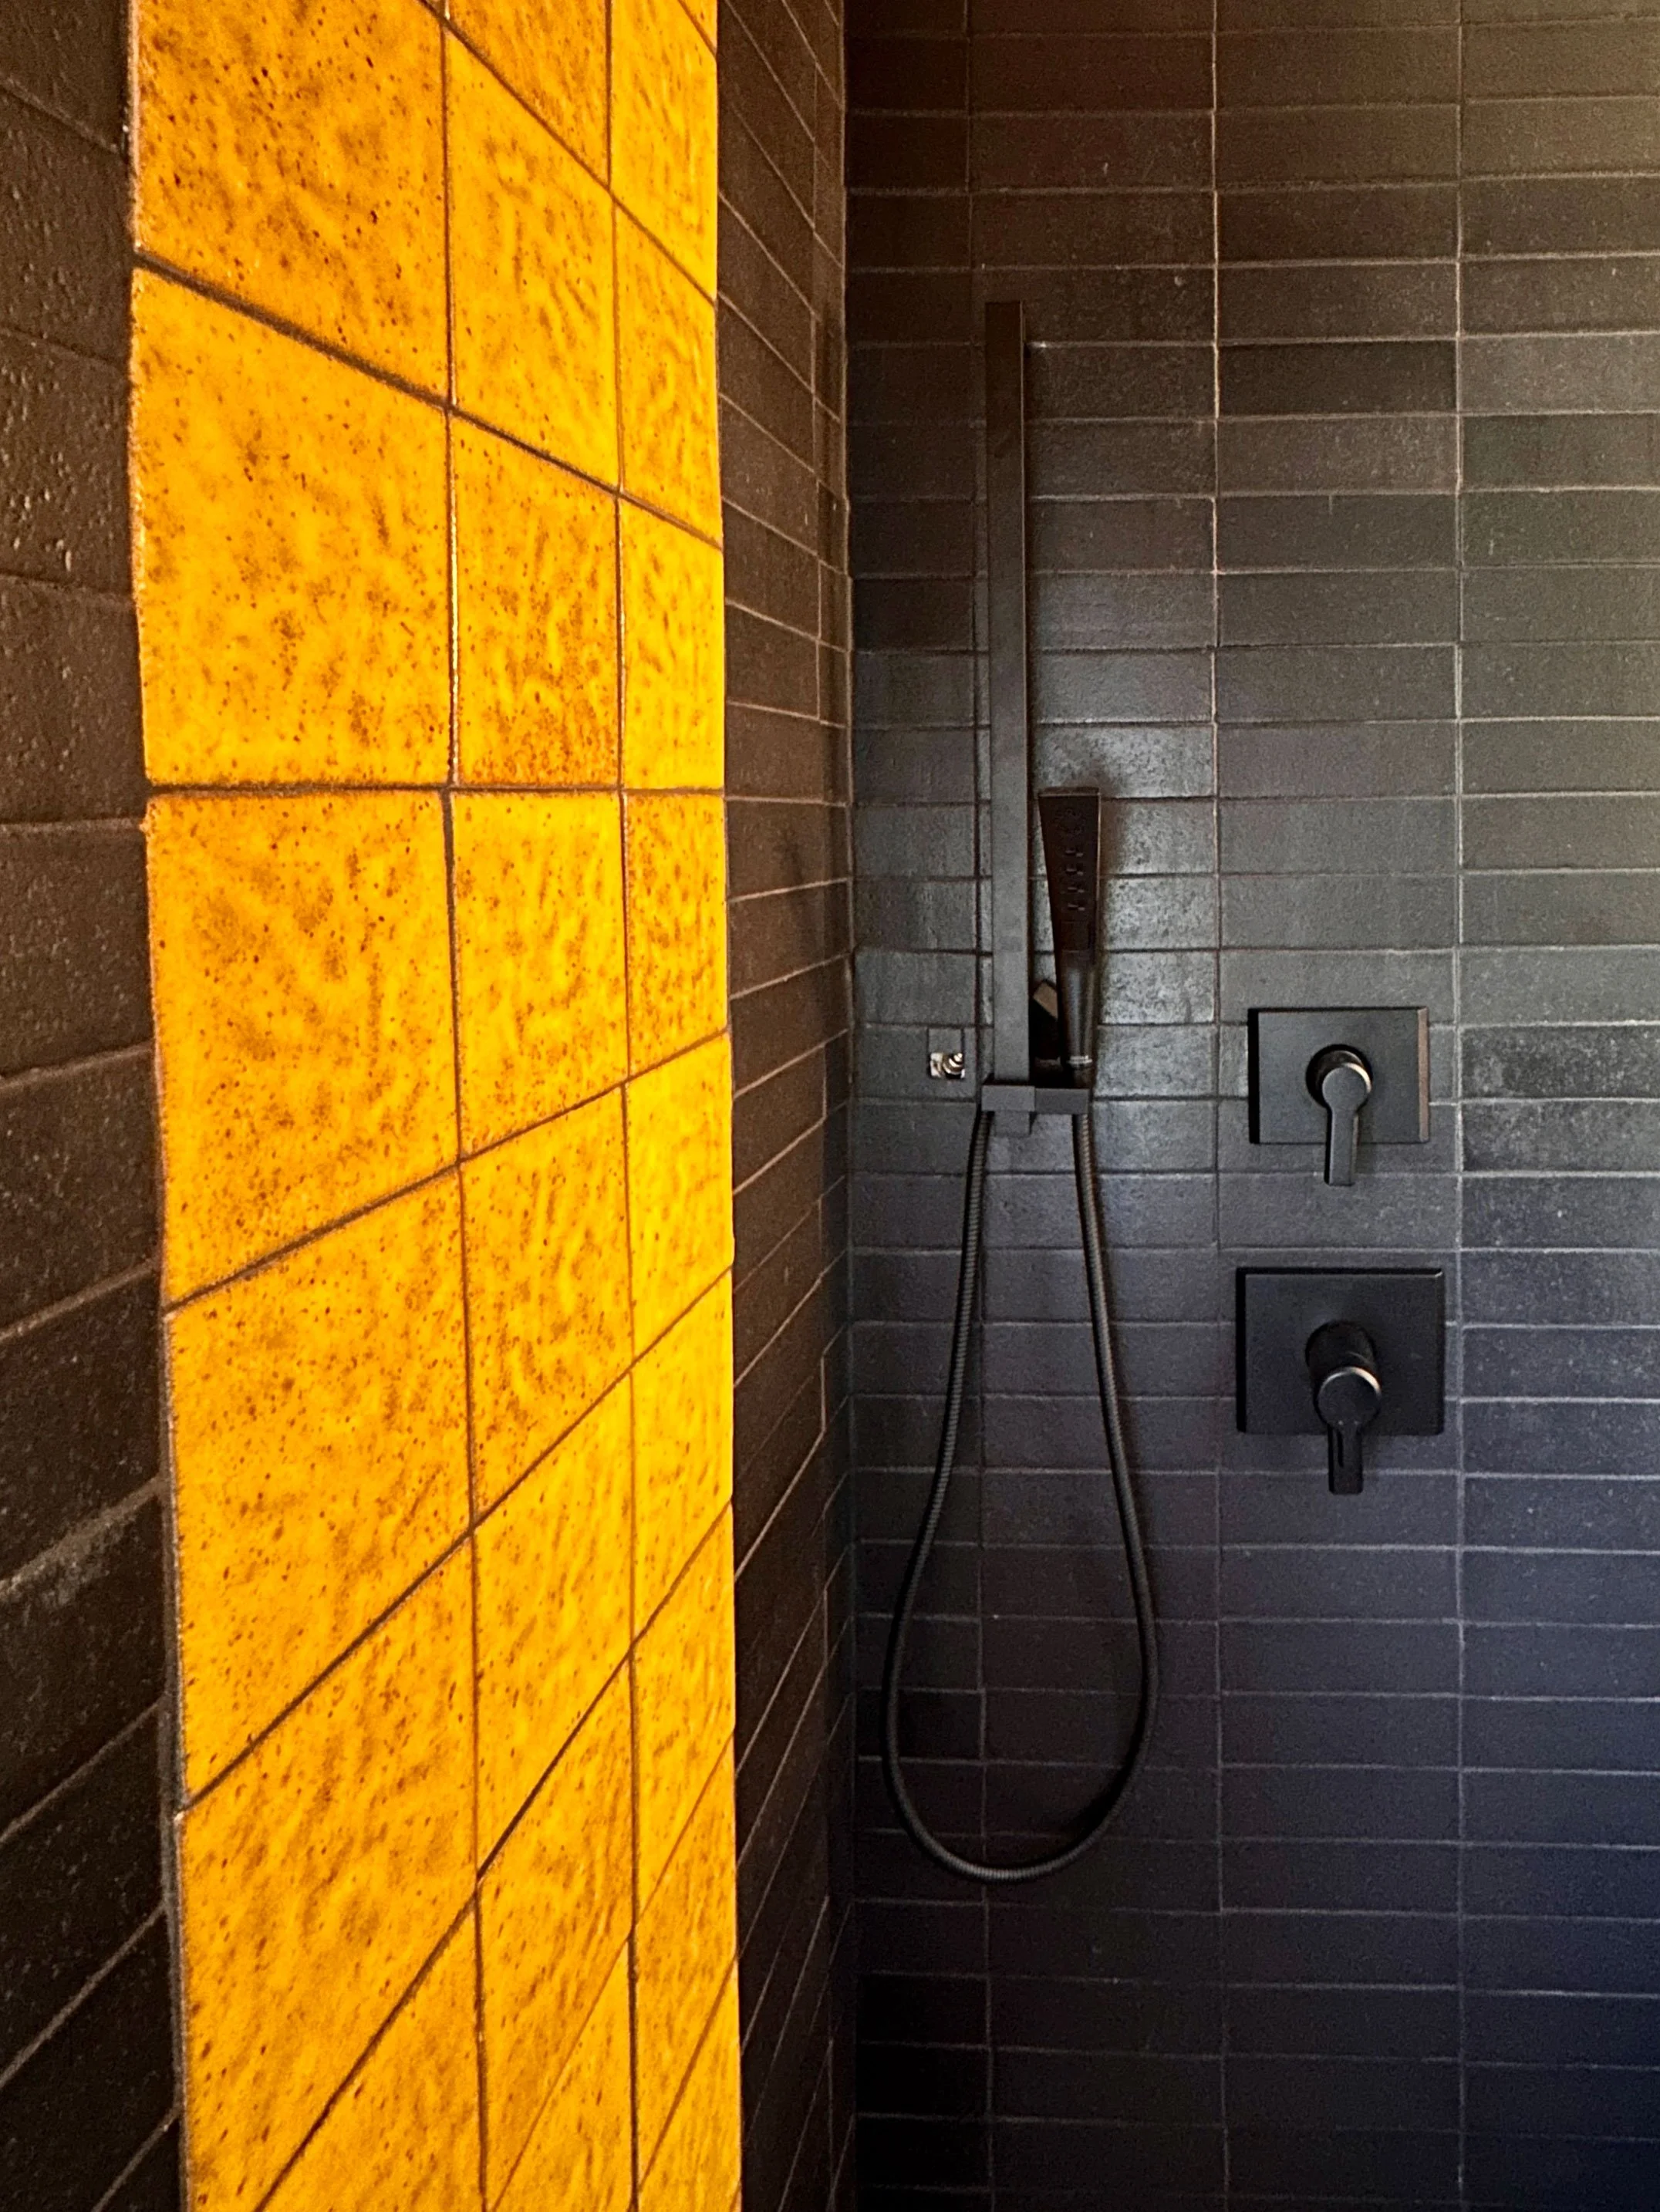
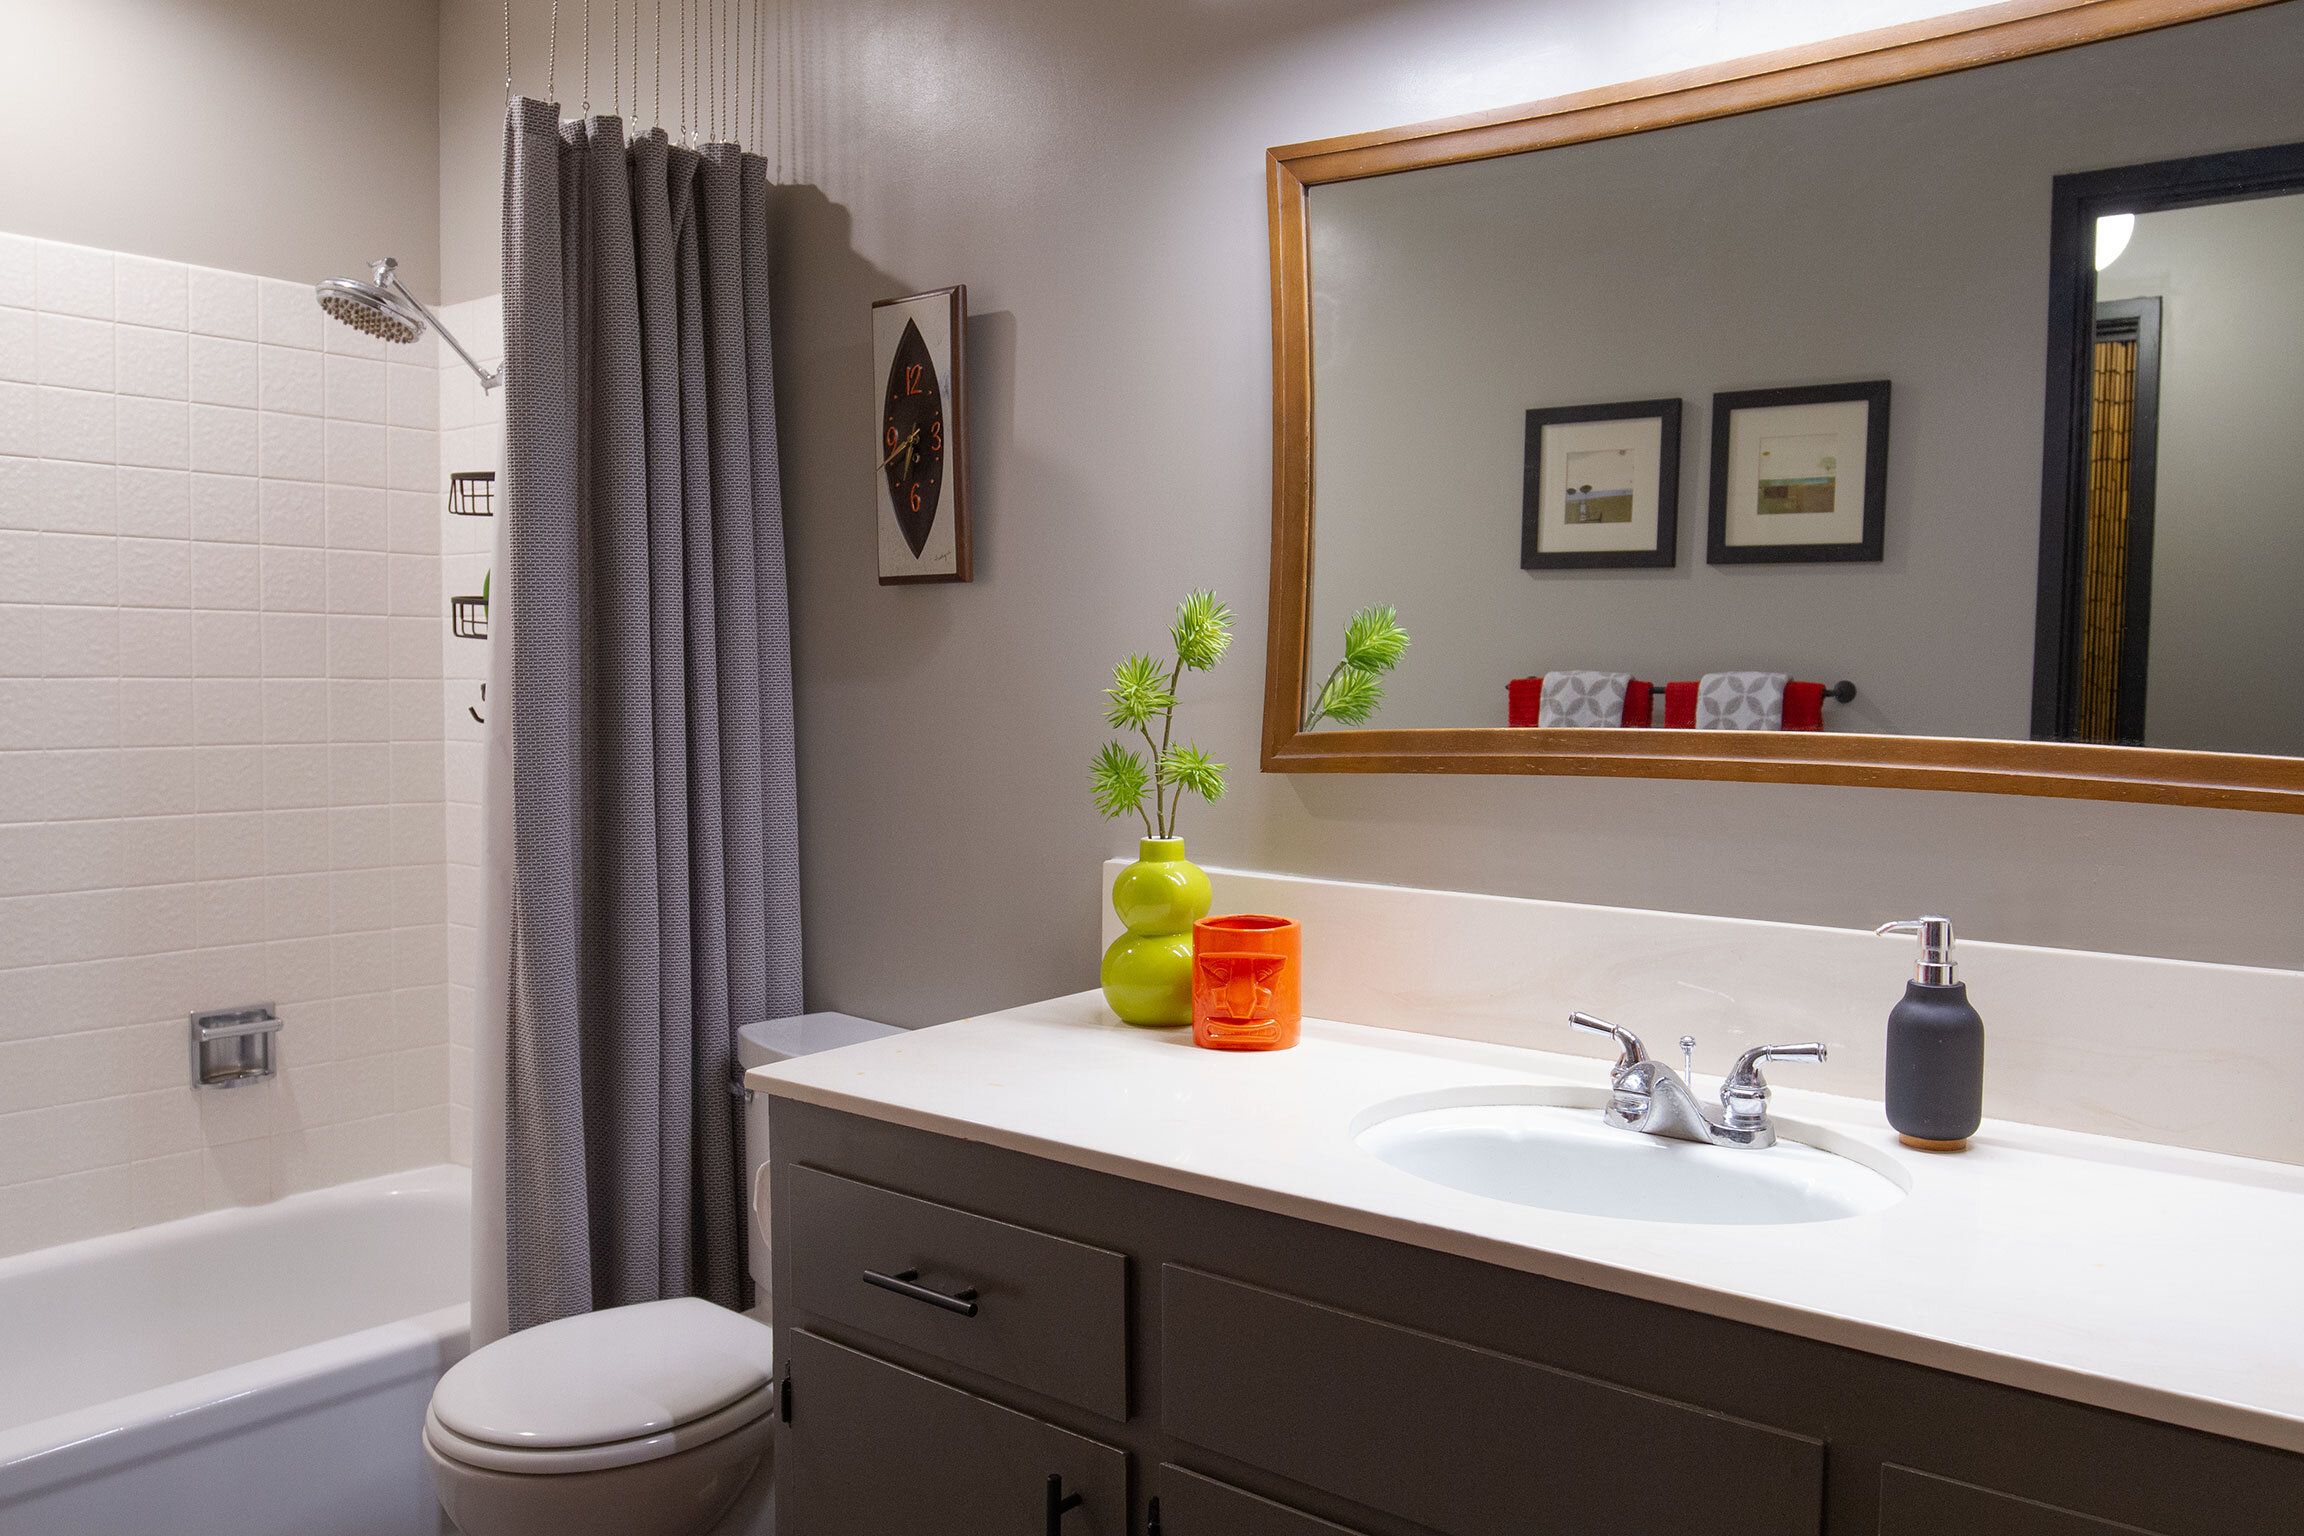
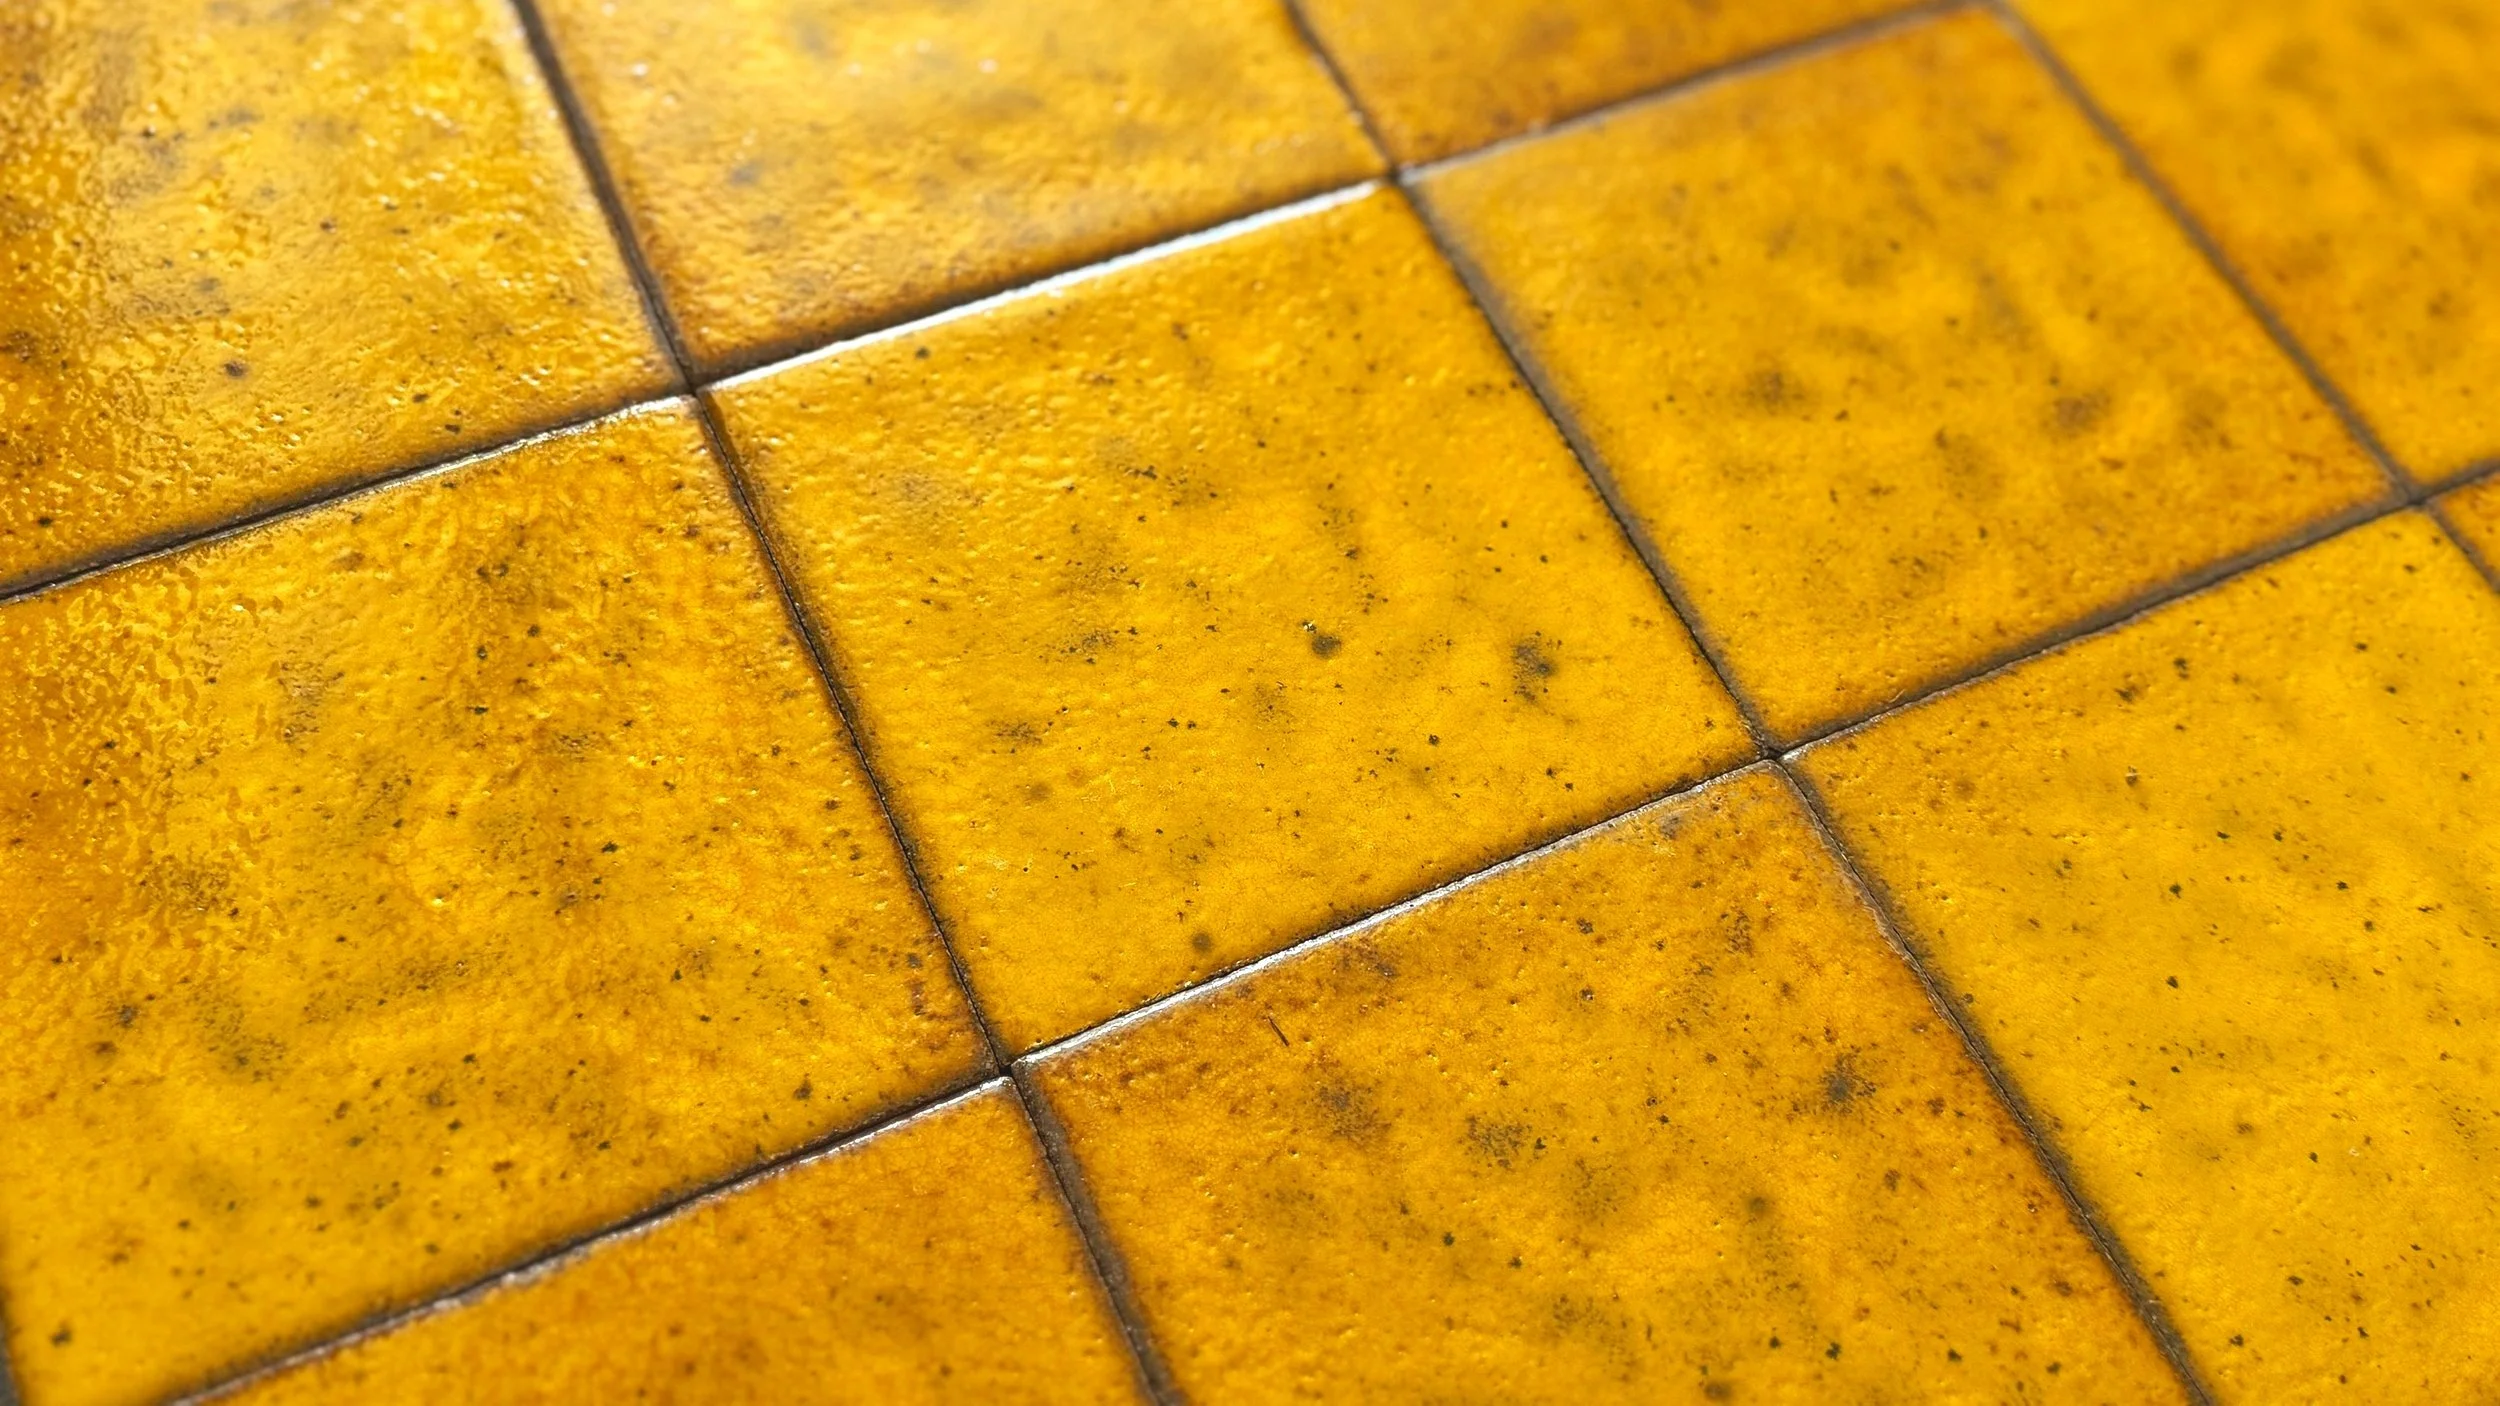
Throughout this project I have been applying skills I’ve learned by renovating other areas of my home. Tiling the bathroom would prove to be similar to that of the kitchen. 150 sq. ft. of Fireclay Tile was laid out in batches on the floor, pulling from various boxes along the way to allow for even distribution of color and size variance. I used 2.5”x8” Black Hills Brick to coordinate with the fine speckling of the vintage, yellow Stonelight tile. Along the way, my tile design rep, Tiffannie (the best), caught wind of this project, and informed me that Fireclay Tile had an interesting origin story linked to Stonelight Tile Co. Suddenly, the use of these storied materials became yet another way of linking past to present in my home renovation journey.
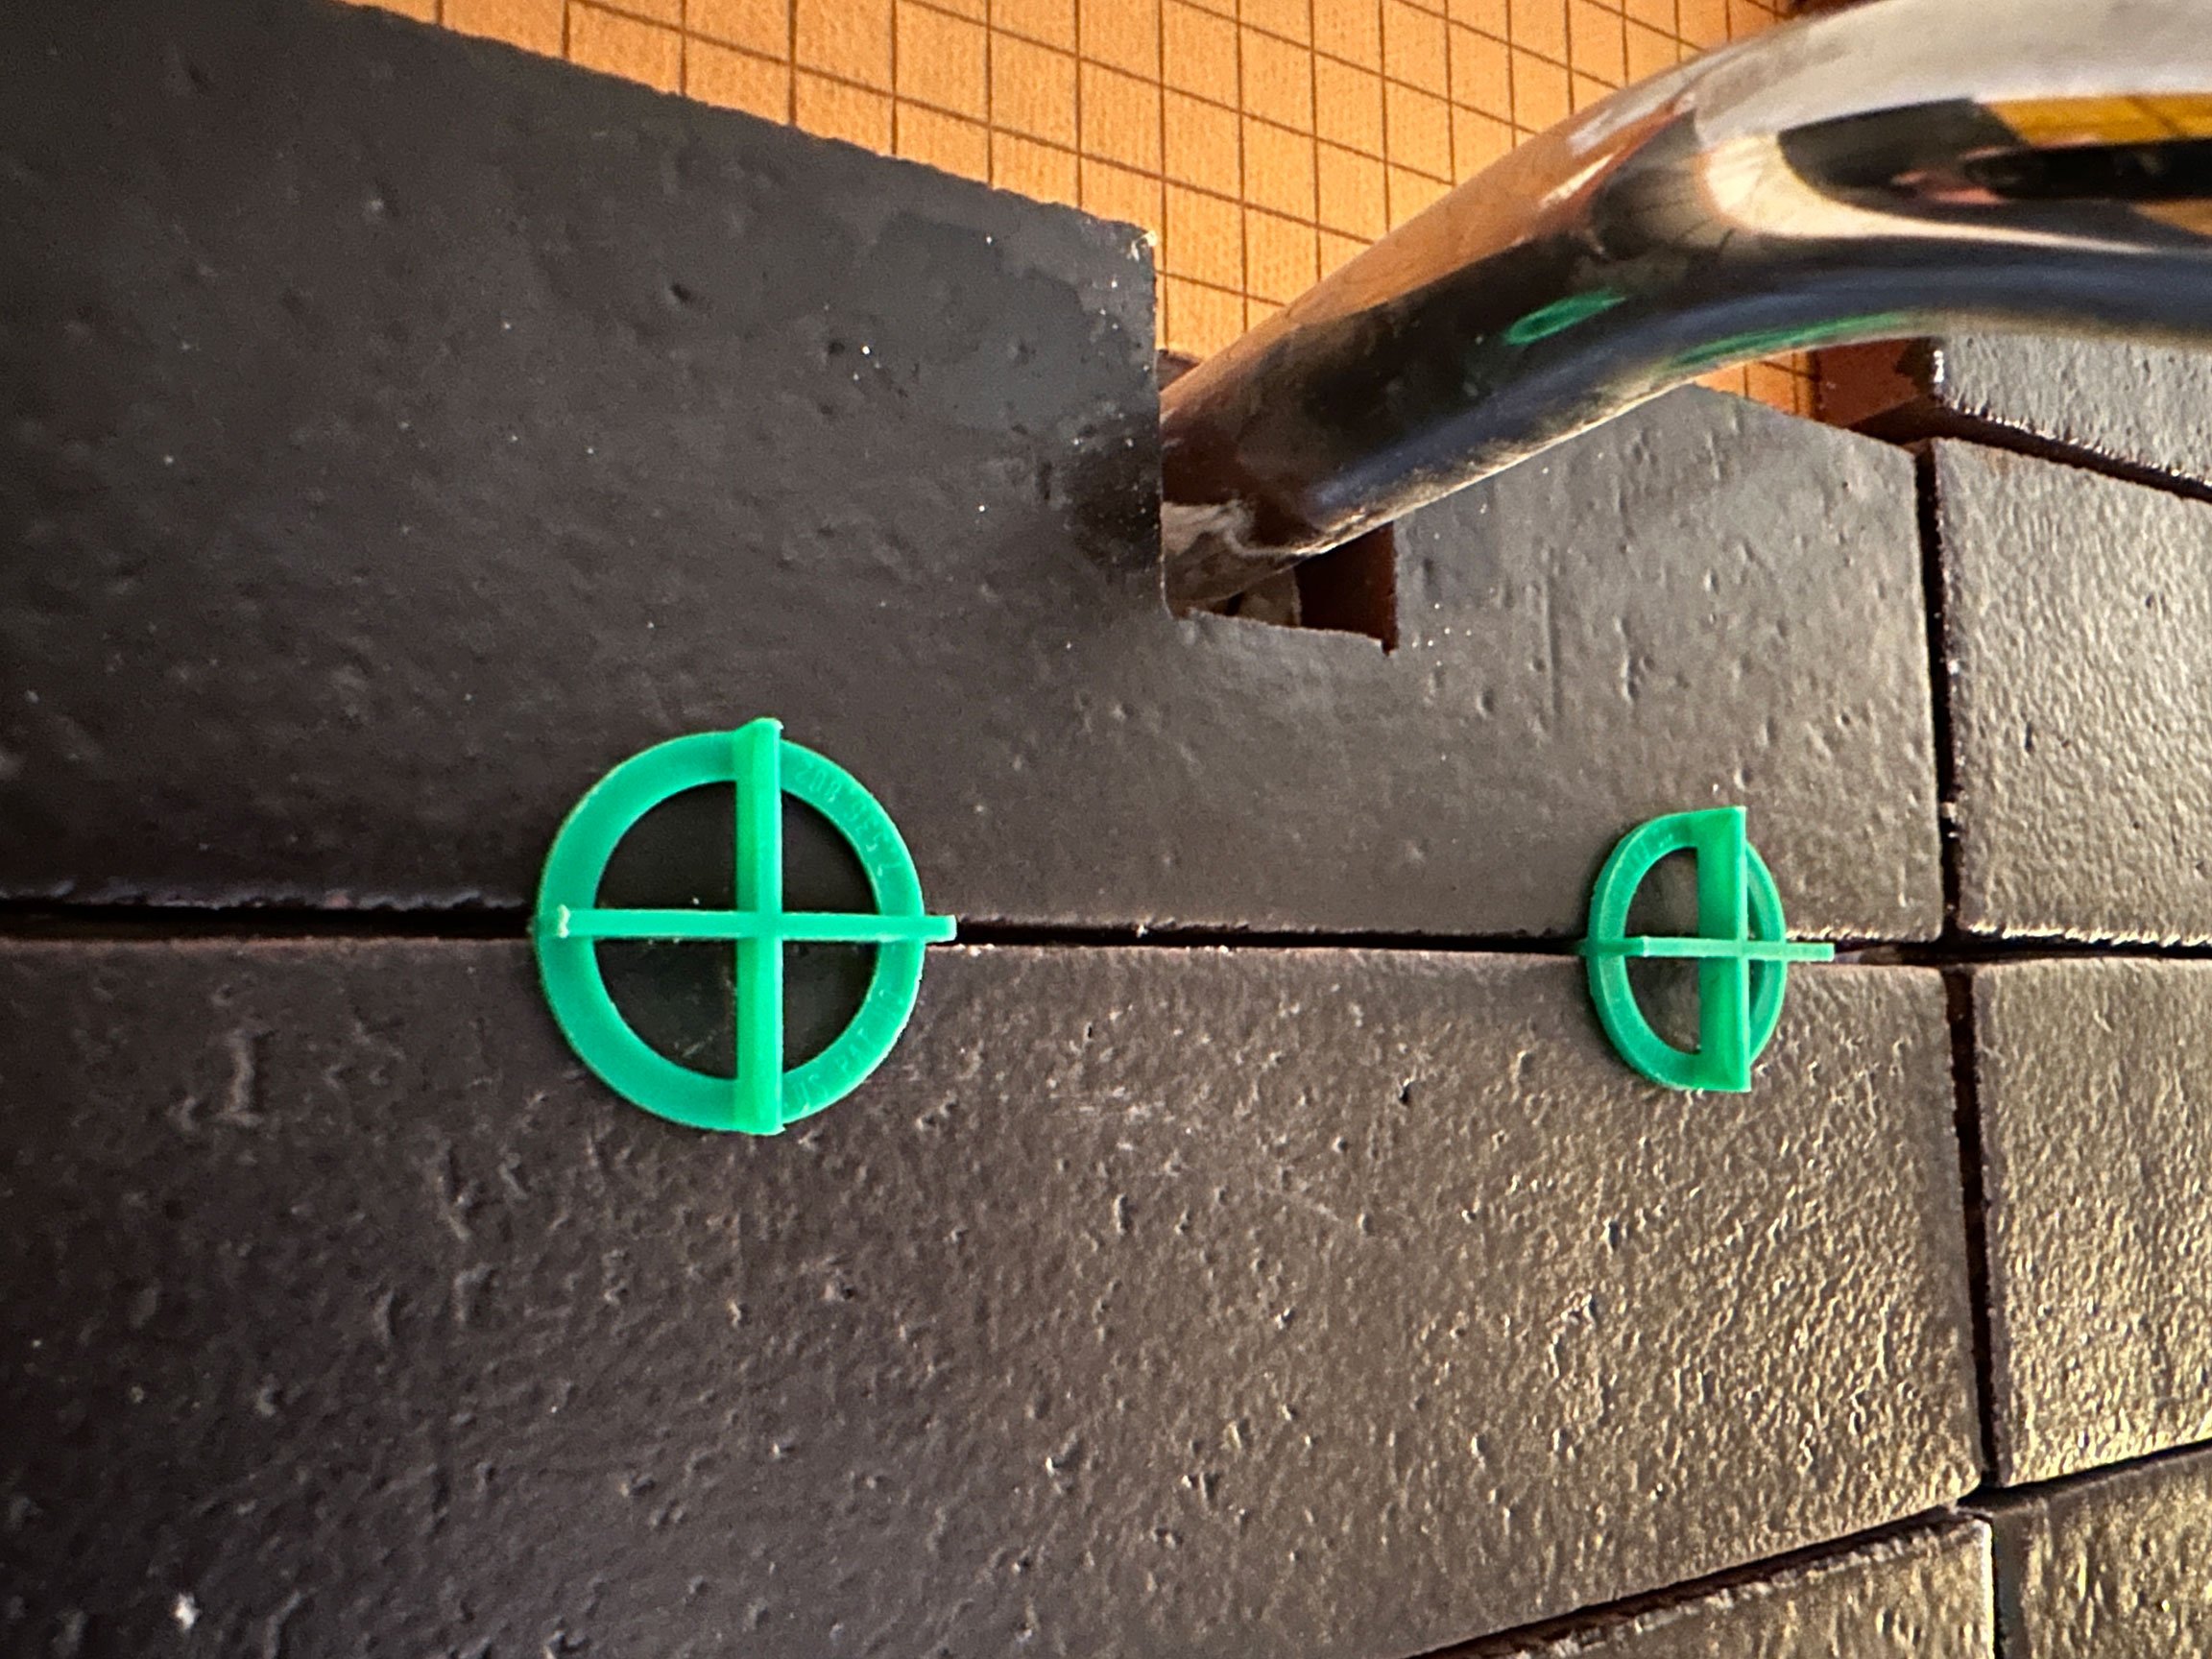
According to plan, I installed the tiles in a straight set pattern, starting with the center point of the shower fixtures. Uncentered fixtures on a tile layout drives me bananas! I opted for 1/16” spacers for this project to create minimal grout lines. Of course, this was the more difficult route having them paired with the variations and natural properties of the brick tile. However, with some patience, precision, and persistence, the plan was possible. When a 1/16” spacer would not quite fit, a folded piece of paper came in handy for those tighter lines. Once those lines were filled with black grout…stunning!

To my amazement, the jackpot haul of Stonelight tiles included a handful of bullnose edge pieces. As luck would have it, there were just enough to incorporate the edges of a contrasting shower nook and shelf.
We’re nearing the finish line on this long-awaited project, friends, and I’m looking forward to sharing the remaining details. Up next: partition glass, vanity, fixtures, lighting, wallpaper and all the glorious details of this calming retreat.