Staggered Swagger

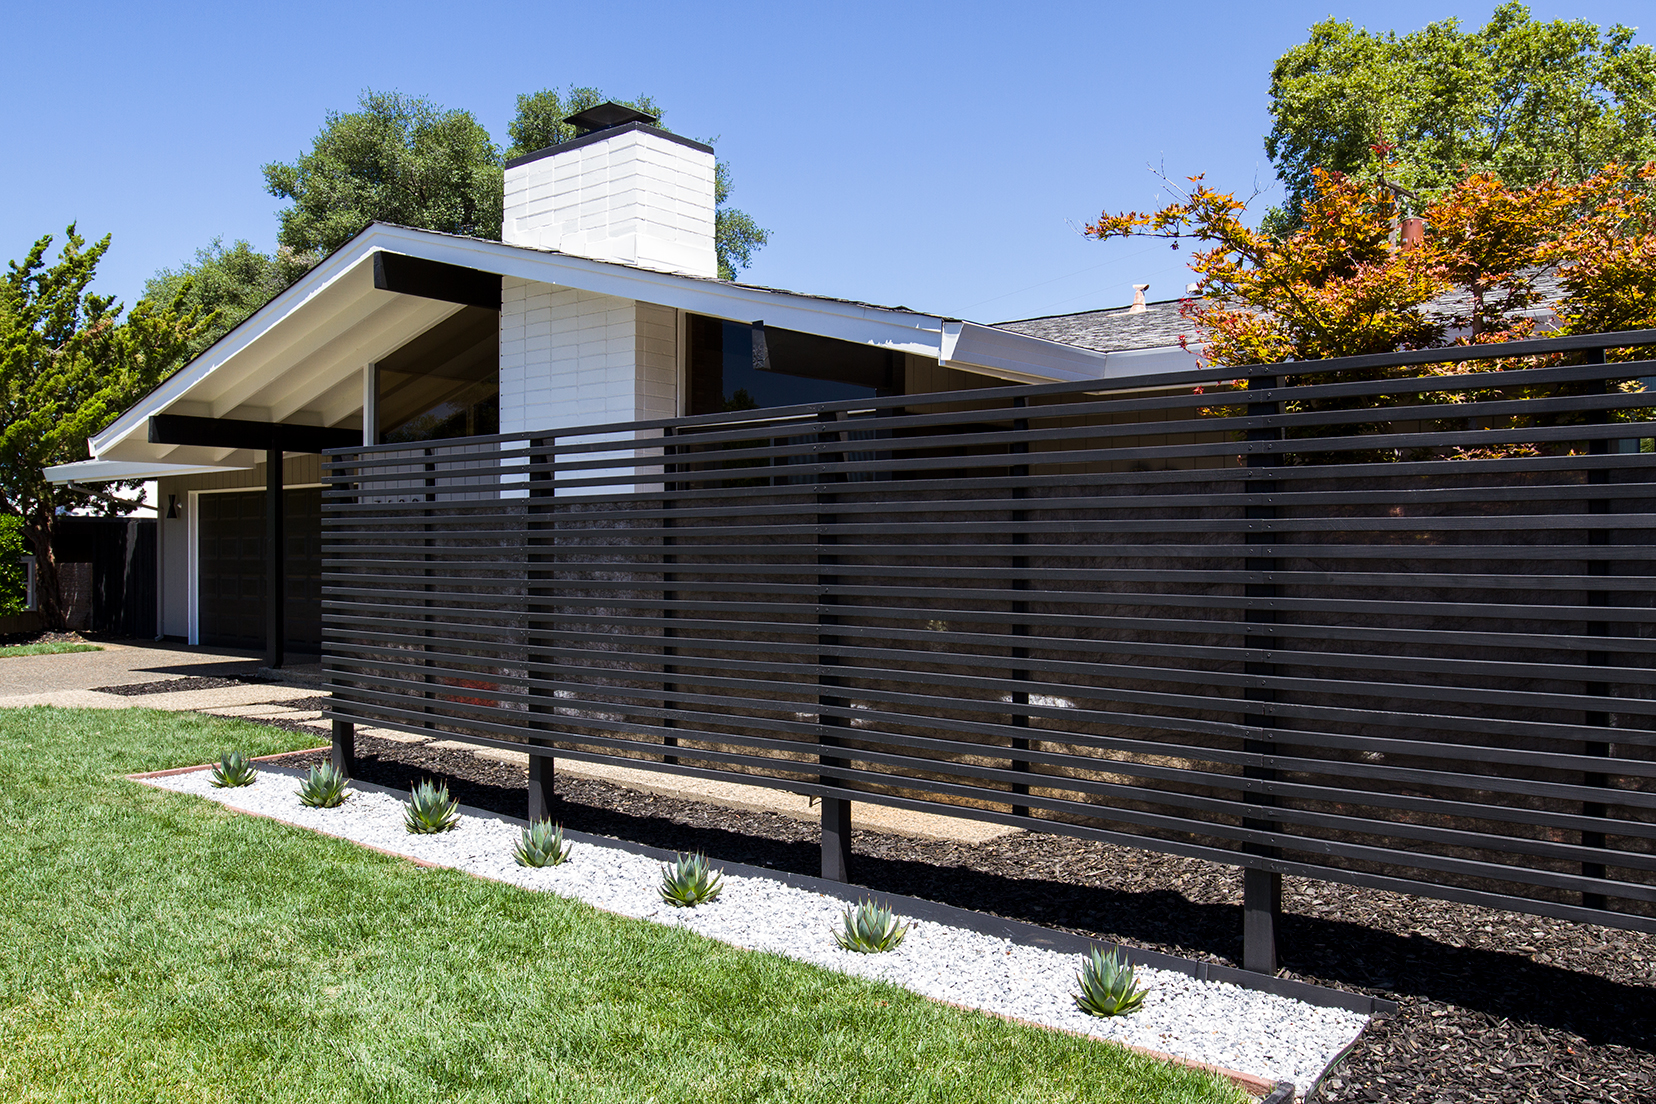
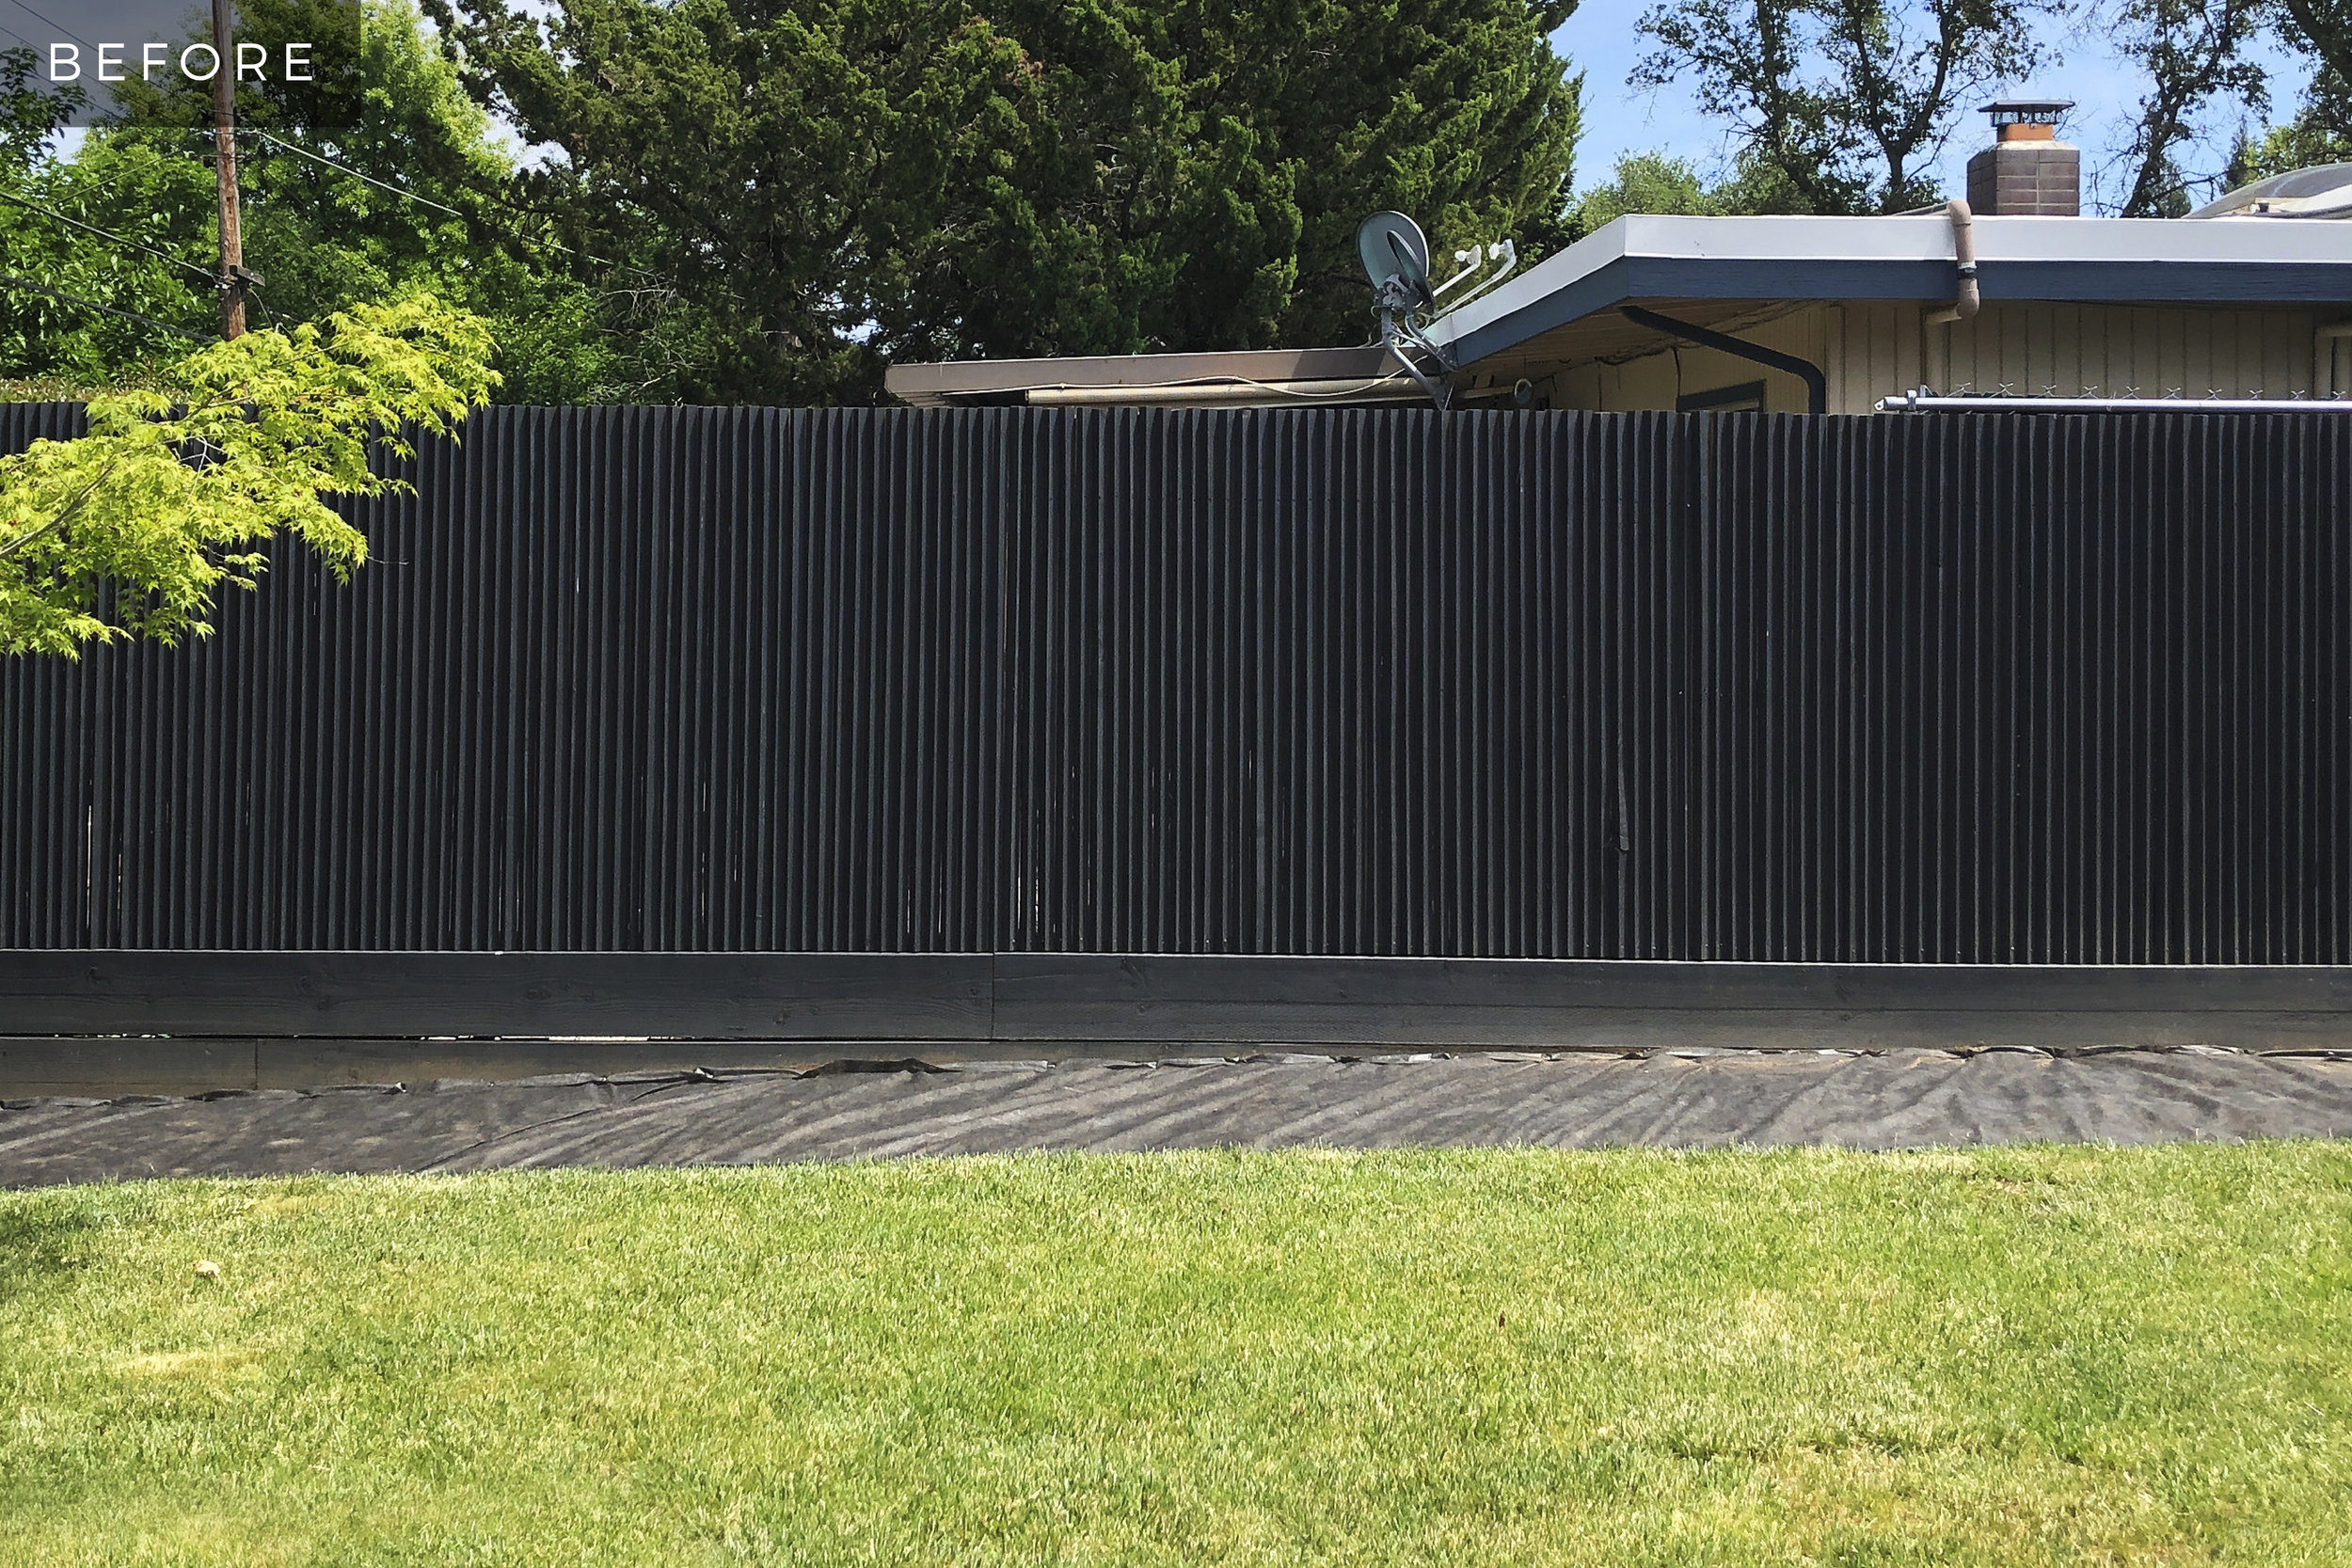
The backyard at my home has been an ever-evolving, and sometimes overwhelming improvement project. I feel lucky to have a spacious, flat, rectangular lot to work with, but envisioning a master plan has taken considerable effort. Tackling the new tri-stake fence last summer was a major accomplishment in the base work that needed to be done before diving into the details. Once I painted the fence, I was able to better visualize some additional elements that would make the east side of the yard shine.

The long wall of black vertical lines was beautiful in its own way, but it definitely needed something to break up the monotony of this 40-foot span. As I began to devise my plan, I gathered inspiration from a few places.
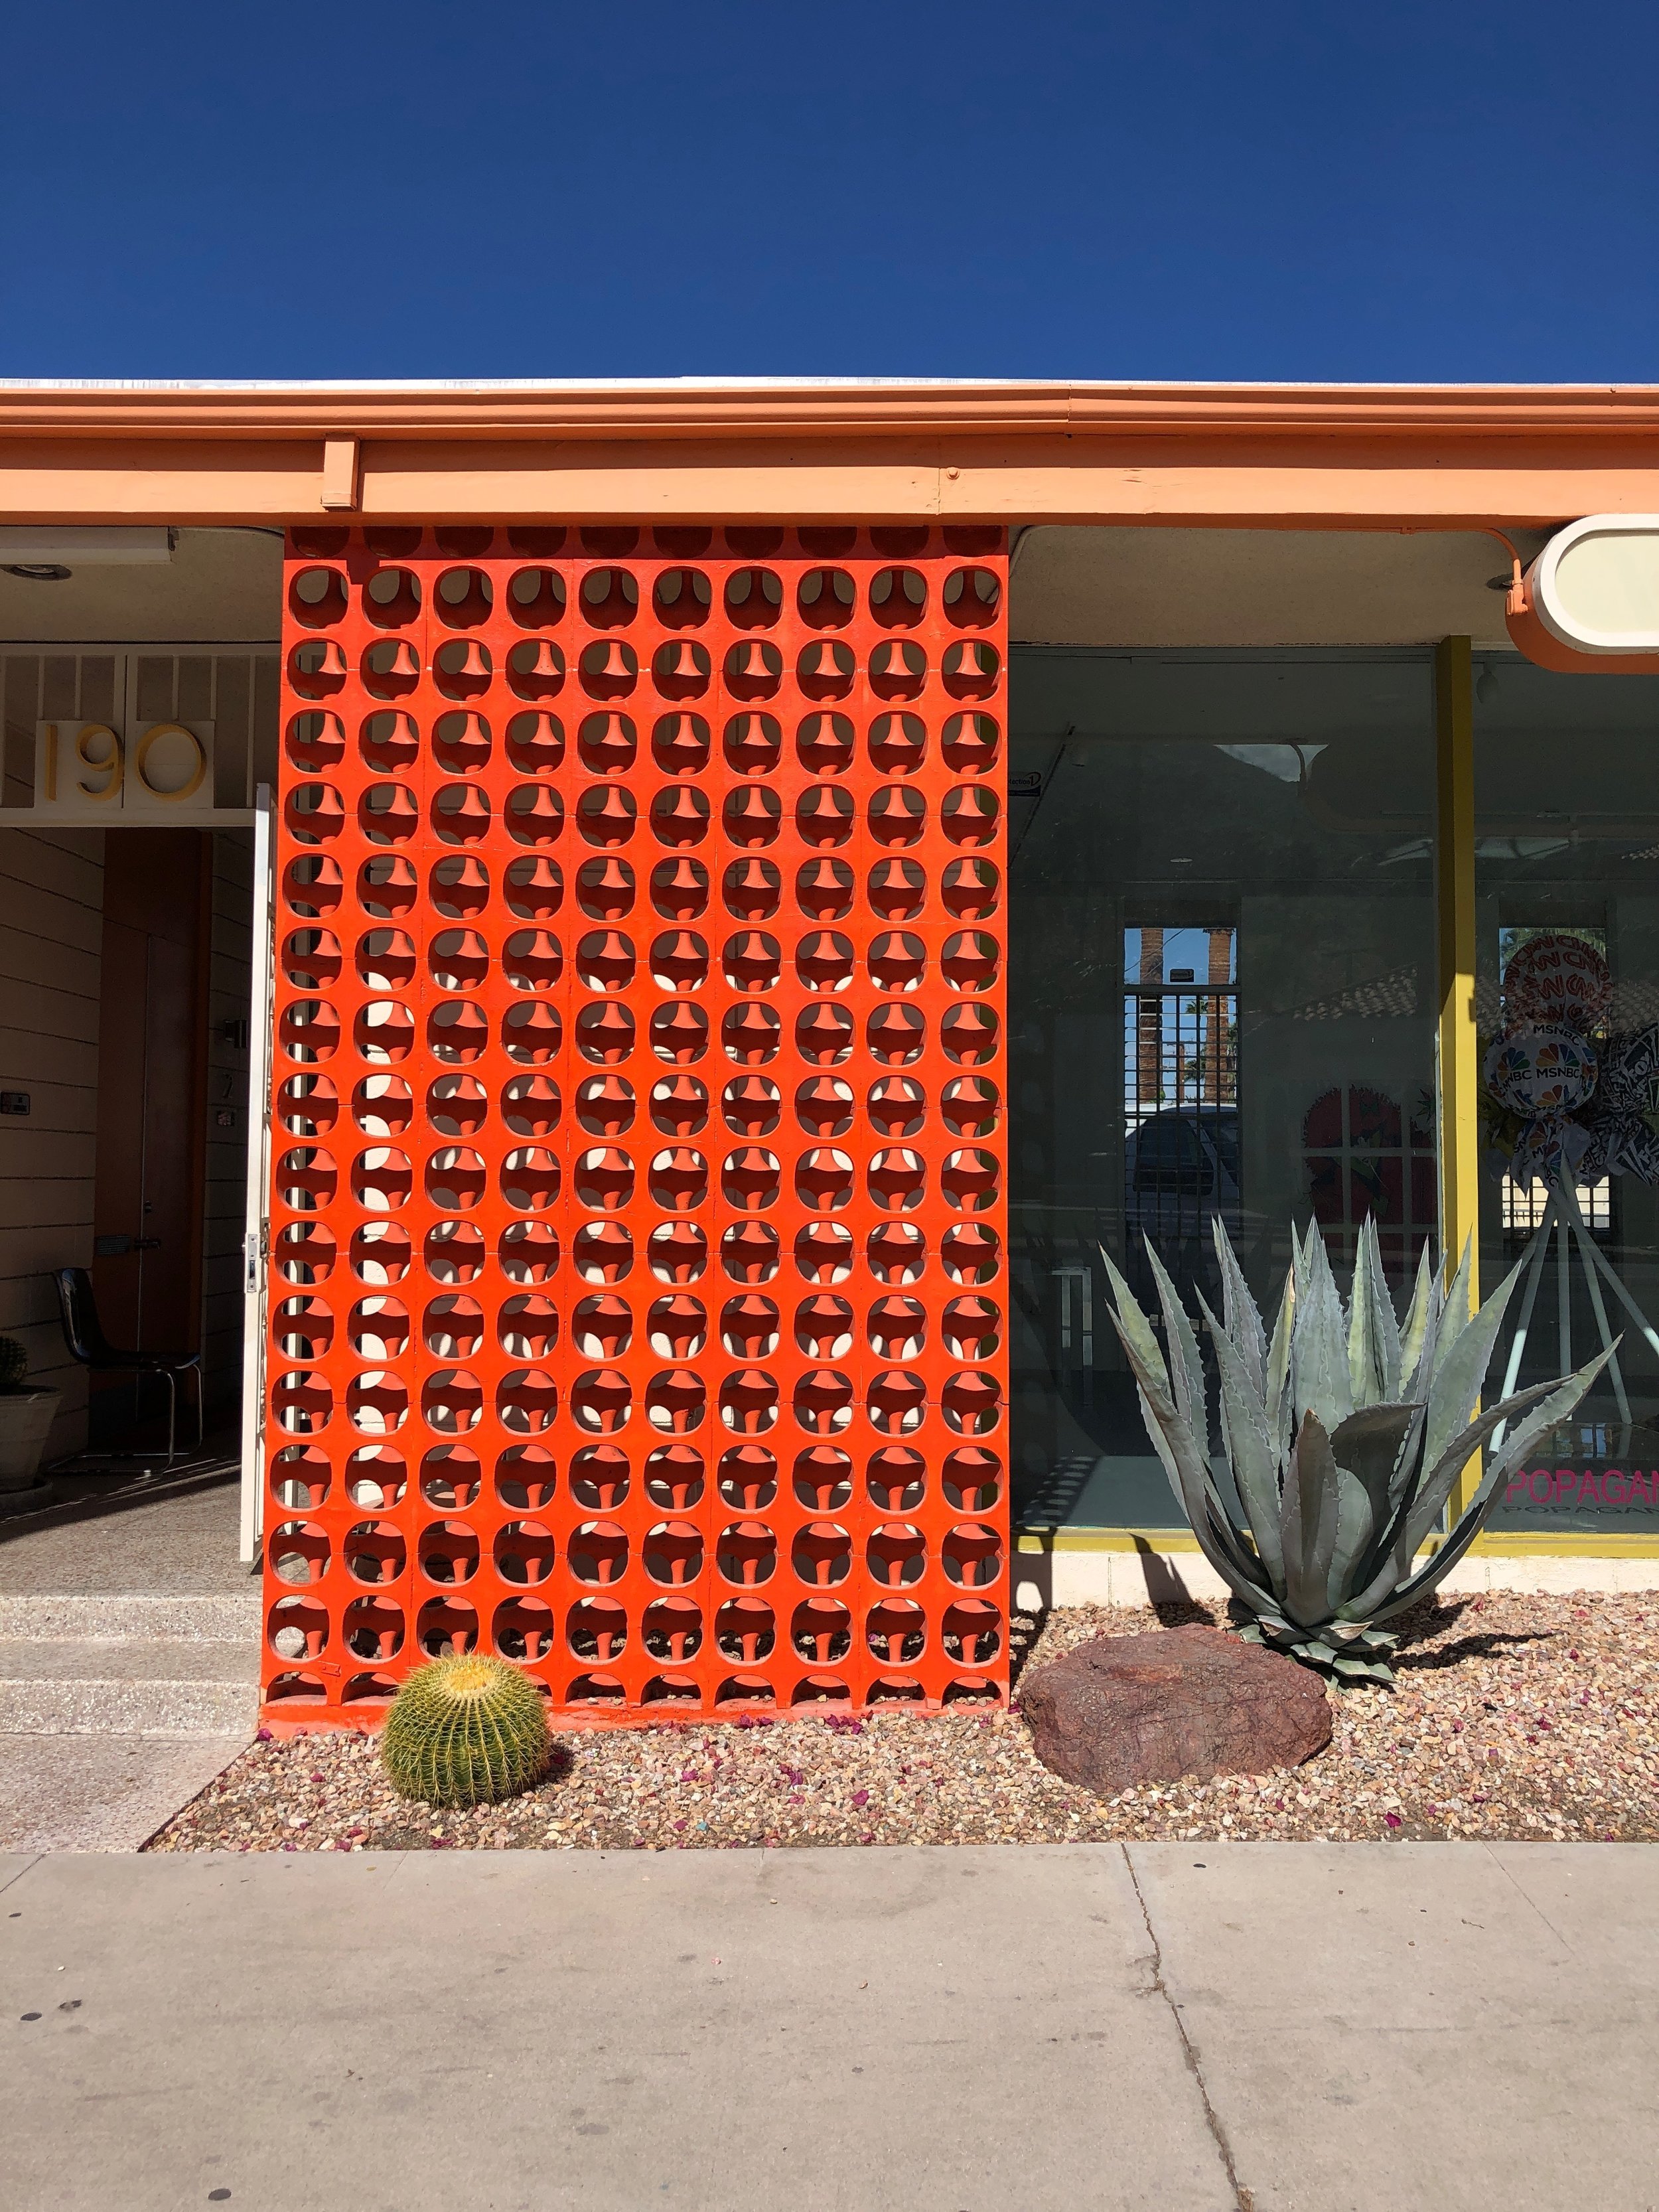
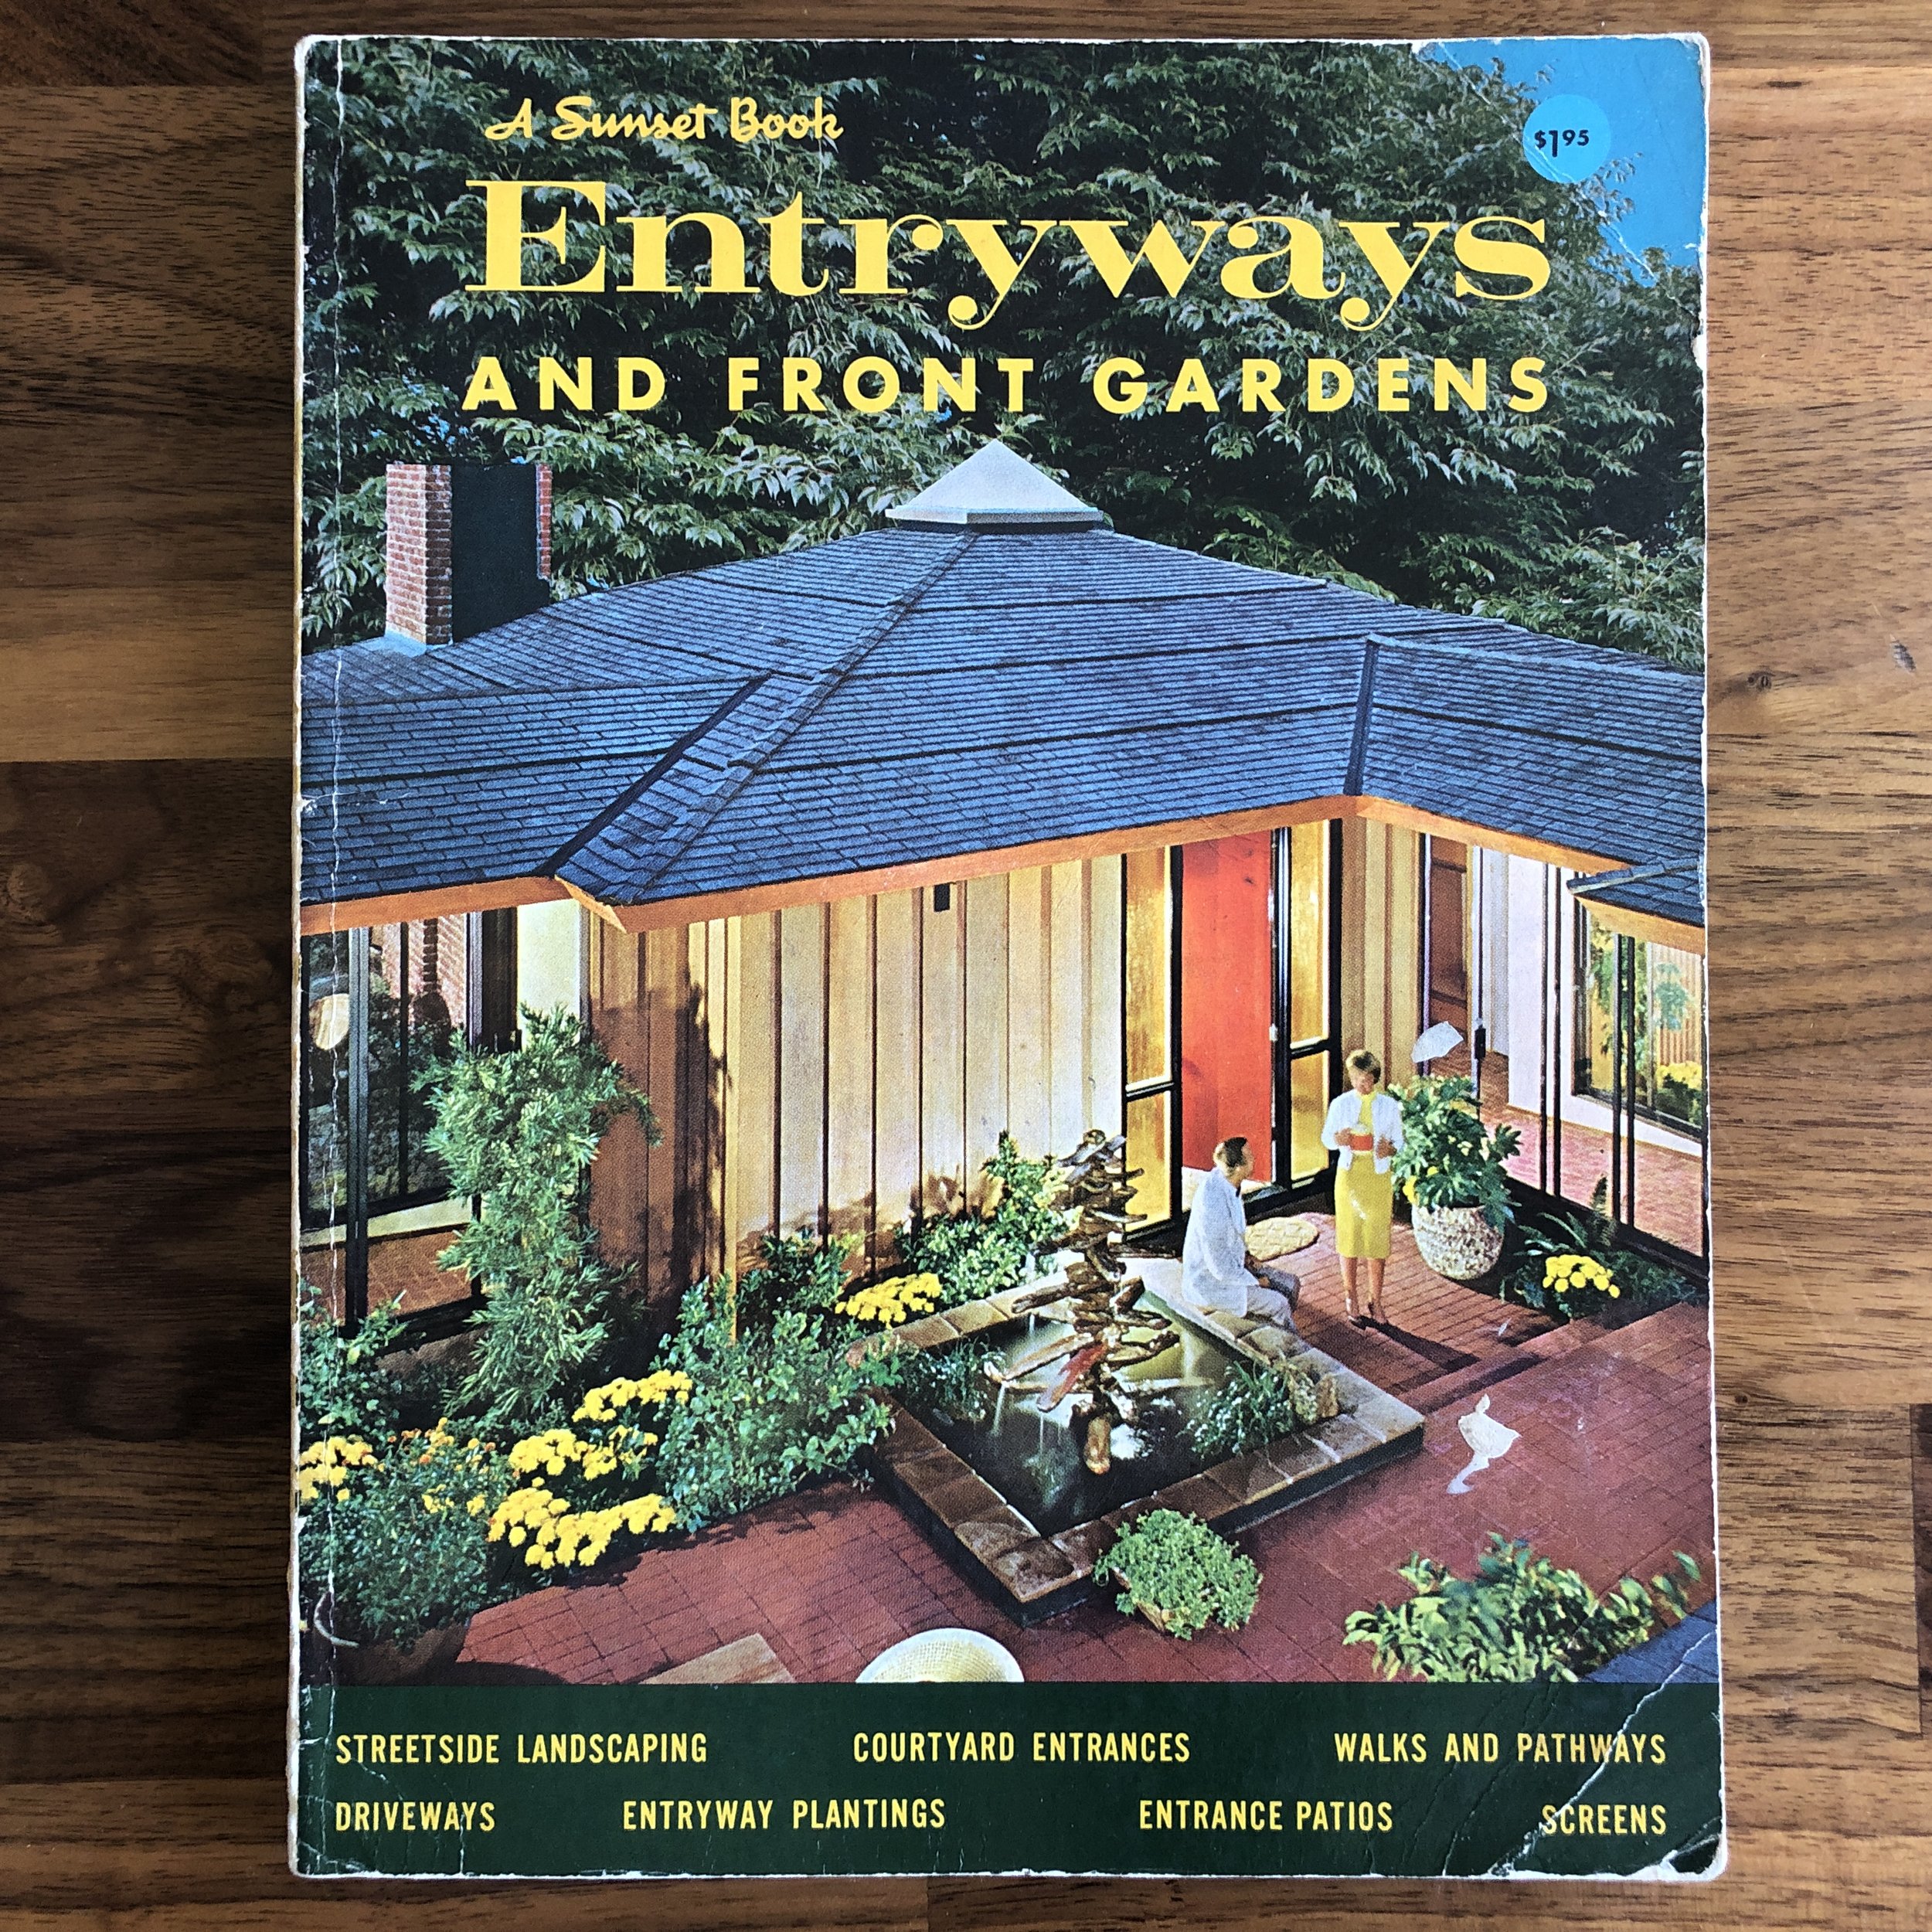
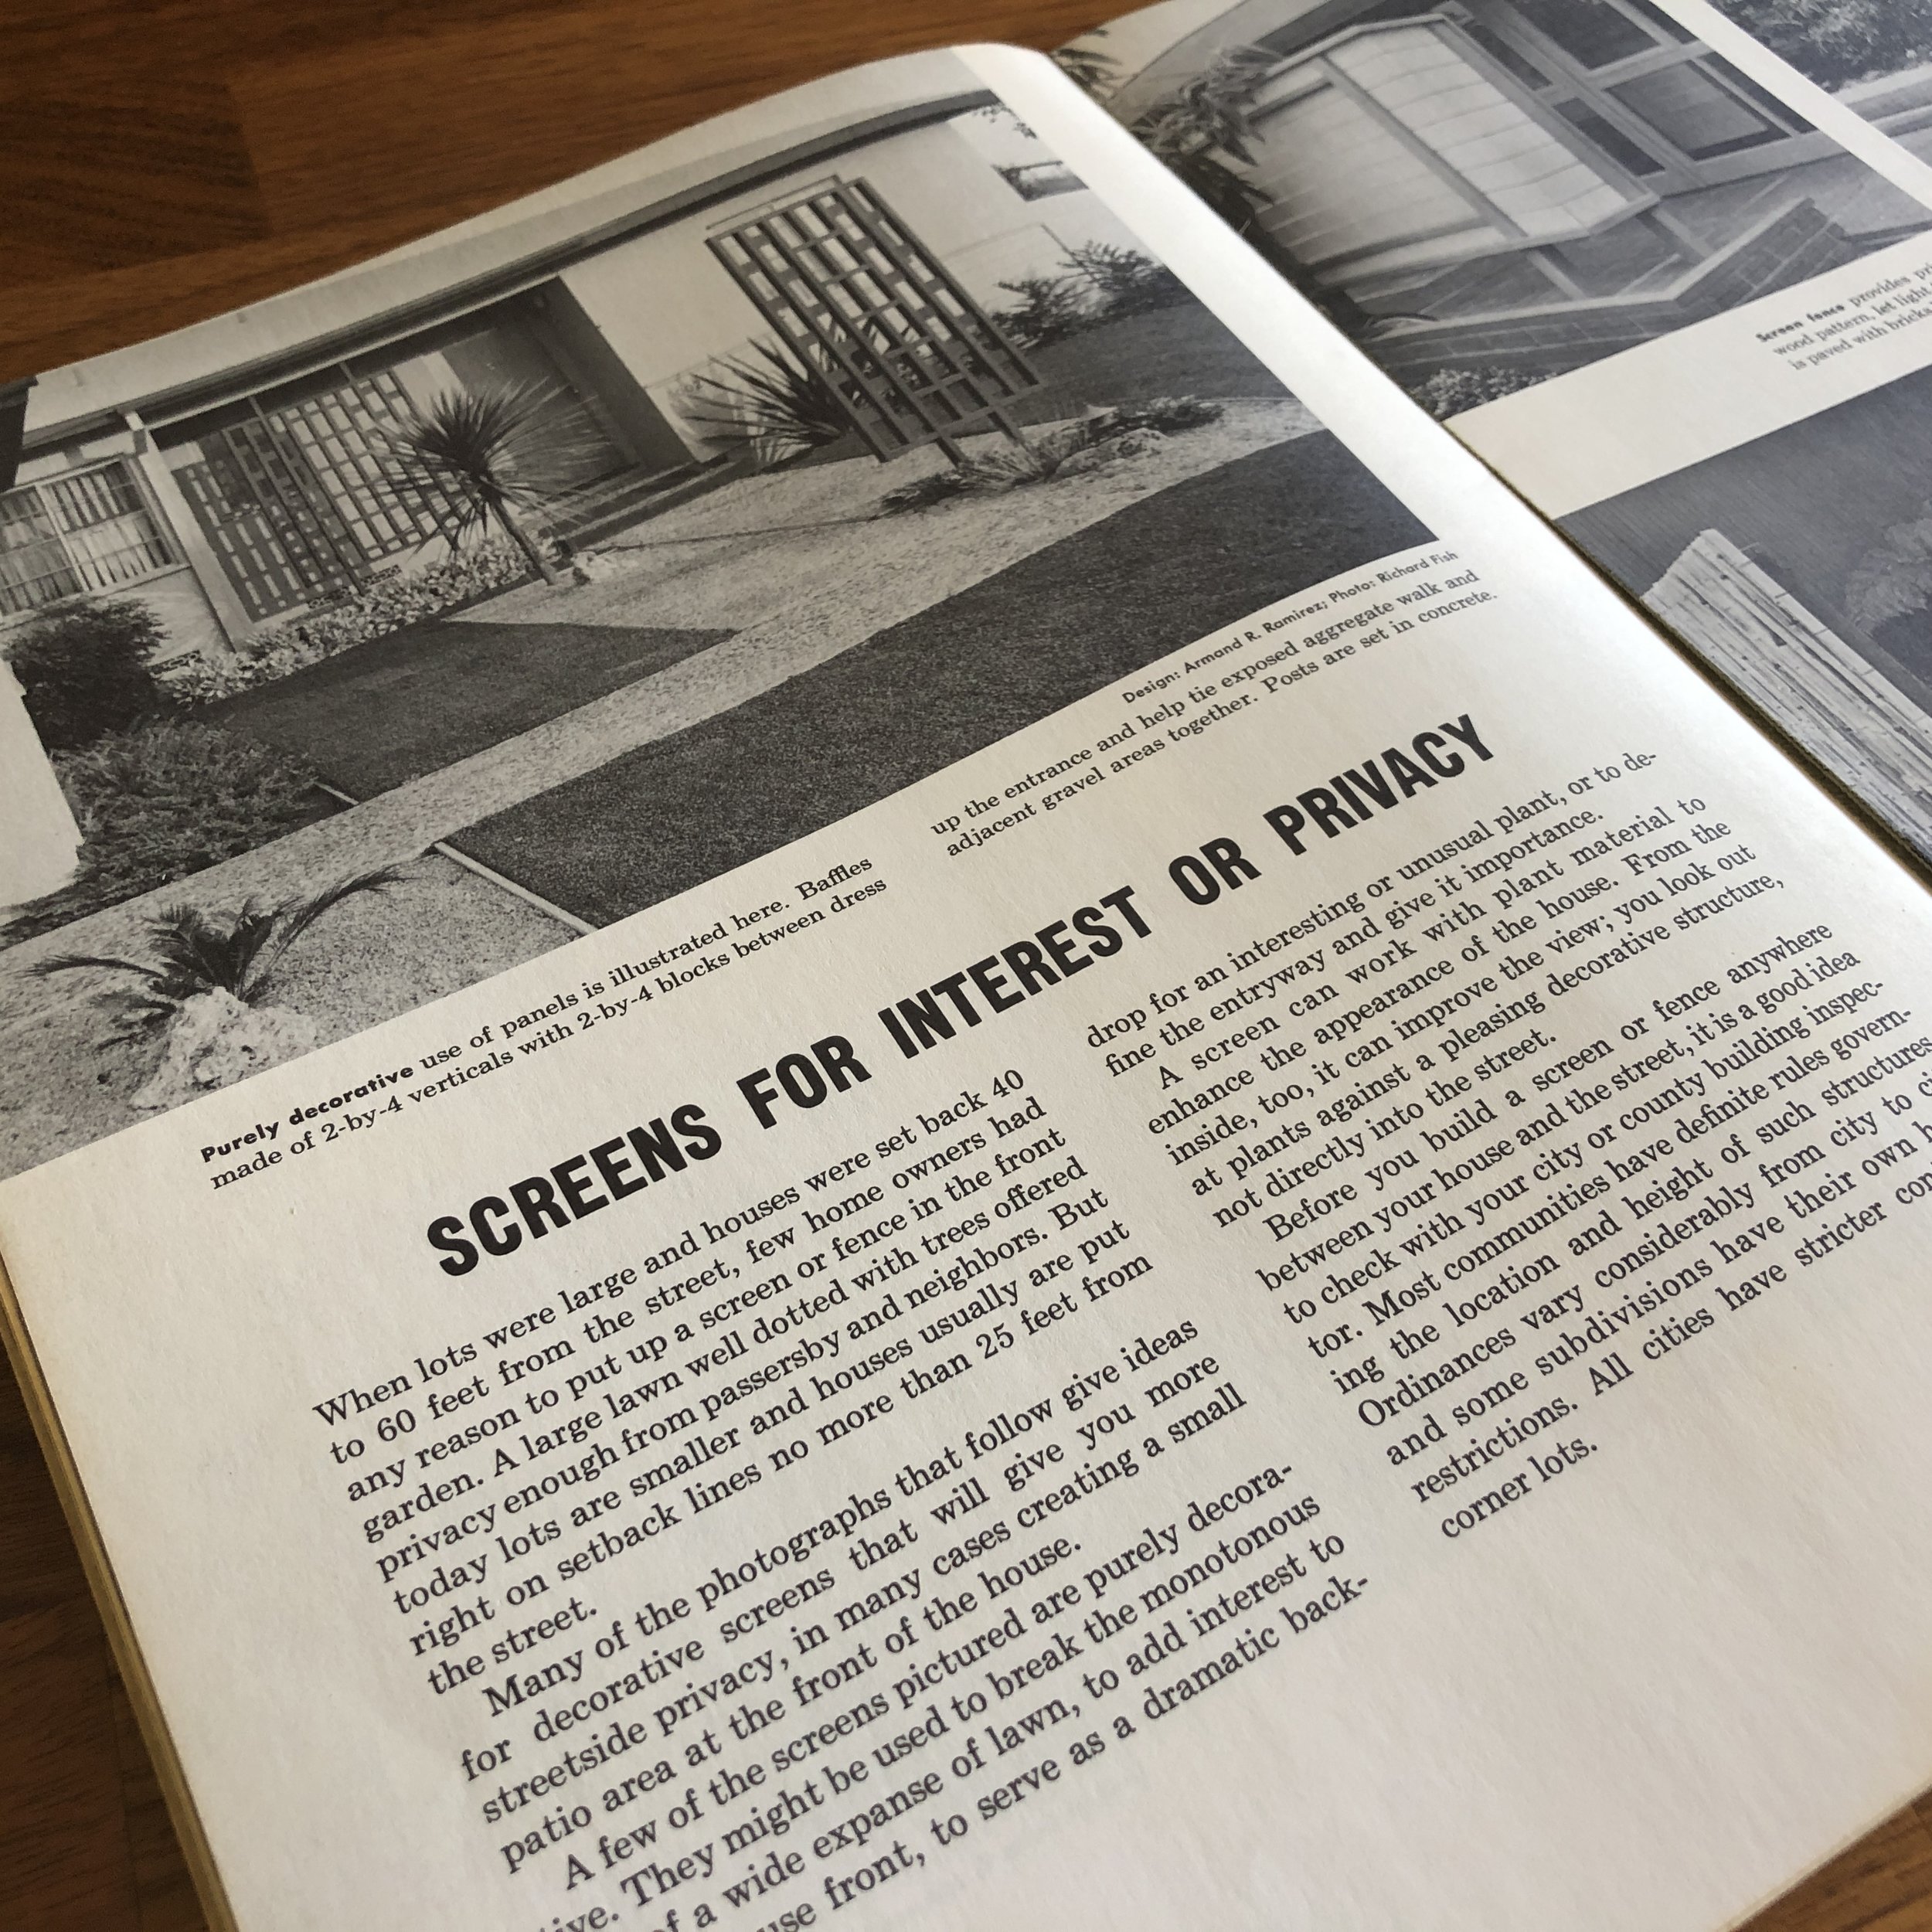
A recent trip to Palm Springs had me seeking out interesting architectural and sculptural elements to incorporate into the yard. One piece I really admired was a metal divider wall outside of a barber shop. Of course, the orange spoke to me, but the layered dimensional effect and cut-out shapes worked wonders for an otherwise nondescript backdrop. I also picked up a copy of Entryways & Front Gardens (1961) by Sunset in my thrifting adventures. While the cover art alone was enough to convince me to pick it up, it has several clever ideas for landscaping in it, too. Imagine that. One section in particular focuses on screens for interest or privacy. While I didn’t necessarily need more privacy with the tri-stake wall in my backyard, I definitely needed interest. I found one screen idea in the book to be especially beautiful and period appropriate. It was a series of 2x4 verticals with posts set in concrete (on page 26 if you happen to snag a copy). The staggered block effect creates a playful, modern vibe without being too complicated or fussy. The examples shown in the book were constructed at about 3’ x 7’, but I set out to make something larger to better fill the void. Naturally, the 2019 MCM Home Tour was right around the corner, so I decided to start this project less than 2 weeks before the event date.
With some general measurements taken, we got to work creating a 12’ x 7’ model in Illustrator. By doing this, I was able to play with the design layout, and accurately gauge how much lumber would be required for the project. If you’re going to take on a project like this, I highly recommend creating a draft plan to avoid over-ordering.


Before I could get started with the construction fun, the less exciting, but completely necessary work had to begin. I tore up the ground with a garden claw, and dug a trench for a new drainage pipe (the previous drainage was completely crushed and useless). Pulling weeds, and laying ground cover was next. As I fly through this summary, it all sounds so quick and simple, but make no mistake, this was intense sweat labor that lasted 2 full days.
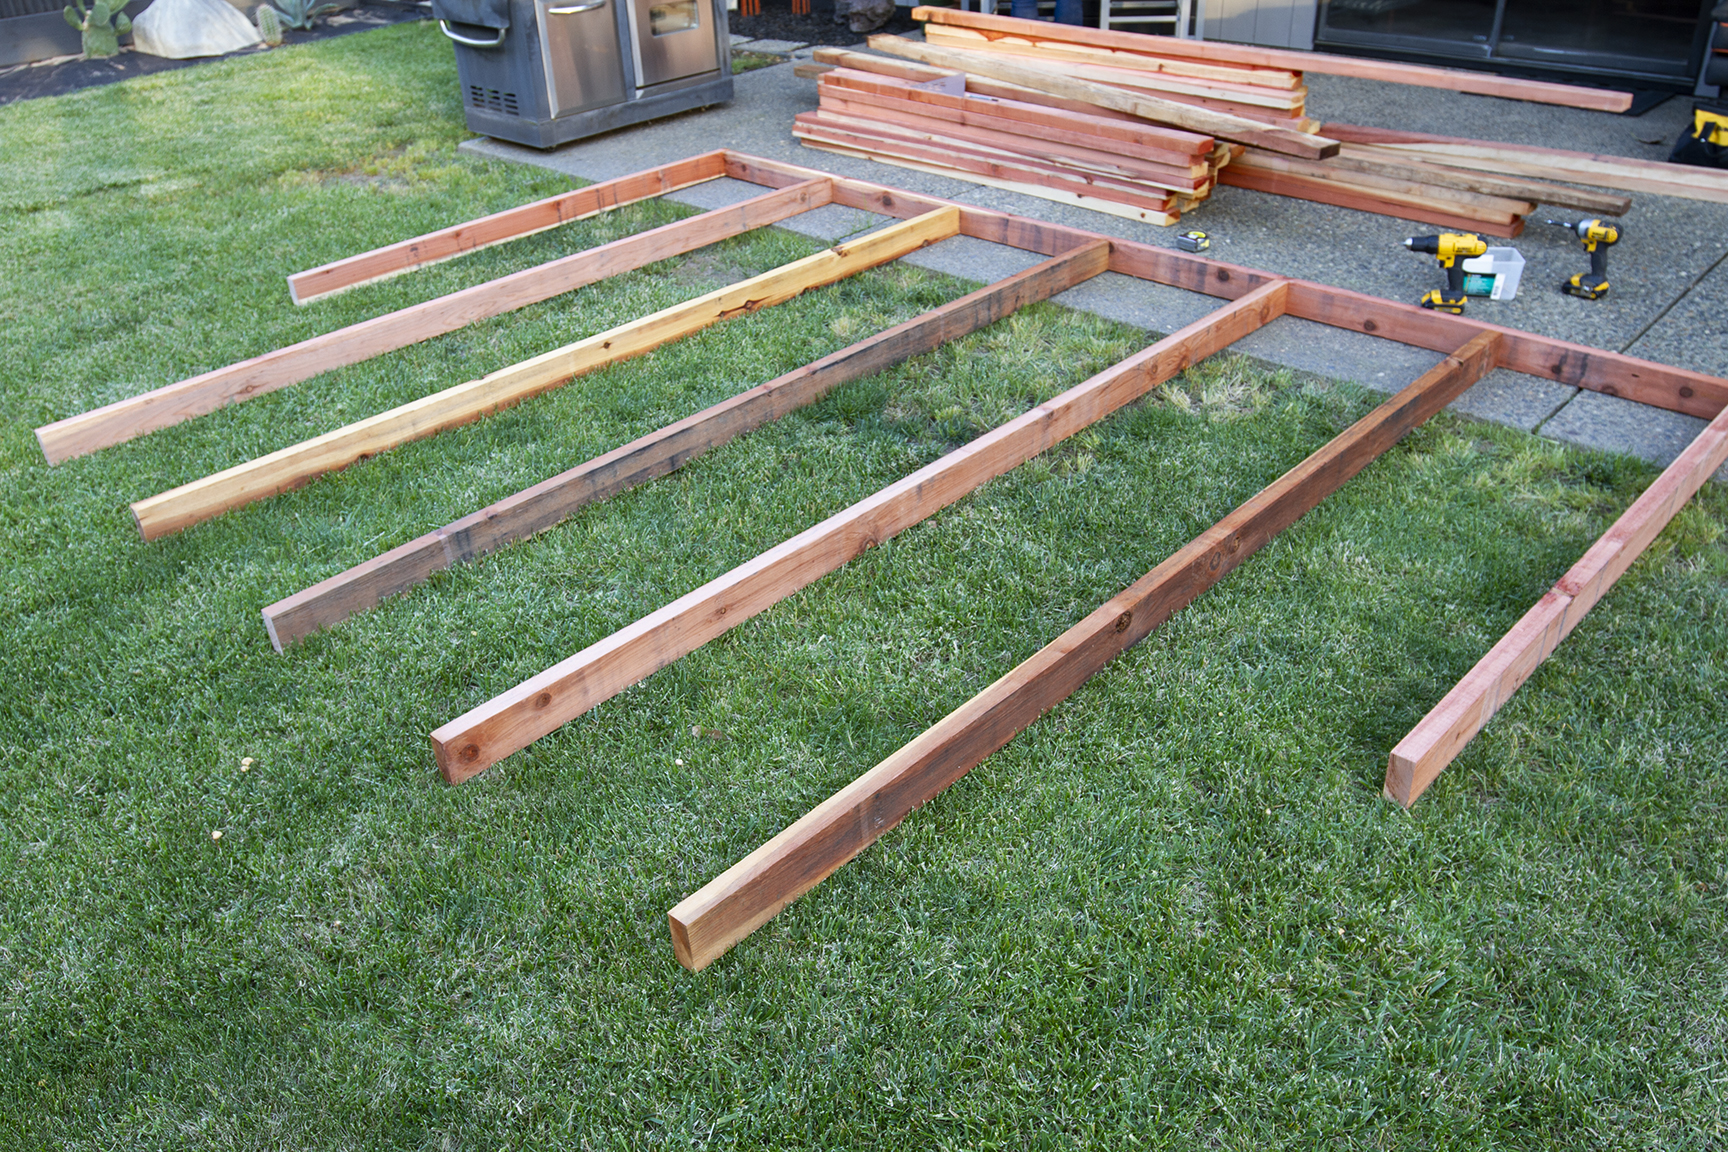
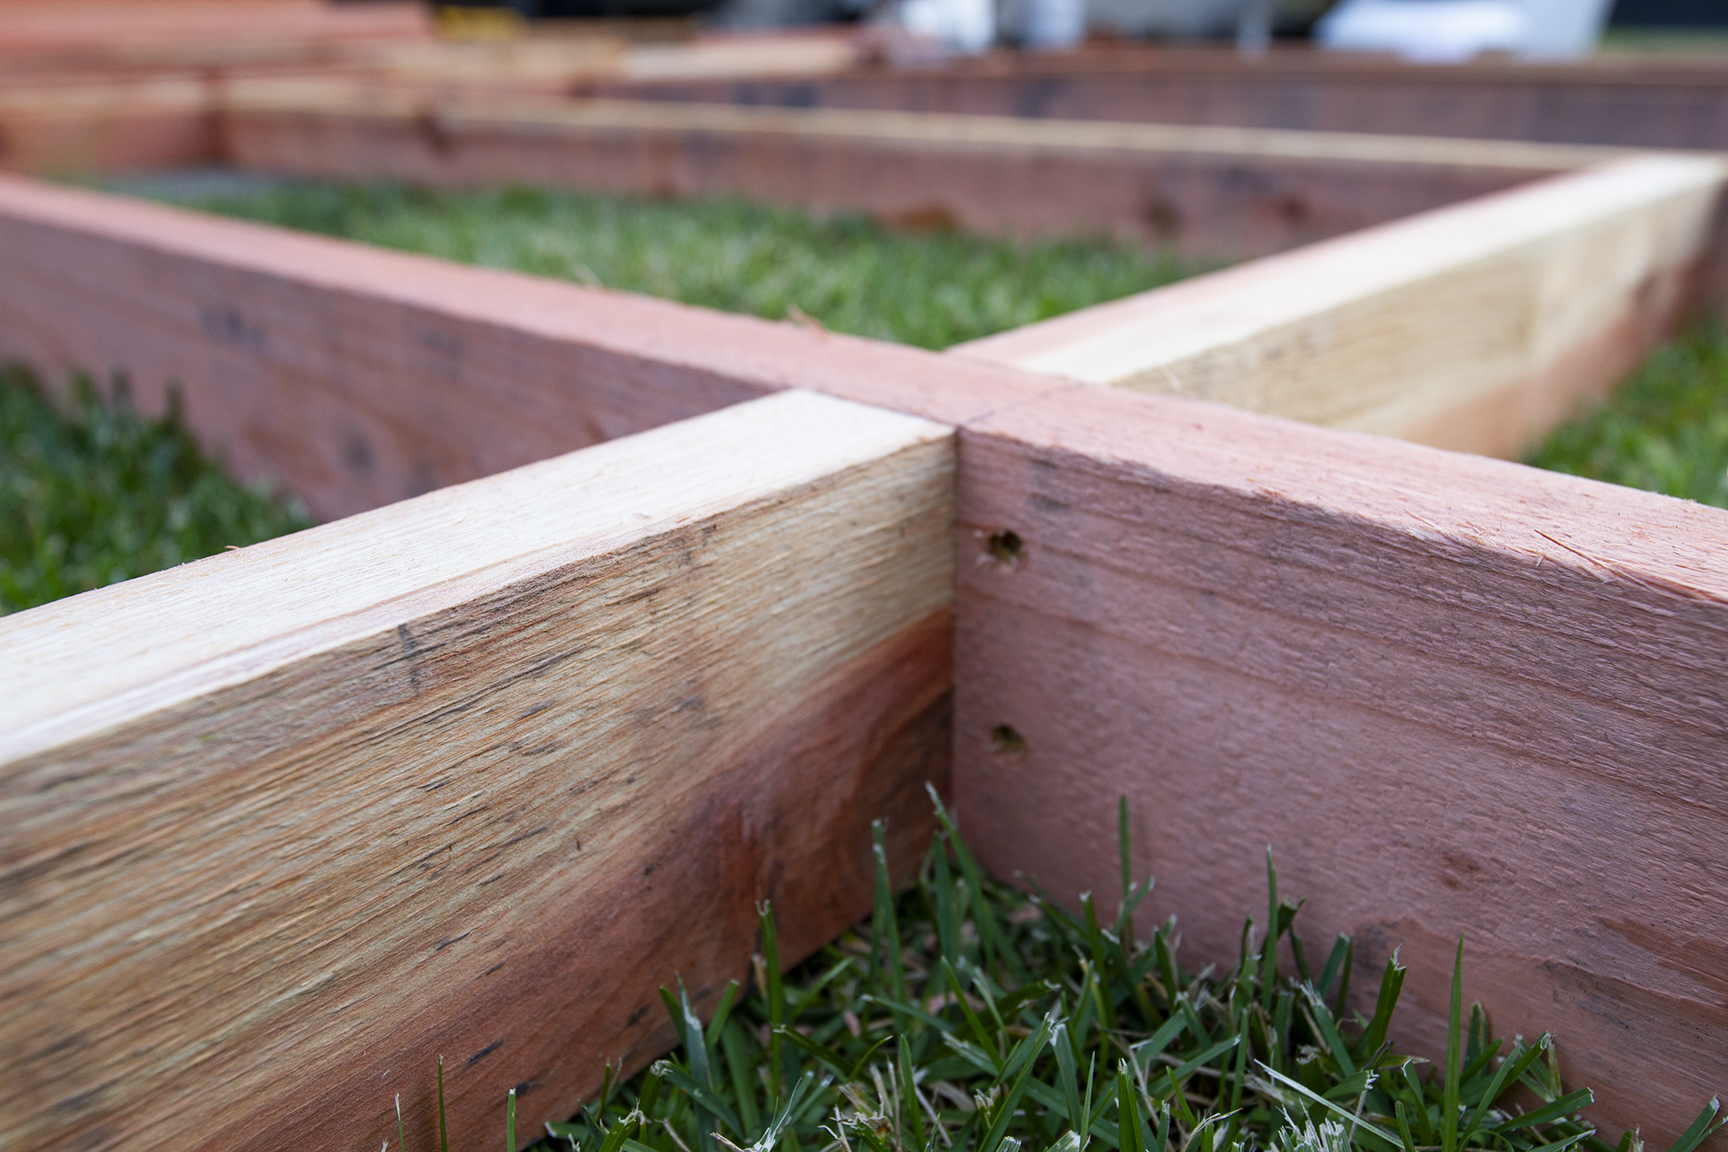
The redwood lumber arrived just as I was wrapping up ground prep, so I jumped right to construction. Starting with the longest piece of lumber at 12 feet, I began measuring where each of the 5 anchor posts would be placed. I didn’t own a drop saw prior to this project, but picking one up saved so much time for making cuts. I can’t imagine building this without that power and convenience. After the 5 posts, top, bottom, and 2 sides were attached with decking screws, I tested the weight by elevating the structure. This thing was a beast to say the least, and there was still so much wood to be attached. Glen and I decided it would be best to hoist this thing and construct the remaining pieces in-place to avoid a hernia.

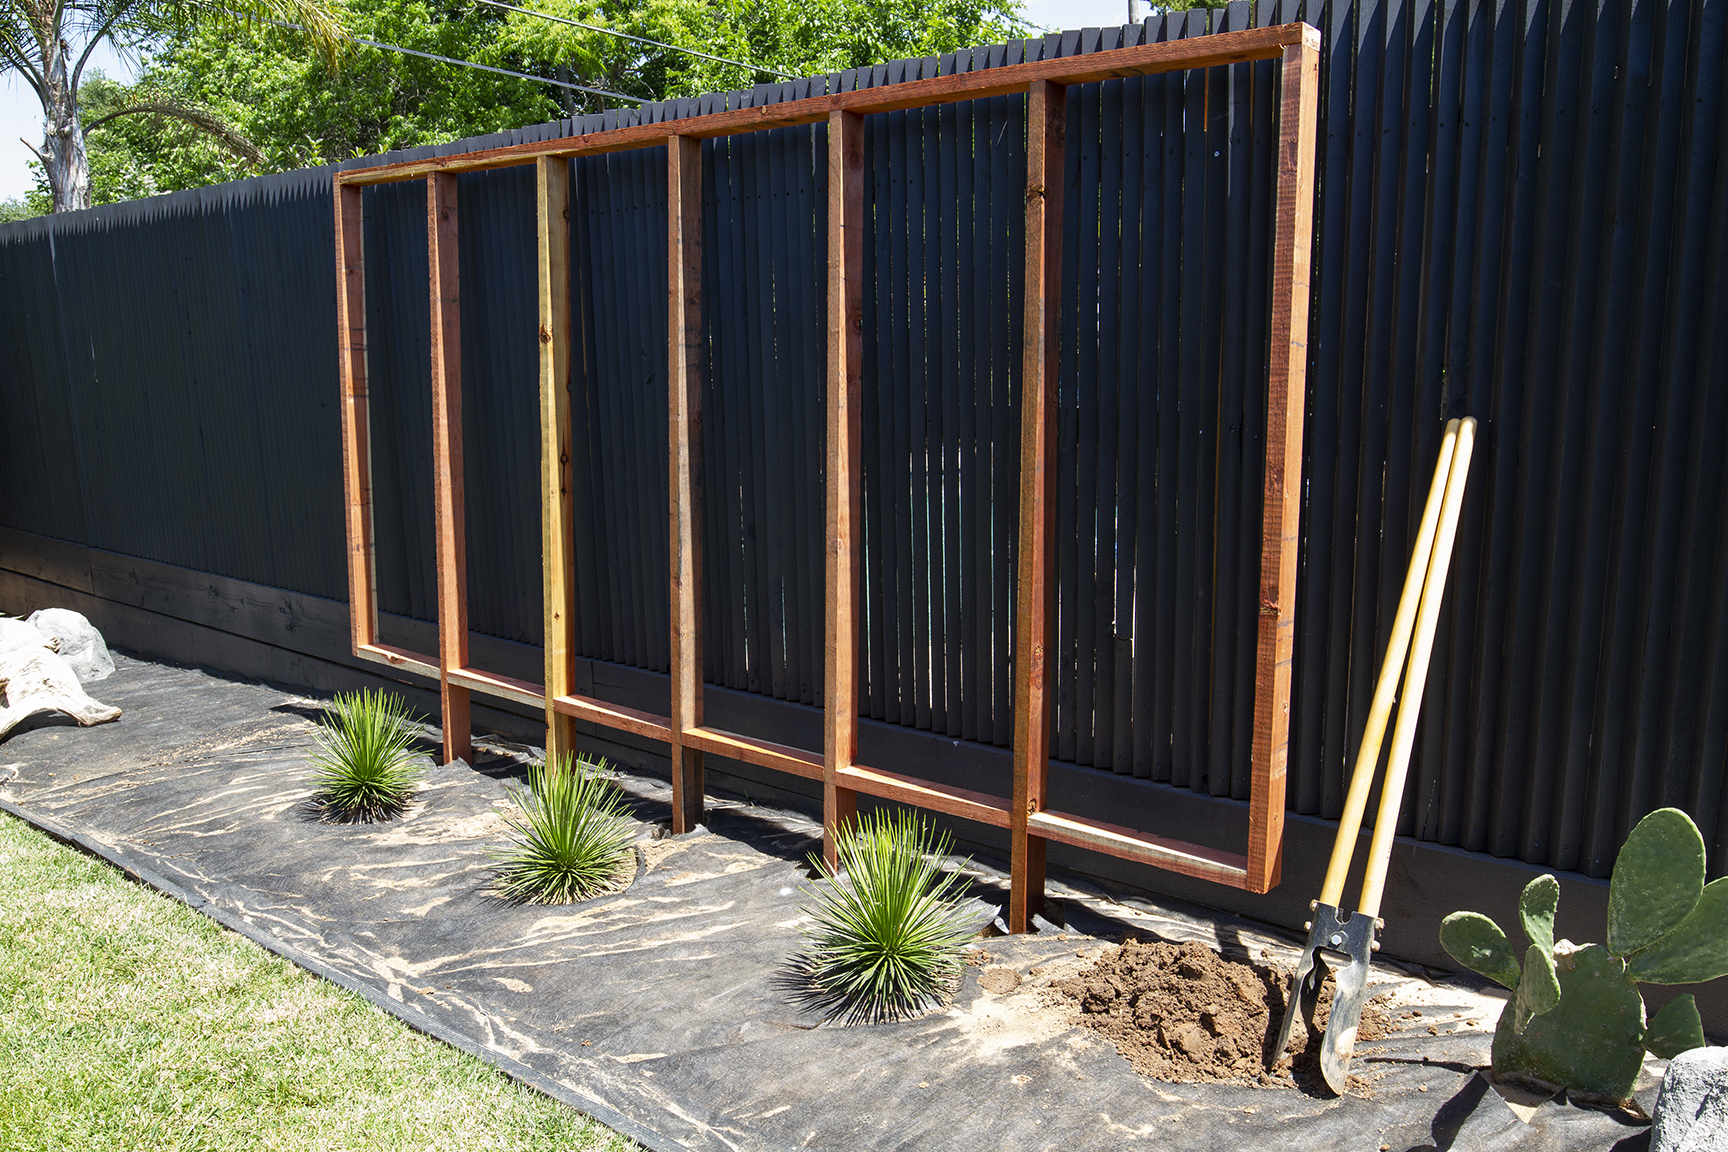
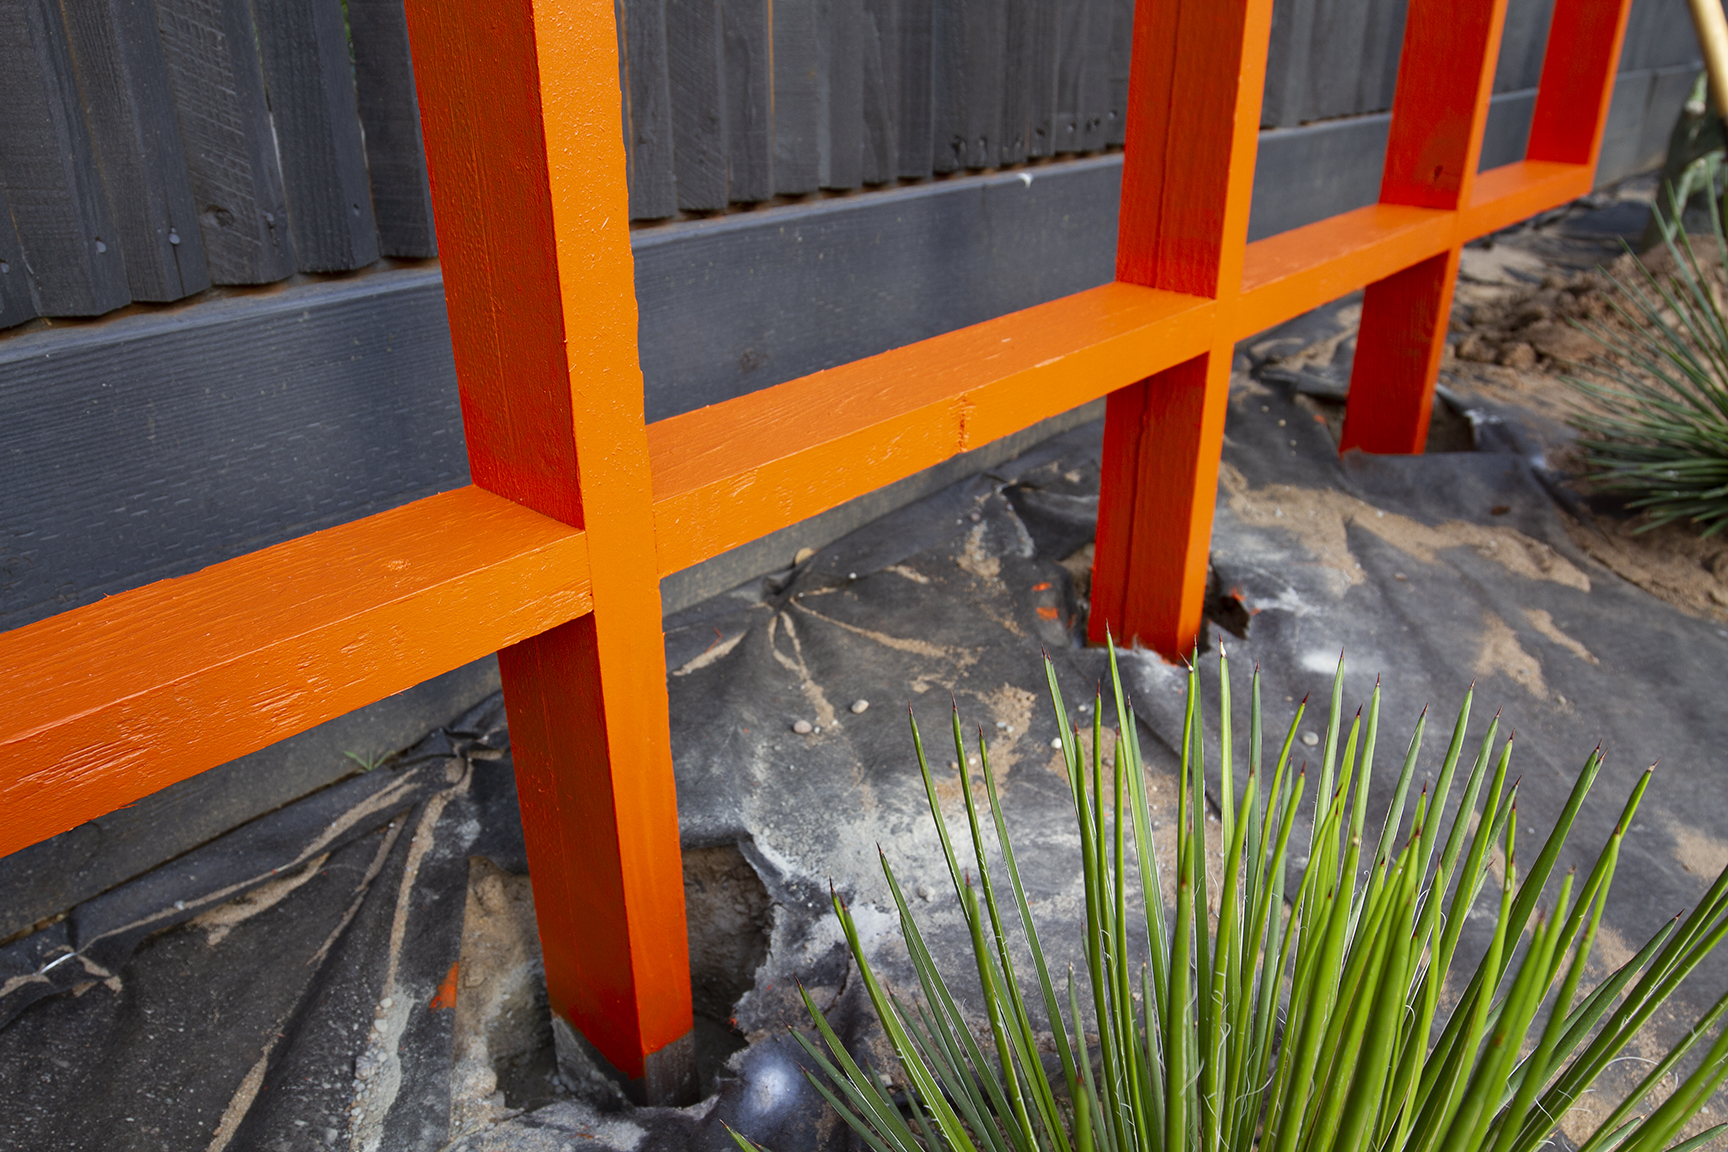
We propped the framing against the fence, placed plants and marked where holes would be dug for each of the 5 posts. At 10 feet long, I dug about 3 feet deep. To account for the slope of the yard, the post holes lessened in depth toward the back of the yard, closer to 2 feet. It took a little finagling to get the structure perfectly level, but having the top of the screen follow the top of the fence was mandatory. Post holes were filled with pea gravel and quick-set concrete mix. After a few hours, we were clear to continue construction of the inner screen pieces.
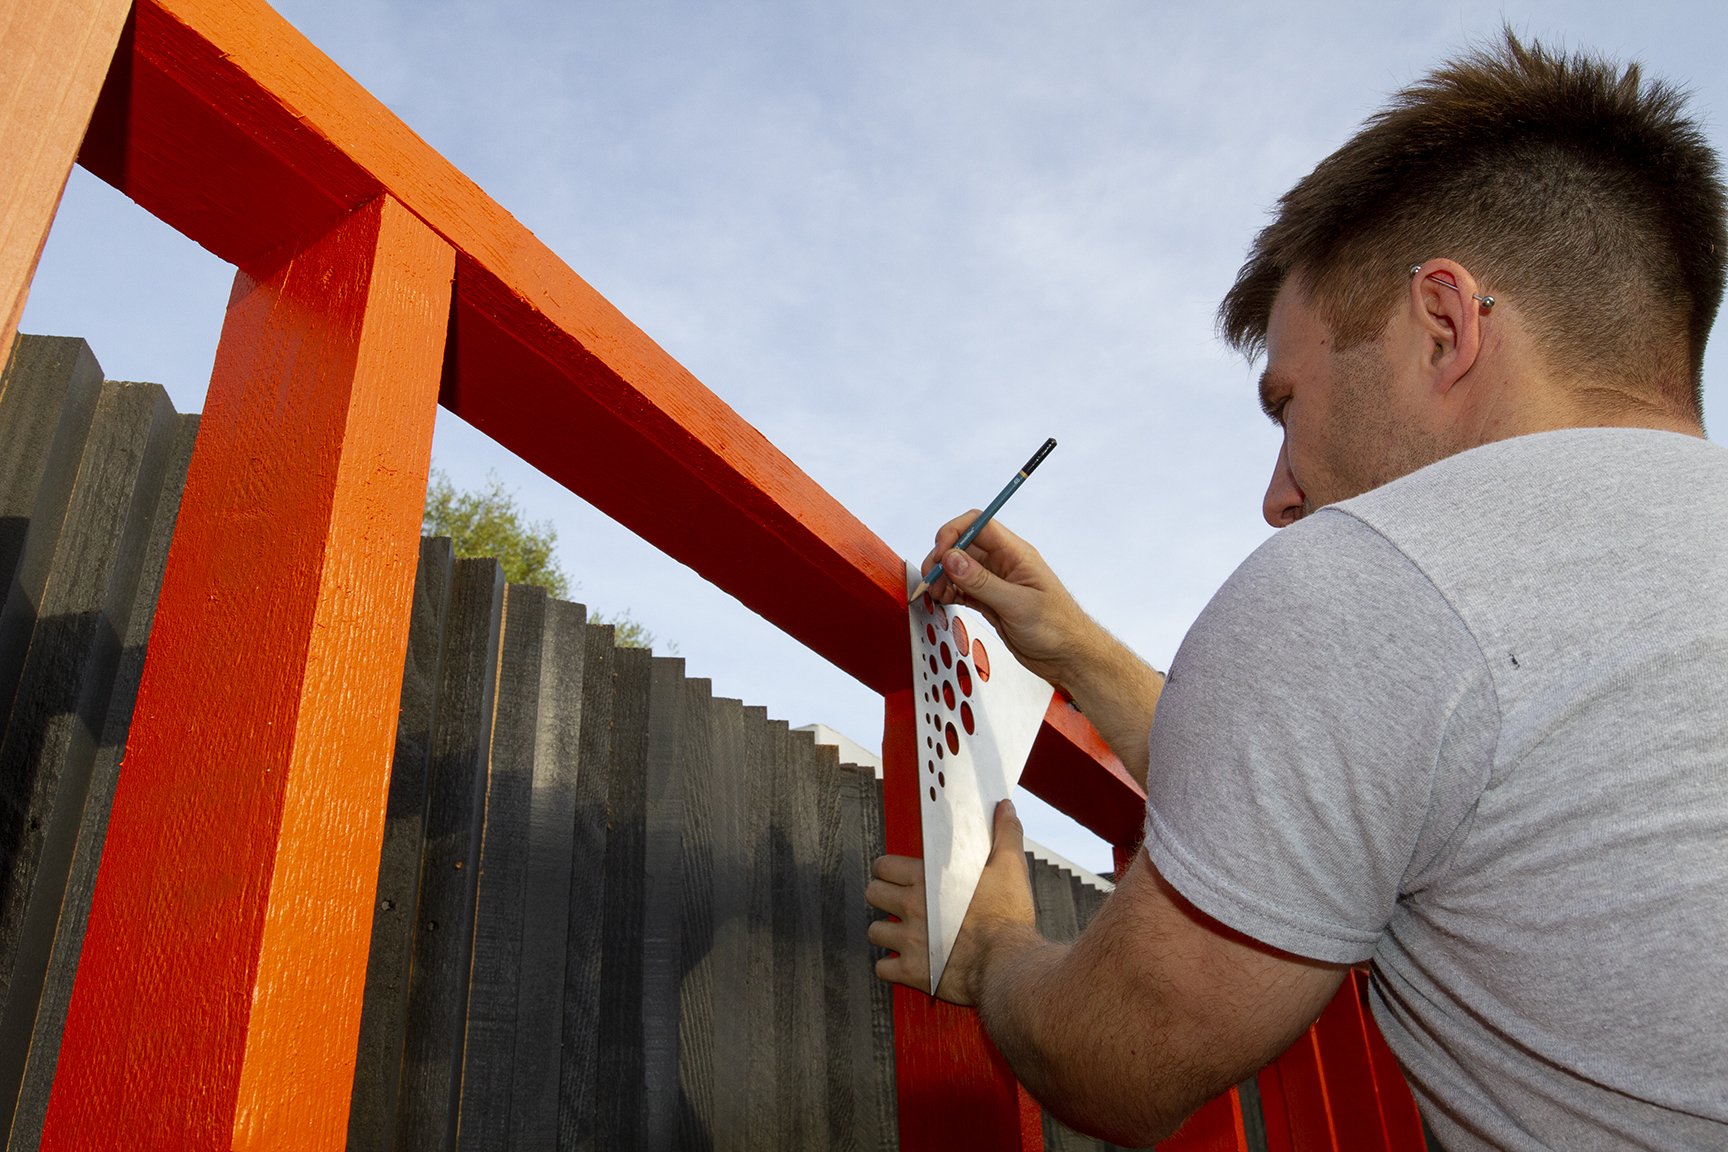
Precise measuring and pencil marks were required as we dropped in the interior posts and blocks. The inconsistencies of wood had us getting as specific as 1/32” for a snug fit, and each piece was measure as you go.
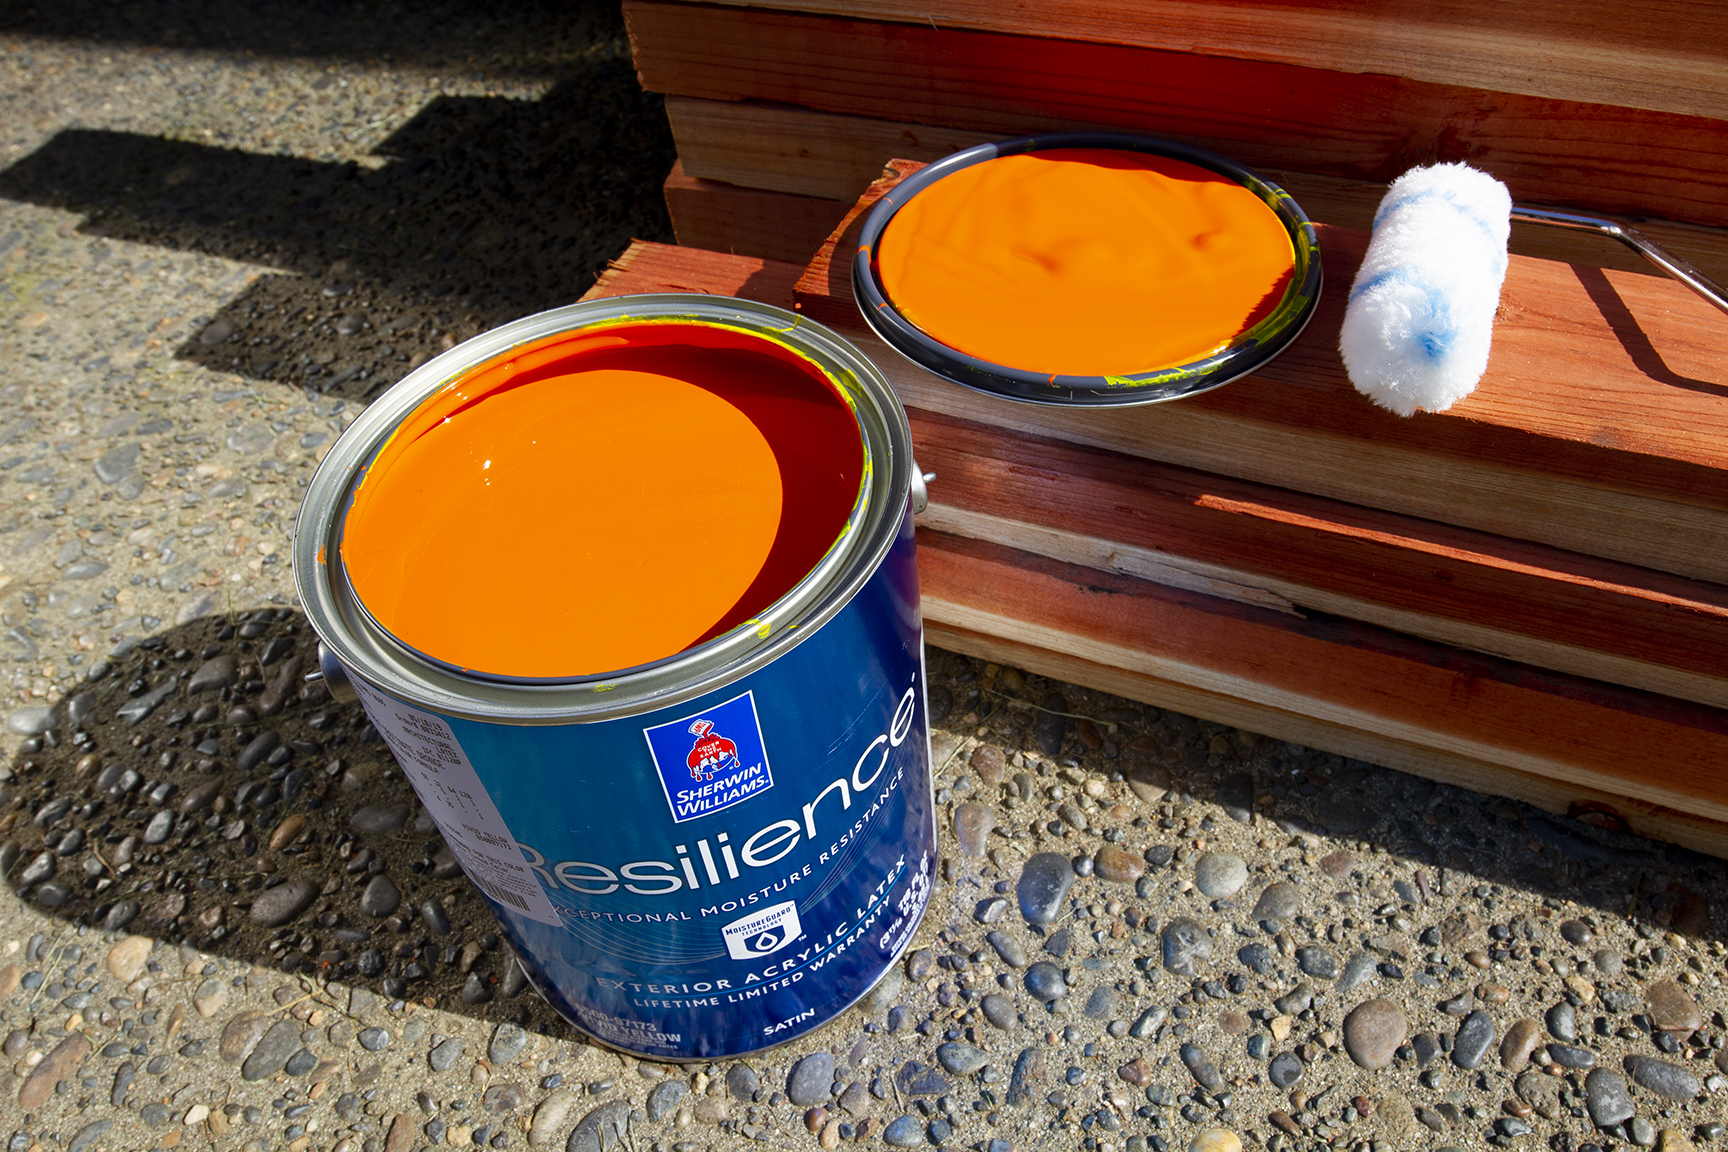
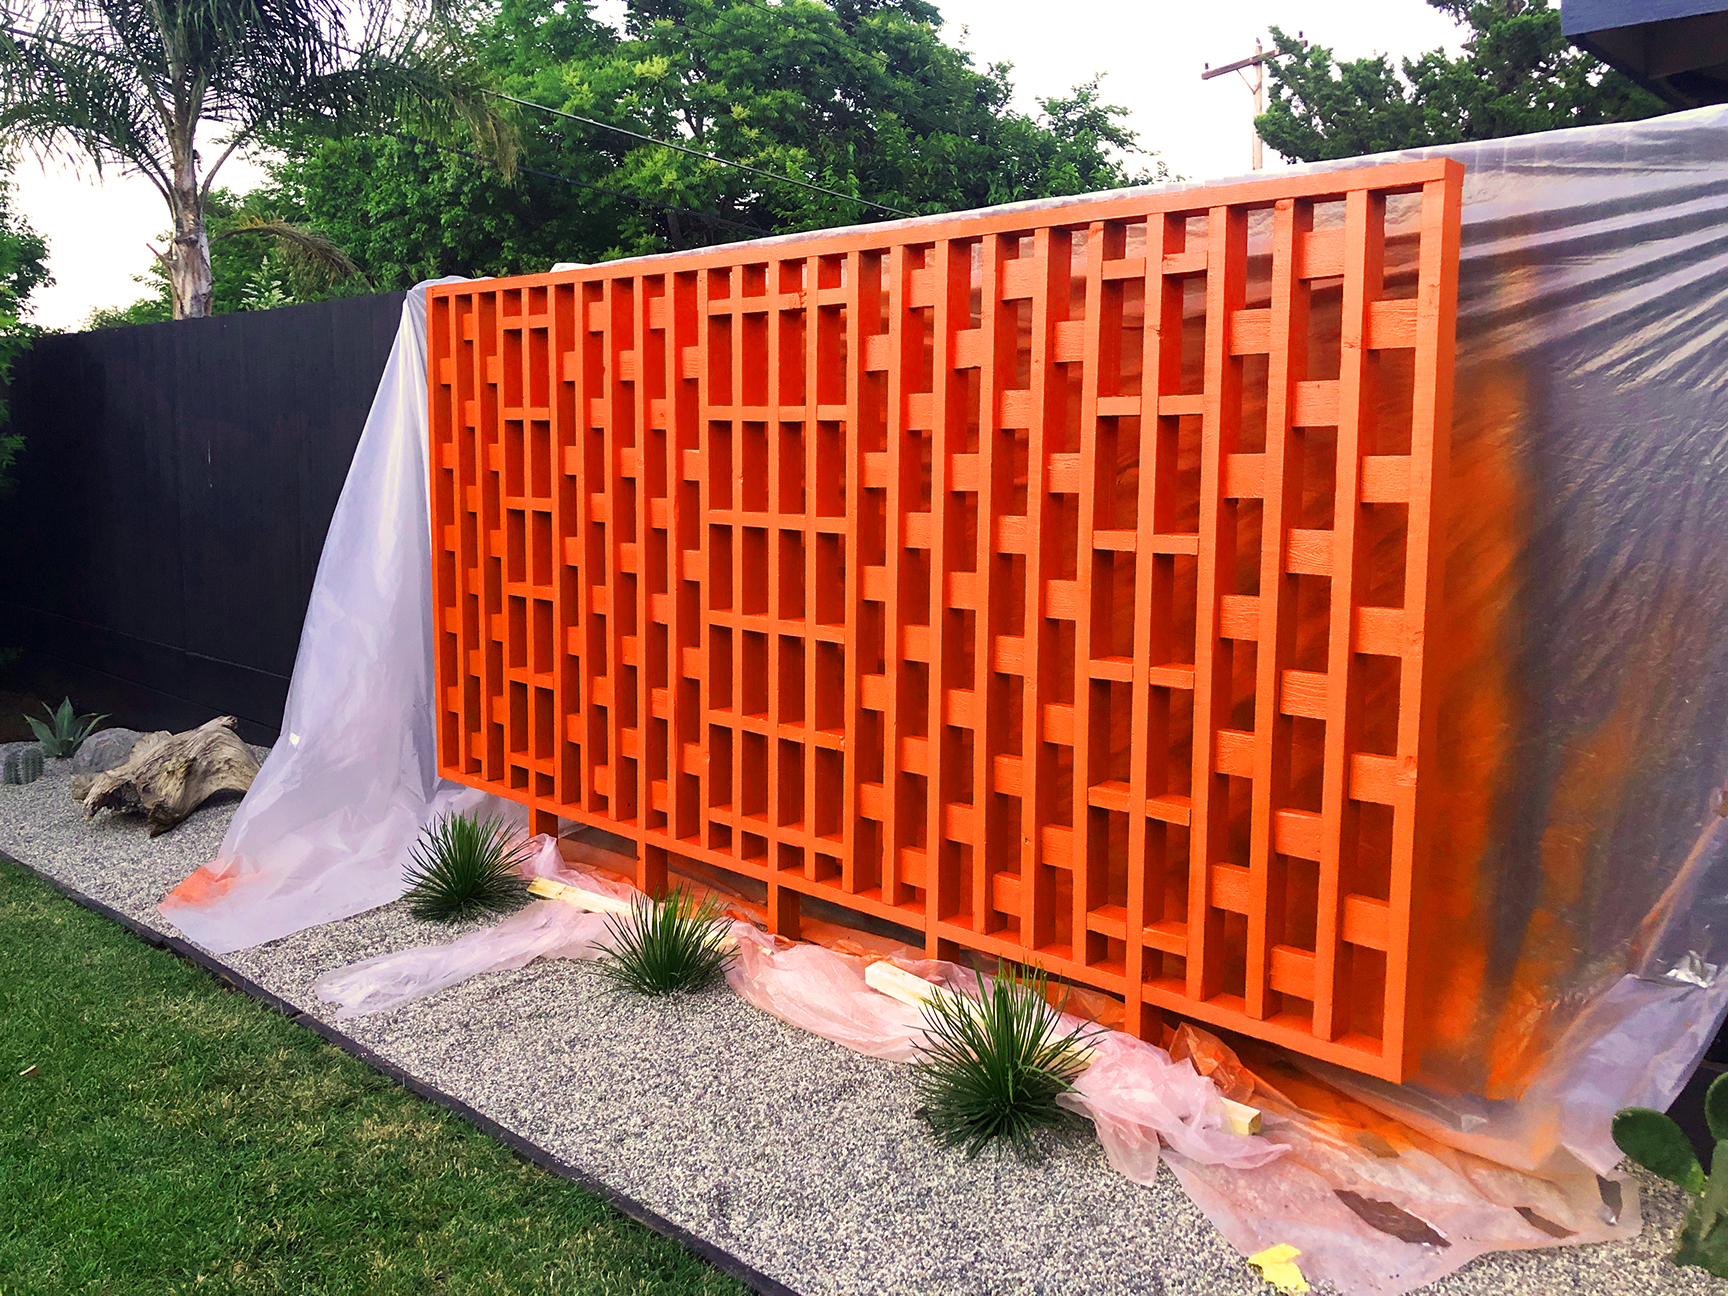
When it came to paint, I knew I was going with Sherwin-Williams Obstinate Orange to match the front door and other decorative elements in the backyard, which would also bring a bold punch of color against the Black Magic tri-stakes. Their Resilience line is excellent for exterior applications and moisture resistance. I started by painting the frame with a roller, but soon realized this was going to require the power sprayer due to all the angles and crevices. Hanging a layer of plastic to protect surrounding surfaces and plants saved us from days of painting, and we covered the entire structure with 3 coats of paint in just a few hours.
I ordered a truckload of gravel from Hastie’s to fill in the bed. They had a wonderful variety, and I ultimately decided on their arena sand, which is a mix of fine grain gray tones, white, and a few warm tan/orange hues. Shovel by shovel, we transported the gravel from the driveway and filled in the rectangular bed.
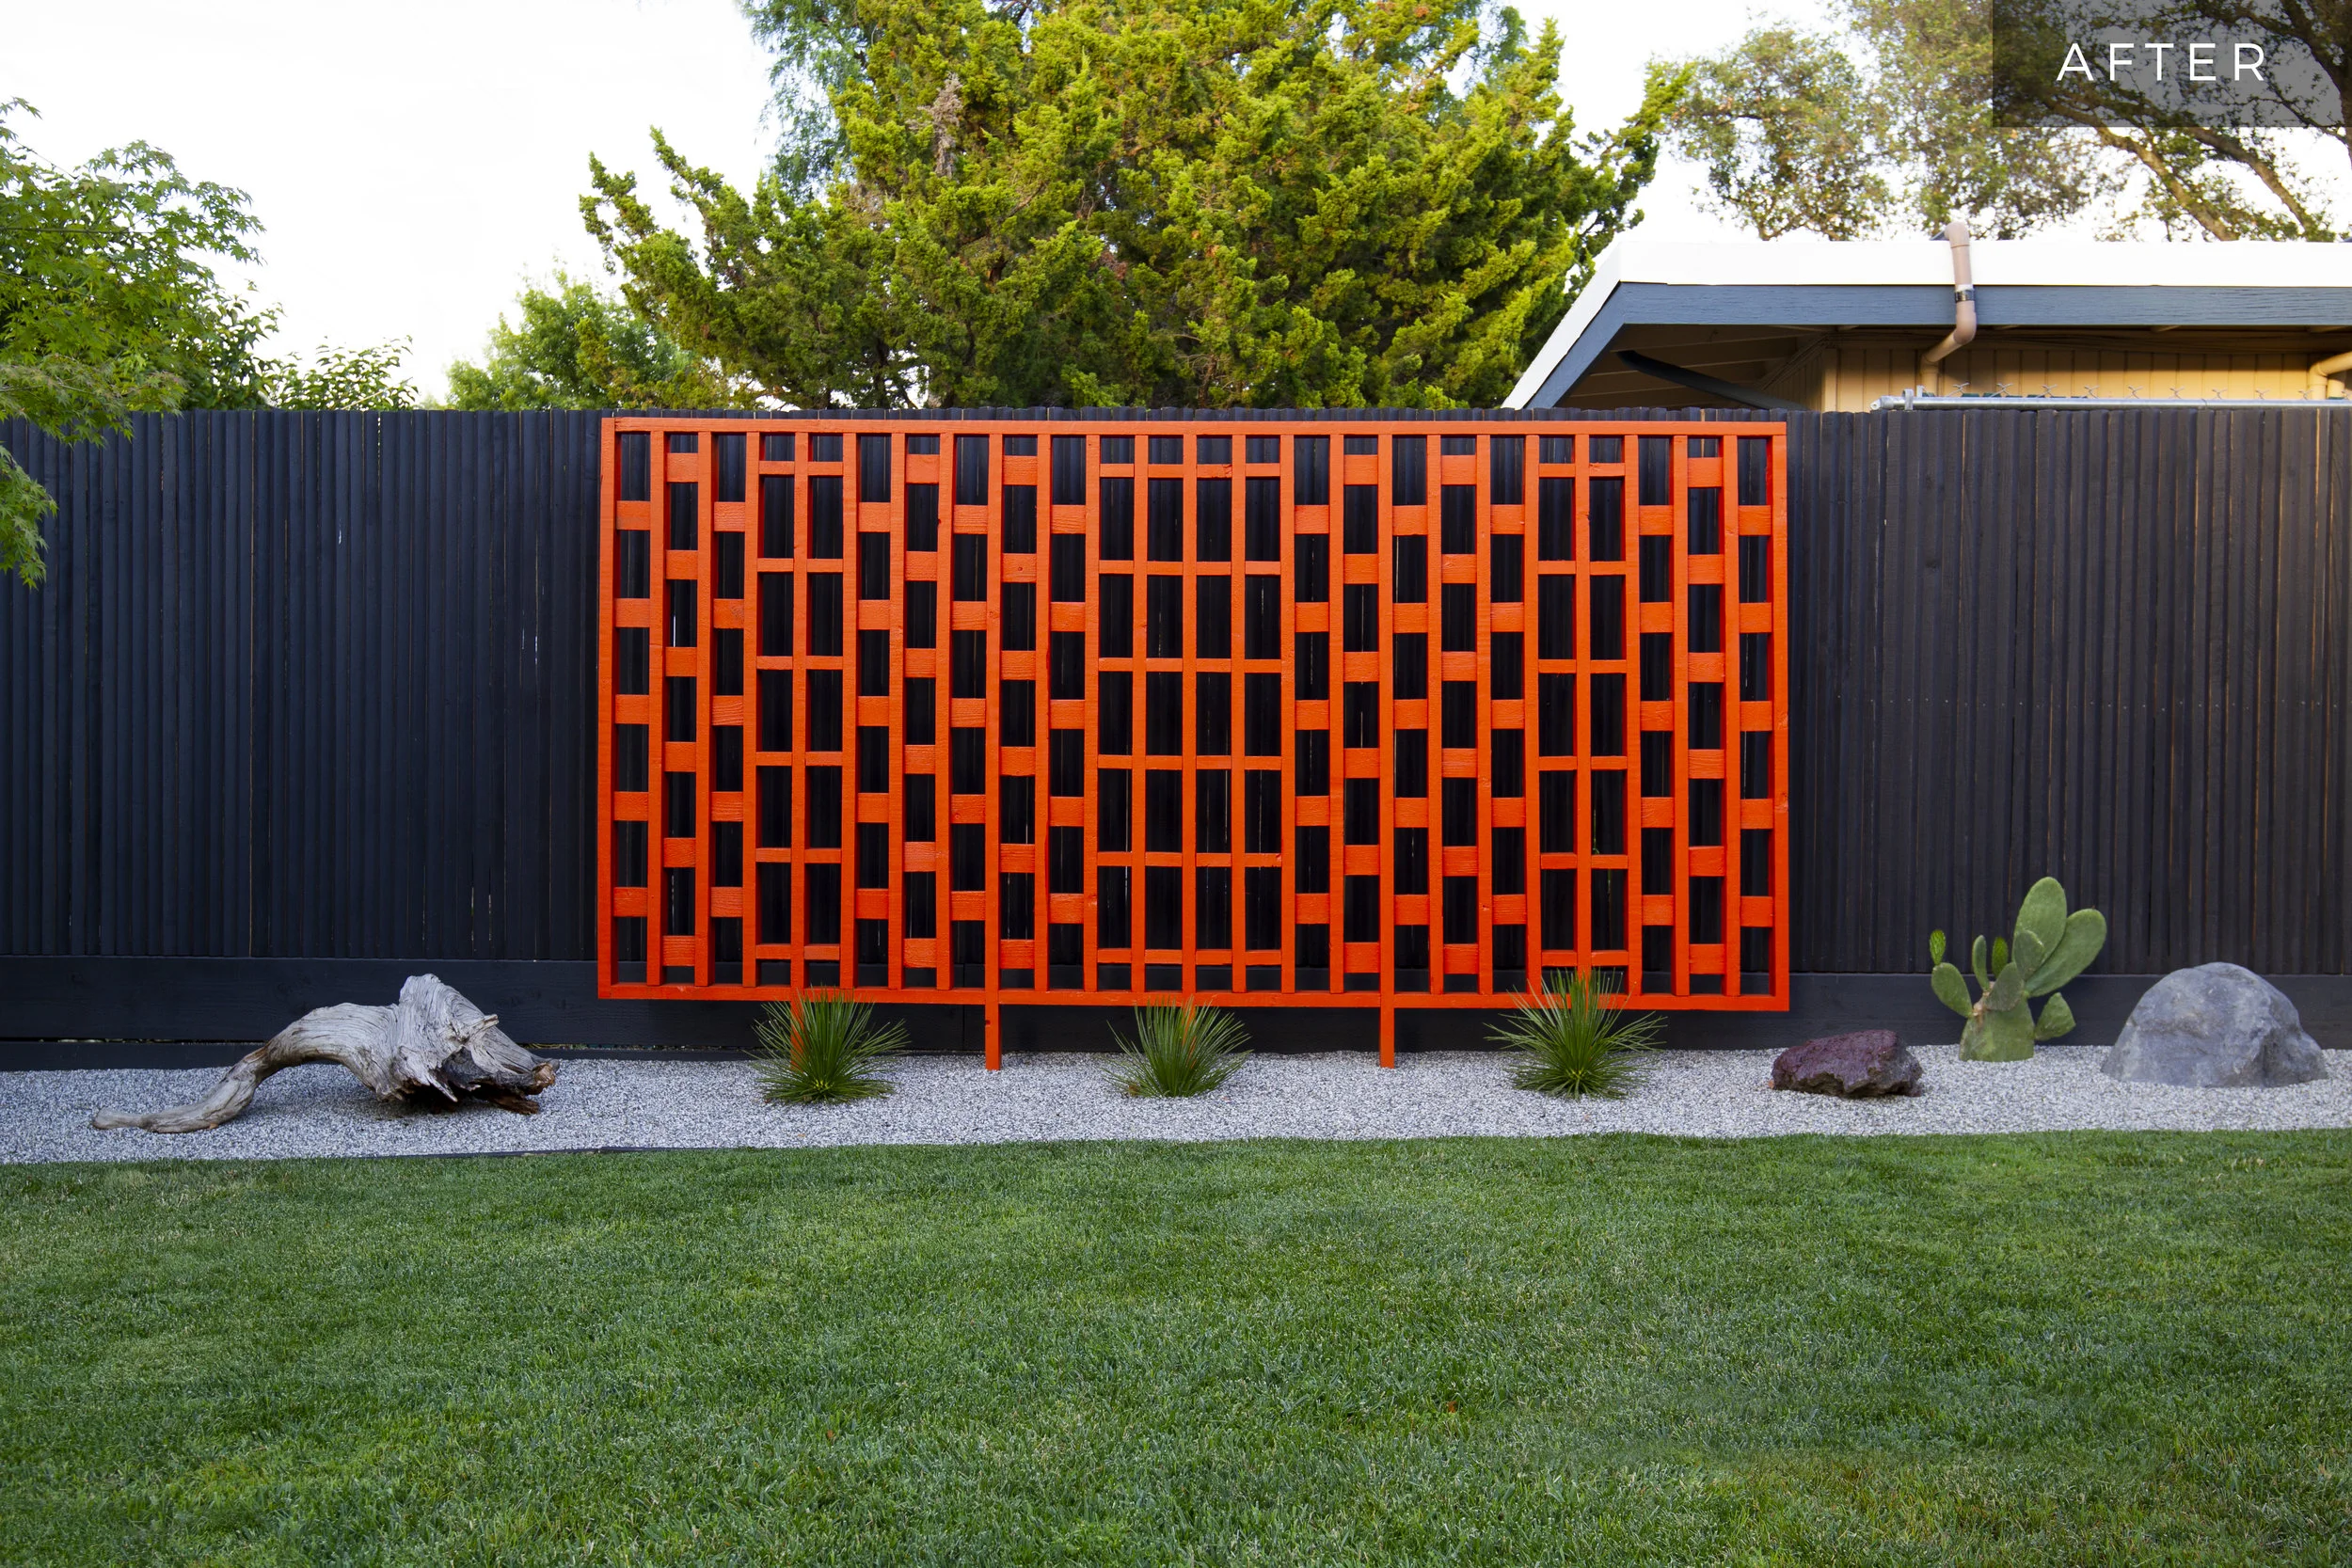
My neighbor was kind enough to gift me a collection of driftwood and large lava rocks from his indoor atrium before he moved. I had them lined up on the side of my house for a few months, but knew they’d be right at home in this bed someday. Low-maintenance greenery was added with an assortment of cacti and agaves. These full-sun plants will grow quite large over time, so I’m looking forward to seeing how they fill in the space. I also included a few sizes of fiberglass rocks in the plan. I’m not typically a fan of artificial anything, however, I know that I’m going to need to move elements around as the plants continue to grow, and I’m not about to move boulders on a regular basis. This option allows me to incorporate large, sculptural elements that can be easily repositioned and reimagined as the bed evolves.

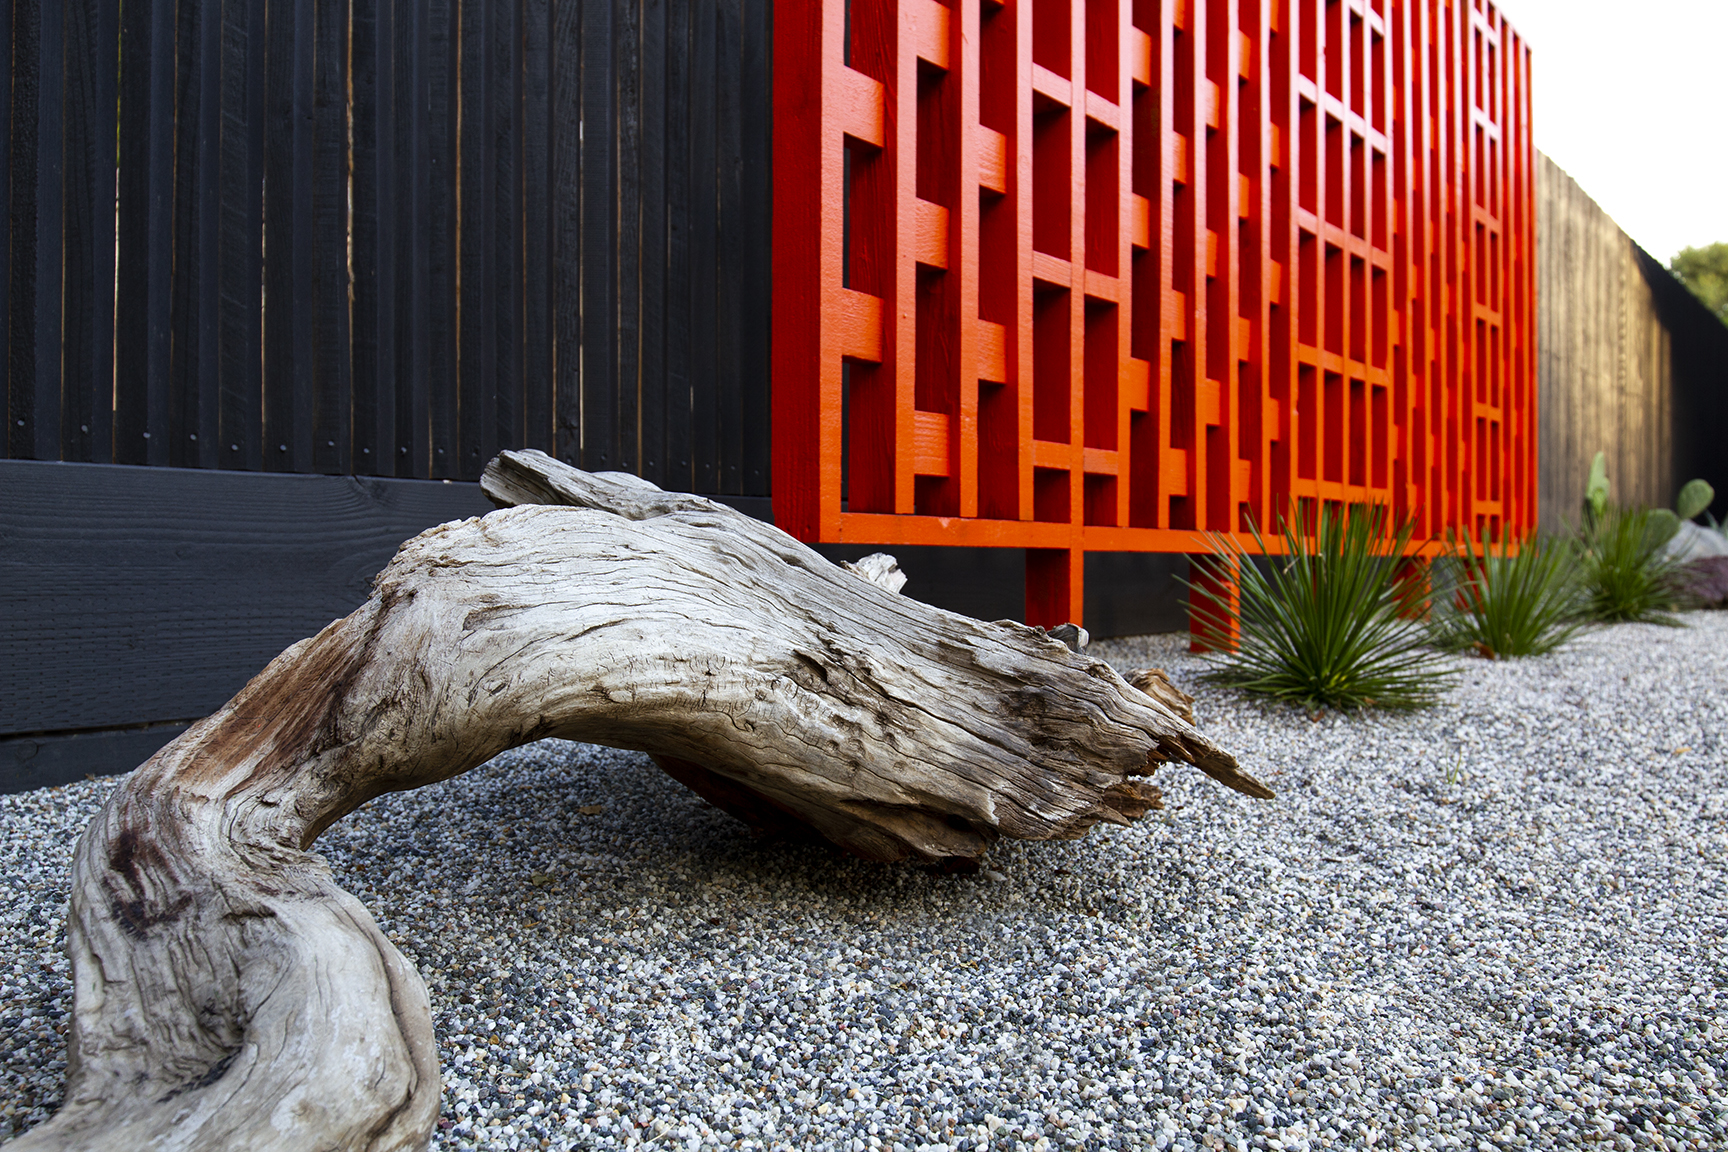
The other areas of landscaping still have a ways to go, but this dramatic, colorful art piece better defines the space and the direction I will go in with future projects. Stepping back to look at the finished space, I feel as though I have a little slice of Palm Springs right in my backyard with slightly less intense summer temperatures and a lot more convenience. Time to shake up a cocktail and put my feet up for at least a day or two.