Turning Japanese - Part 1

When I first acquired my home, I was happy to see that the front yard was a simple plot of grass.

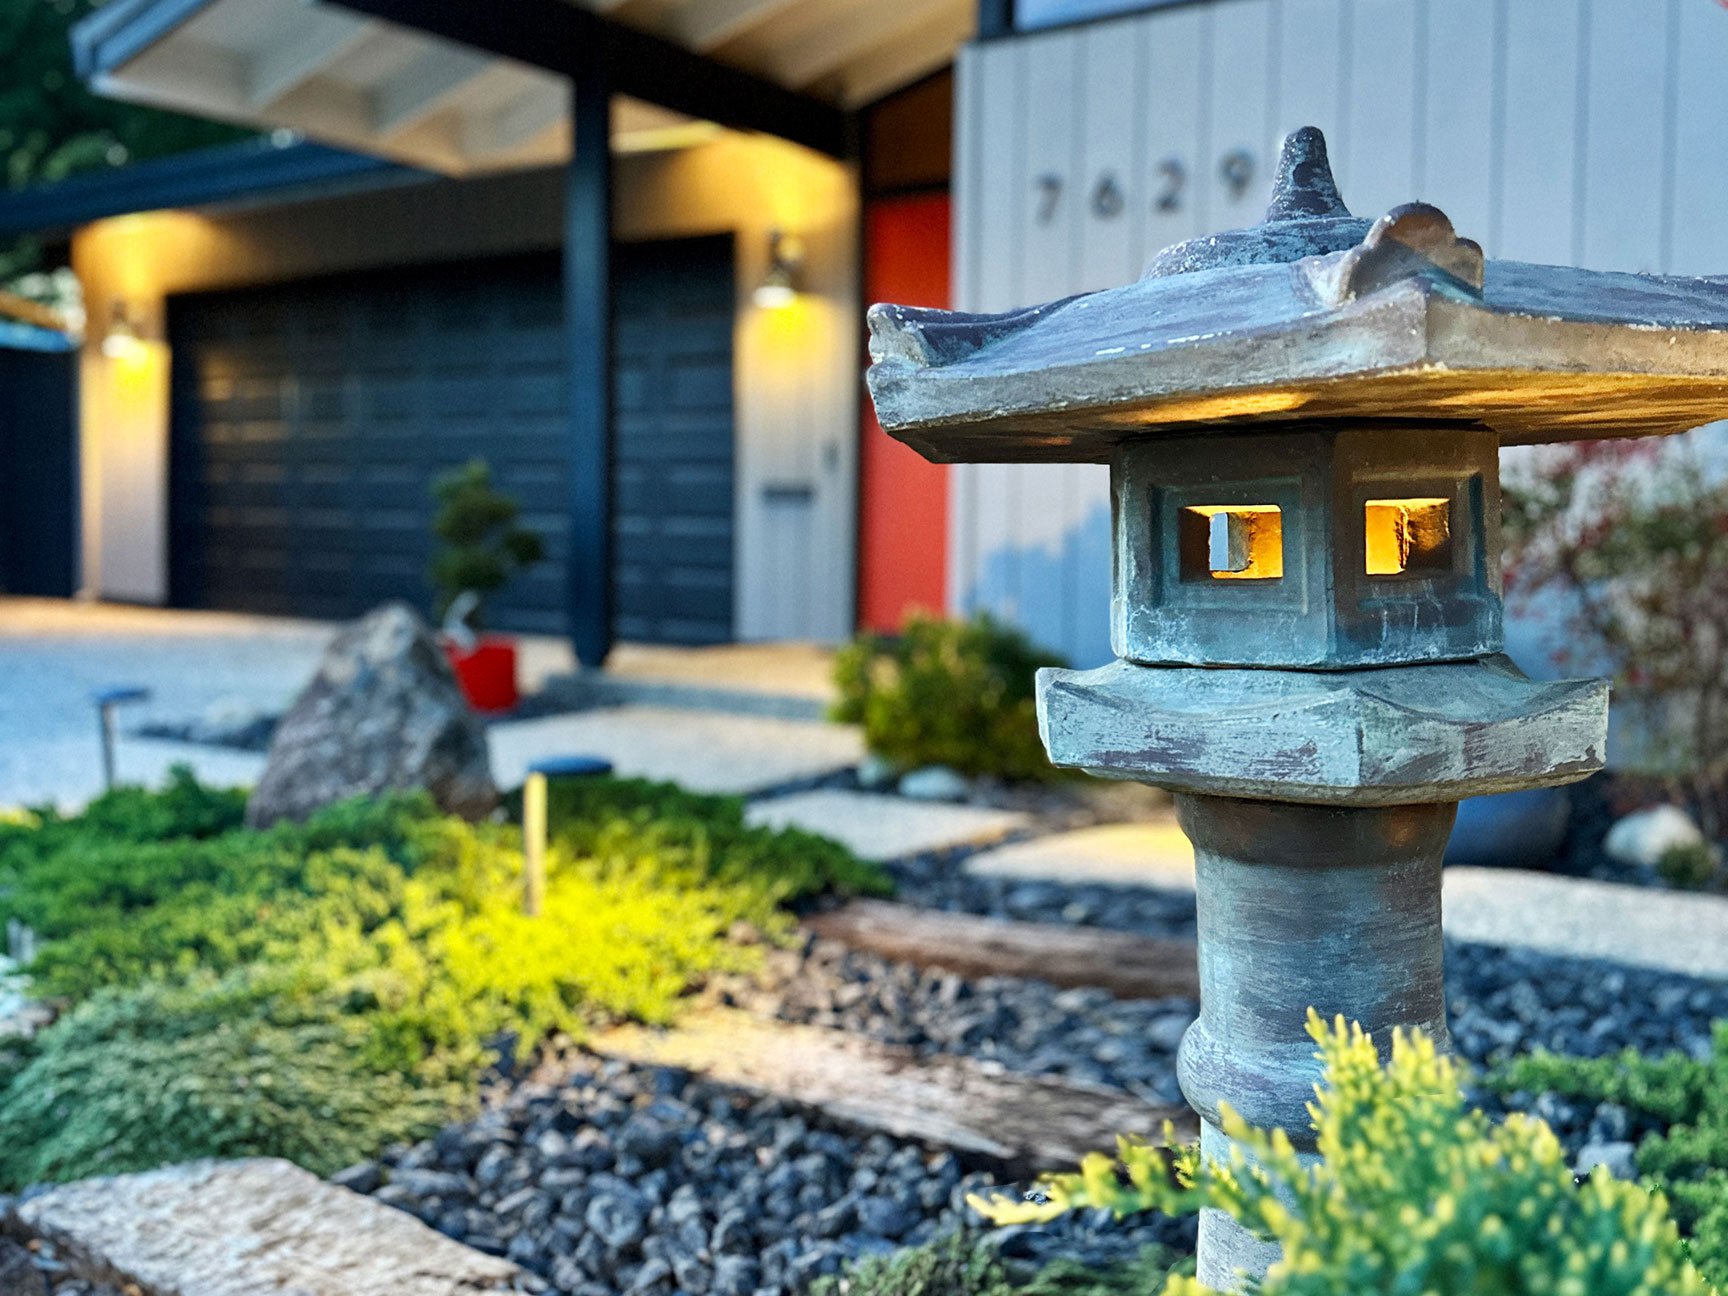
Photo by Chip Allen
It provided colorful curb appeal that worked well with the addition of agaves, cacti, contrasting rocks, and a custom-built privacy screen.
As I’ve settled into my home, my design aesthetic remains steadfast in mid-century style, but with a refined influence from Japanese design.
Mid-century and Japanese styles naturally compliment one another with the pairing of bold, architectural lines and flowing, natural elements. Many of Carter Sparks’ homes evoke Japanese influence, and his work with the Streng Bros. was no exception. Merging these two design worlds can create a mood of contrast and calm — the very direction I wanted to take the front elevation of my home. In this multi-part series, I will share the 6-month-long process of designing and implementing this transformative outdoor space — discoveries, delights, difficulties, and all.
Drought Intolerant
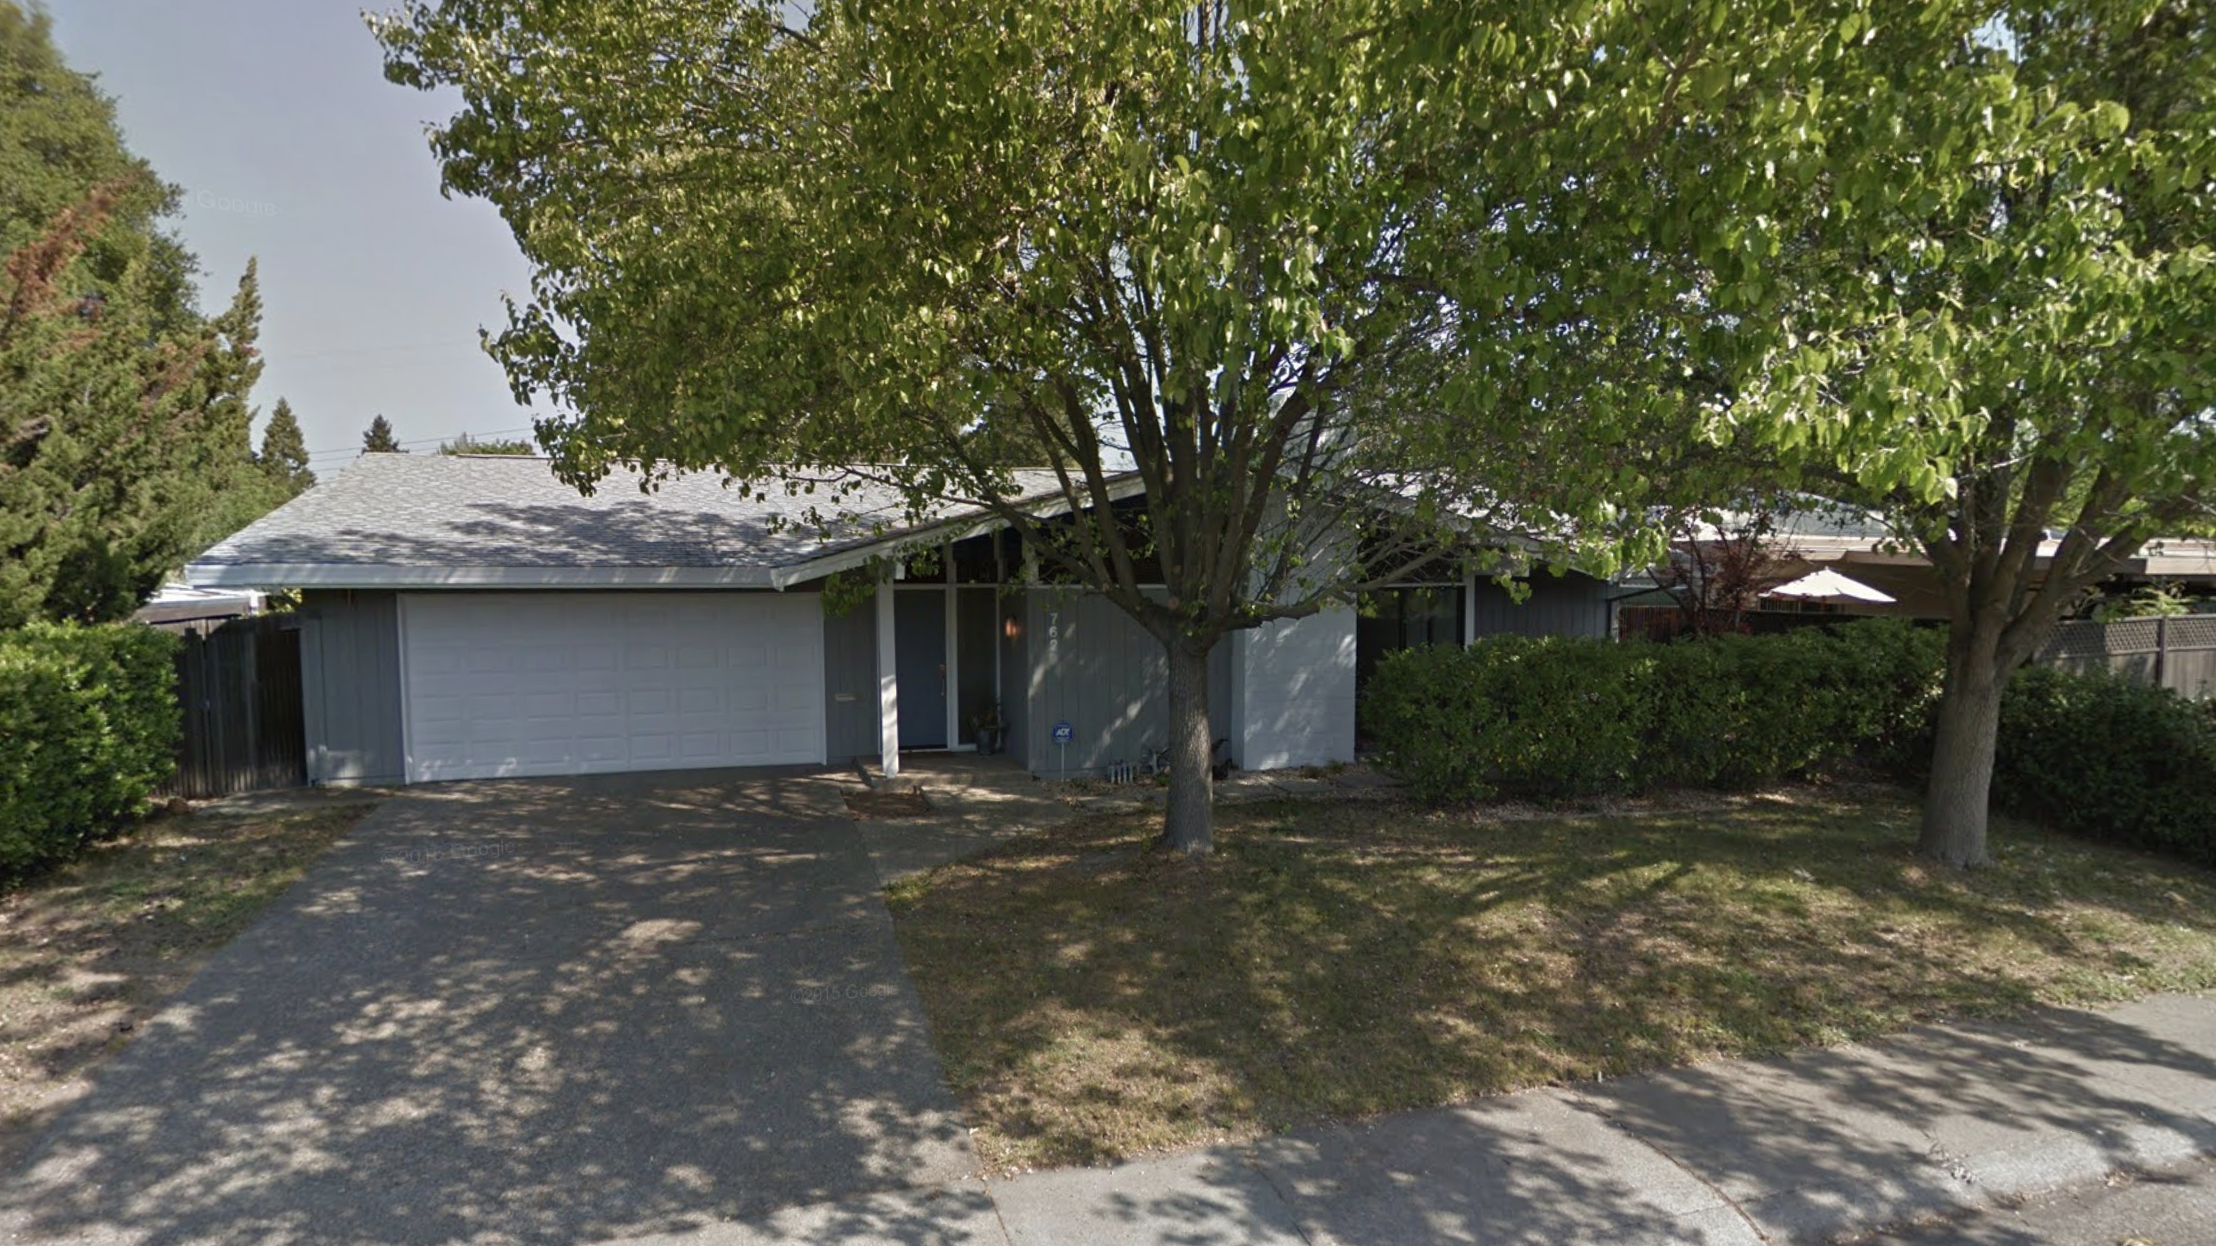
Living in California has its perks, but it also means facing the realities of annual drought. From day one of acquiring my home, the front lawn has struggled to survive brutal summer heat. I’ve spent the past several years reviving the lawn to its lush, green status, but this past summer was a breaking point for me as I struggled to keep it thriving through the scorching temperatures up-to 117 degrees. Wasting dollars on precious water resources for a rectangle of green seems more pointless than ever, so I decided it’s time for impactful change.

Struggling, scorched lawn ca. 2016.
To get this landscaping party started, the first step was to remove all the sod. I called in a local lawn service to do the dirty work. While I considered renting a sod cutter, their reasonable rates to remove and haul away outweighed me doing the labor and going through the hassle of logistics. In about an hour, the lawn was gone.
In the process of removing sod, a pretty intense grub infestation was discovered. This definitely wasn’t helping with past lawn health, nor did I want it affecting my future garden. I used a granular grub killer to remedy the problem. With 2 applications over the course of 2 weeks, I now had a clean slate to work with.

Sod removed from front yard.
“Push the envelope and design to your taste rather than merely mimicking what already exists.”
The Design
If ever I felt challenged by a home improvement task, landscaping is it. I am not a landscape designer by trade, so I’ve spent many hours researching plants, materials, drainage systems, lighting, climate zones, and design styles to better define my plan of action. It all started with a basic sketch, and from there, evolved into a more detailed plan.

Preliminary sketch of front yard design.
As with many of my projects, I find that anything worth doing requires hard work and research. Reading has been a major part of my garden design process, and essential to creating a successful garden. As you think through your own landscaping project, I encourage you to seek out the tools you need to make educated decisions along the way. Read, talk to your local garden center, and photograph the places that inspire you. You and your project will be exponentially better with a little knowledge and knowhow. There are countless books on Japanese garden design, but I suggest checking your local thrift store for reference material treasures as a starting point.
Refined illustration of front yard design.
In Japan, a lot of gardening is done through introspection of what looks and feels correct. Drawing from your own experience with nature can help guide how your space will look, making the design both meaningful and intentional.
My goal was to create a microenvironment featuring asymmetrical shapes, vast open spaces, and natural formations. By designing a series of pathways and vantage points, this front yard garden would become a miniature world filled with discovery, meaning, and symbolism.
While having a basic understanding of landscaping is essential to designing your space, I also recommend being mindful of where you have been, and what you have seen as you sketch out your garden plan. Get out there and start drawing in the dirt! Ultimately, there is no wrong answer when you are inspired by your own experience, so don’t be afraid to be original. Push the envelope and design to your taste rather than merely mimicking what already exists.
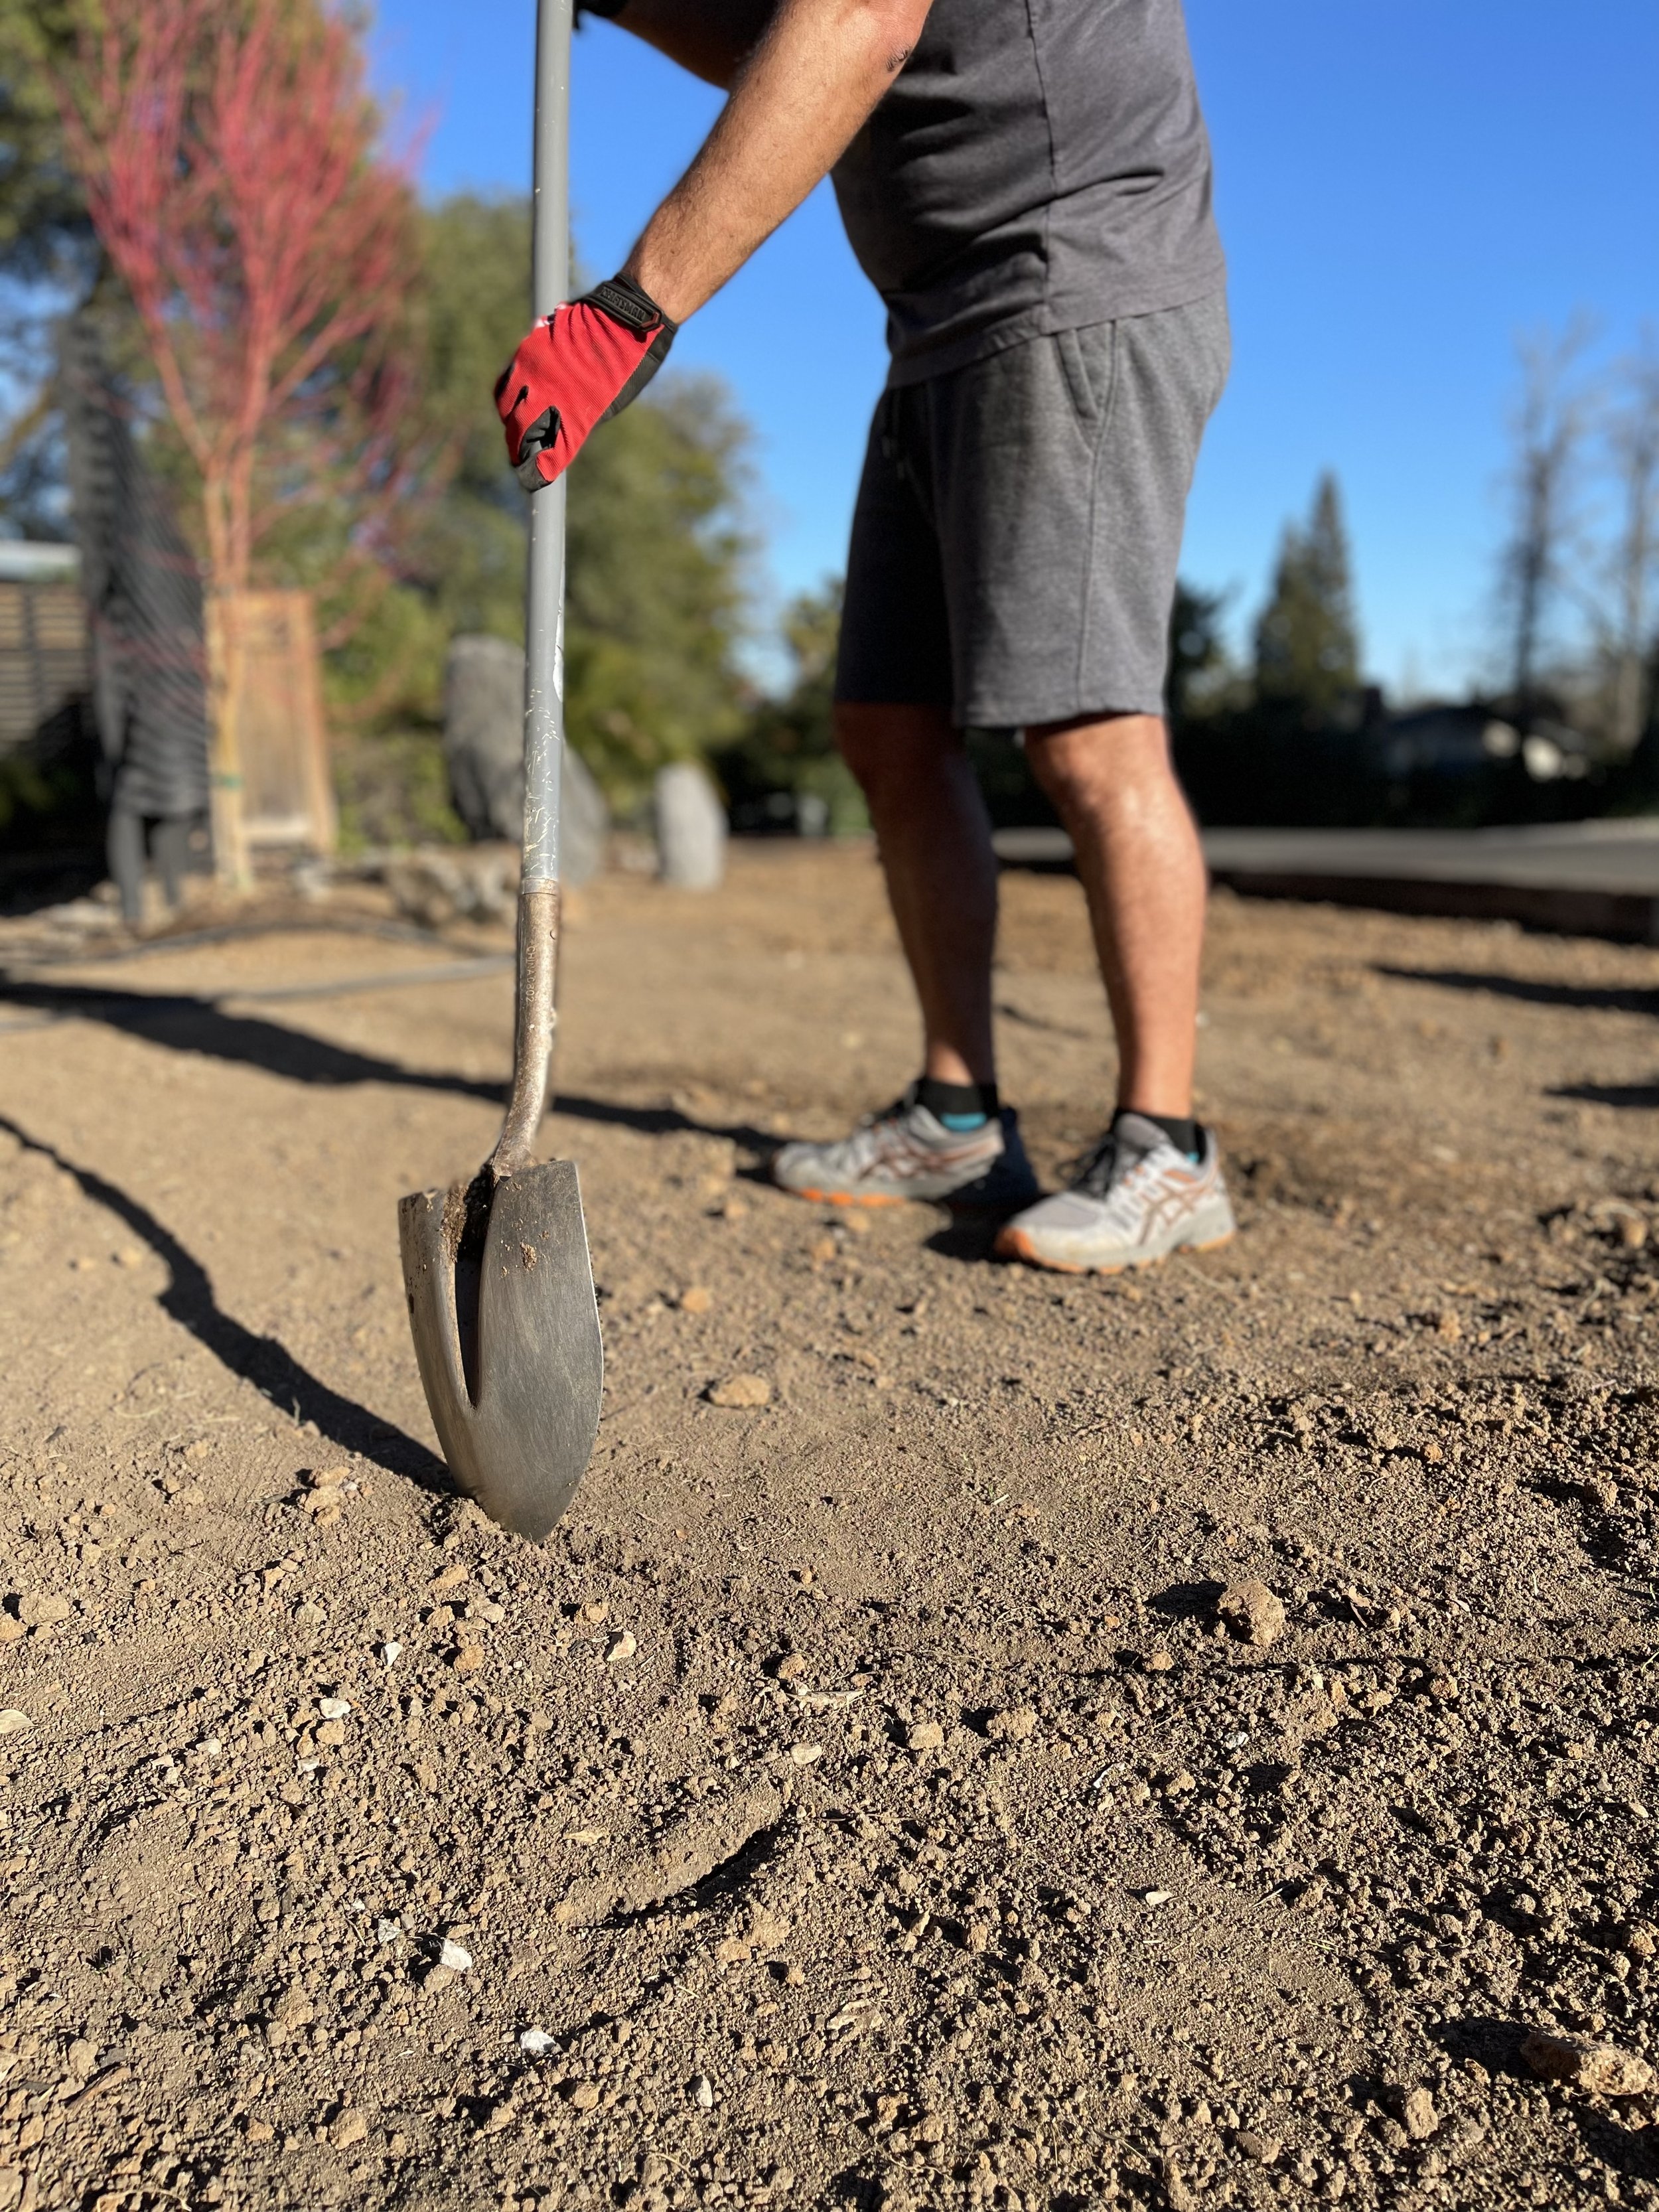
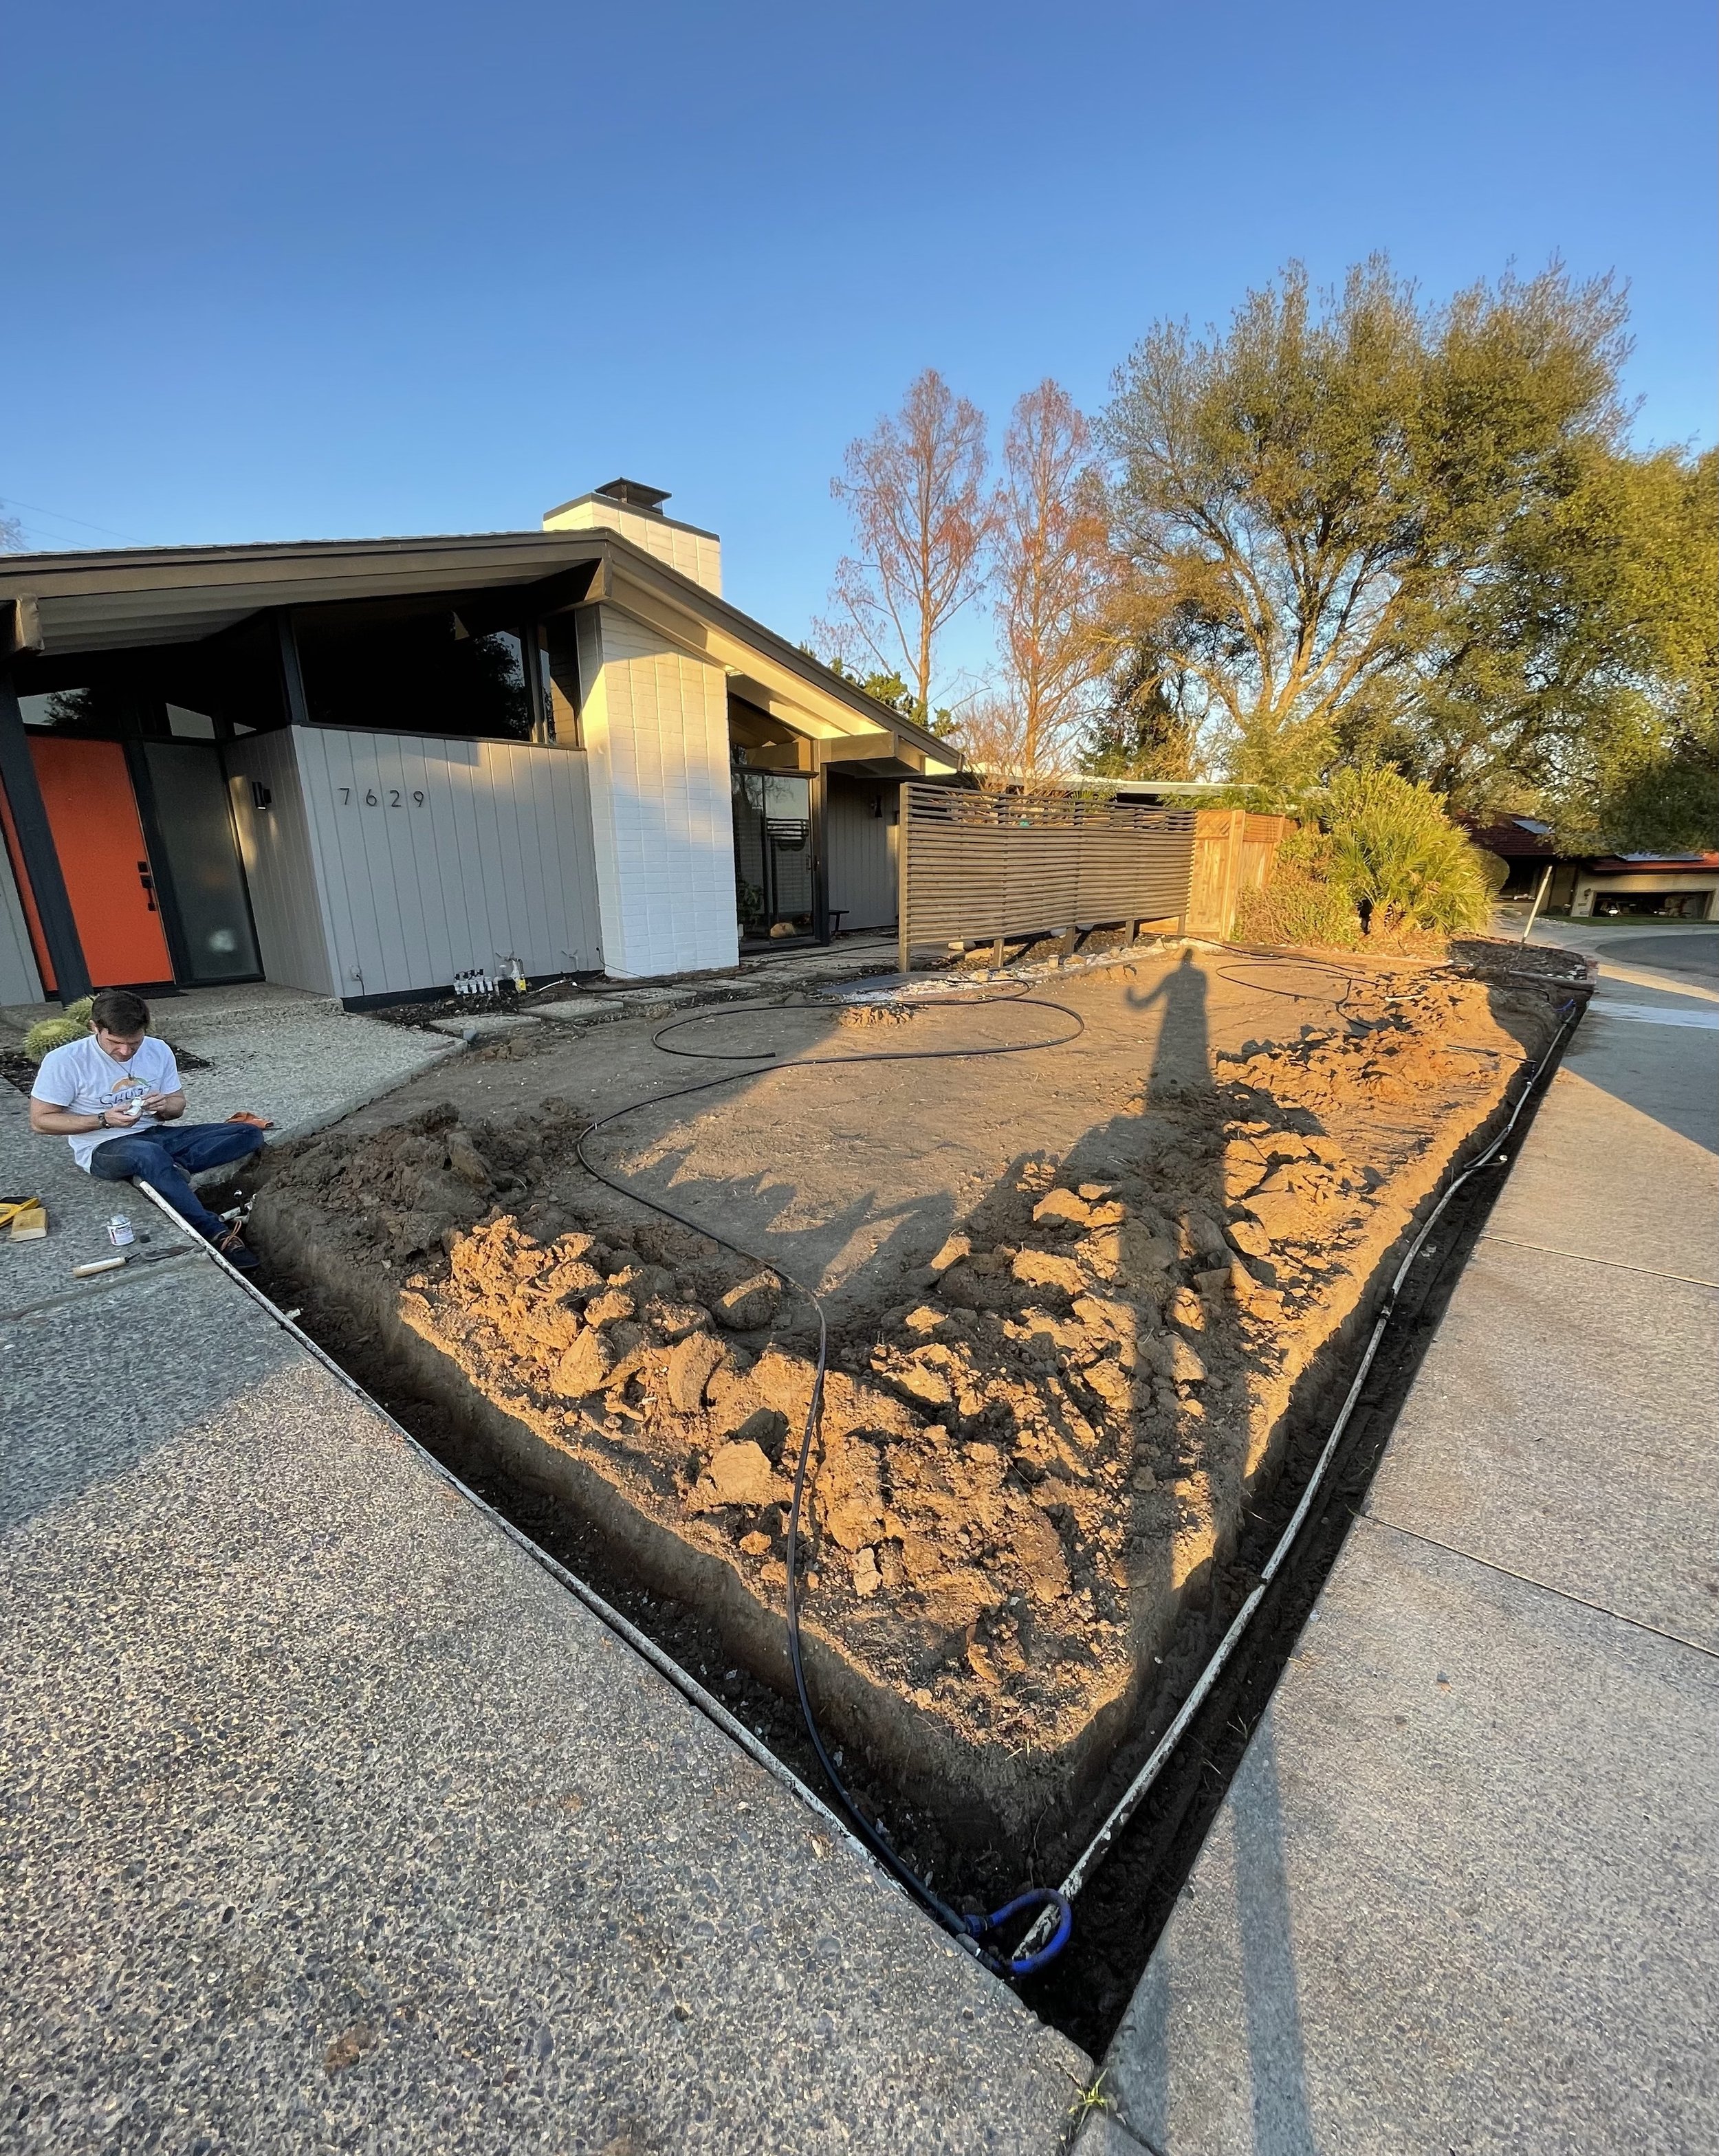
Serious Groundwork
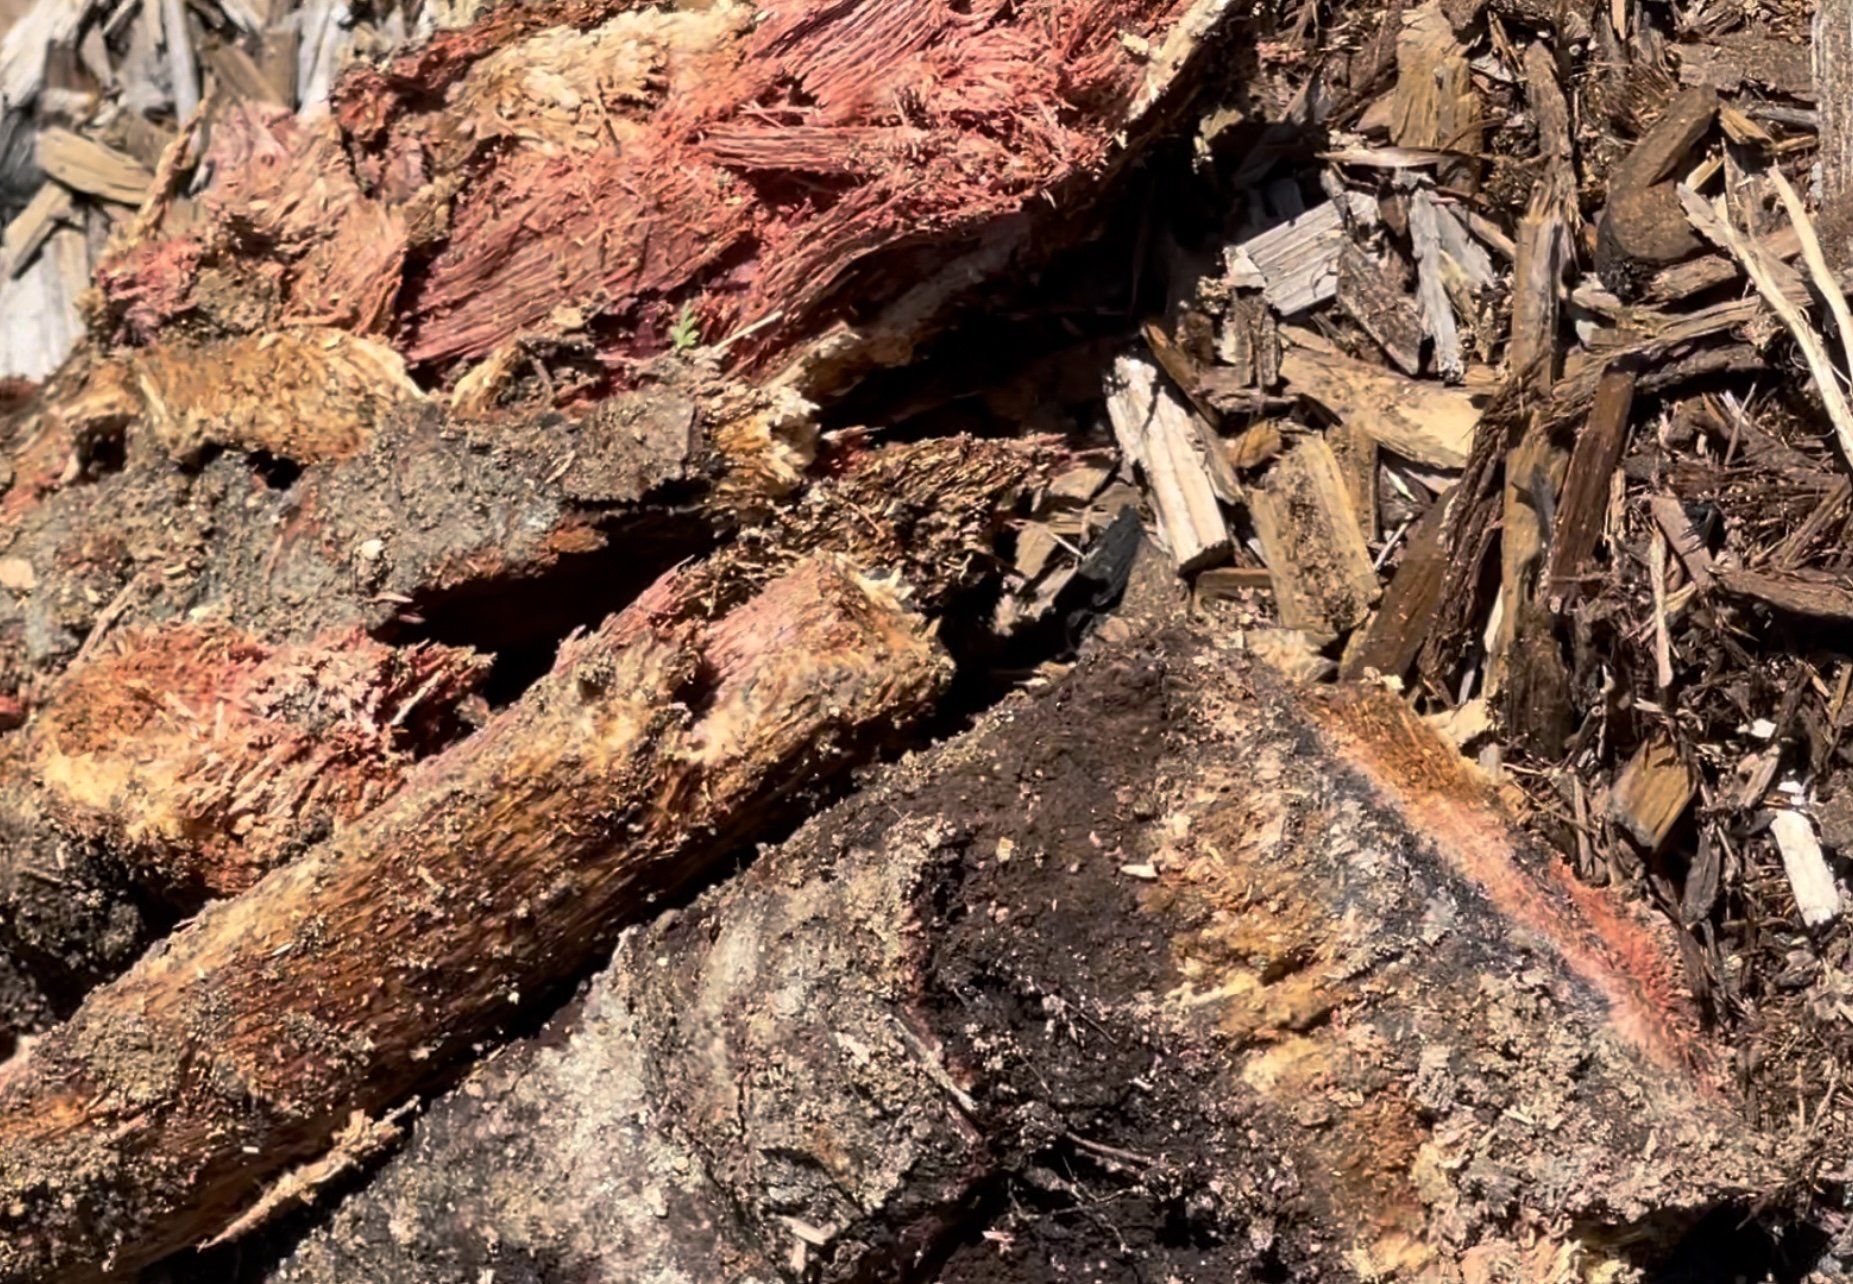
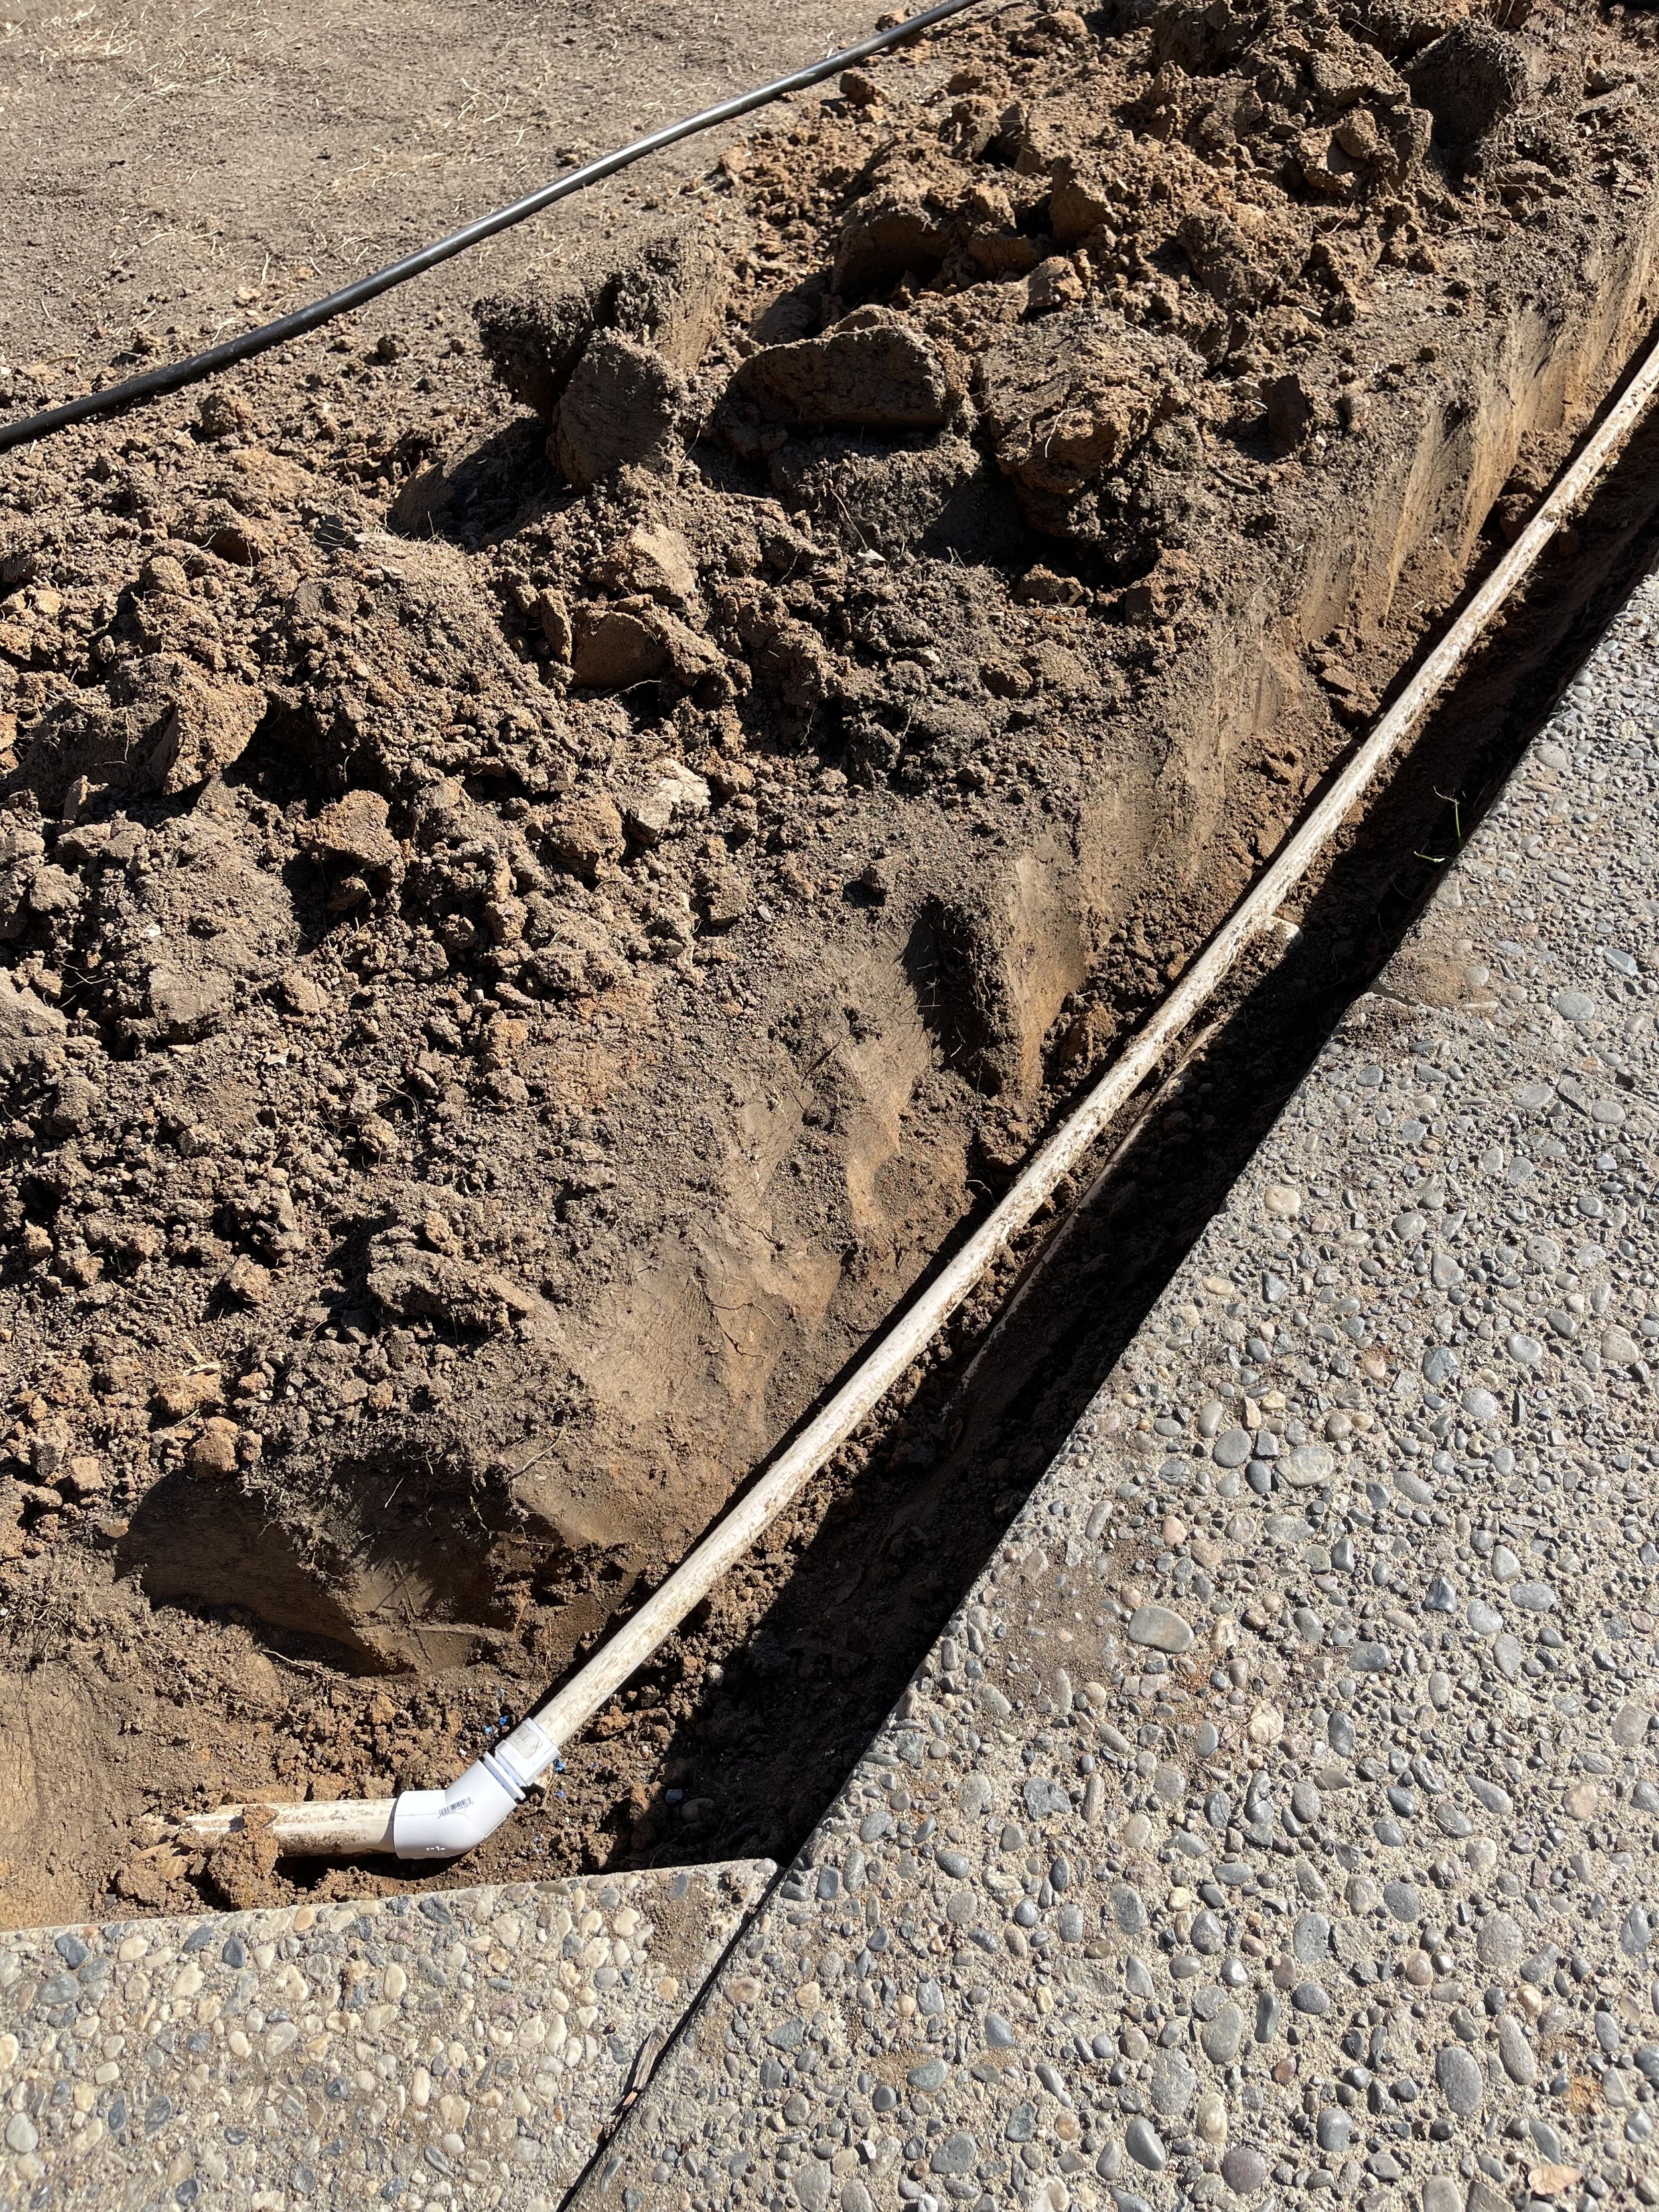
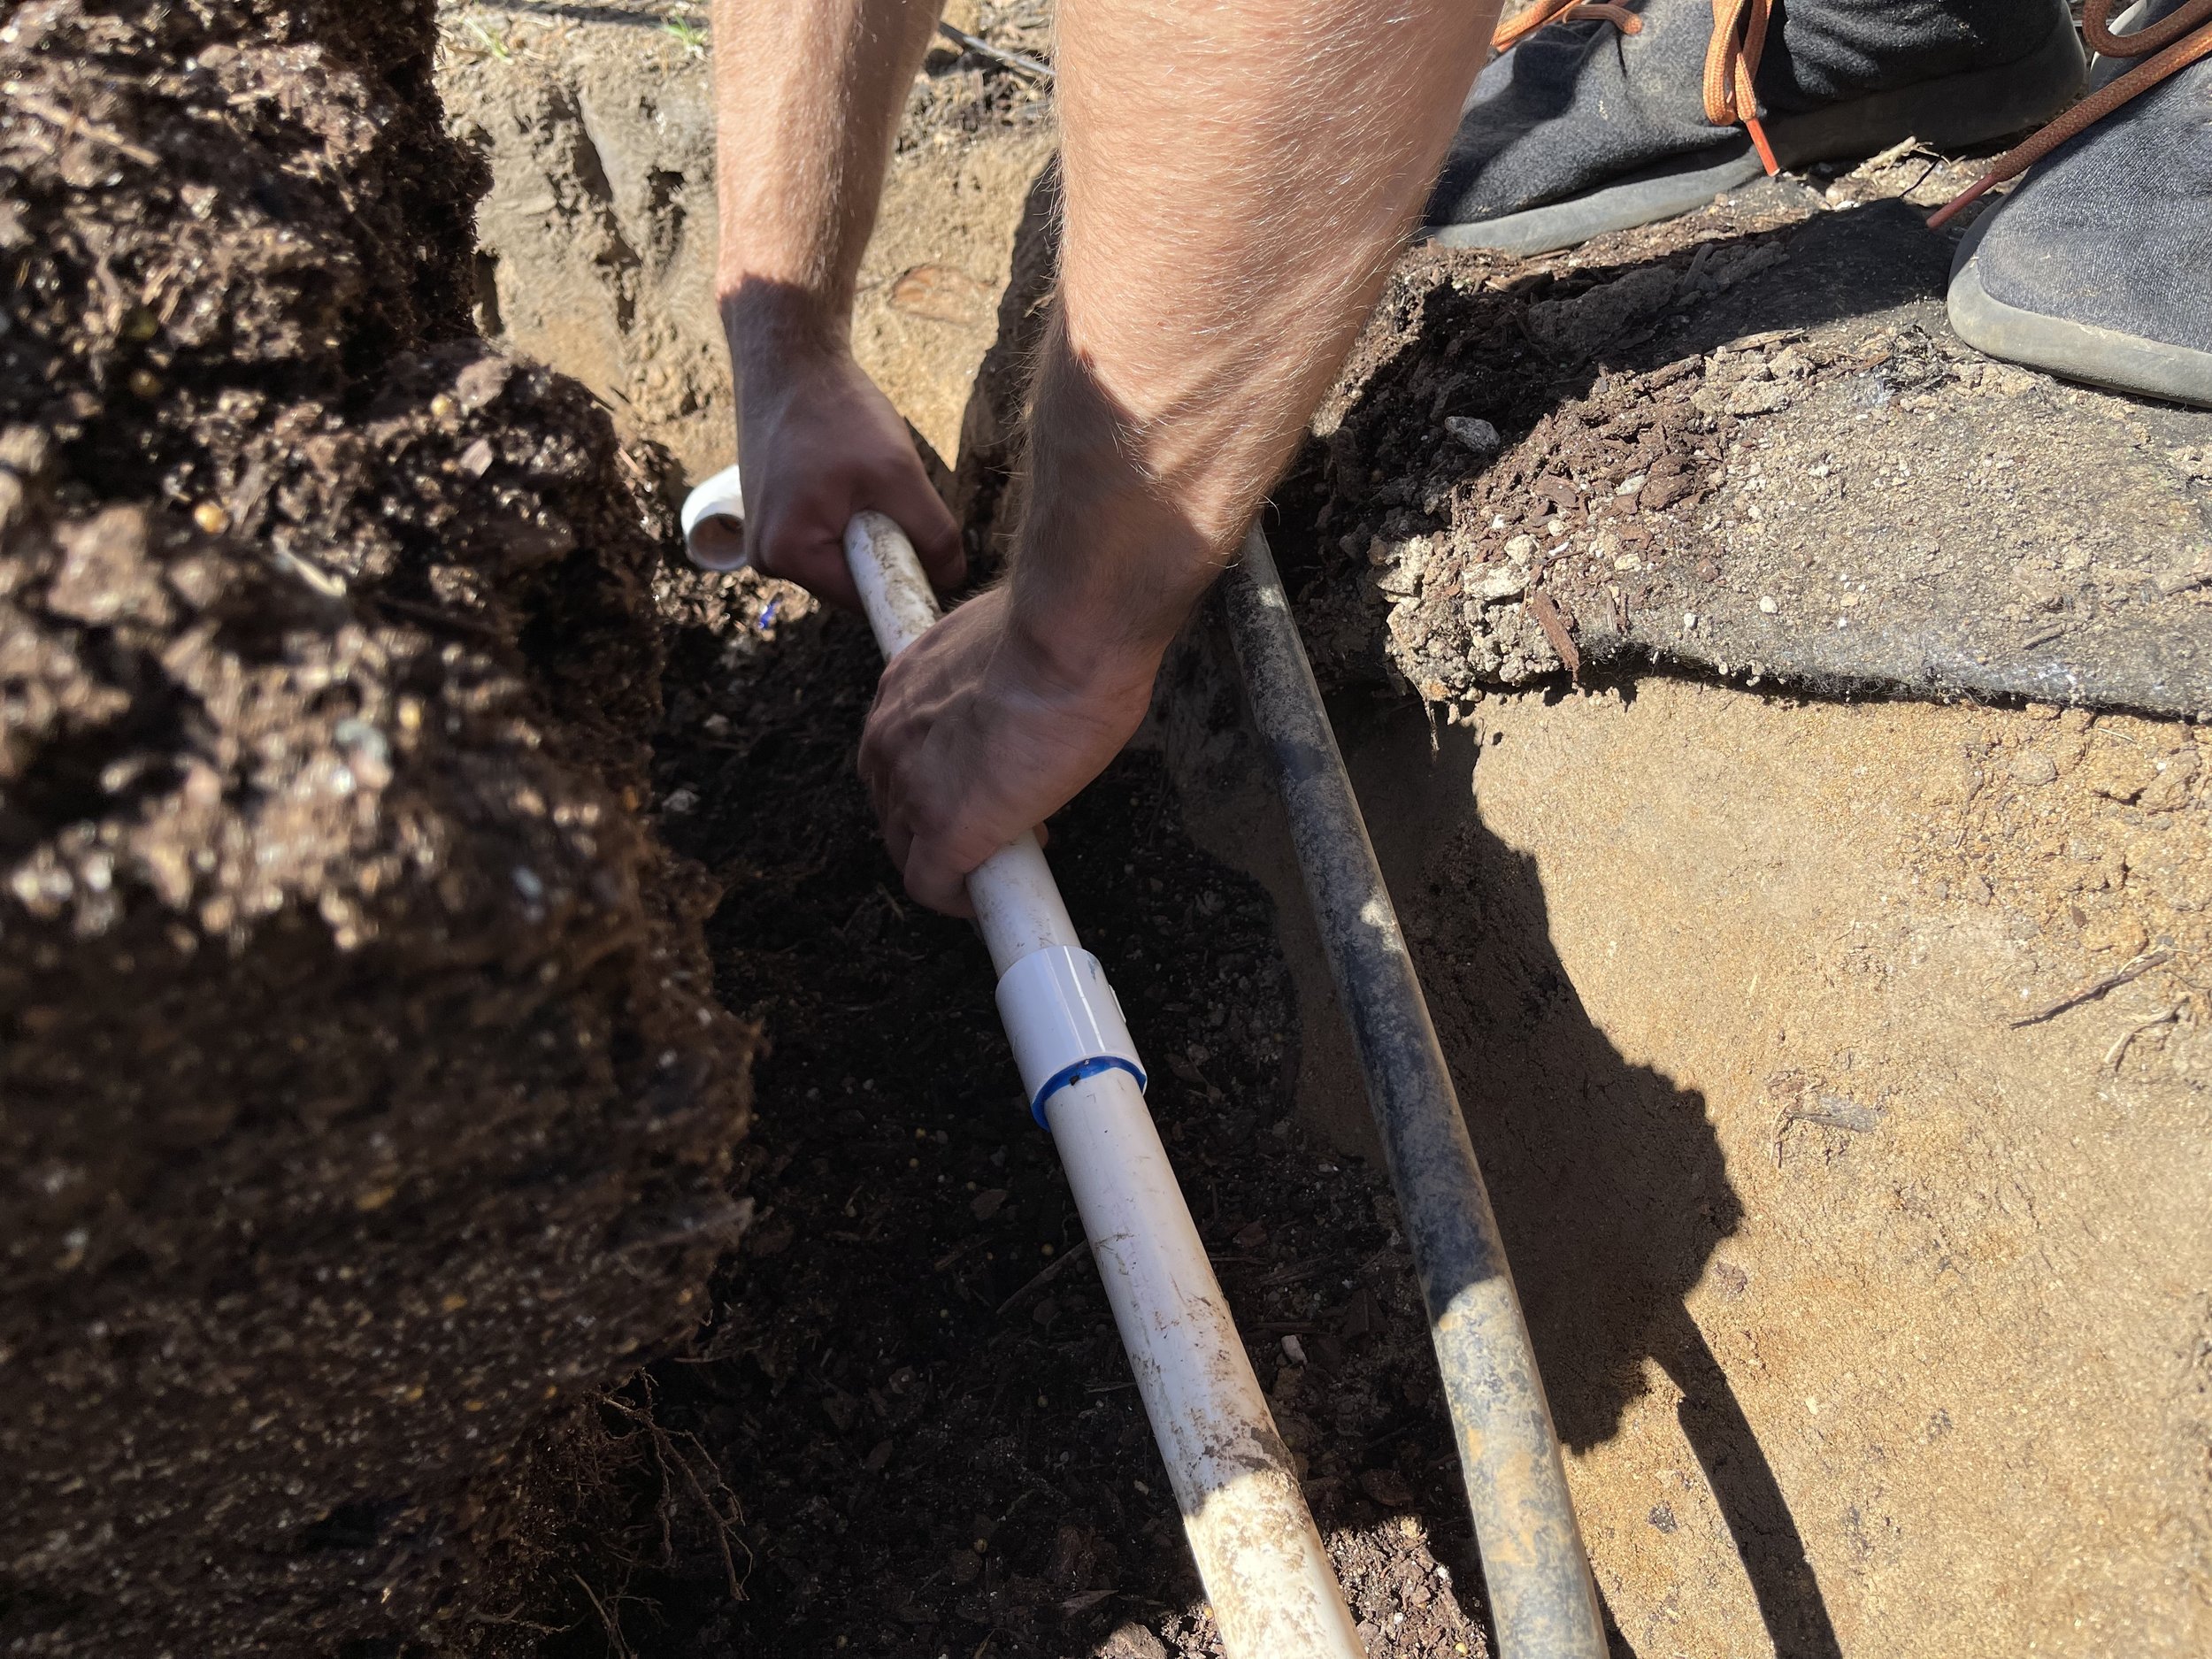
One of the most significant changes in the design is what cannot be seen. As I began trenching the perimeter of the front yard in preparation for building a retaining wall, I discovered a system of large tree roots growing the entire span of 50 feet across my yard.
From looking at older photos of my home, I knew there had been two mature trees in place long before I acquired the home. What I didn’t know was their troublesome roots remained underground, growing and conspiring against me for years. Breaking up the root system was a backbreaking task as I hacked away with a pickaxe for days. Some roots were soft and rotted, while others were dense and thriving. Many ranged from 4-to-6 inches diameter. This tiring step certainly put a delay in my plans for a retaining wall, but it had to be done. After several weeks of excavation, the roots were destroyed, and I was able to proceed with removing and rerouting irrigation lines.
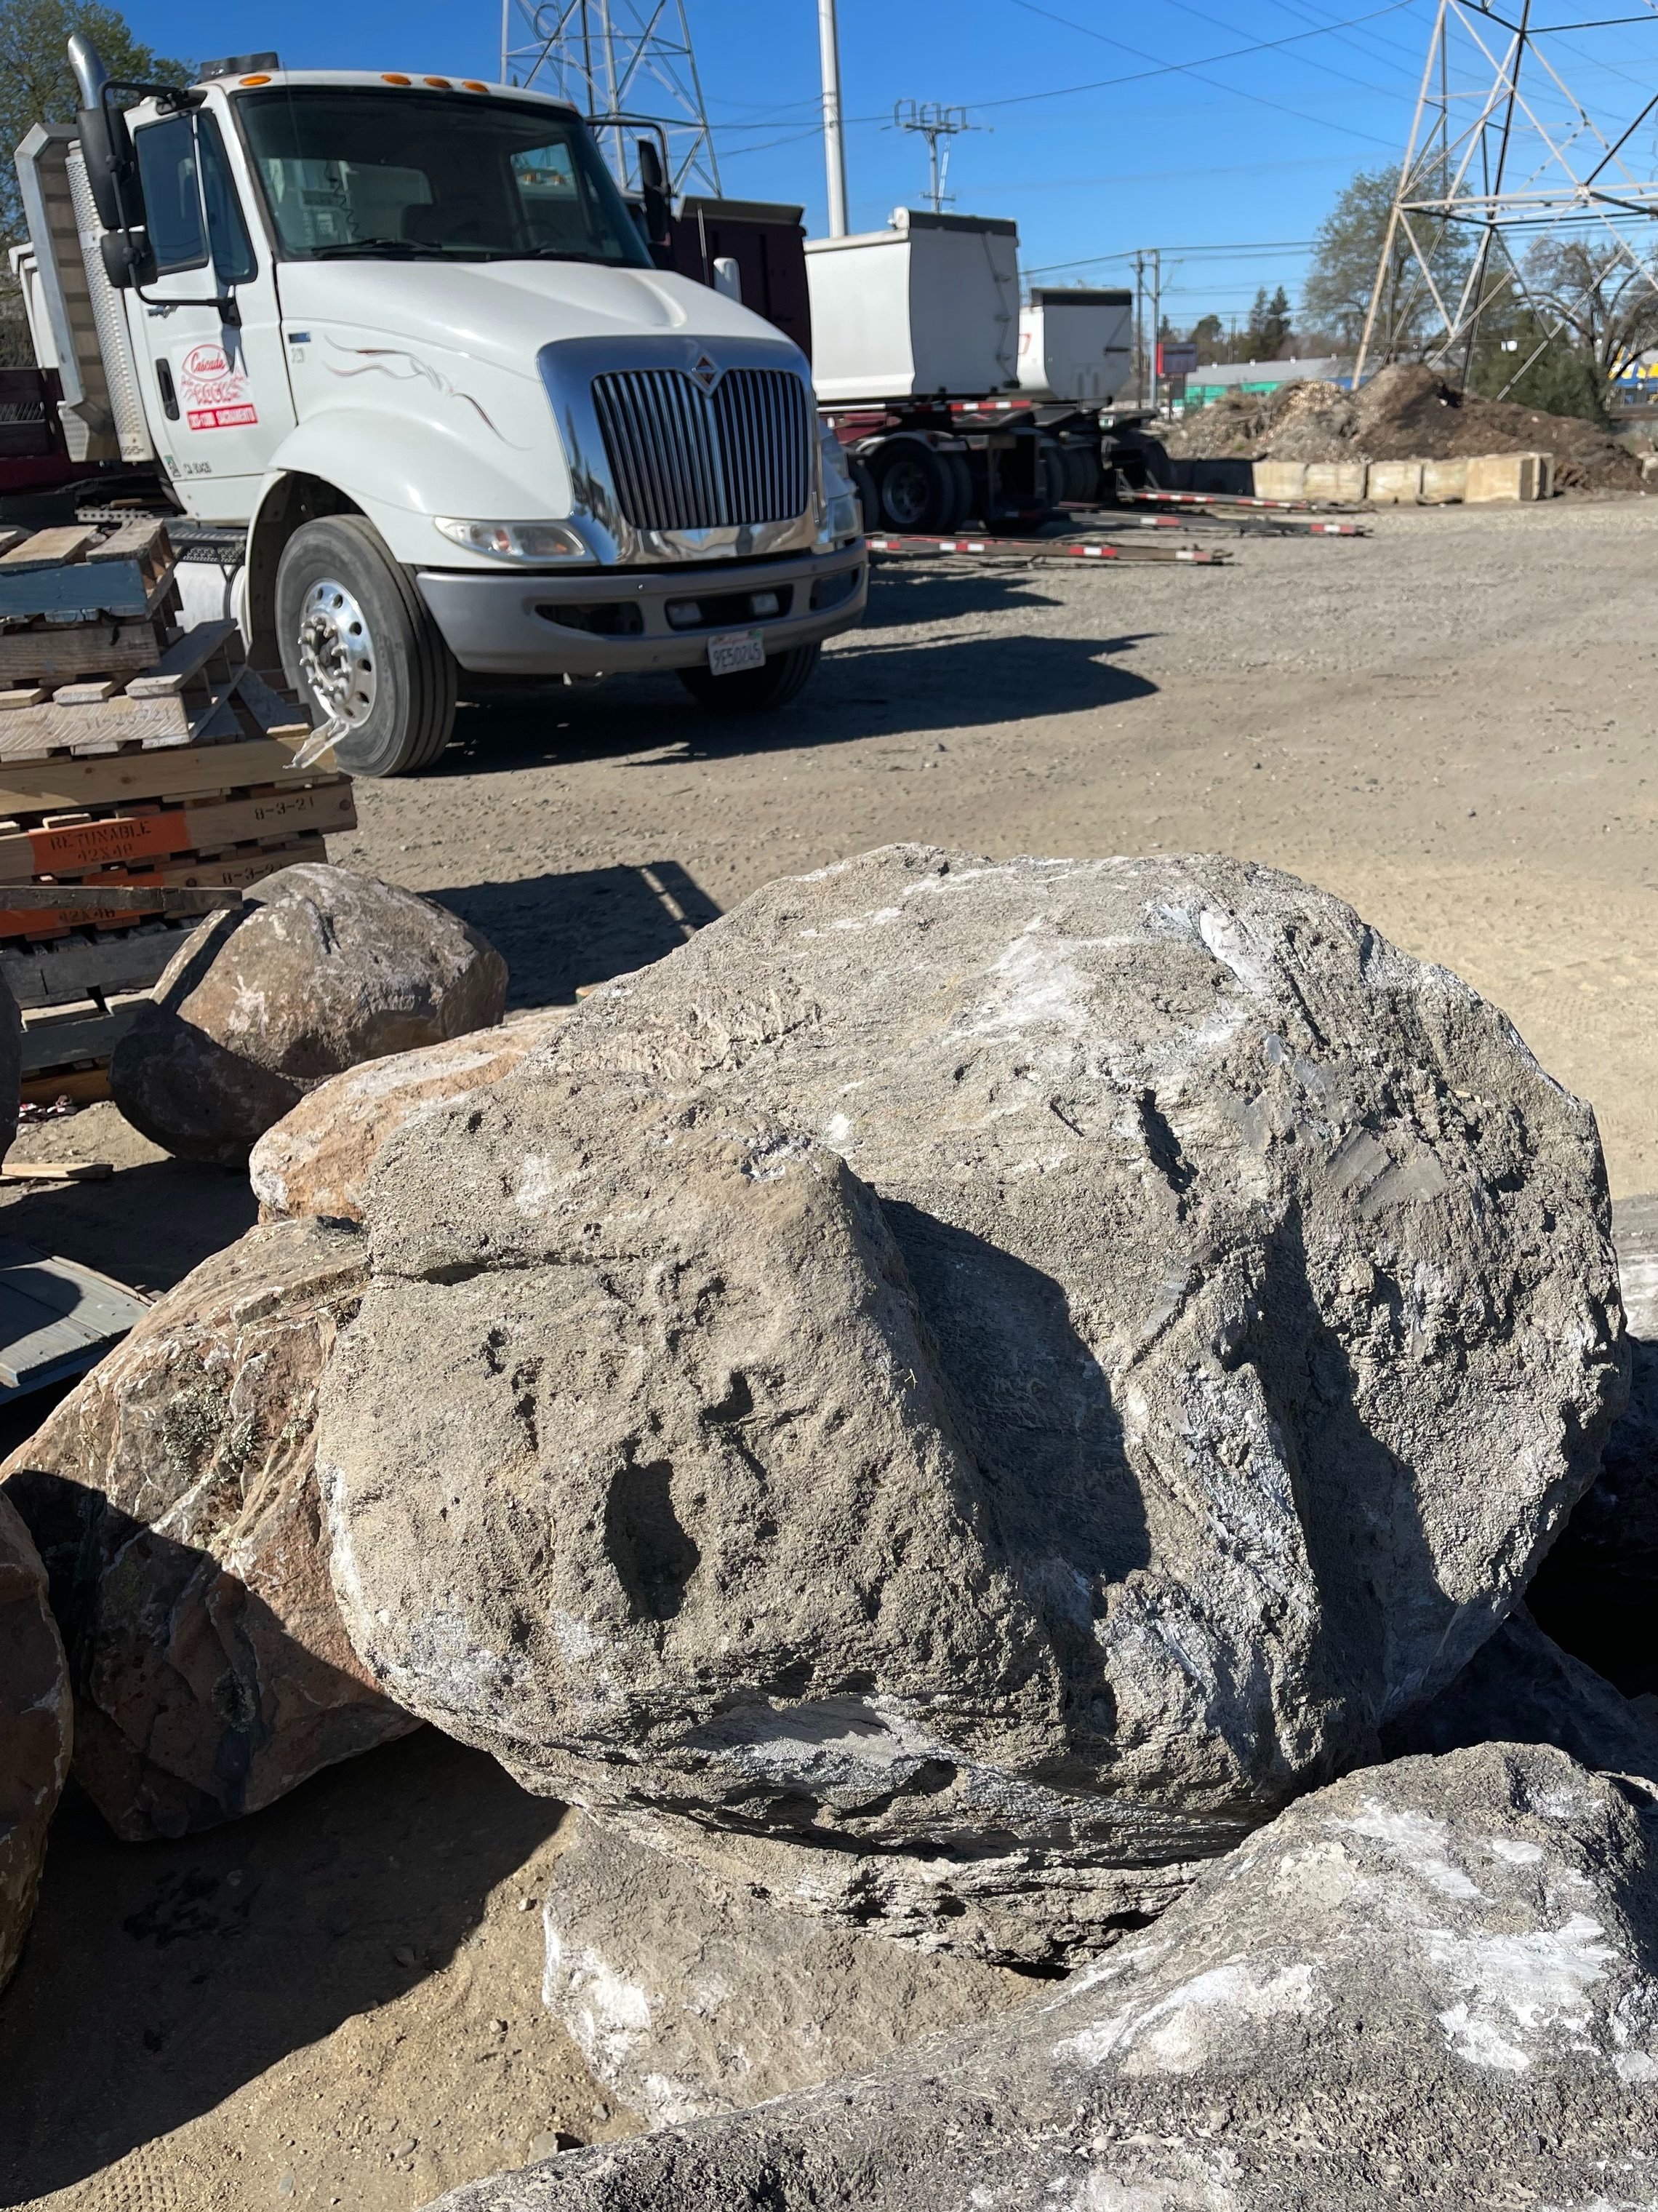
Bo[u]ld Moves
Large stones play a starring role in Japanese gardens, providing a sense of depth and stability. Therefore, sourcing appropriately scaled boulders was a priority task on my planning list. Have you ever been boulder shopping? This was my first endeavor in buying giant rocks, and a memorable one at that. Our local rock yard had mountains of boulders stacked and sorted by rock type. I was immediately drawn to some oversized pumice stones. Their rich, charcoal color and subtle, glassy shimmer dazzled in the sun, reminding me of travels to Big Island volcanoes. I wanted my travels to Hawai’i to be incorporated into parts of the garden, so these would for certain be part of the landscape. Upon further research, I discovered that these pumice boulders — also called feather rock — are the product of a rare volcanic explosion that occurred over 40,000 years ago. A mix of gas and ash released from molten lava to form these lightweight, glass-like masses. Make no mistake, the name feather rock might sound light and airy, but the boulders I selected weigh hundreds of pounds, and can only be moved by forklift. I also selected a few moss rocks to accent various trees and shrubs planned for the space. Though these rocks are far smaller than the pumice, they are equally dense and weigh just as heavy.
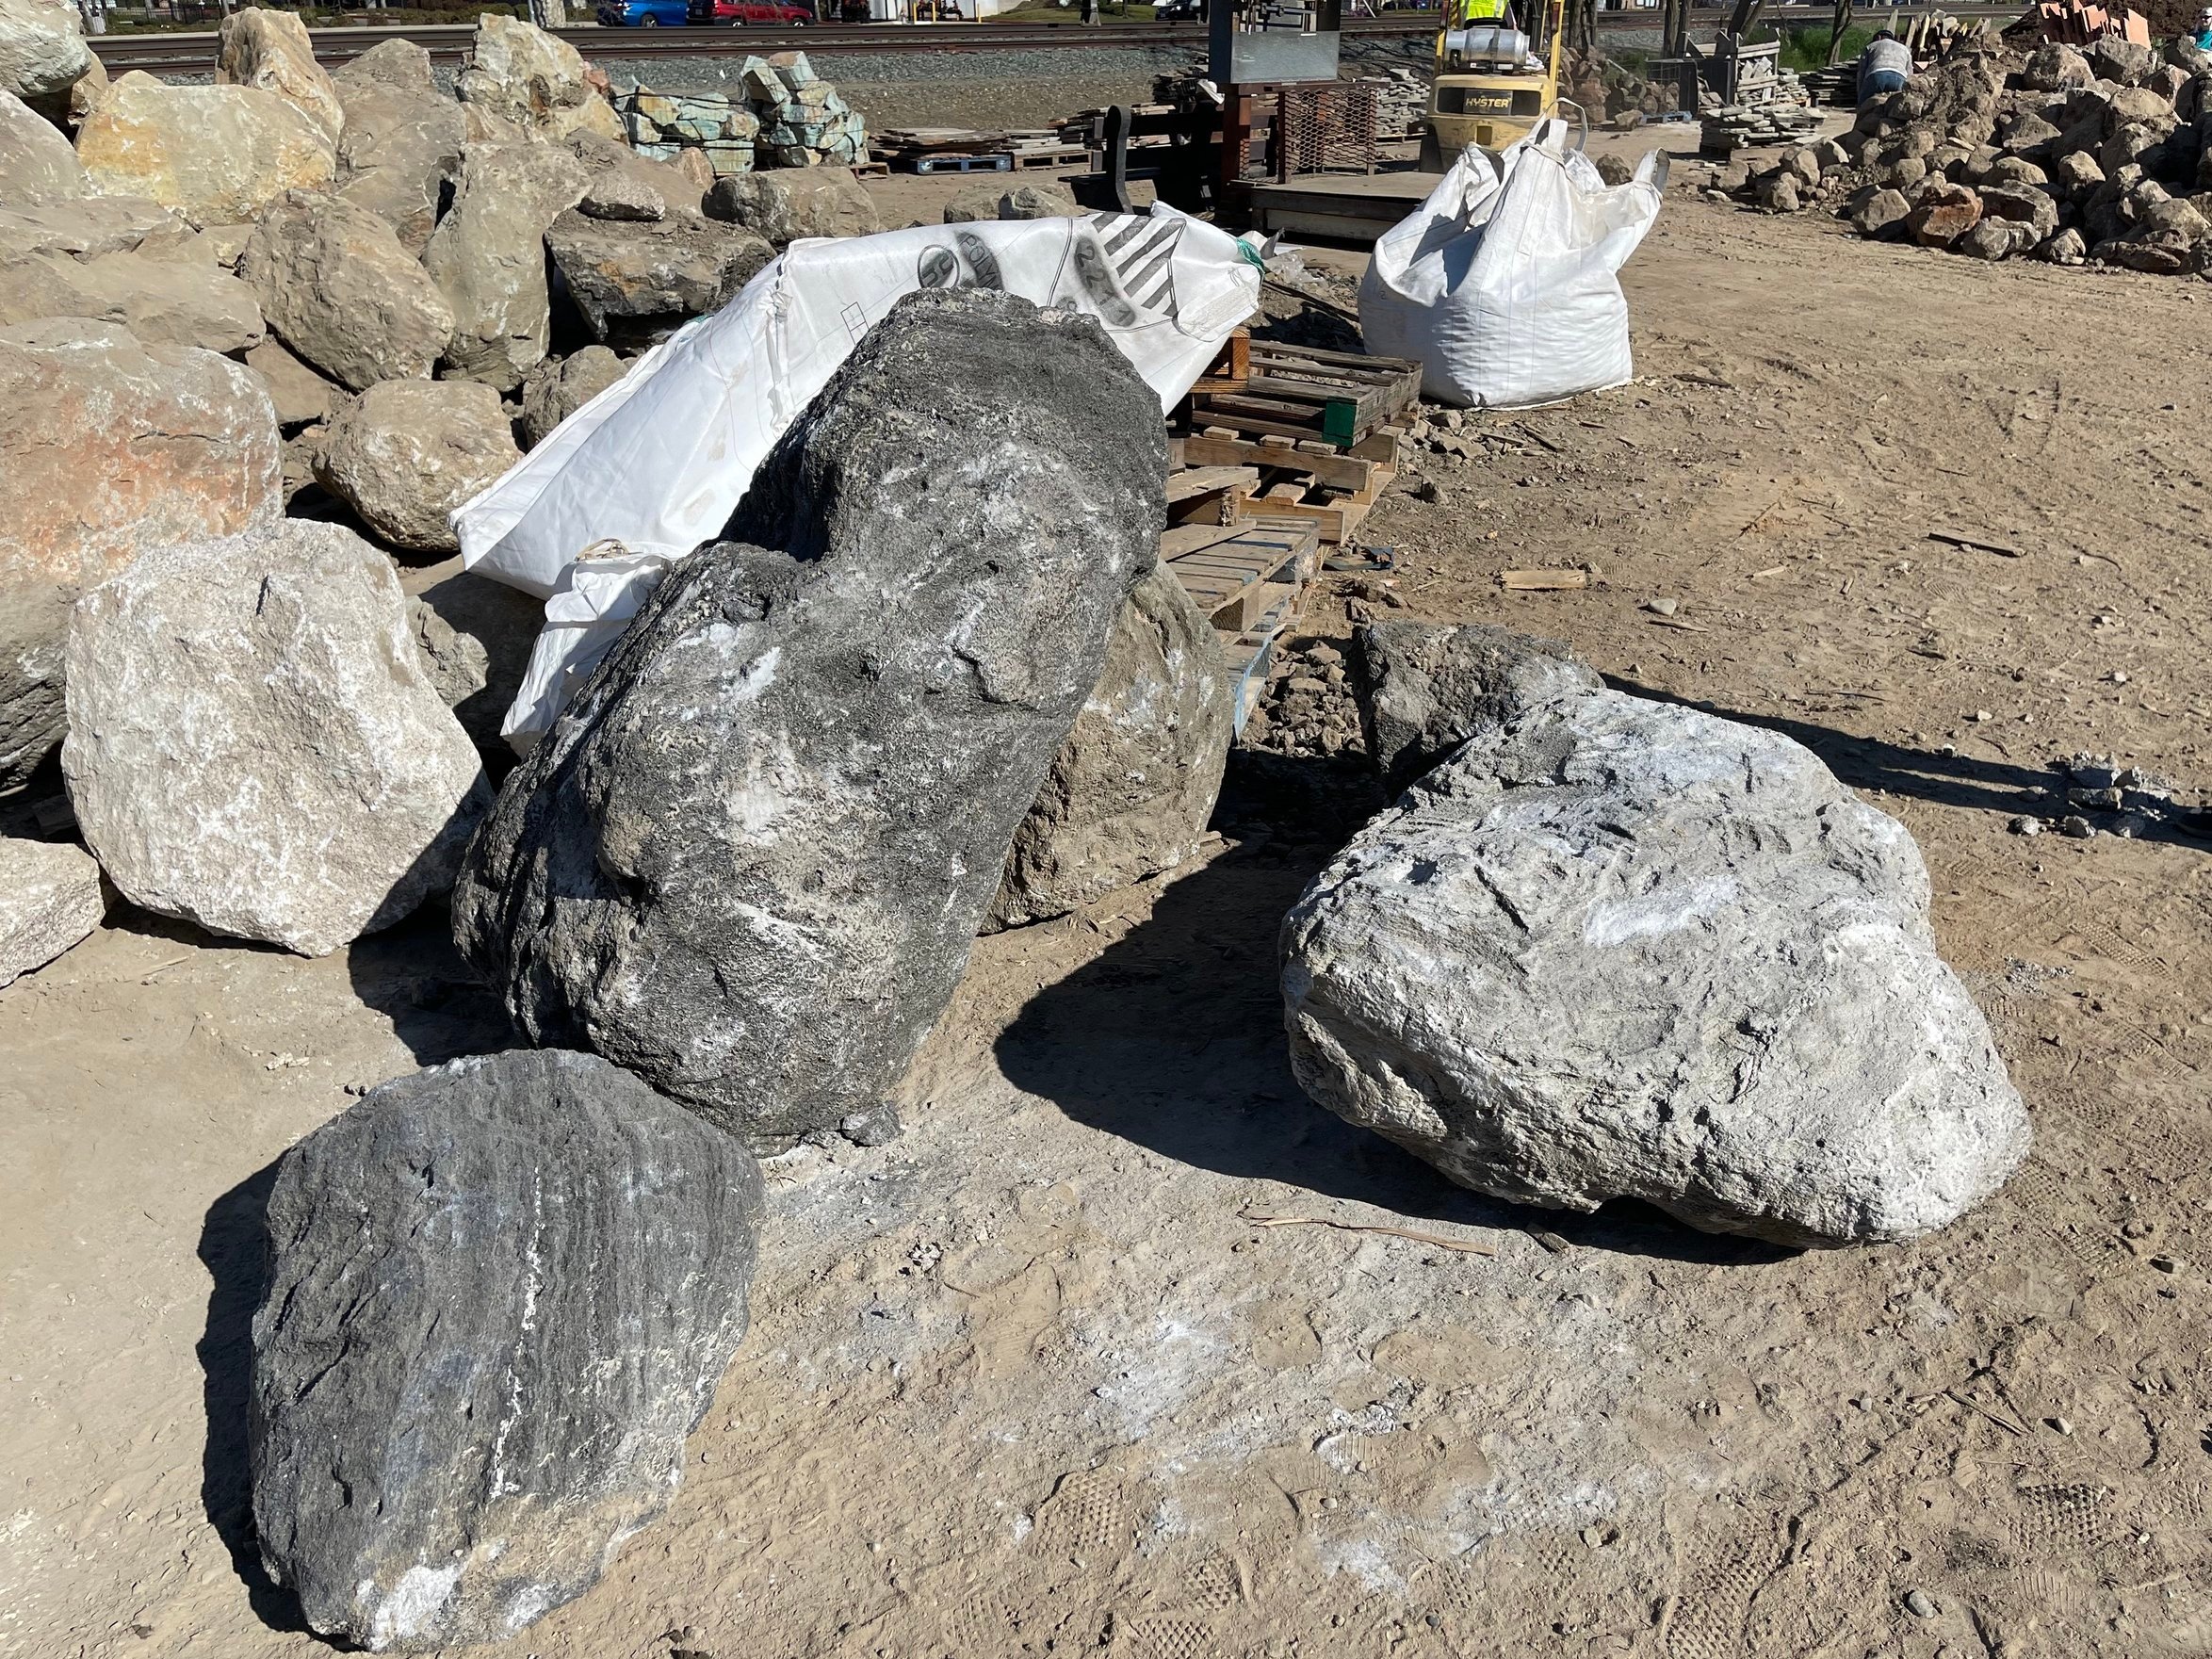
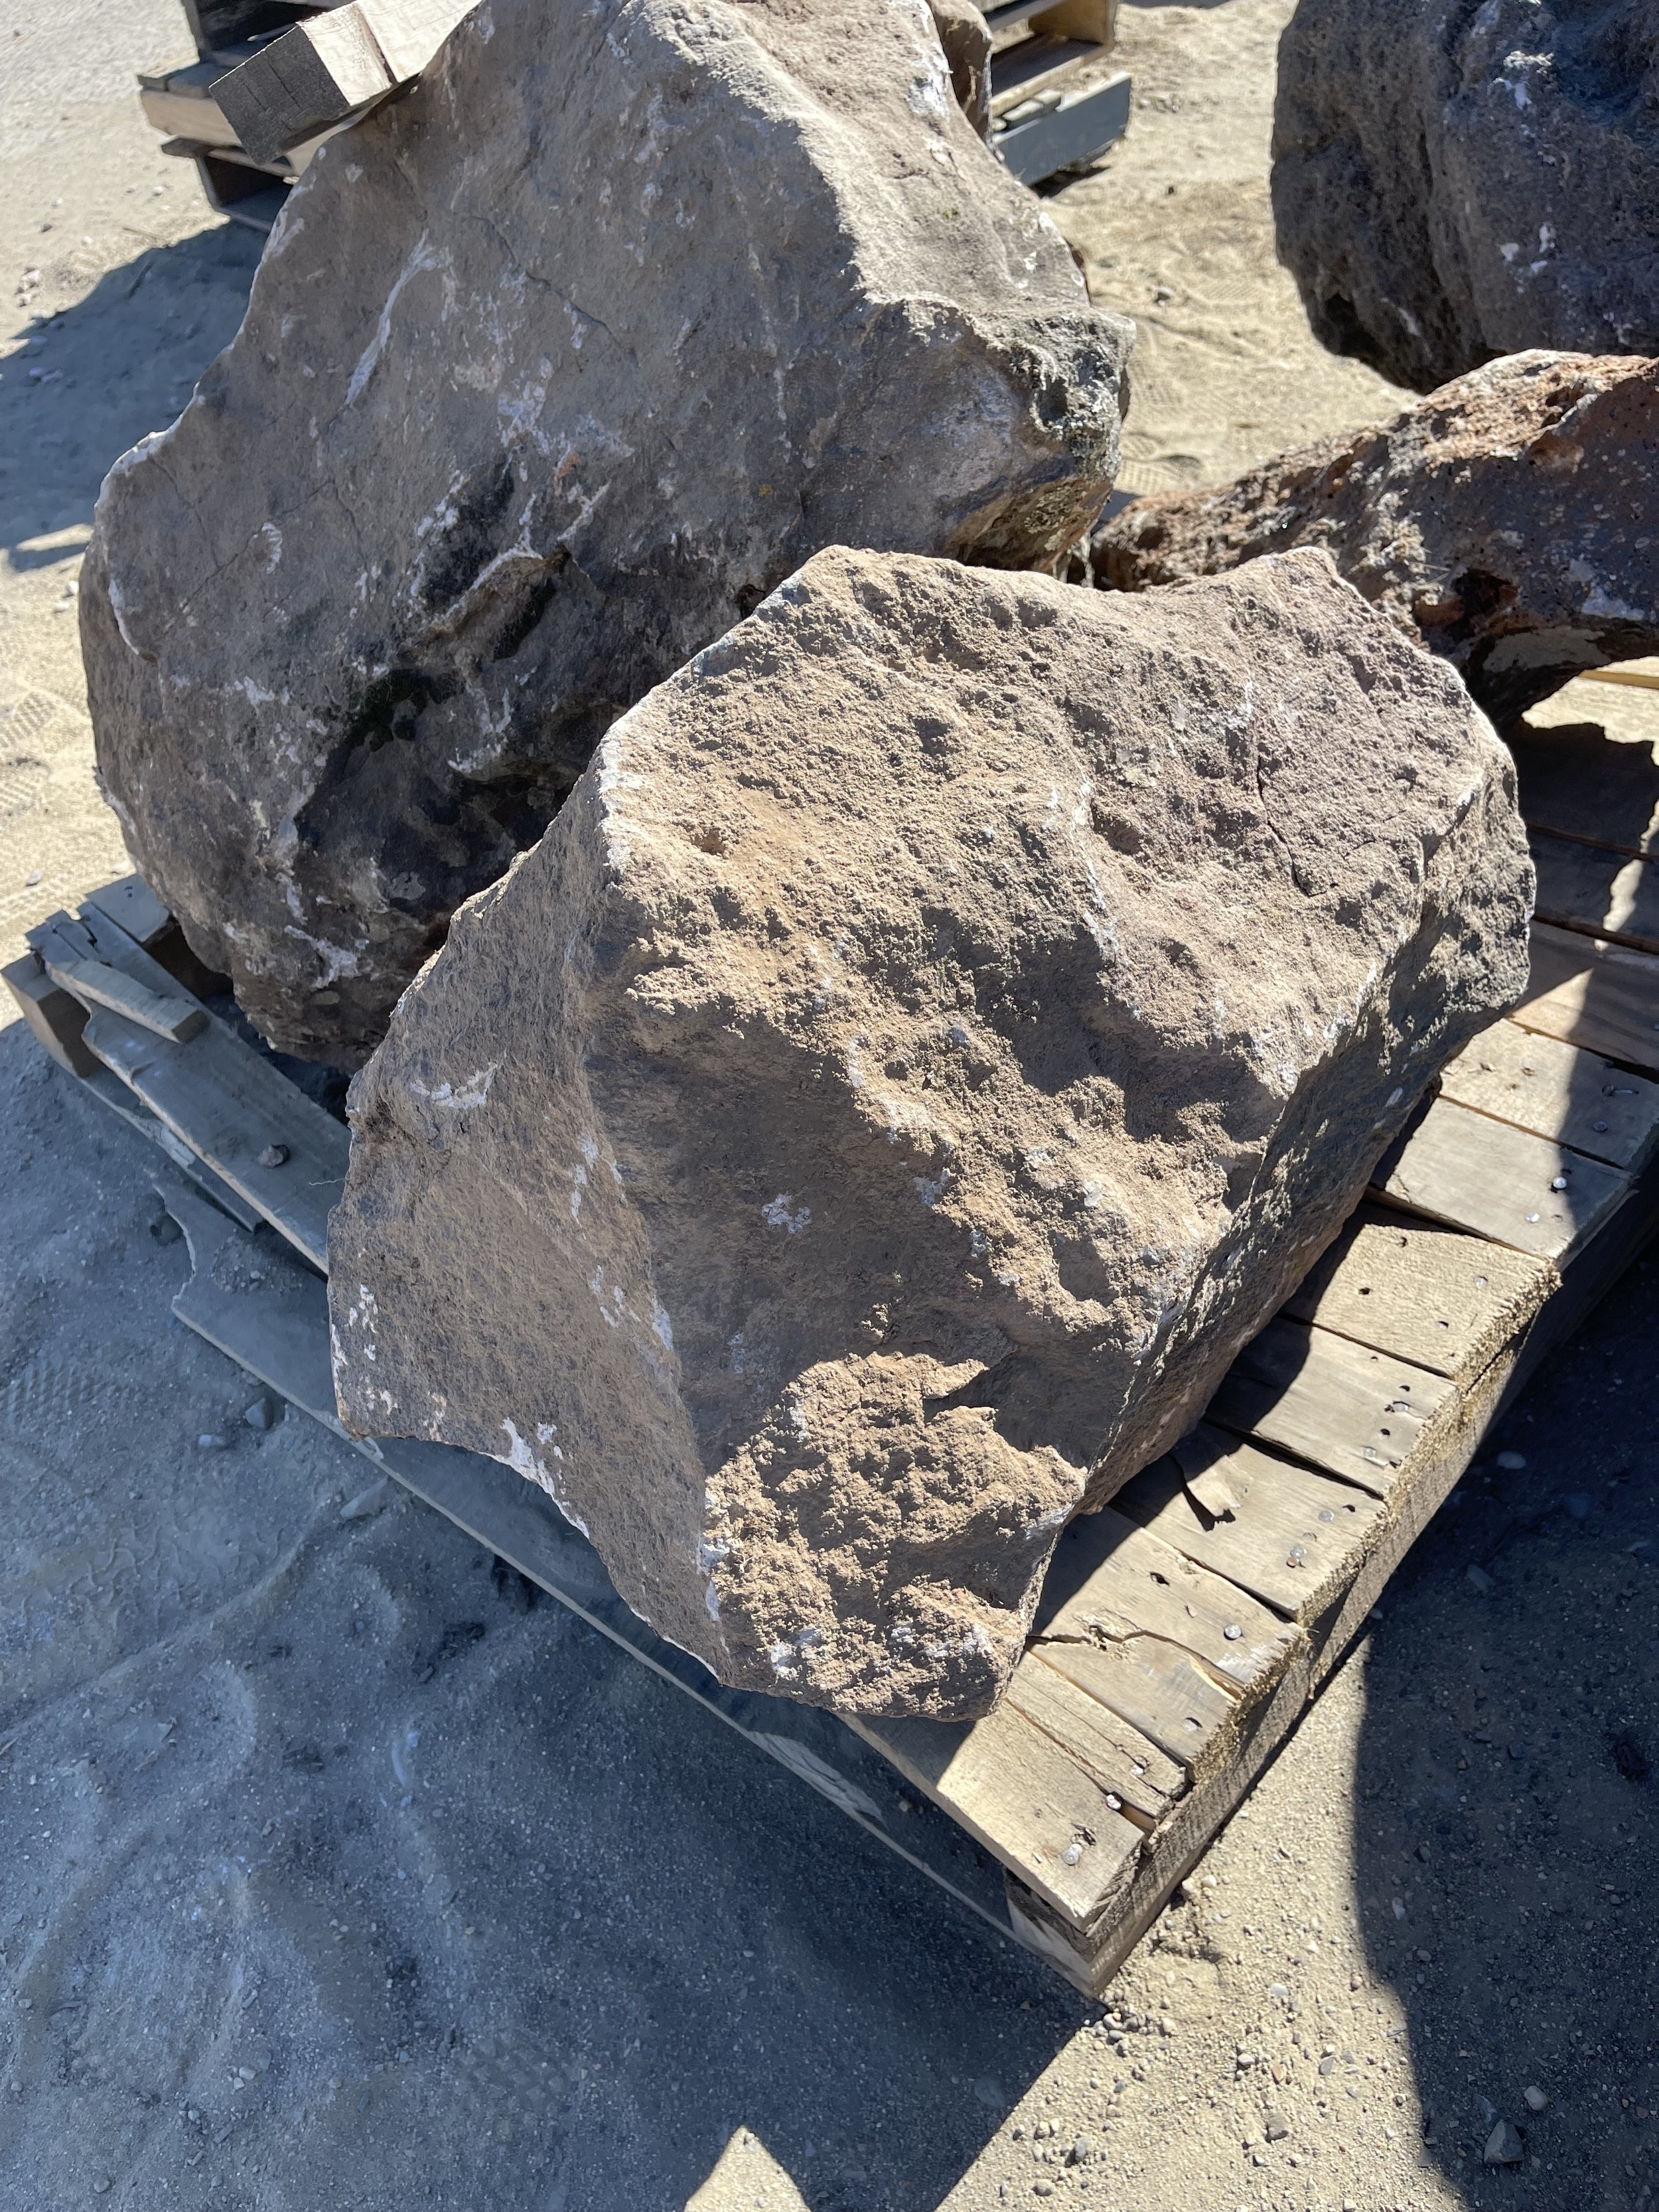

This stone triad (sanzon-ishigumi) configuration resembles mountainous terrain and positive energy.
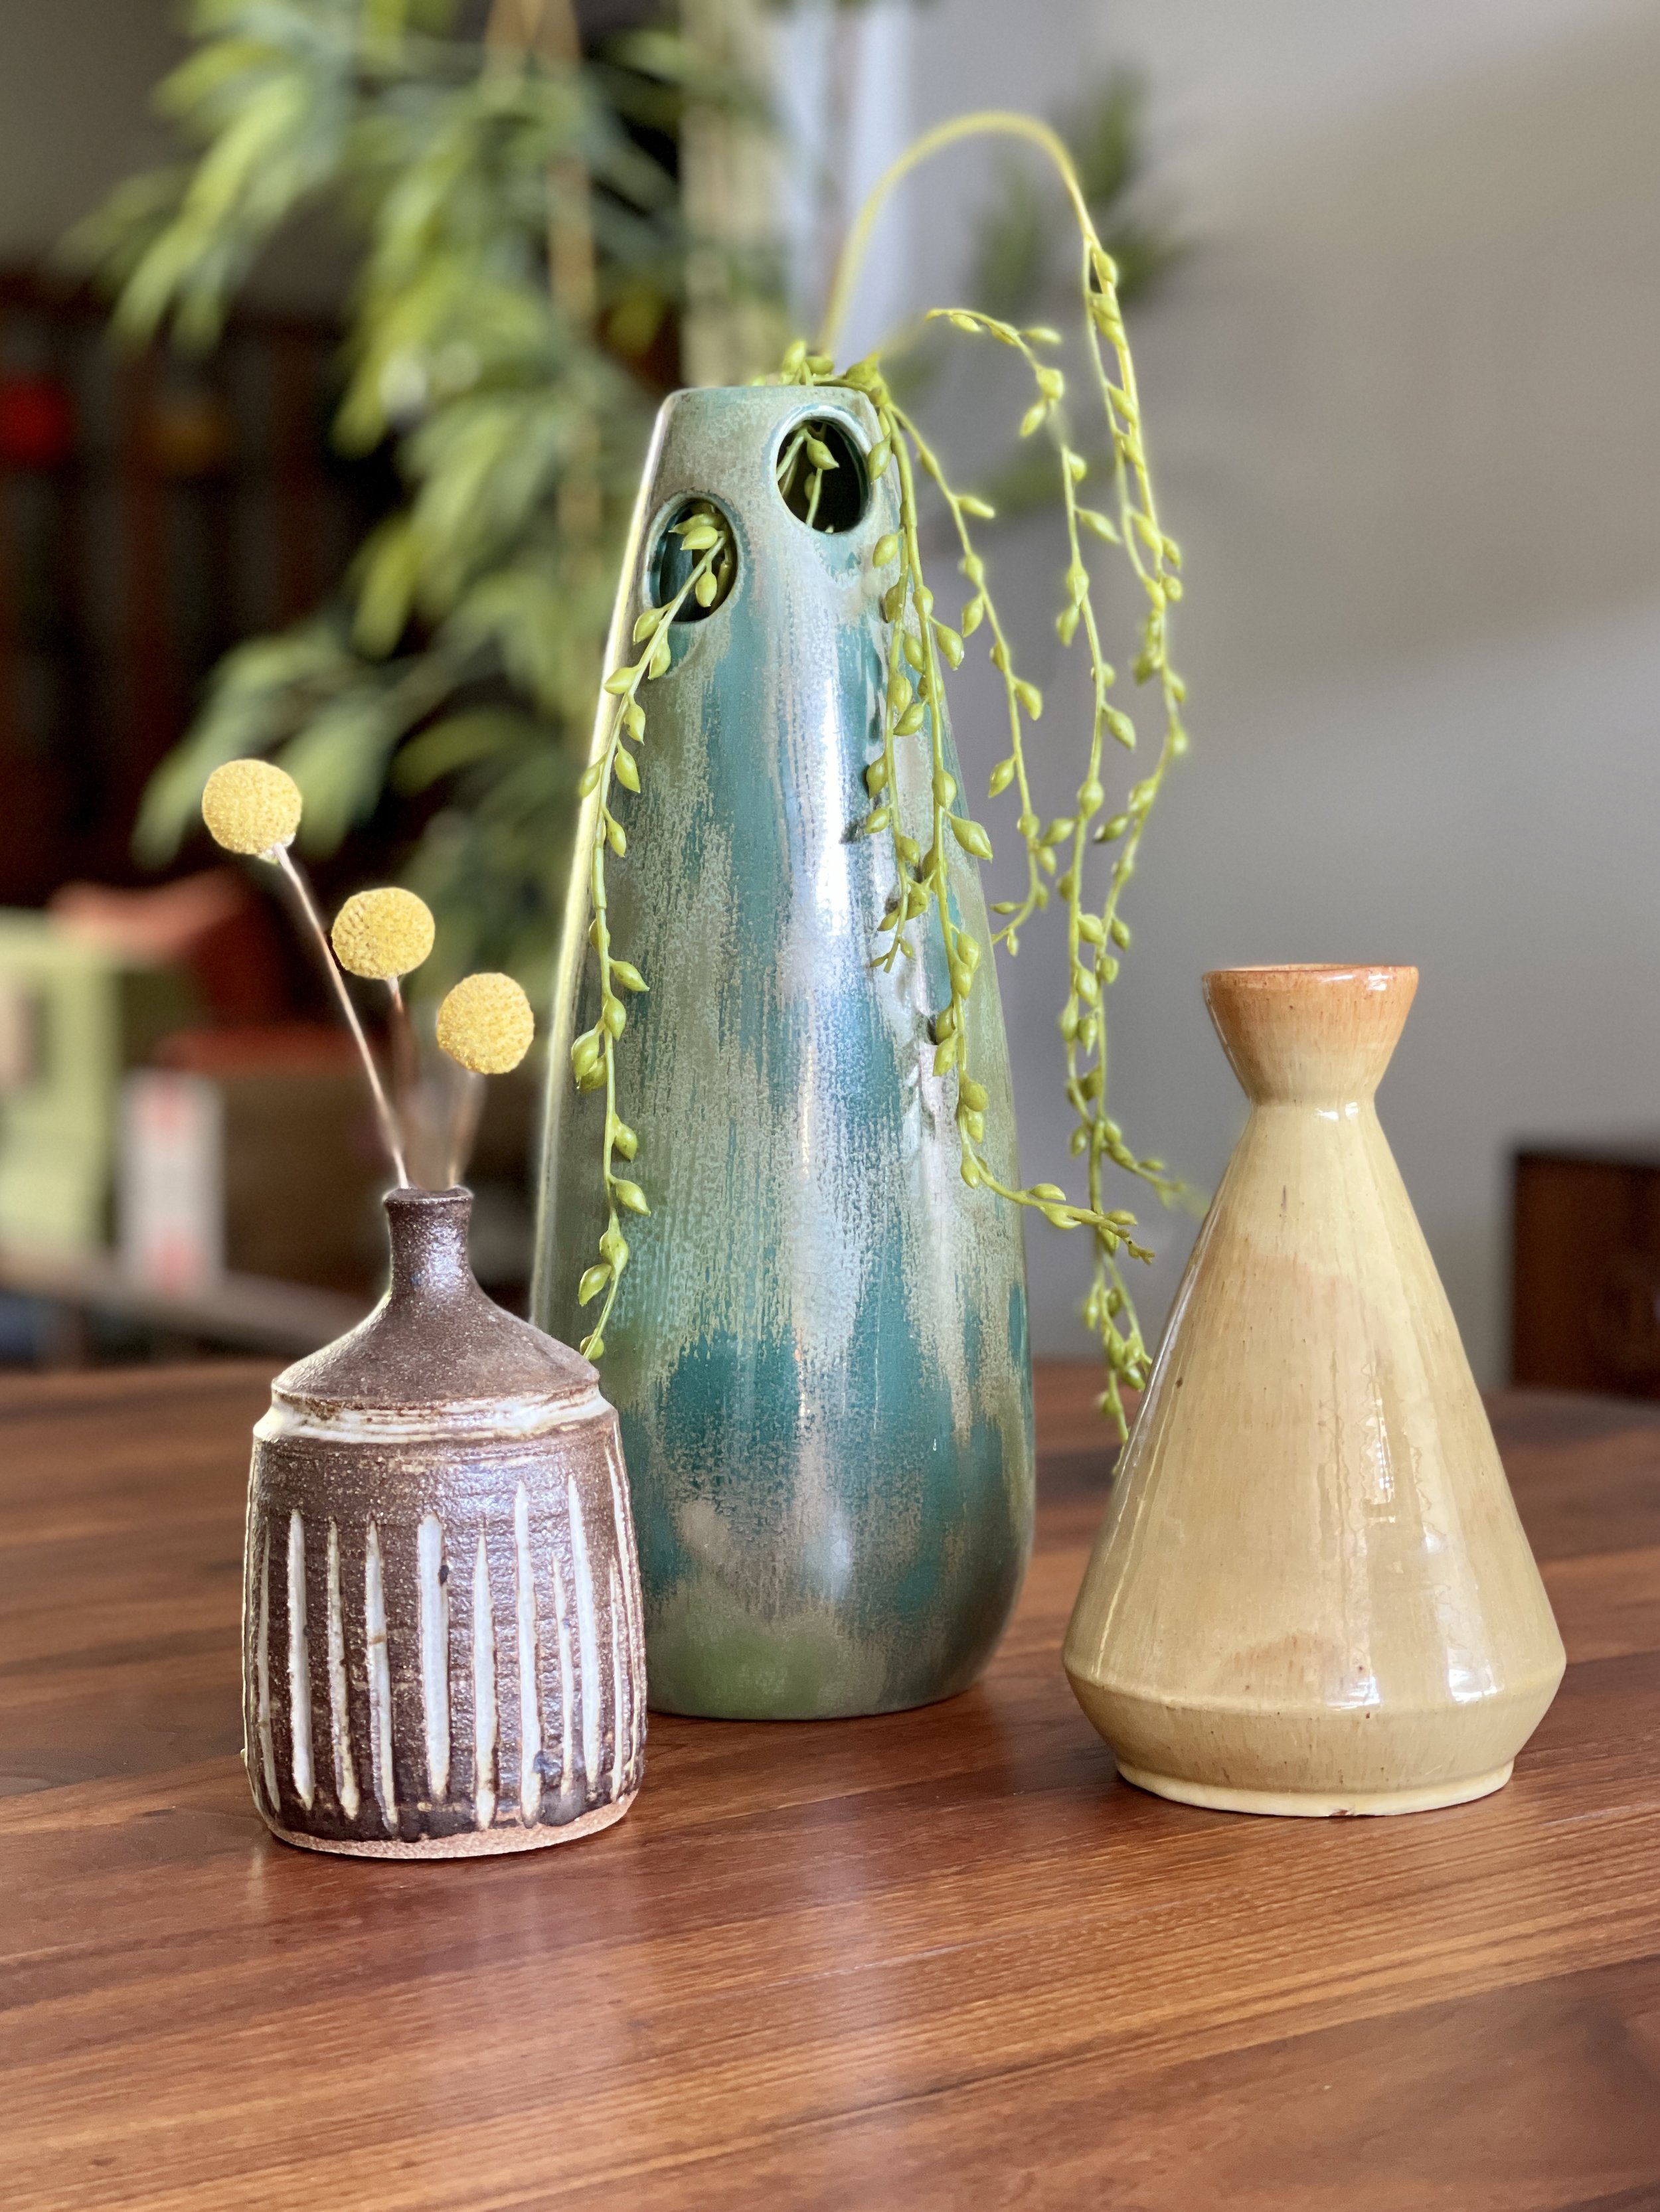
Arranging decorative objects inside your home can be a helpful experiment for placing exterior boulders.
At the rock yard, I took photos of everything I ordered, and recorded detailed measurements of each piece (8 boulders total). Delivery was scheduled a couple weeks out so I would have time to finish irrigation work. However, in that time, I became a little uneasy about my selections. Boulders are fairly permanent, and I was about to commit to some serious immovable objects. I headed back to the rock yard a second time to look at my selections once more and really get a feel for their scale. Again, I measured, and took more photos. An important factor in this step was that I wanted each of the boulders to be somewhat buried for a feeling of balance and permanence. I carefully studied each rock, taking notes, and identifying just how much of each would be below the surface. I felt more confident that no changes were needed, so I hurried home to mark placements and dig out divots for each of the boulders.
A few days later, the weighty shipment arrived via flatbed truck, and a very helpful driver discussed the plan of action with me. We identified where each boulder would be placed, and each was moved to its home via forklift. The driver was able to adjust placements by turning rocks with the forklift, and Glen and I fine tuned, and packed soil around each boulder to secure in place. It was an intense few moments of sweat as the “forever” pieces were unloaded, but ultimately, everything worked out great.
Though I first felt intimidated by rocks of this size, I came to realize that placing boulders in a Japanese garden isn’t all that different from arranging decorative items in your home. Grouping in odd numbers of 3, 5, or 7 creates balance and harmony, and those numbers are a great place to start. If you’re struggling with how to place boulders in your garden design, try styling a collection of vases in varying heights to create a composition that looks pleasing to you. Then, apply that same concept to your boulder layout.
The Journey Ahead
Despite the back-breaking trenching, we’ve only scratched the surface with this project! In the continuation of this series, I will highlight the building of a retaining wall, laying ground cover, landscaping rocks, a variety of beautiful plants, lighting, decor, and so much more. A major transformation and delightful Japanese garden are well underway, so stay tuned to the blog for more. Cheers!