House of Happy Talk - Part 3: Celebrations
Past is Present
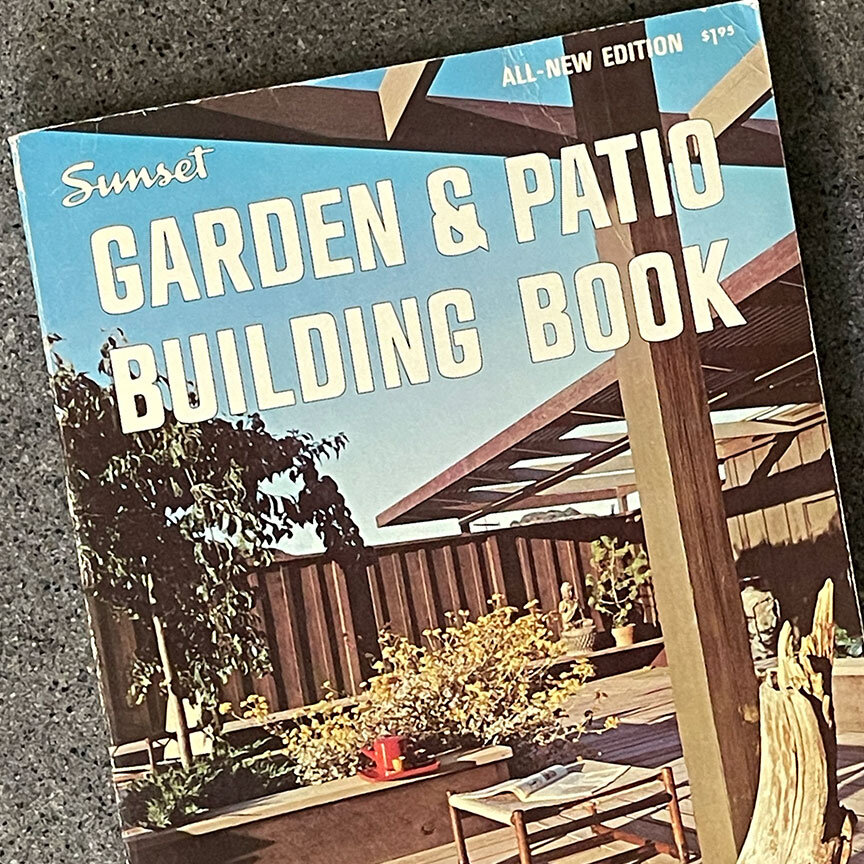
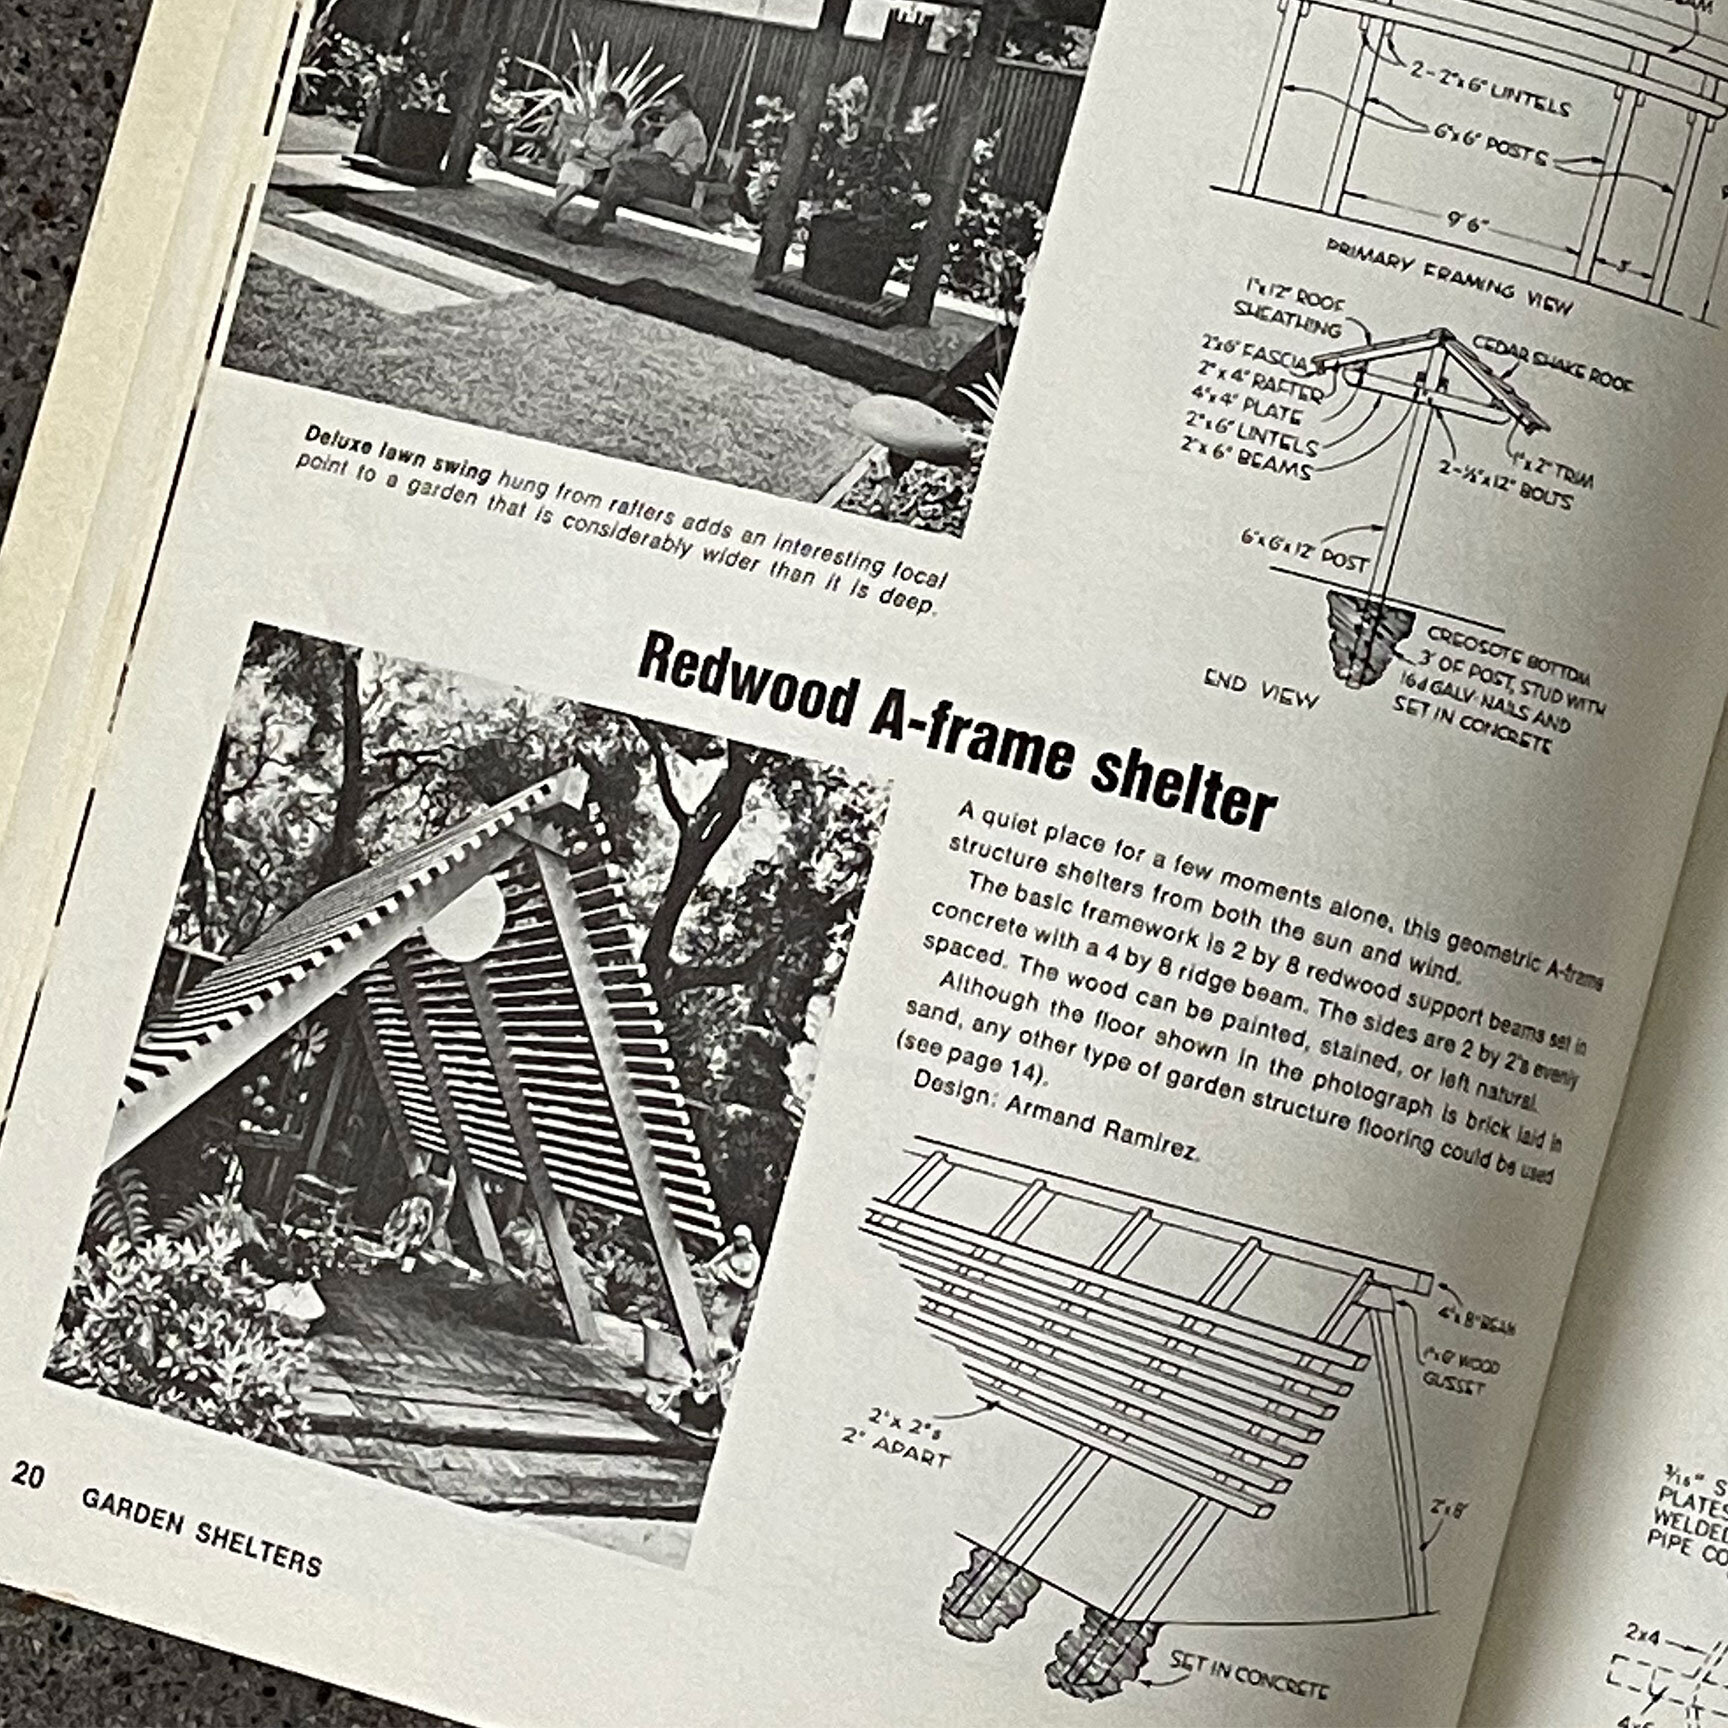
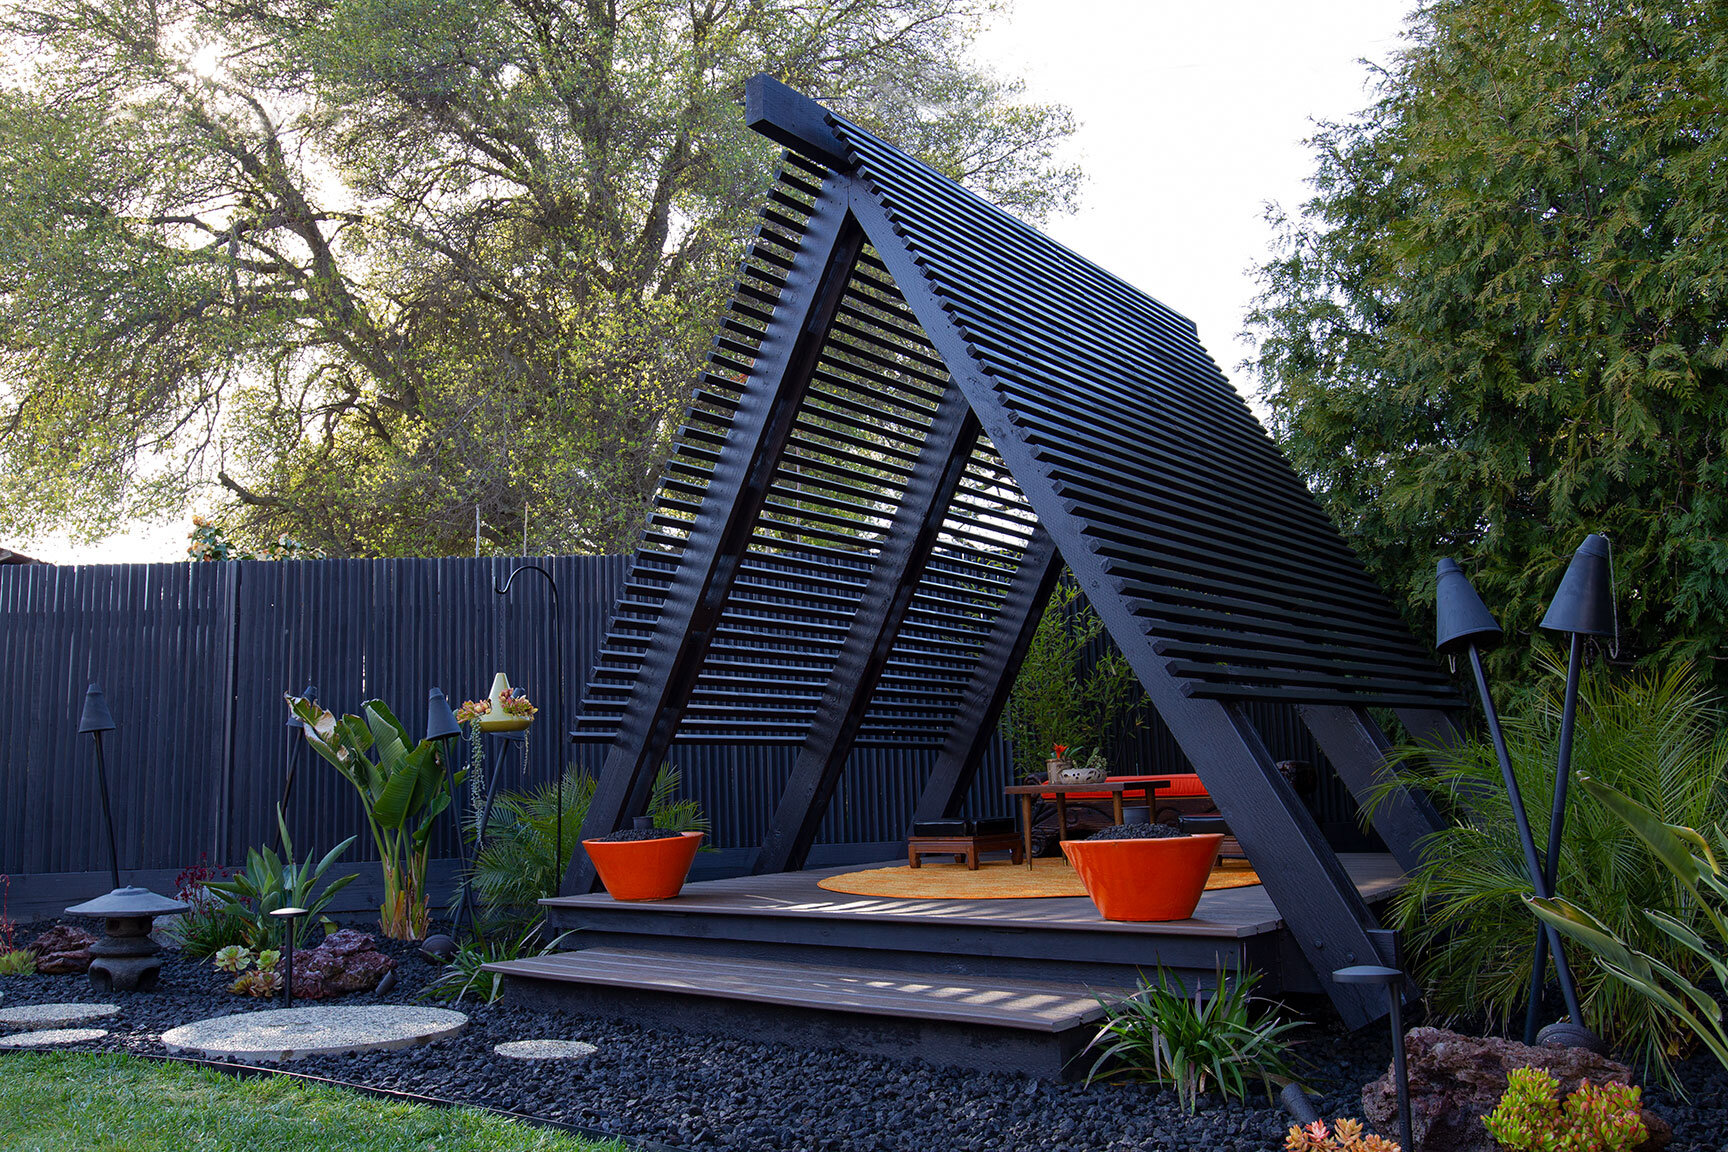
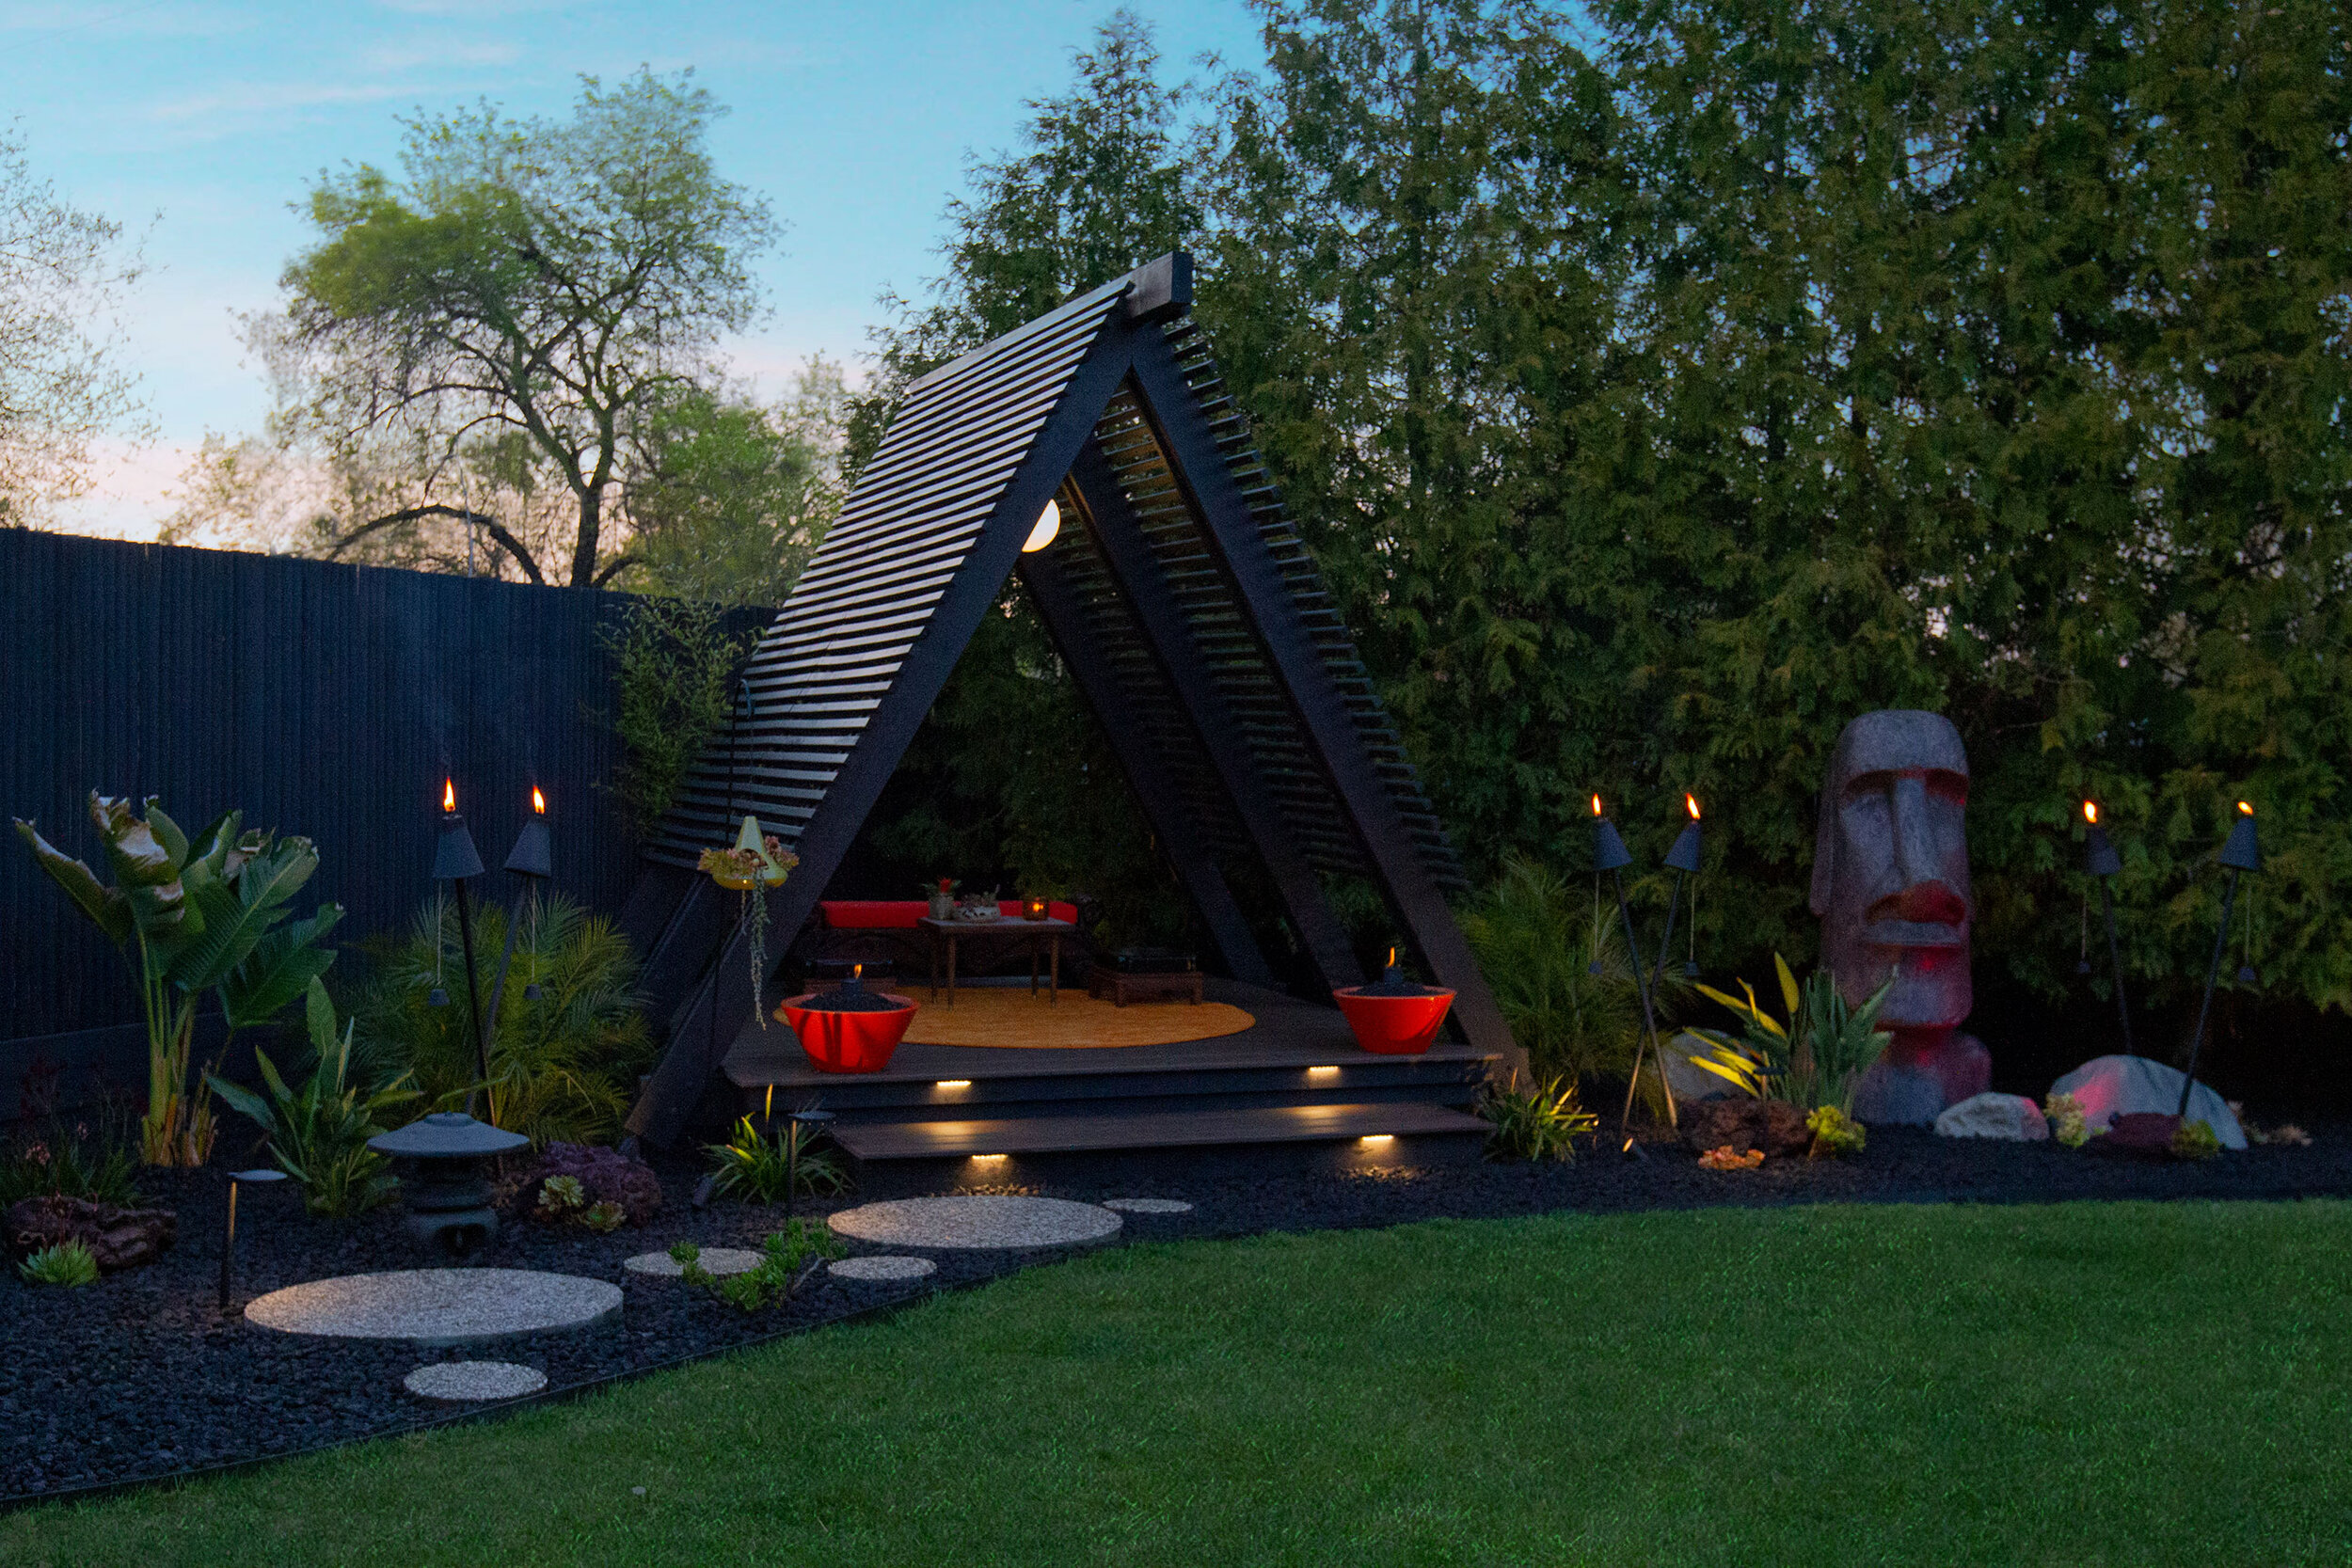
This project all started in early 2020 as I was browsing my library of vintage Sunset home books. An A-frame shelter in a 1969 building issue immediately caught my eye, so we set out on the path to reimagine it in a way that worked best for my backyard. By scaling down the footprint to 12’ x 12’, and designing a steeper pitch, we were able to utilize a concrete slab that had already been poured prior to acquiring the home.
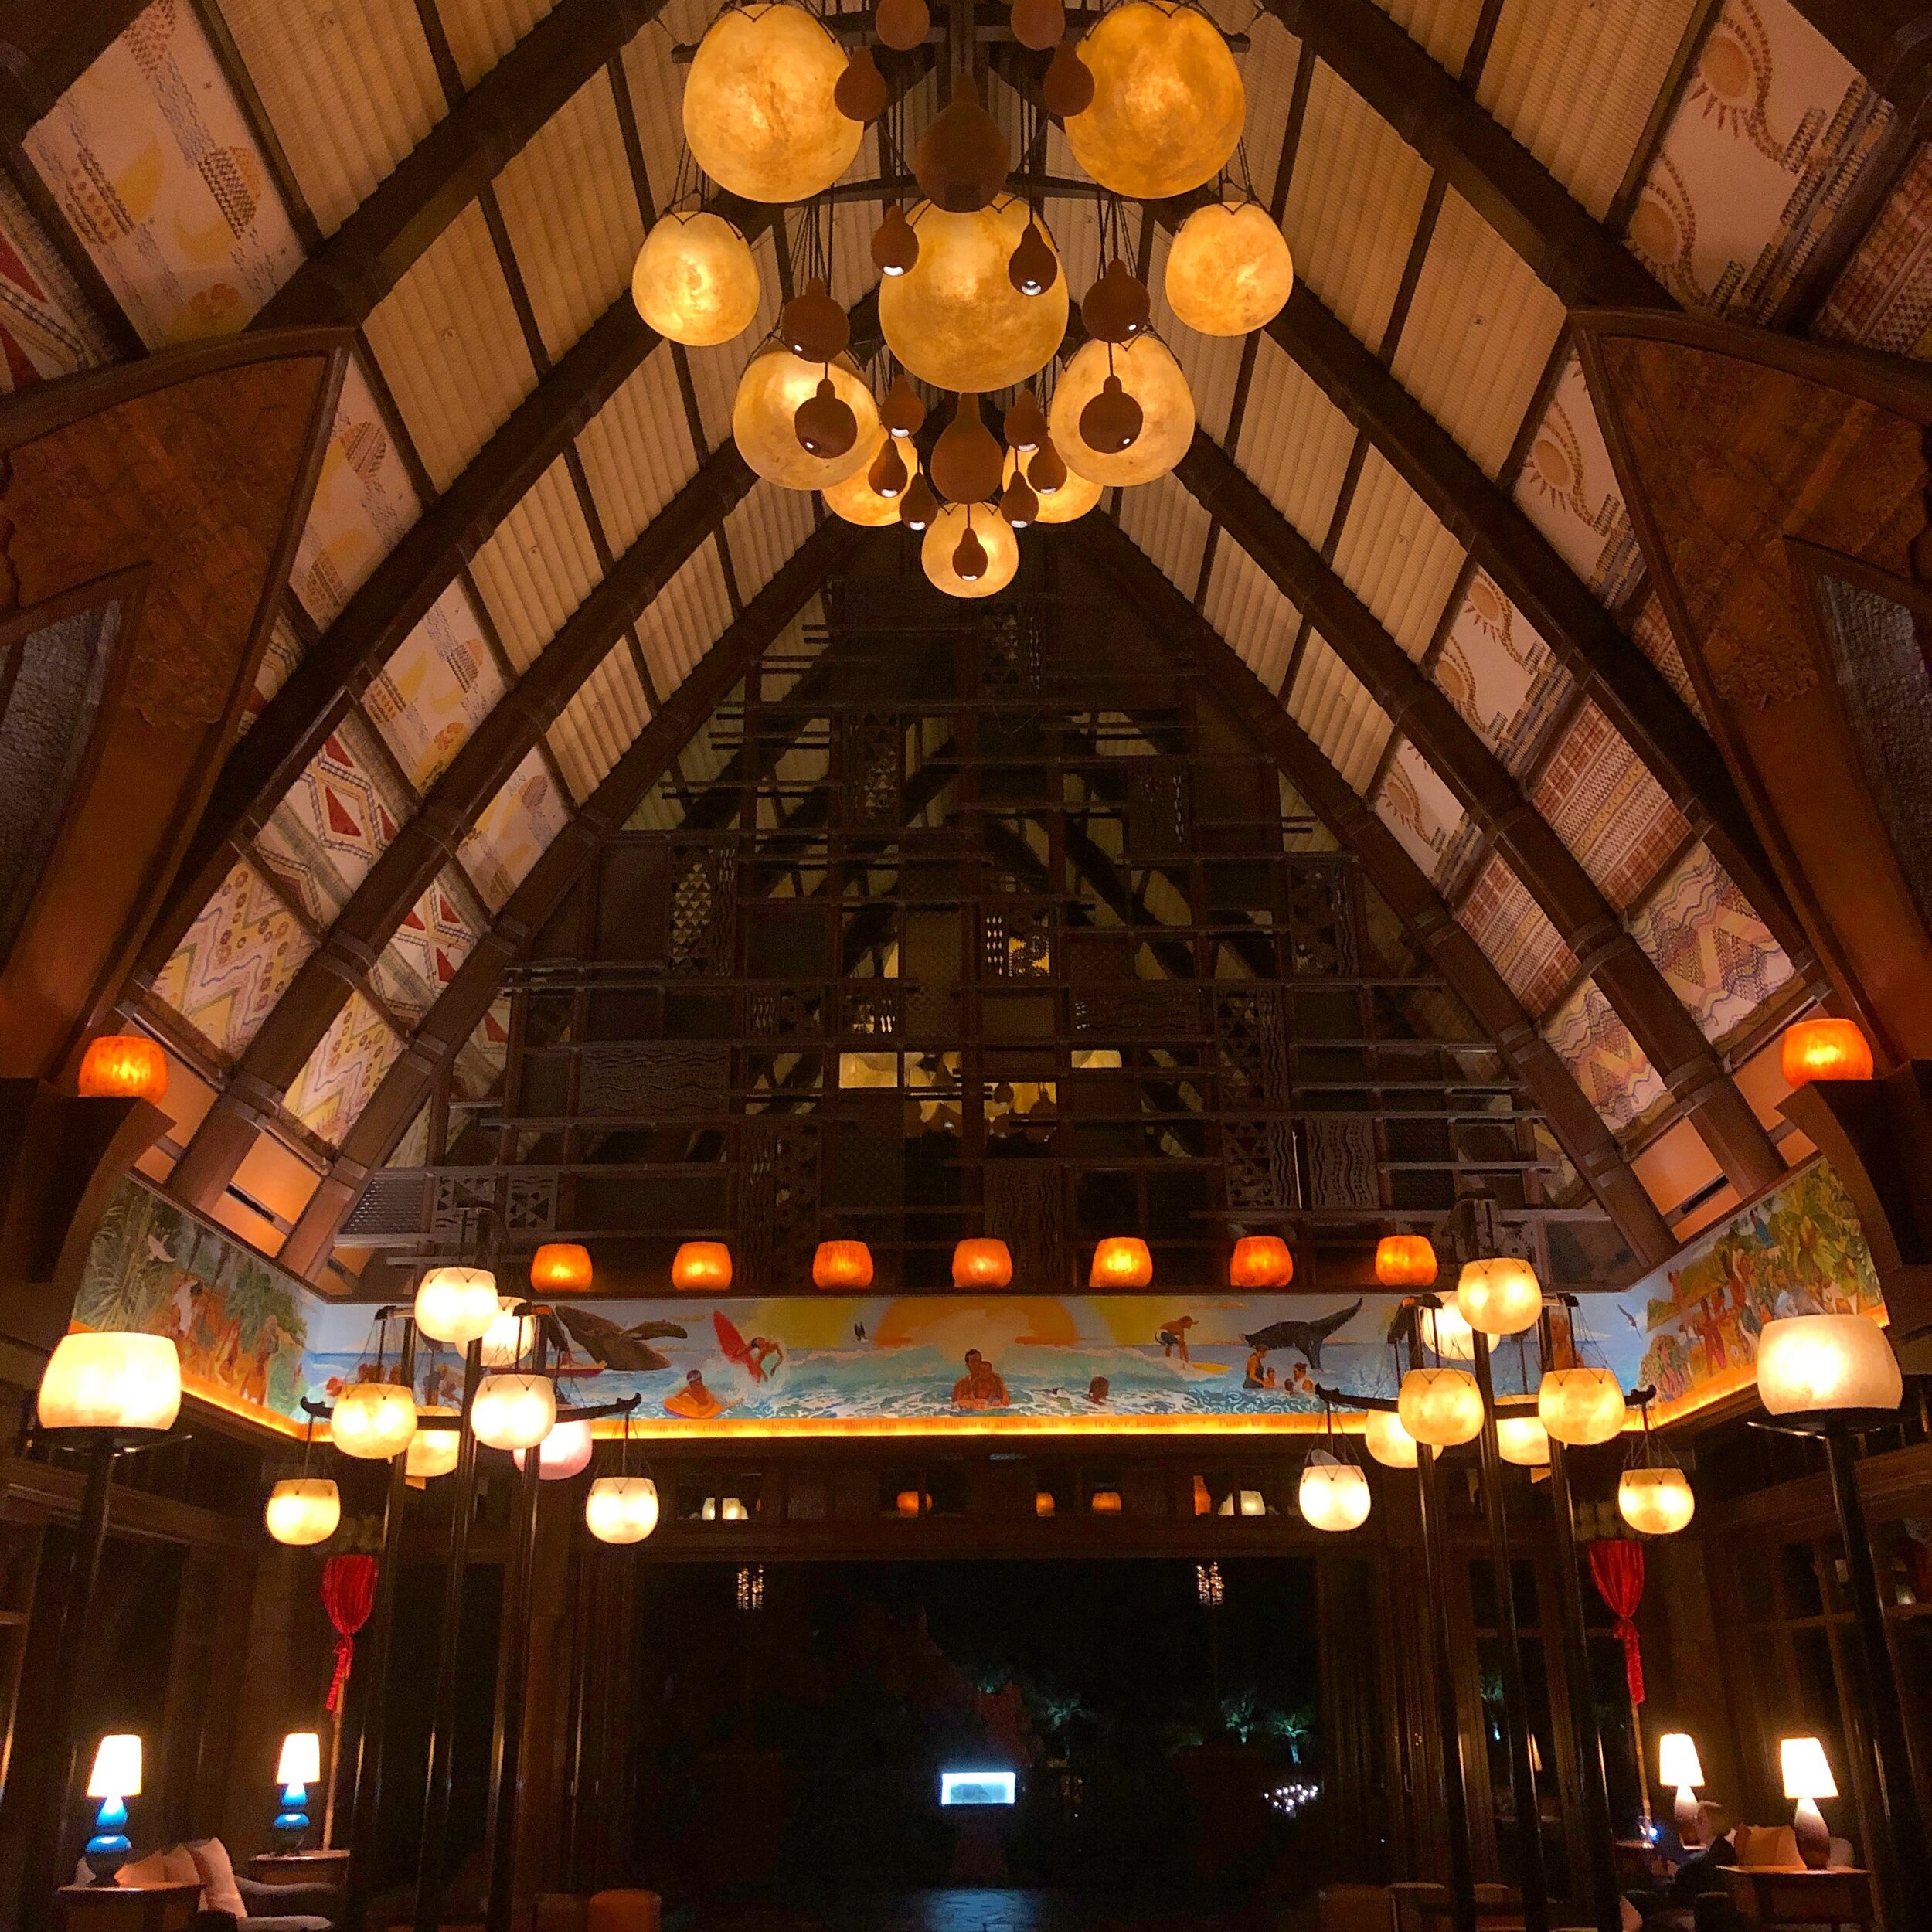
This wouldn’t be just an A-frame shelter though. Instead, a tropical retreat that is reflective of my connection to Hawaii and the many trips that have inspired me. From the outrigger deck beams and double A-frame supports, to flooring that mimics tropical ipe, we added architectural touches that honor both traditional and mid-century architecture on the islands.
As you read along, look for some of the island patterns, textures, shapes, colors, and materials that inspired us in the design of this unique retreat.


Getting our swerve on
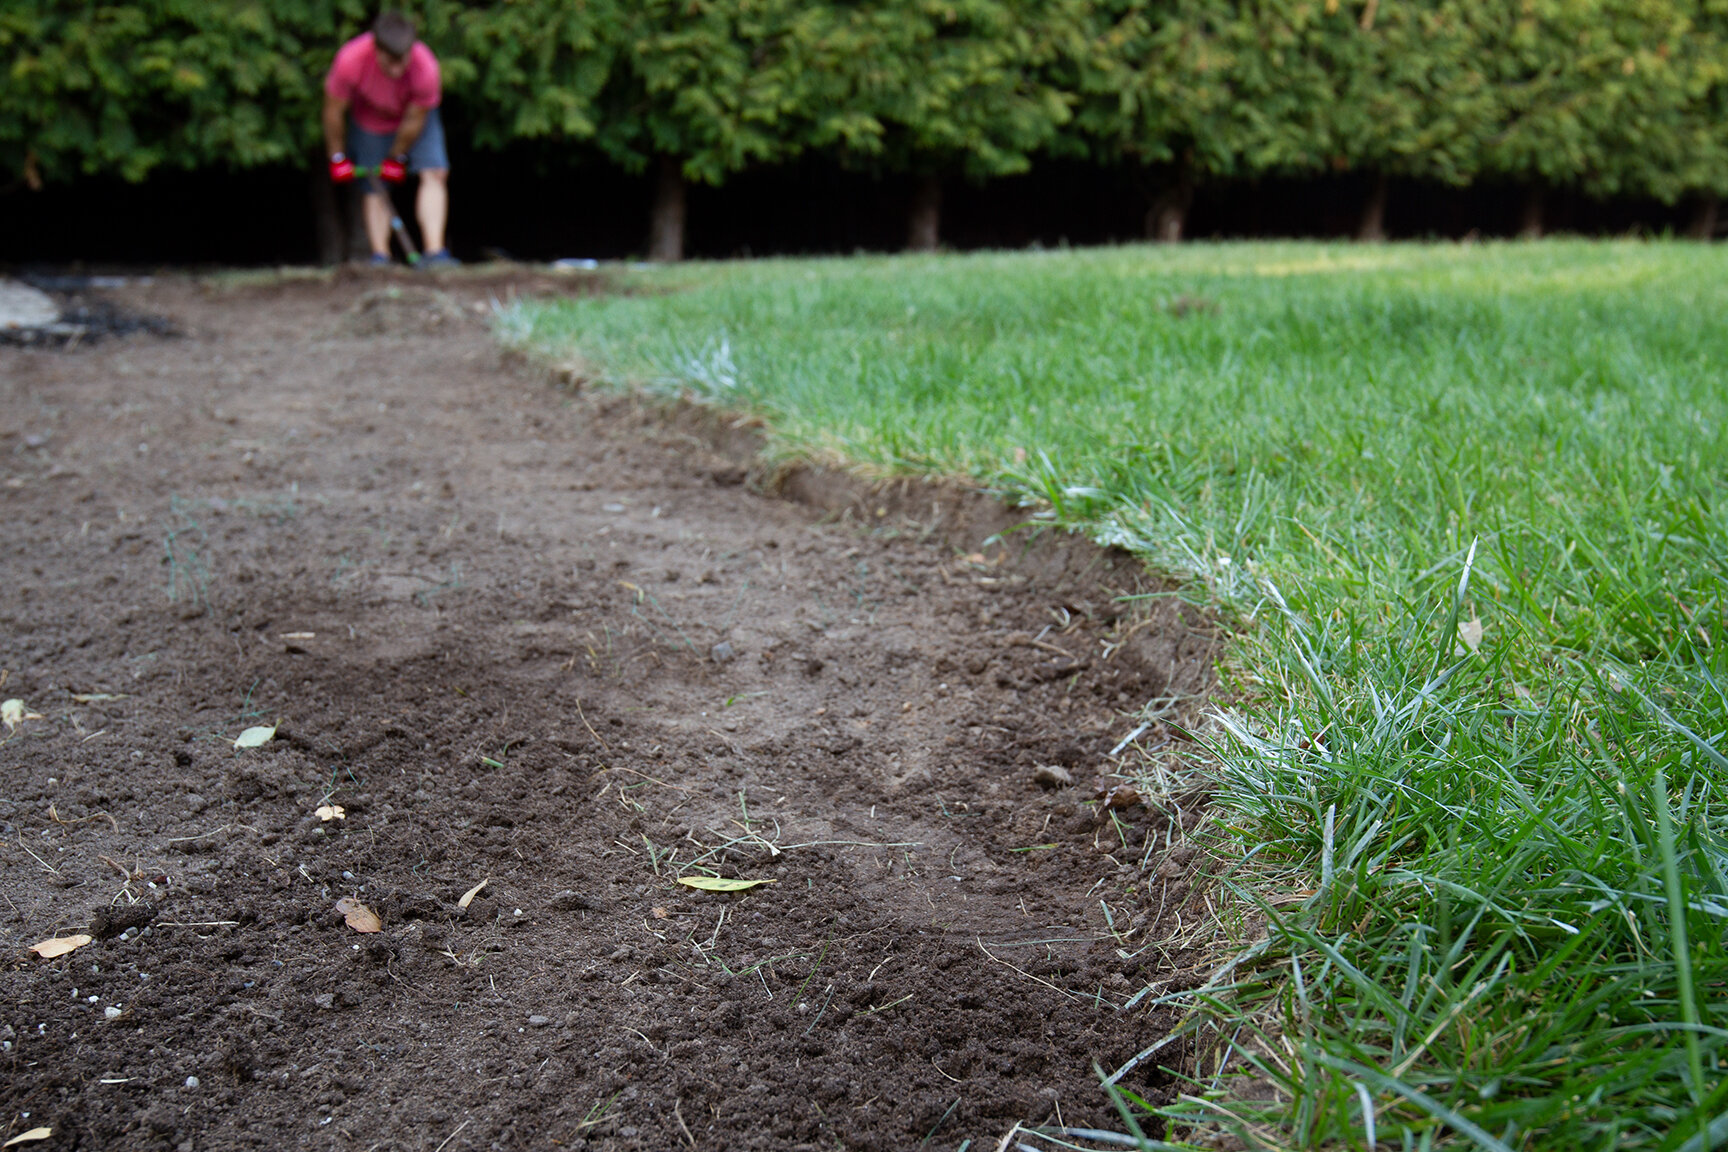
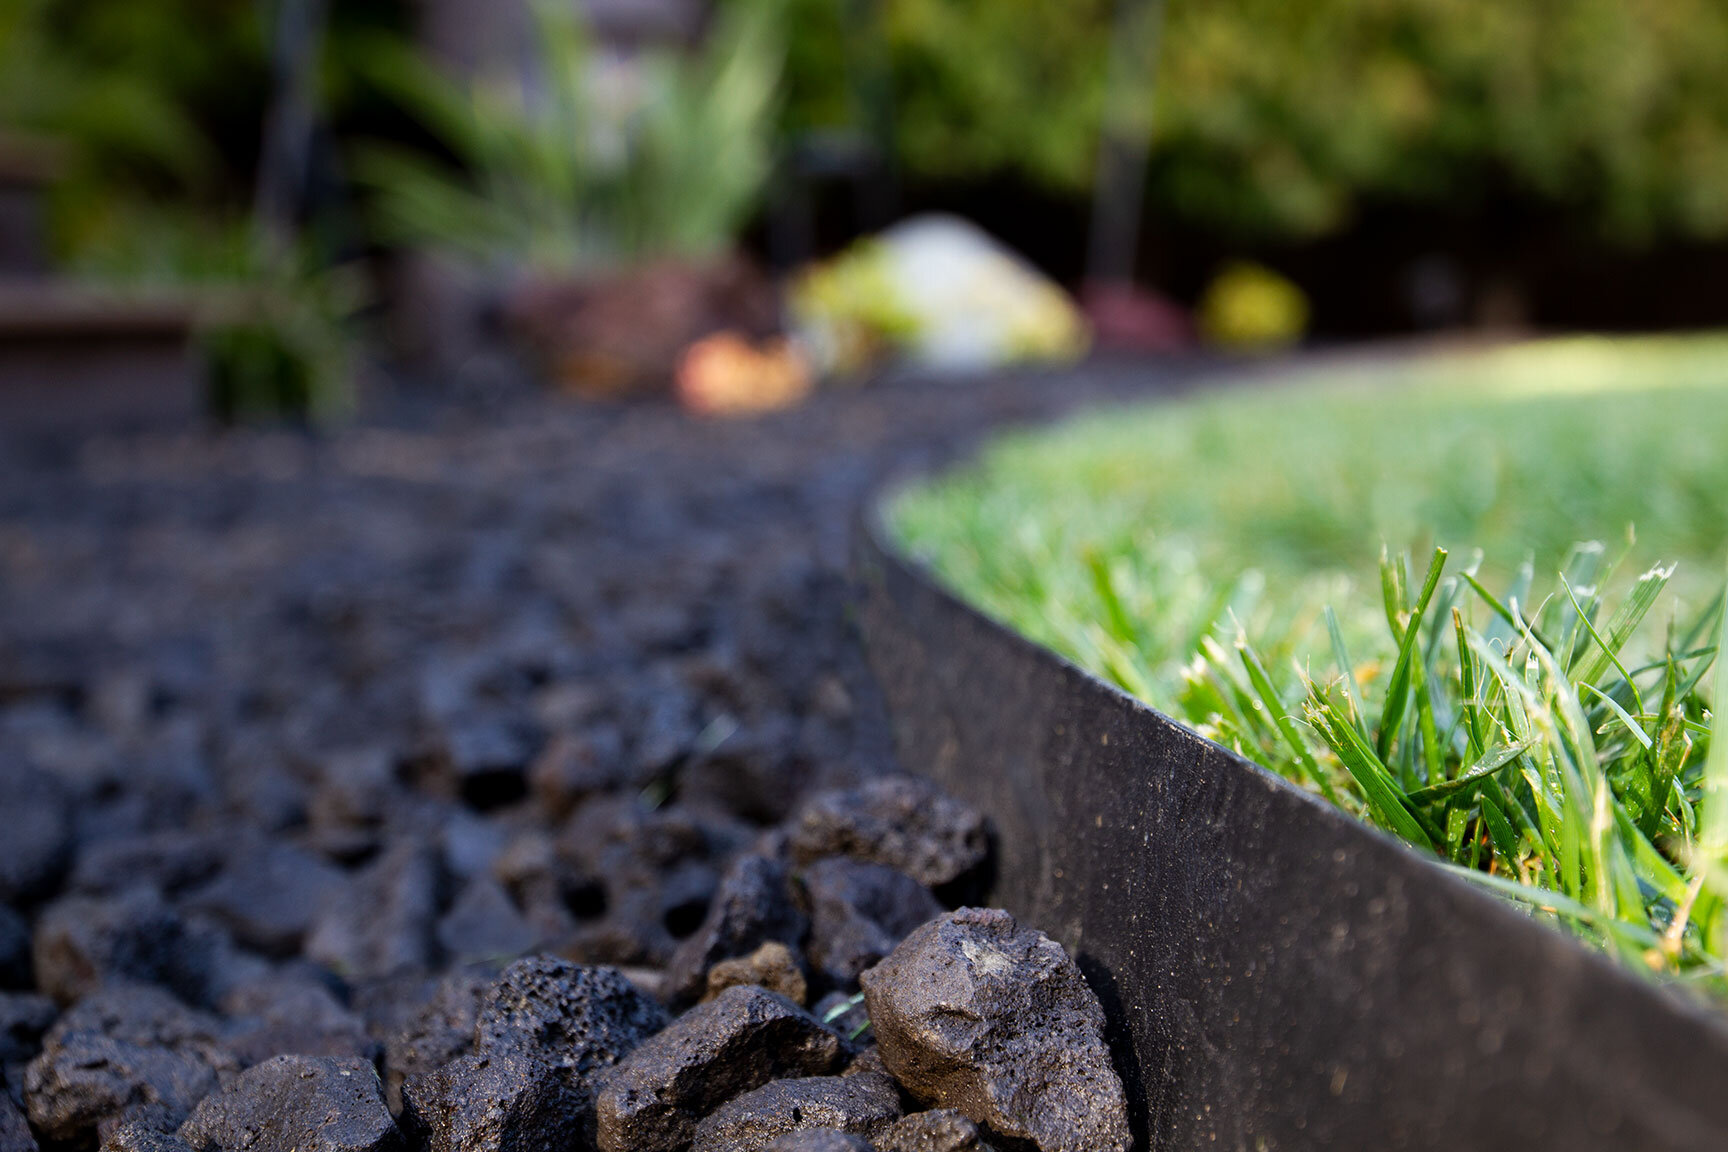
Up until now, the backyard has been a series of lines and rectangles. While I do enjoy those clean, geometric shapes, I found that my space needed a few curves to better incorporate a softer, tropical feel. We used an extension cord to define the landscape area surrounding the hale. Once the shape was determined, we used spray paint to mark the line, and began cutting out the sod. Removing this material was a big job, but that’s been a constant theme throughout the project. Once all the former grass area was cleared, we used powder coated steel landscape edging to define the perimeter of the bed and keep its future contents in place. I really like this brand of edging because it is flexible, durable, and easy to install. Heavy duty weed blocking fabric was staked into the ground to keep those pesky weeds from popping up, too. Never skimp on quality weed blocker. Buy the very best performance, and do the job once. I also sprayed the area with a grass and weed killer for added protection into the future.
Living Things
Arguably the most important element to make the backyard feel tropical — plants! I spent a long time browsing a variety of trees, shrubs, flowers, and succulents before making decisions on what to include around the hale. While I had a long wishlist of items to include, it really came down to working within the USDA Plant Hardiness Zone Map. Here in northern California, we are zone 9b. If you’re wondering what zone you are in, be sure to check out the map, and type in your zip code. Knowing your zone means you’ll be able to identify which plants will do best in your landscape plan, making buying and planning a little easier along the way.

“When choosing plants, always be mindful of scale.”
I chose a few pygmy date palms to flank the sides of the structure for their gentle swaying fronds and vibrant green color. The clusters of textured trunks bring a sense of playfulness, too. I selected more mature trees for this area so they better fill in the space and create a backdrop for surrounding plants. They will slowly grow to around 6 to 10 feet high, but this 3’ size gives substantial coverage to the landscape. When choosing plants, always be mindful of scale. While it’s ok to start small and watch your plants grow, I often recommend spending a little more on a few mature trees or shrubs to get a jump start on the plan. As a result, the space looks more established, making it easier to know where to place additional features and smaller items.
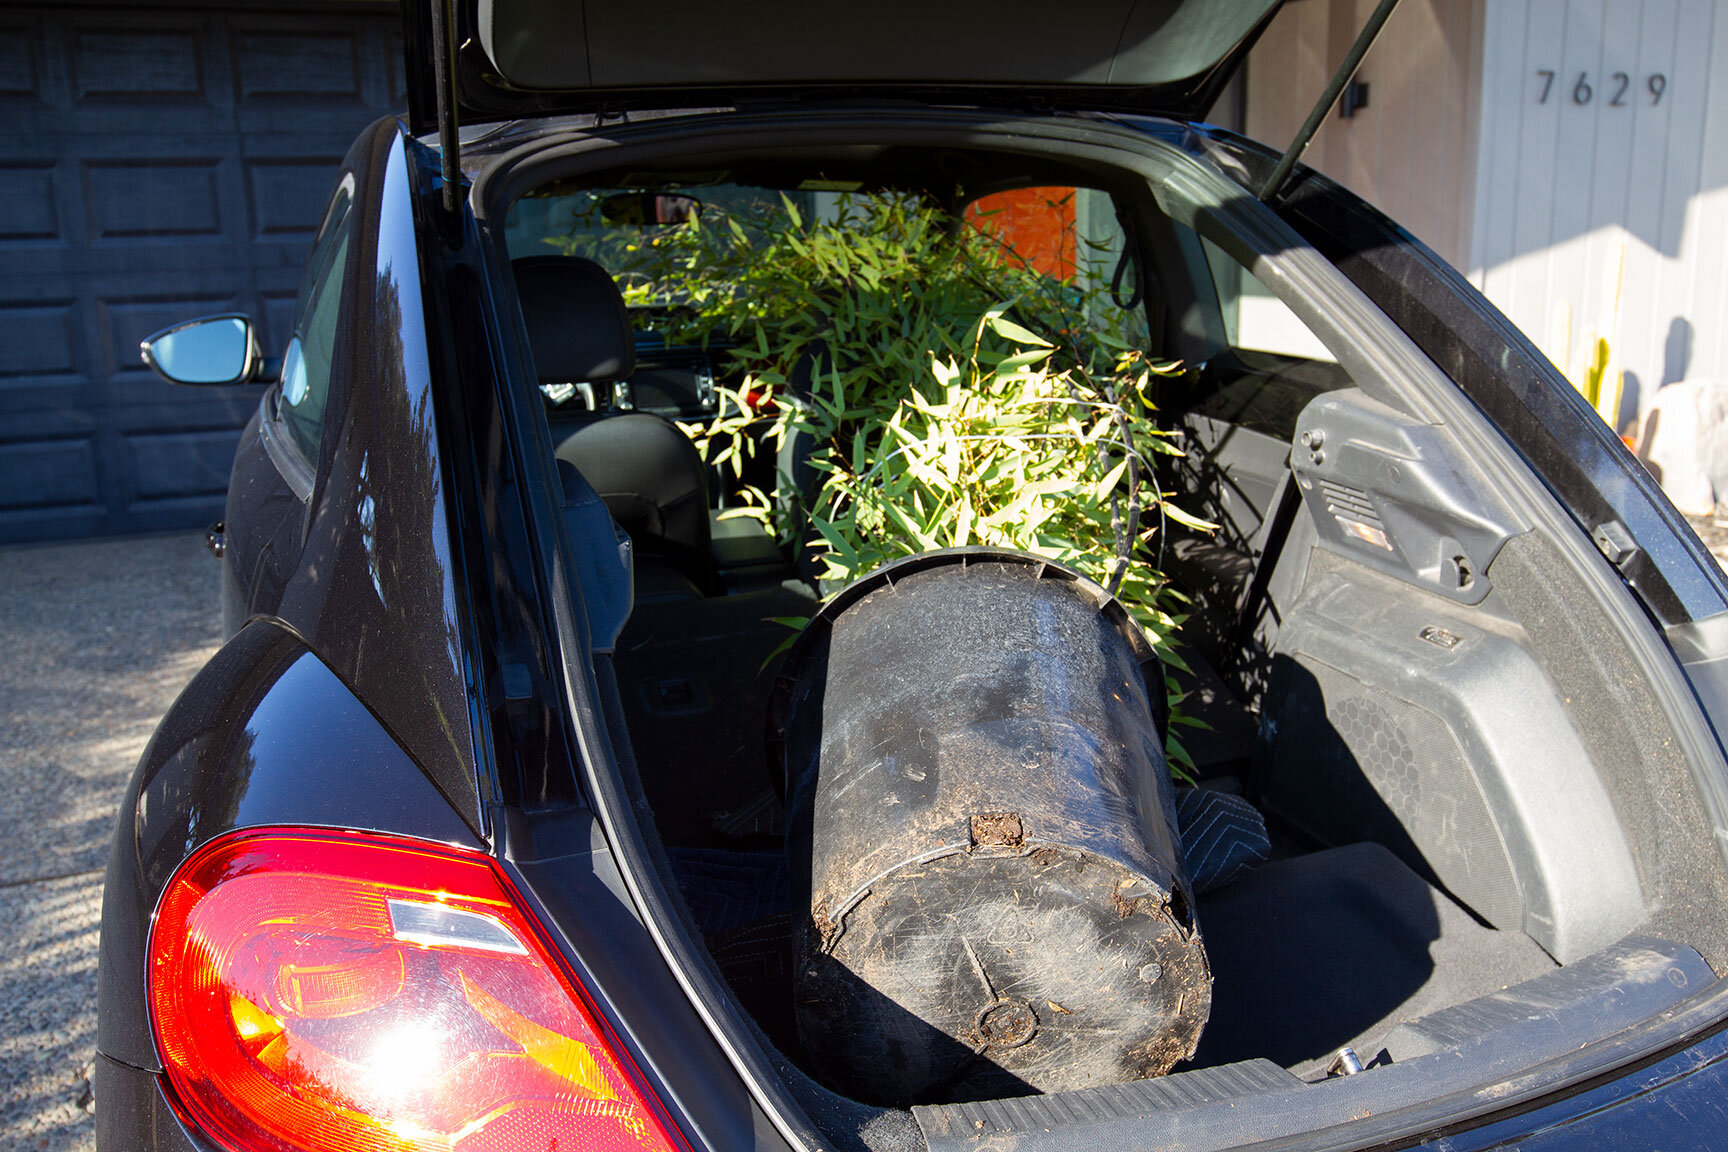
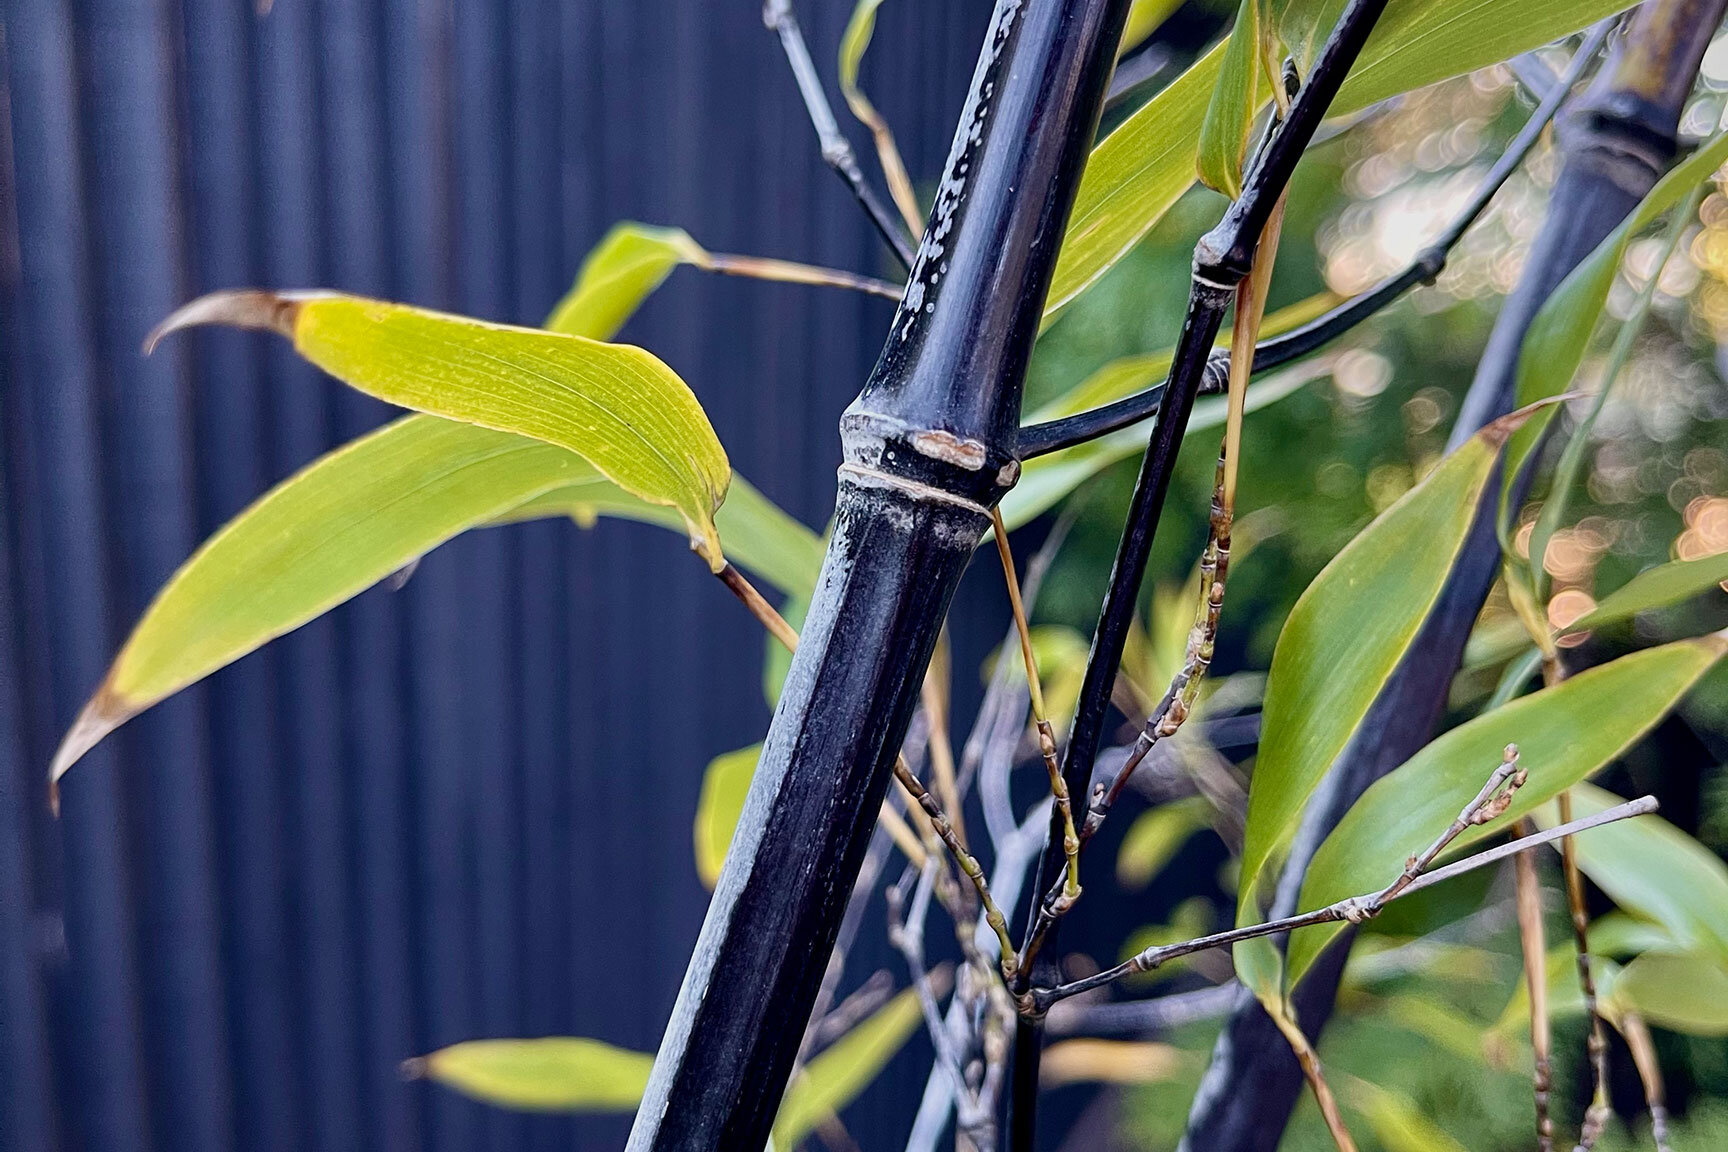
Another example of proper scale is a 12-foot black bamboo I purchased for the back of the hale. Nursery workers laughed, and customers gathered when I wheeled this monster tree out to my Volkswagen Beetle in the parking lot. “You’re going to put that in there? I don’t think so.”, they said with their arms crossed. As I opened up the hatch, put down my windows, and maneuvered the massive container through the passenger door and into the trunk, I heard a lot of naysayers doubting my every move. Nonetheless, I persisted, got the tree into the car with branches stretched across the dash, closed the lid, and left those doubters in the dust.
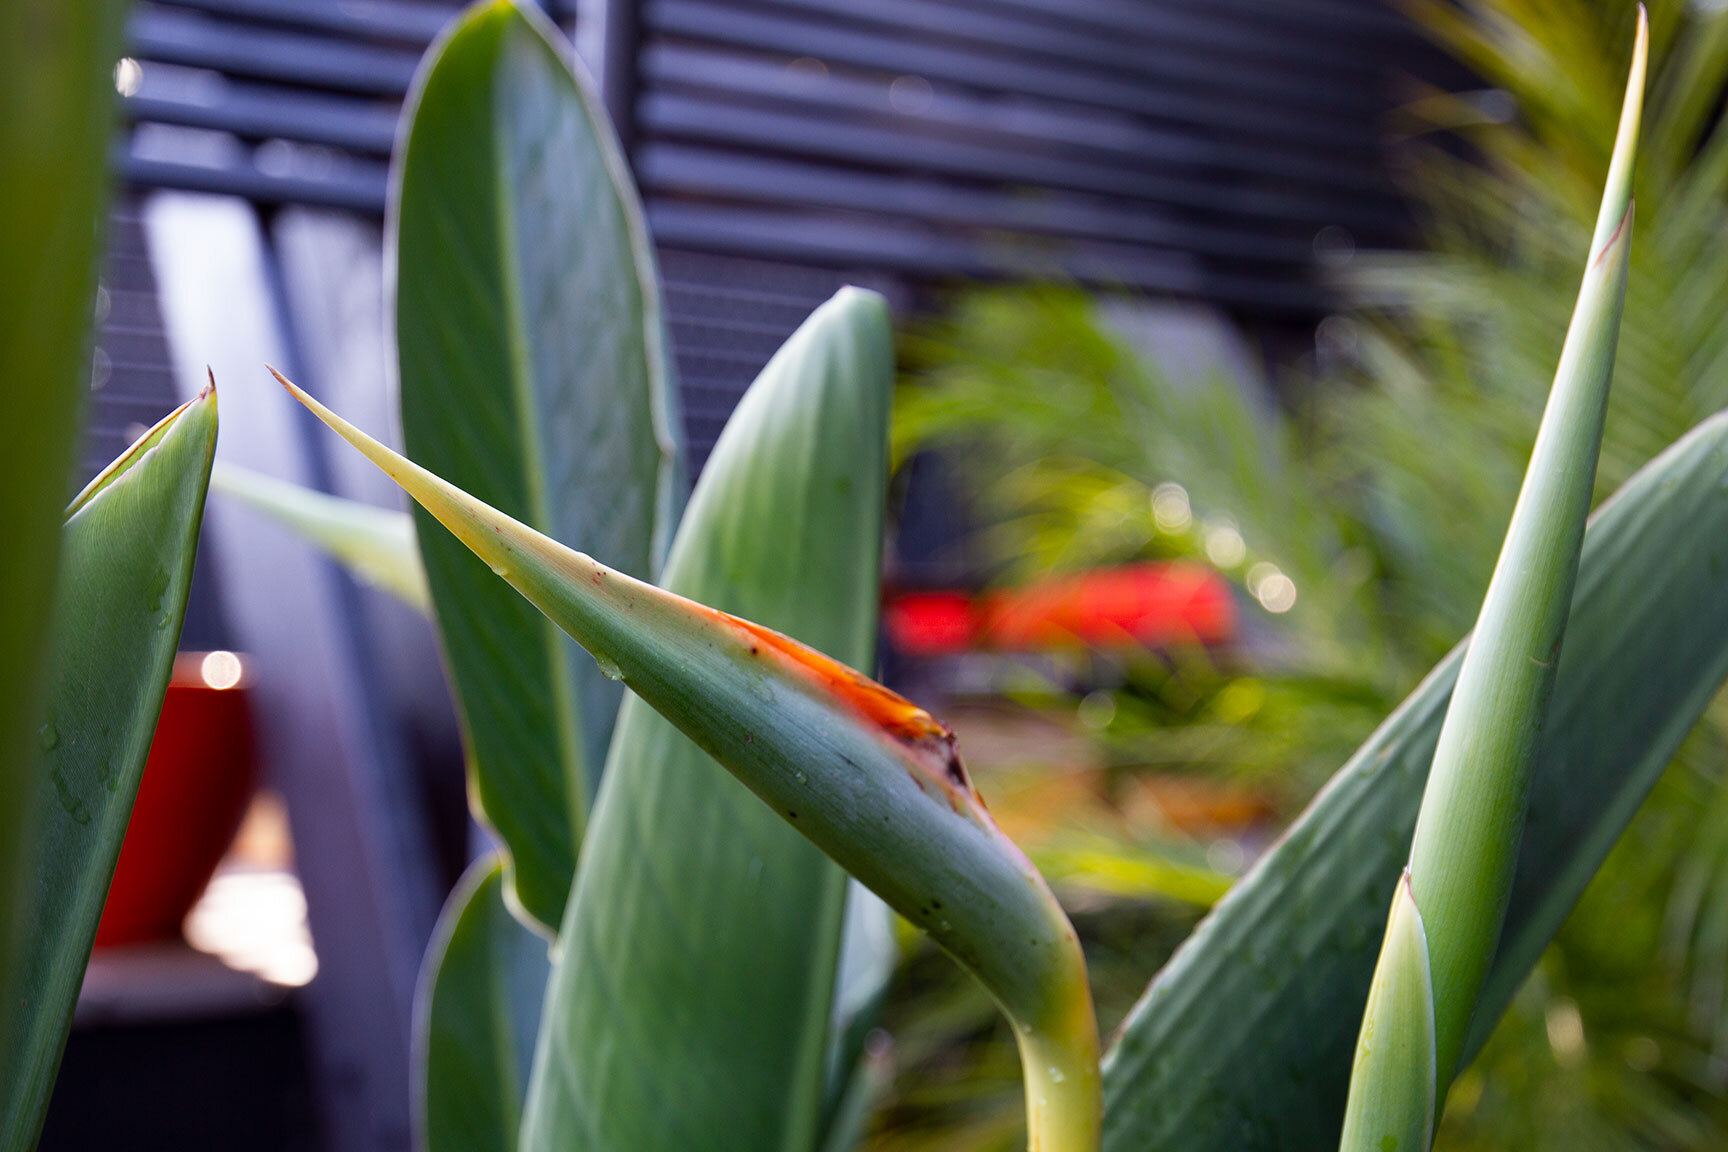
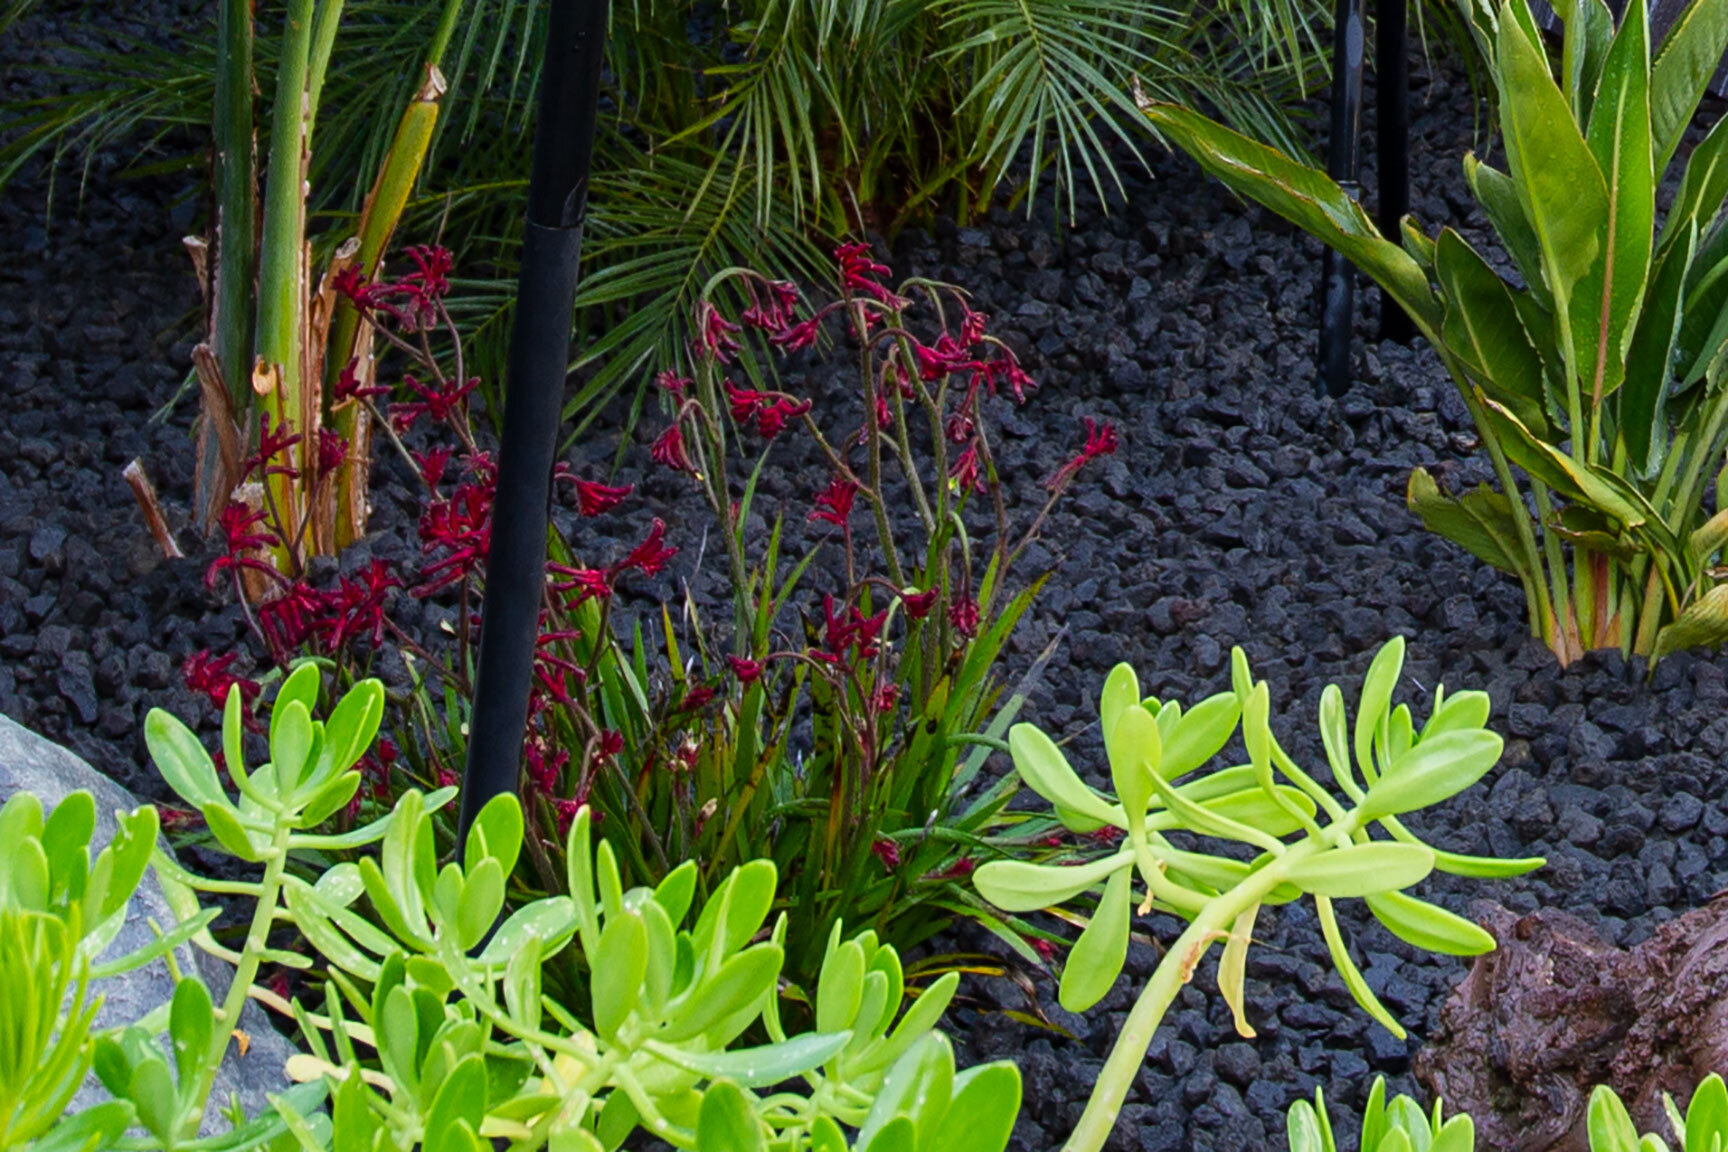
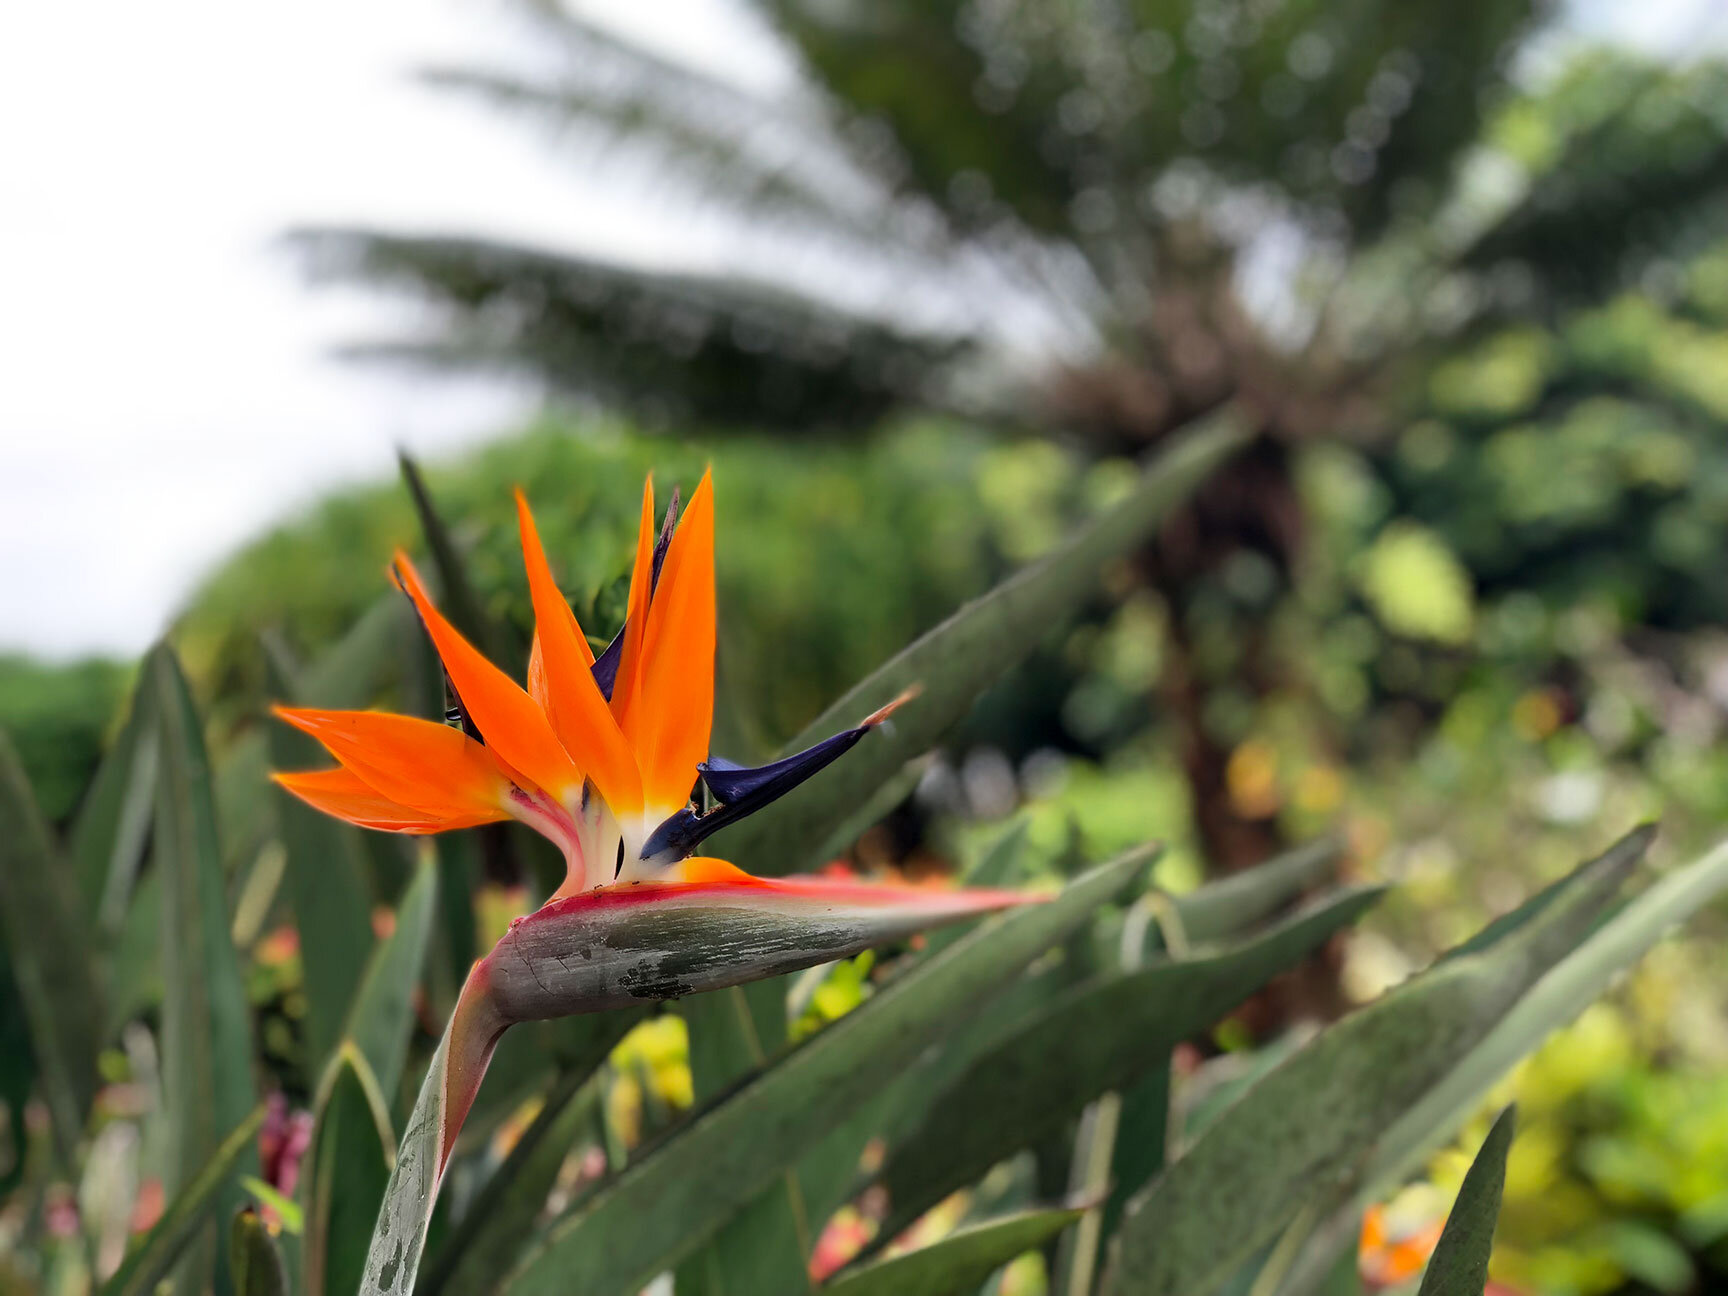
For color and shape, I chose bird of paradise in both orange and white. These tropical icons add elegance to the garden with their sculptural leaves and flowers. They are just starting to bloom in the spring, and are full of life and vibrant hues.
I also incorporated kangaroo paws for a burst of color and rich texture. Deep burgundy, vibrant orange, and sunny yellow hues grace the tips of these fuzzy, finger-like blooms.
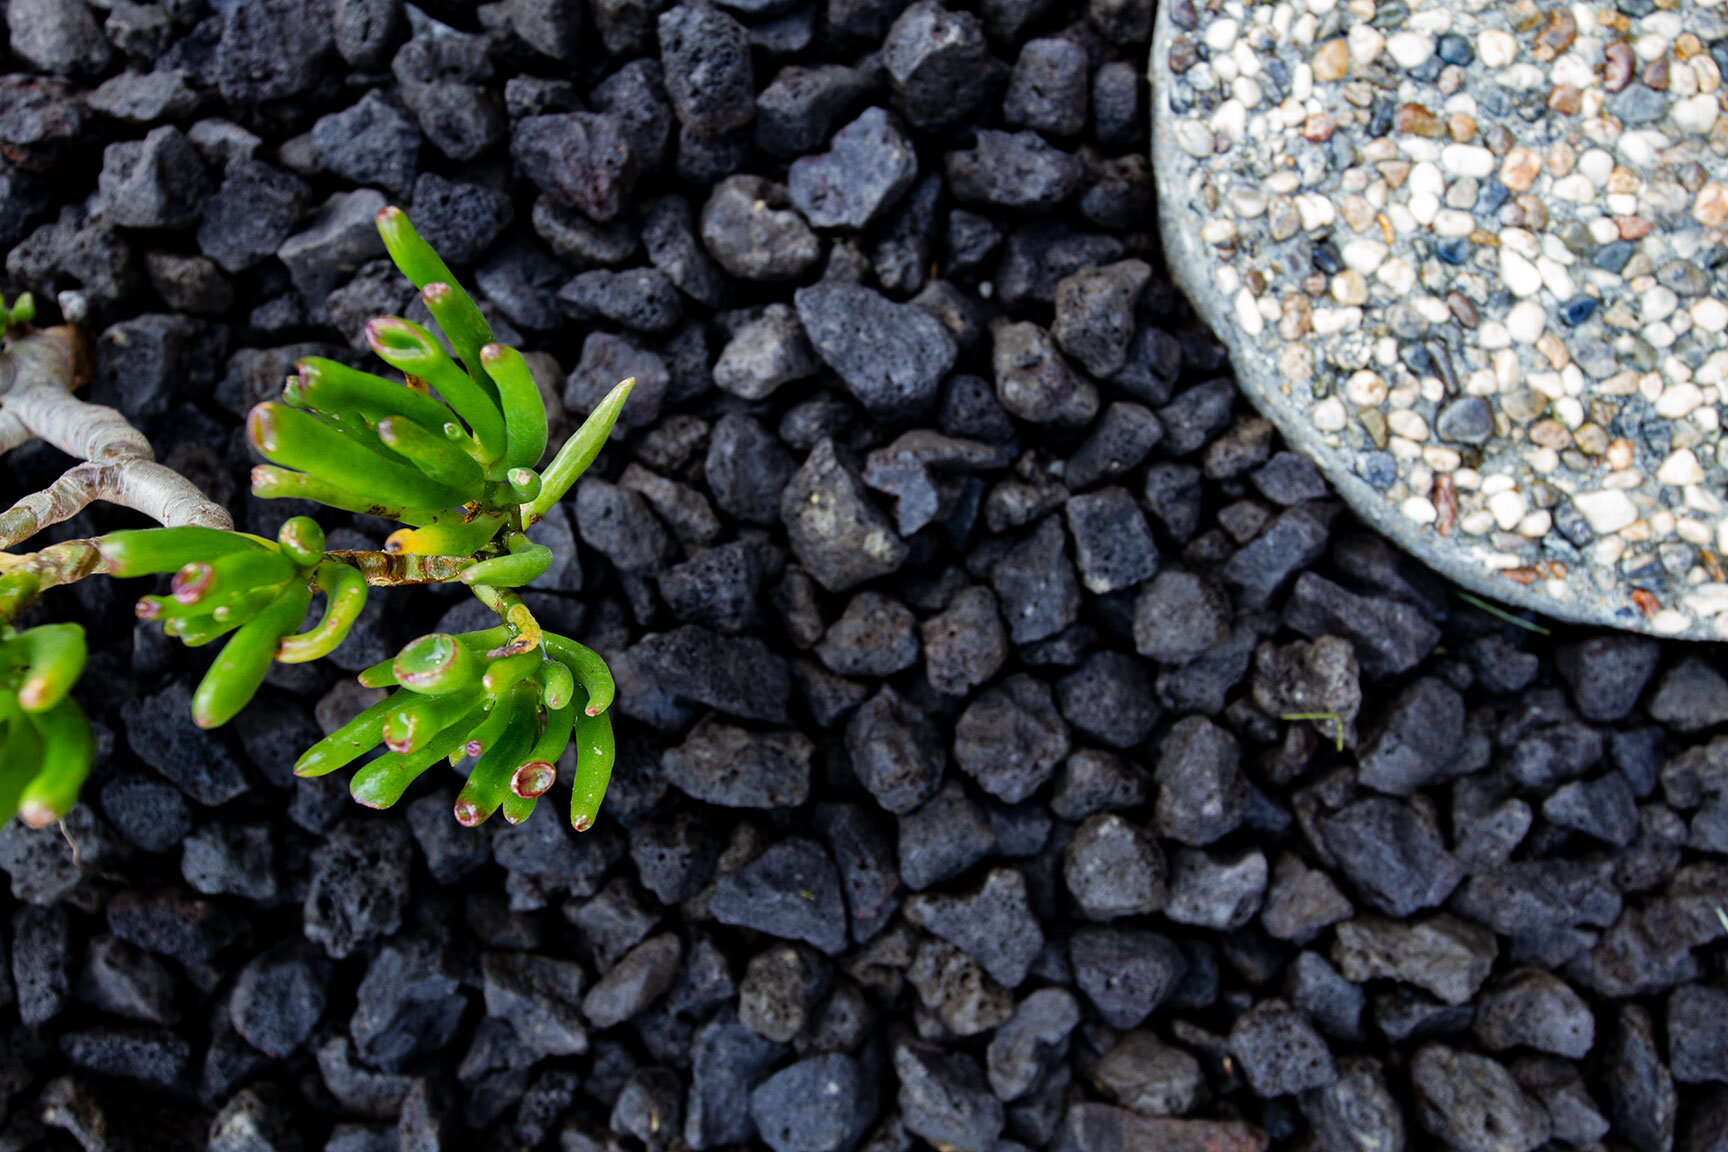
A variety of colorful succulents were also placed strategically to contrast and soften hard edges of the surrounding lava rocks.
Filling in
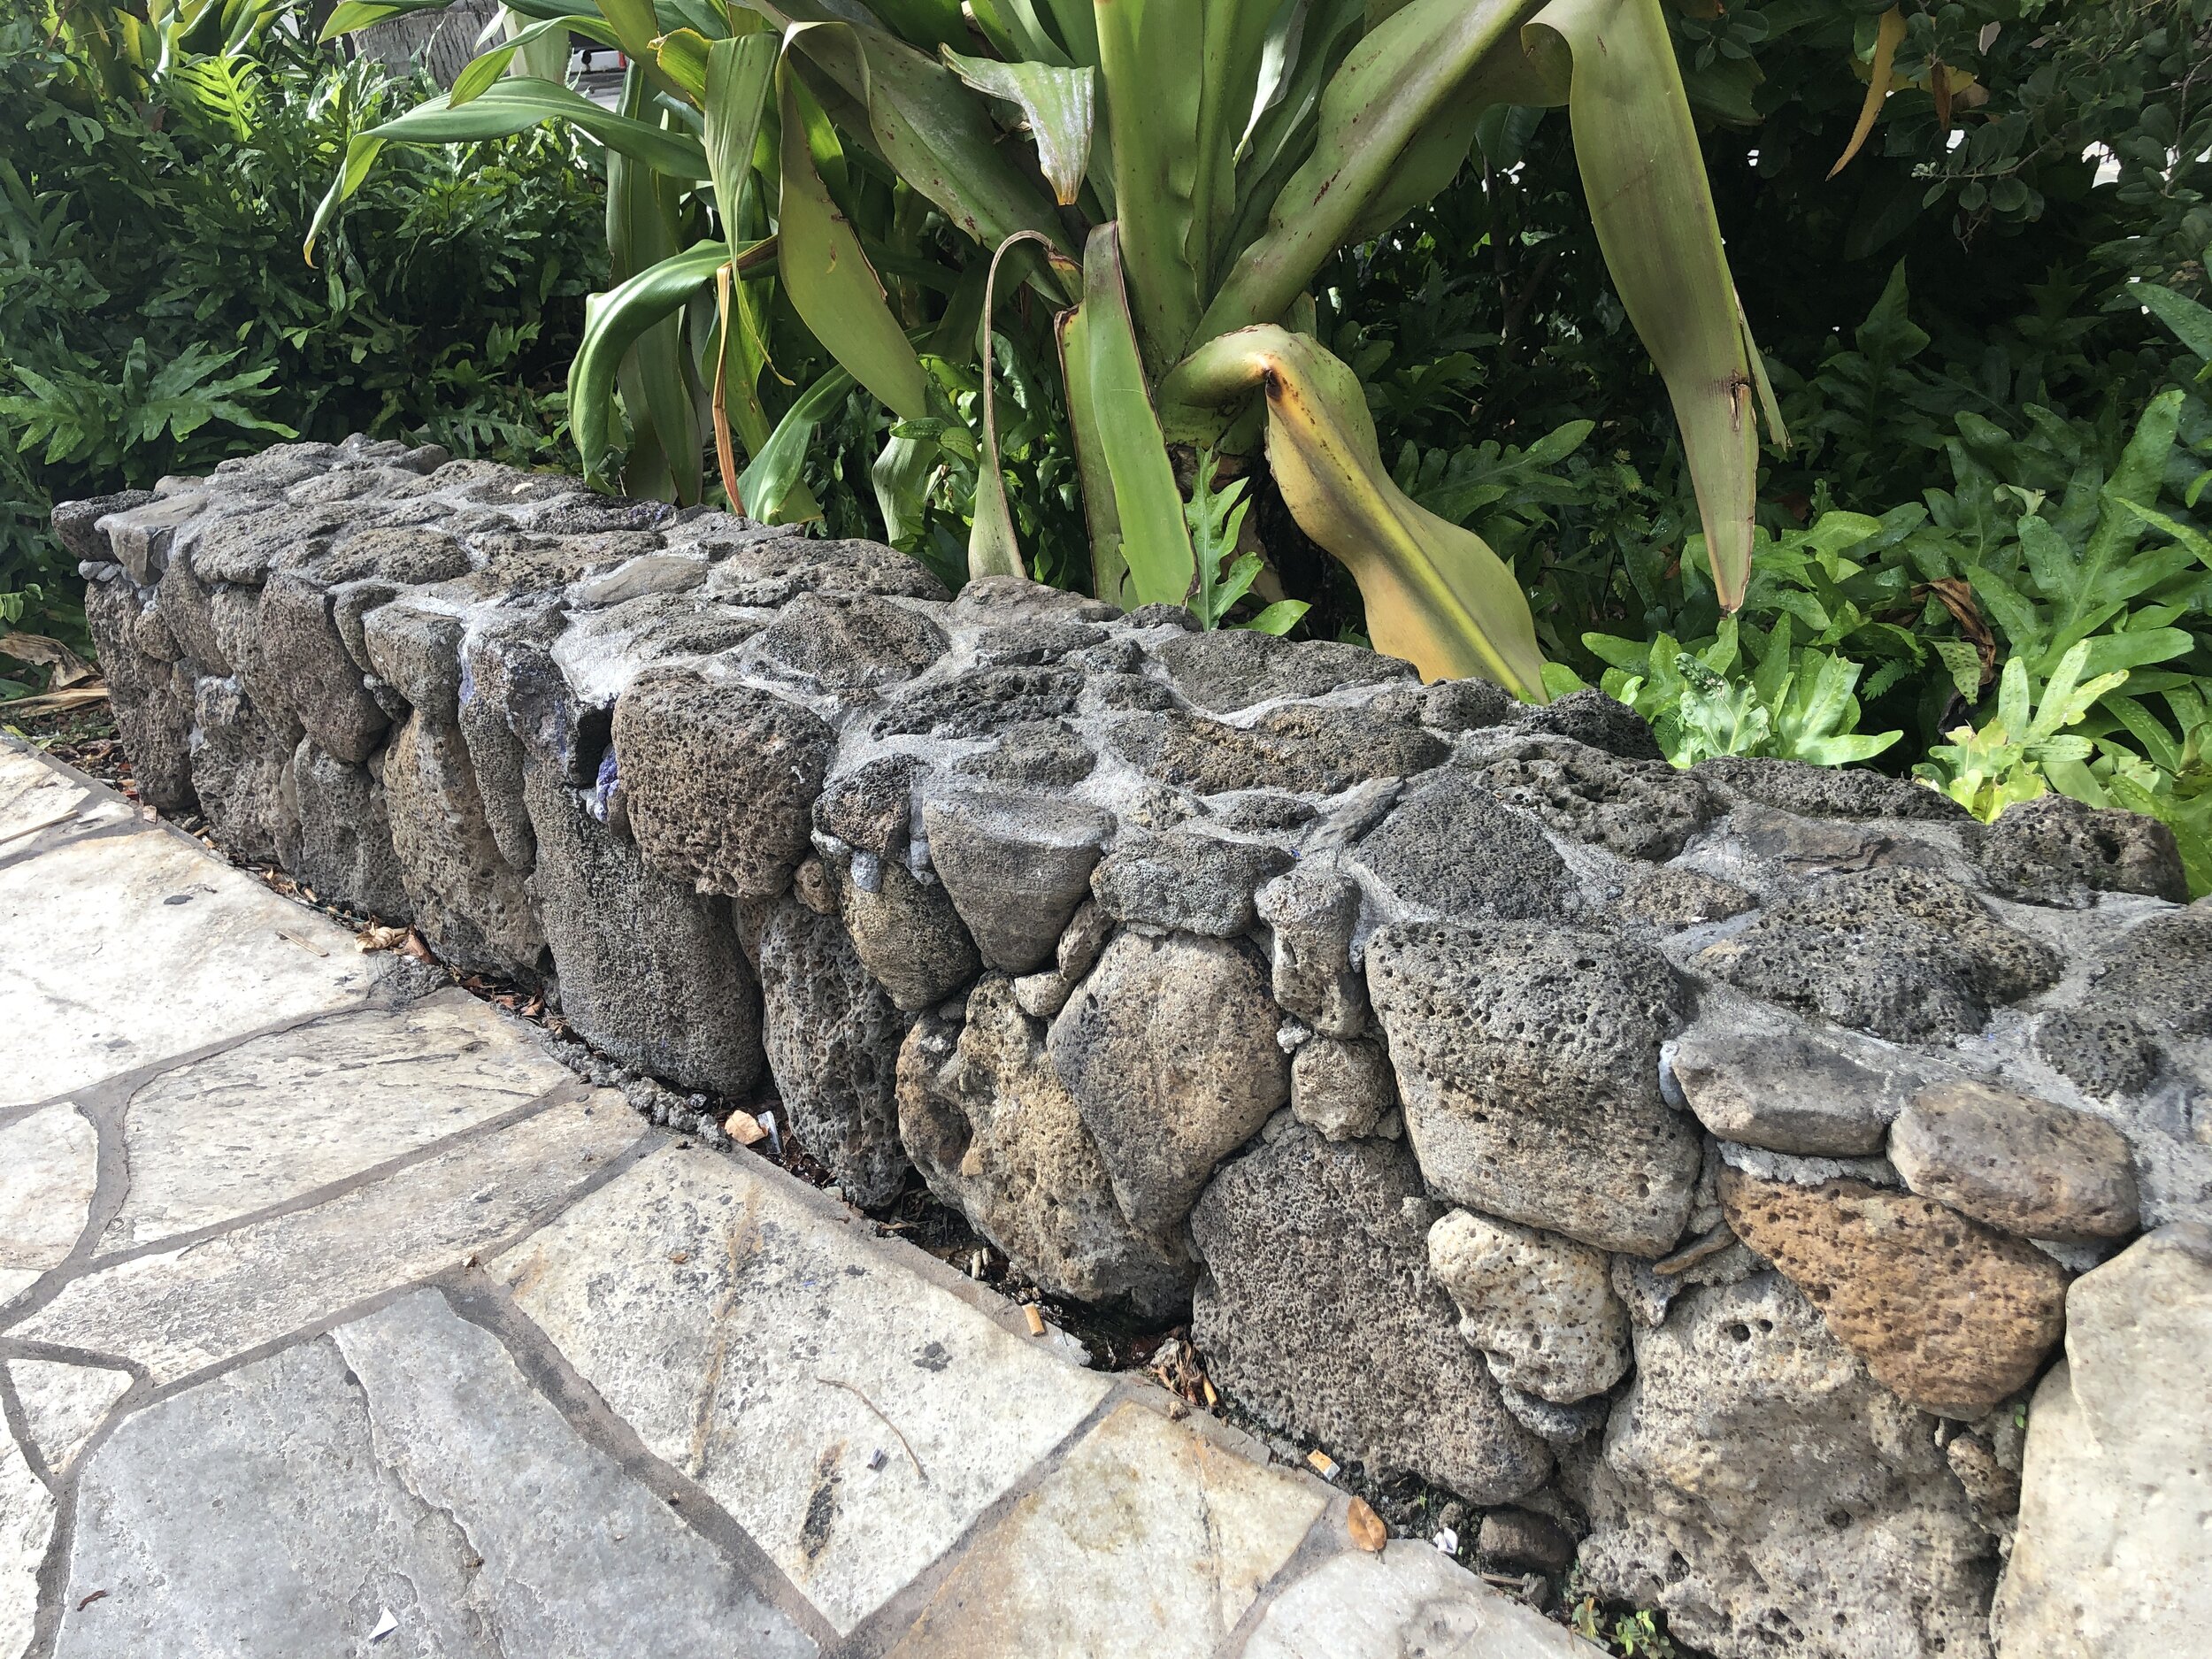
The space before had a variety of fine gravel and rocks. I had put this material in place for the Home Tour to cover up some unsightly, neglected landscaping beds. The fine gravel worked well for the time being, but I wanted to further incorporate Hawaiian elements, so lava rock was the way to go. I chose a 3/4” black lava rock to fill in the beds surrounding the hale — 8 cubic yards of it to be exact. The porous texture and matte charcoal color really make the plants stand out. When wet, the lava rock takes on a rich black tone, which is even more beautiful.
Larger red lava rocks and boulders occupy various areas of the garden bed for height, color, contrast, and texture. Just like plants, scale is so important here also. Don’t be afraid to incorporate a few bigger pieces.

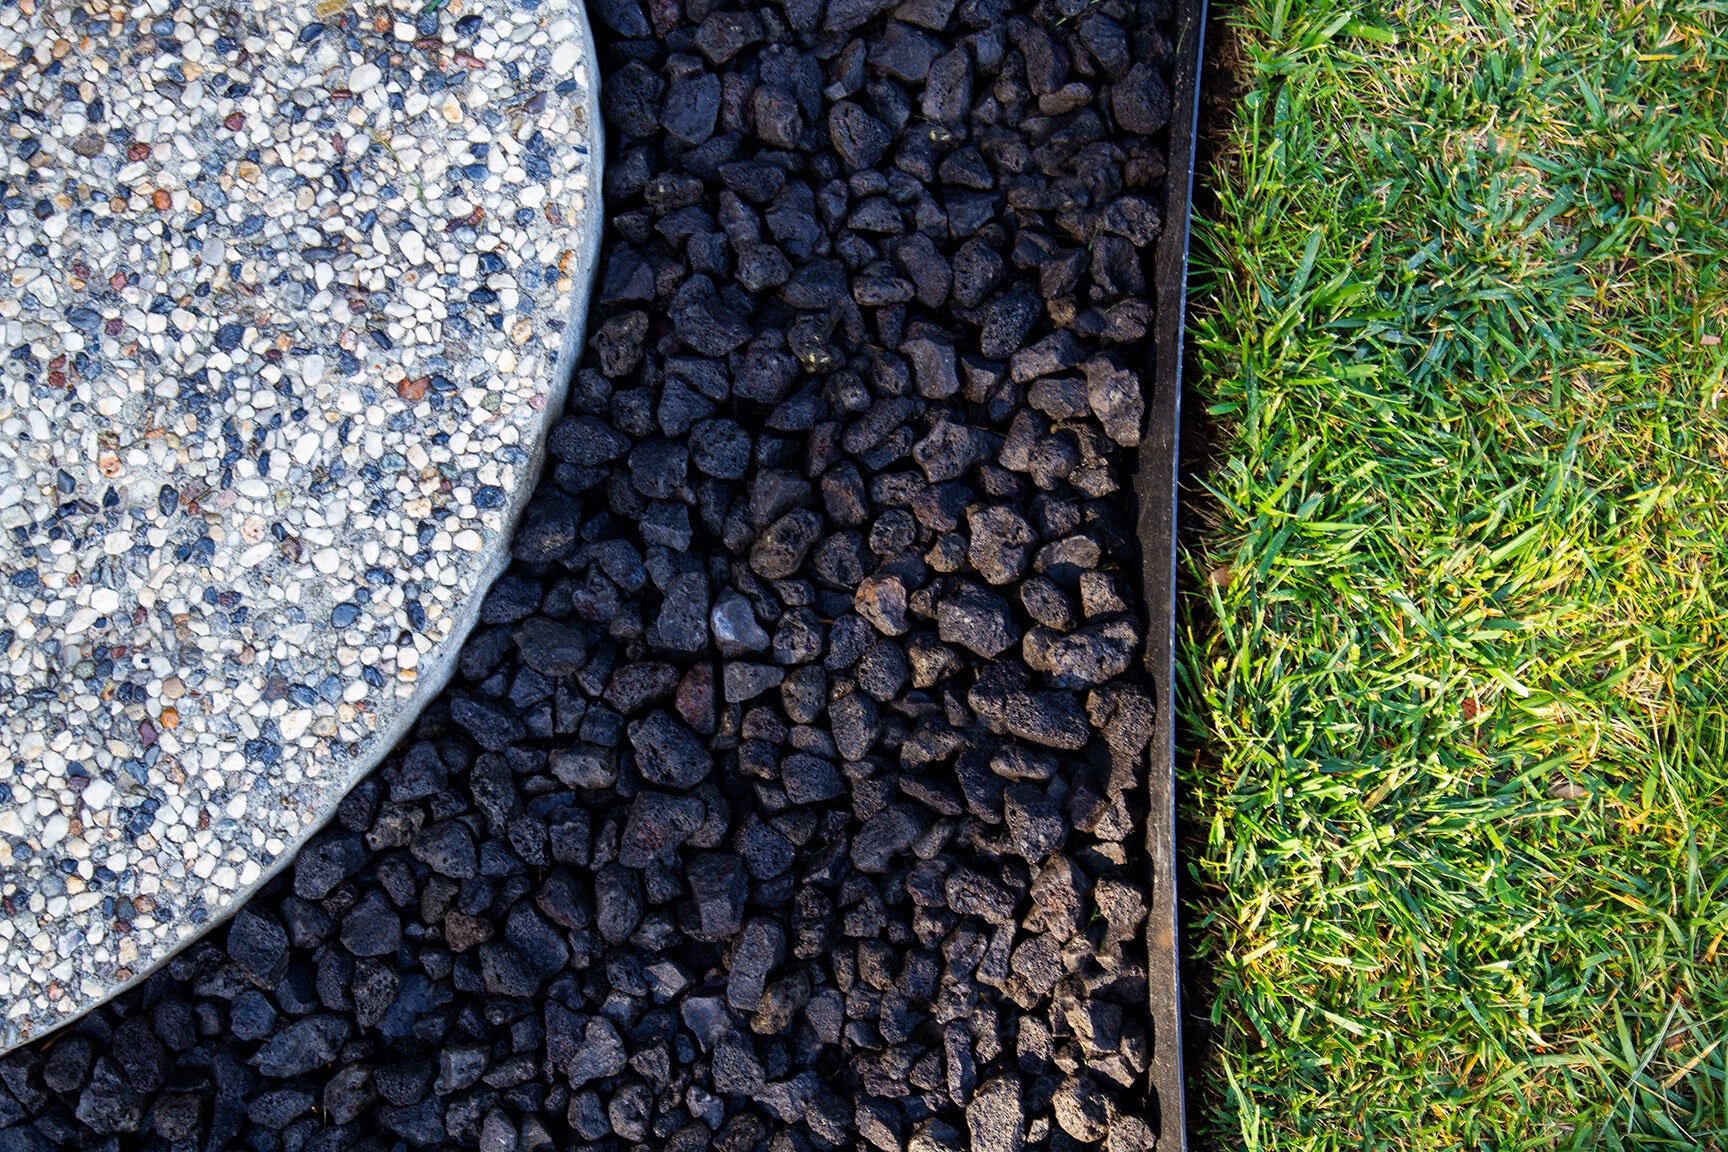

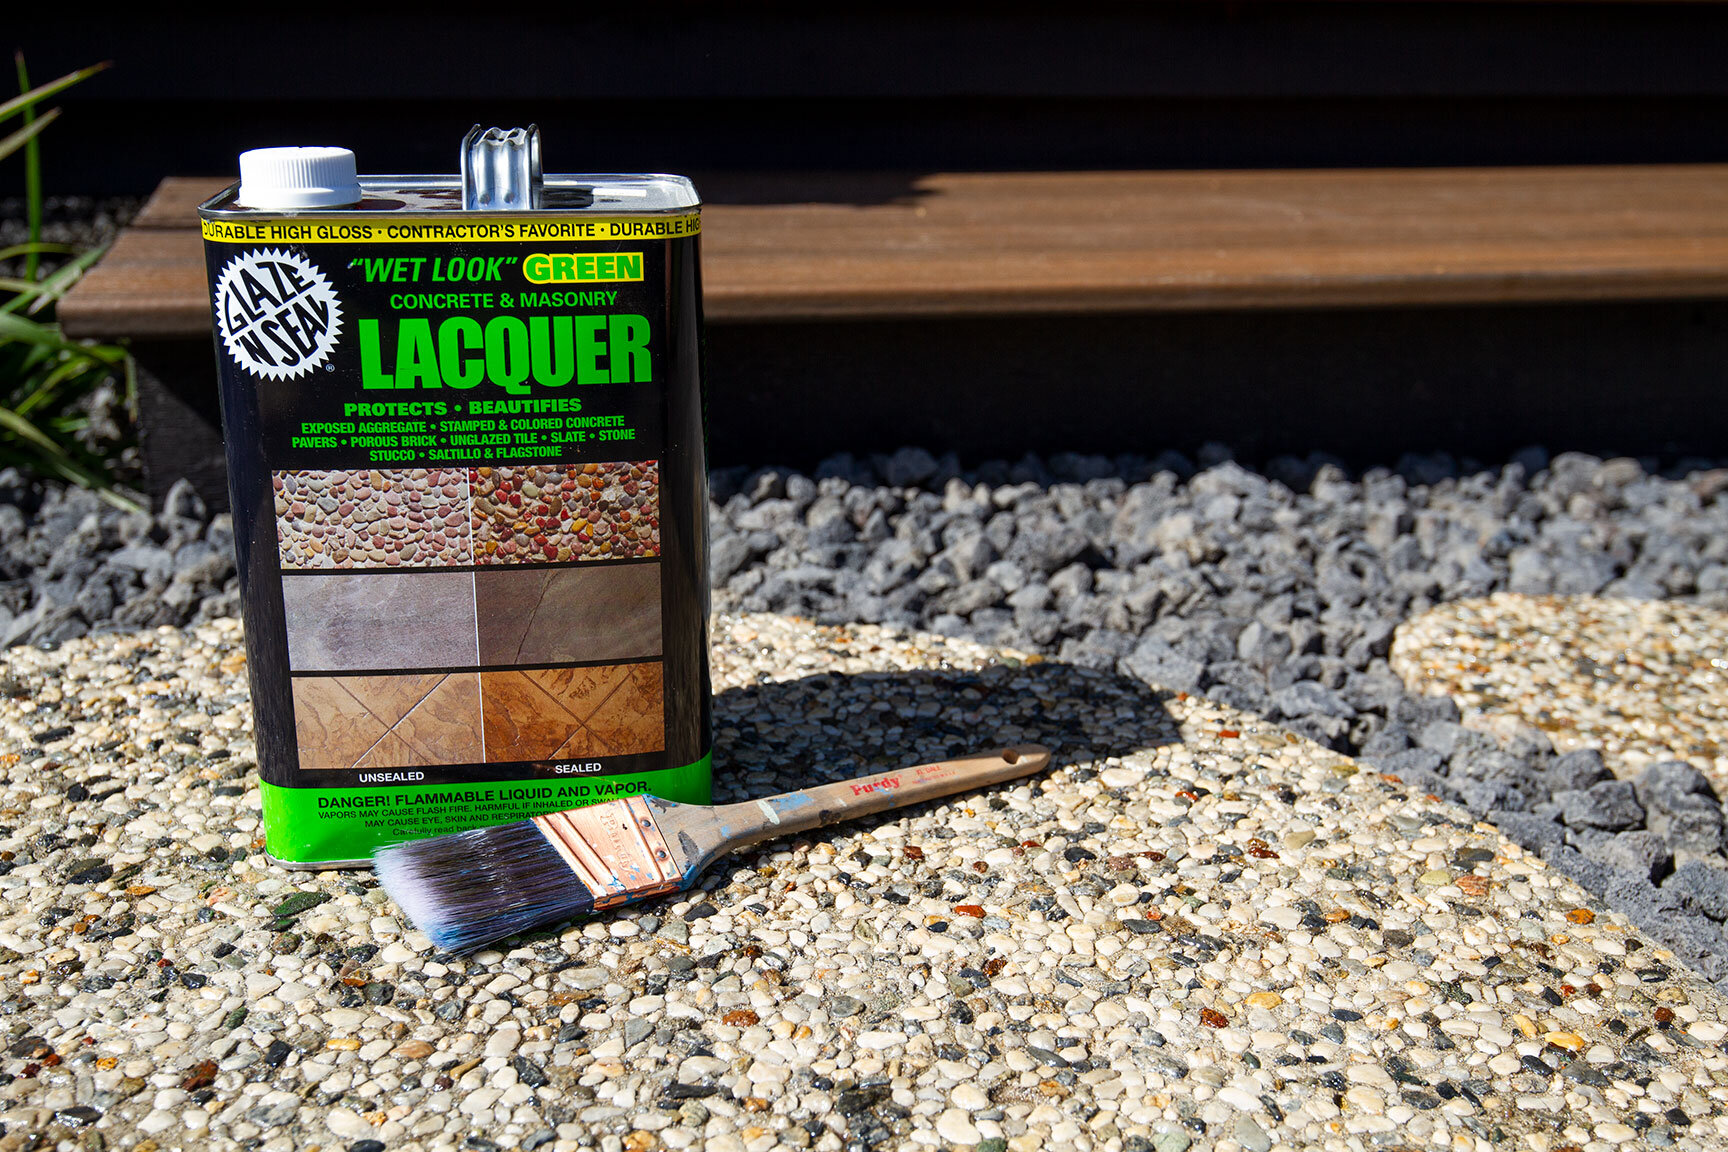
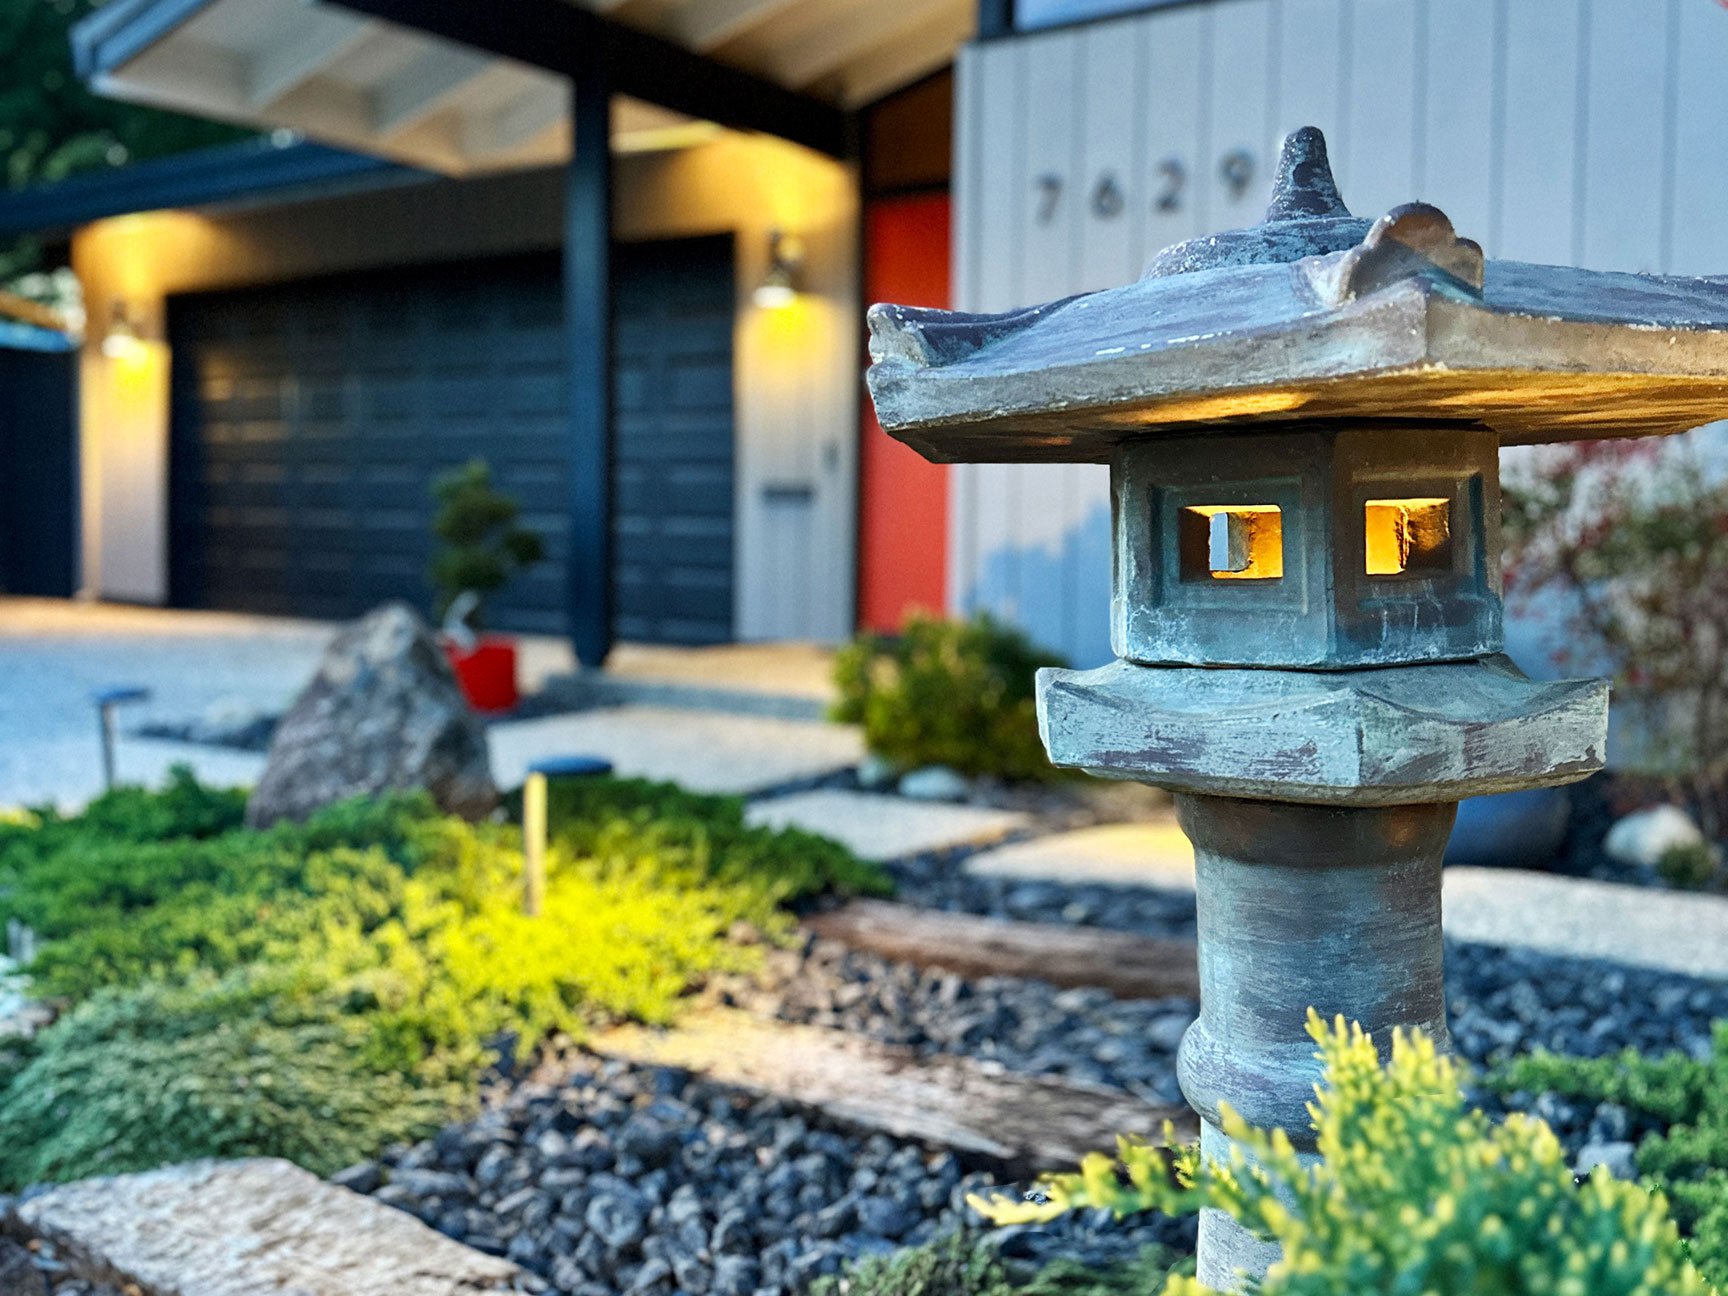
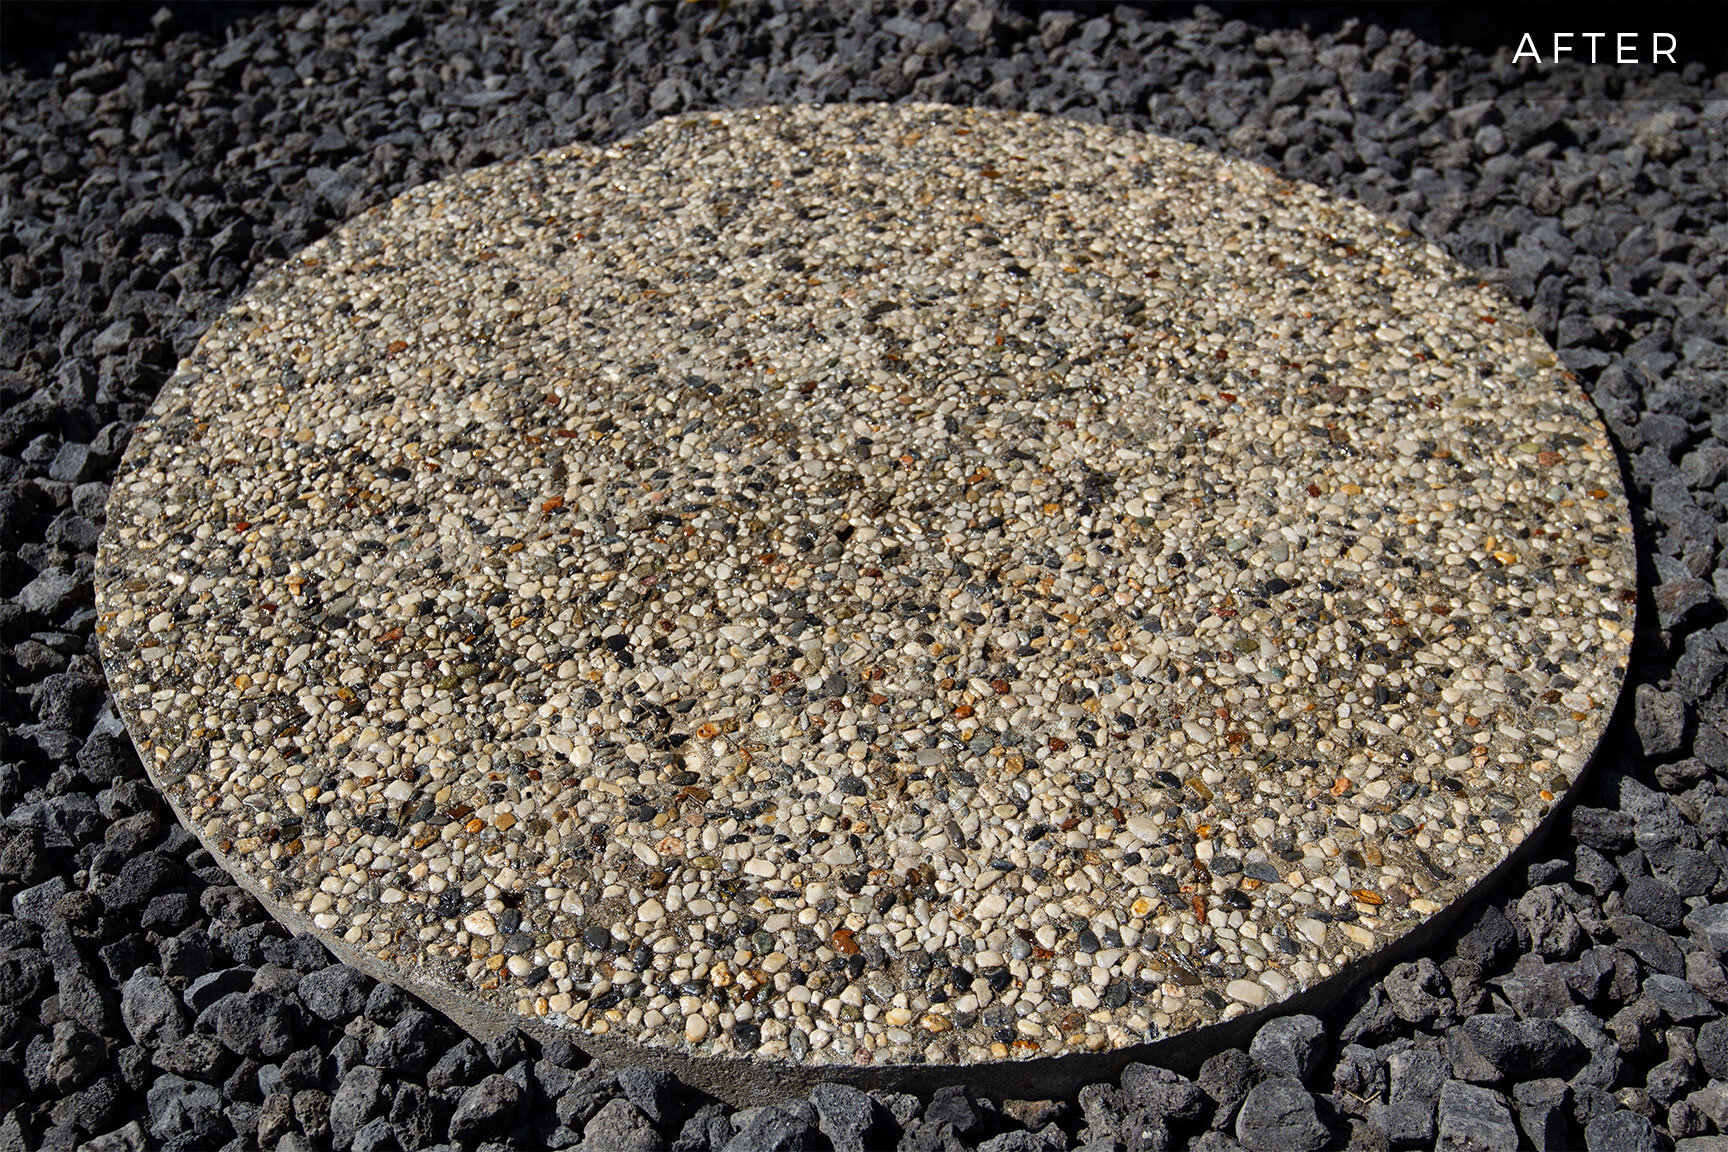
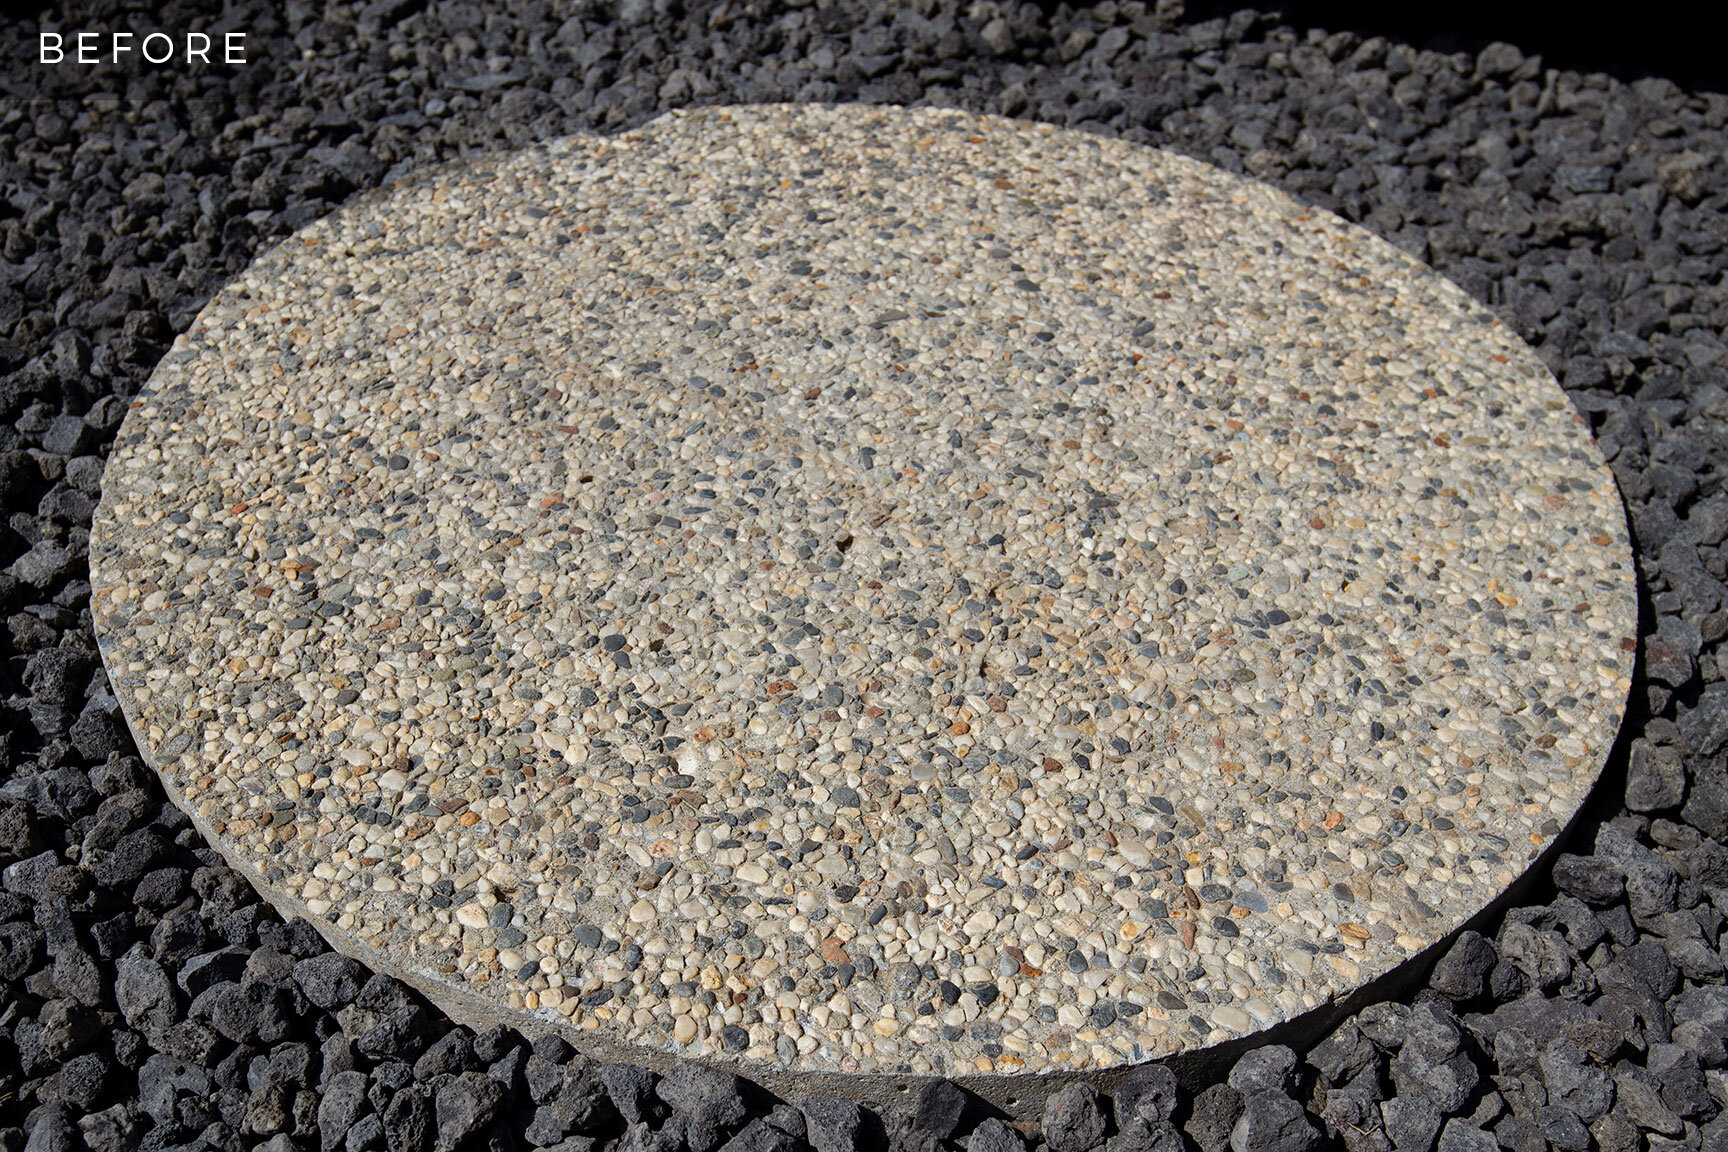
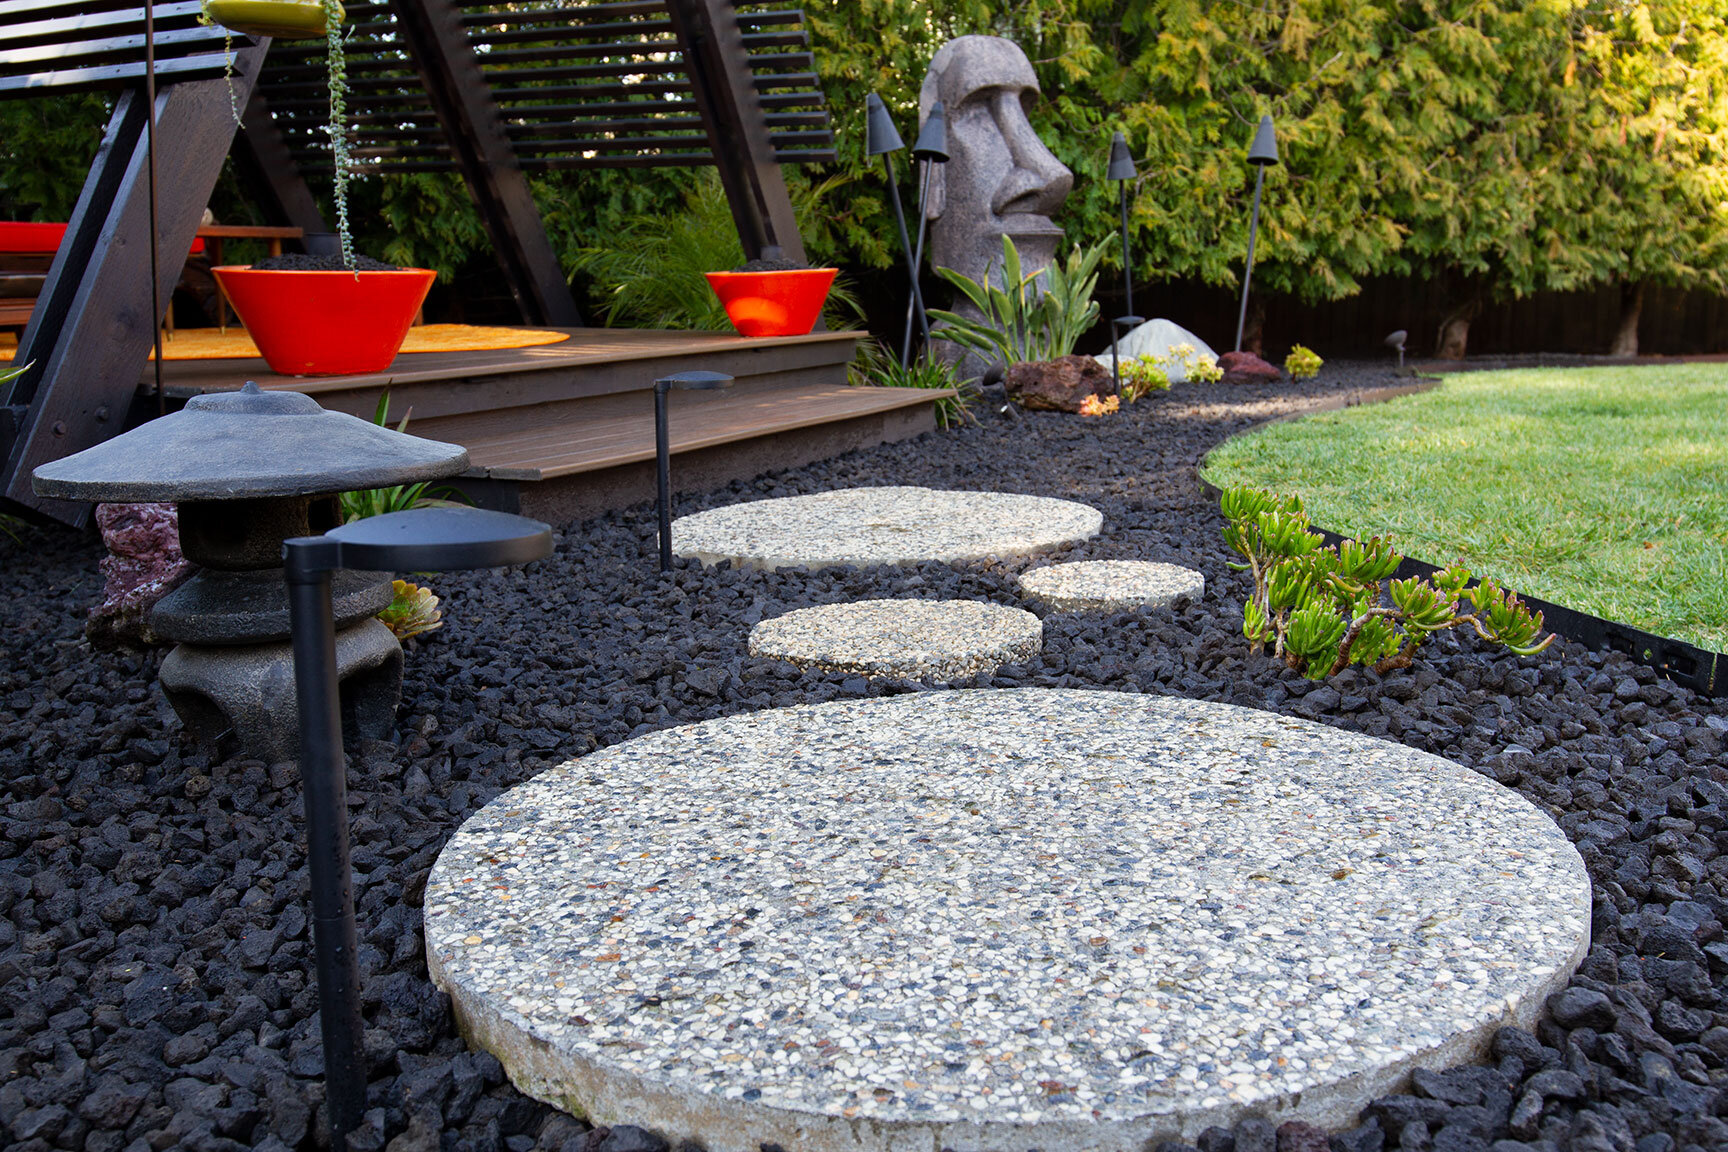
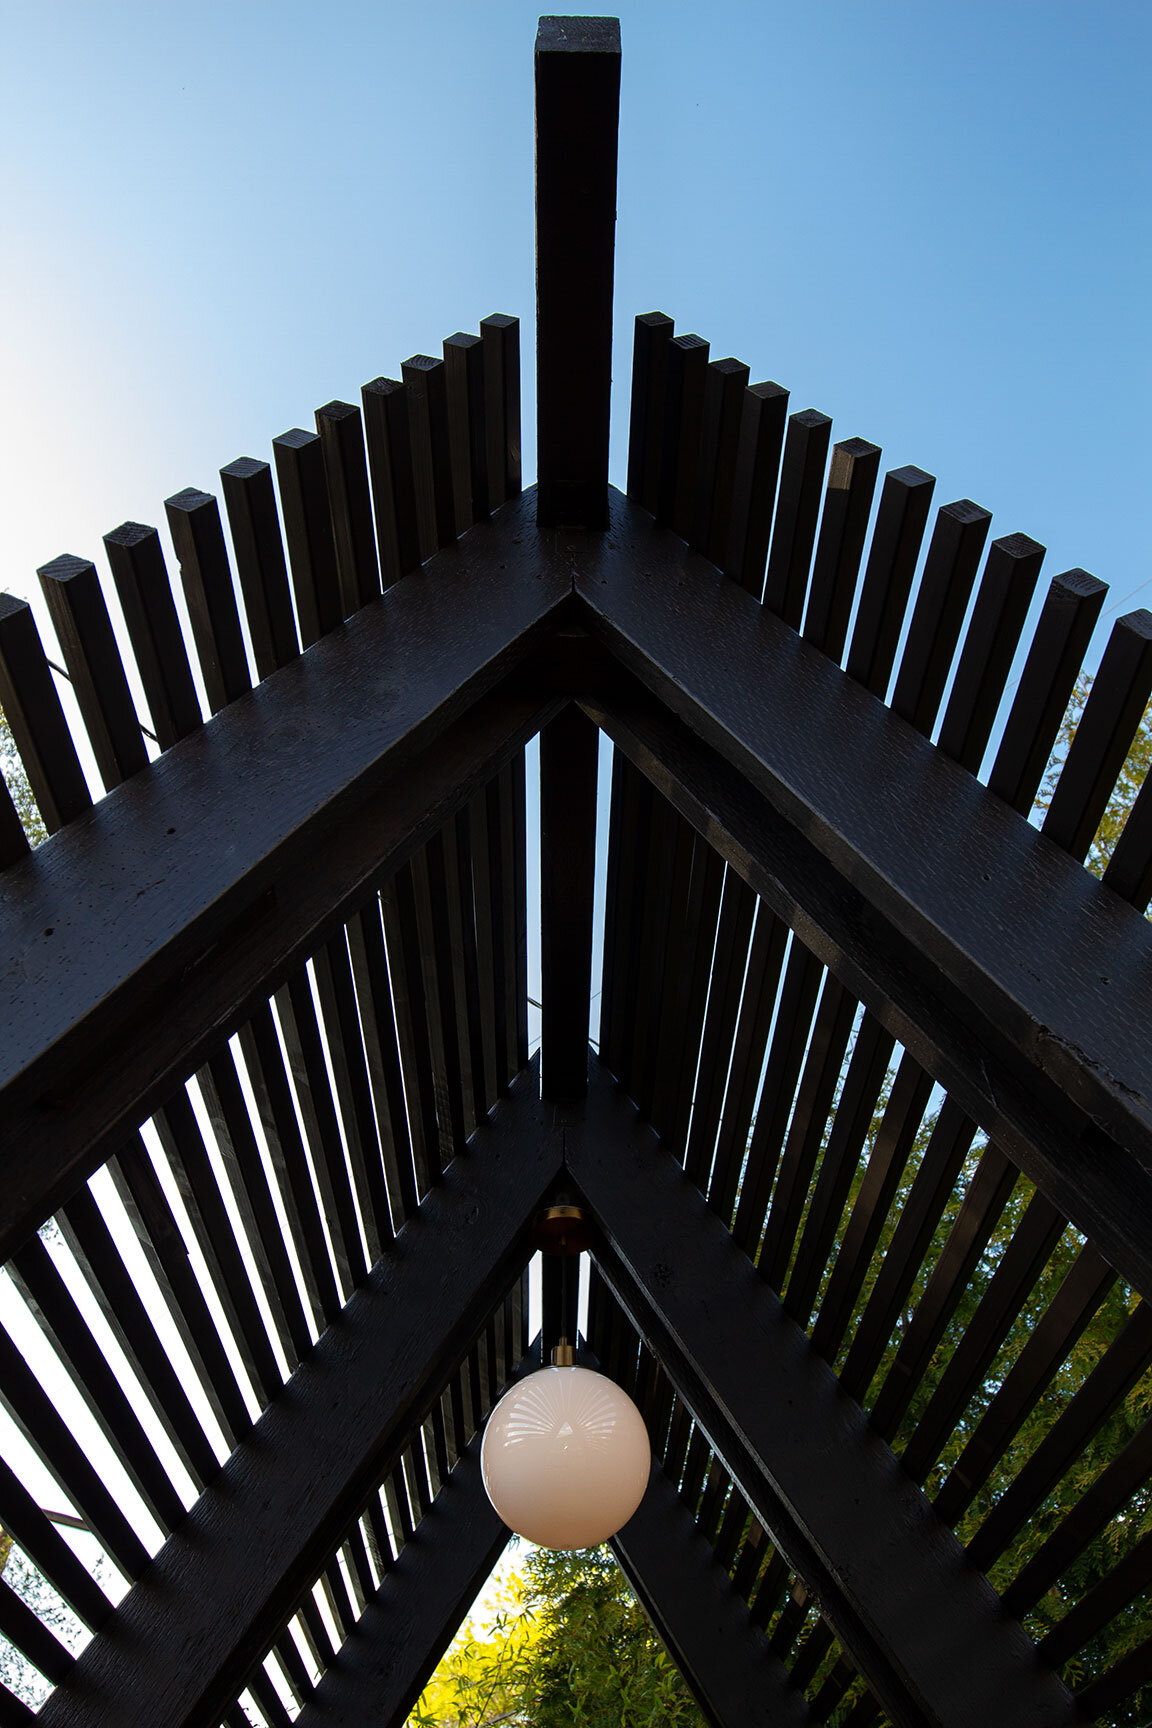
I’ve been building a collection of aggregate stepping stones for a while now, some of which were gifted by friends, and others I purchased. The real stunners are the giant 36” rounds. I placed the varying sized circles in a staggered pattern leading to the steps of the hale. The round shapes mimic the globe lamp at the center of the structure, and offer a softness to the surrounding hardscape. These stepping stones were pretty faded and dirty when I got them, so I gave them a good cleaning and a few fresh coats of glaze. The before and after is rather stunning. All of the aggregate was made in the ‘70s, so the stone colors, shapes, and textures blend perfectly with the concrete inside and outside my home. These pieces really came to life, and are one of my favorite features in the space.
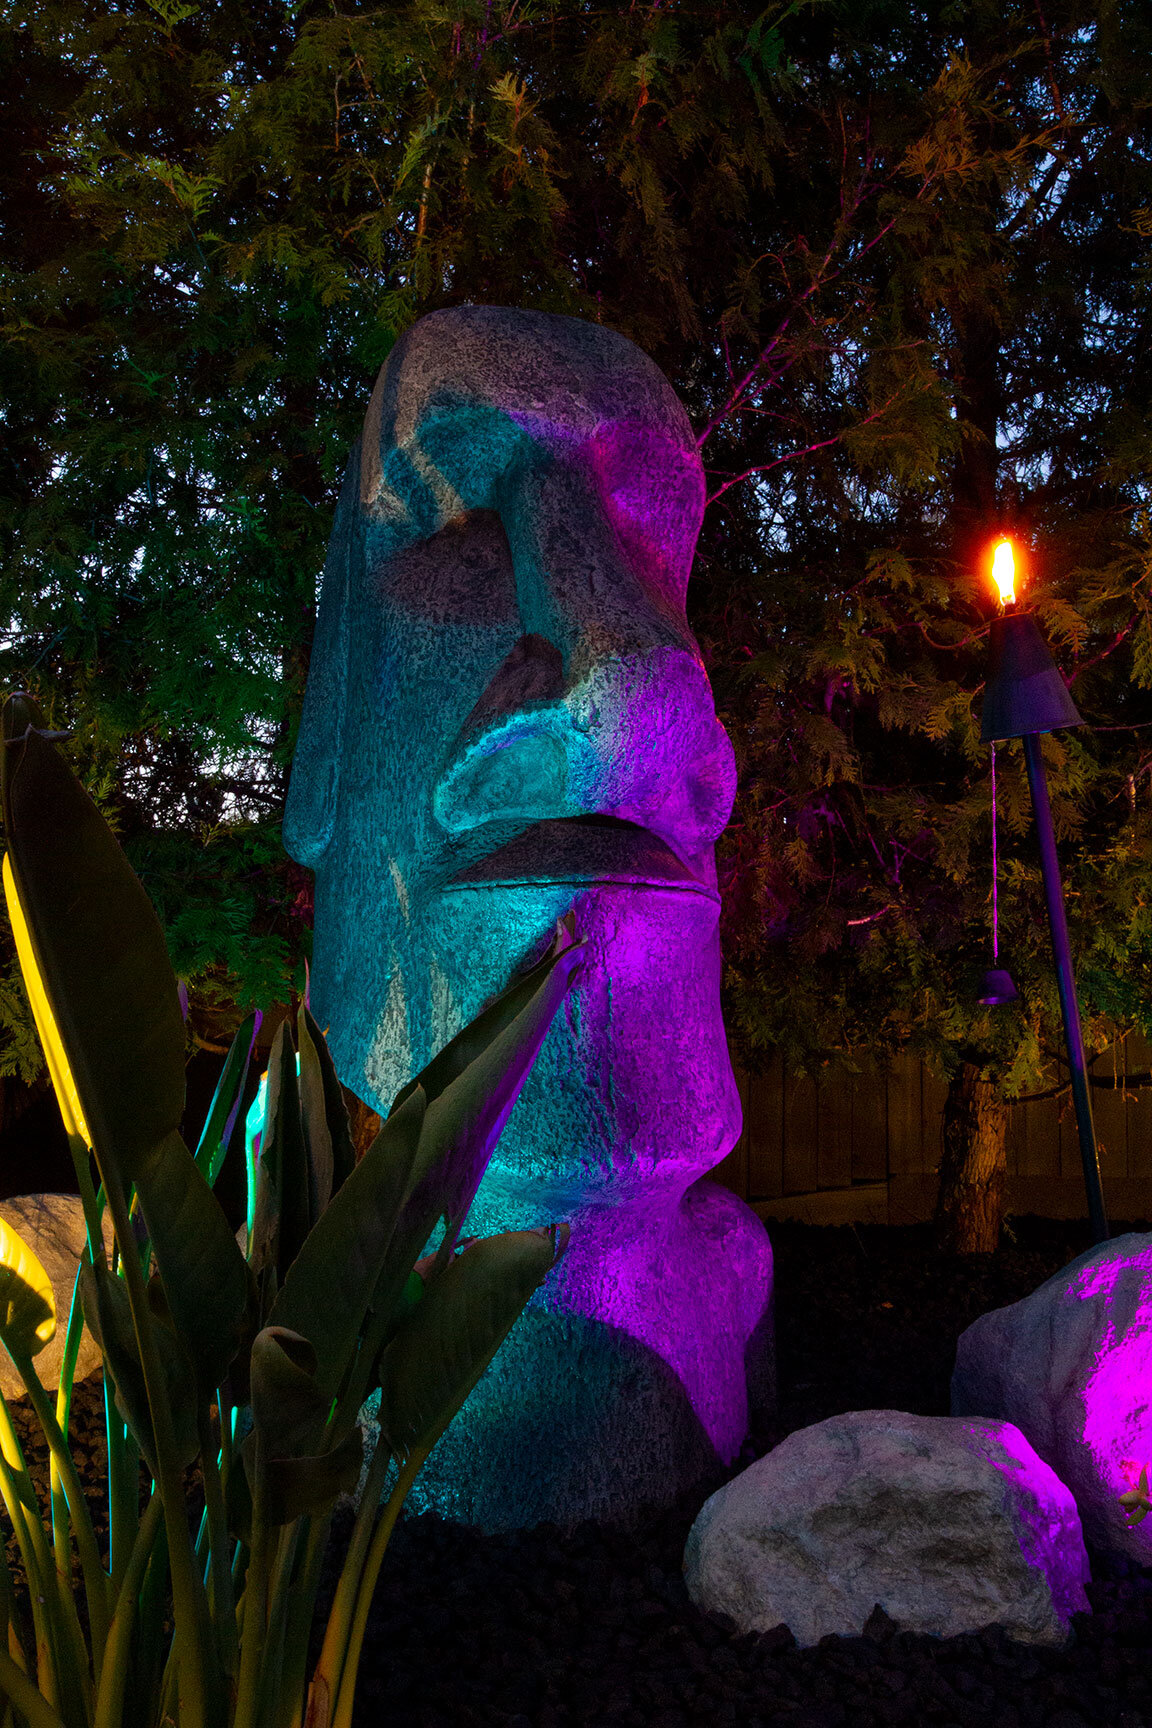
“We wired in 2 color-changing spotlights for the moai, which definitely create a mood.”
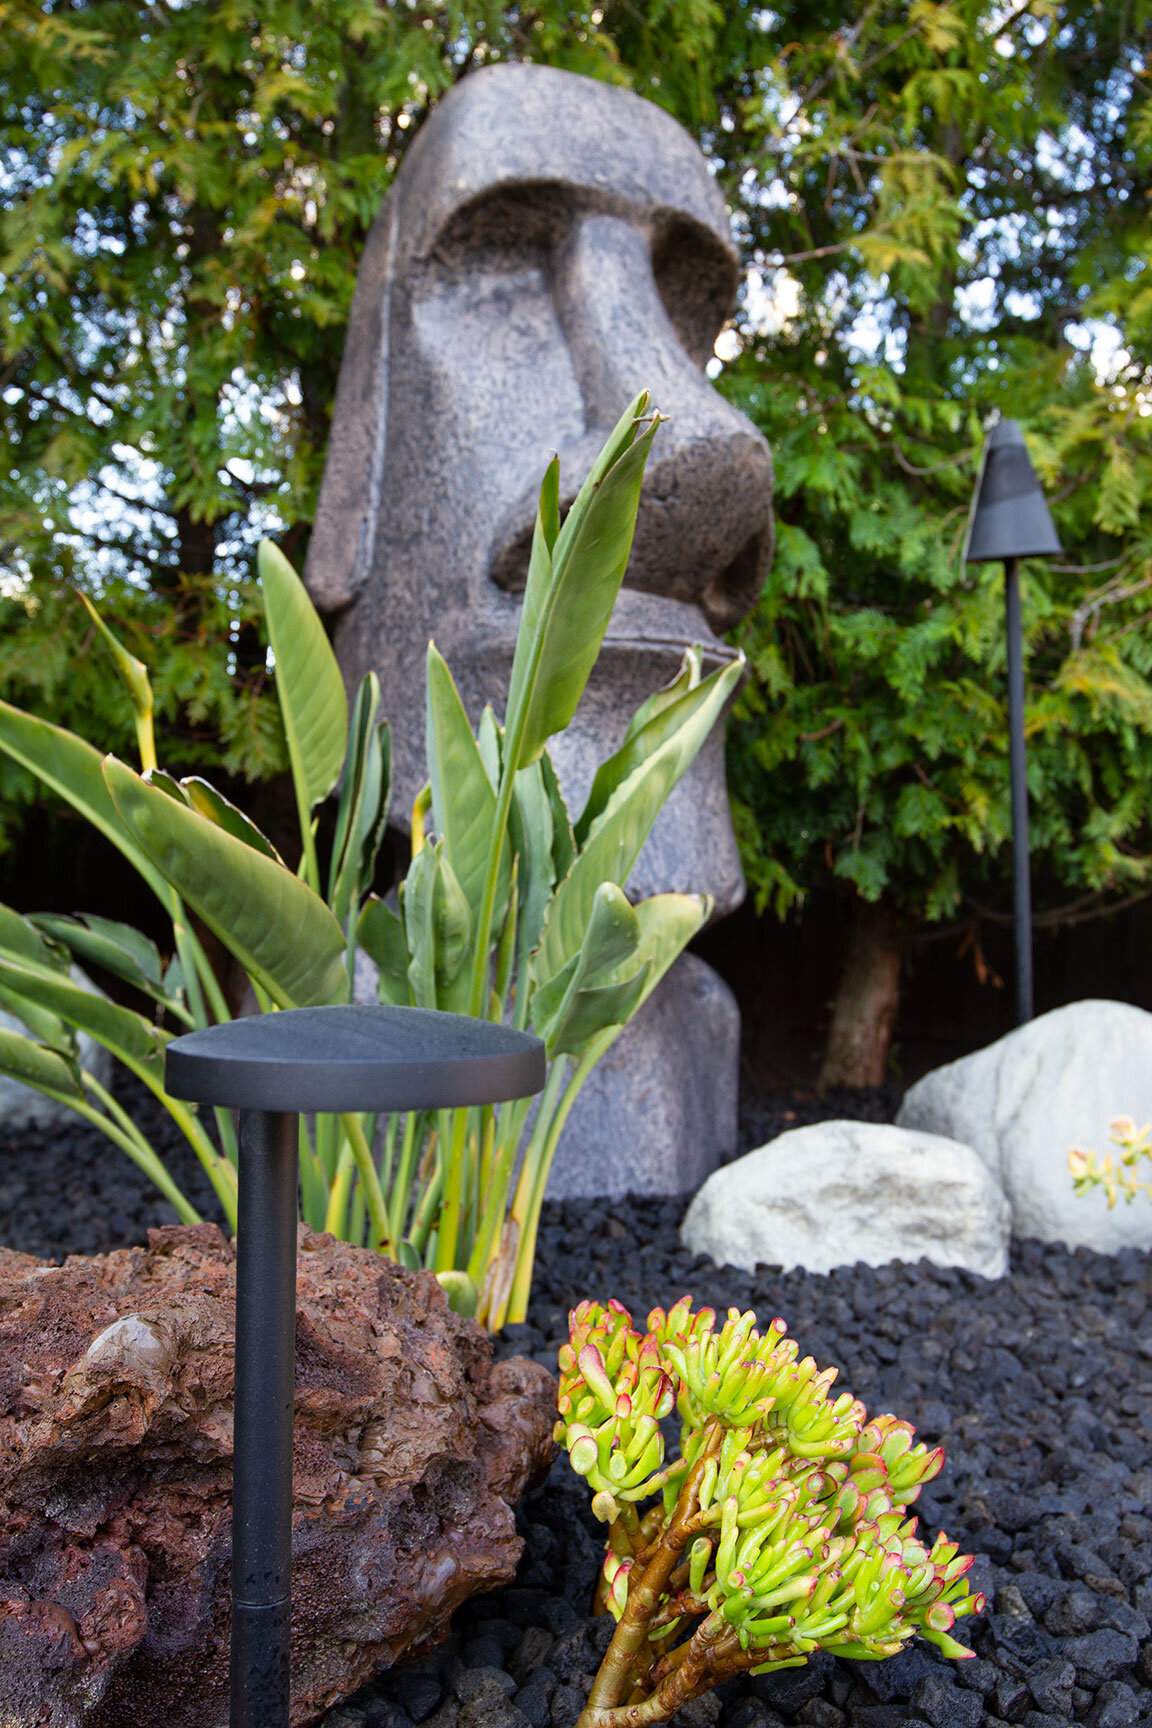
The Moai you know
You may be familiar with the “tiki god” emoji on your phone, but it’s really an icon of great importance. On Easter Island, in the southeasternmost point of the Polynesian Triangle stand magnificent monoliths carved by the Rapa Nui people between the years 1250-1500. Over 900 of these moai, (statues) were made from a variety of stones, including volcanic ash and basalt, as a symbol of worship, spirituality, healing, and prosperity. Many of these ancient carvings remain on the island today, though some have been moved to museums for preservation. The tallest moai ever erected was about 33’ high, and weighed over 80 tons. While mine checks in at just 6’ tall, and 95 lbs., he is still a steadfast symbol of powerful living — one that celebrates a rich history.

Light up the night
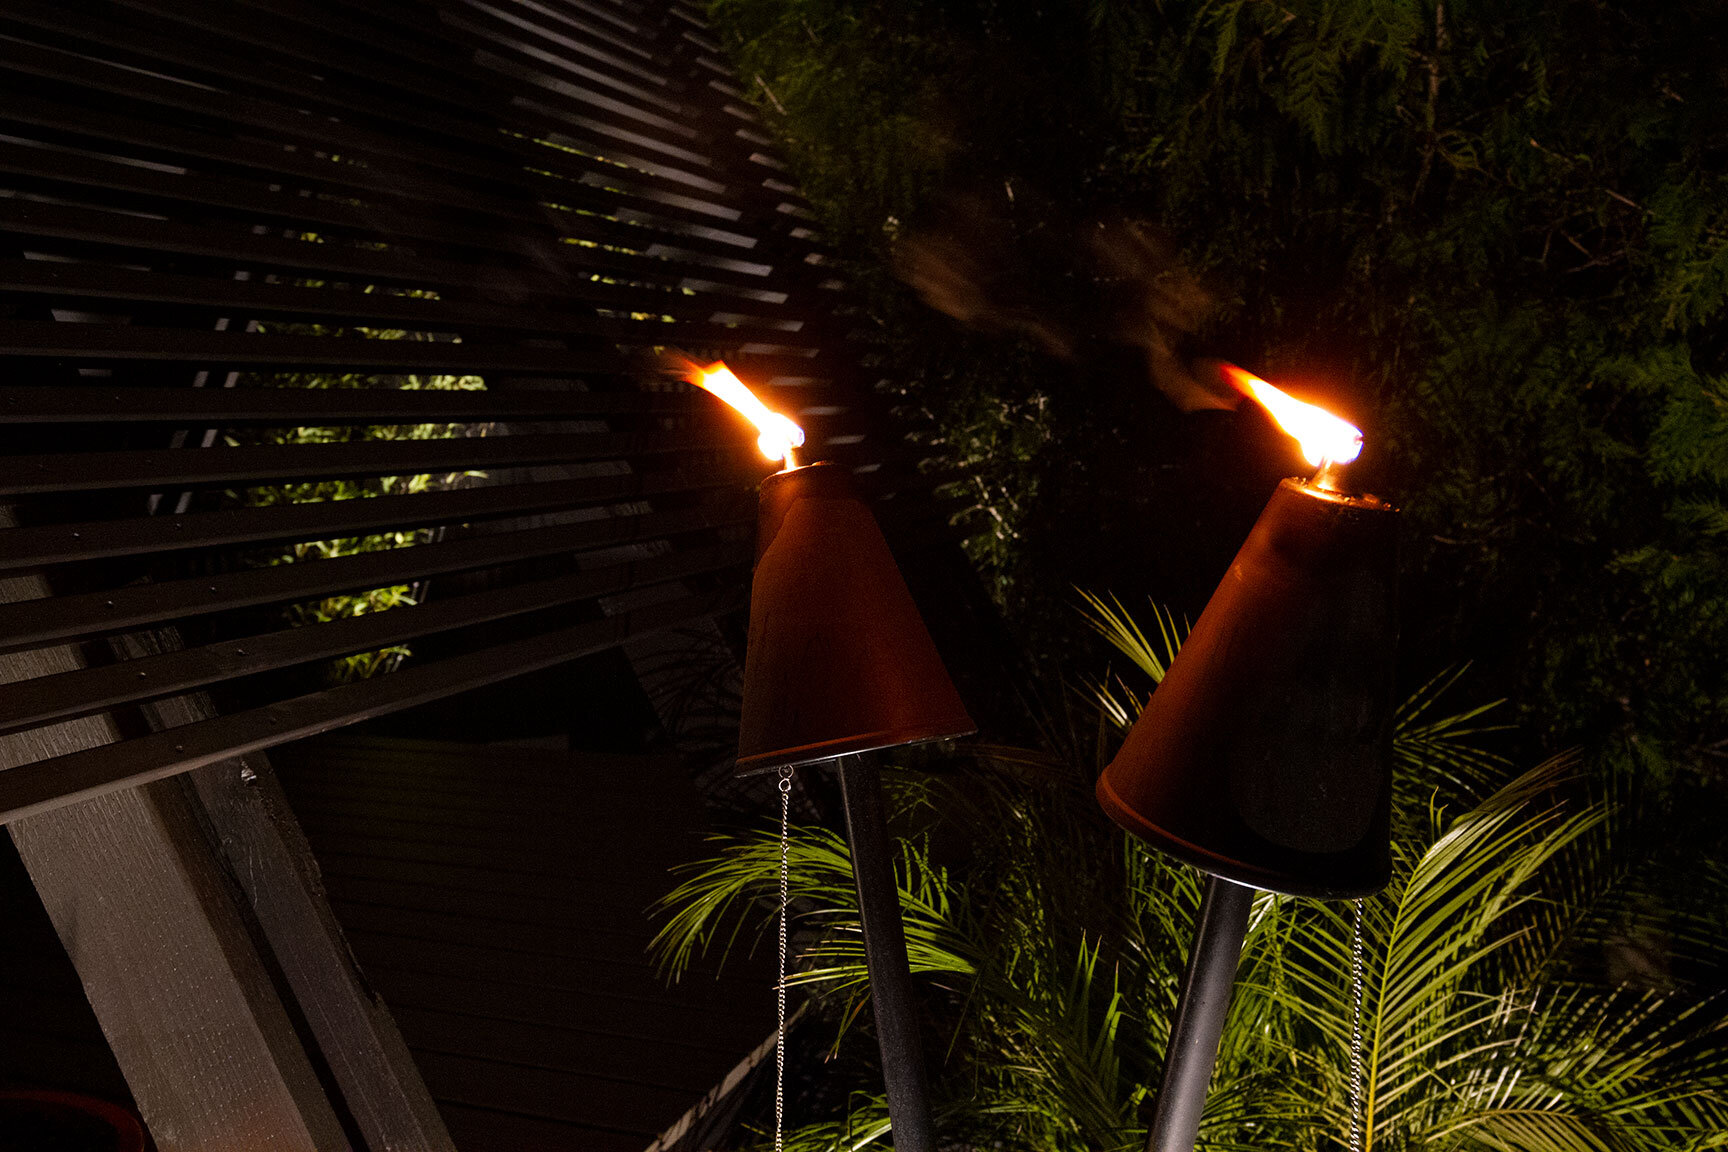
In Honolulu, you’ll find a collection of steel torches lining the Royal Hawaiian Center. Every evening at sunset, a torch-lighting ritual takes place. The event starts with the blowing of a conch shell, then a man in native dress runs the grounds with a stick of fire, lighting all 50 torches. It is a ceremony that draws a lot of attention, and is celebrated with live music, dancing, and other cultural activities. These particular torches are a conical style, and are plumbed with gas for a beautiful, flame that burns through the night. I wanted to replicate this look, but opted for a less permanent and less expensive installation with an oil-fueled option. The dancing flames of the torches add drama to the lush setting, and provide built-in bug repellent with citronella and cedar ingredients.
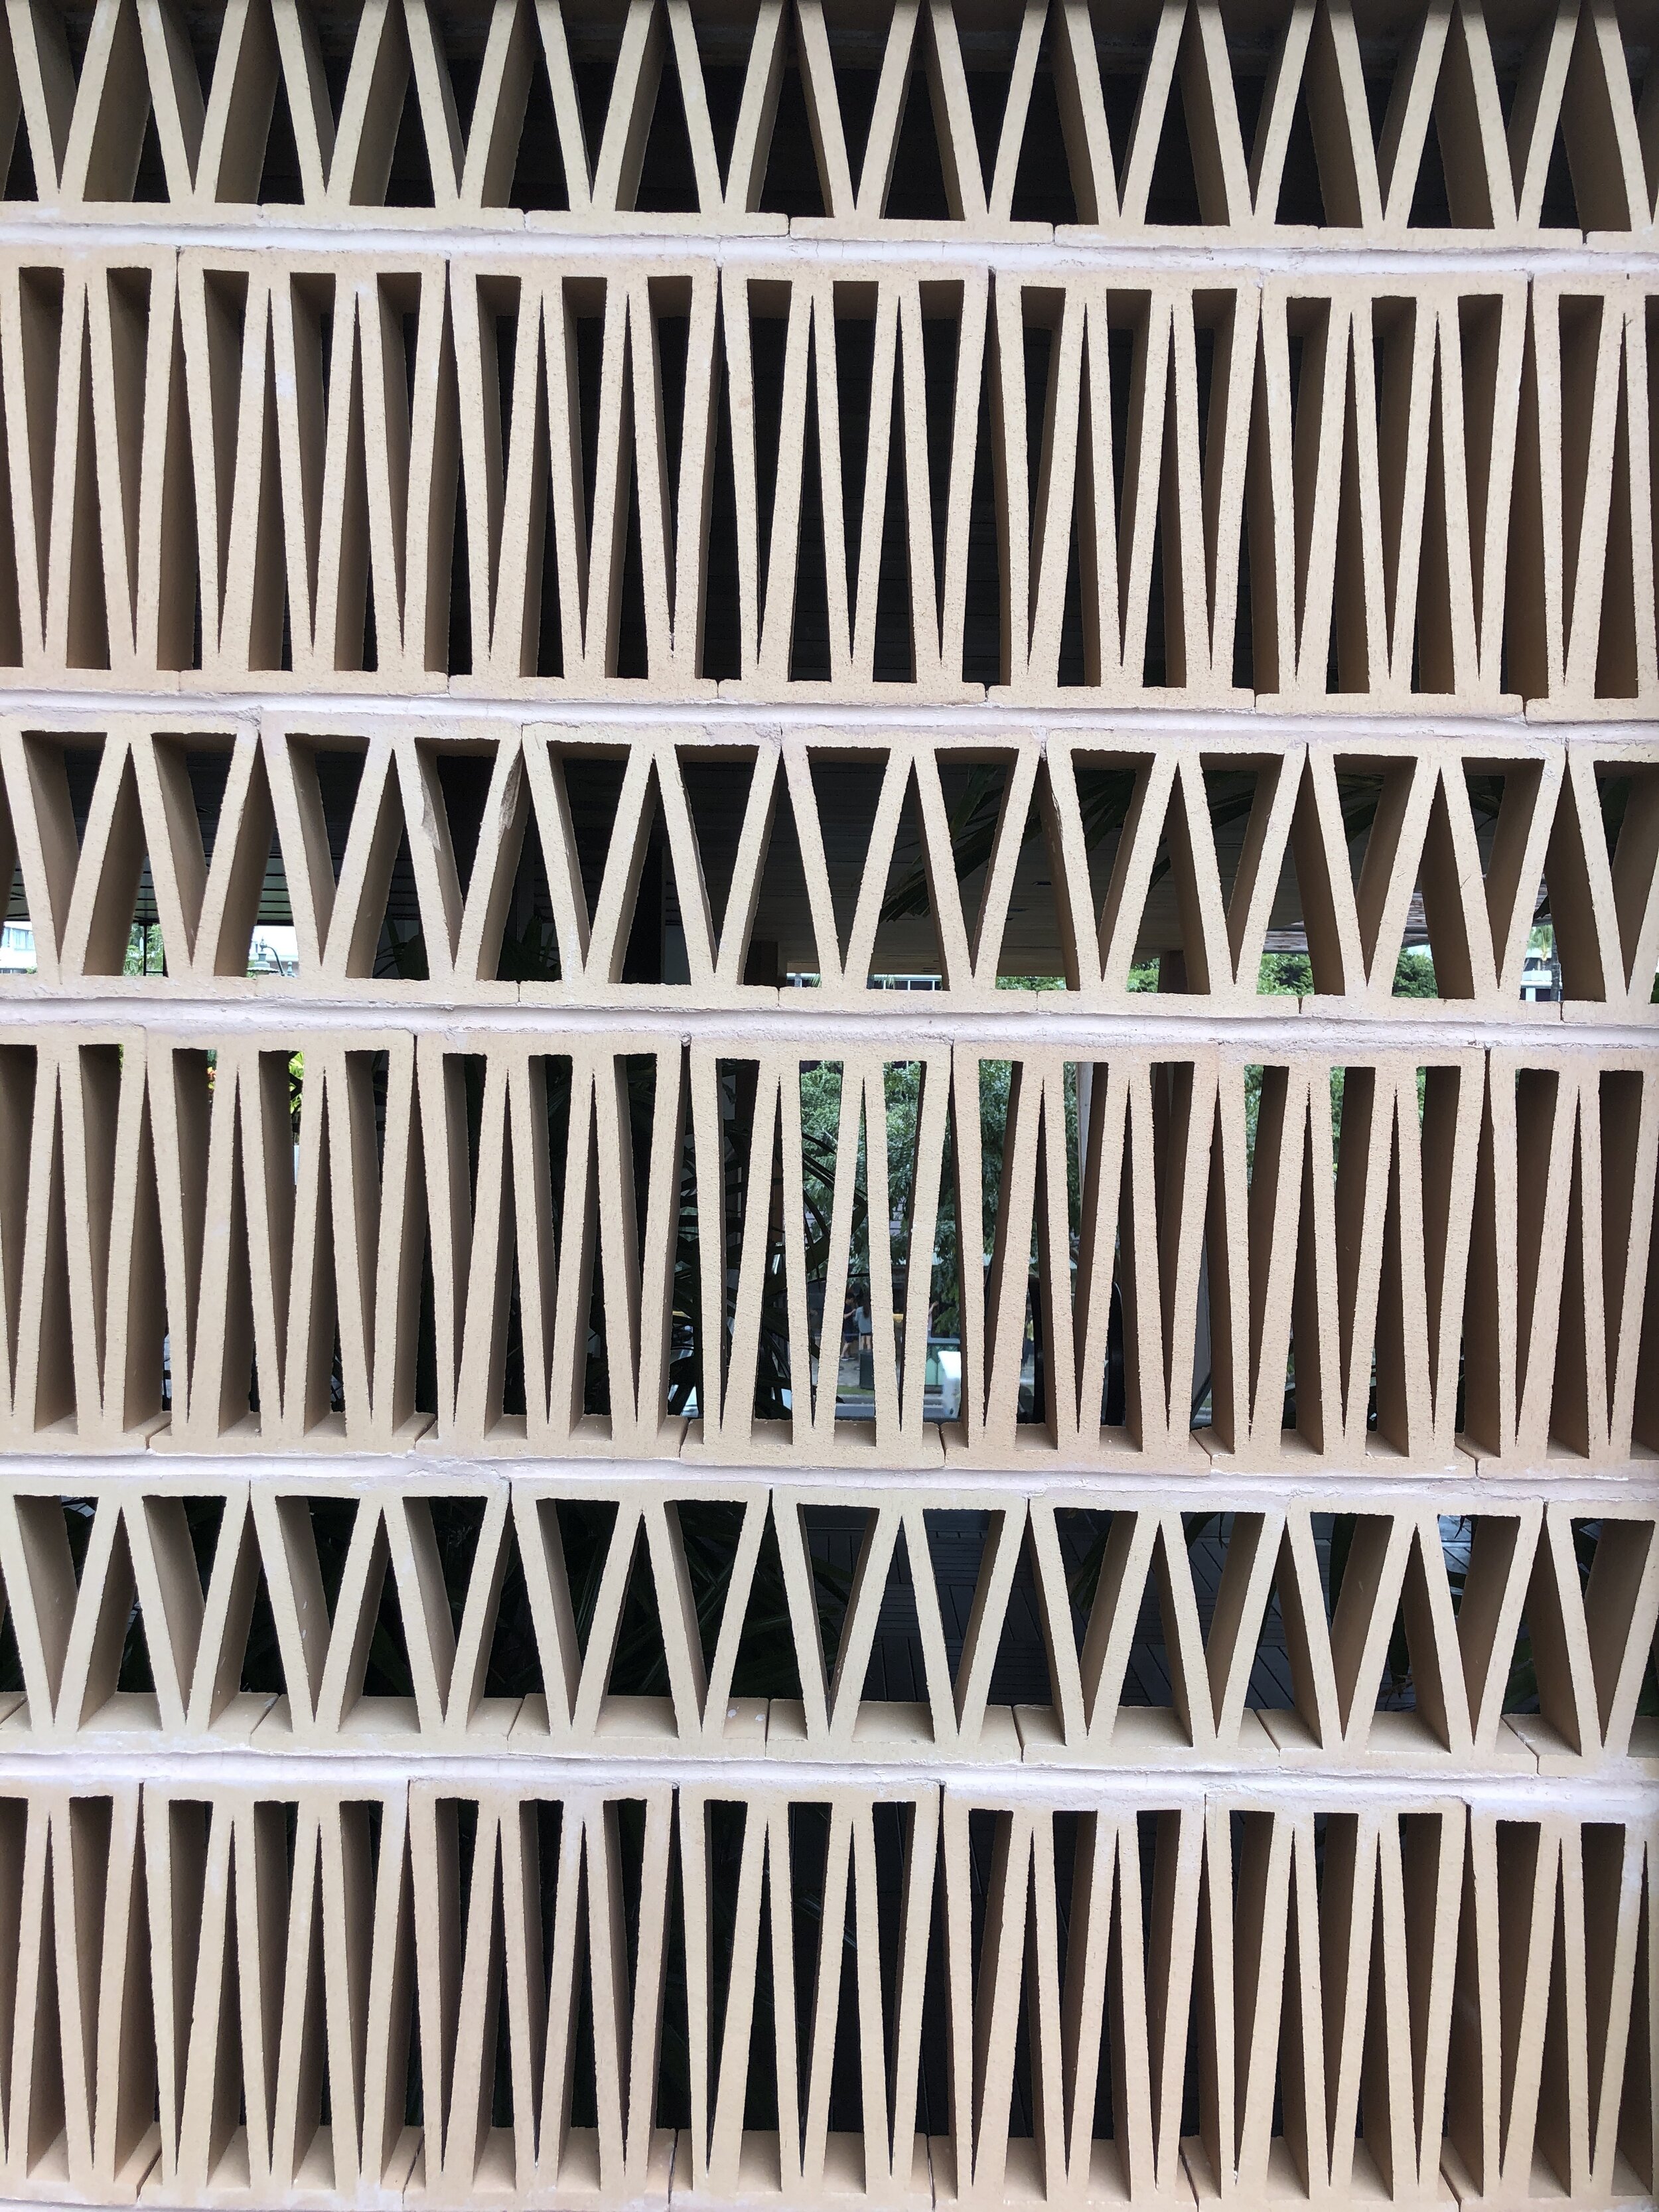
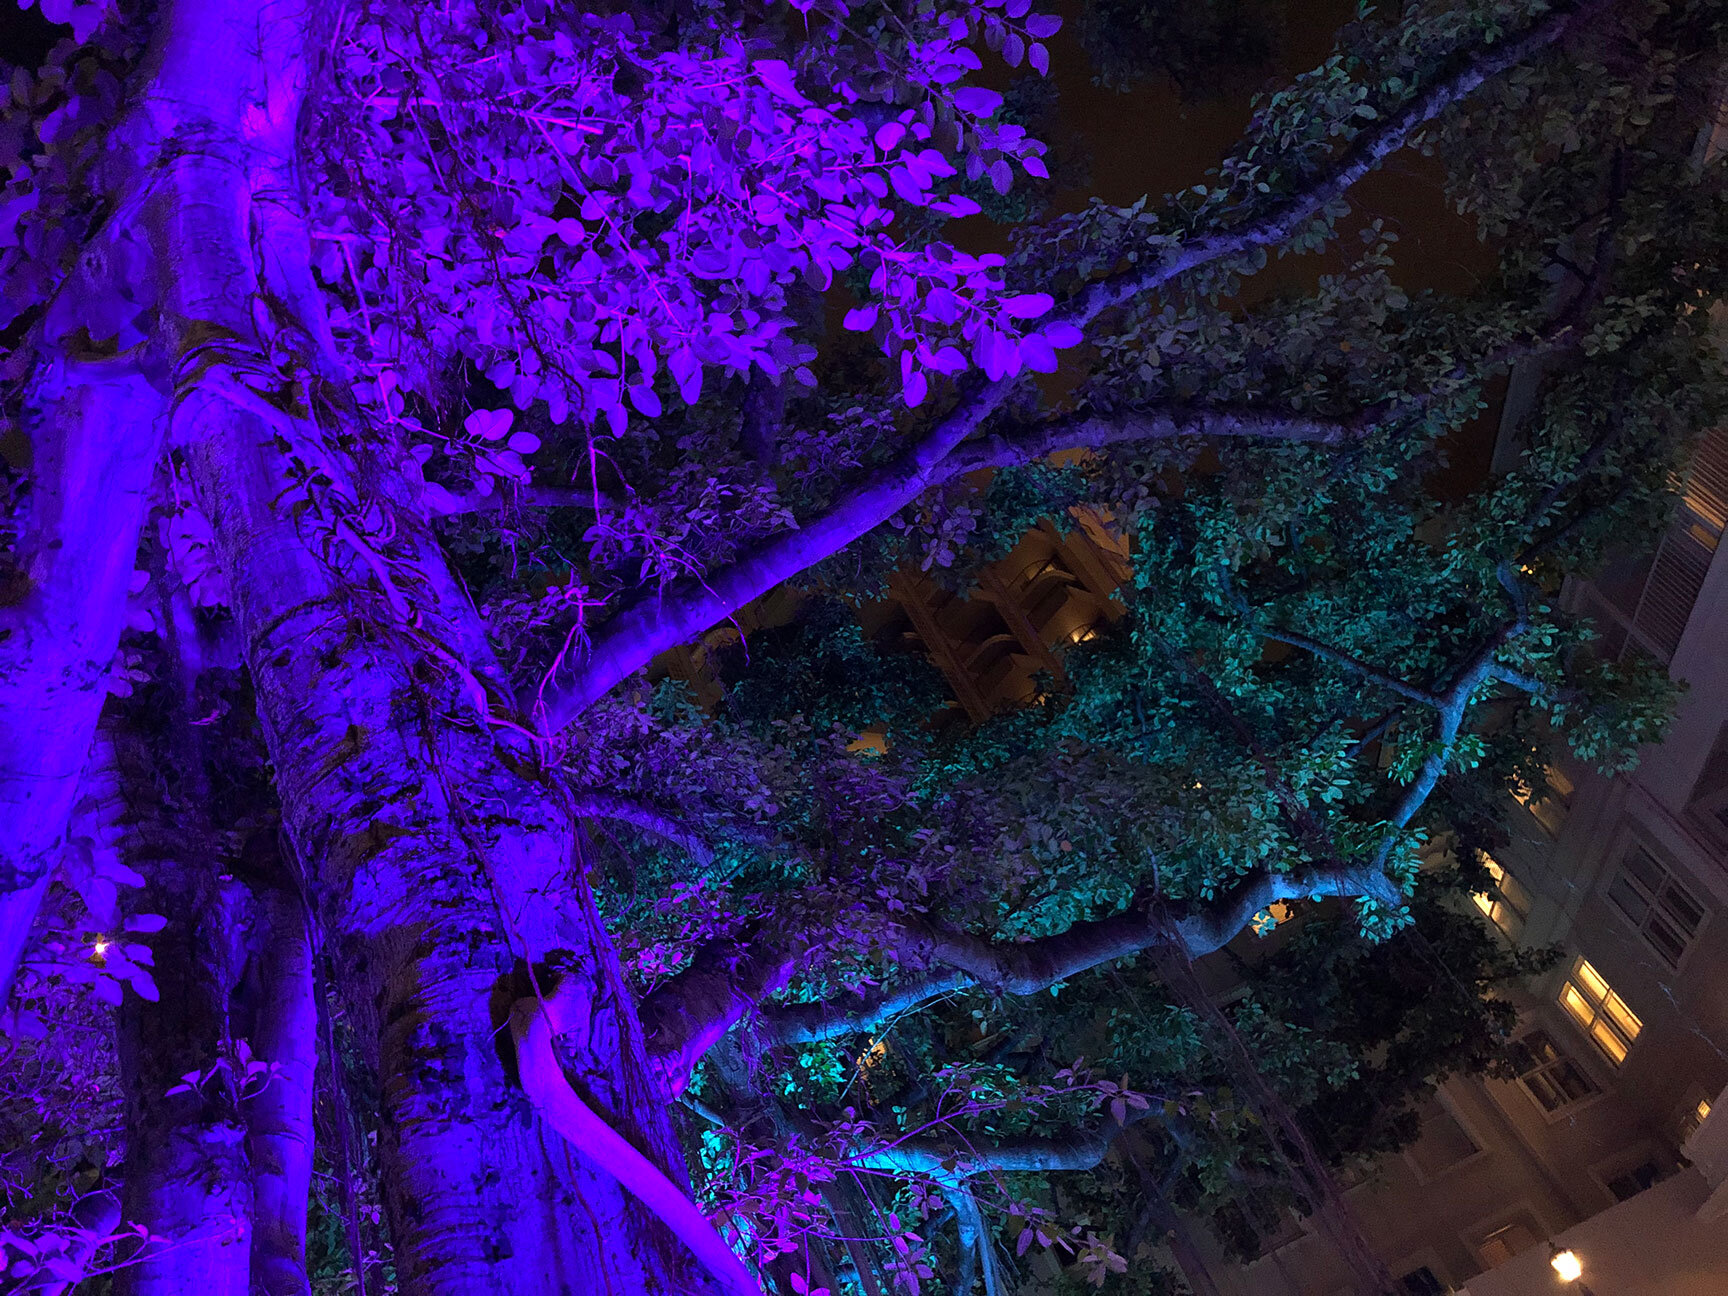
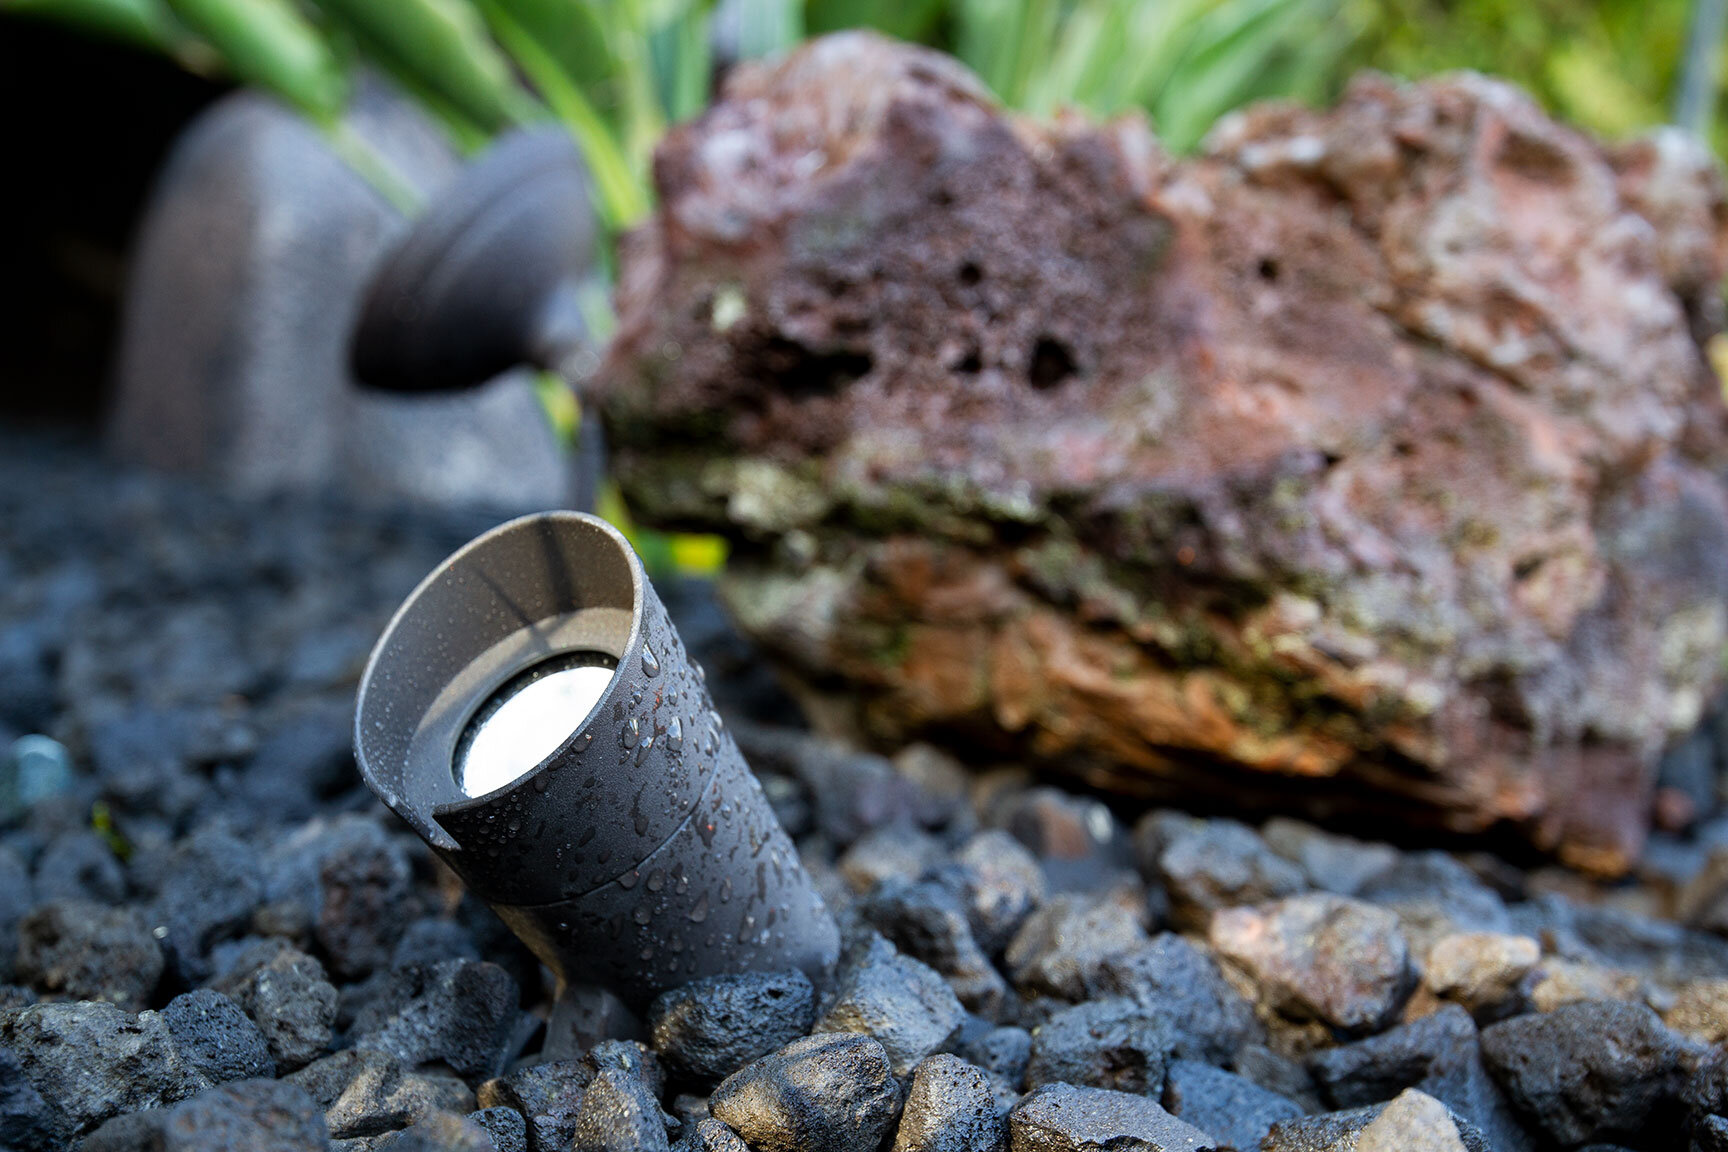
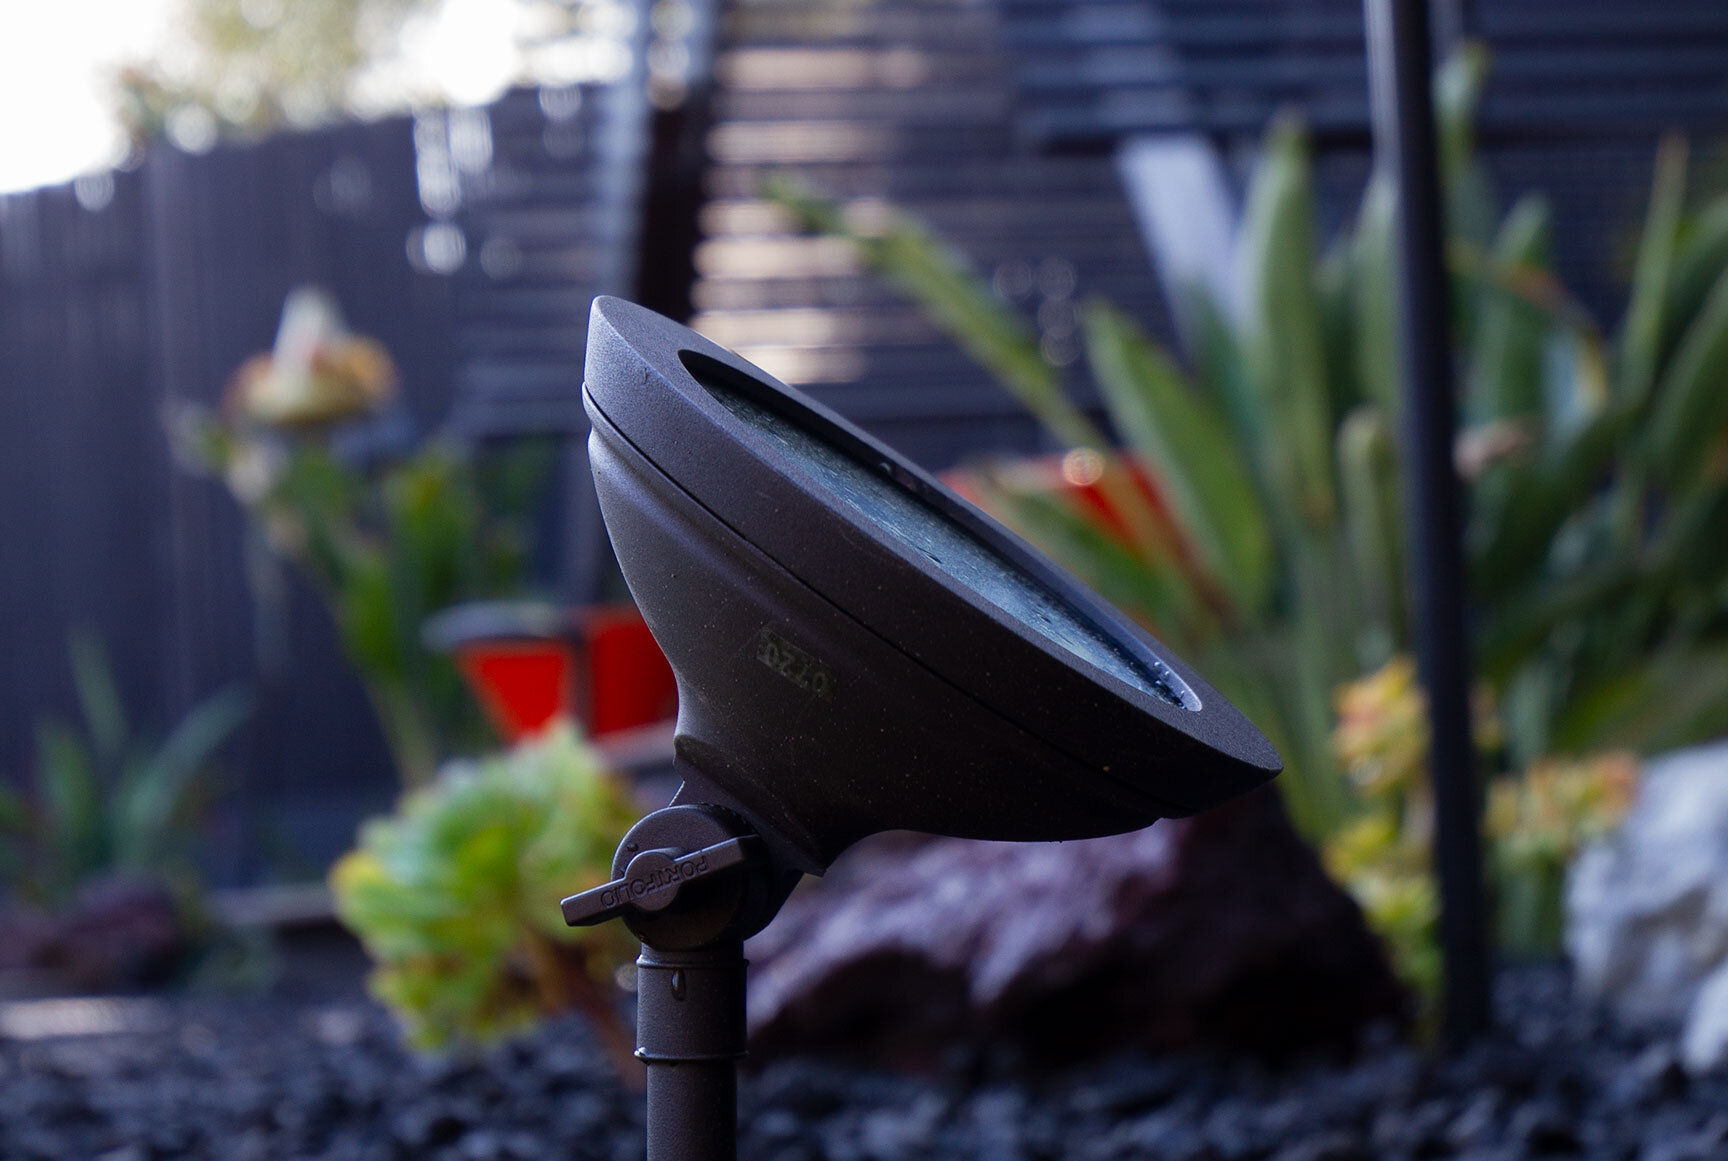
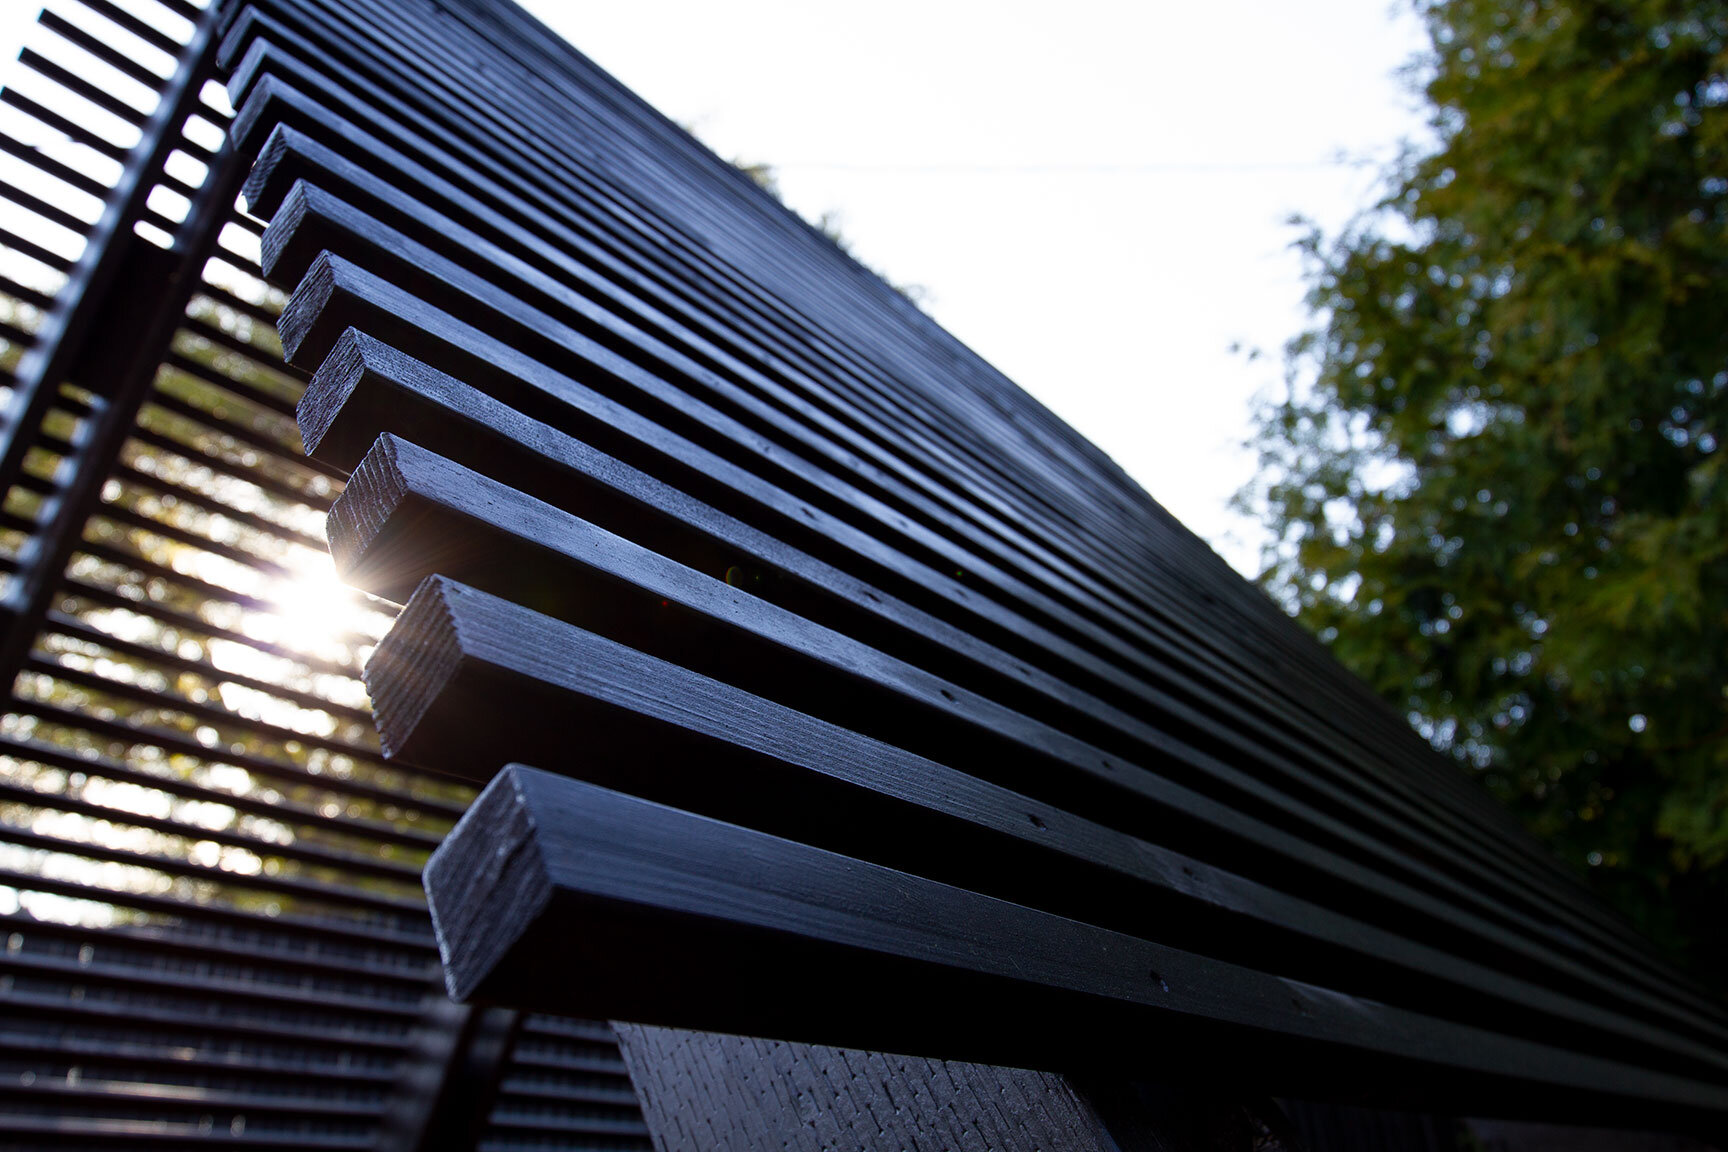
For depth and highlights, Glen and I installed a series of low voltage lighting throughout the landscape. Wash lights were used to illuminate the date palms, evergreens, and tri-stake fence. I love how these lights cast huge shadows onto the fence backdrop, making it appear that enormous tropical plants are present. Flood lights were angled on each side of the A-frame to highlight the hale shape and height. Well lights were placed at the back of the hale to uplight the beautiful black bamboo, and create another layer of depth in the setting. Subtle path lights over the aggregate lead you to the deck, and under mount lights were used to light the steps. For a splash of vibrant energy, we wired in 2 color-changing spotlights for the moai, which definitely create a mood. I’m already having fun playing with color schemes and effects. Because I plan to add more lights to the surrounding beds in the future, I went with a 300 watt transformer to allow for expansion.
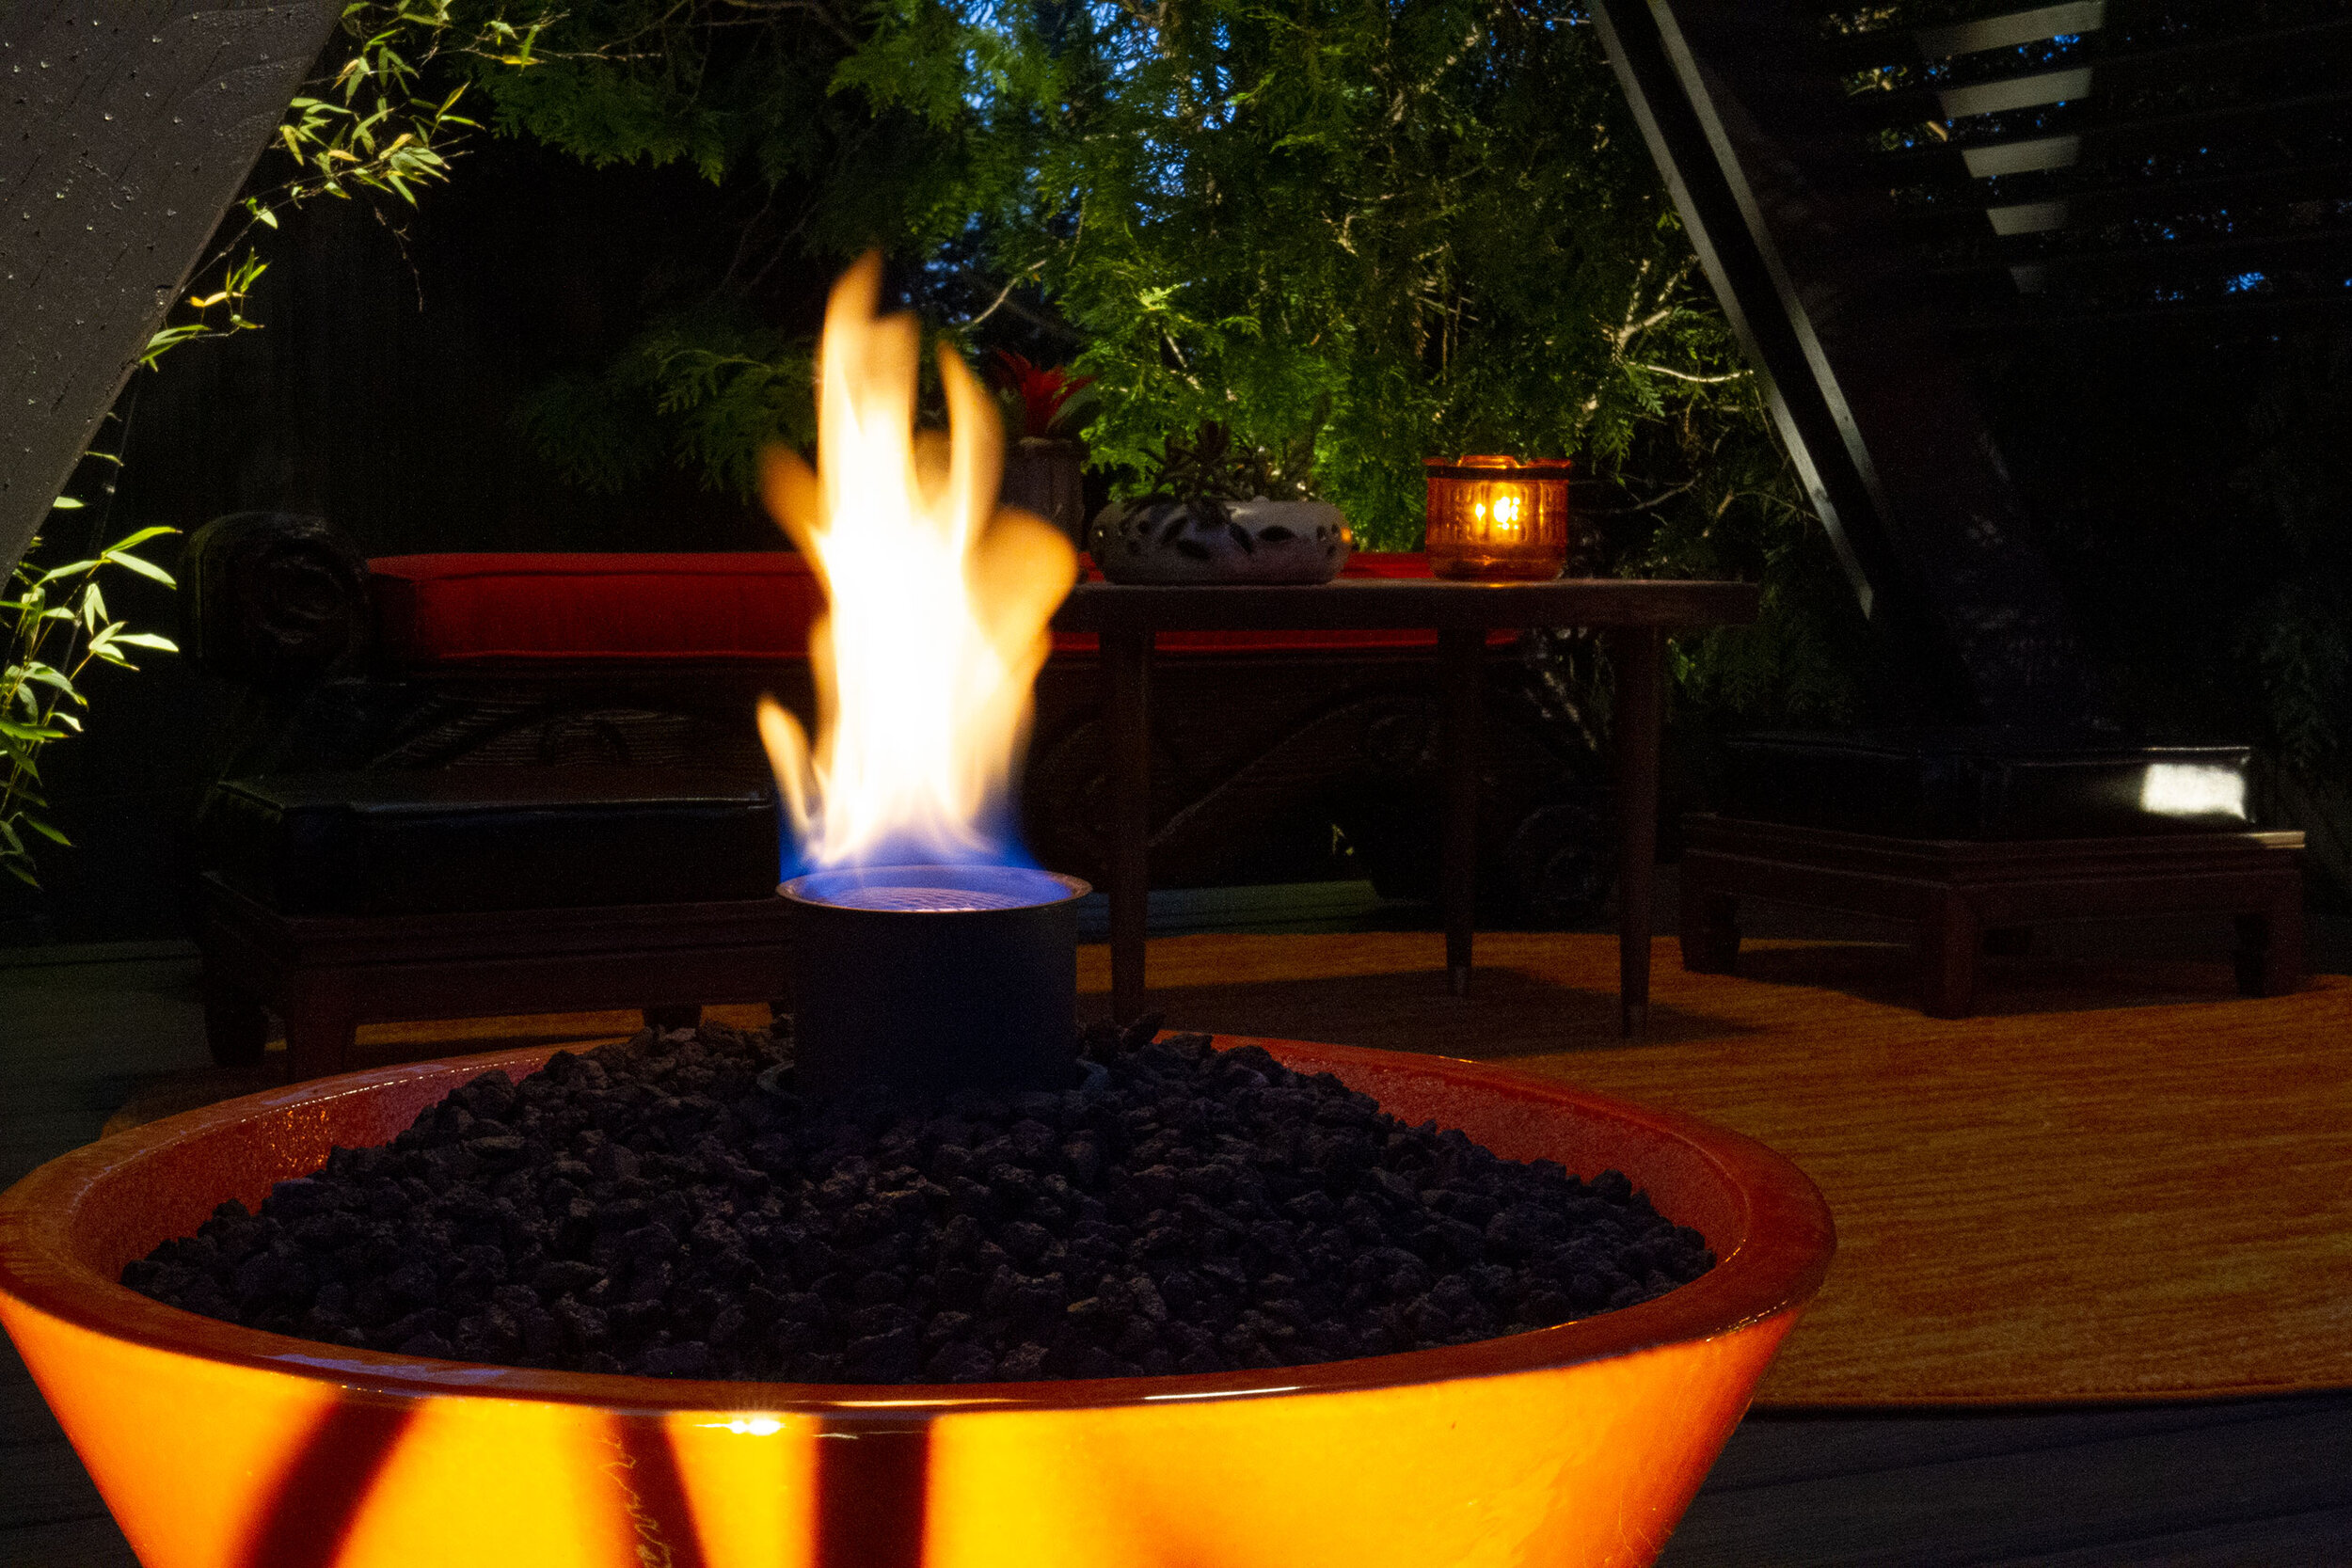
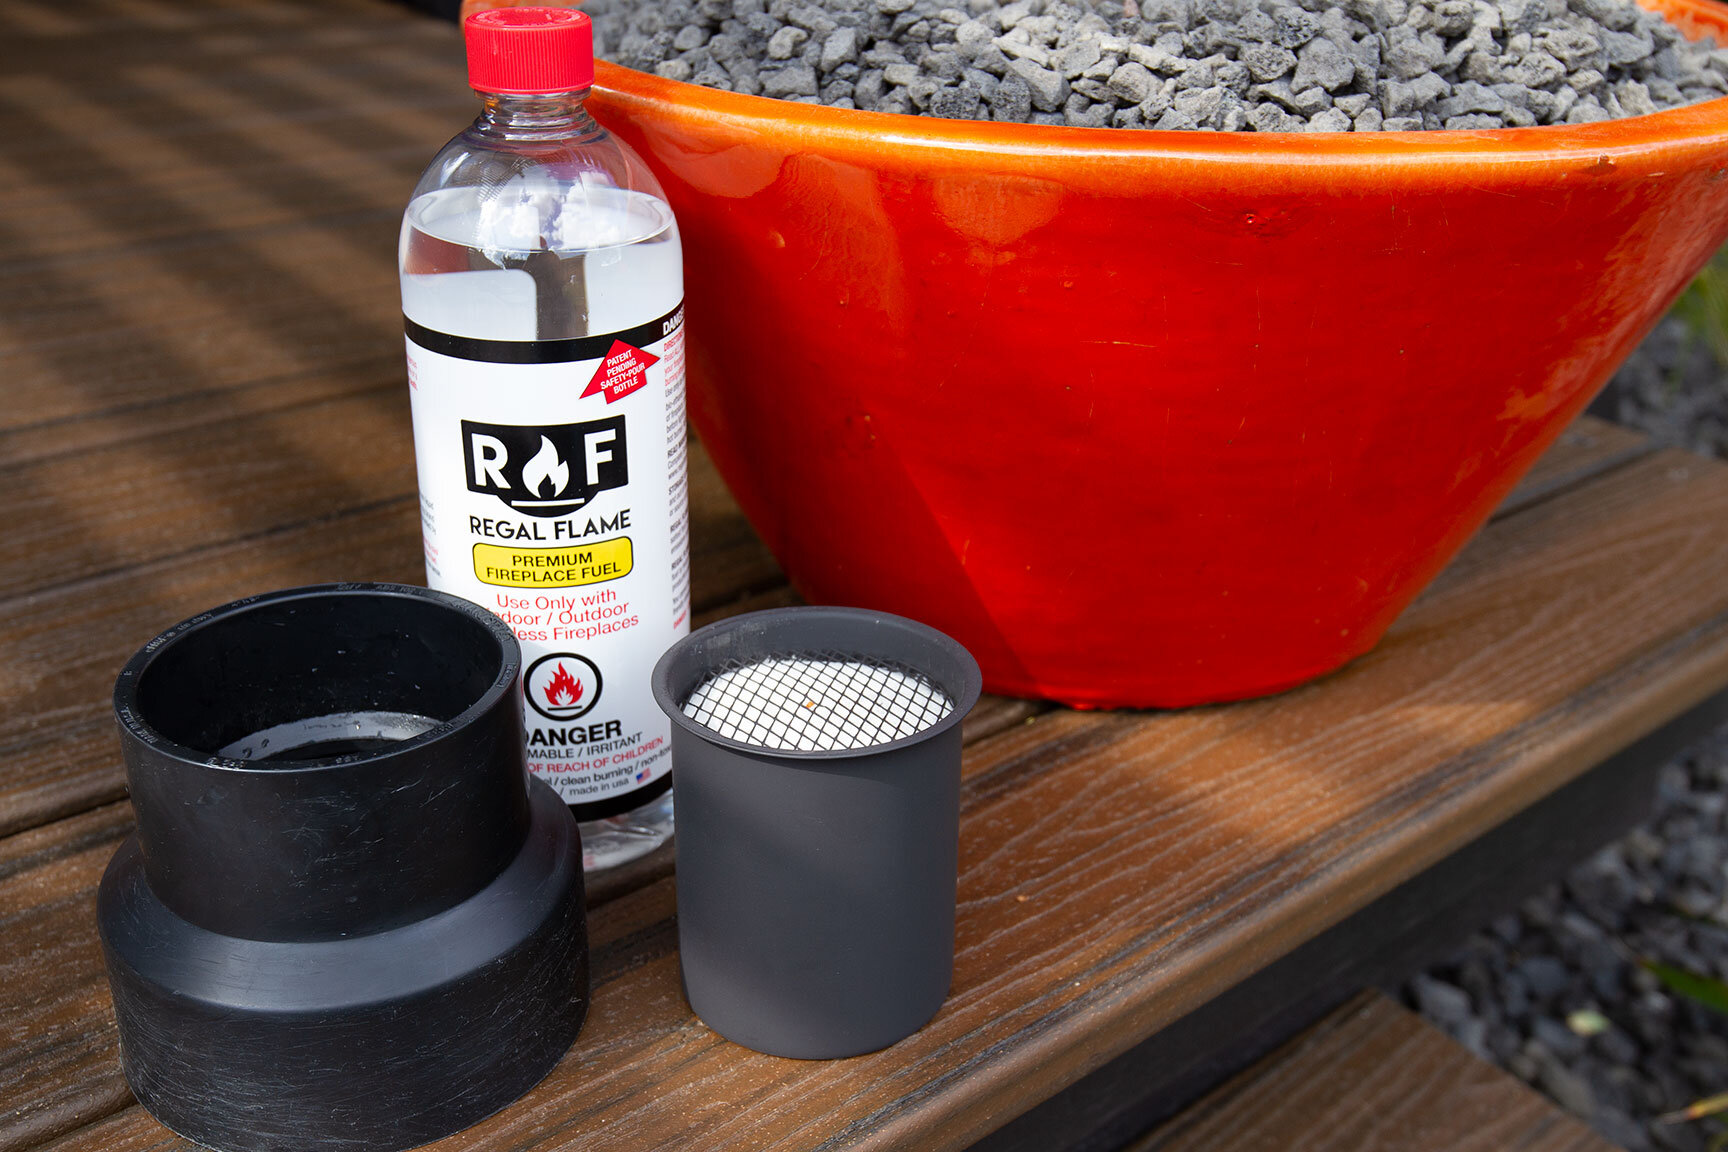
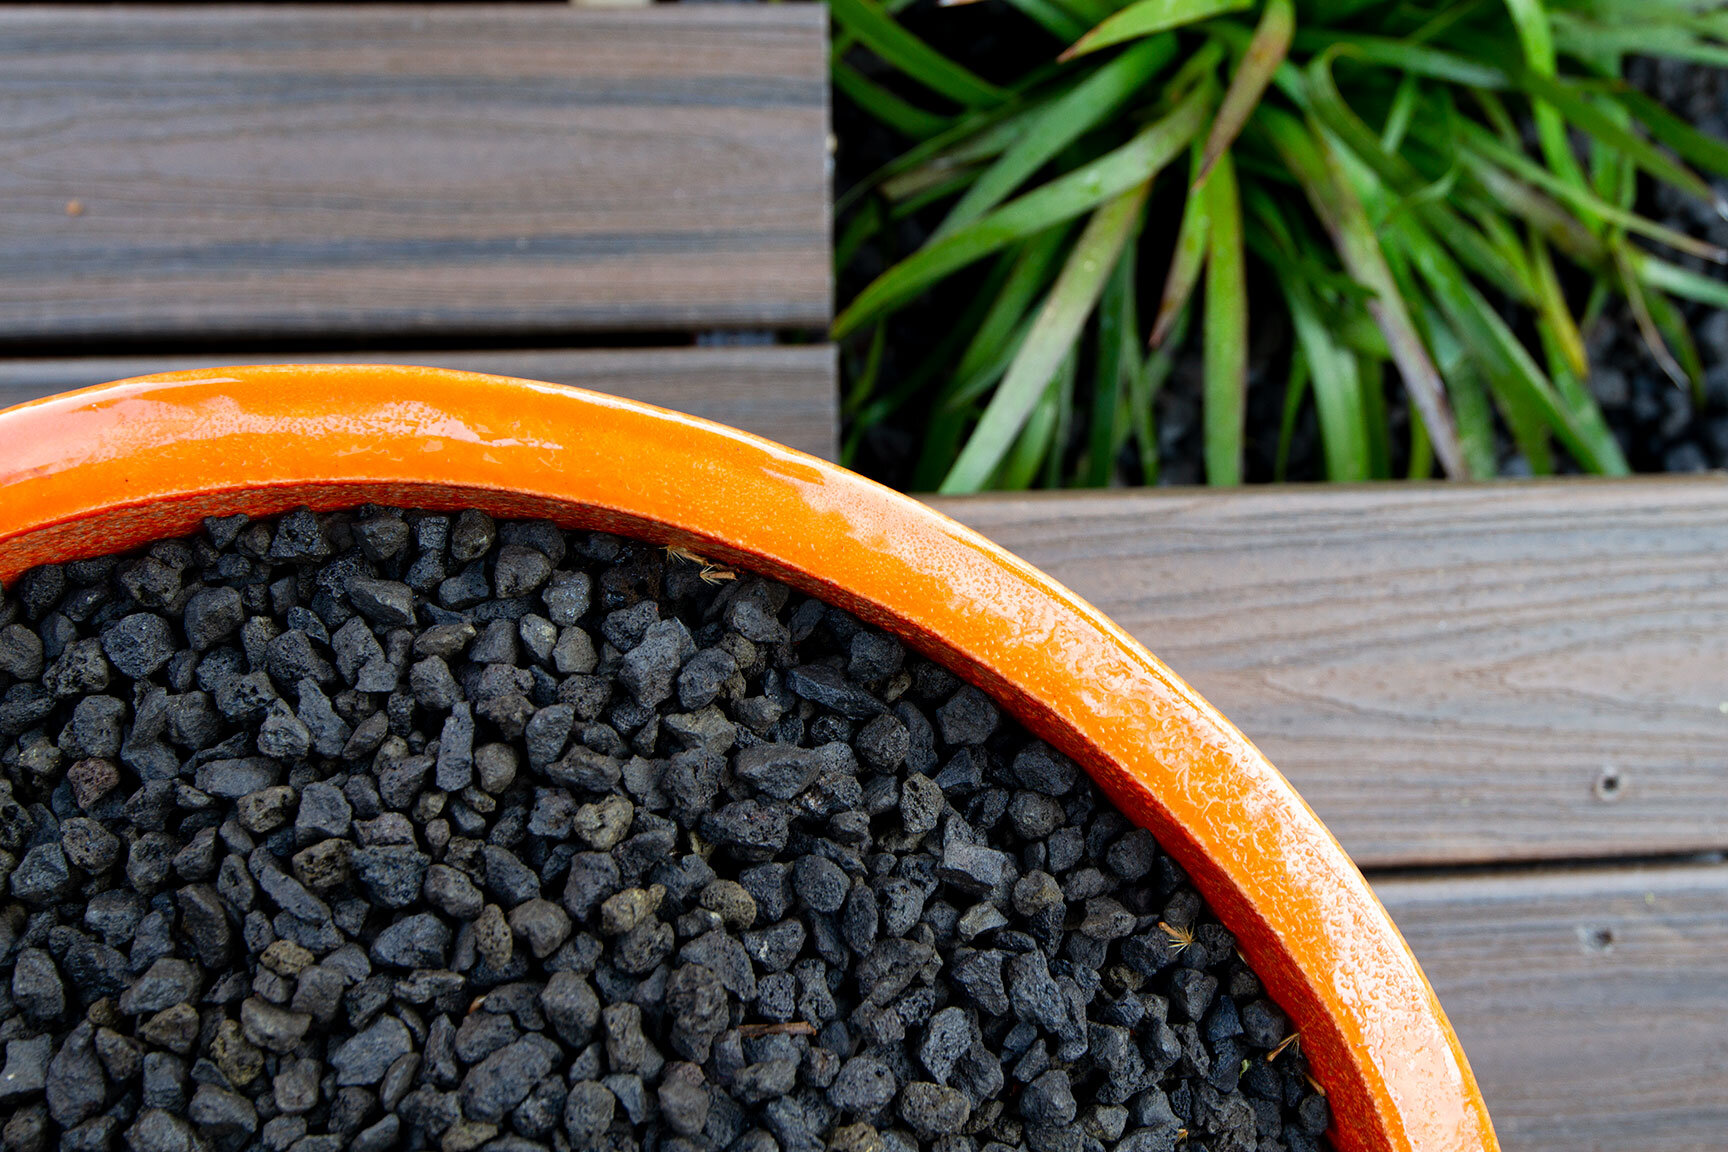
To add even more excitement, I created two flame cauldrons to flank the entrance of the hale. I used large, cone-shaped orange ceramic planters from a local nursery, 1/2” black lava rock, ethanol fuel can inserts, and PVC sewer couplings as a container for the fuel cans. I filled the planters with rocks, buried the coupling, then mounded rocks around it. The fuel can sits safely in the coupling to avoid tipping or spils.
The tapered shapes of these planters echo the A-frame and surrounding torches, and the bold orange color gives a vibrant punch against neutral backgrounds.

FURNISHING THE HALE
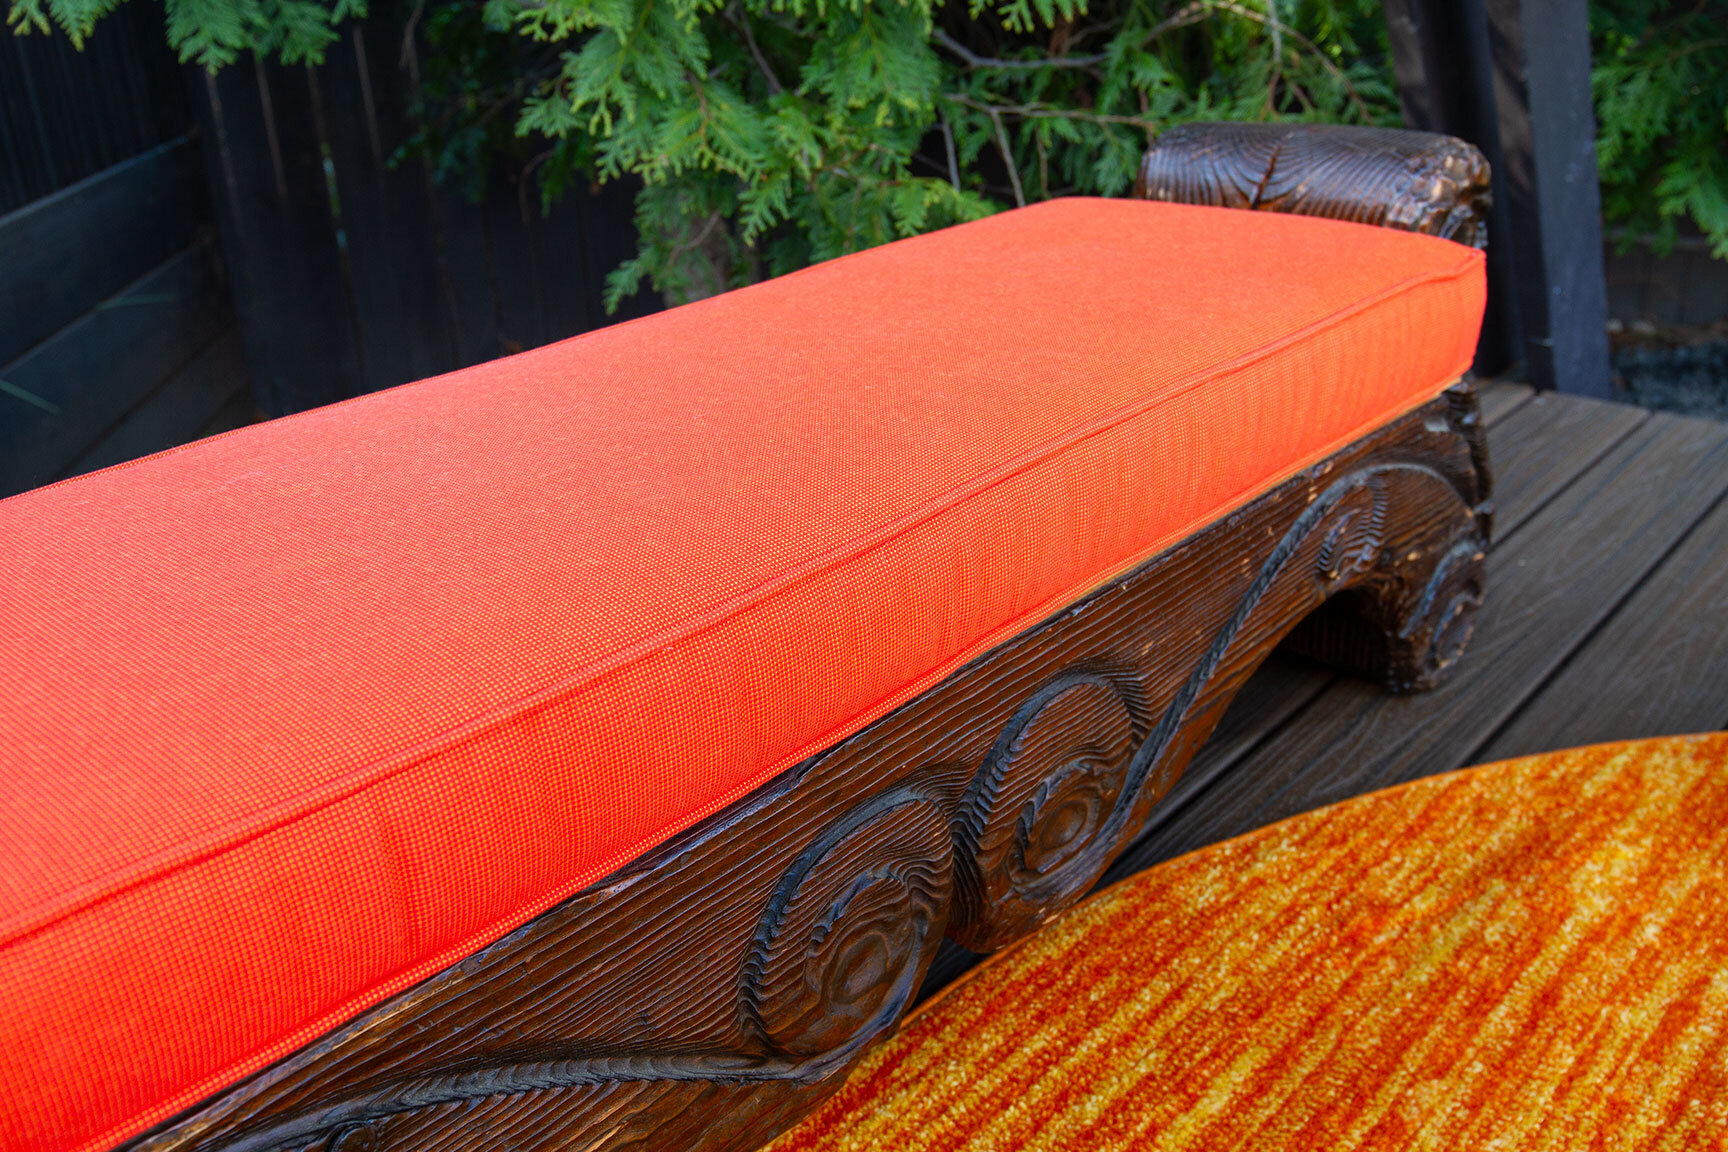
Placing furniture and styling a space are often my favorite tasks in a design project, and the hale was no exception. I stumbled upon a local sale of a vintage Witco bench, which I thought would be perfect for seating at the back of the deck. I had the bench reupholstered with quick-dry foam and sunbrella fabric to match the recently rehabbed barstools. However, this treasured piece of furniture is only brought outdoors for special gatherings and parties.
Witco produced furniture, sculptures, and artwork in Oceanic style from the late ‘50s into the late ‘60s. Their rugged-yet-whimsical creations were made from Pacific Northwest red cedar, which was burned and waxed for finishing — a truly unique look. While demand for furniture of this type faded away in the ‘70s, the company has regained popularity over the past several years, particularly with the resurgence of tiki culture, and is still family-owned and operated by Pleasant Tiki. Definitely check them out for truly beautiful works of art in mid-century Hawaiiana style.
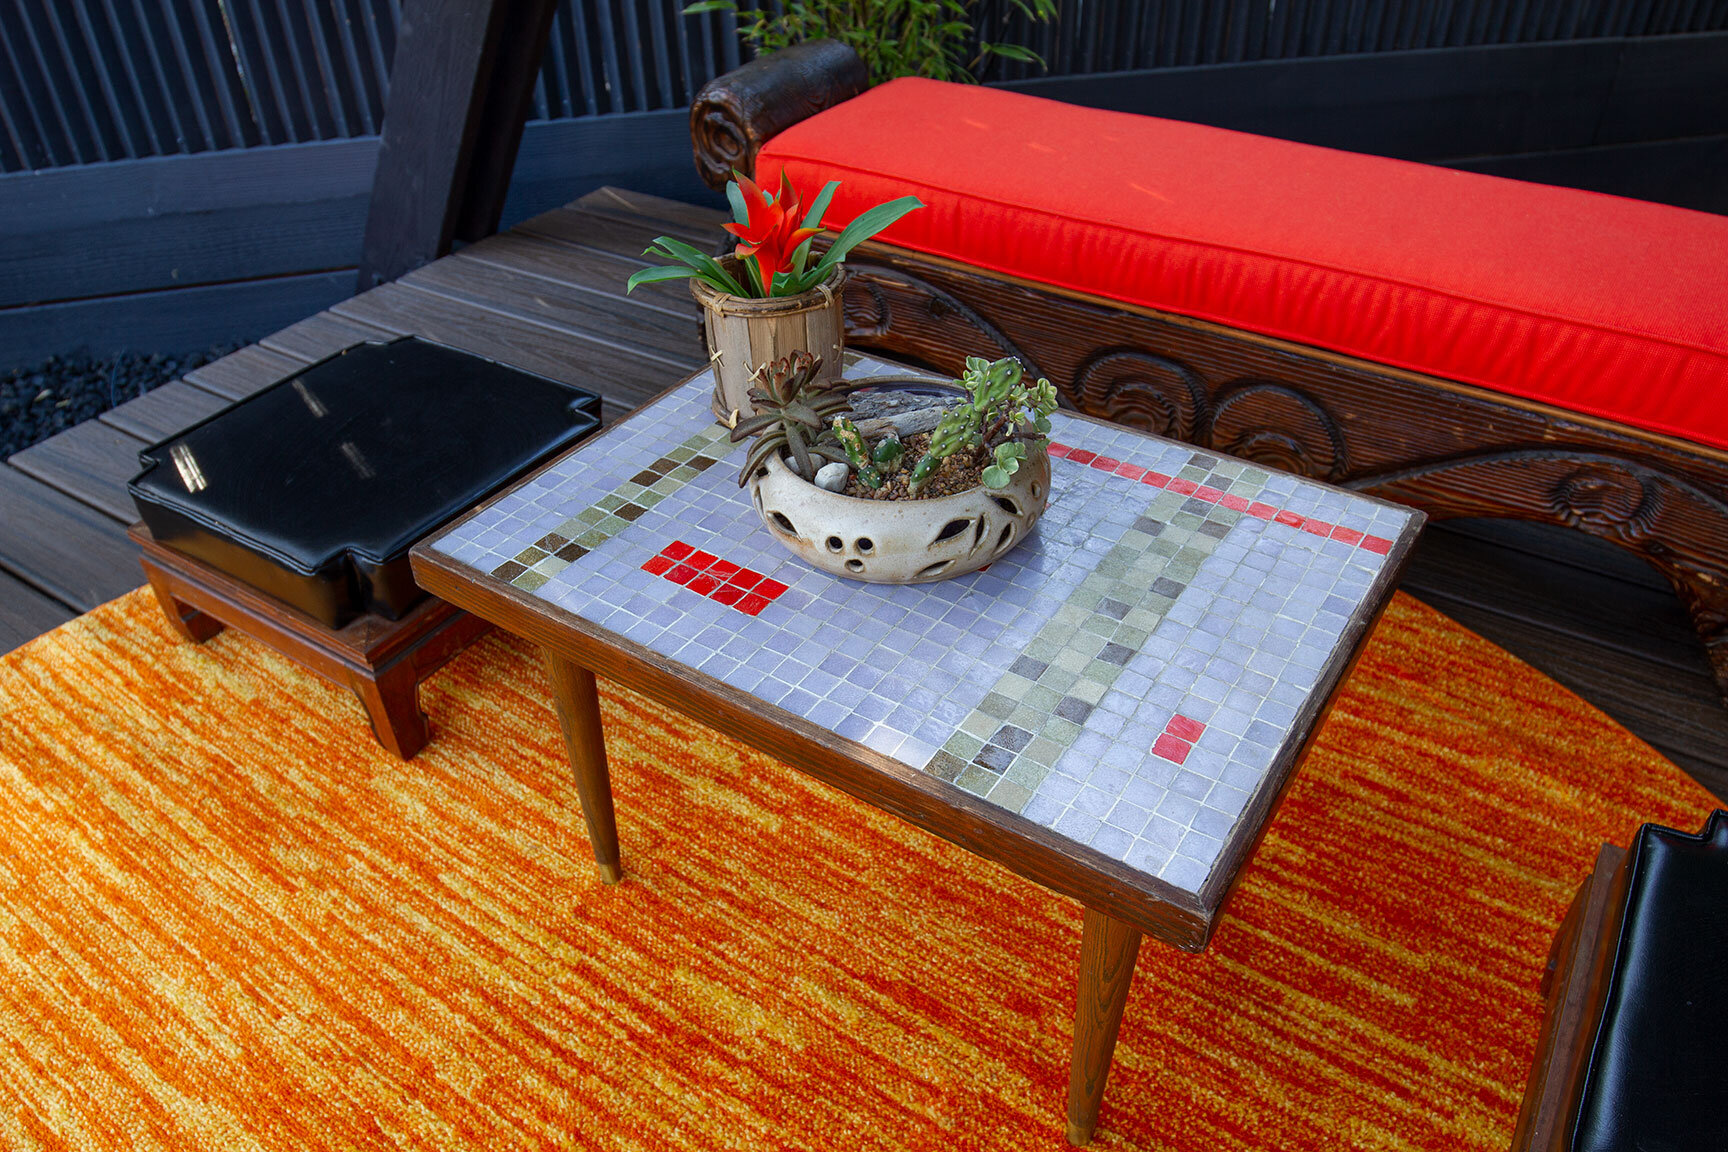

A set of vintage stacking stools with subtle Asian flair provide low profile seating around a mid-century mosaic tile coffee table. The space is anchored with a bold and bright round rug that reminds me of flowing lava. The feel of this rug is soft and fuzzy even though it’s made of 100% polypropylene. Should it become dirty, it can simply be hosed down in place, and left outside to dry. However, mahalo for removing your slippers!

We’re at the end of the tour, and I hope you enjoyed exploring The House of Happy Talk project as much as I have. It’s been a journey to say the least, but I’m so very proud of the work accomplished. We set out to construct something we had no experience with, but forged ahead. With a solid vision, inspiration, and determination, it turned out to be a success that will be enjoyed for years to come. As you think about your next DIY home improvement, I encourage you dive into the unknown, finding inspiration in your travels that can be incorporated into your own backyard. Now, who’s ready for a celebration? Grab your tropical cocktail, and let’s get to it! A hui hou!