House of Happy Talk - Part 1: Foundations

The vision for the backyard has continued to develop over the course of a couple of years. From a rugged, overgrown jungle, to a period-appropriate tri-stake fence, and decorative art screen, the vision for this space continues to take shape.
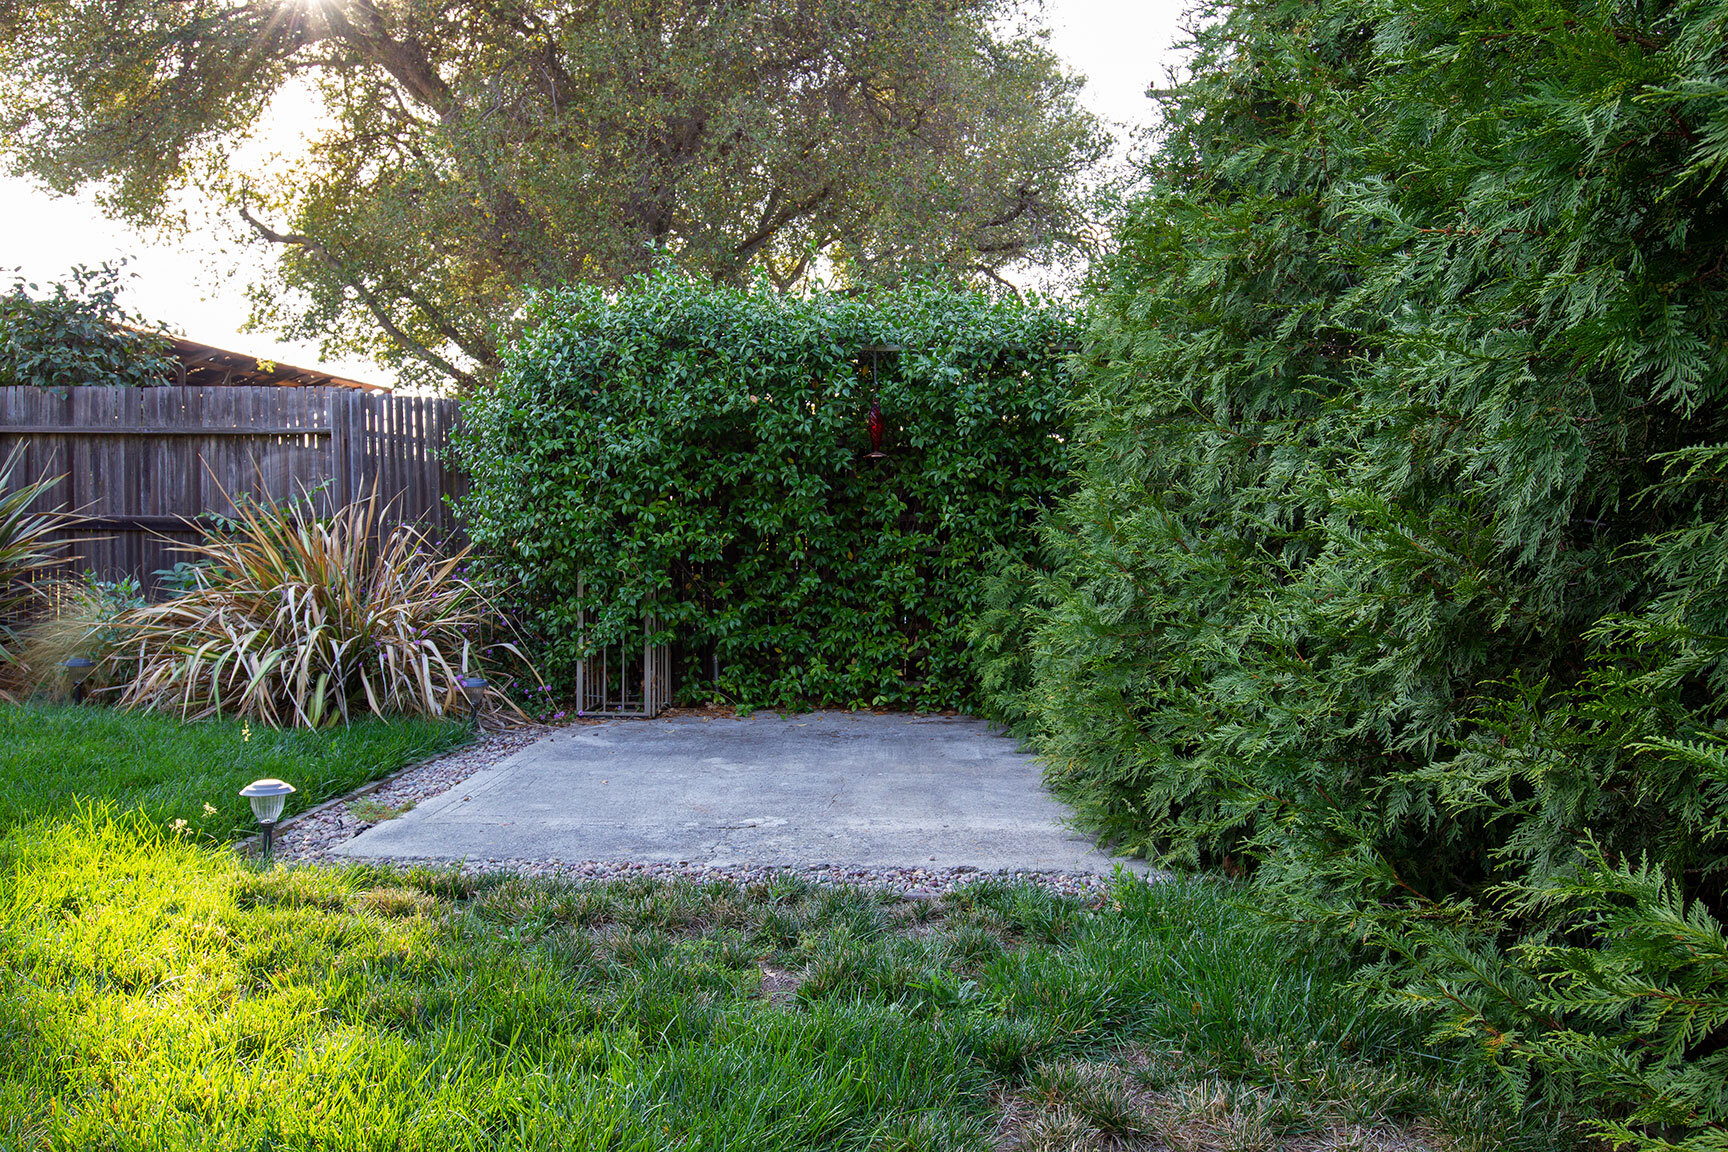
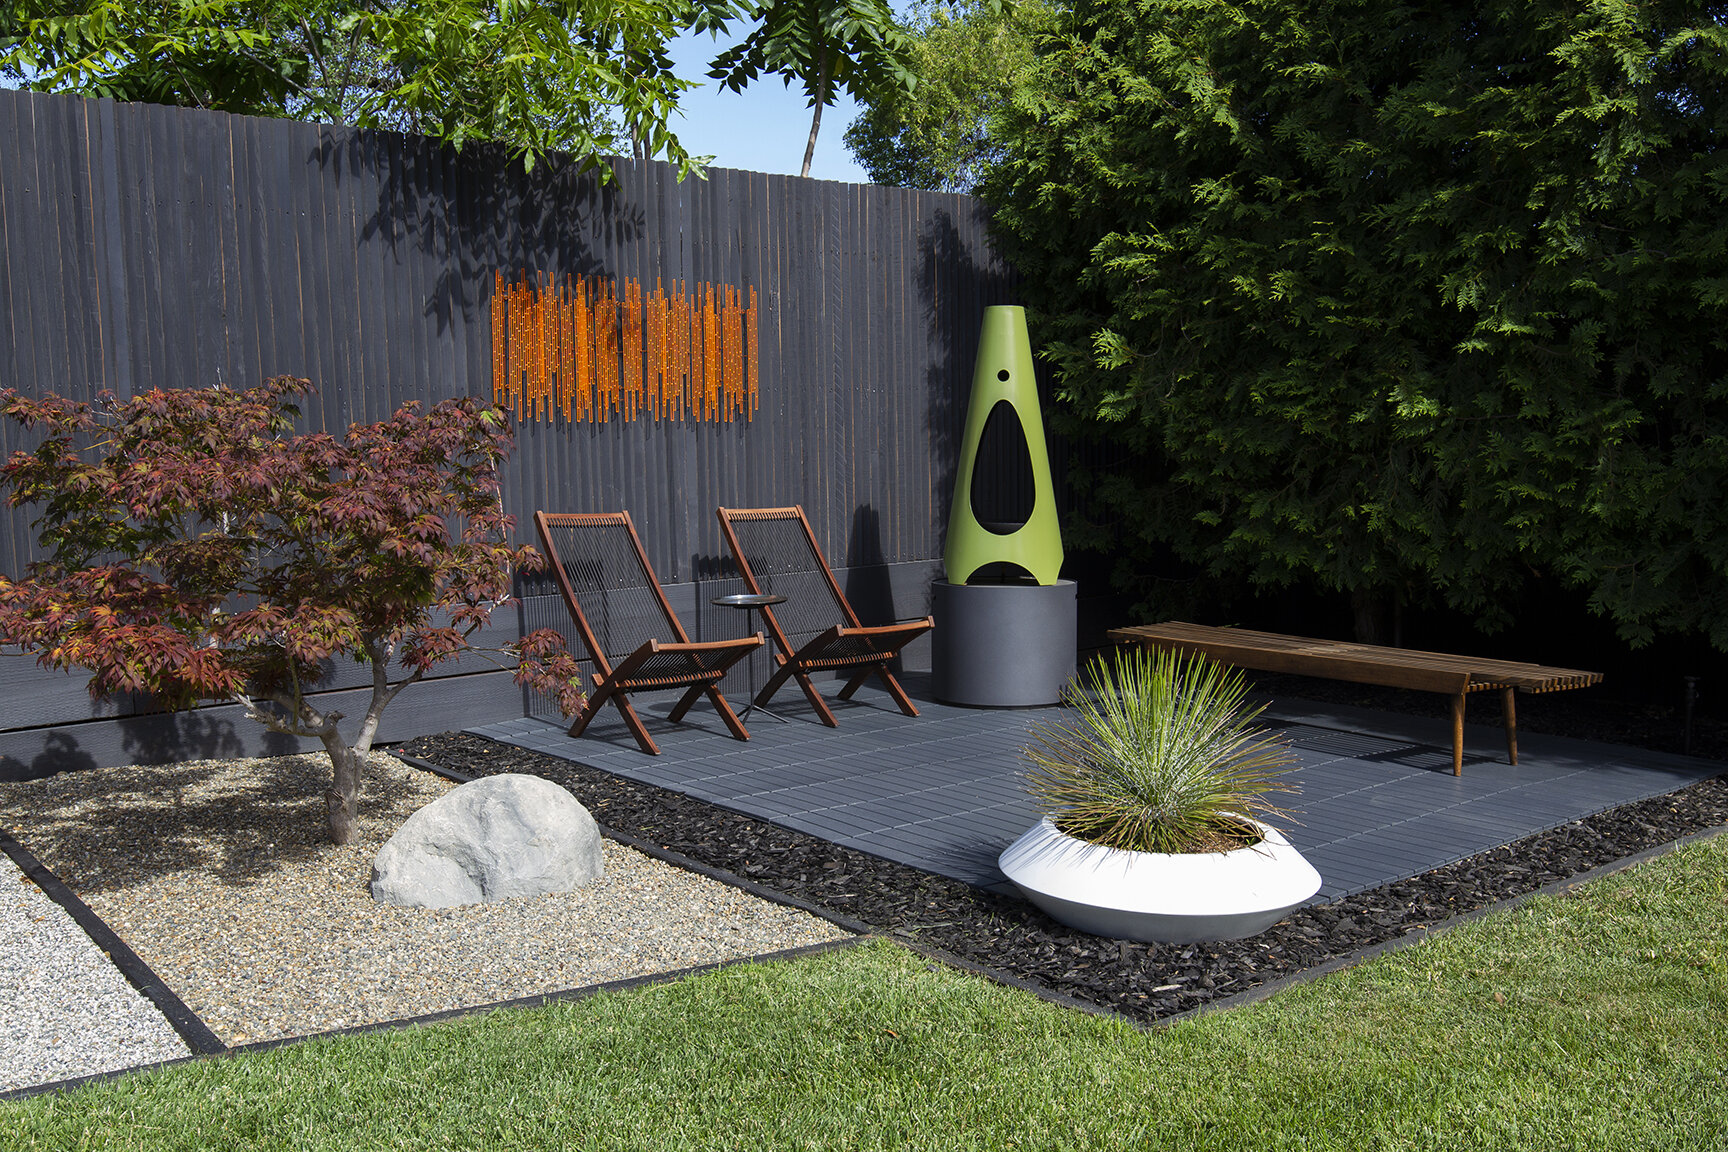
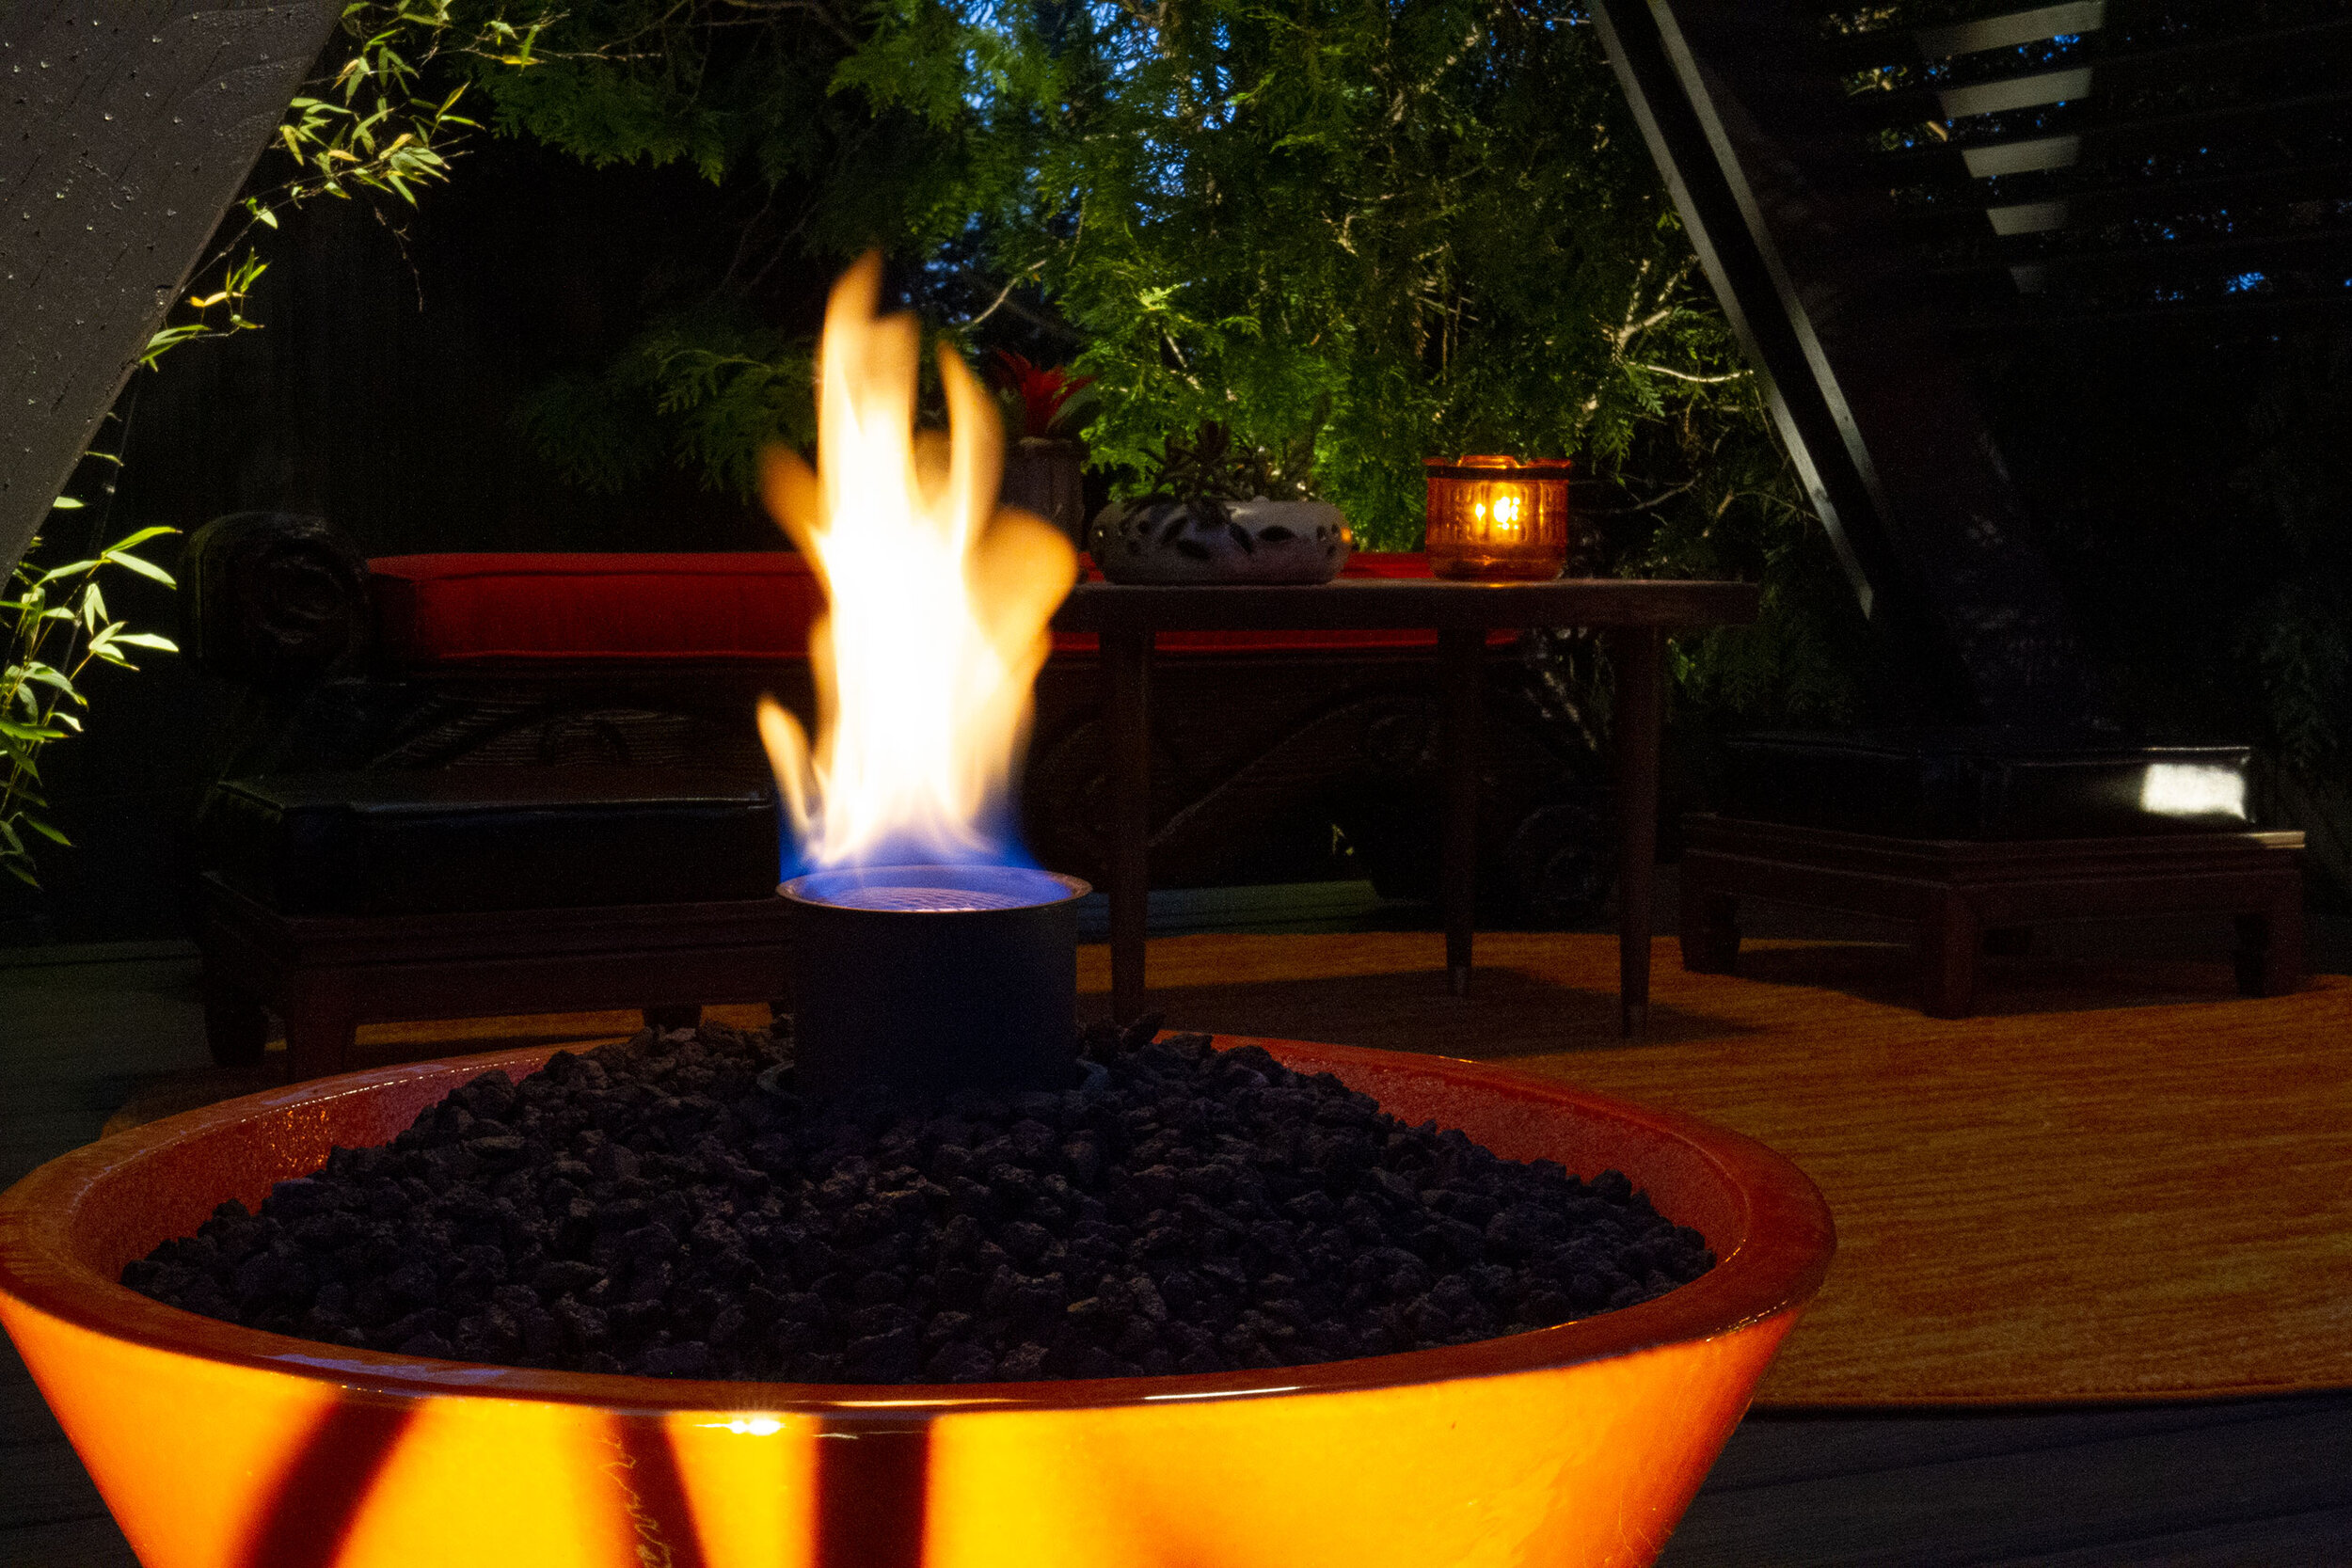
Prior to taking ownership of my home, a slab was poured in the back corner with the intent of installing a hot tub. Ultimately, I wanted to utilize this area for some kind of entertaining space or structure instead. While I waited to figure that out, I made use of the space by creating an outdoor living room. This temporary spot was featured in Atomic Ranch, and has served me and my guests well over the past couple of years, but with more time at home, and a pretty mild winter, I found it was an ideal time to fully realize this corner of the backyard.
Cultural Connection
Both work and play have carried me to Hawaii regularly, and those travels have played a big role in guiding my design aesthetic and how that is interpreted into the house and its surroundings. While it’s not difficult to fall in love with a tropical location, I find that my connection to the islands goes much deeper than just enjoying a pretty place. It is an intense respect for the land, a rich, diverse history, cultural traditions, and most certainly the local people that inspire me in everyday life and the approach to projects I tackle. Aloha is a very real connection, and a spirit that fills me with every visit to the islands. Being able to carry those values, and incorporate them into to life on the mainland has become vitally important to me. With this approach at the center of the backyard goals, Glen and I have spent the past several months designing and constructing one of our biggest projects to date: The House of Happy Talk.
“During this celebration feast, there would be no unpleasant talk...”
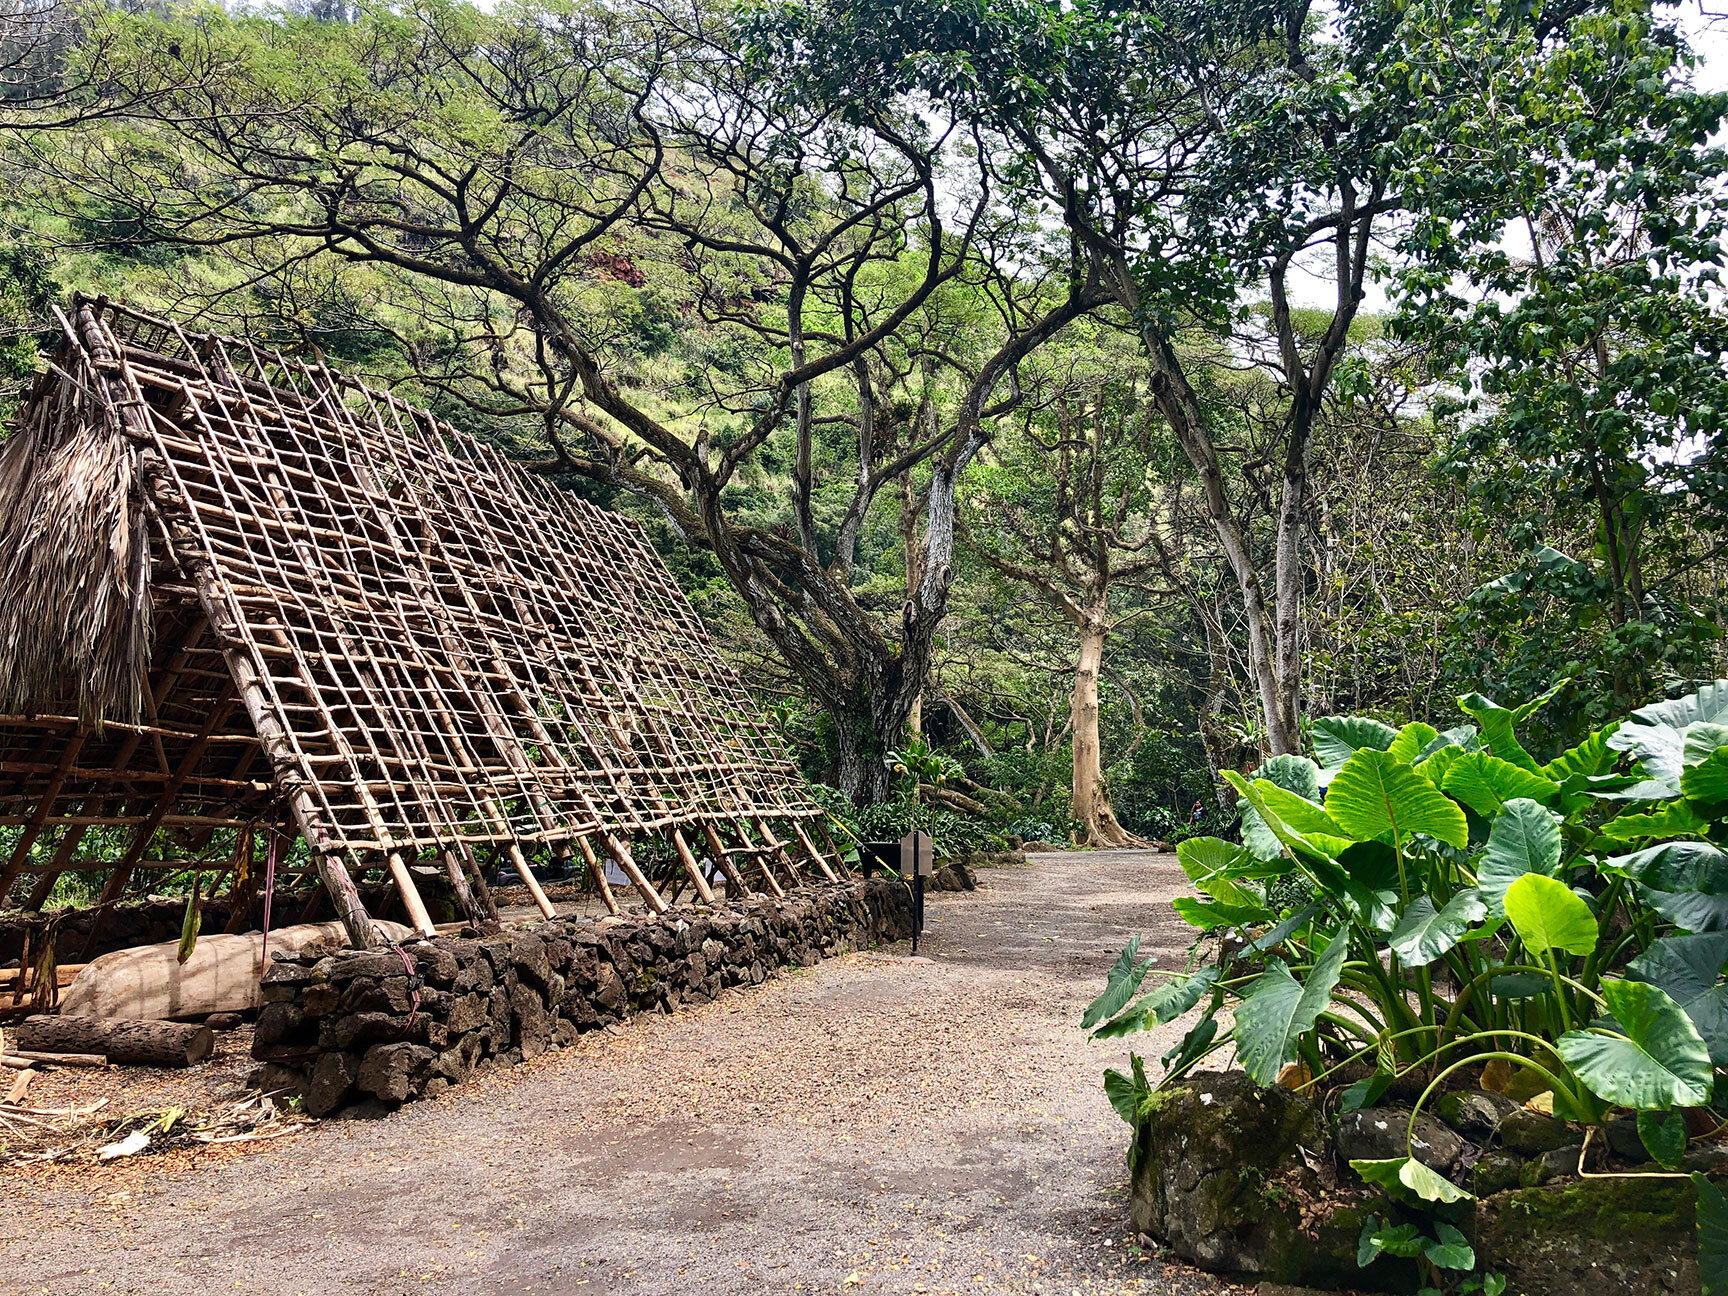
I’ve looked to many places and experiences to create a structure for the backyard that blend Hawaiian style with mid-century design. Some of the most influential sources were found on O’ahu in the lush botanical garden of Waimea Valley, where there is an abundance of natural resources, historical sacred grounds, and reconstructed traditional structures. One of my favorite pieces of architecture in the valley is a Hālau Wa’a (canoe house). The steep A-frame design is unmistakably Polynesian — a shape that was also used in architecture of the mid-20th century. Houses, or hale [ha-lay] of this type were constructed in traditional Hawaiian living sites, and were made of wood, coconut fibers, grasses, and lava rock. When the construction of a hale was complete, a formal dedication and celebration would take place. Friends and family (ohana) were invited to the celebration, bringing abundant food, plants, and gifts to fill the home with the aloha spirit. During this celebration feast, there would be no unpleasant talk, and festivities would last for several days. Doesn’t that sound wonderful?


More modernized structures stemming from this type of hale design can be seen around the islands as well. A few examples shown here are on O’ahu and the island of Hawai’i. It is the high pitch gable that really speaks to me, and what I wanted to incorporate into the backyard design. Our intent was not to create a literal replication of a traditional structure, nor go too strongly in the way of tiki kitsch. Instead, we set out to design a tasteful backyard retreat that honors Hawaiian heritage while living harmoniously in a modern, playful setting.


The steep A-frame is unmistakably Polynesian — a shape that was also used in architecture of the mid-20th century.
Making Plans
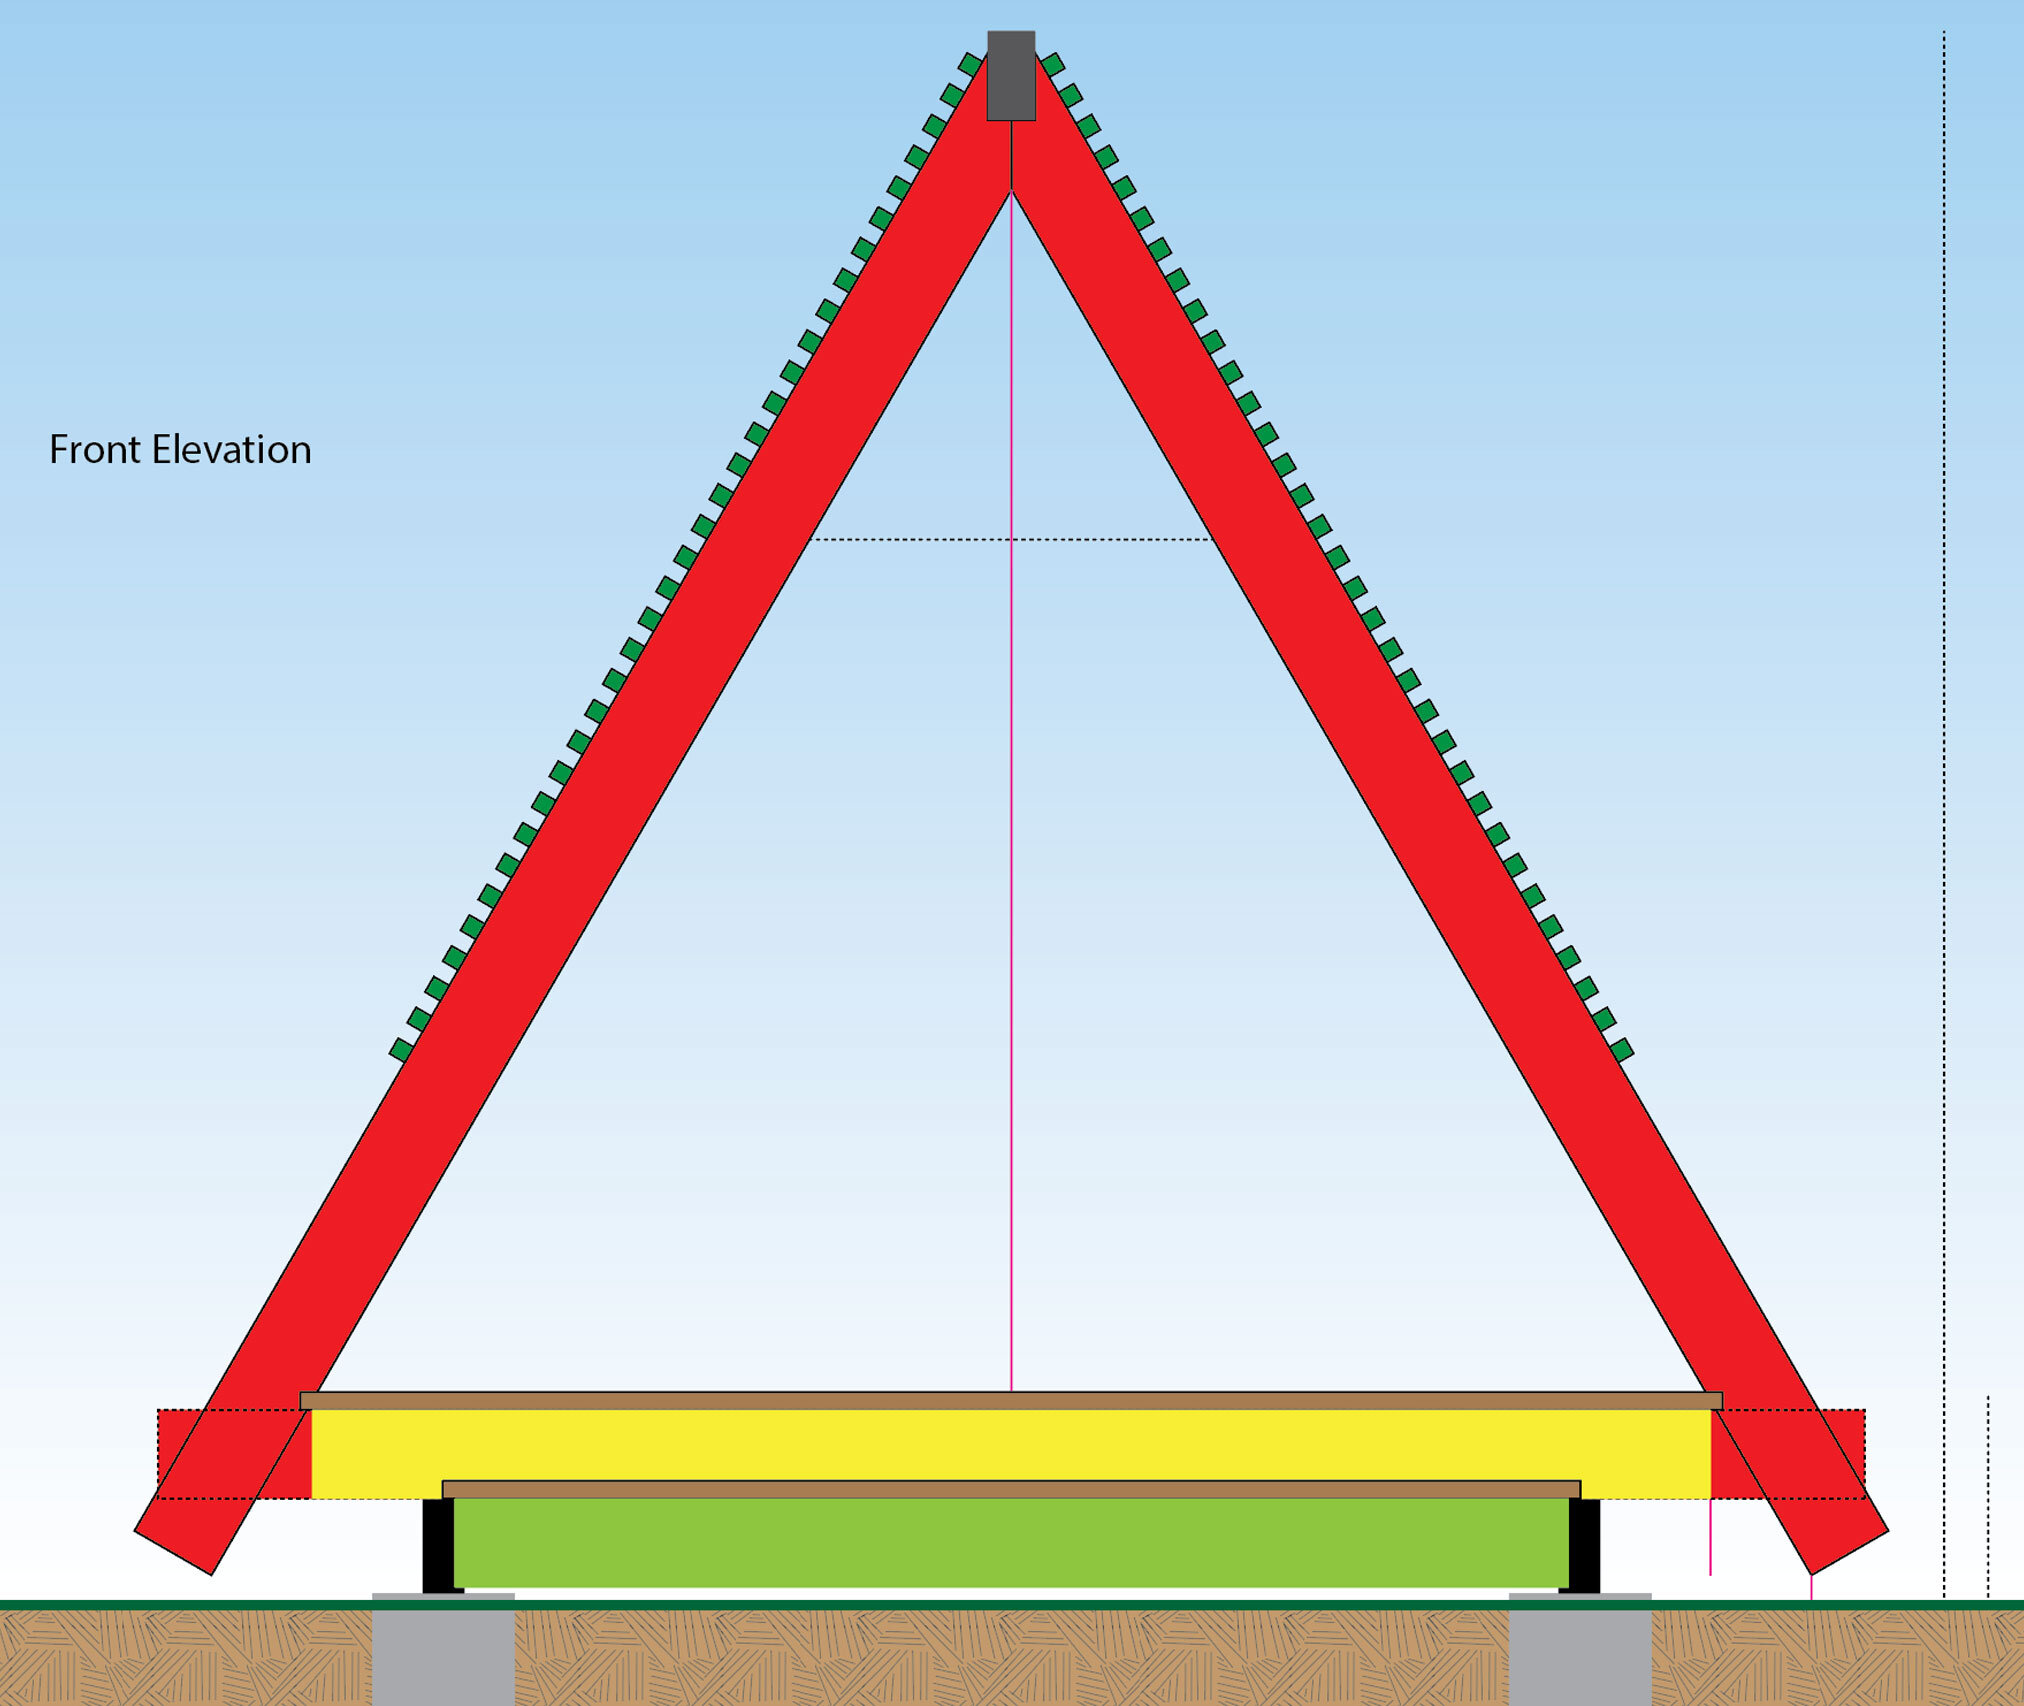
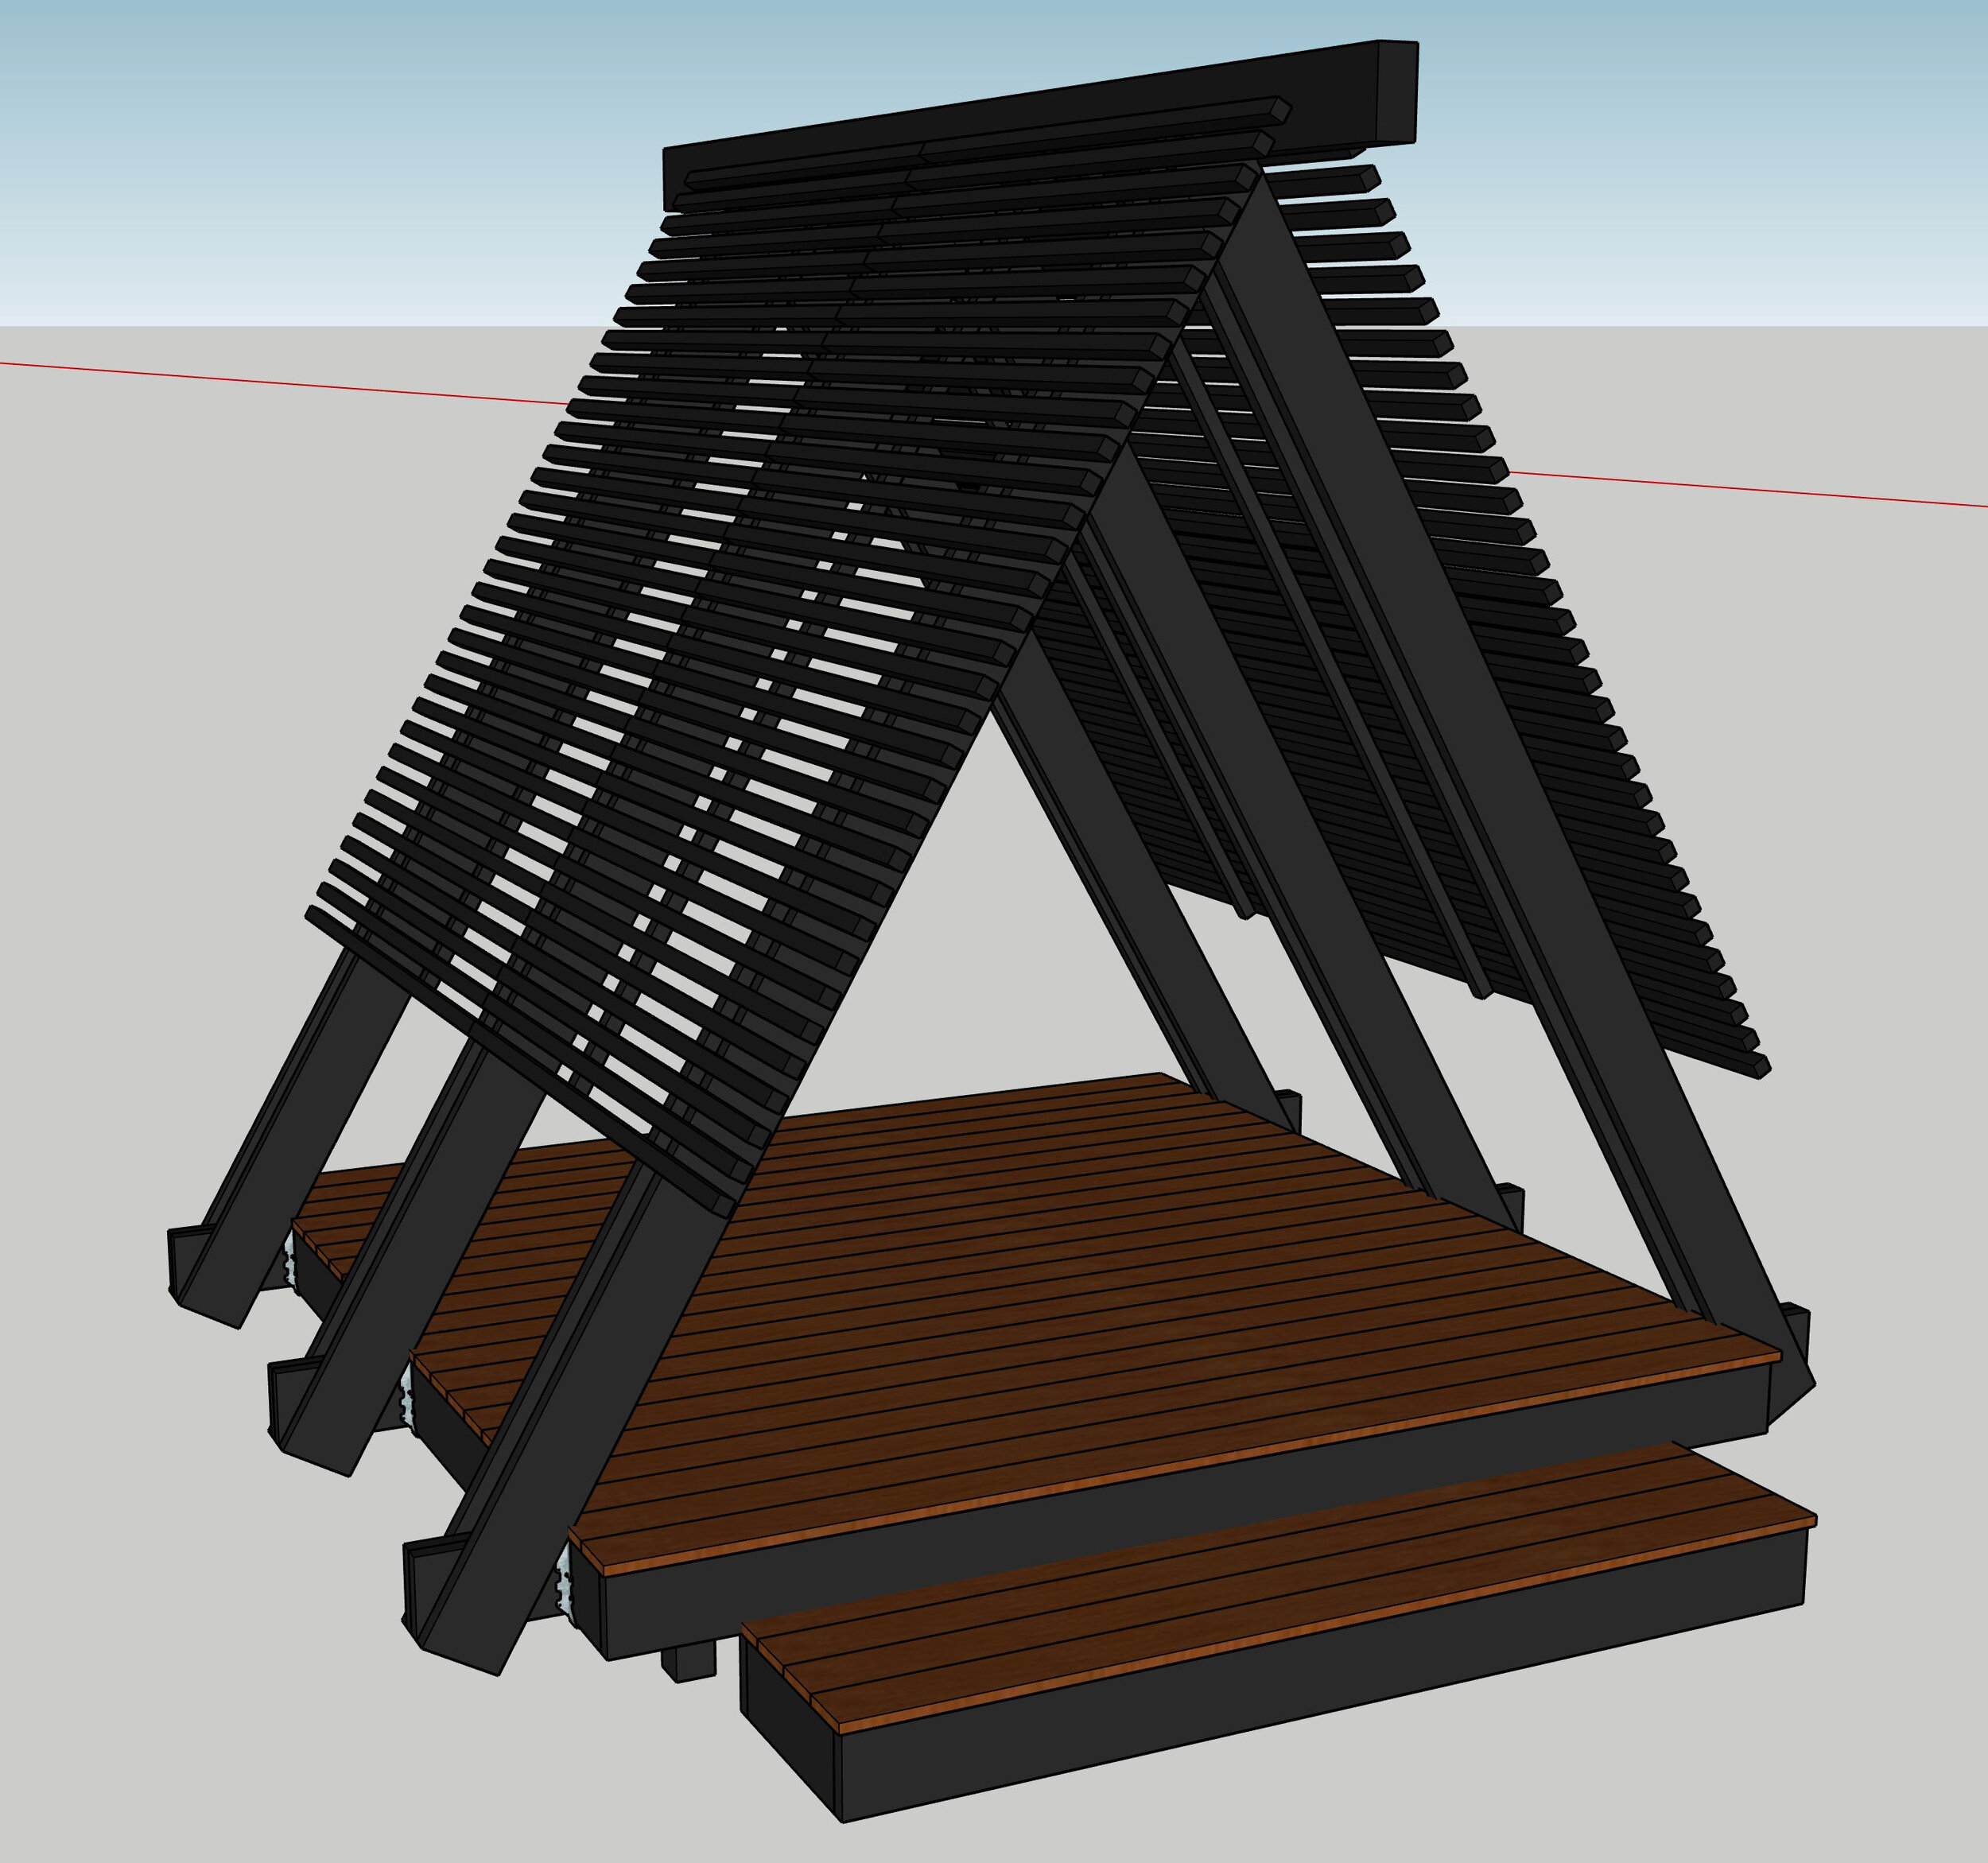
Not unlike other construction projects at my home, we turned to our design software to create scaled plans for the hale. Our basic planning is done with Illustrator, while 3-D models are rendered with SketchUp. These softwares allow us to create a lumber cut list, determining a general range of project costs and materials. It’s a significant amount of work to make a design plan, but 100% necessary when taking on a construction project, particularly one of this size and precision.
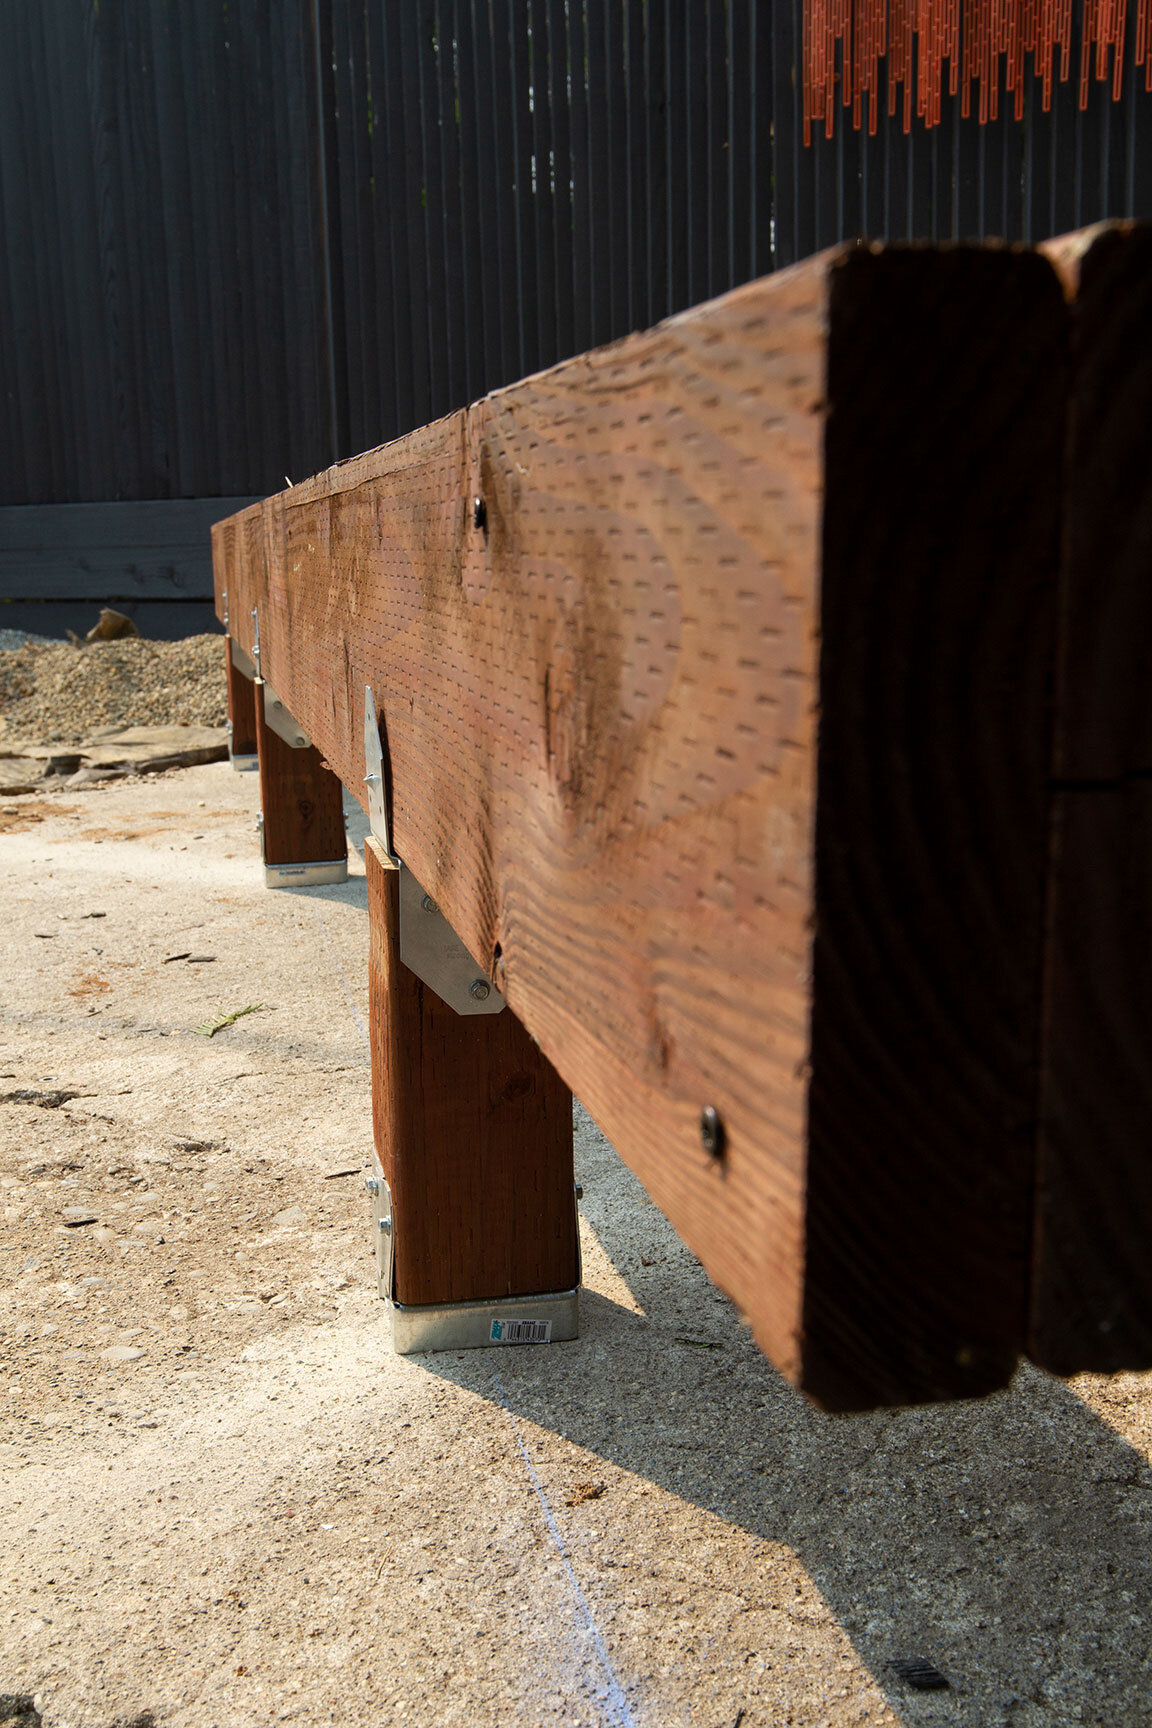
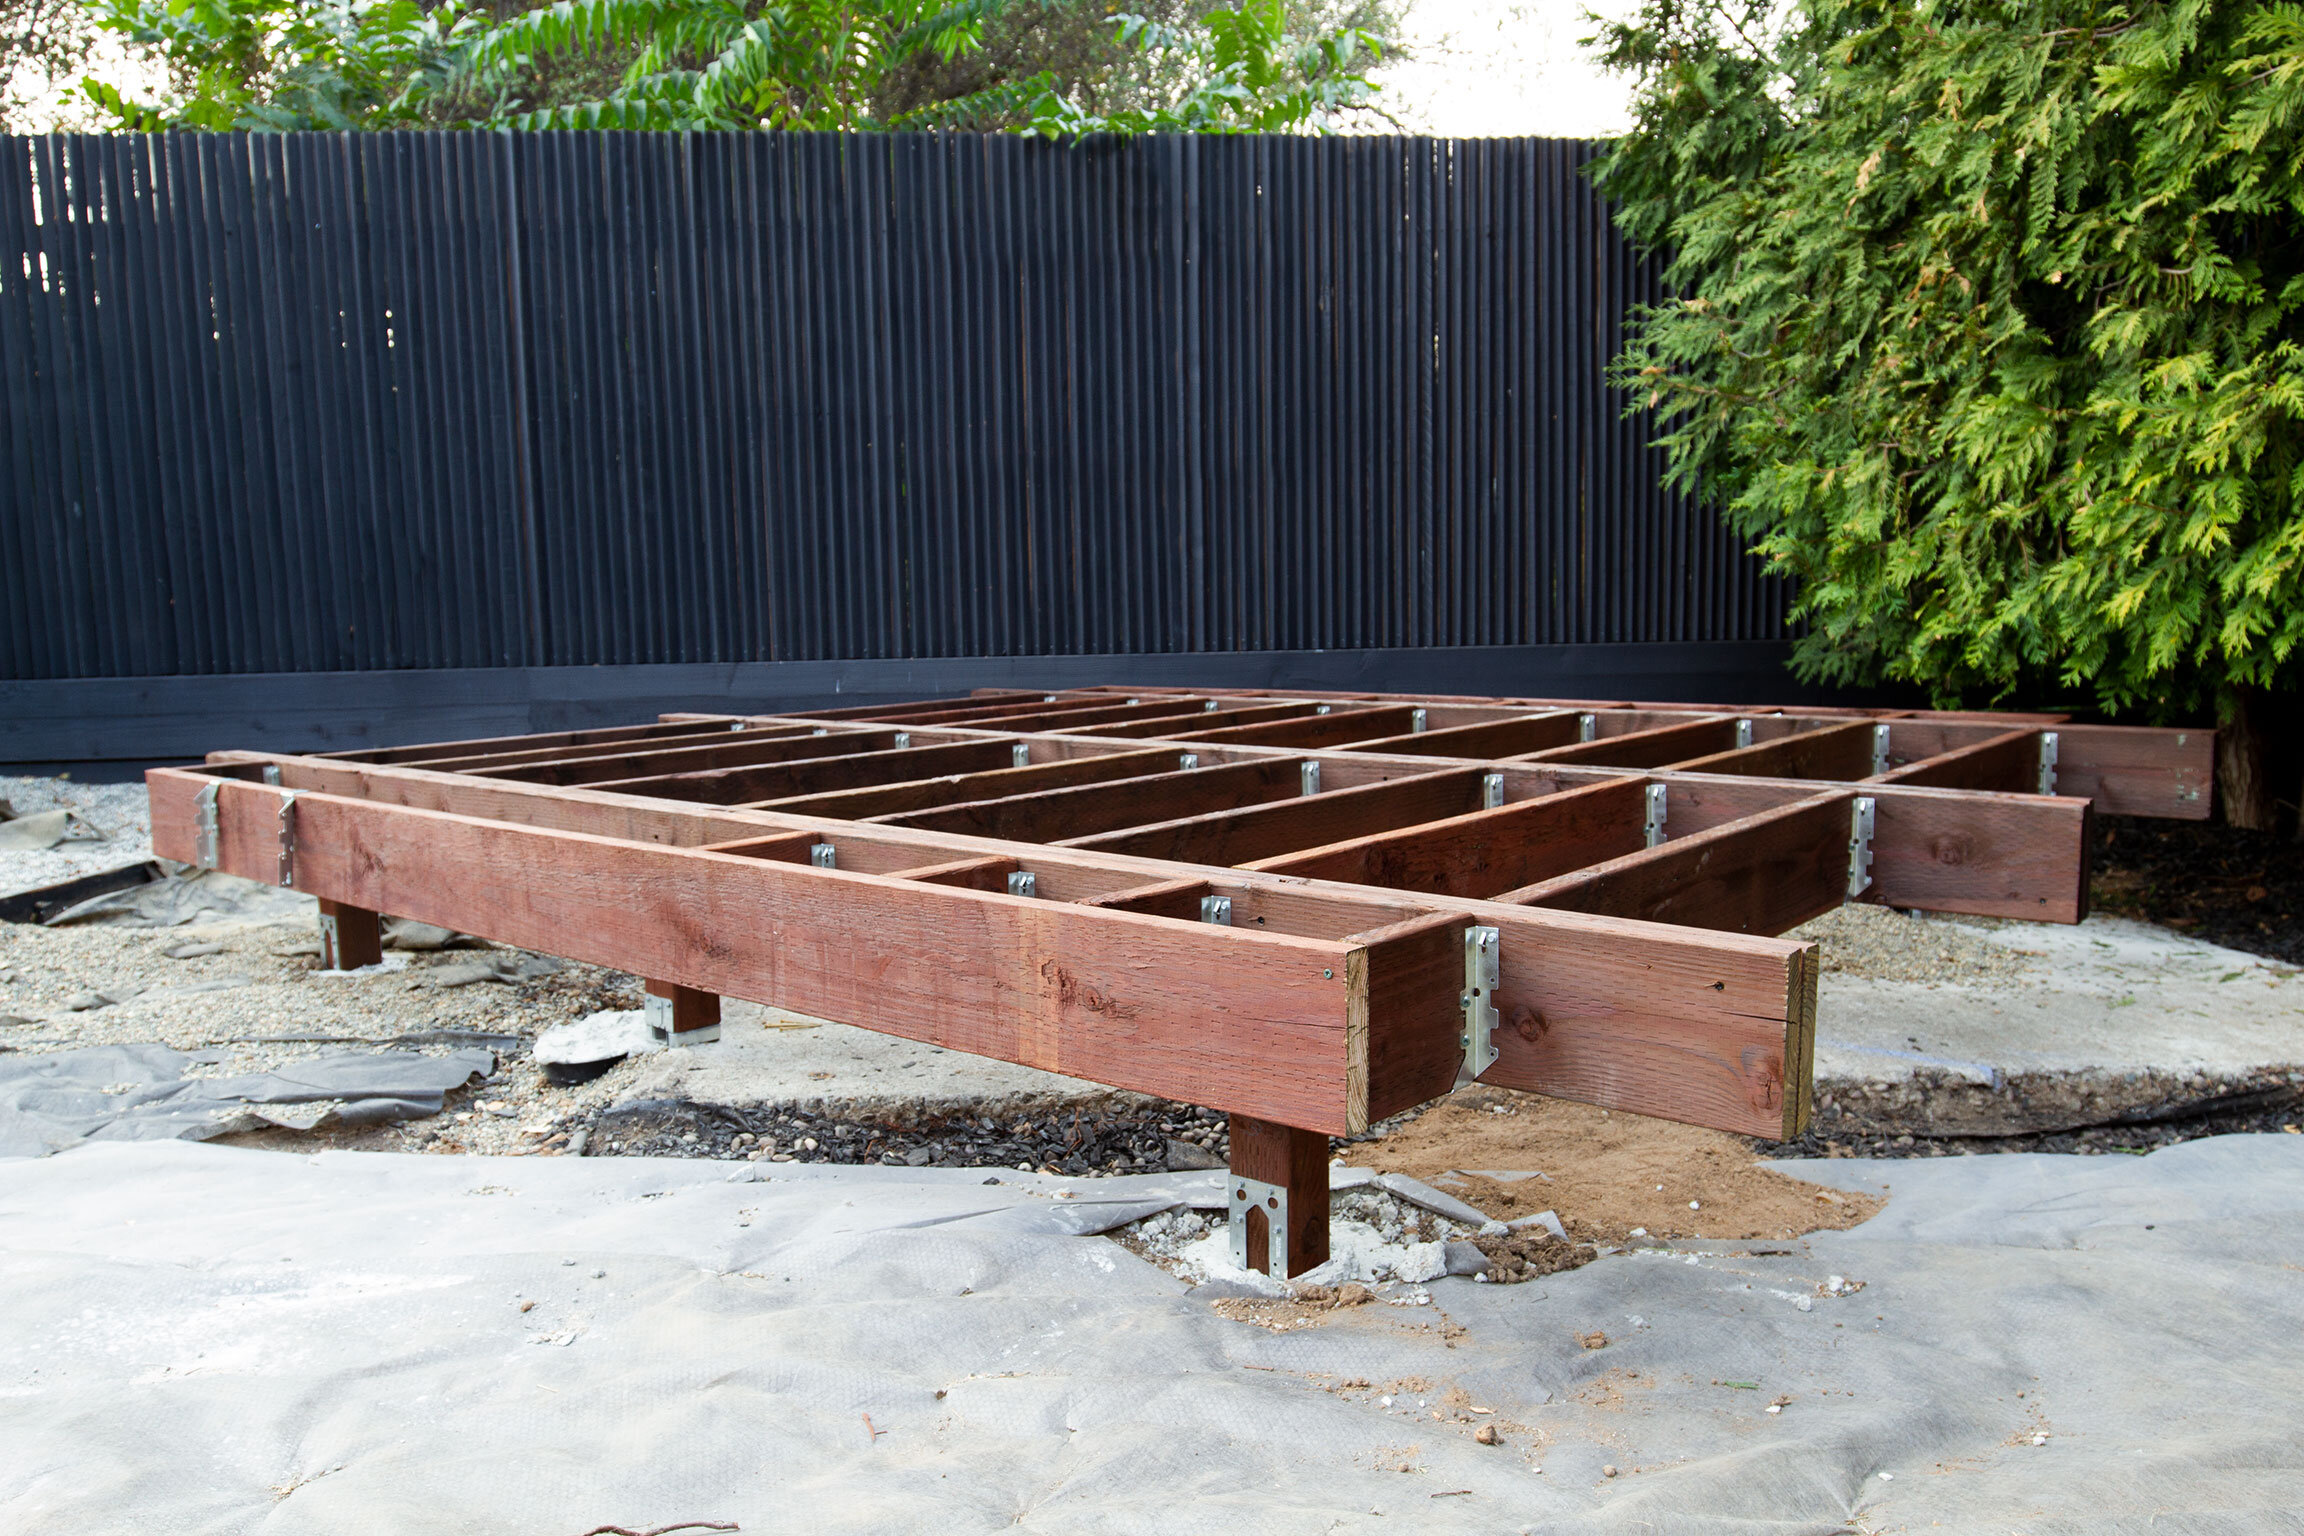
Rather than rely on posts being cemented into the ground or into a masonry wall, we opted to incorporate a raised deck into the design. This allowed the A-frame to sit above ground, giving it a free, floating appearance that pairs well with the foundation of the main house scheme. The slight rise on the deck also let us incorporate a step at the entrance for a more grand appearance.
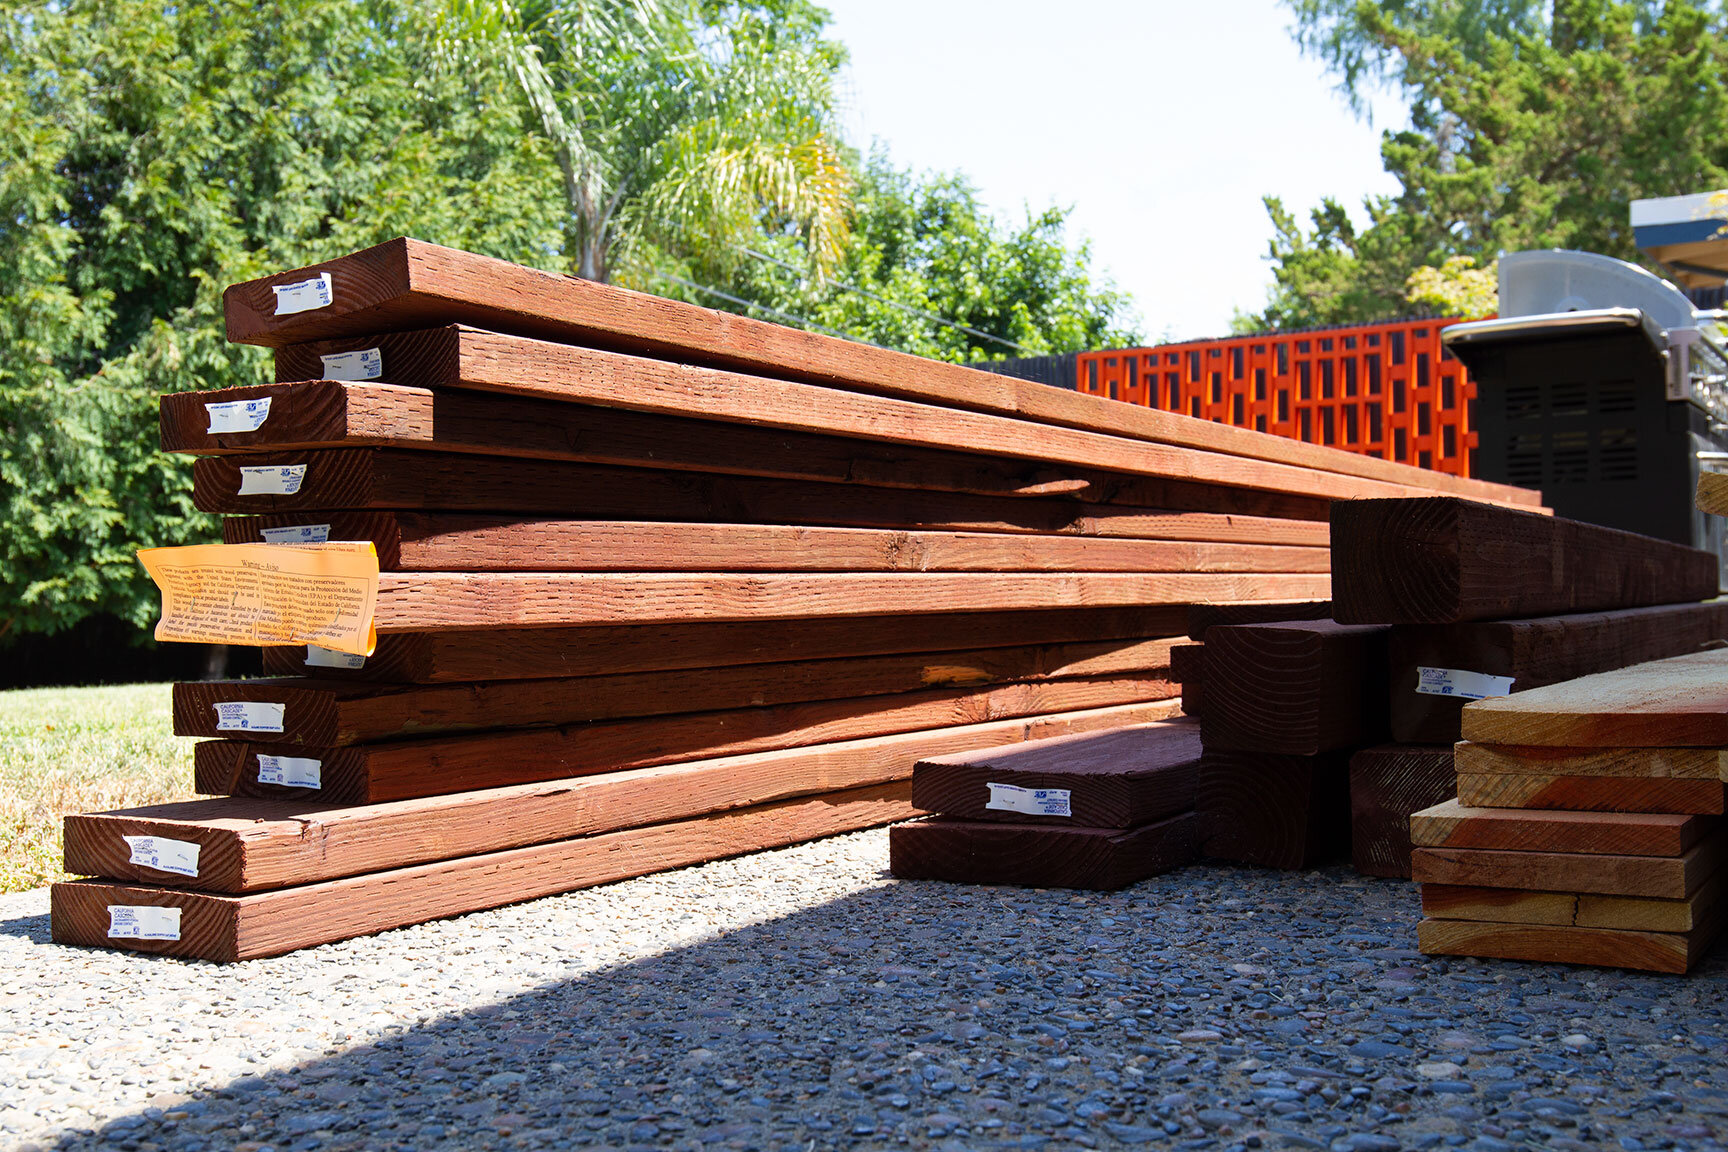
A sizeable haul of pressure treated redwood was spec’d for construction. The basic deck plan consists of 4x4 posts, 2x8 joists, and a hefty 4x8x12 ridge beam that sits at the A-frame gable.
Breaking Ground
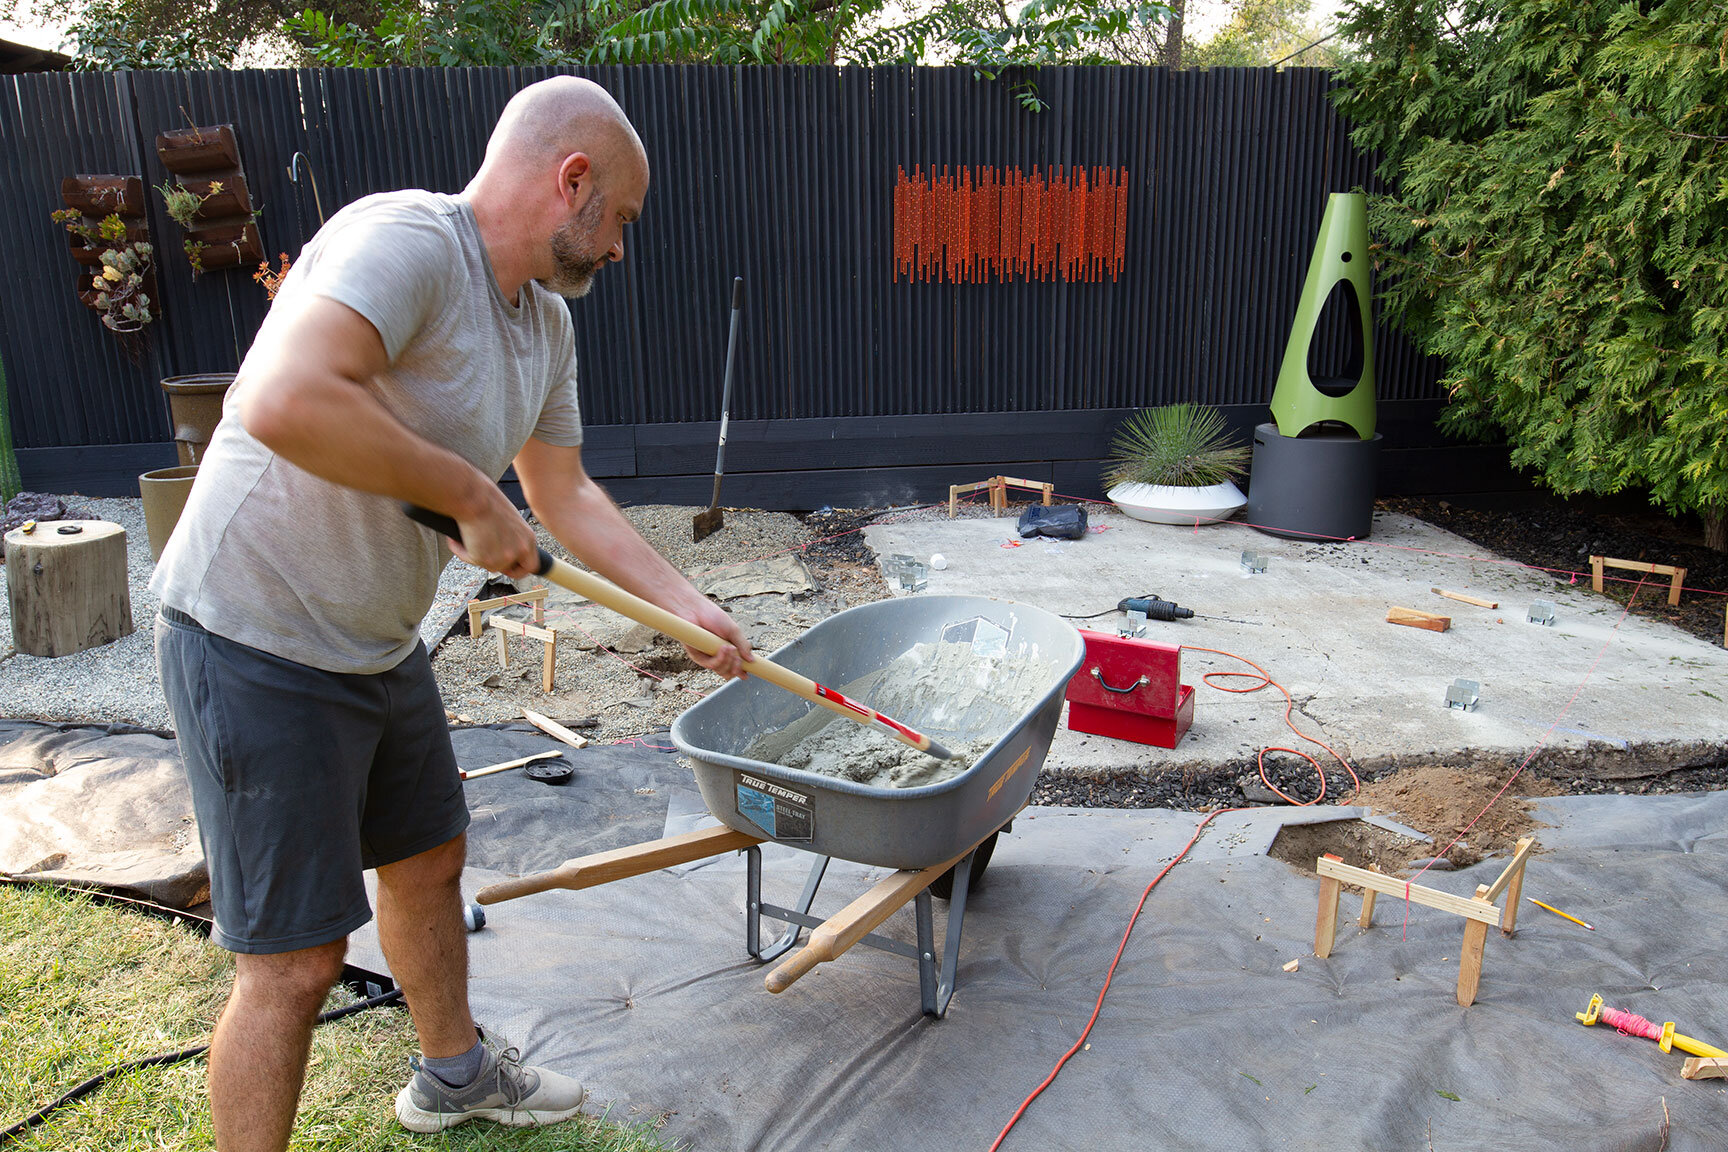
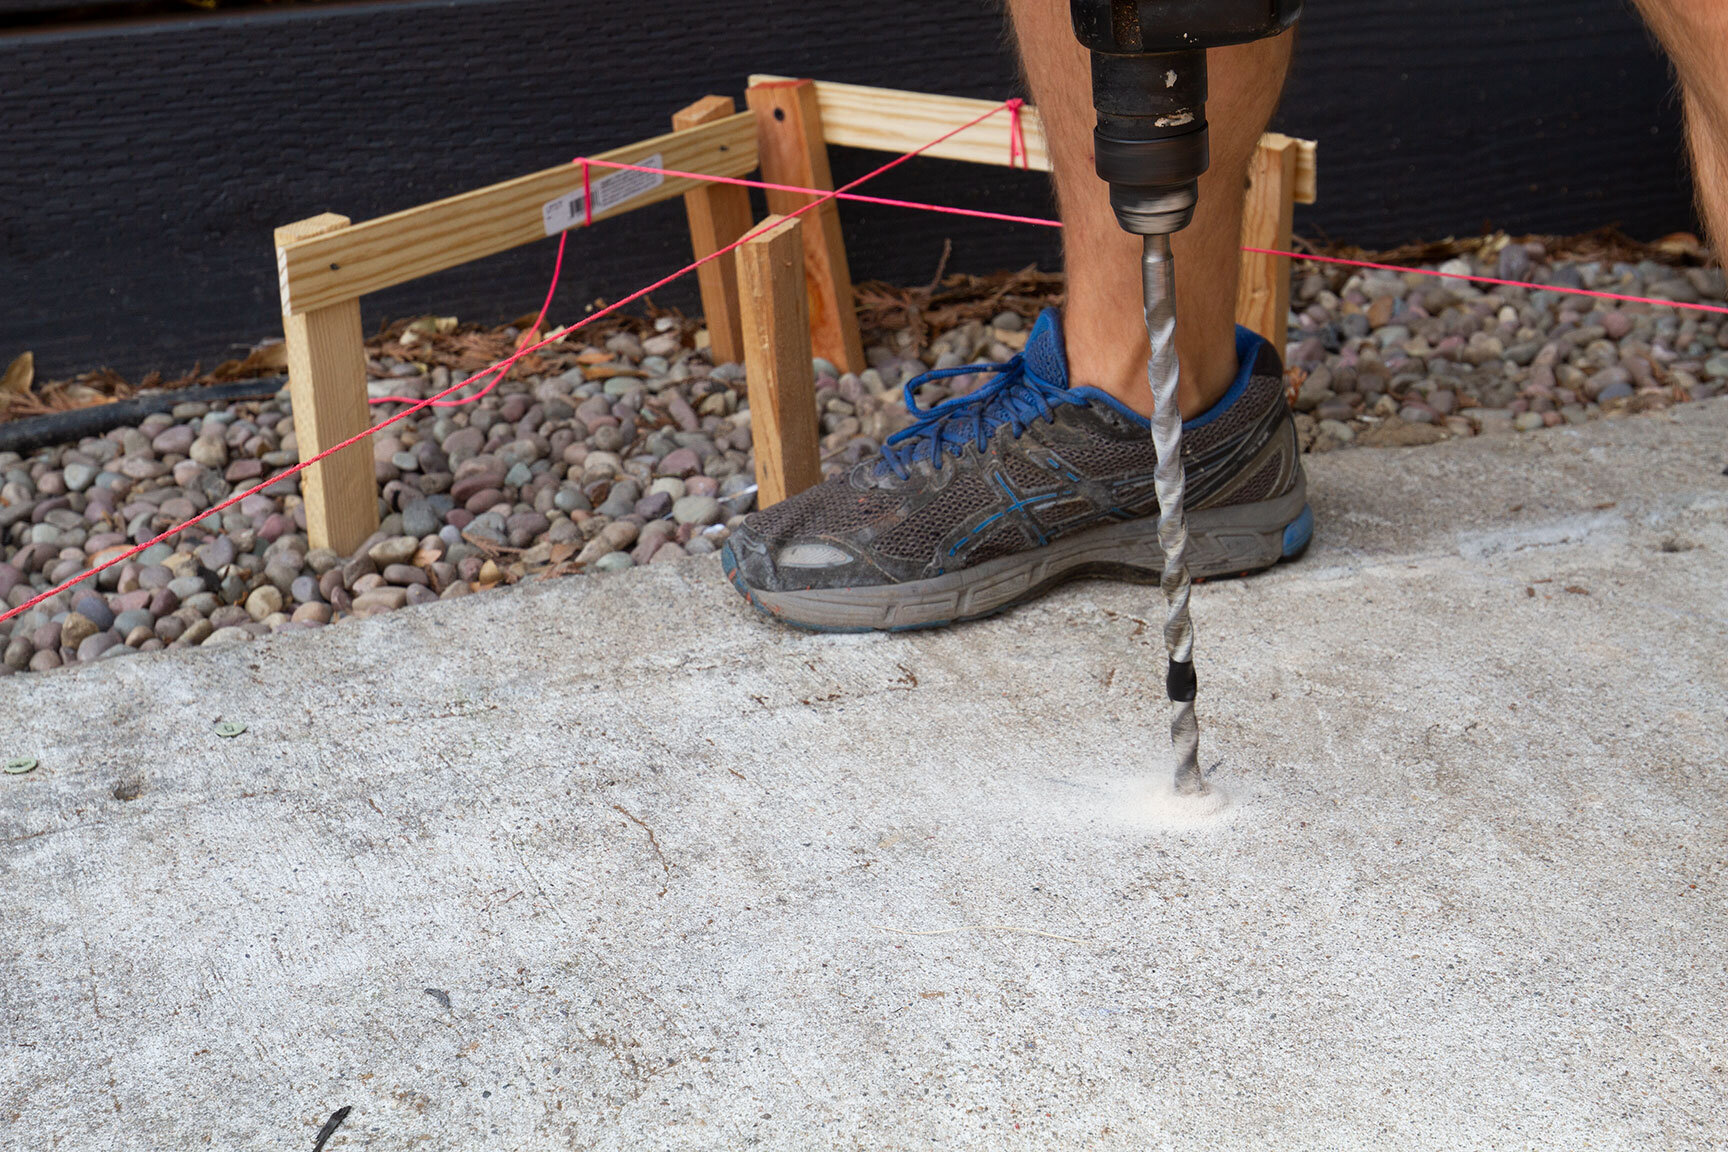
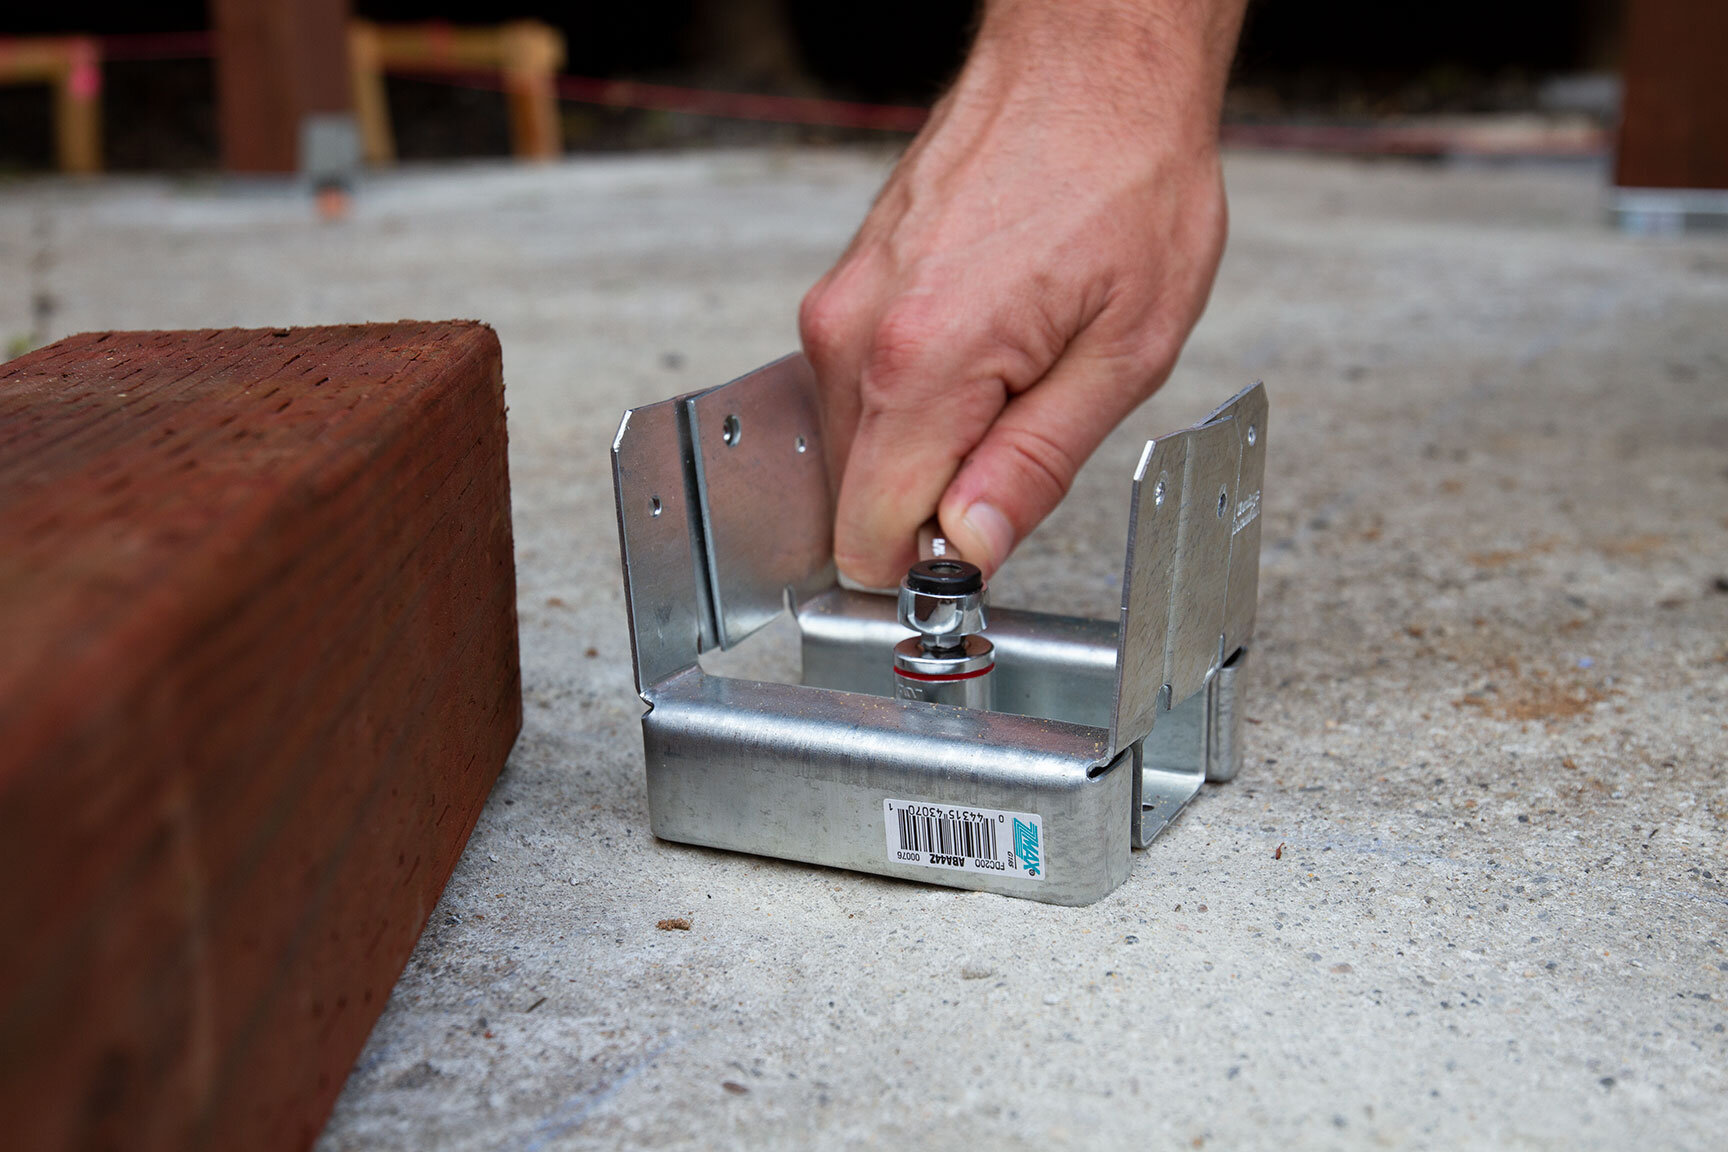
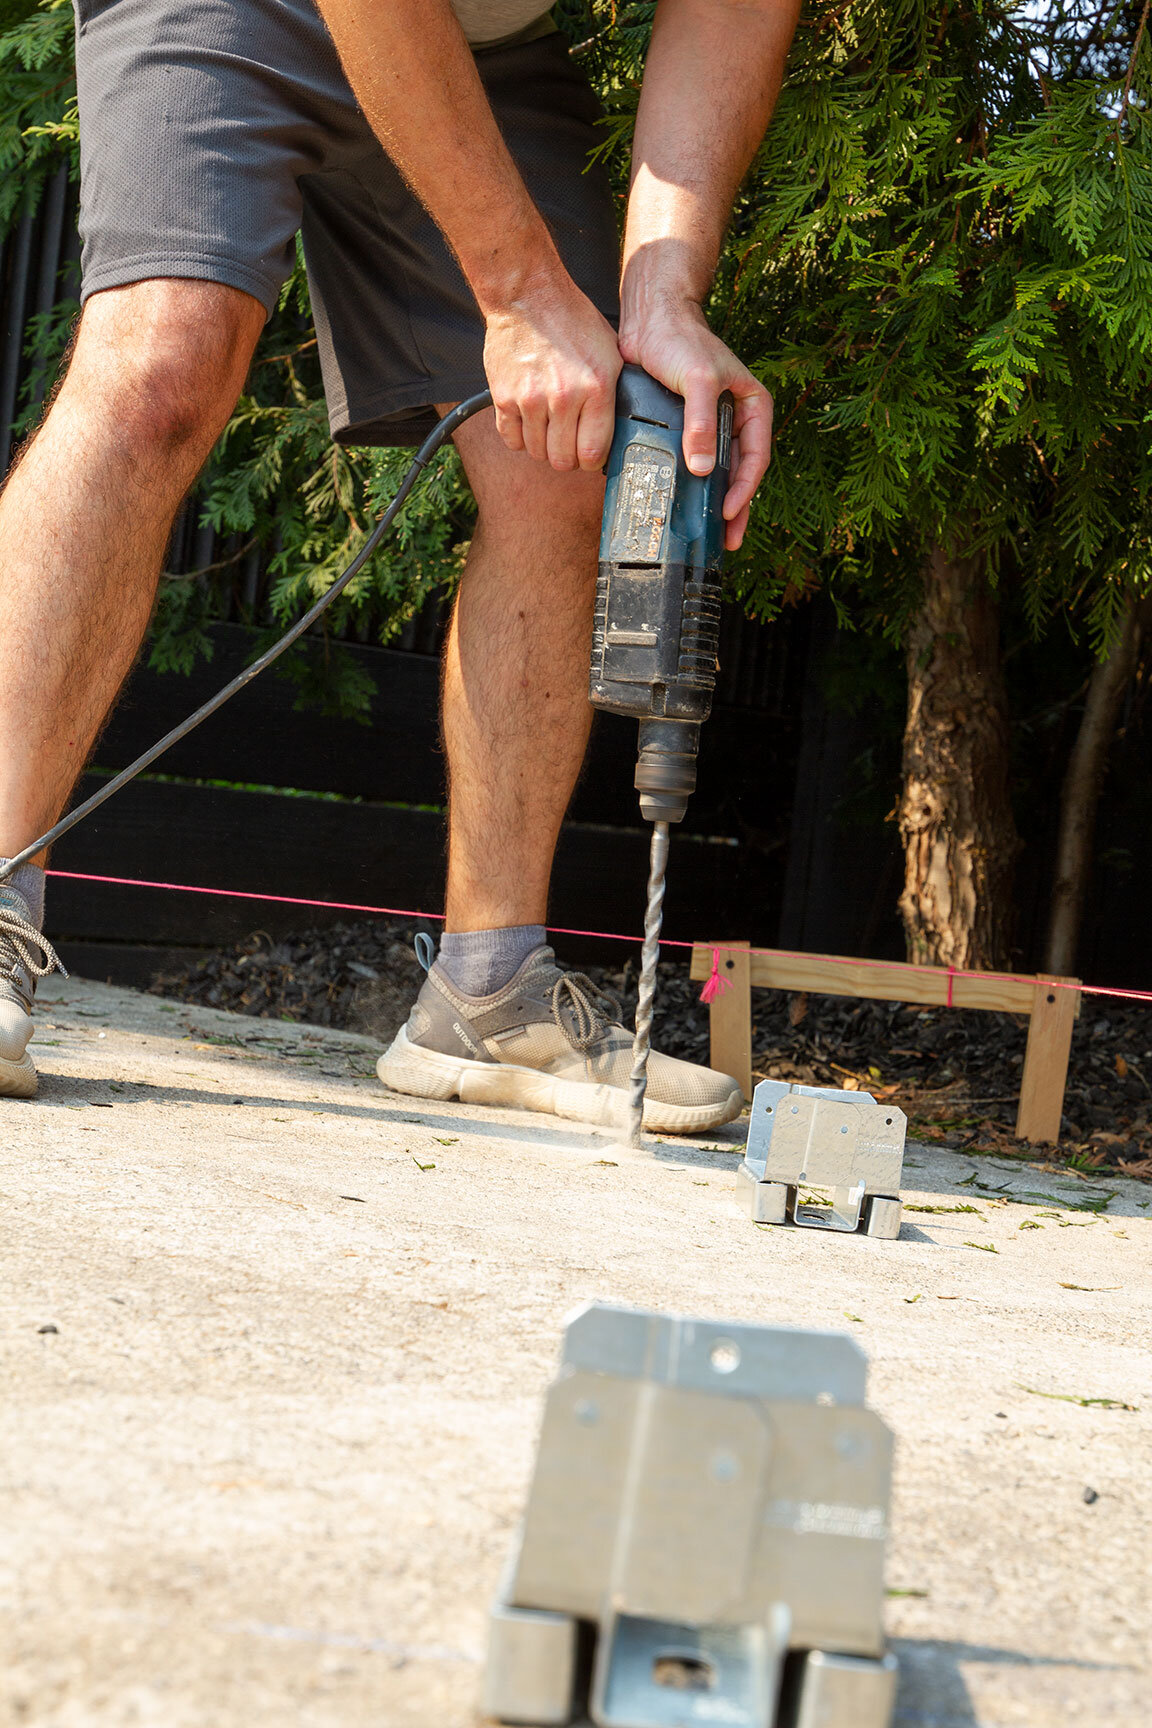
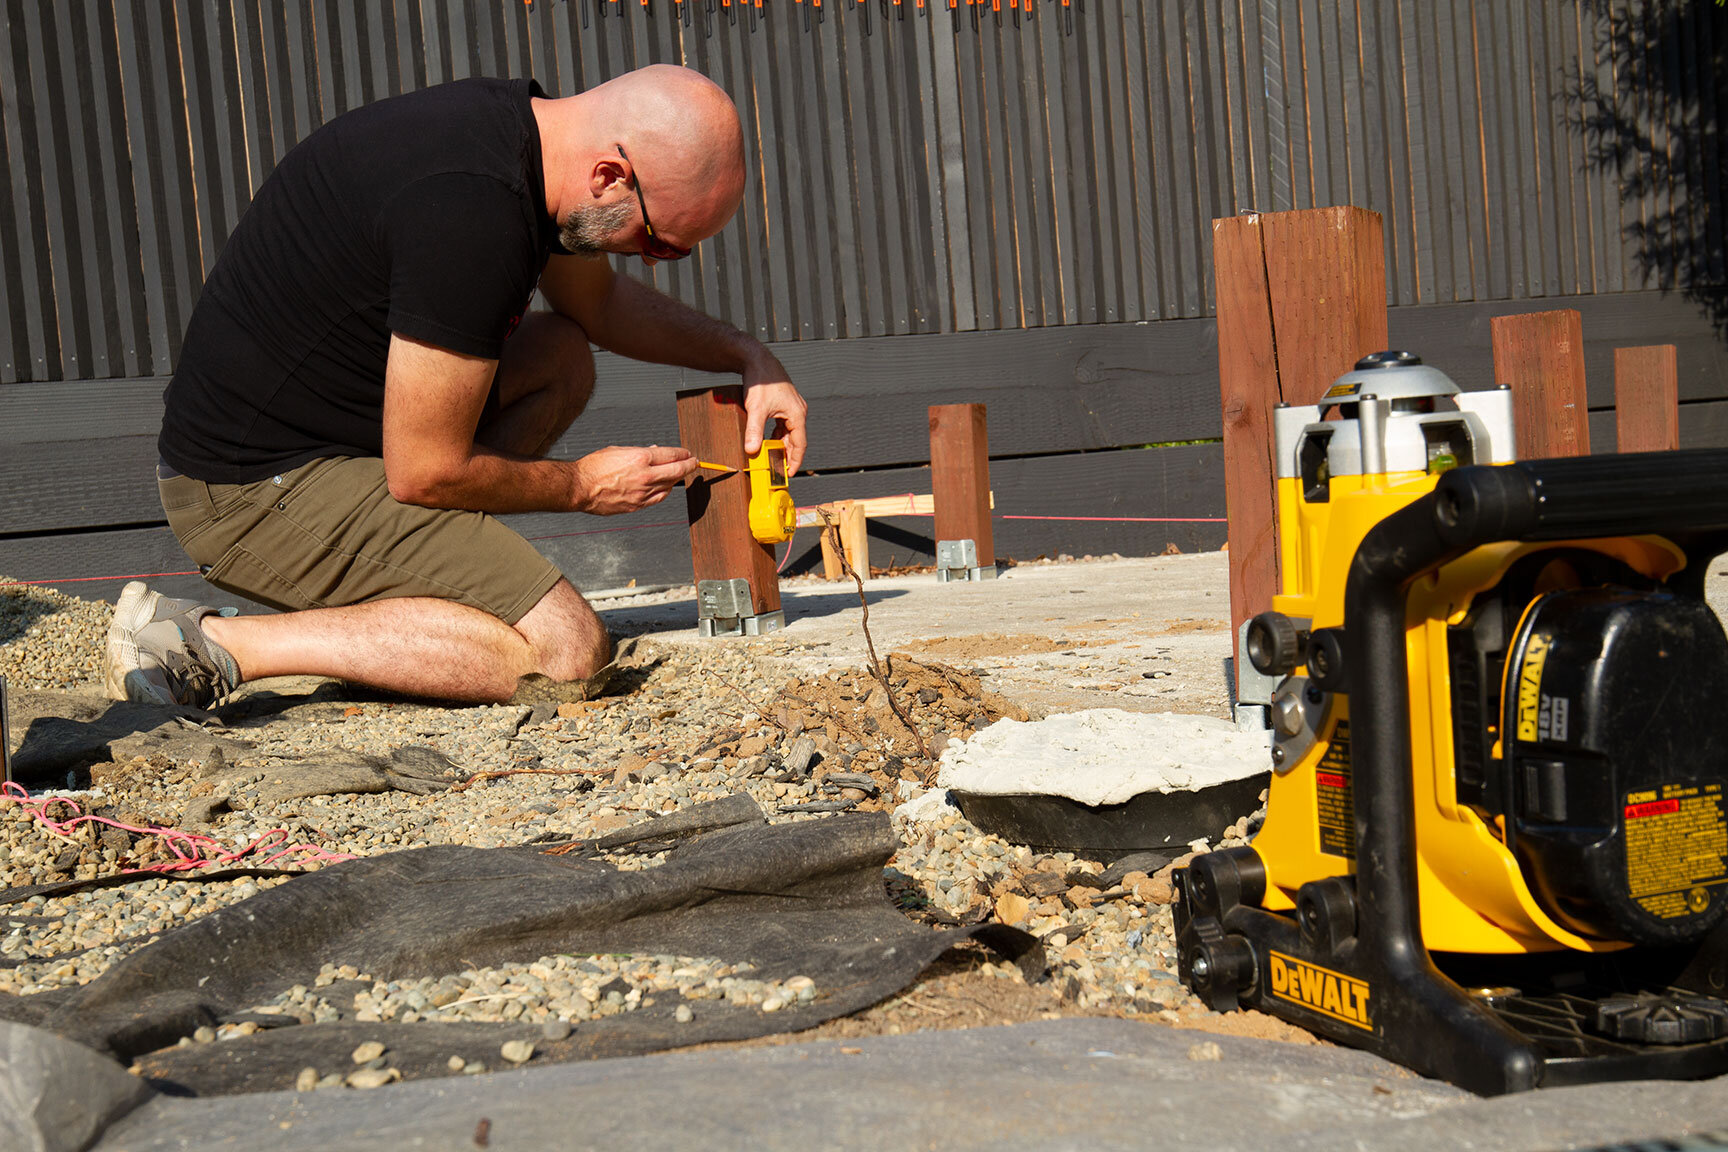
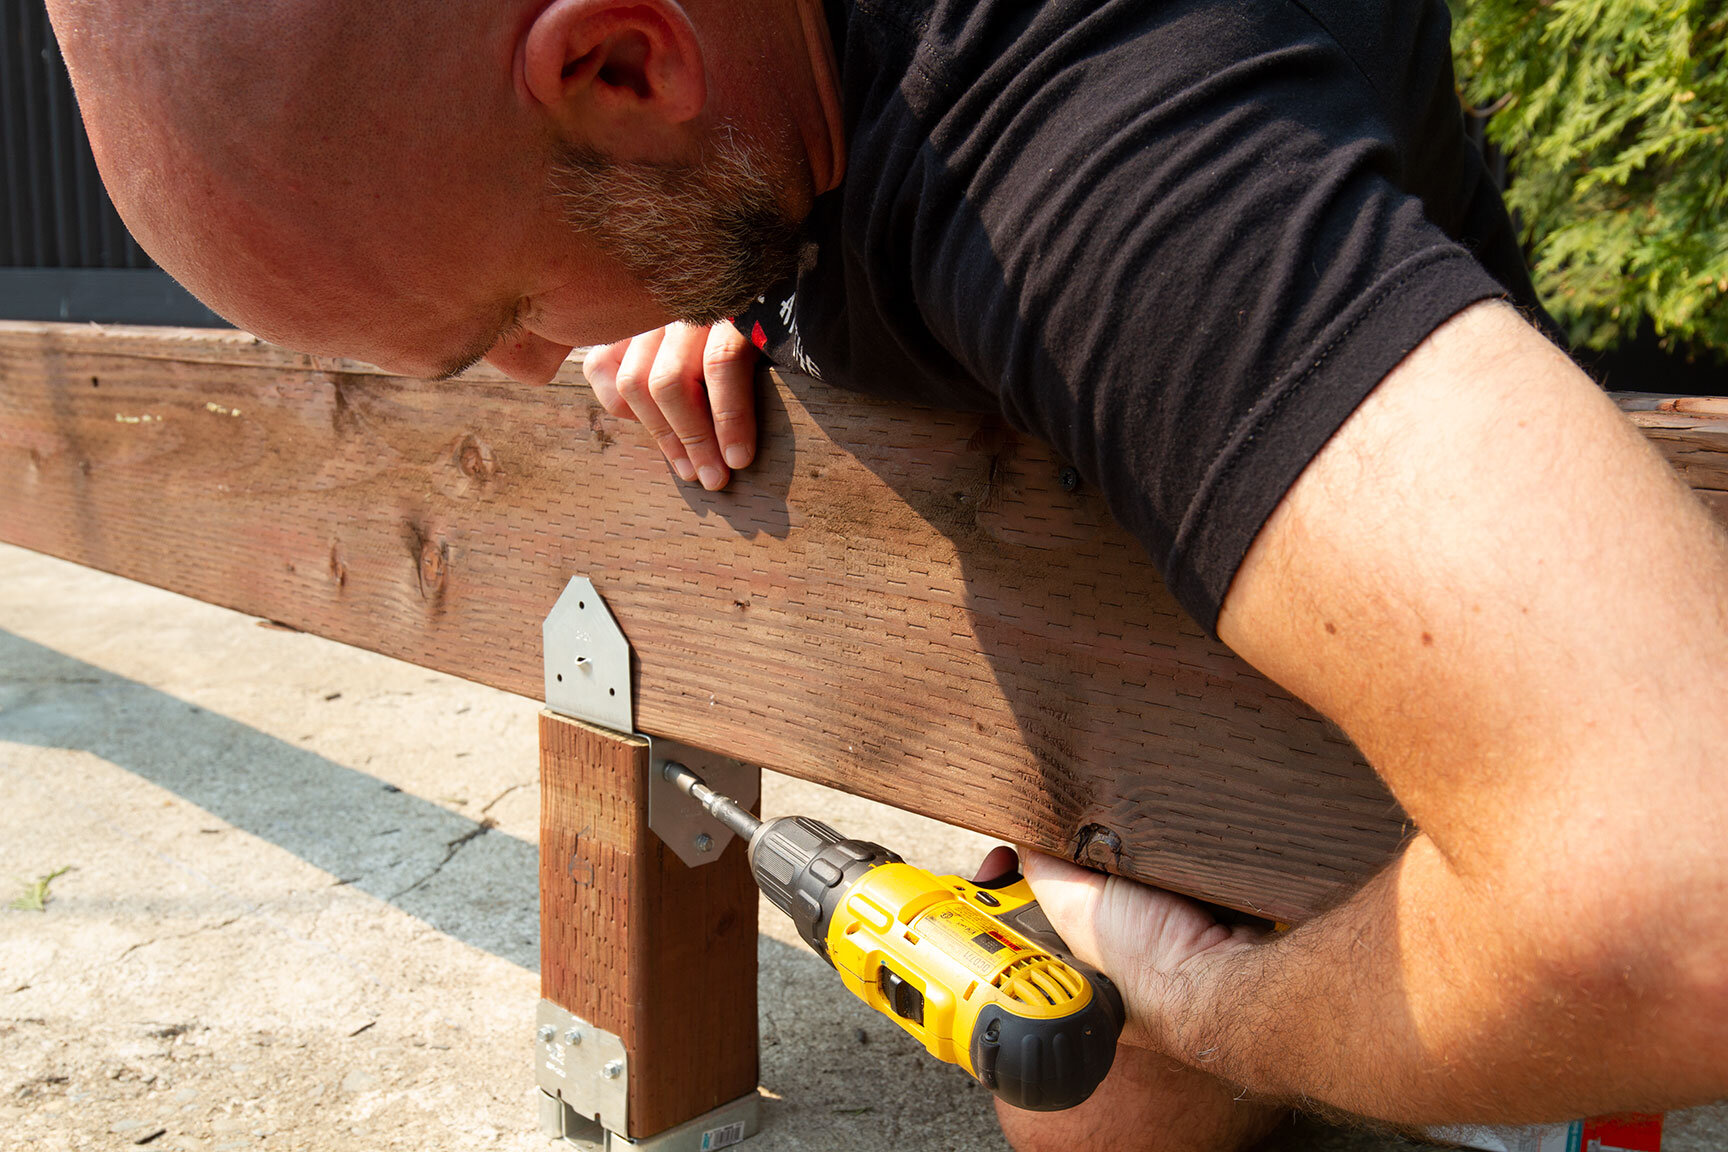
Our first step toward construction was to layout a basic grid of where the deck would be placed. The existing slab was poured at 90 degrees in the back corner of the lot, but I wanted the hale to sit at a diagonal, creating a more inviting path to/from the house and patio. Using string line and ground stakes, we created a 10x10 square, then marked the location of the center post on the slab as our guide to get a perfectly square layout. While most of the post cleats were positioned on the slab, a couple required us to dig post holes and backfill with concrete at the desired locations. Using a red line laser for this phase was immensely helpful to ensure we had a precise, level foundation.
While lumber may be the shining star of the structure, hardware played a leading role in this project, and there is a lot of it! From cleats and screws, to hangers and bolts, a significant amount of each was required to make this all come together safe and sound. A hammer drill also made cleat installation a cinch. We marked the drill bit with electrical tape to ensure we had the same depth in the concrete for each of the 9 cleats.
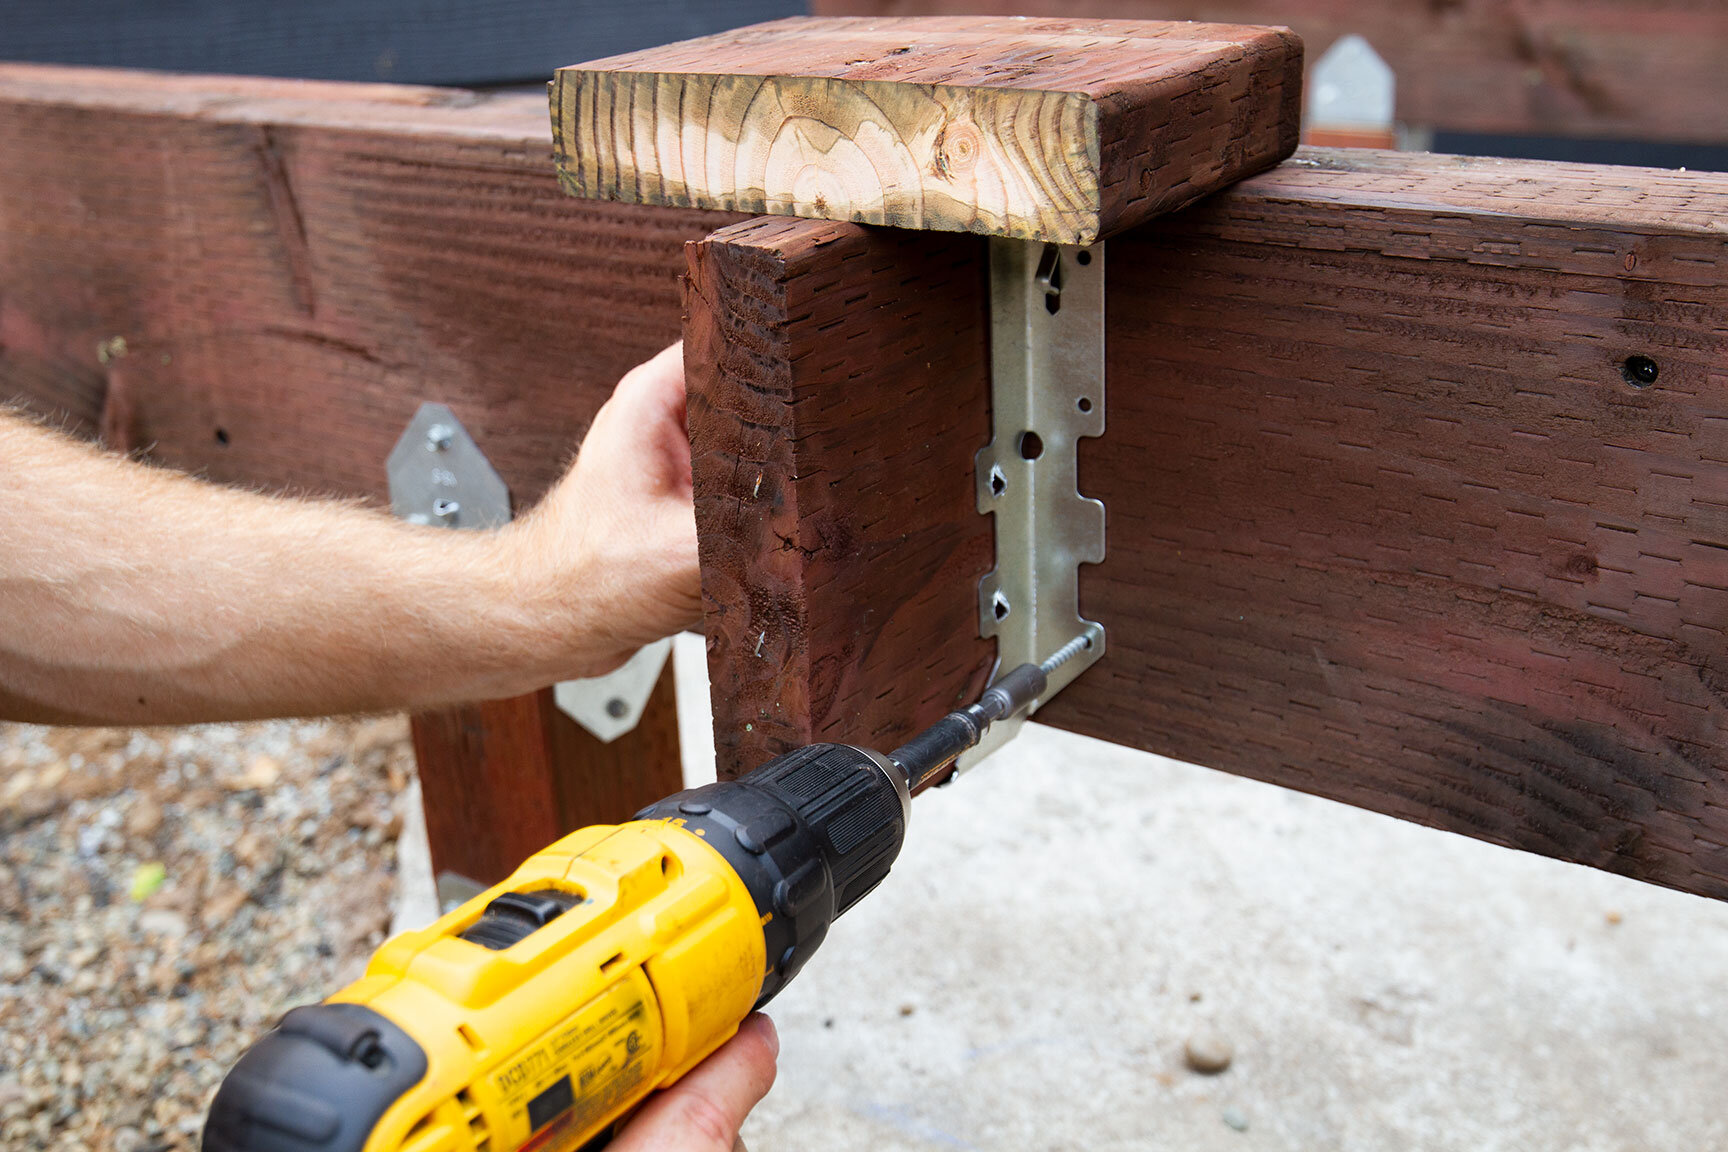
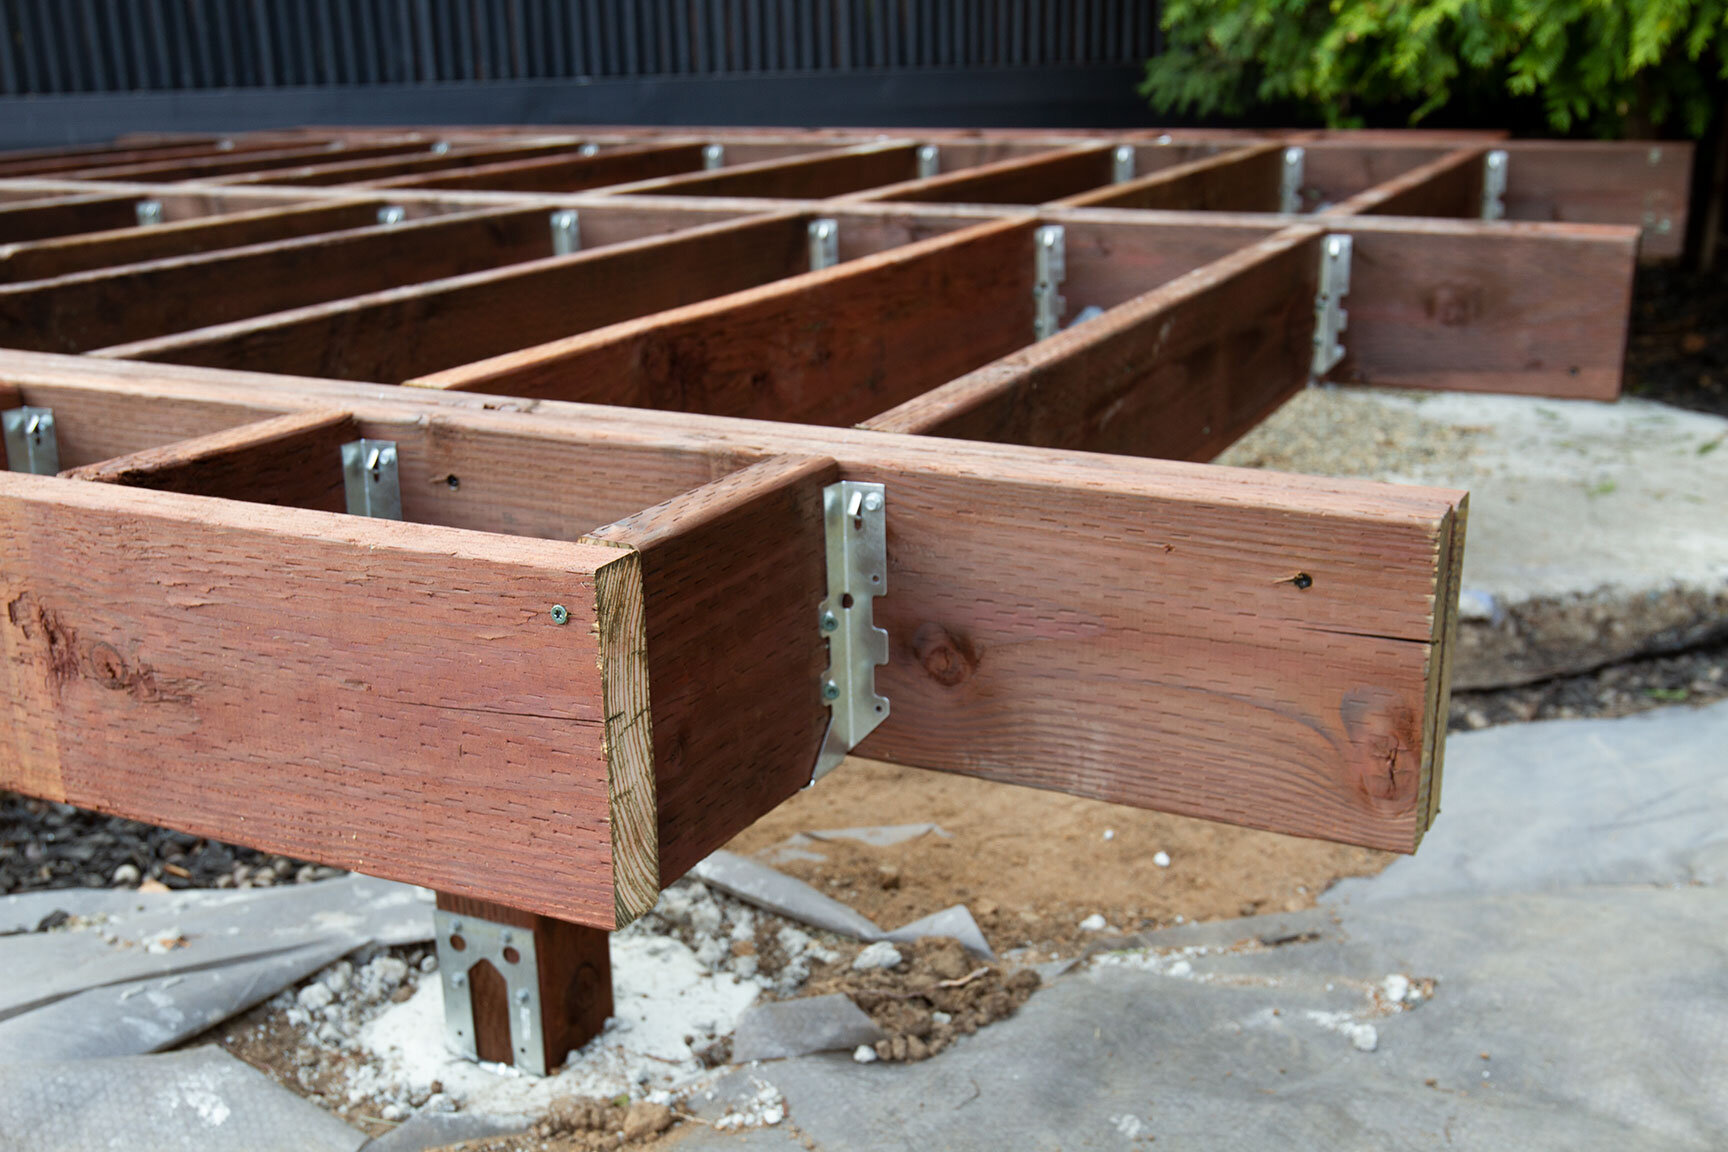
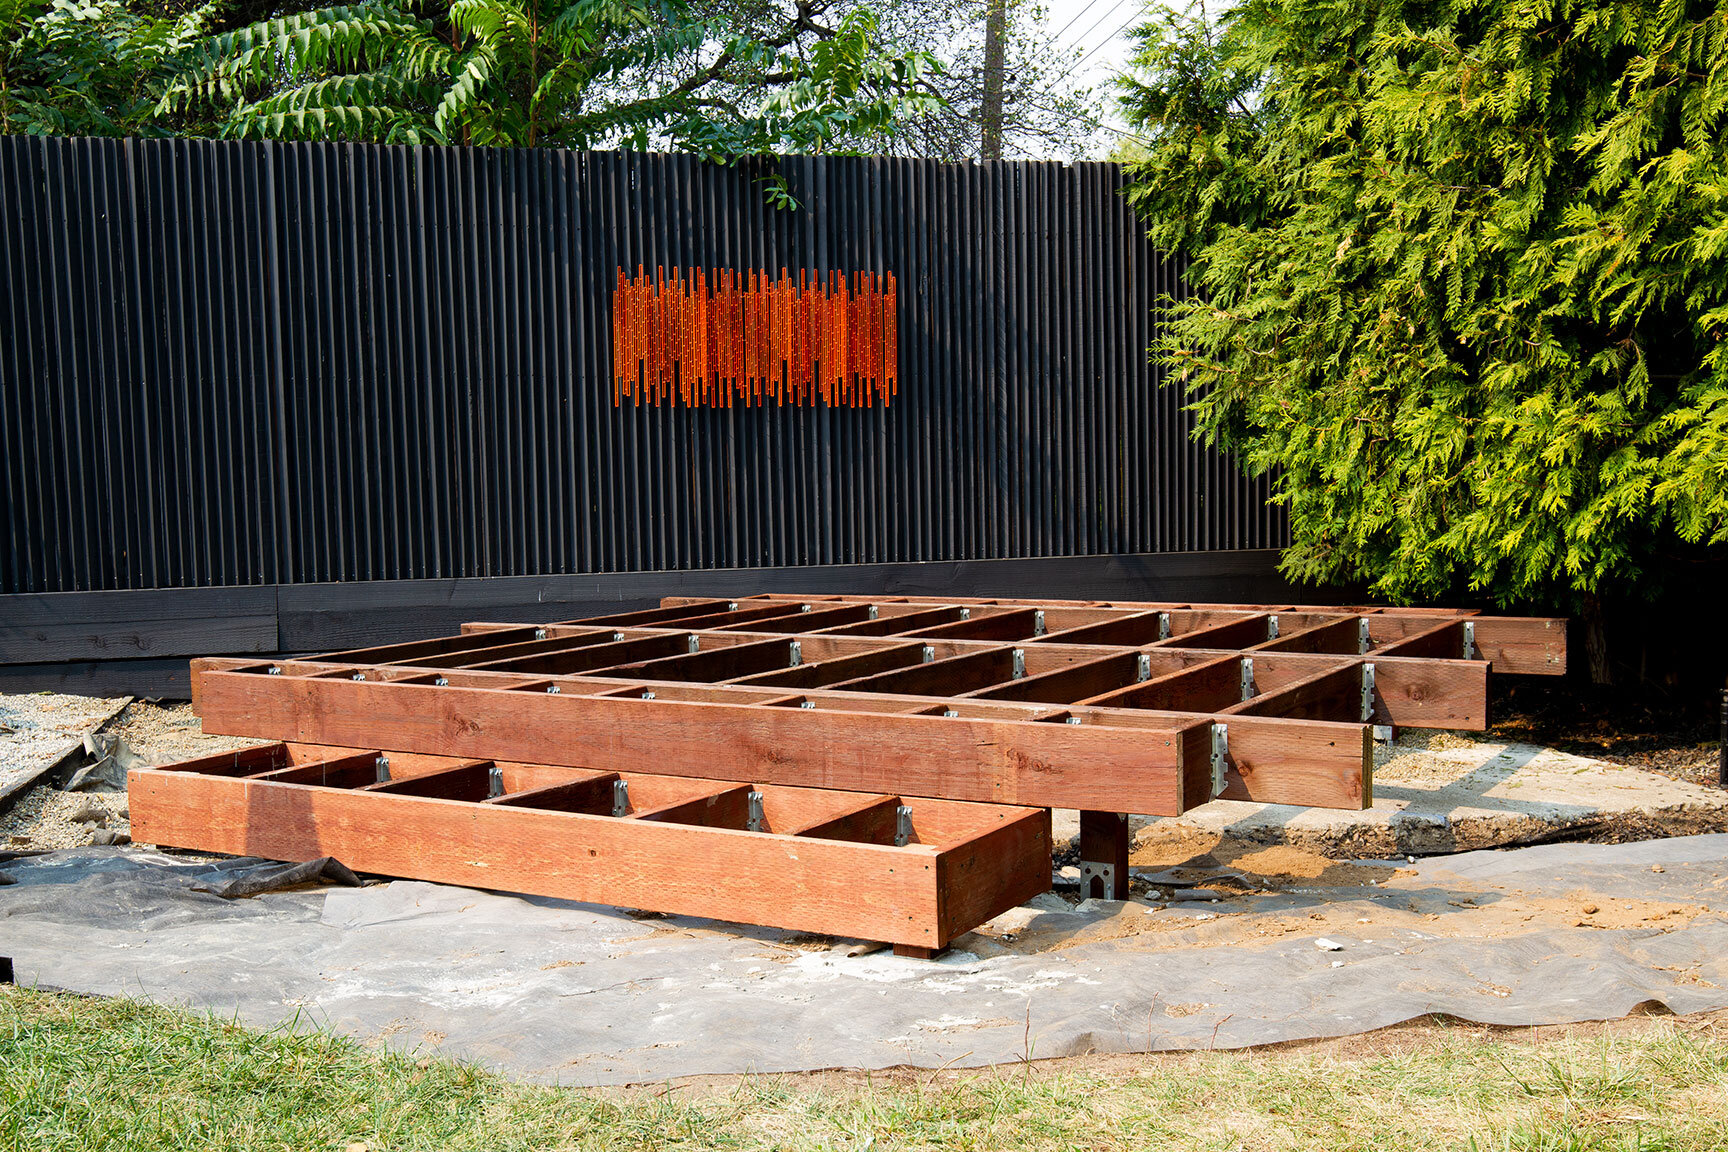
We designed the deck with a series of outrigger beams to reflect the iconic detail found in Streng Bros. Homes and so many icons of mid-century construction. Each beam is comprised of two 2x8 redwood planks, which extend 1 foot beyond the deck frame on each side, making the overall footprint of the deck 12 feet wide. Singular joists were secured with hangers every 12 inches on center for a rigid platform.
Lastly, we constructed an 8-foot step at the front of the deck. Two additional posts were installed on each end to ensure the step would remain level and secure.
(Not So) Easy A
Having the deck frame complete was a huge accomplishment over the course of several weeks through the fall and winter, but our biggest challenge was still ahead — constructing the A-frame. Our approach to this element was straightforward, but executing it required some creative ingenuity.
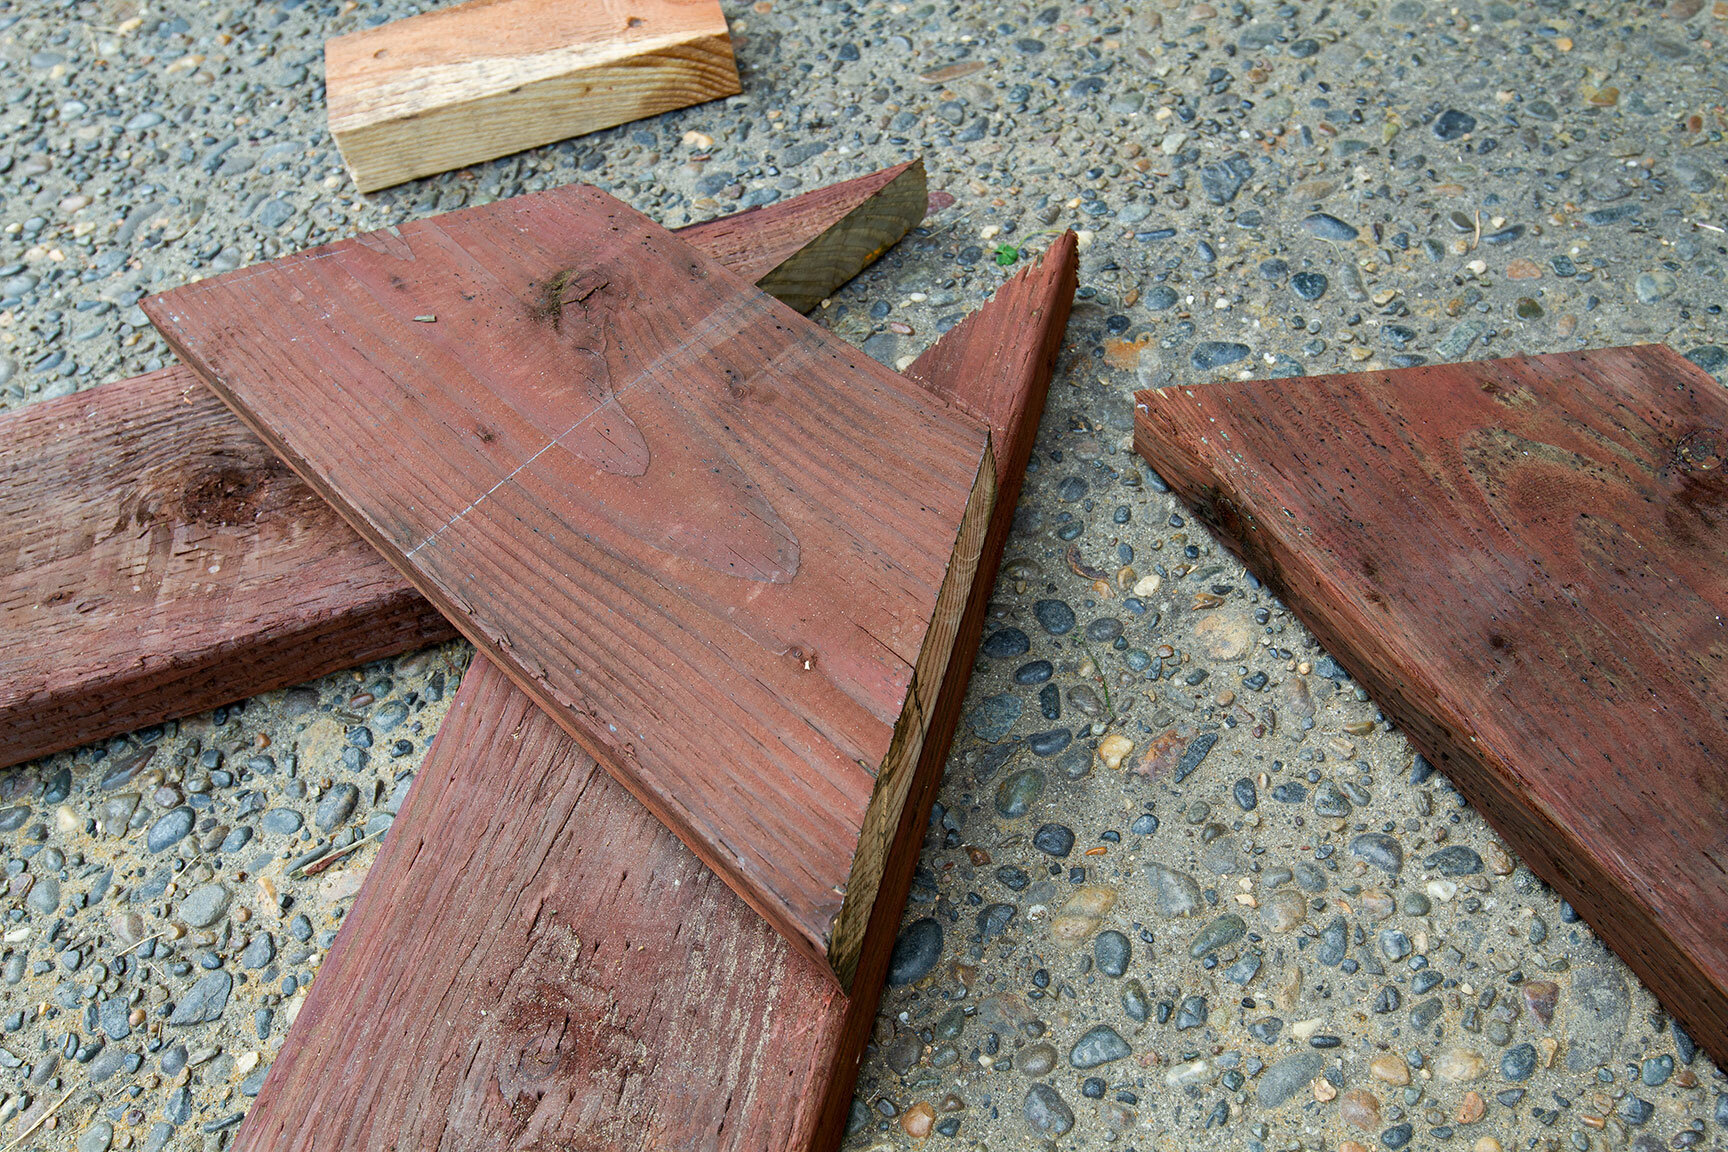
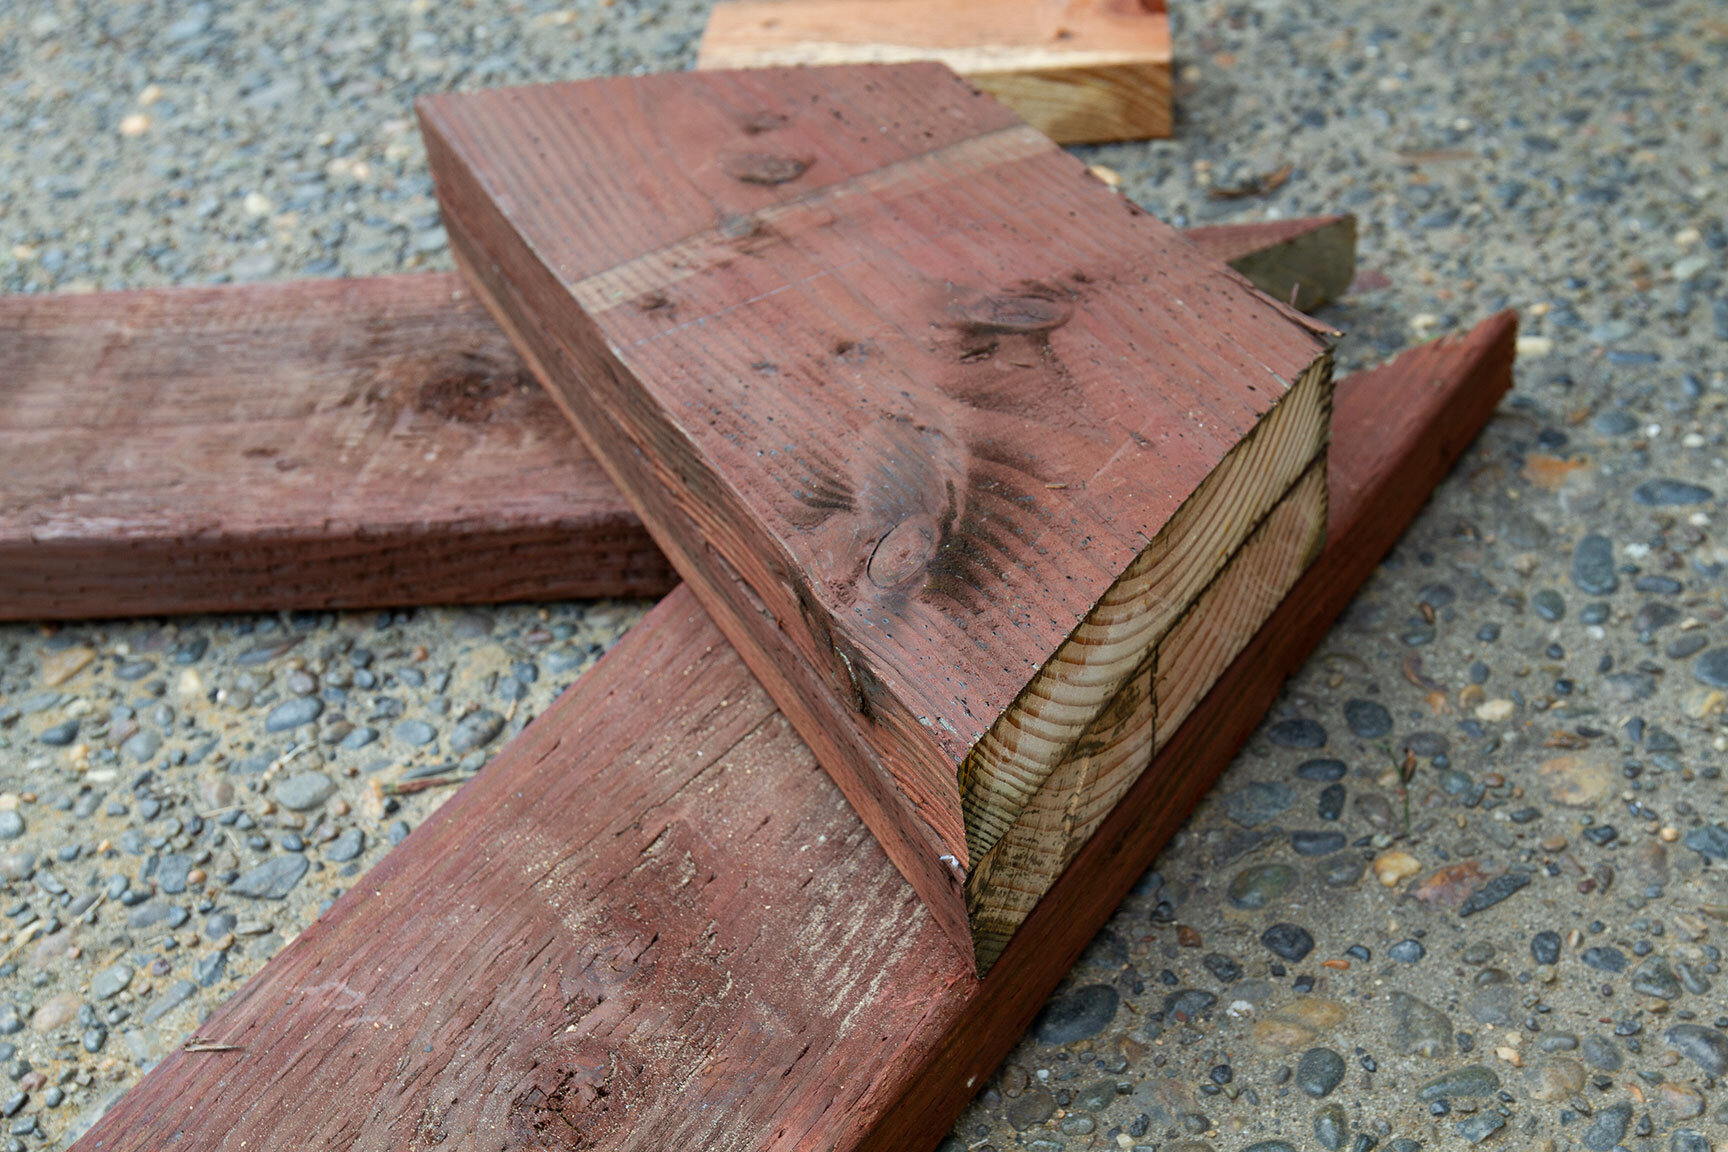
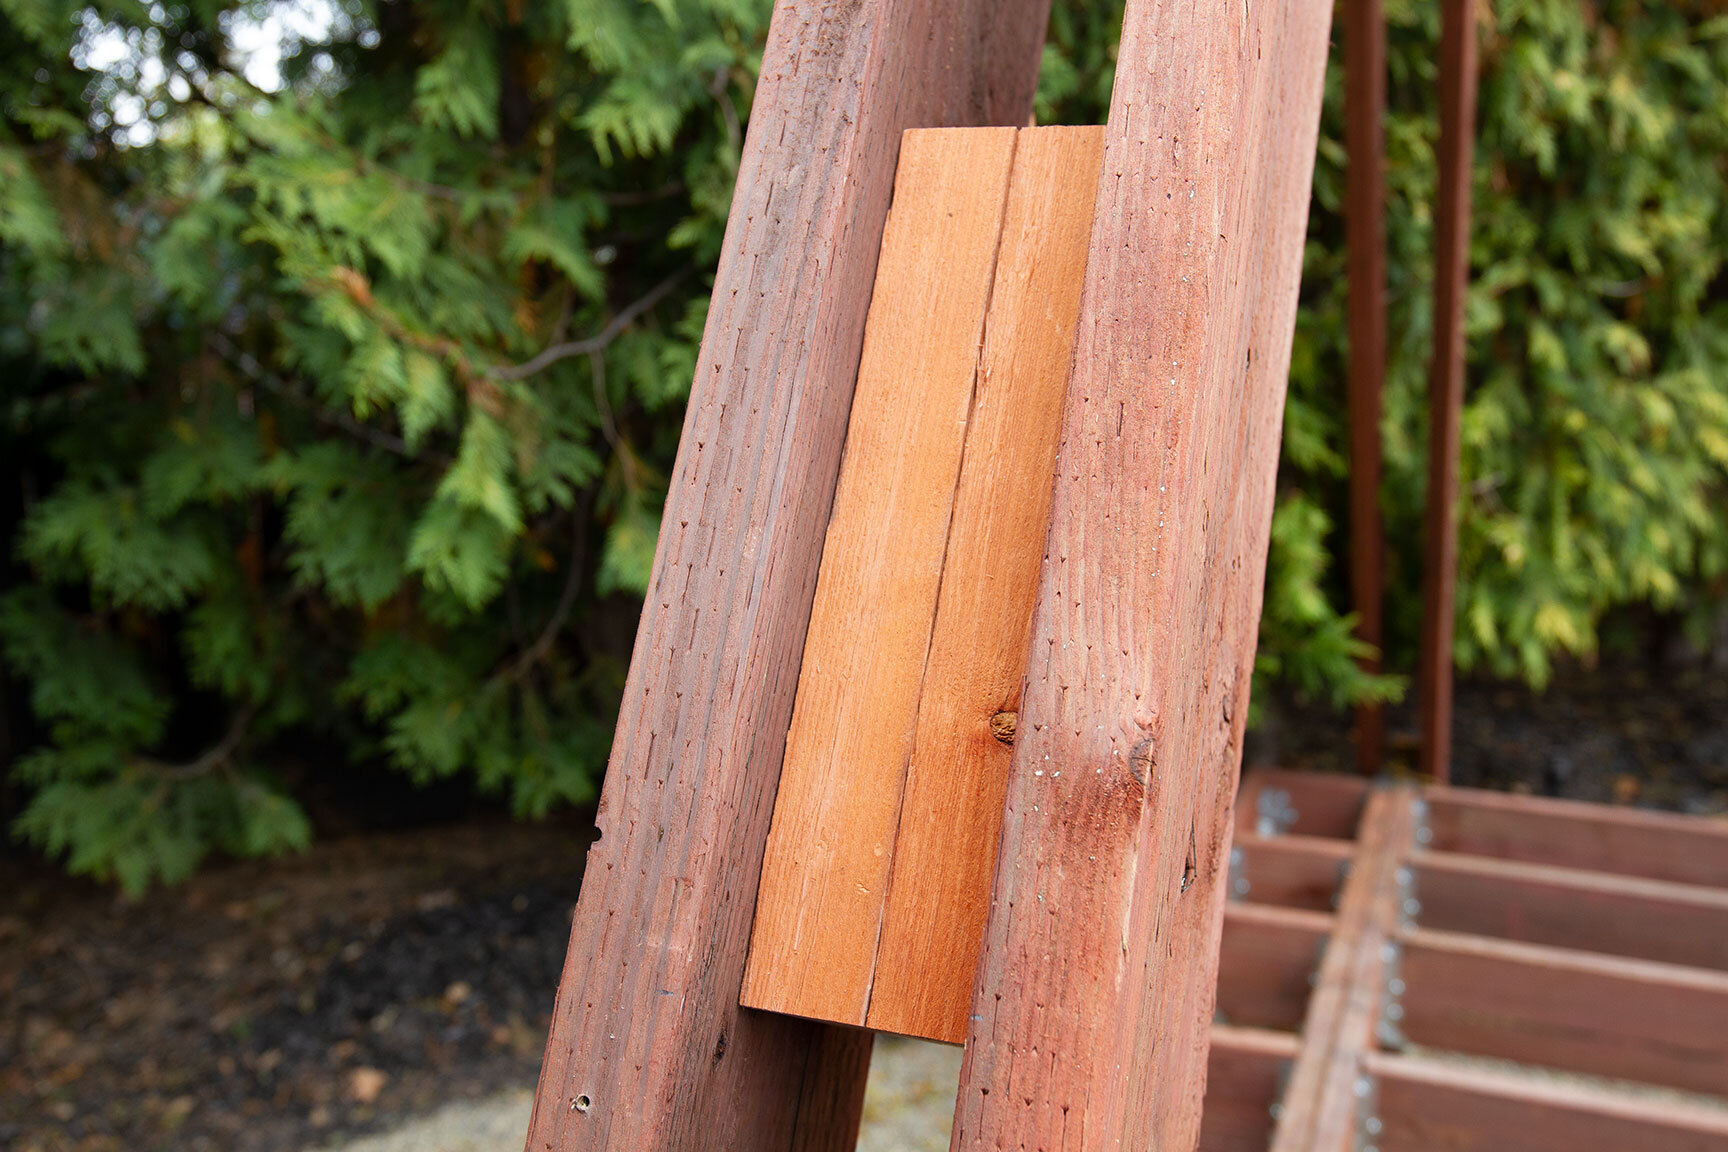
We laid out 2 of the 12-foot redwood planks on the patio, and measured 12 feet (the width of the deck with outriggers) at their widest span. We then cut a wood block template to match the width and height of the ridge beam. This was traced onto the end of one plank, then trimmed out with a jigsaw, giving us our template for the remaining A-frame pieces. For added stability, we also created cross supports for the top of each frame, which face inward, concealing them from the elevation view.
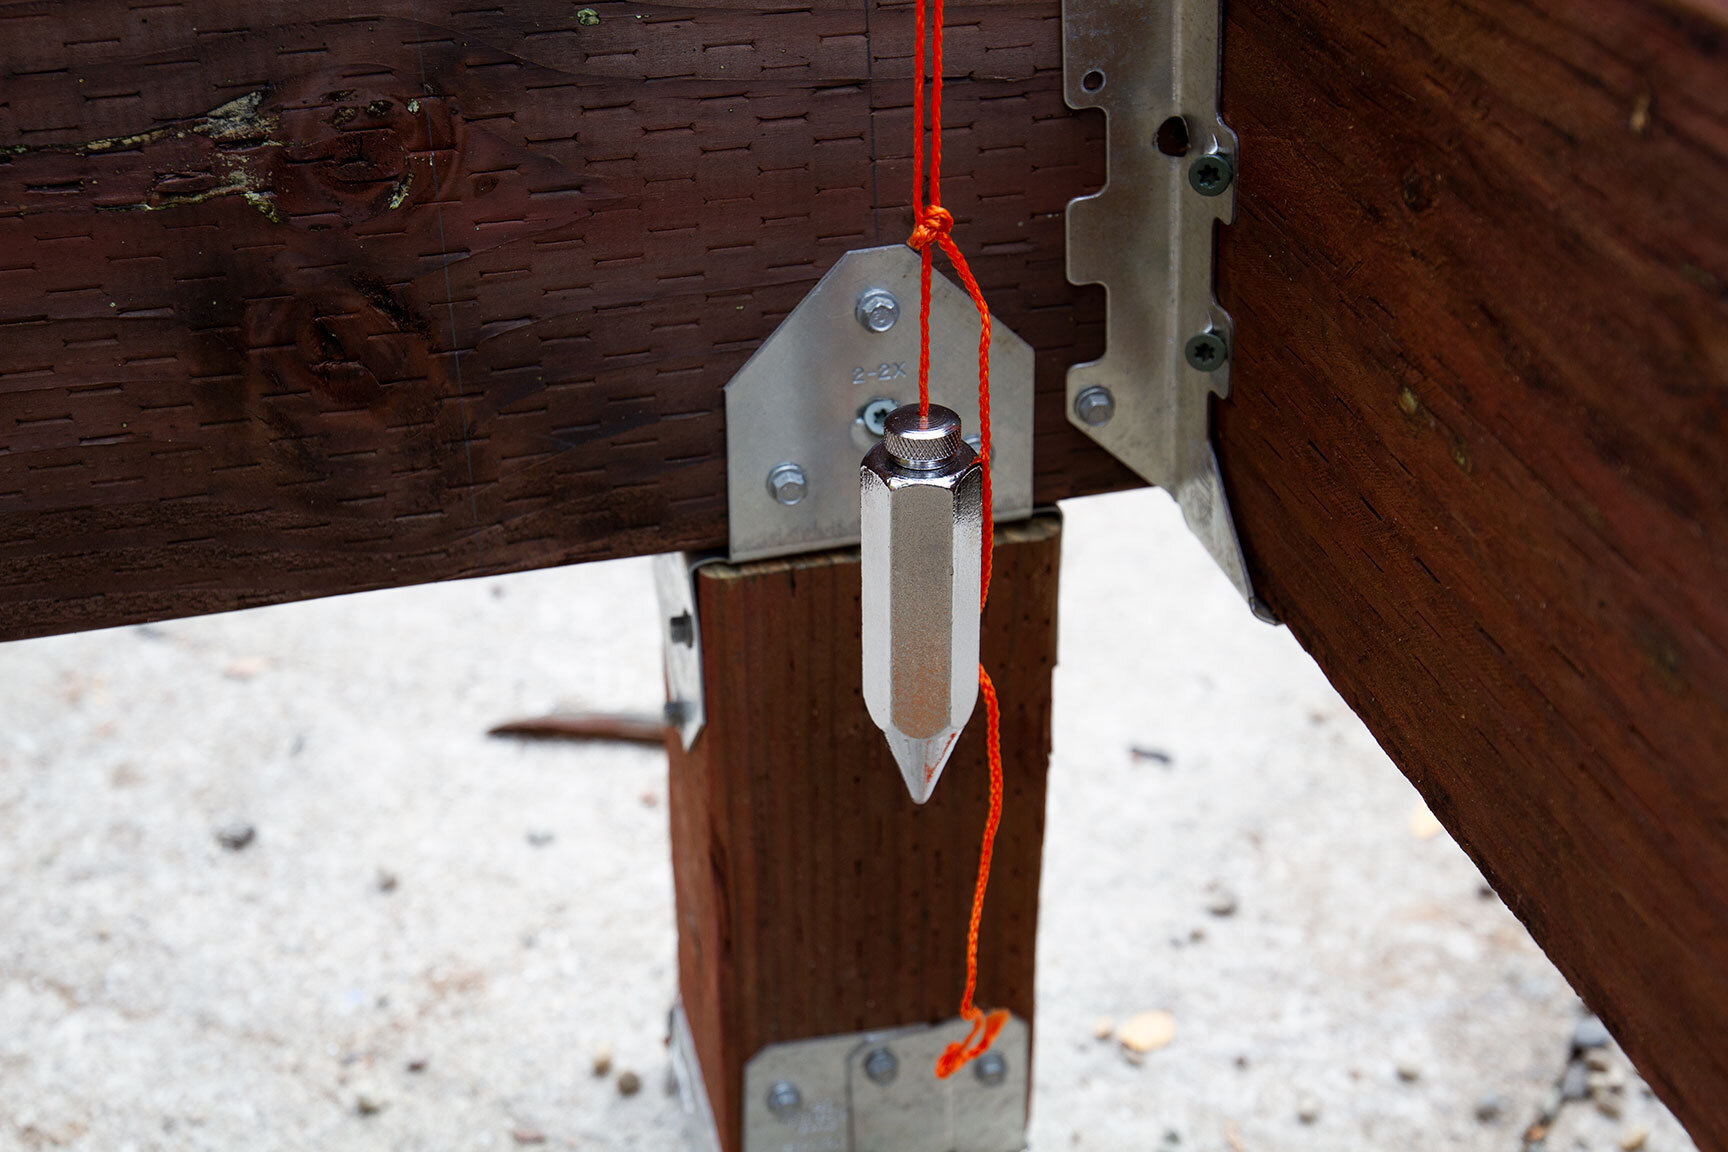
A total of 12 A-frame pieces were completed in this way then assembled into 6 sets. Once assembled, we temporarily attached a 2x12 plank along the base, allowing us to test fit the frame. A plumb bob was attached at the top center, allowing us to make fine adjustments so the frame was both plumb and level. While one of us held the frame in place, the other attached the frame to the beams with decking screws. We then drilled holes for a series of hex bolts to add stability as well as a cool aesthetic. Once both sides were bolted into place, the temporary plank was removed, and the frames were free-standing. Additional supports made of scrap 2x4s were sandwiched and attached between each frame set for added rigidity to the overall structure.

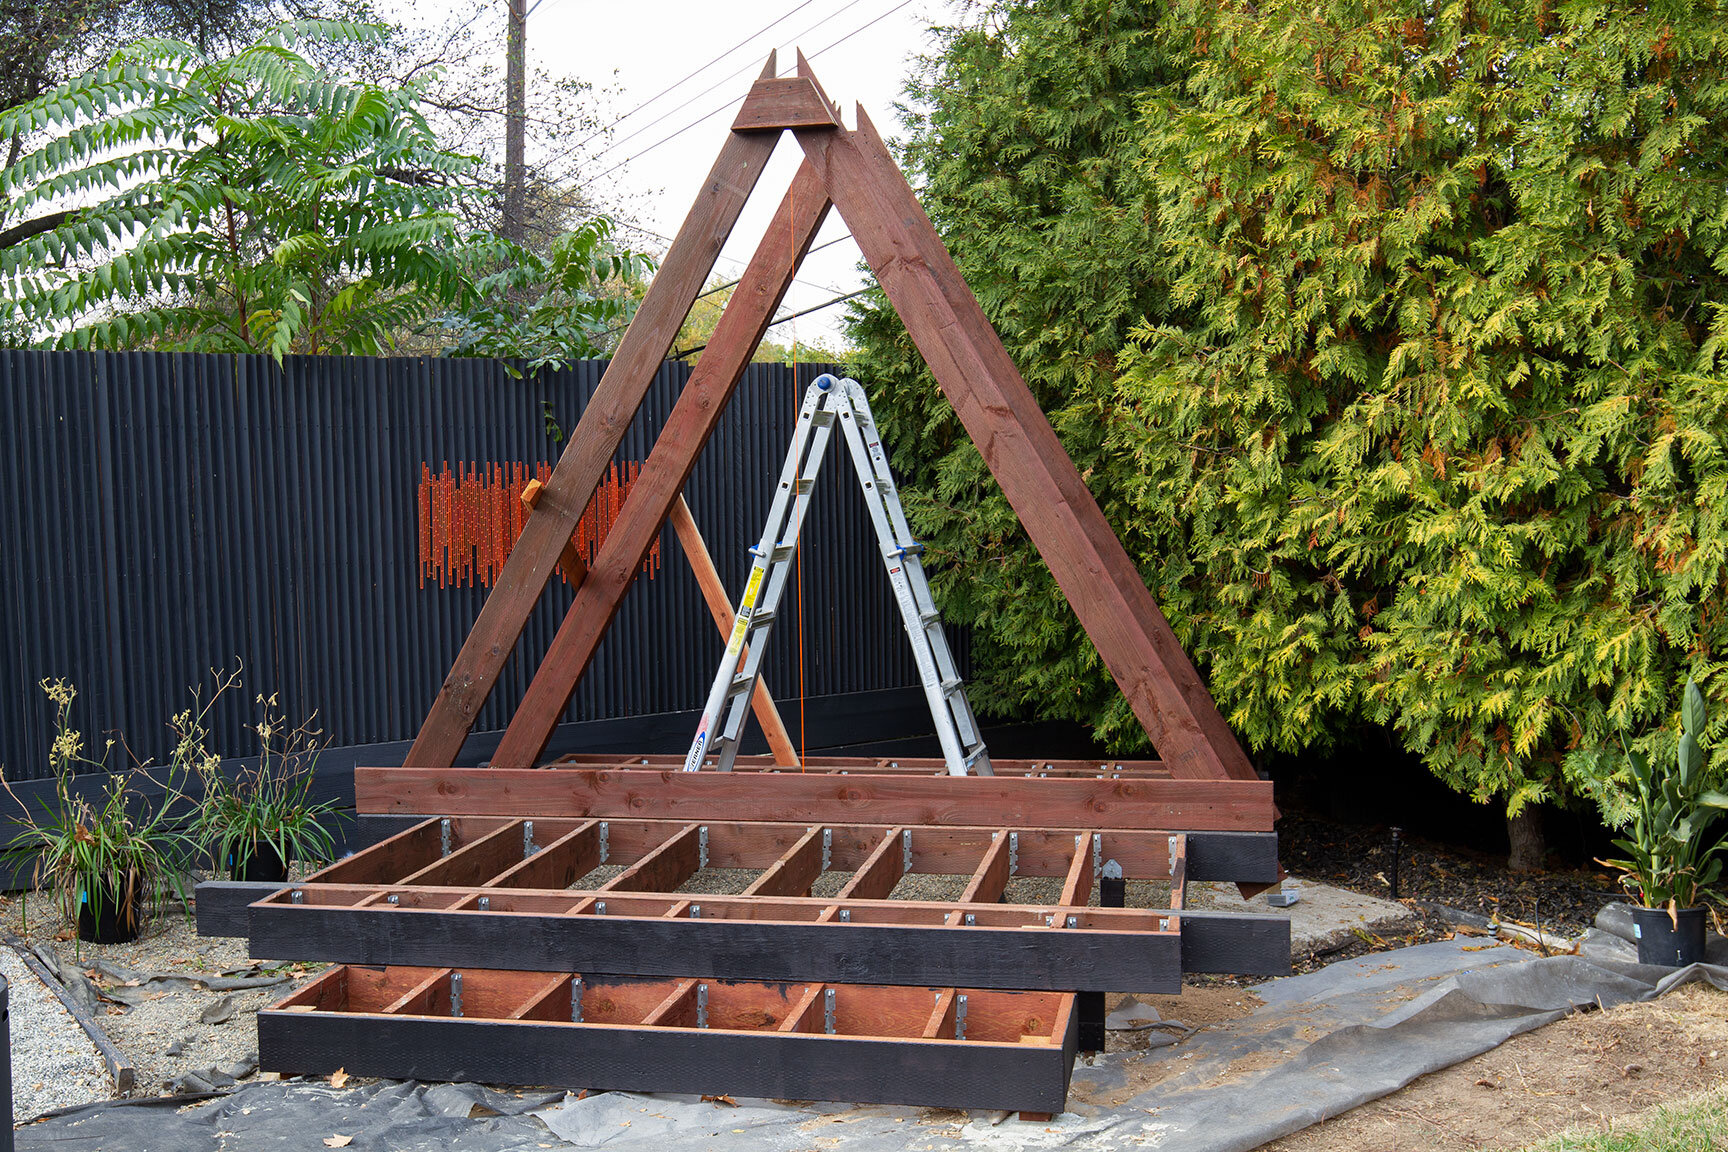

Balancing Act
When it came time to install the ridge beam, we were a little nervous — and rightly so. We managed to angle the 12-foot beam from the ground and into the first notch of the A-frame. From there, I used the ladder to grab the beam and slide it into place. It was a jittery moment when the beam was angled into the air, but Glen and I were able to get it situated into the notches and secured with plenty of screws and angle brackets. After all the careful planning and precision cuts, everything aligned perfectly, and we had ourselves a mighty fine looking elevated structure.
There’s so much more to come in this multi-part series, so I hope you’ll stay tuned to see the addition of decking, shade slats, paint, electrical, furniture, decor, and landscaping. There really is a lot of content to share! I’m excited to show the progress we’re making, but for now, I’m sending much aloha to you as you enjoy this look into the foundational phase of The House of Happy Talk.