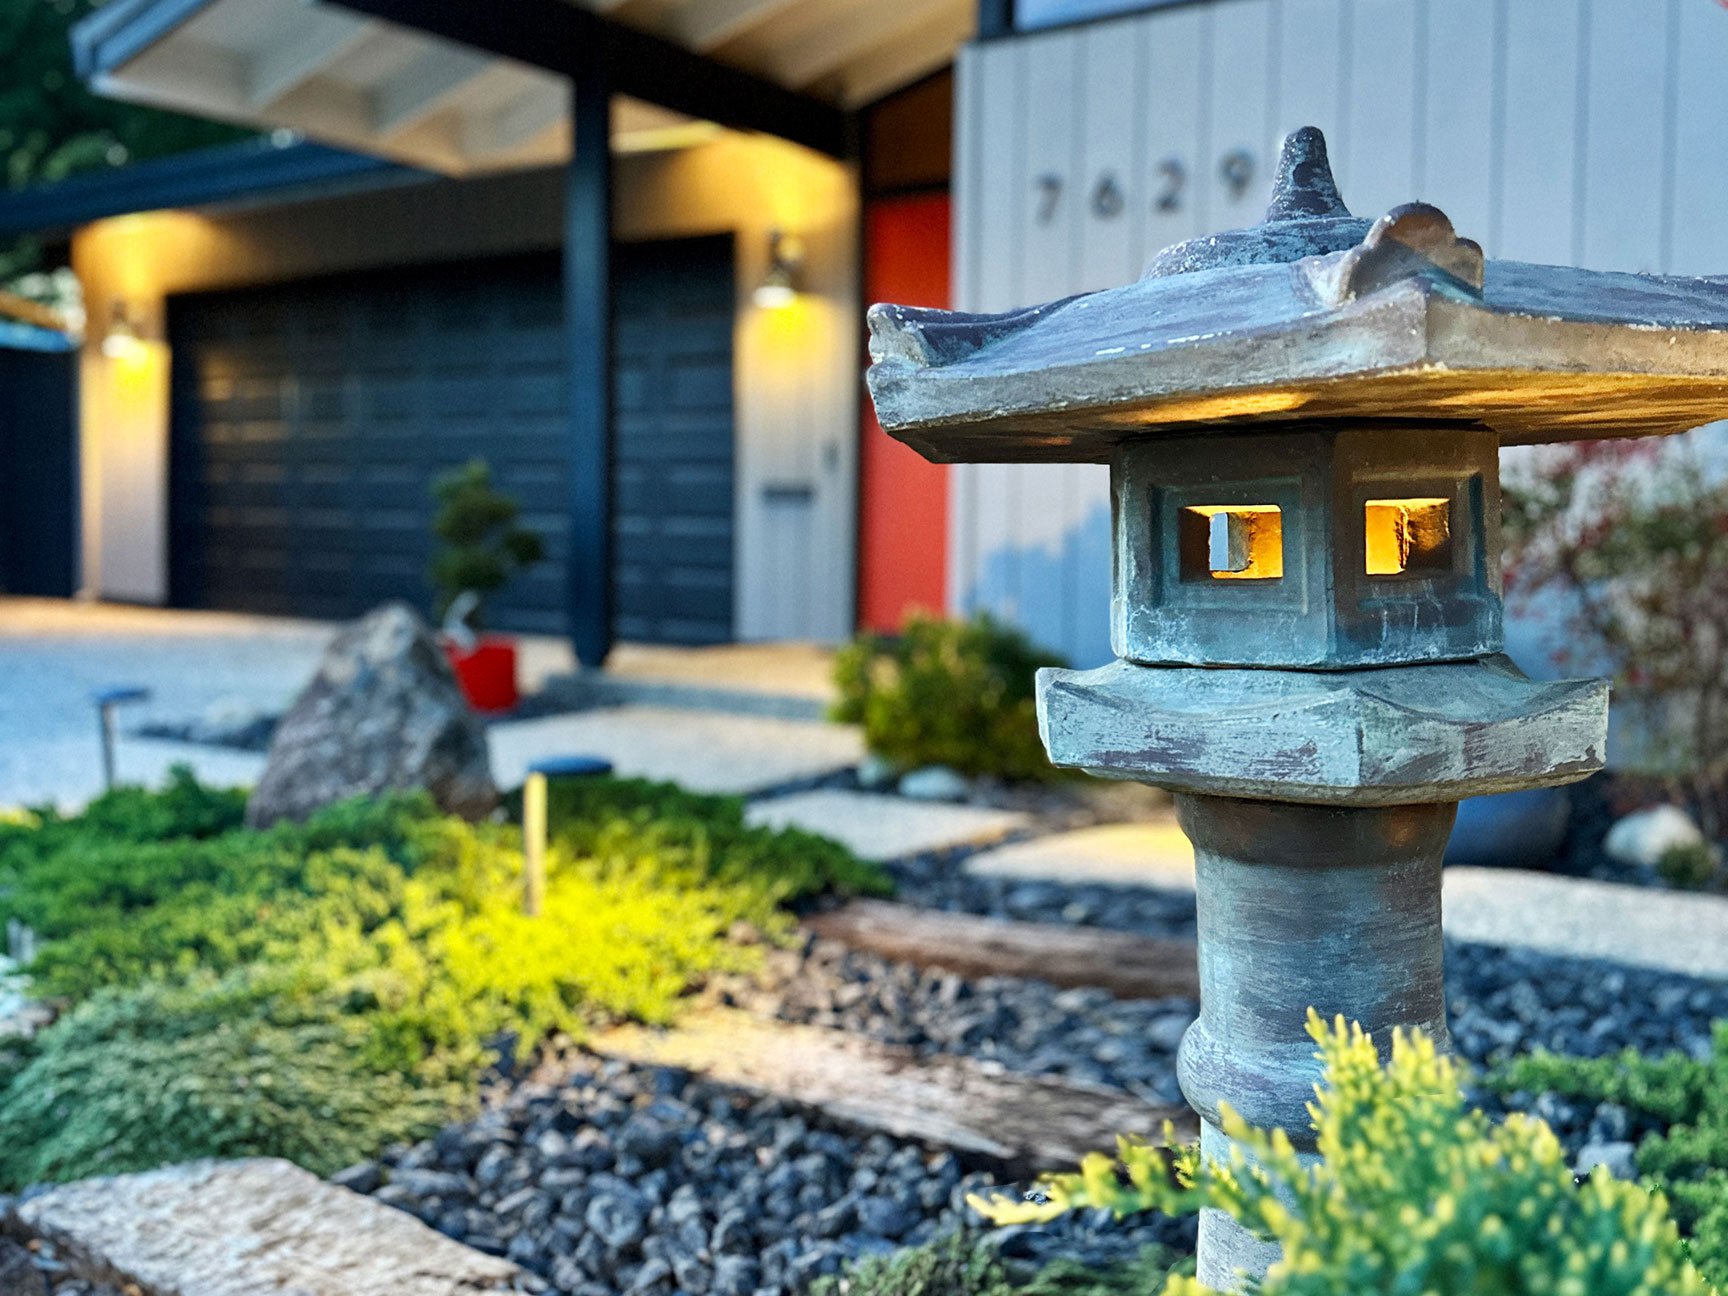
Turning Japanese - Part 2

The vision for the Japanese-inspired garden begins to take shape in part 2 of this series.
If you’ve not yet read part 1, check it out for some insight into the foundation of this project.
Feather rock boulders being moved into place by forklift.
Water-wasting grass has been removed, underlying irrigation issues have been addressed, and landscaping boulders have been forklifted into place. Now it’s time to focus on containing the space.

Top view of Japanese garden plan

A jackpot pallet of aged railroad ties hiding high overhead at a local Home Depot.
Tying it Together
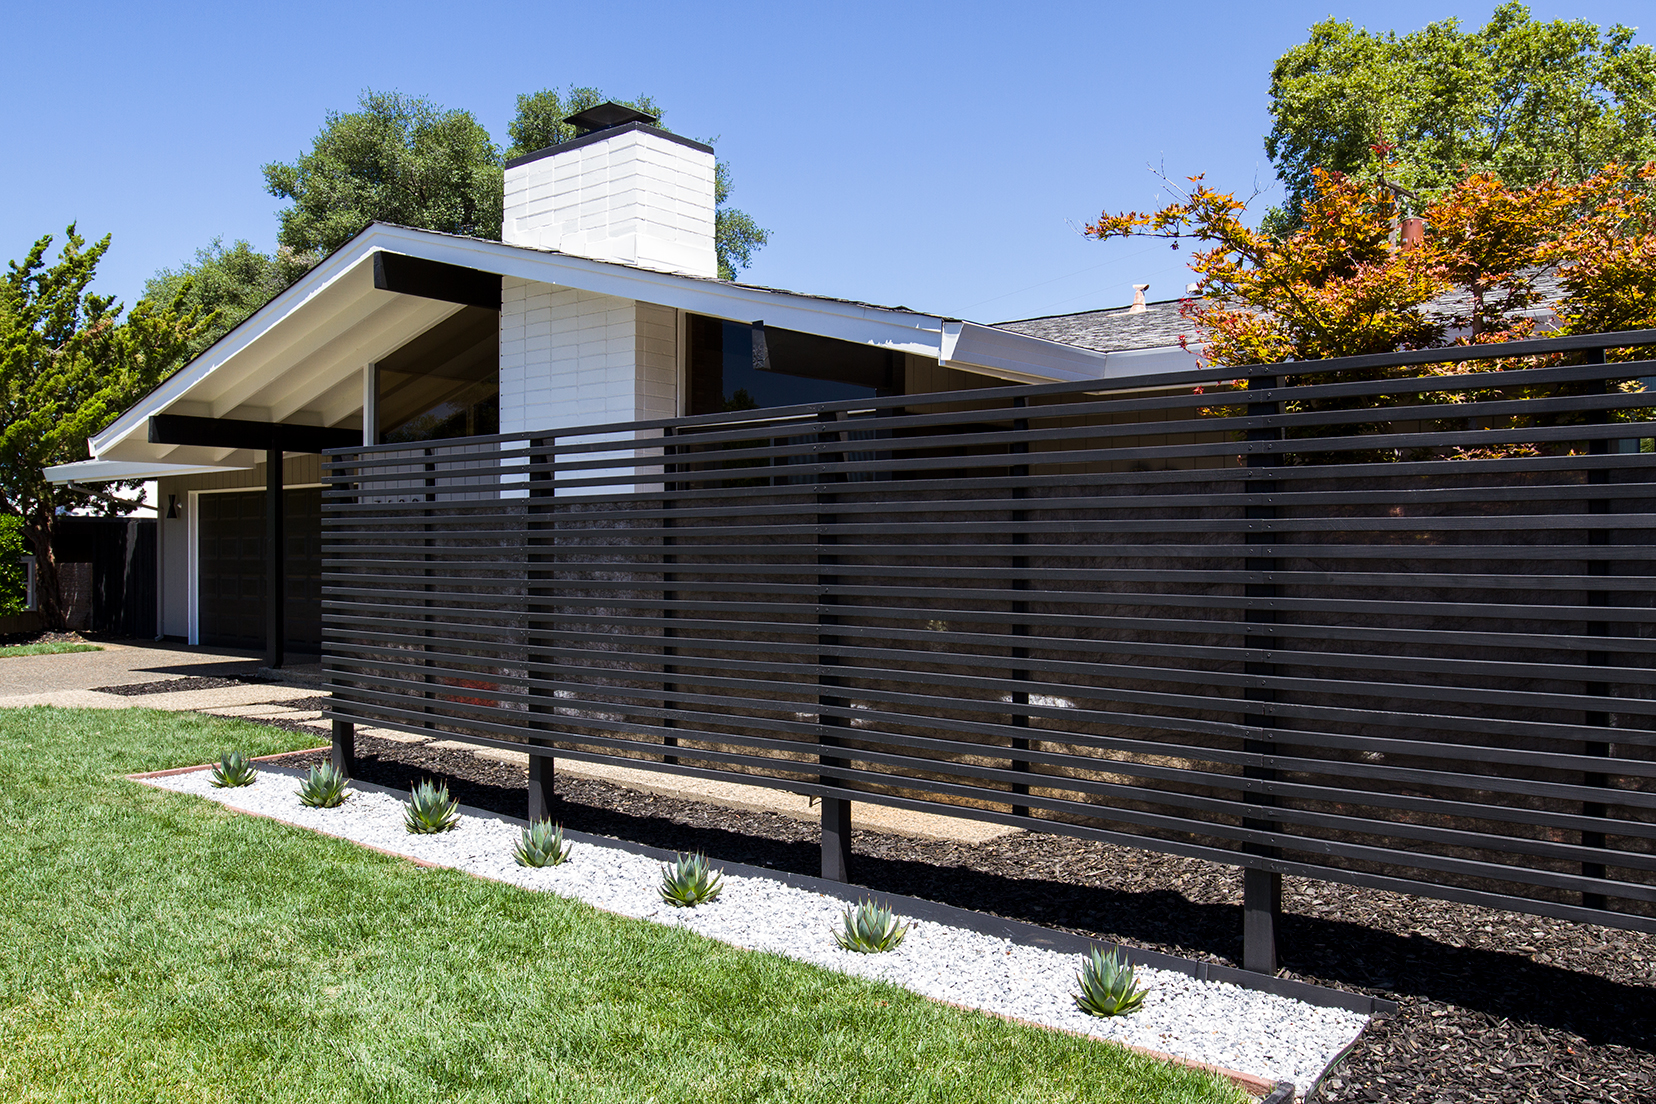
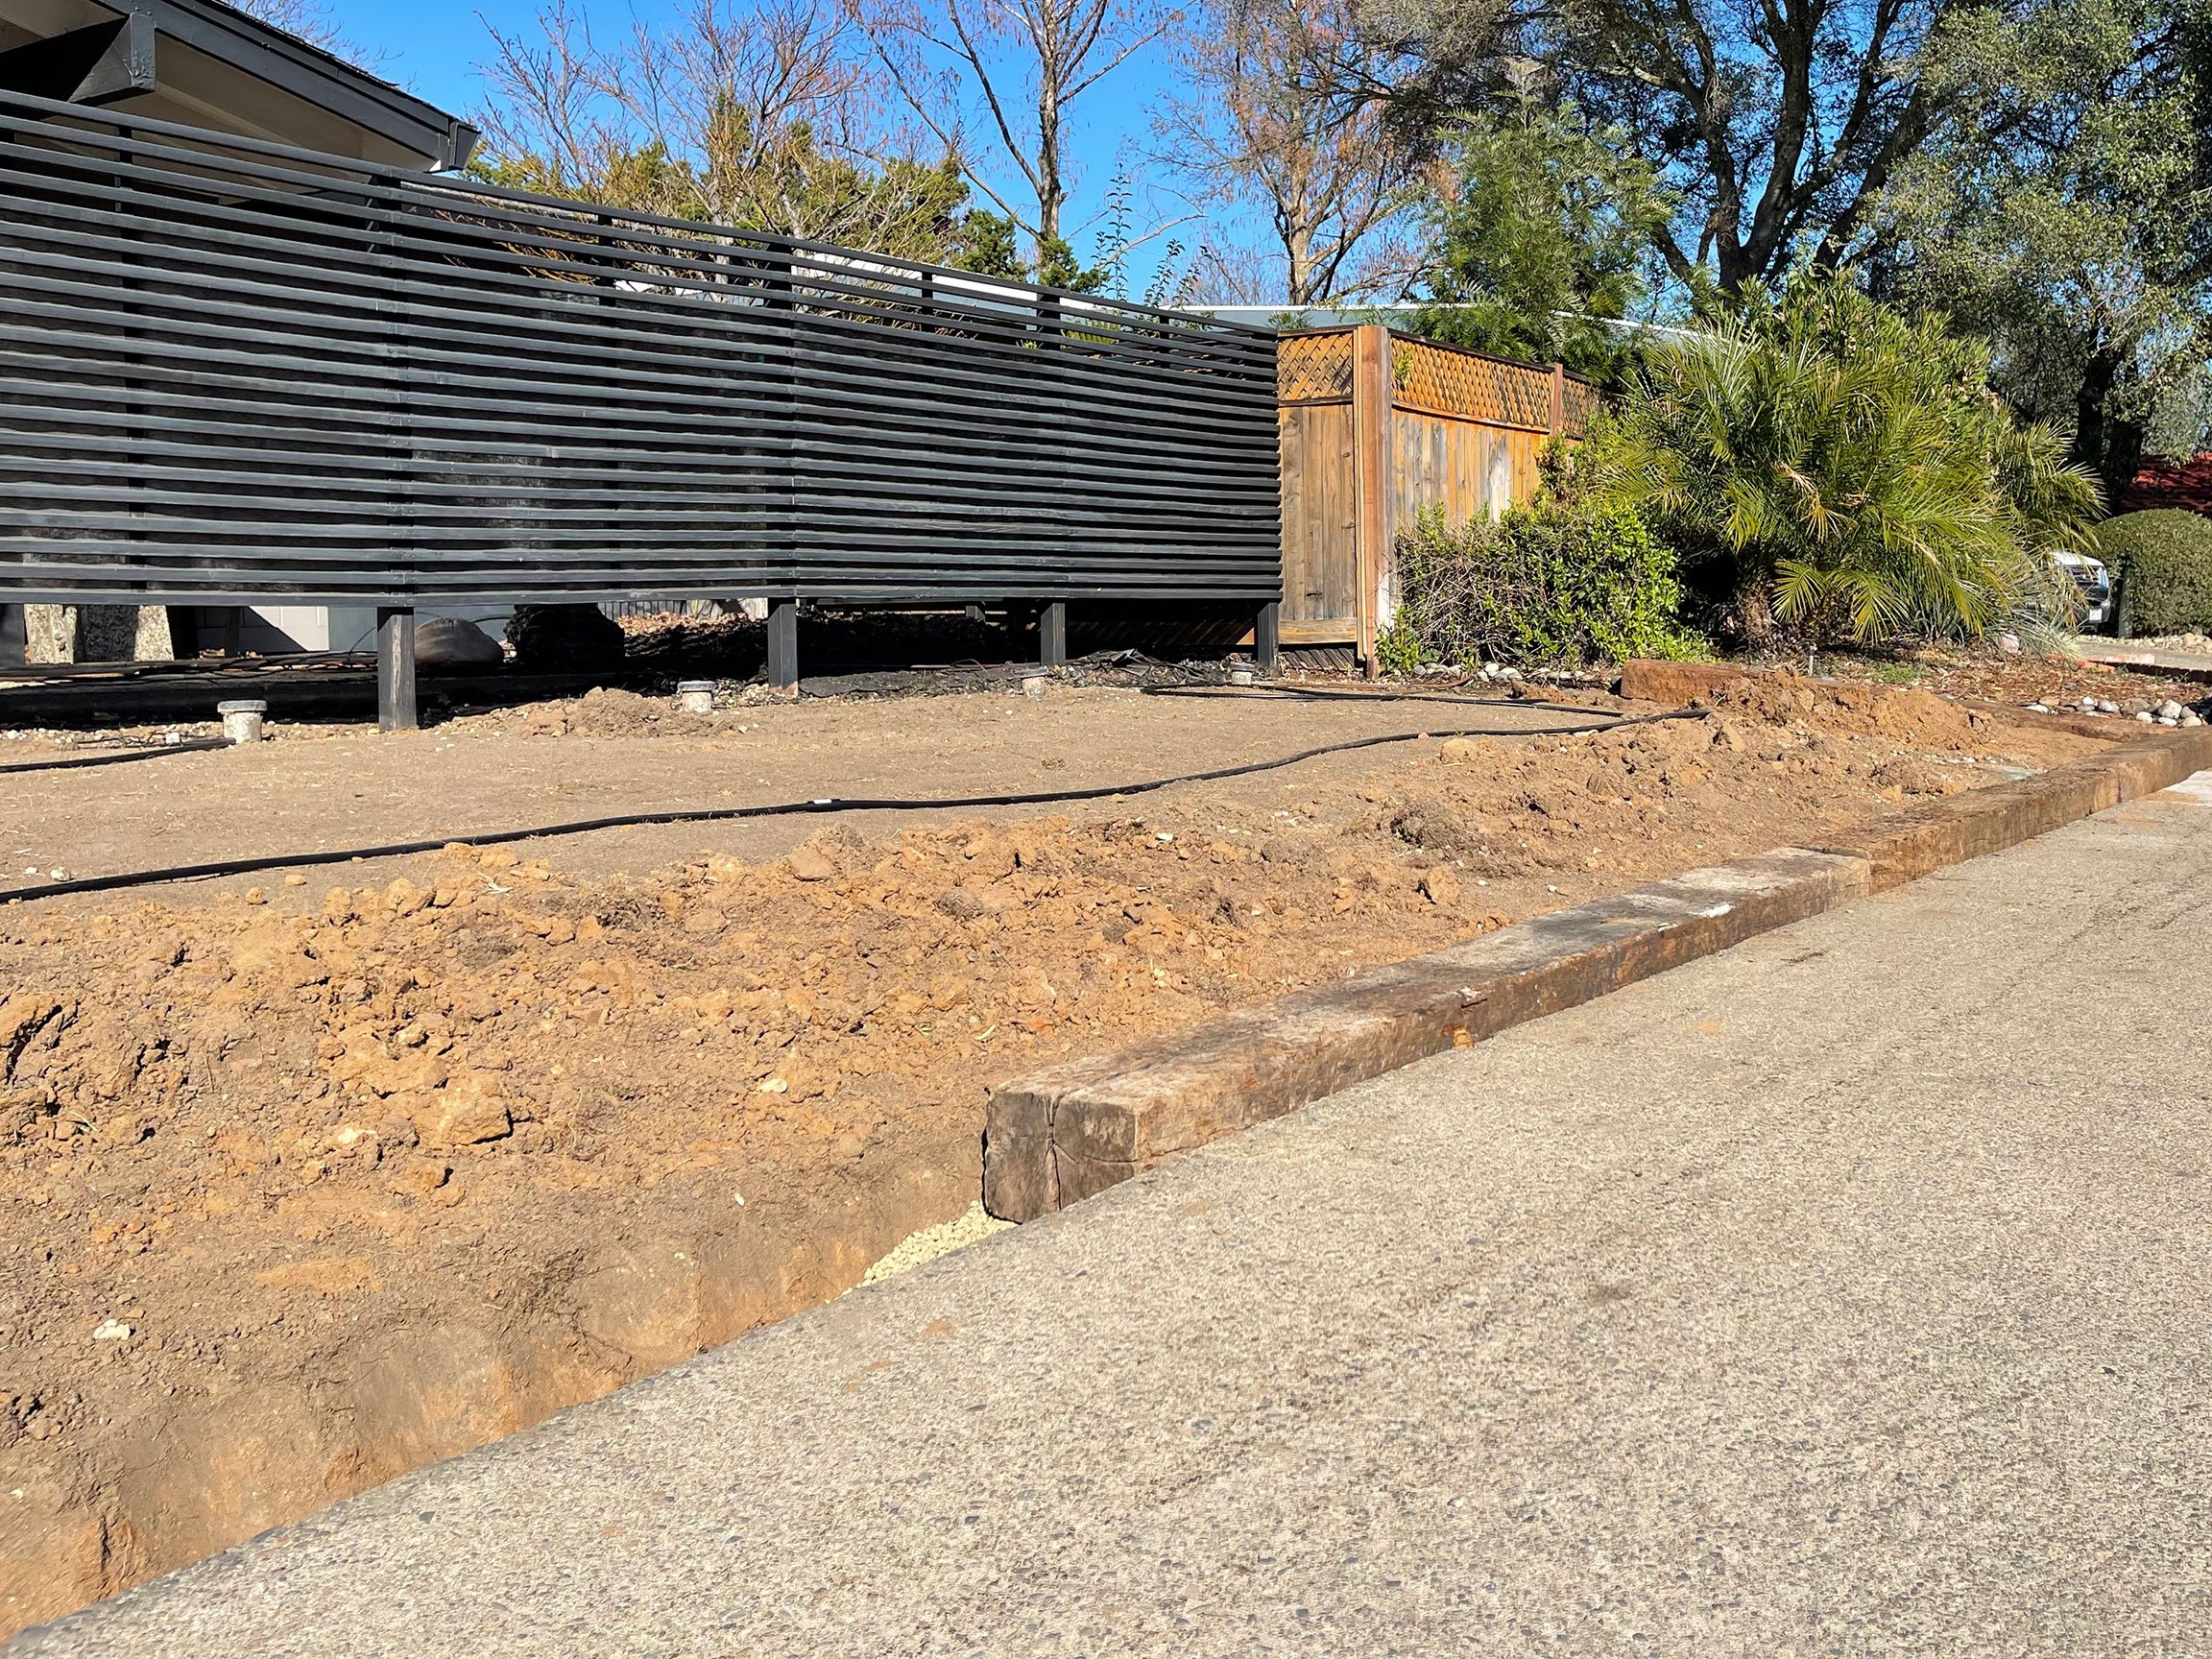
At the top of the hill, my yard is one of the few in the neighborhood that gradually slopes to the curb without the need for containment. However, I wanted the new design to keep rocks off the sidewalk and debris out of the garden.
The plan was to frame the space with retired railroad ties for a rugged, vintage juxtaposition to the fresh, modern appearance of the home. I intended to acquire the ties from a regional supplier about an hour away, but I lucked out by finding a full pallet at a nearby Home Depot of all places. The available 16 creosote-coated ties would be just enough to create a raised wall surrounding the front yard.
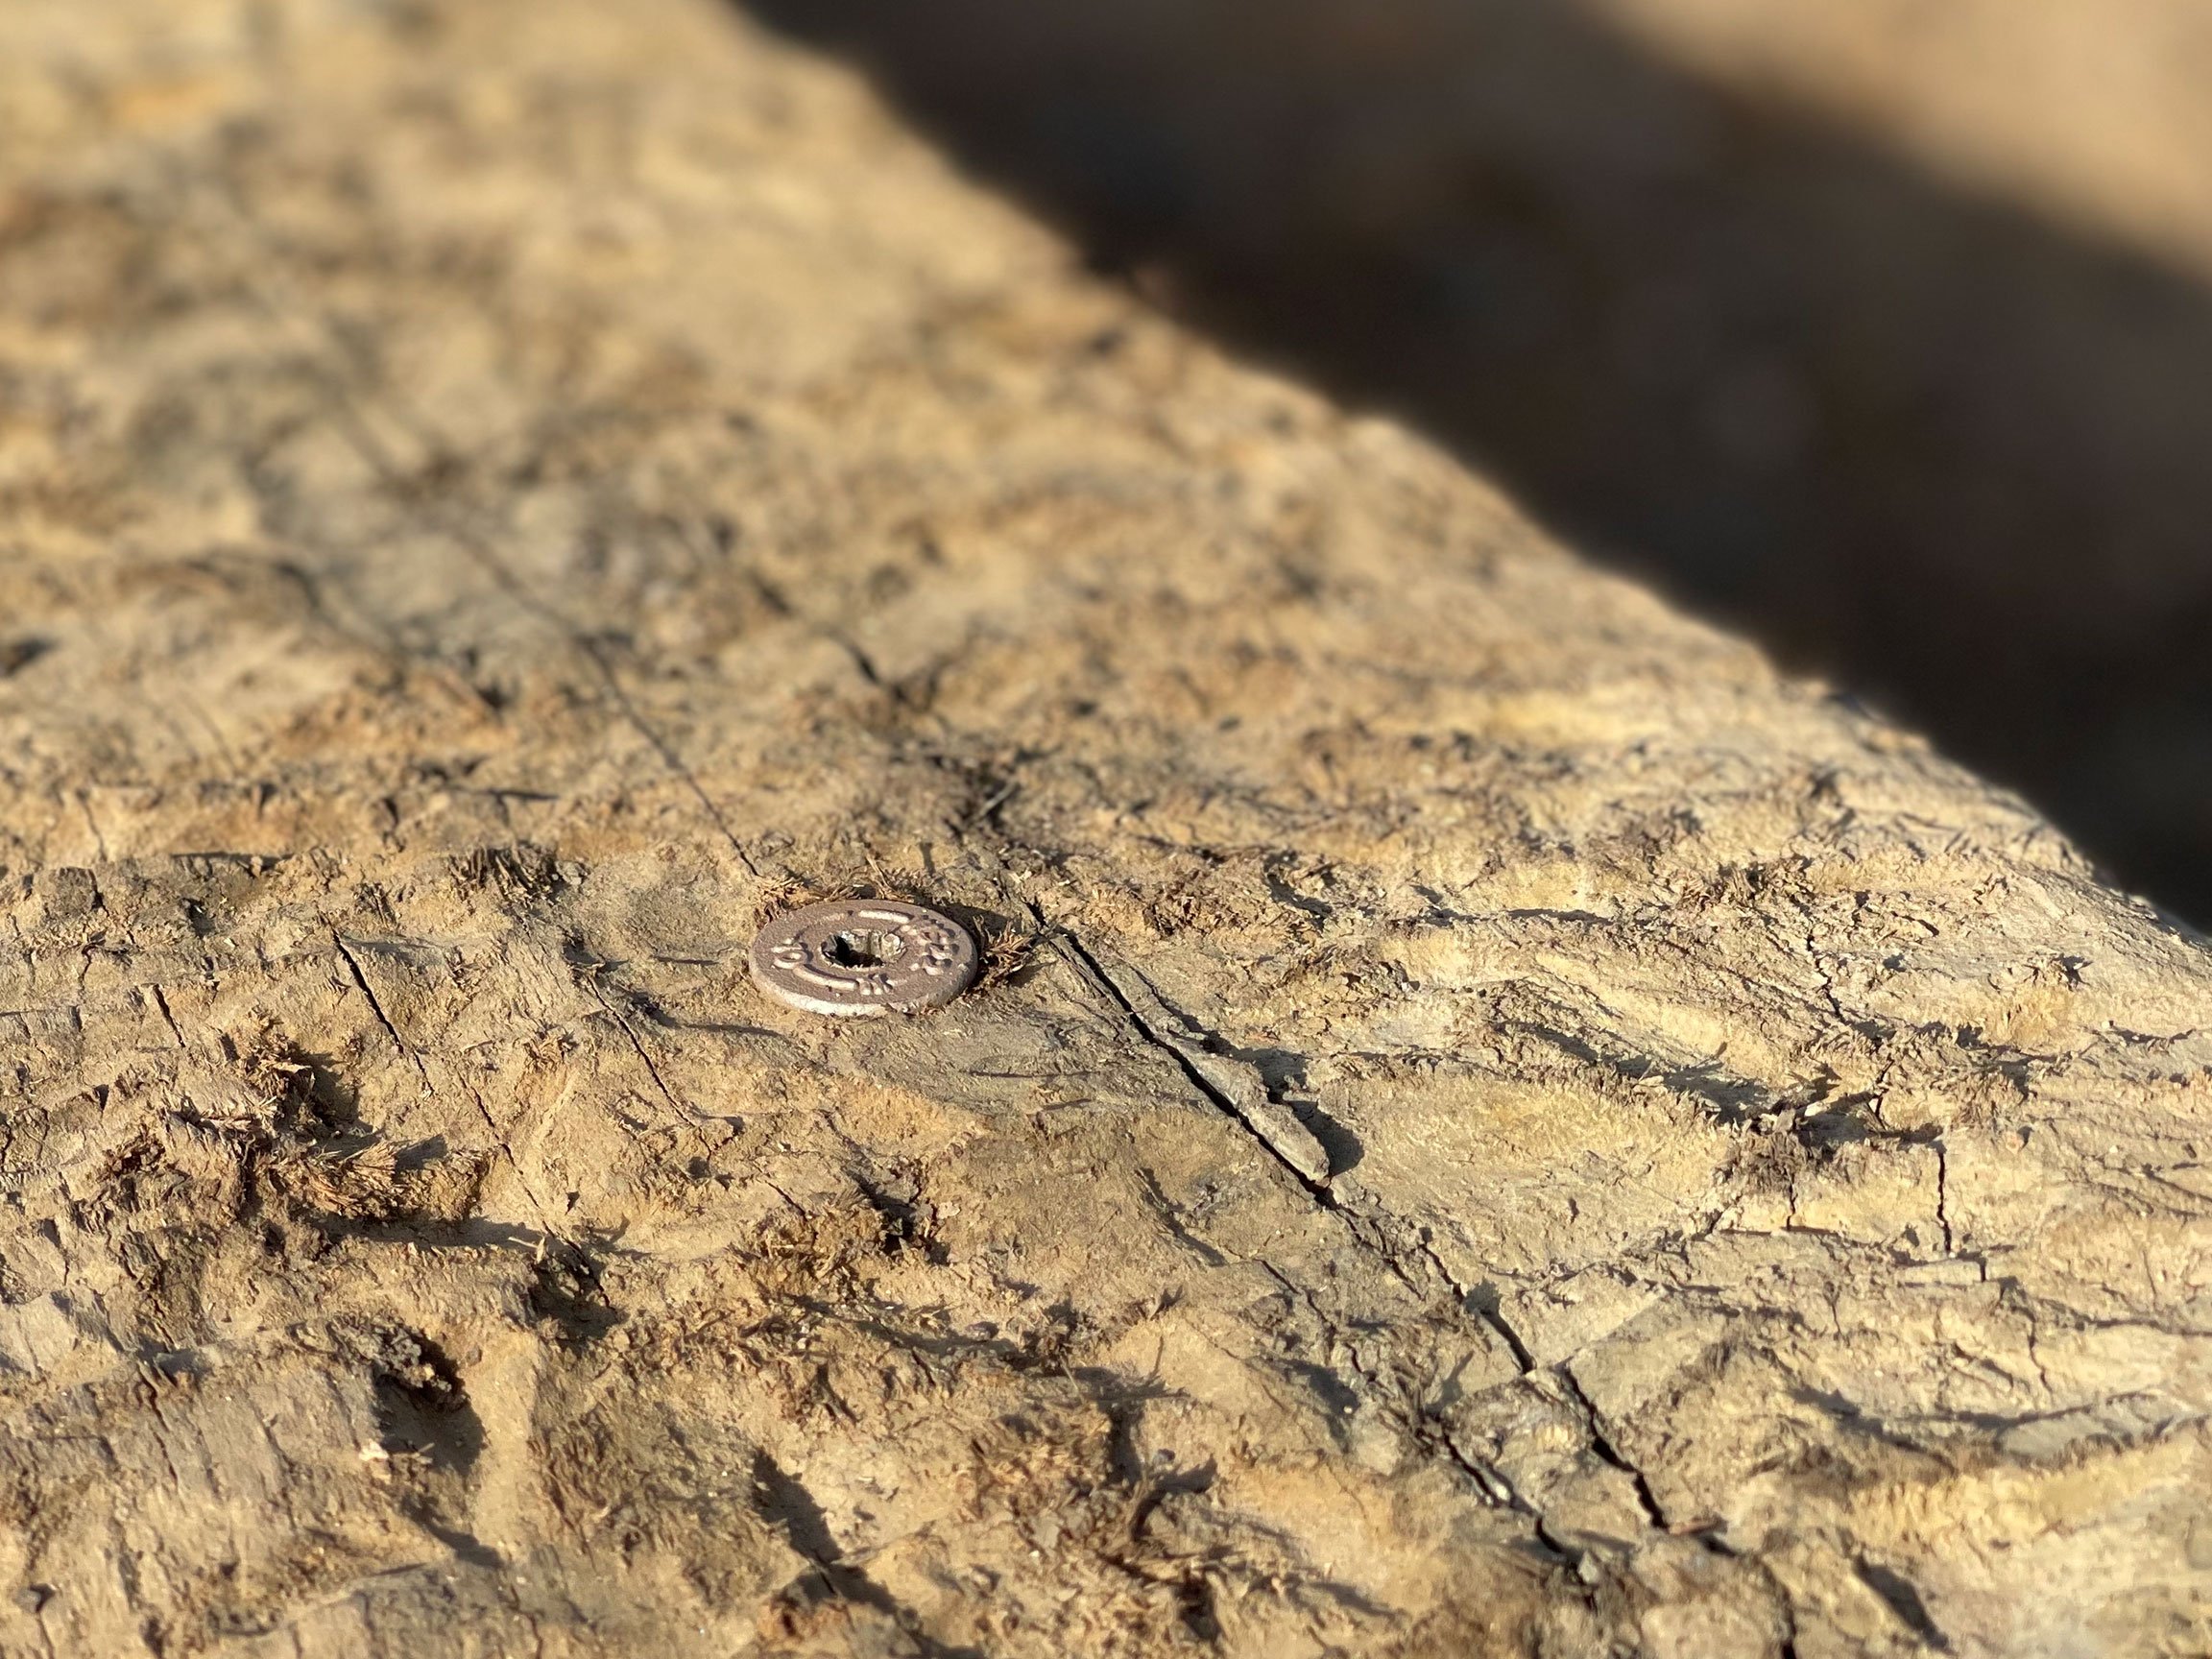
Not a single piece is perfect, but that is what I like most about them. Many are covered in hammered texture, splits, and rust. A few came with attached metal hardware, which I really appreciate. Where possible, I left truss plates and S-irons intact to introduce a sense of longevity and history to the garden.
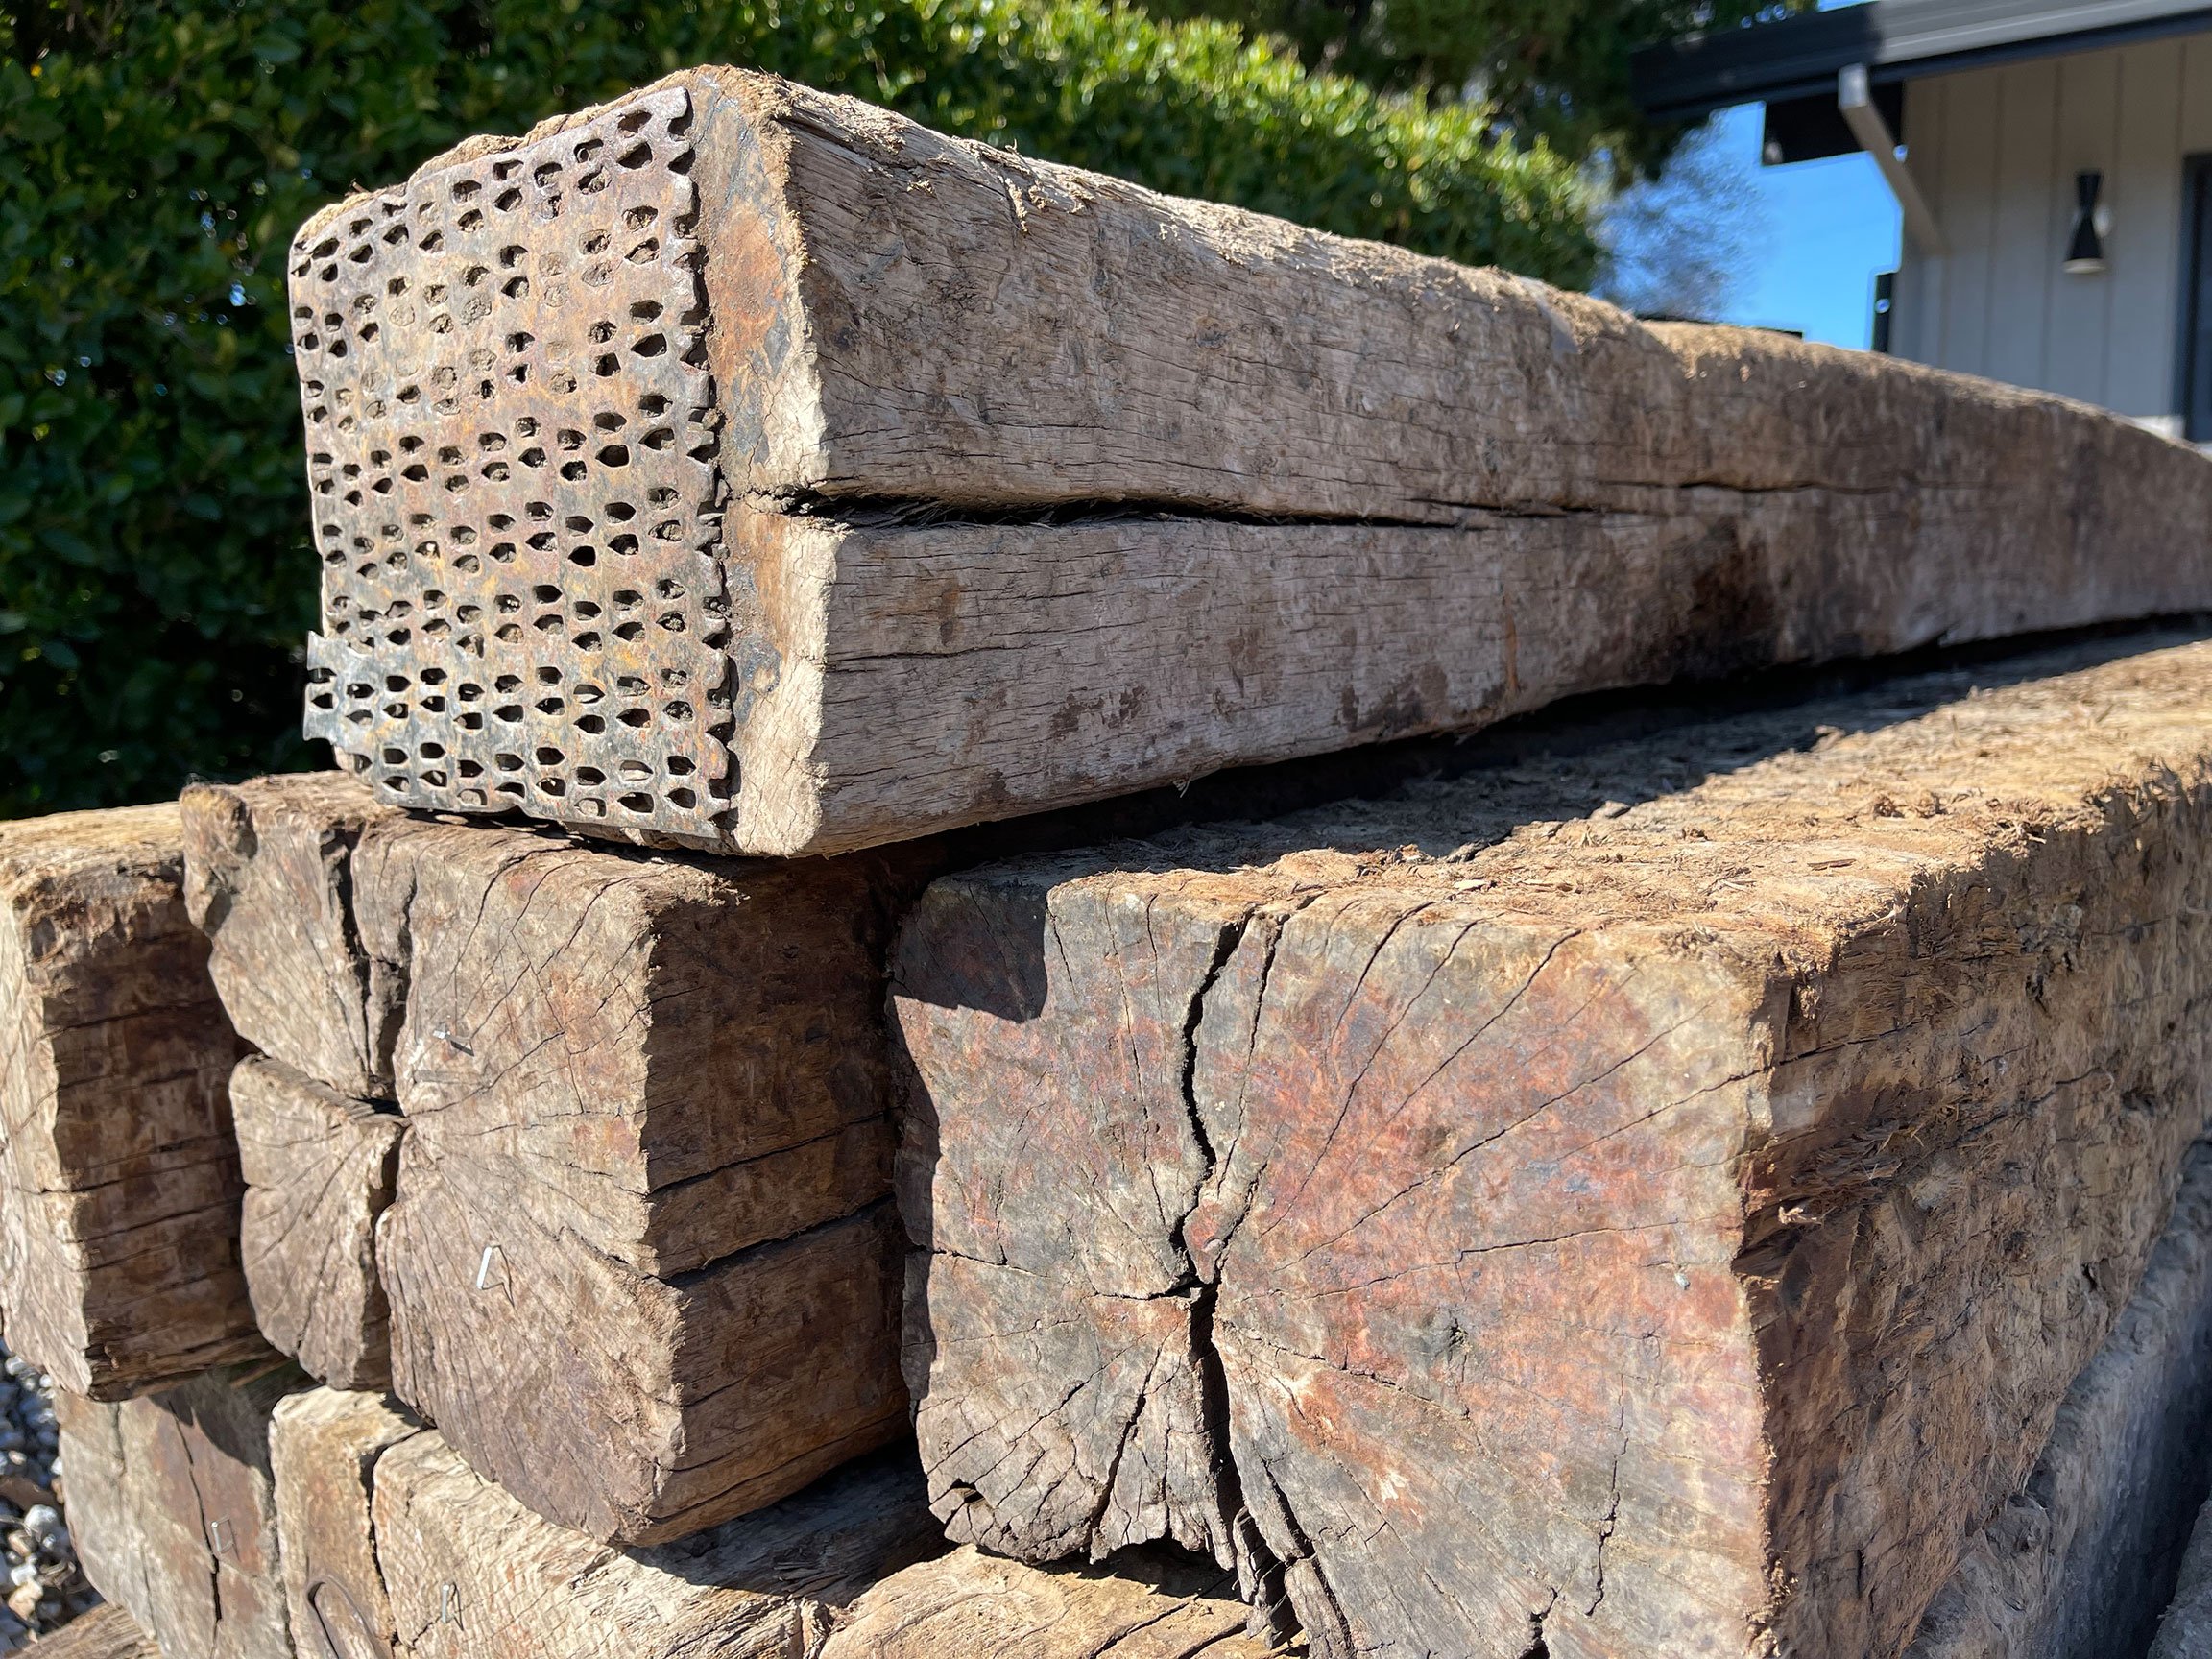
“Where possible, I left truss plates and S-irons intact to introduce a sense of longevity and history into the garden.”
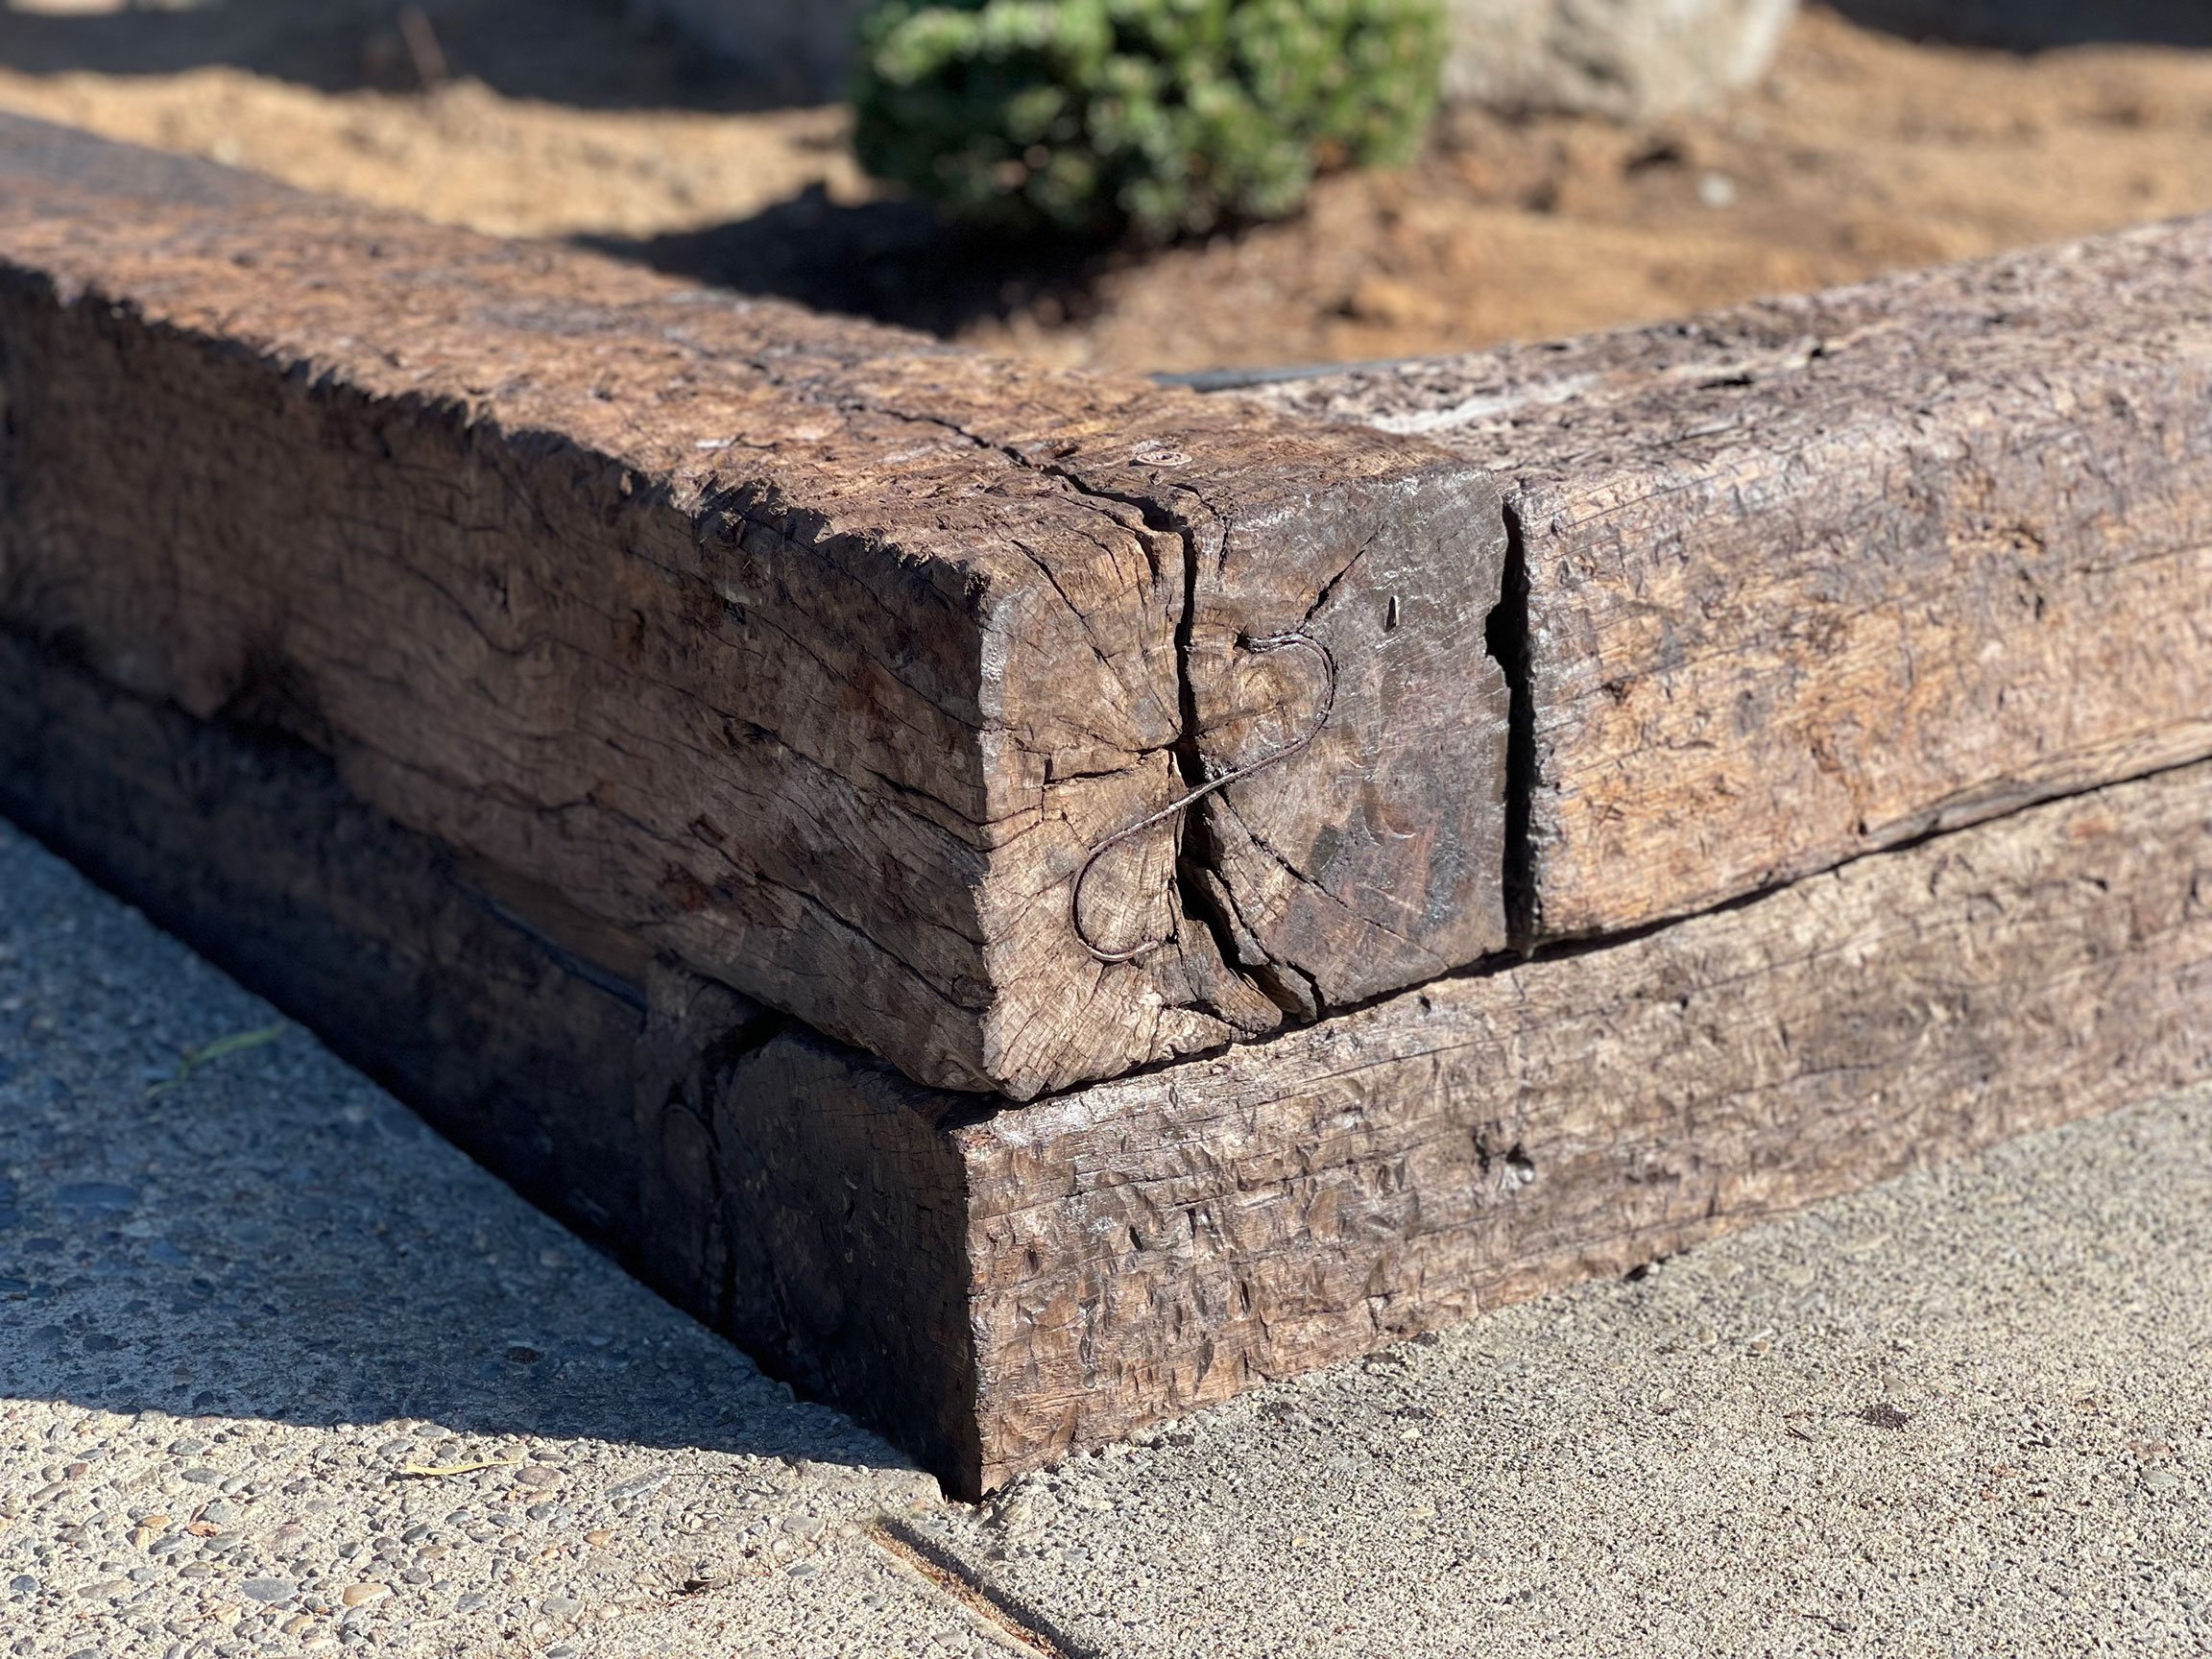
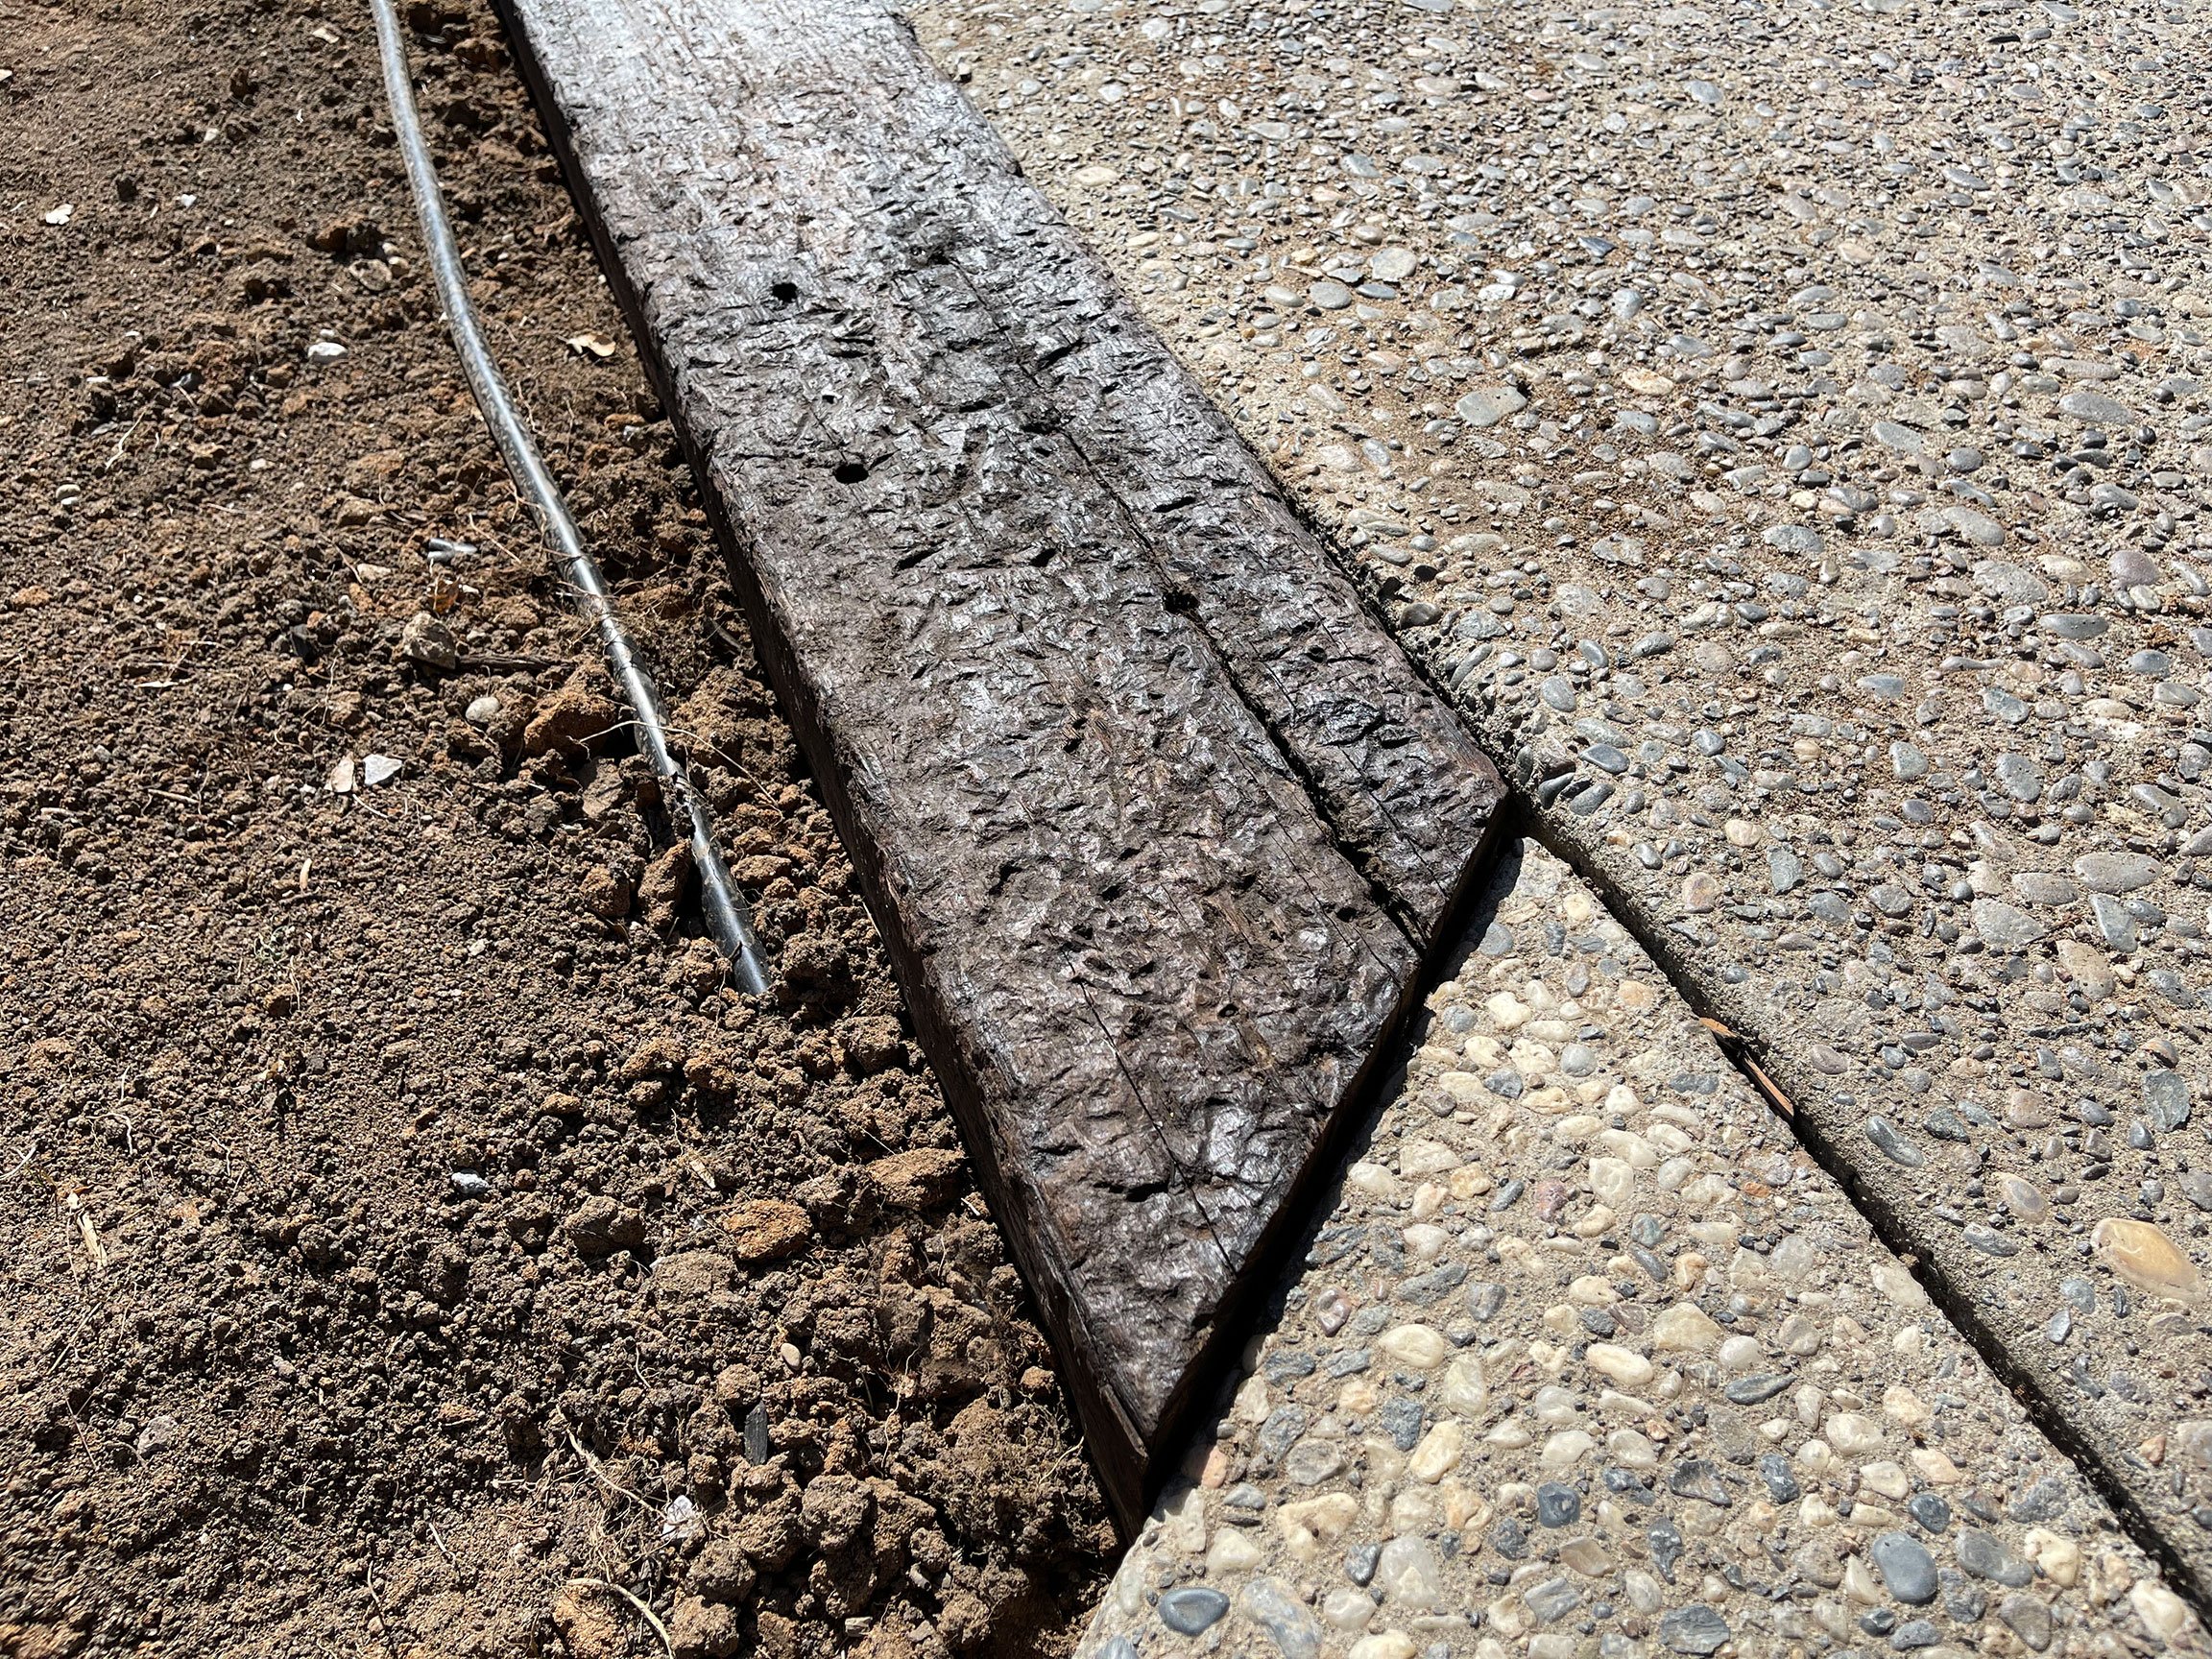
The ground was prepared by digging about 6 inches below the sidewalk level. This allowed the ties to sit just below sidewalk for added stability and a clean, straight edge. I then tampered the ground to compact the soil, then backfilled with a couple inches of pea gravel for drainage and leveling. Additional gravel was needed in some areas to account for the gradual slope.
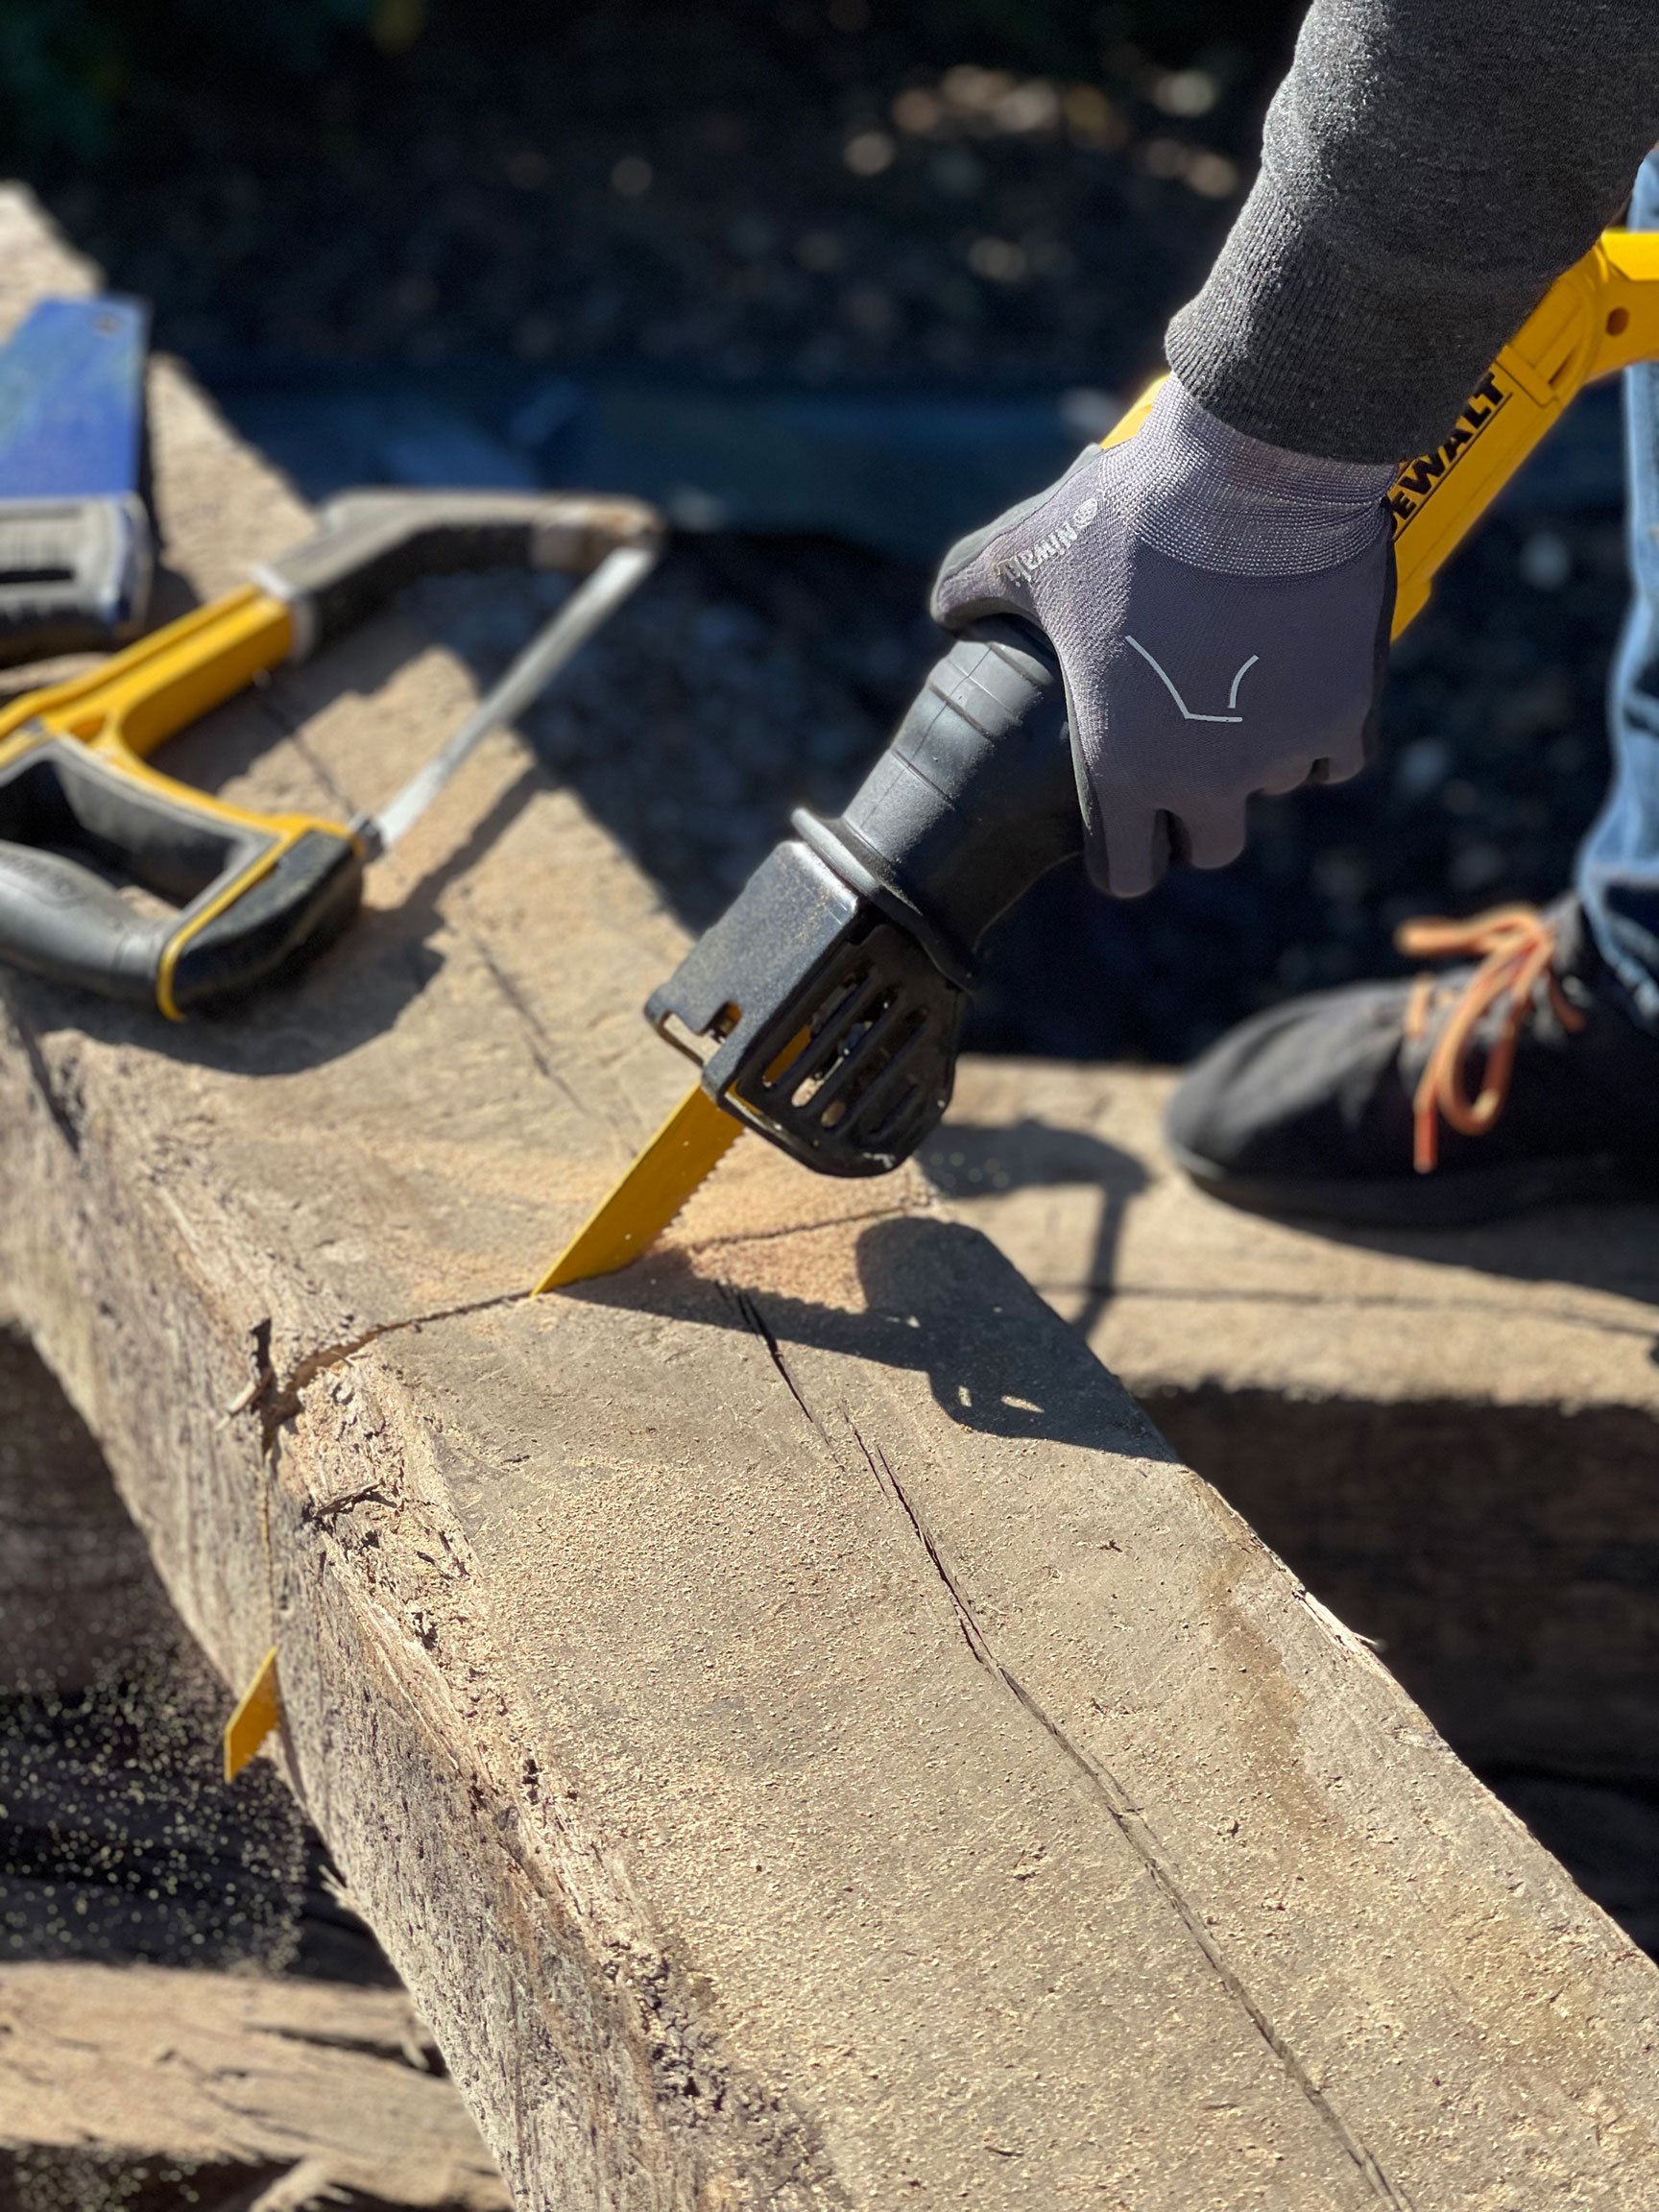
Each railroad tie weighs 200 lbs, so dragging them into place was an intense maneuver. I managed to get the first layer down by myself, but was grateful for Glen’s help on the second layer. Precise angle cuts were made with a reciprocating saw to align with existing exposed aggregate walkways.
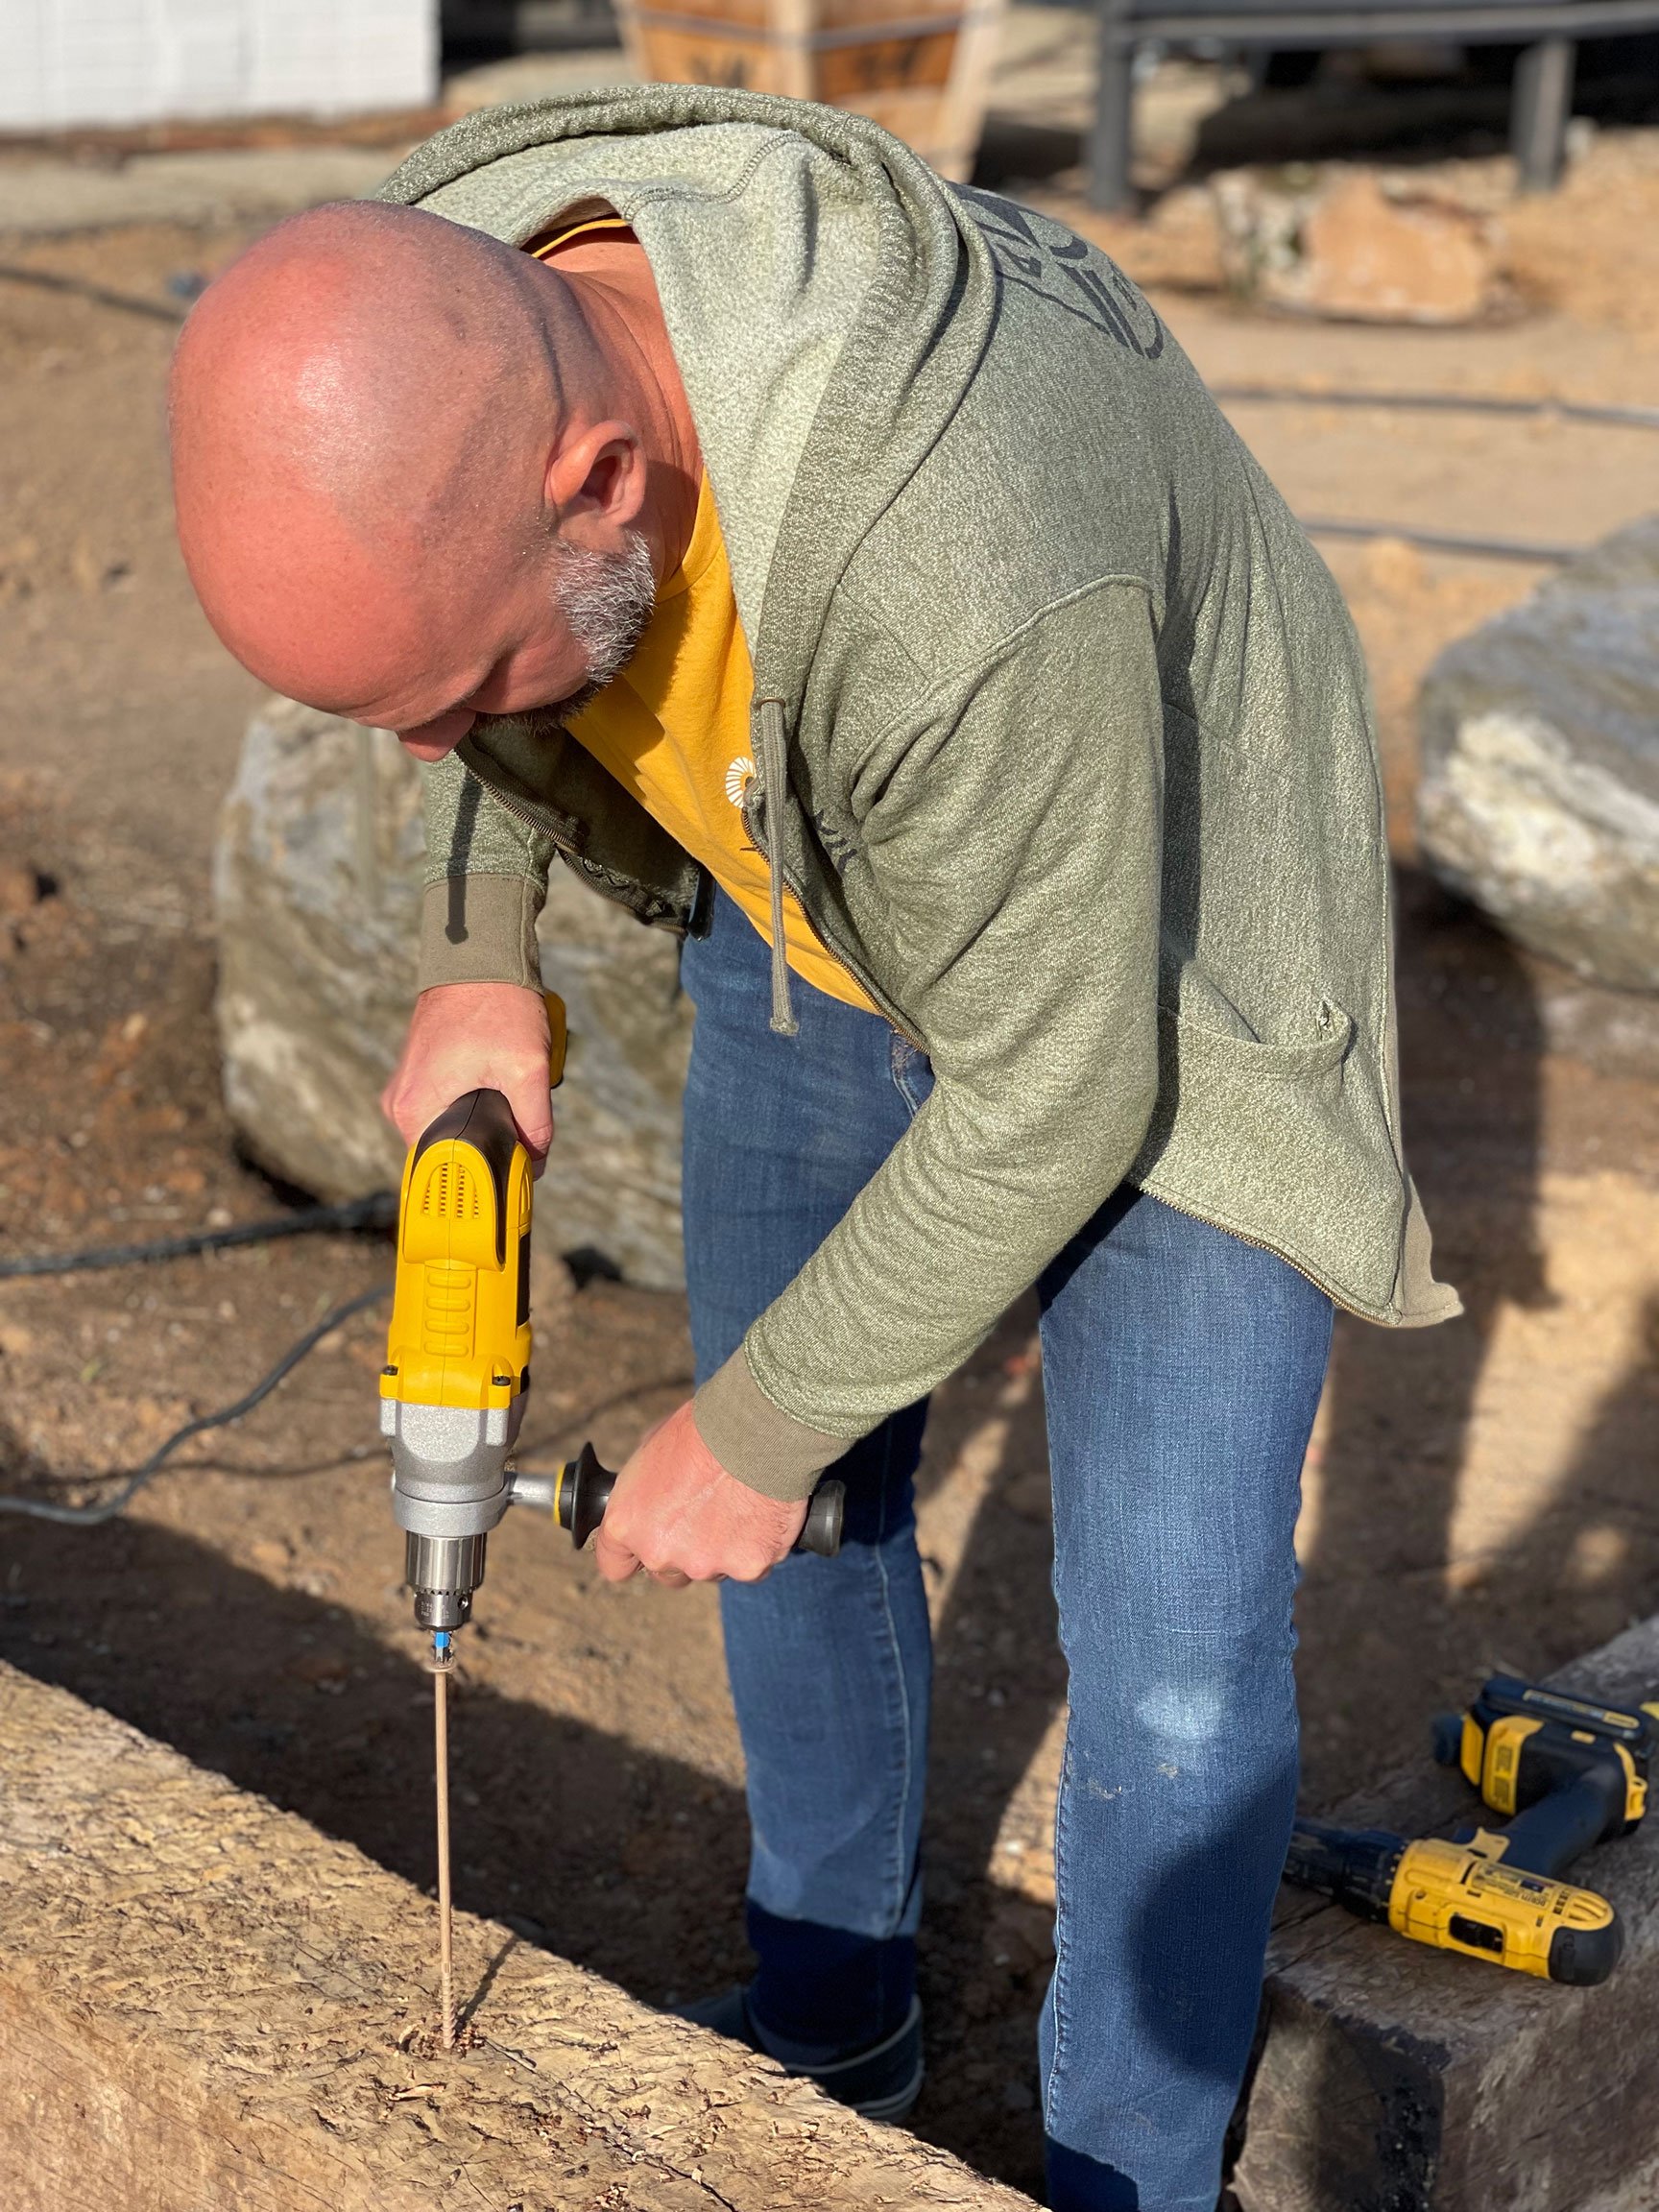
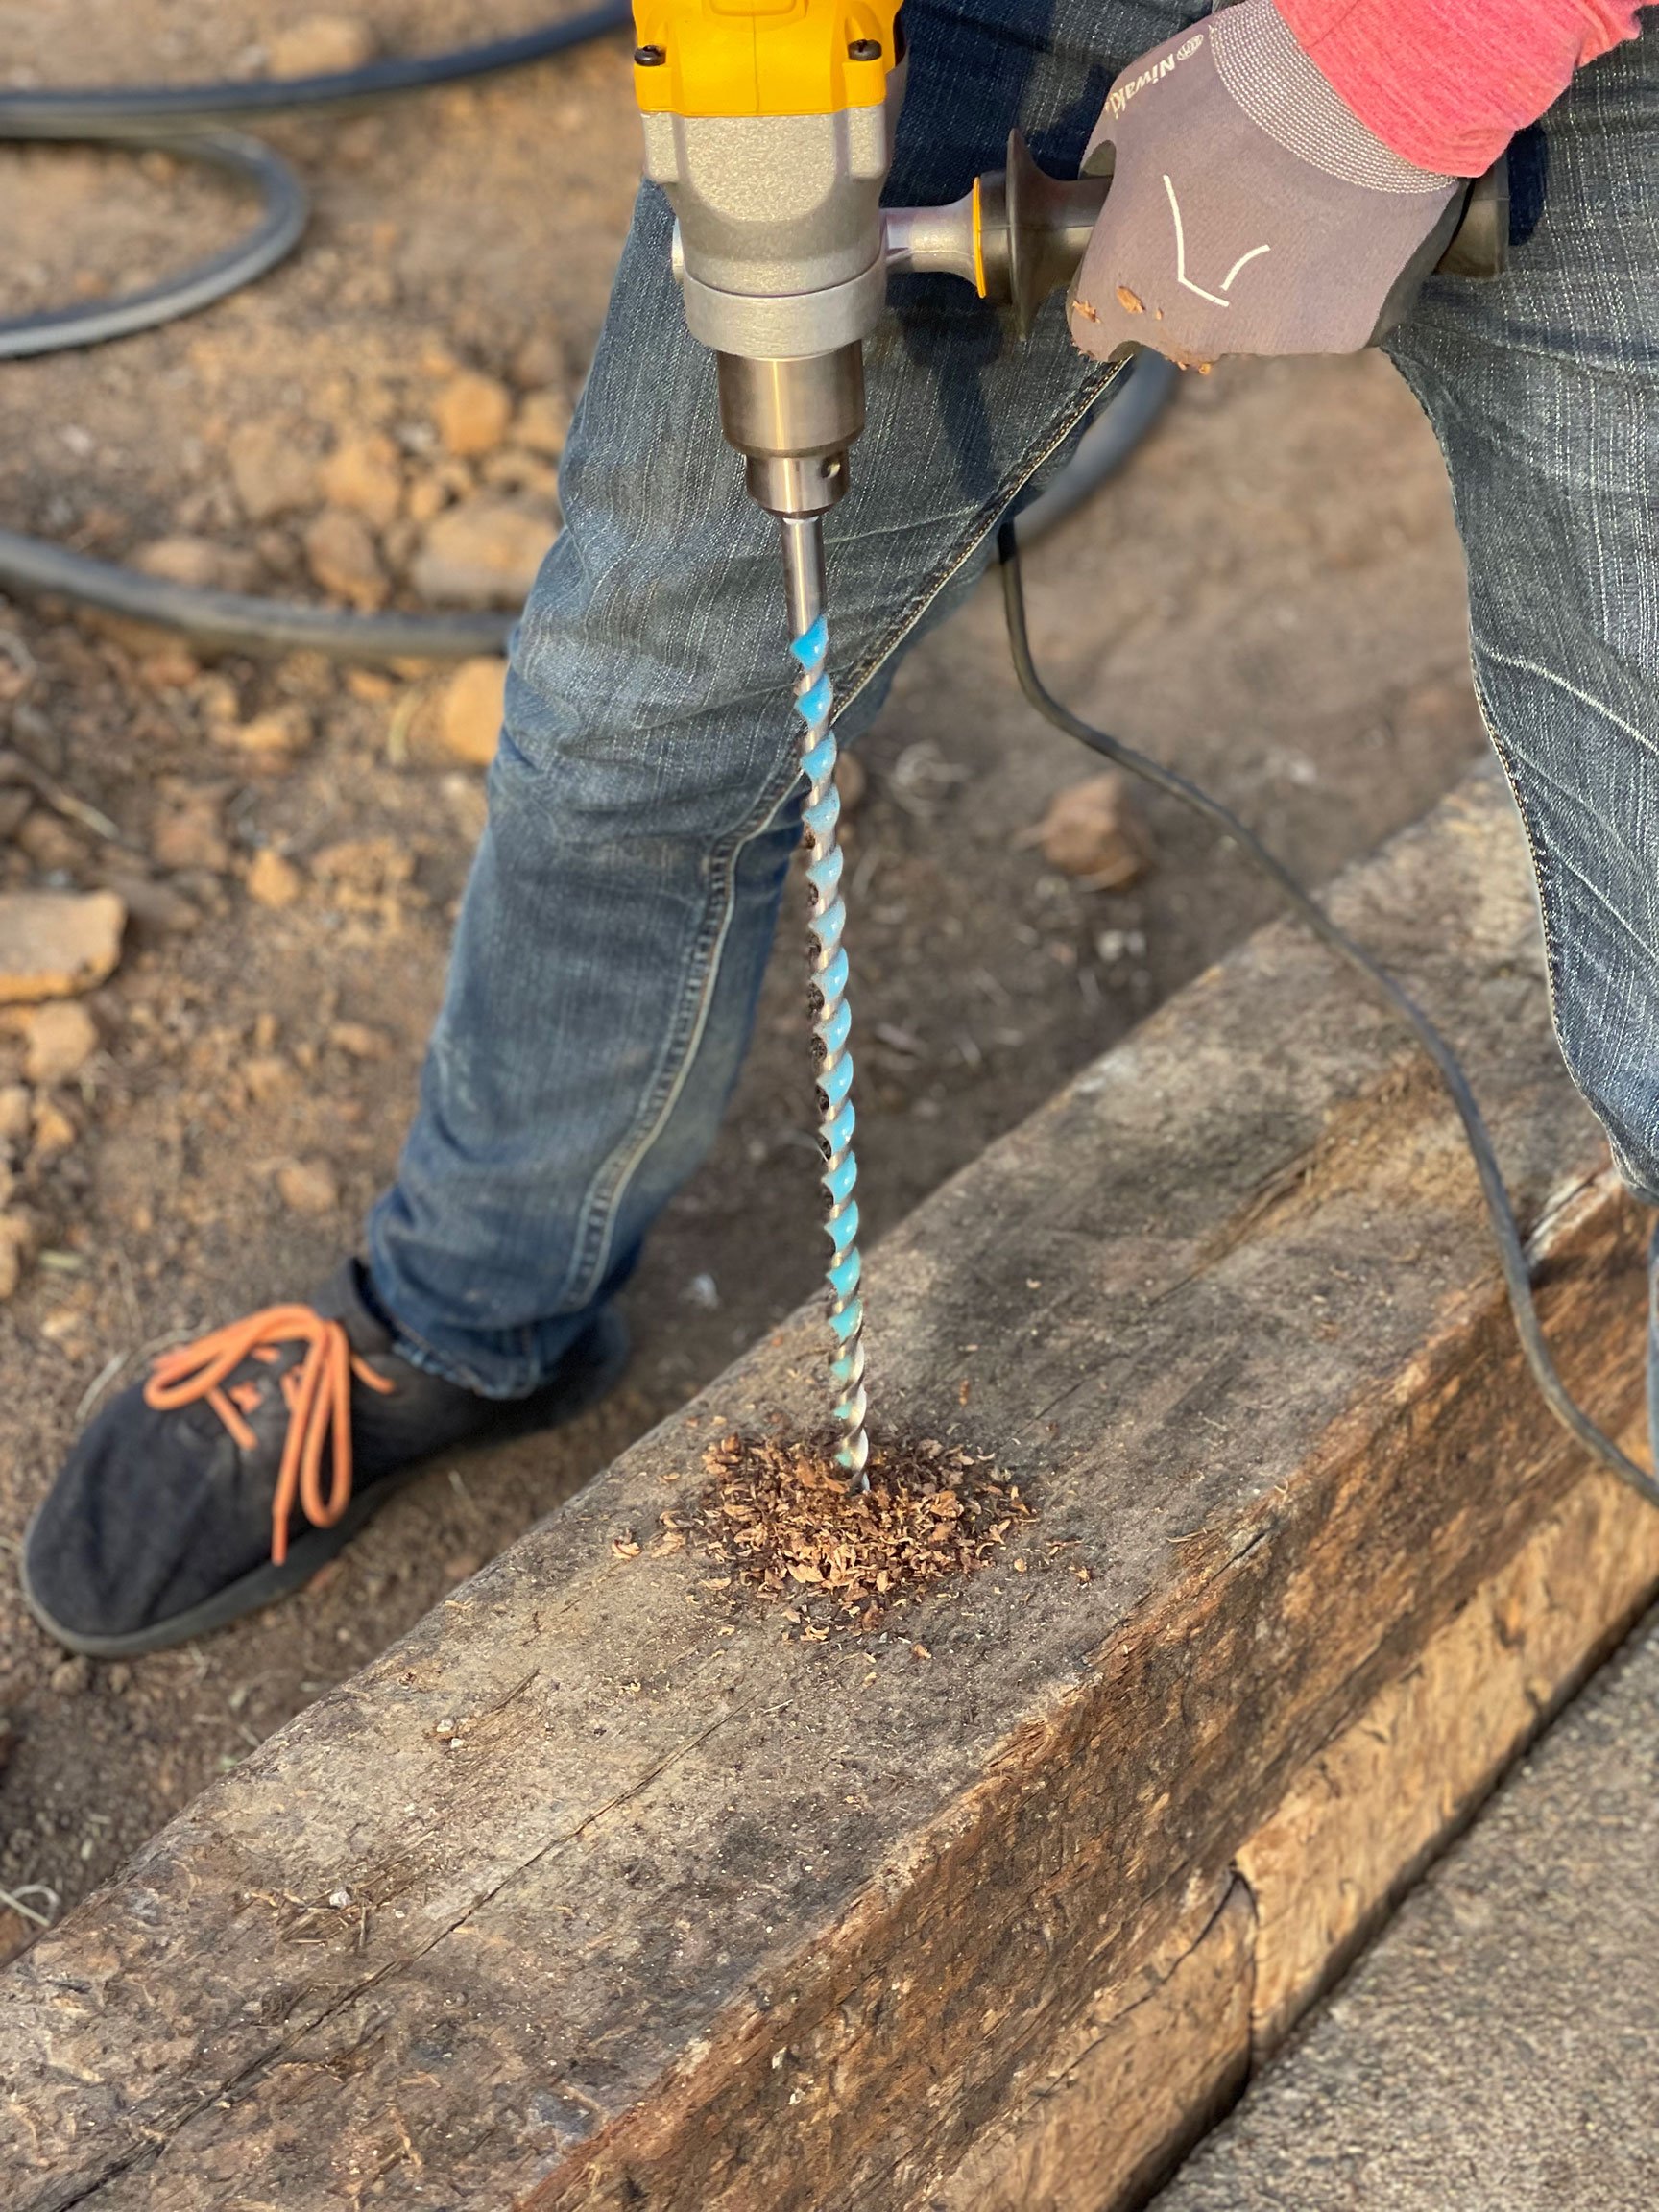
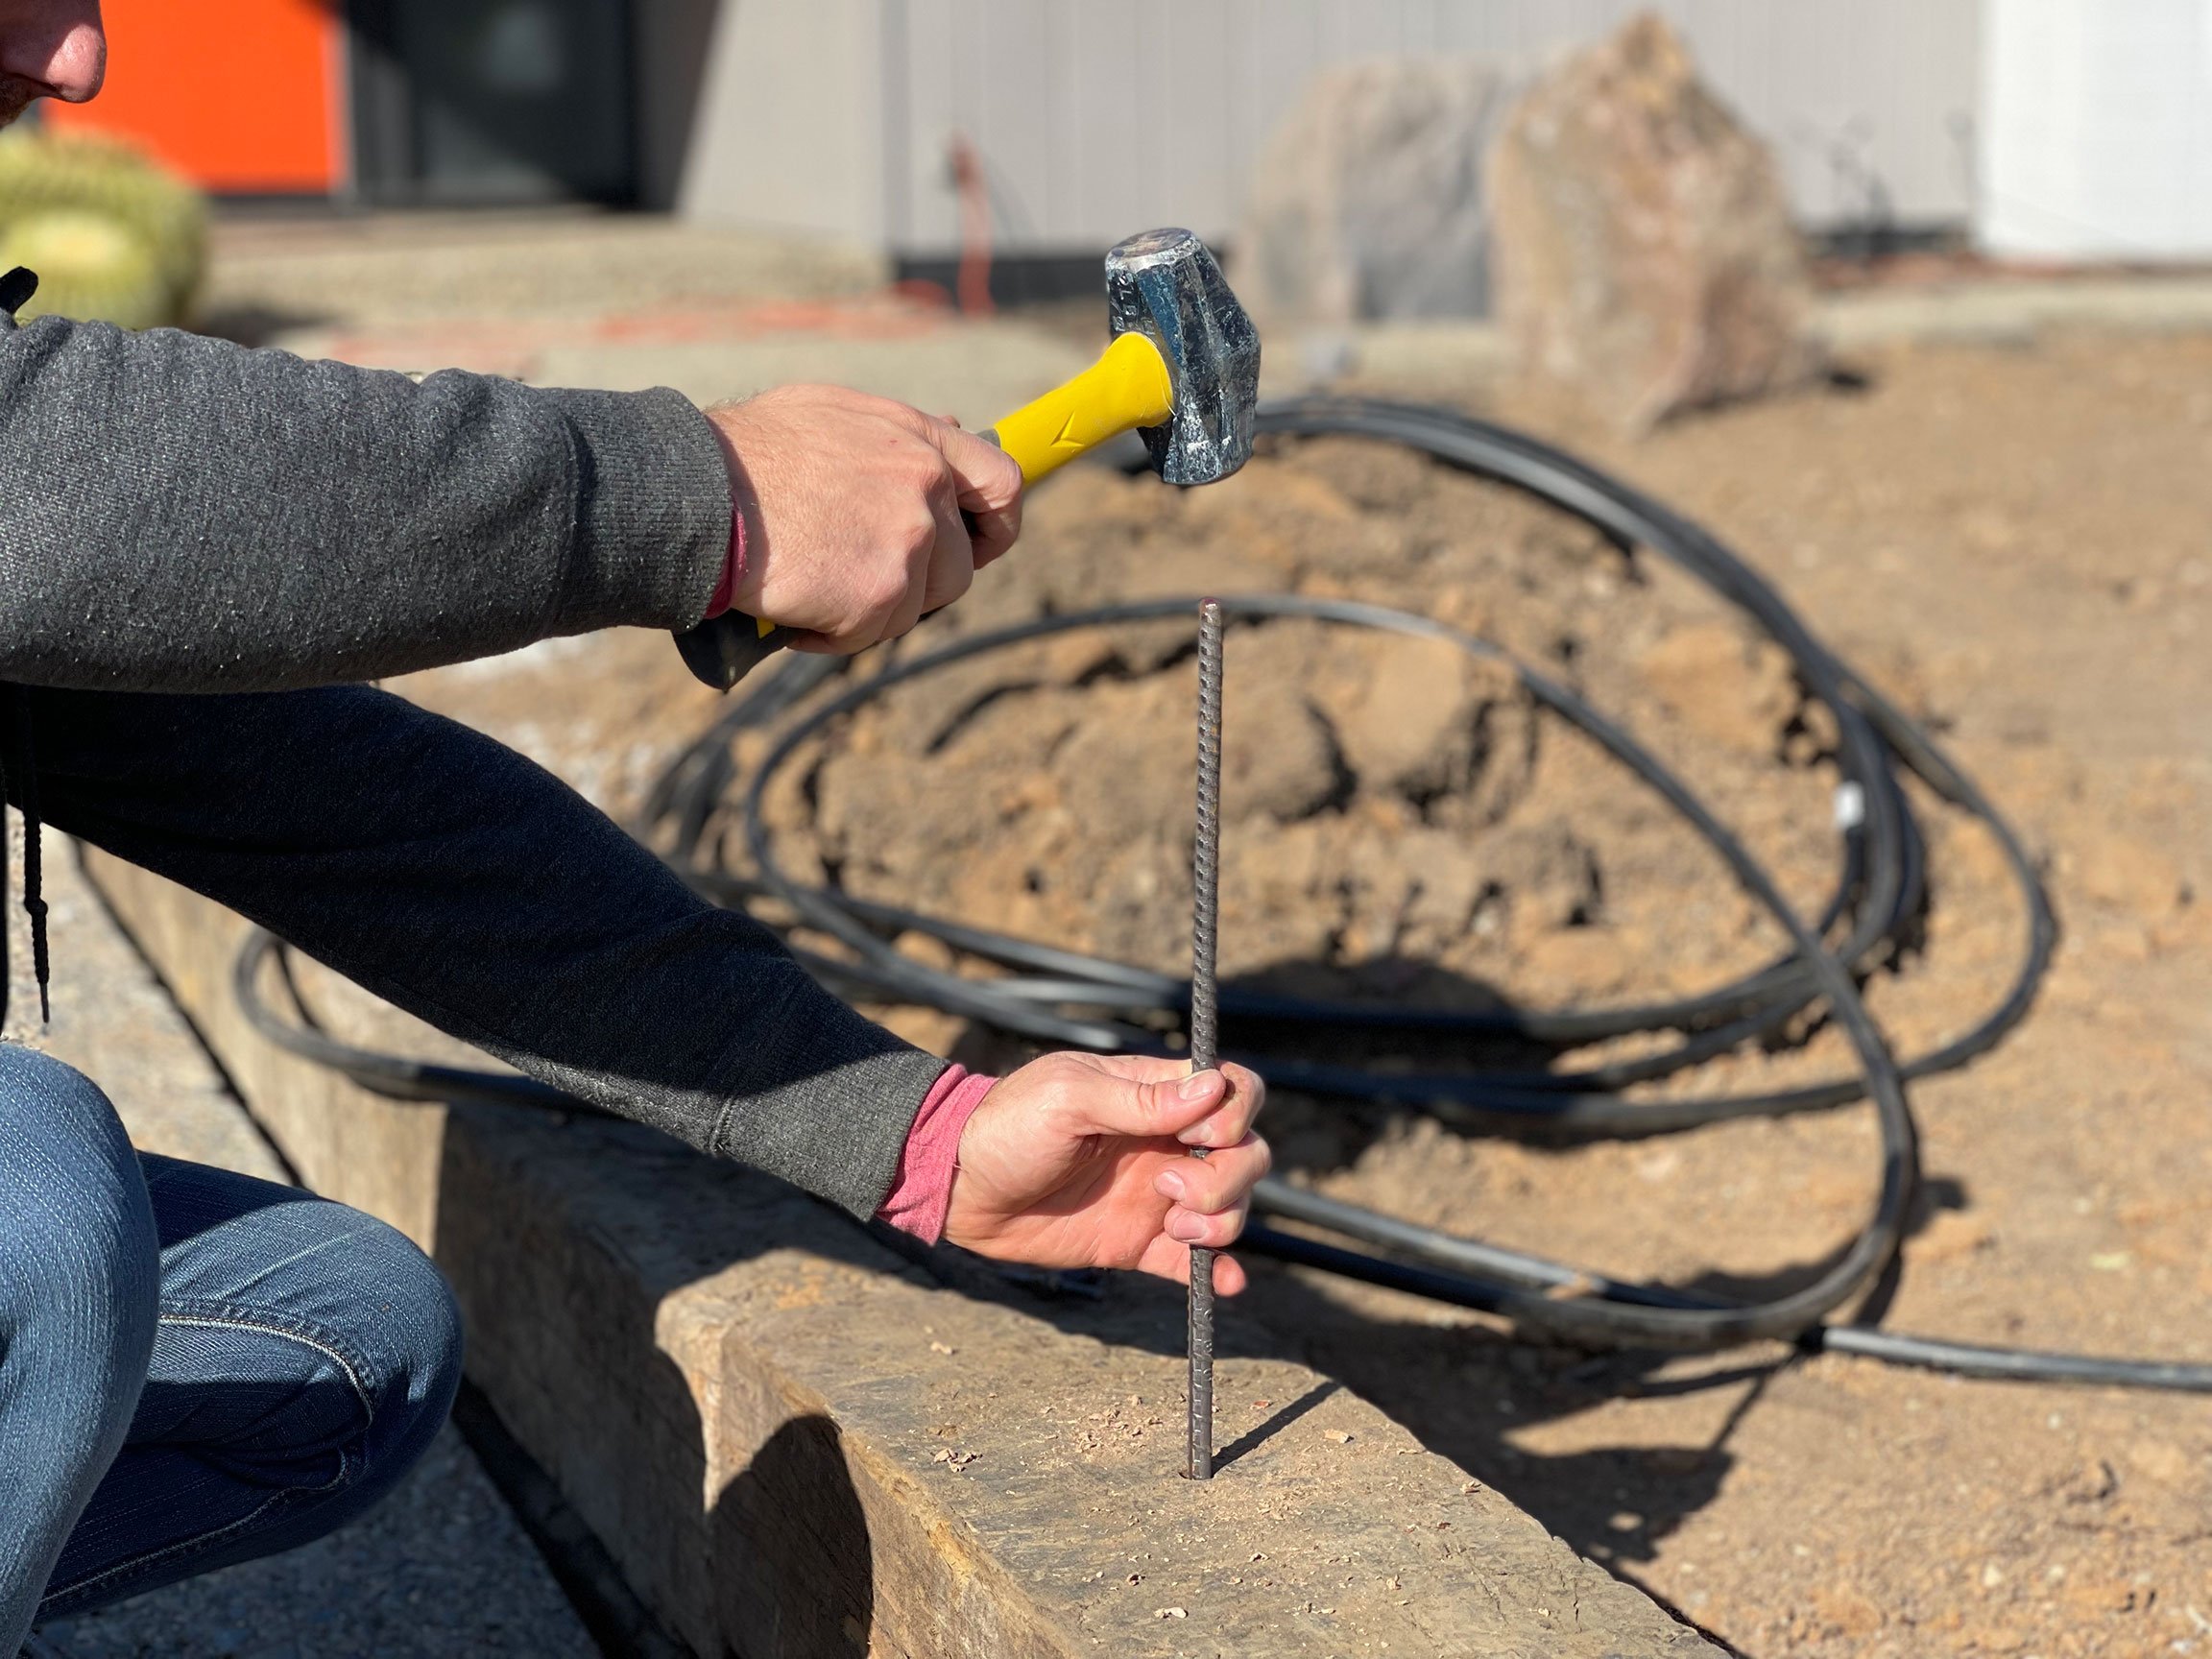
With the ties in place, we could begin securing the retaining wall. We first drilled through the stack of ties with a 24-inch long drill bit, allowing us to drive 1/2-inch rebar through the ties and into the ground. A series of 12-inch ceramic wood screws were used to further secure the top layer to the bottom layer.
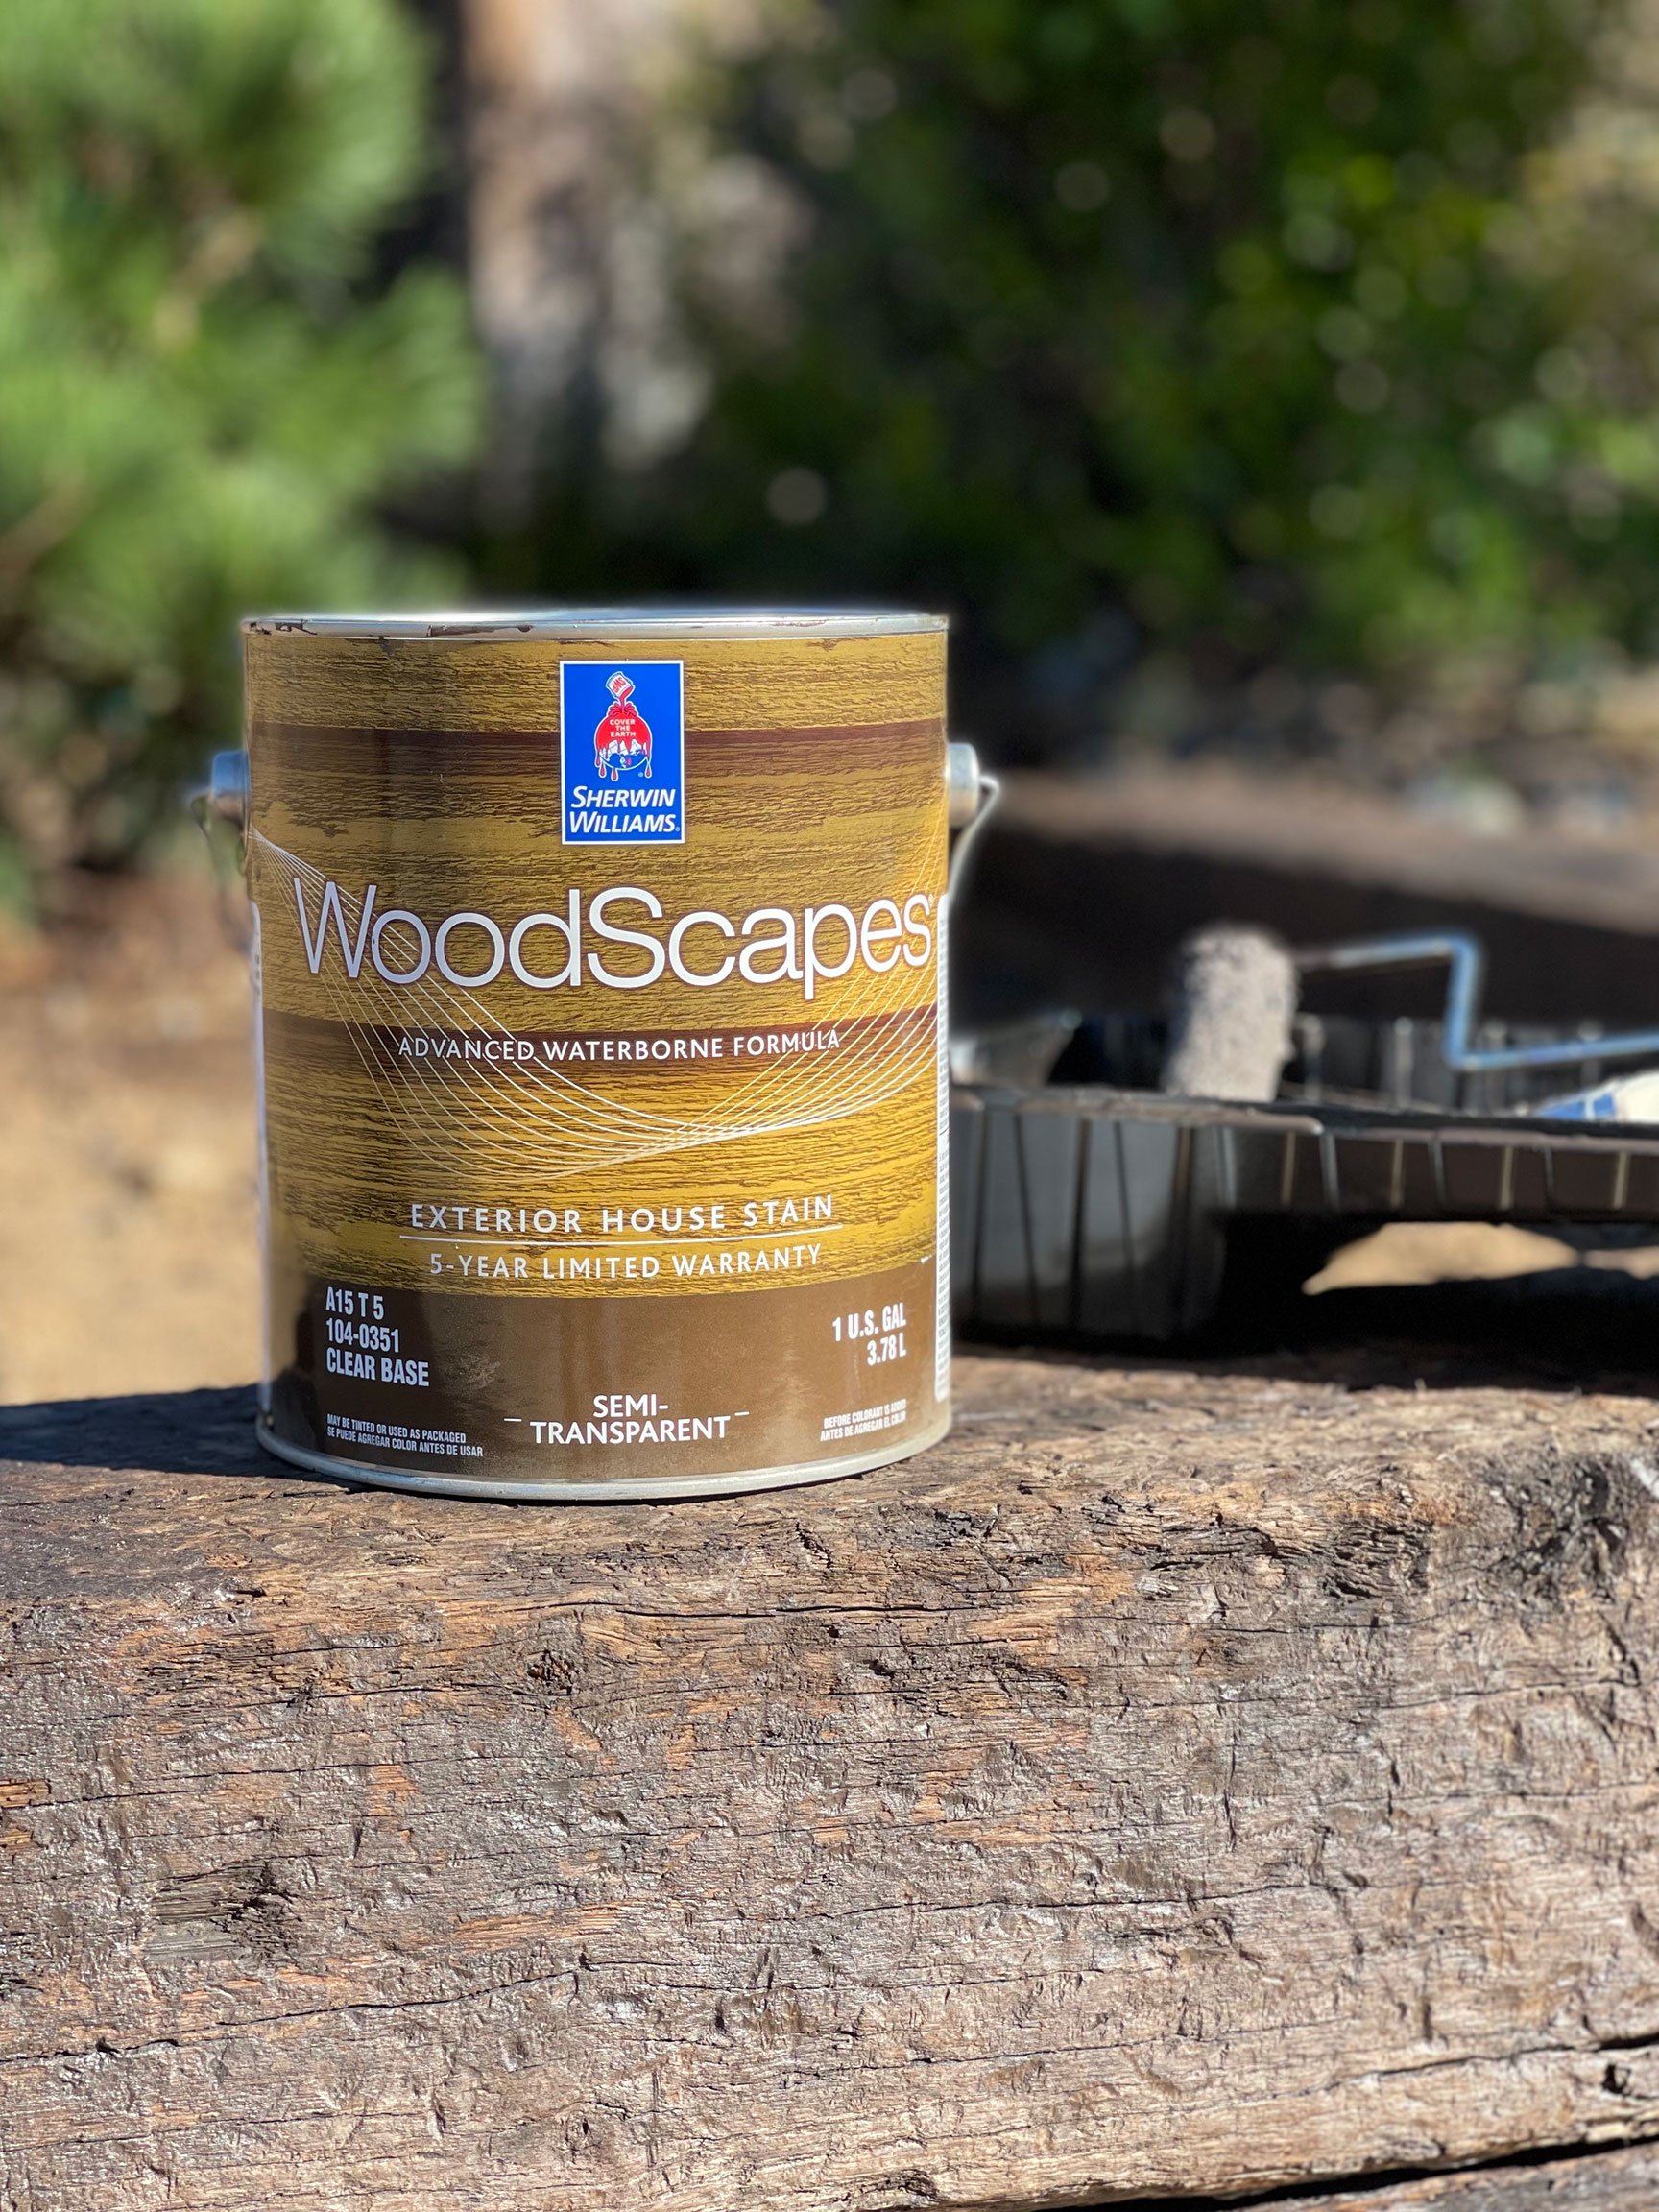
Lastly, I applied a coat of semi-transparent exterior wood stain for richer color to help emphasize and retain all the age and character of the ties.

Cleared and Covered
With the garden contained, I could now focus on preparing the planting bed. To combat unwanted weeds and remaining grass, I applied a treatment of Ortho GroundClear. I like this option as I’ve seen good results against the more persistent weeds like nutsedge and purslane. With the use of any herbicide, always read instructions, and wear proper protection during application. Going forward, I will use vinegar to fend off any new weeds, but my preference was to take a stronger defense in the construction phase.
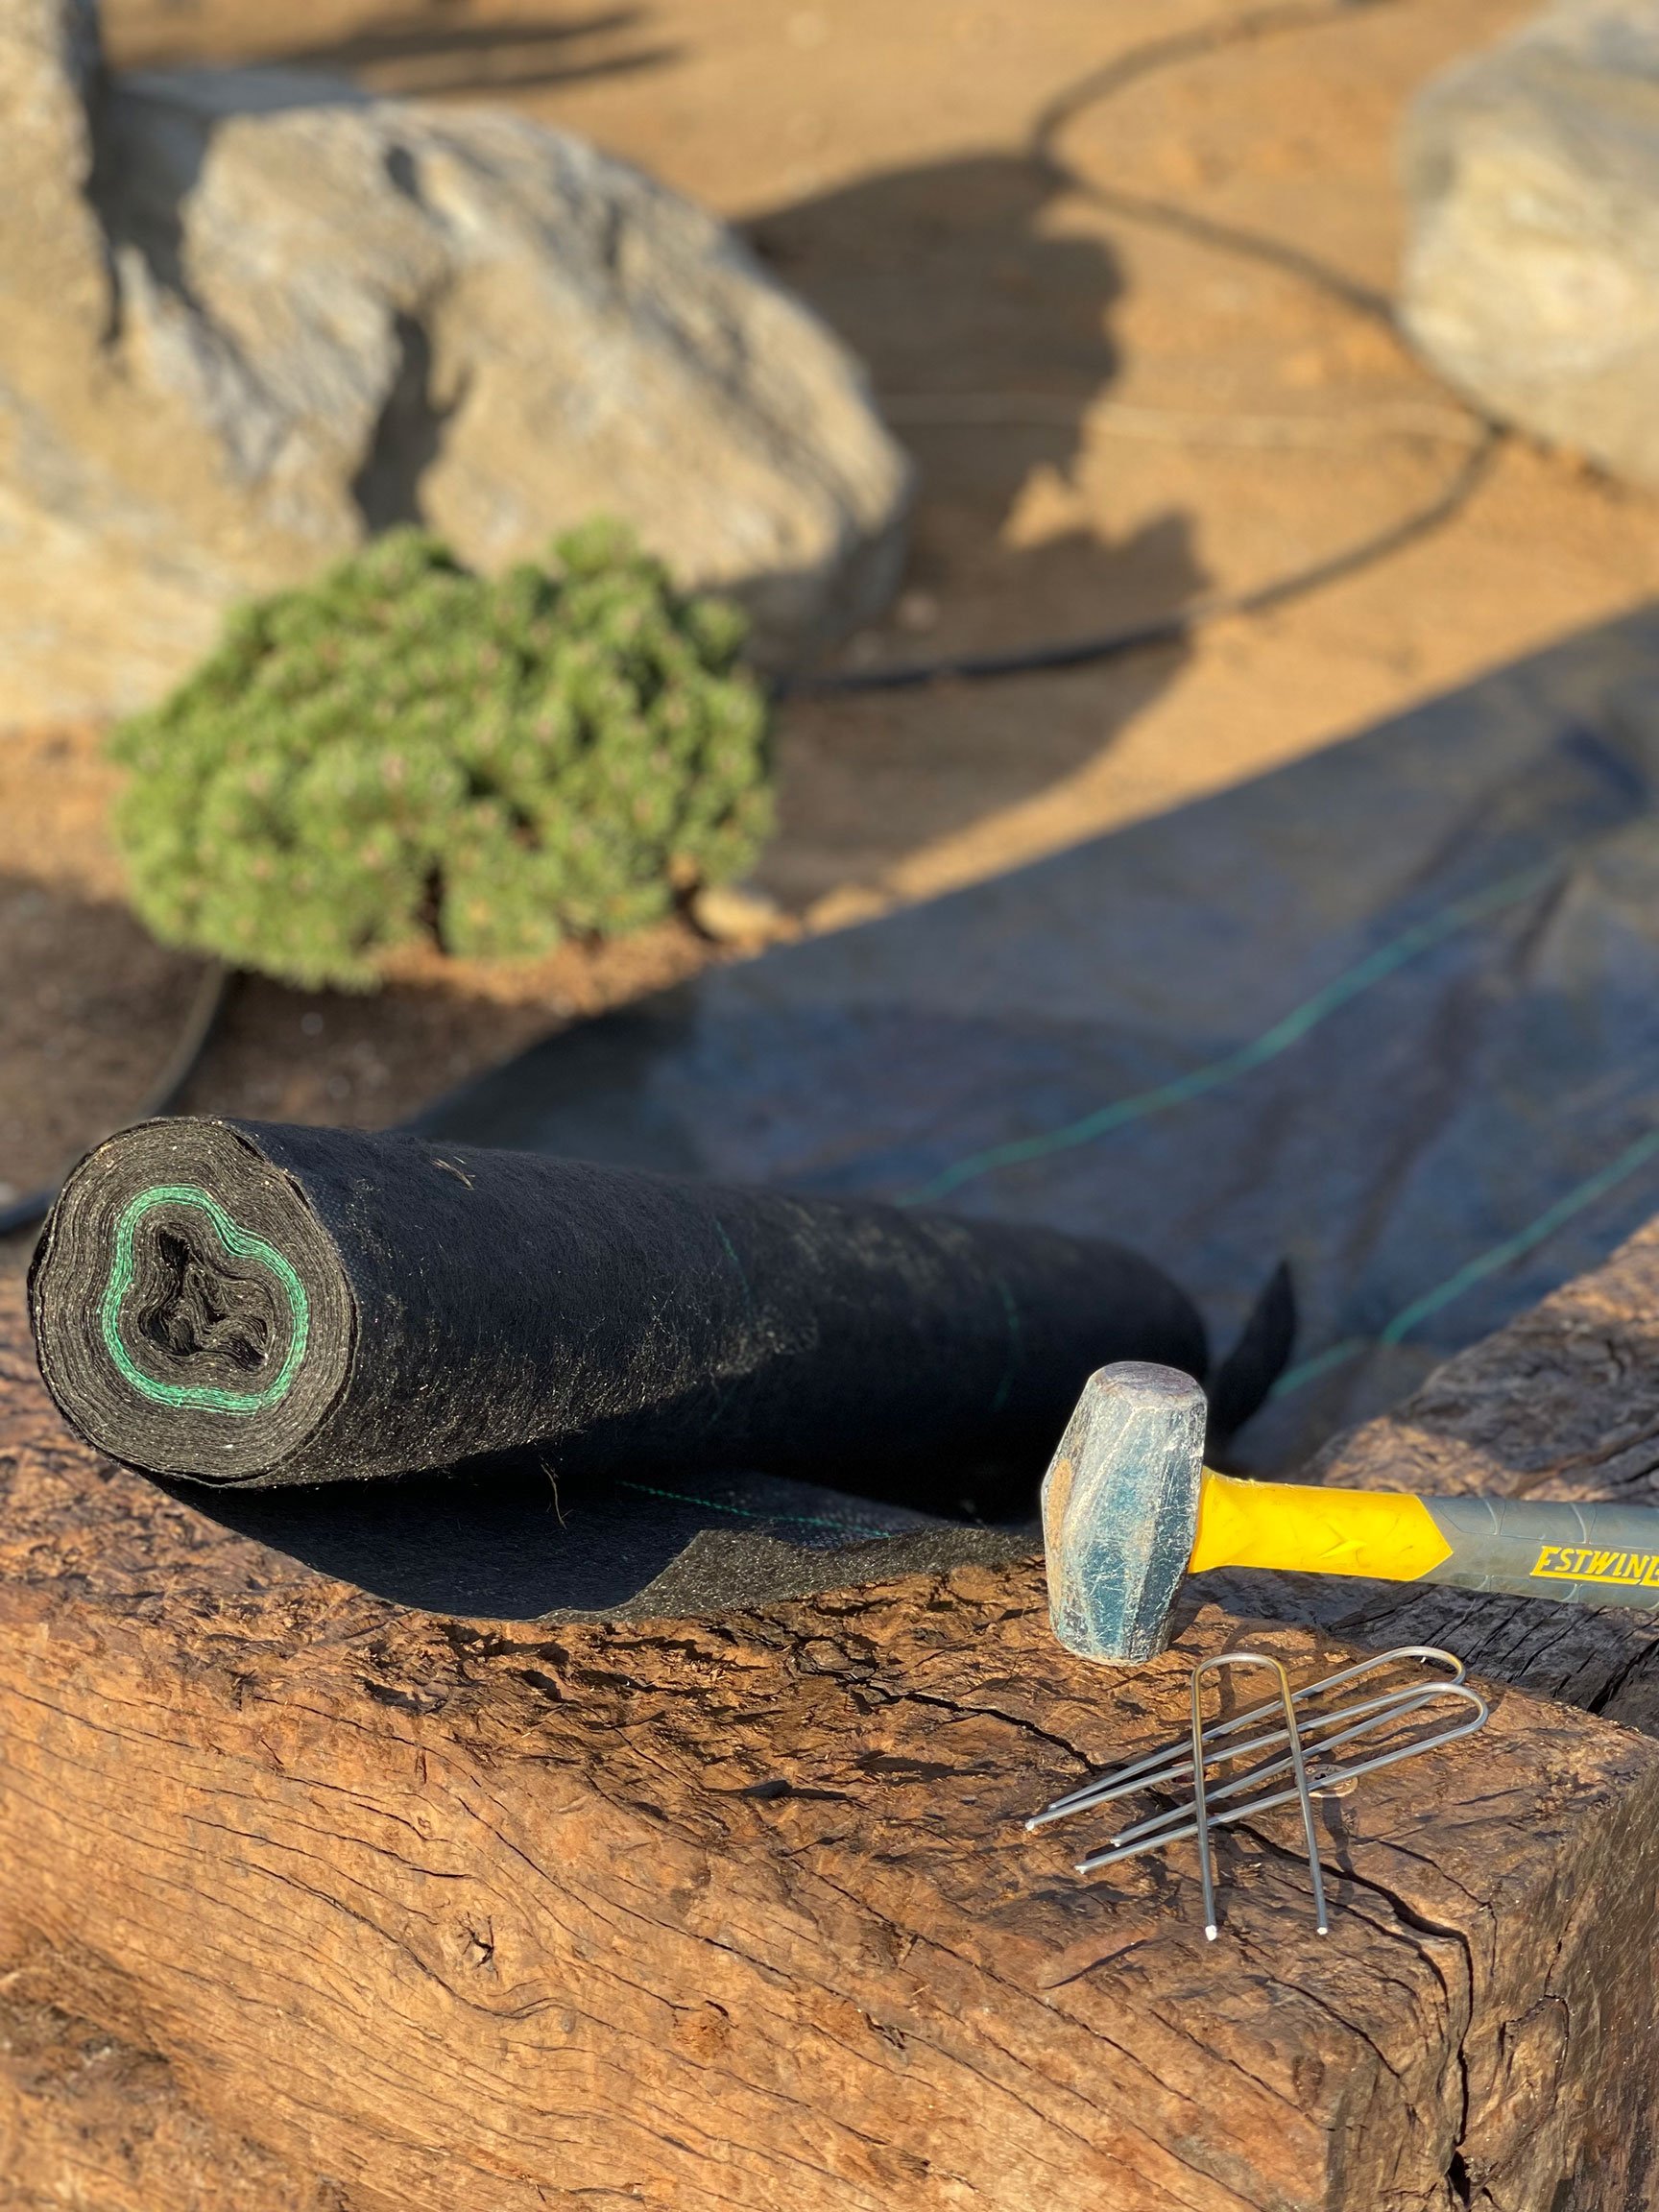
When it comes to weed barrier fabric, I’m not messing around. It’s a big job that will be buried, and it needs to last. My go-to is DeWitt 20-year fabric, which has given me excellent results. The fabric is UV-blocking and water-permeable, and features printed green lines to aid with alignment. Paired with heavy gauge ground staples, the fabric is secure and ready to do its job for the next couple decades.
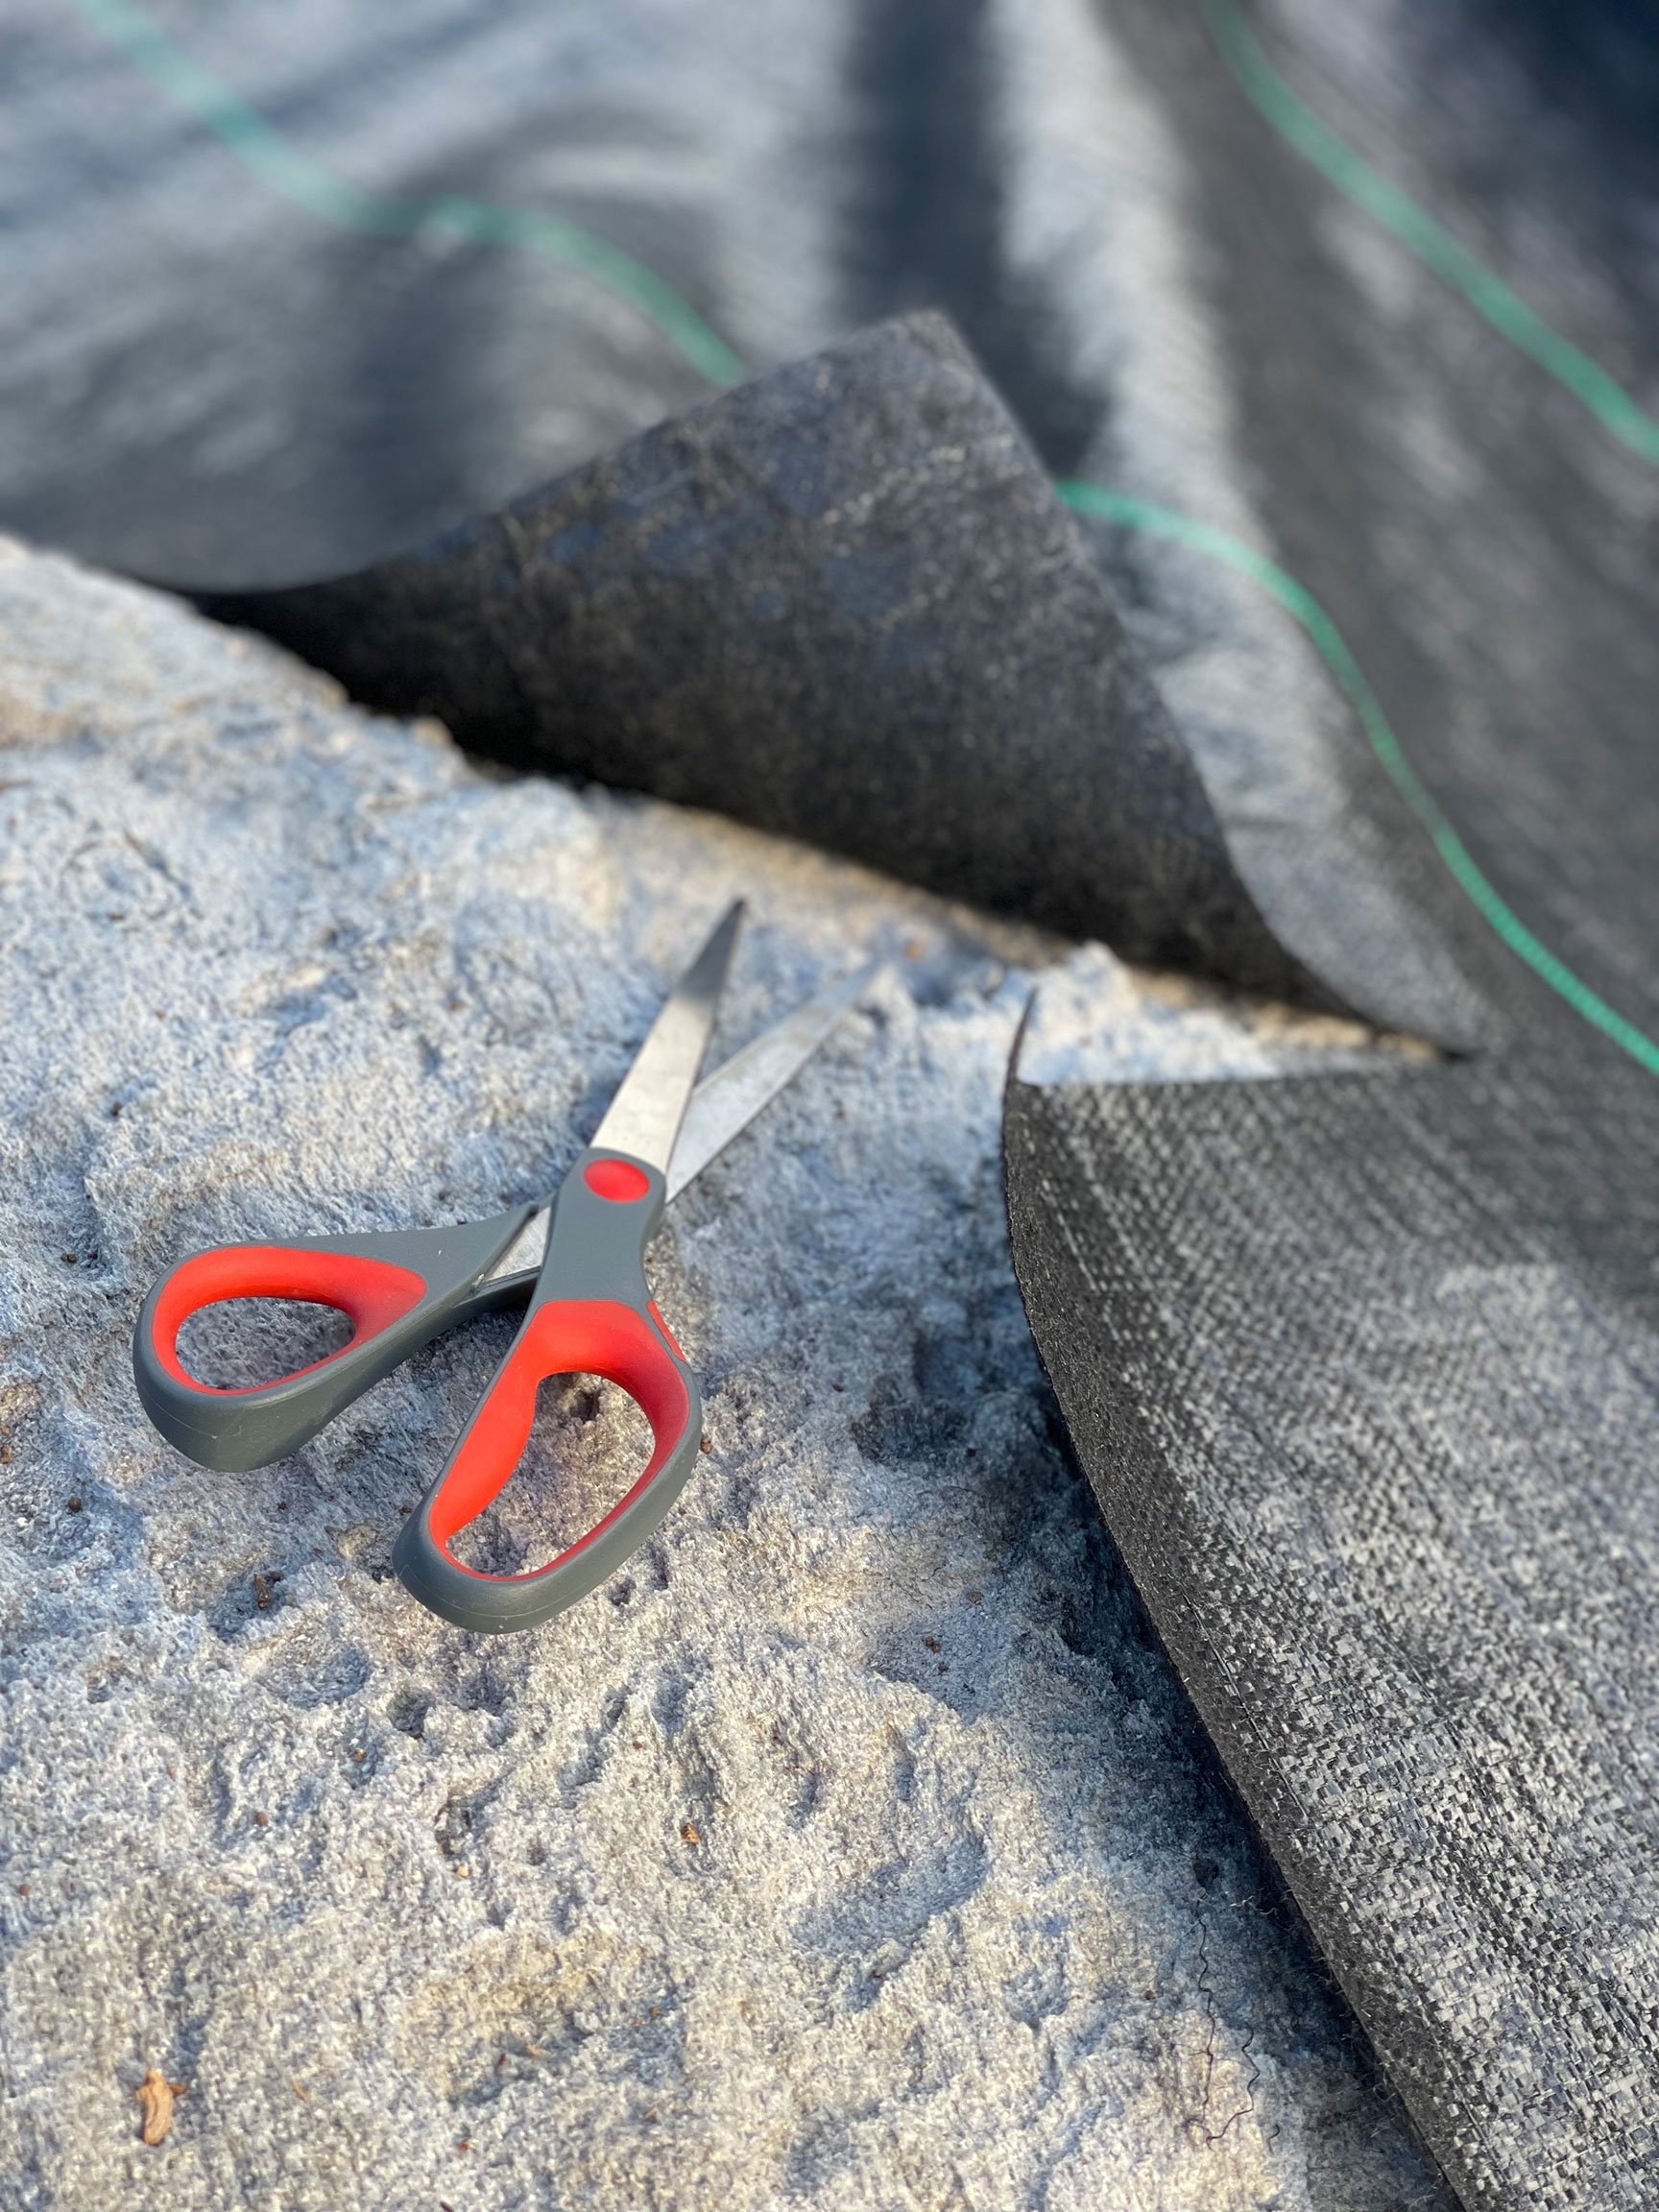
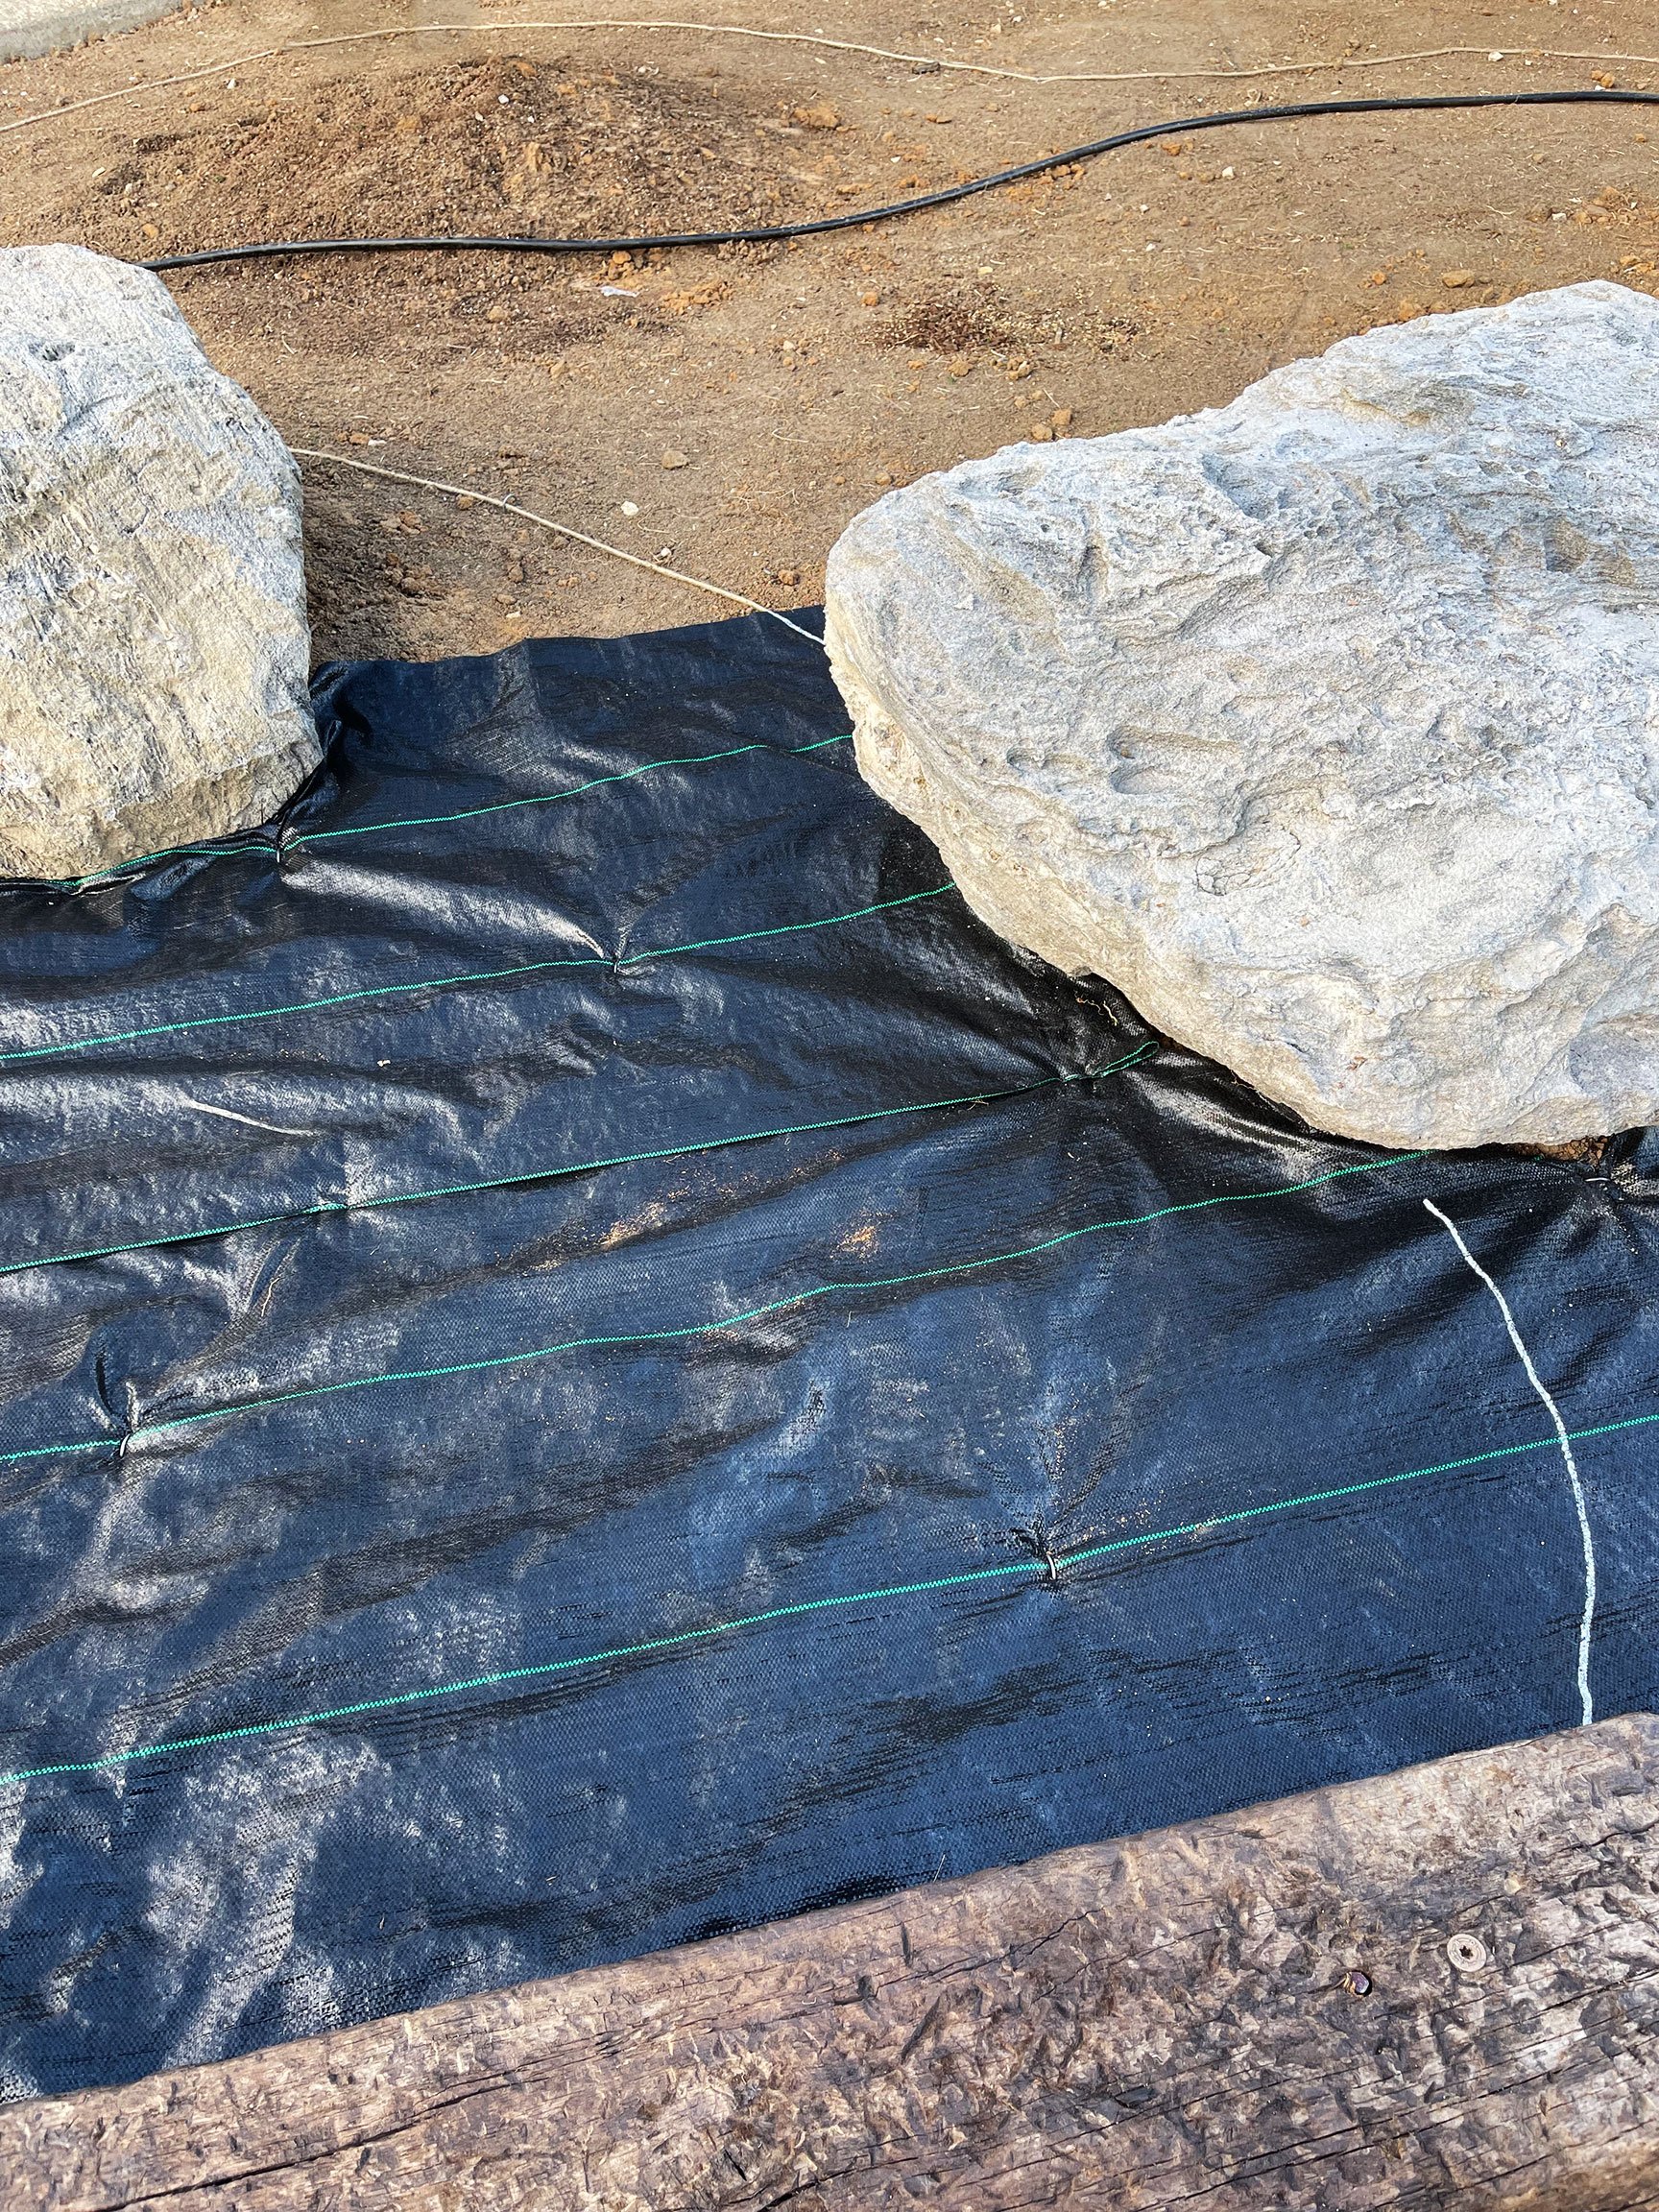
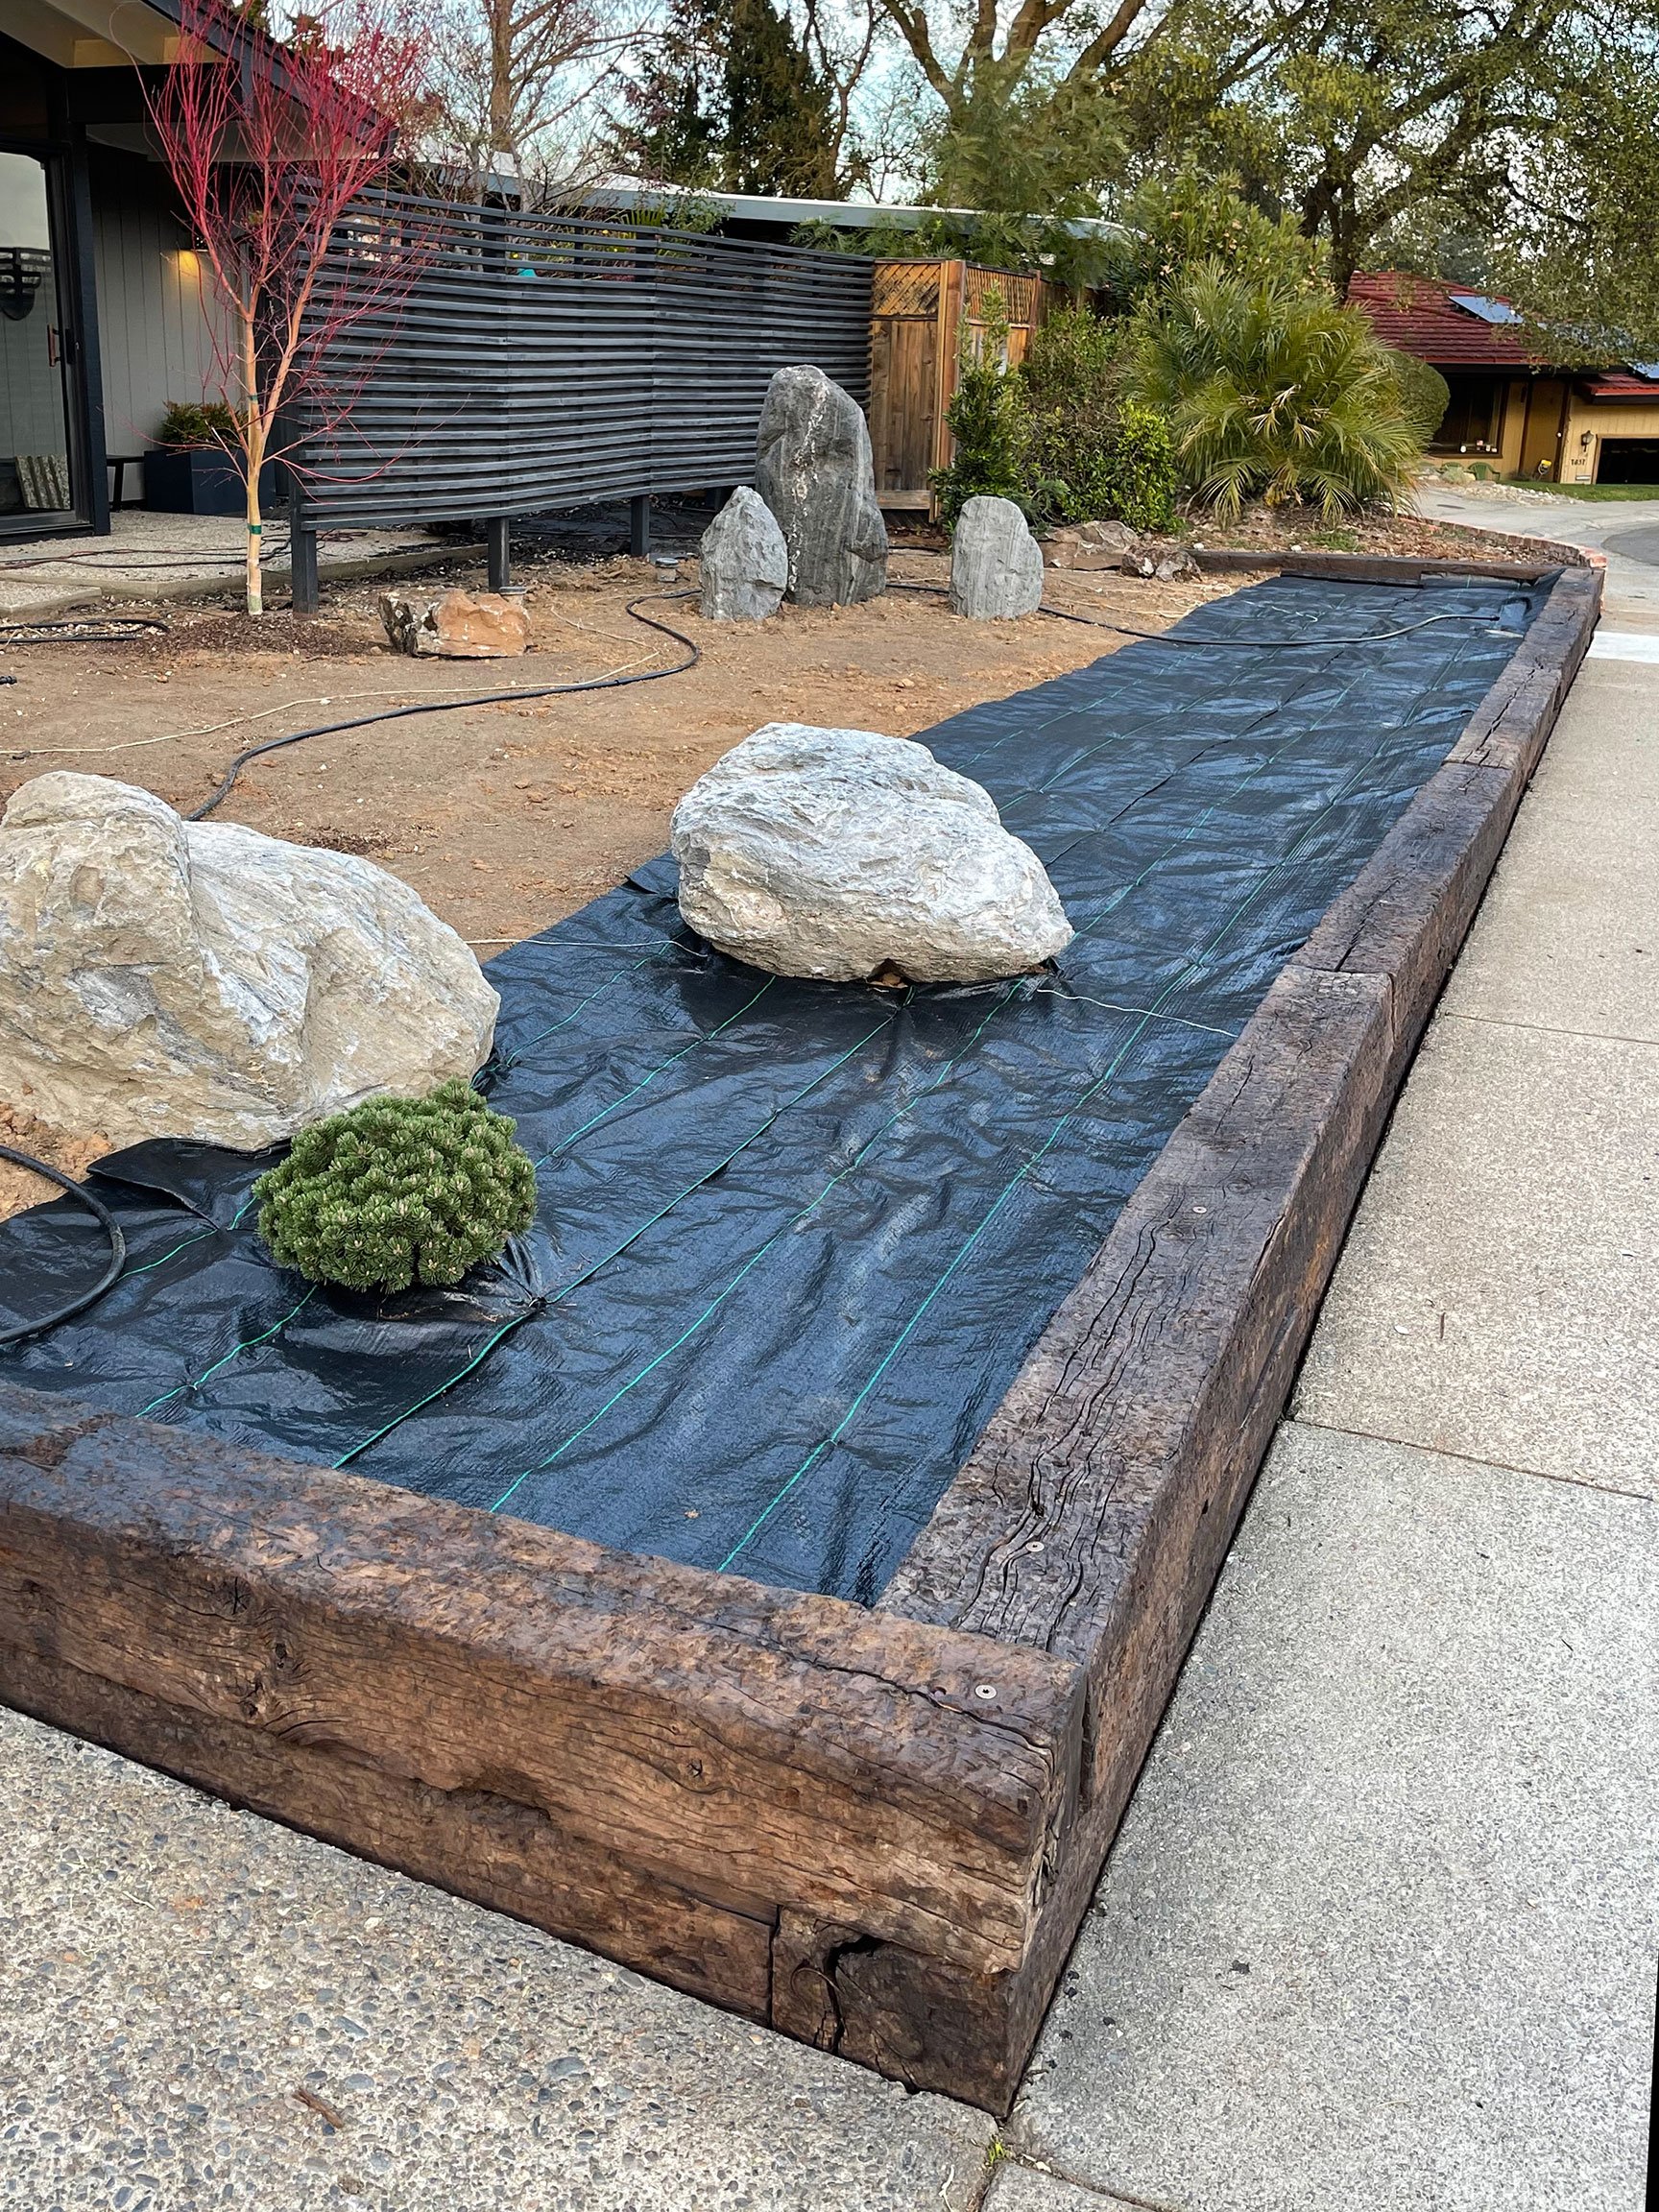
To keep sight of the garden layout plan, I staked a long spool of twine to map curves and boundaries. As those areas were overlaid with weed barrier, I redrew the lines with a contrasting paint marker, and removed the twine as sections were completed.
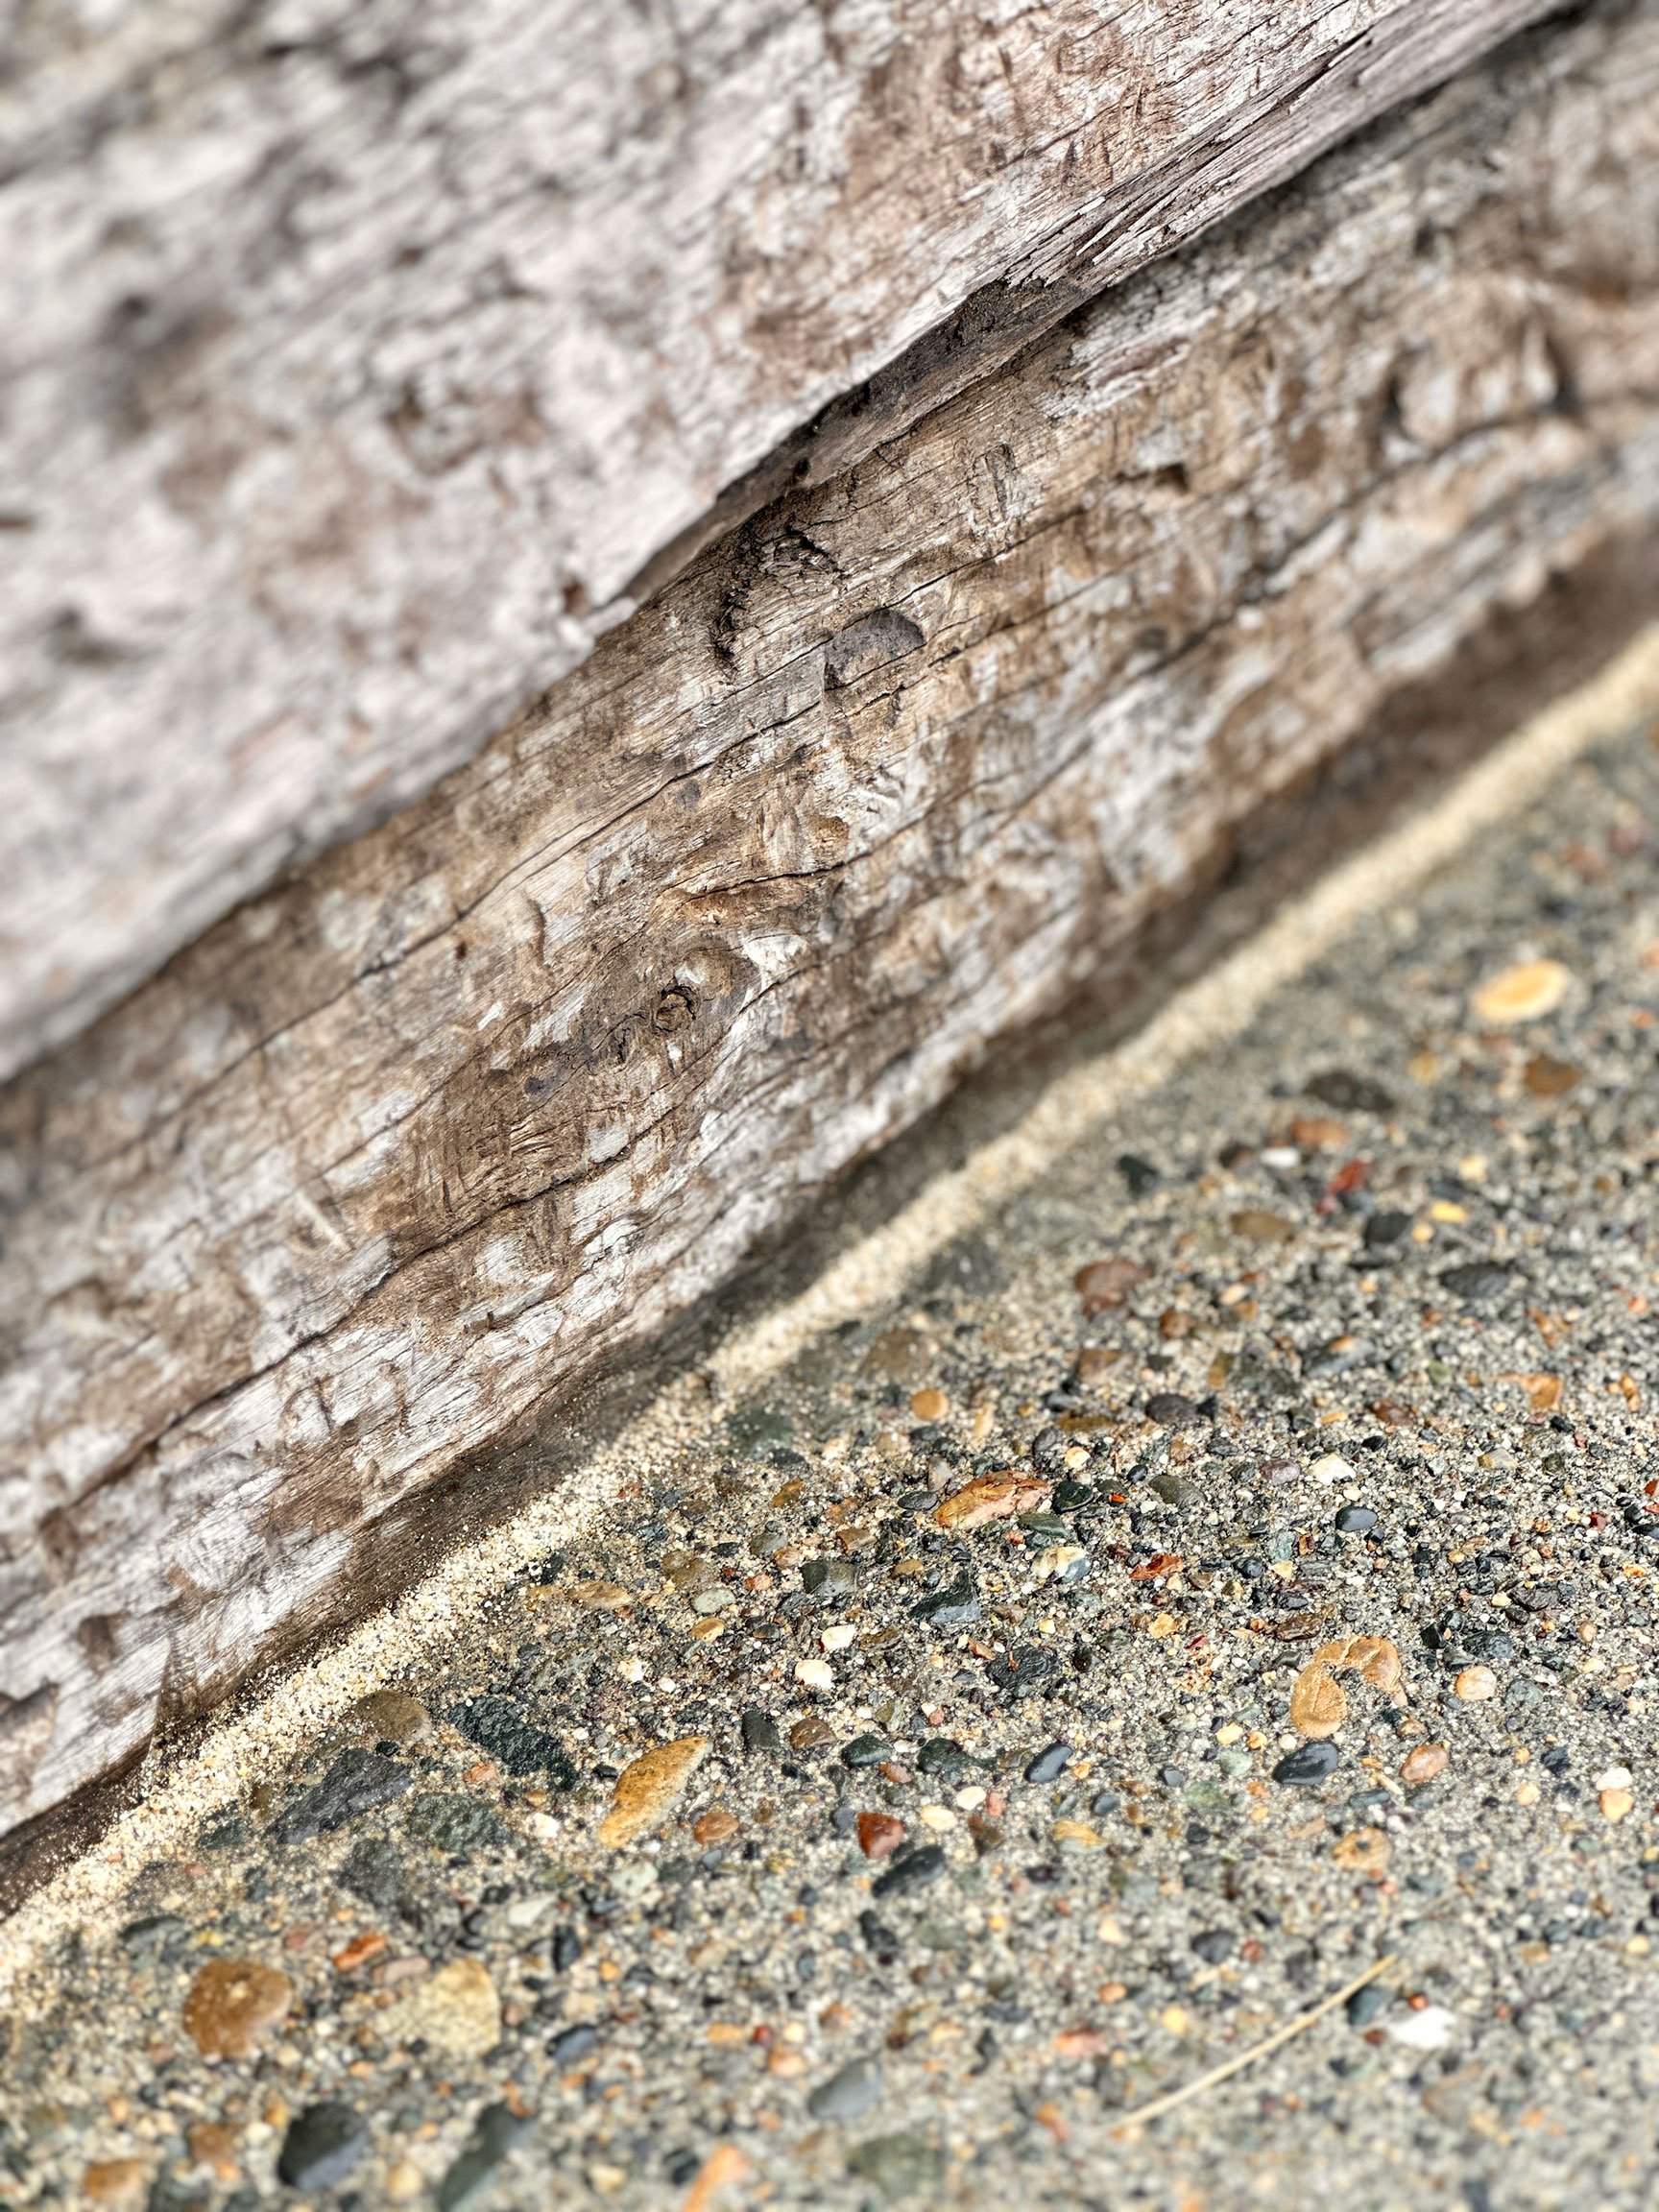
One final action I took for weed prevention was to backfill the gap between the railroad ties and the sidewalk with paver sand. This small, but significant step helps to keep organic debris from decomposing and reemerging as weeds below the surface.
Unexpected Upgrade
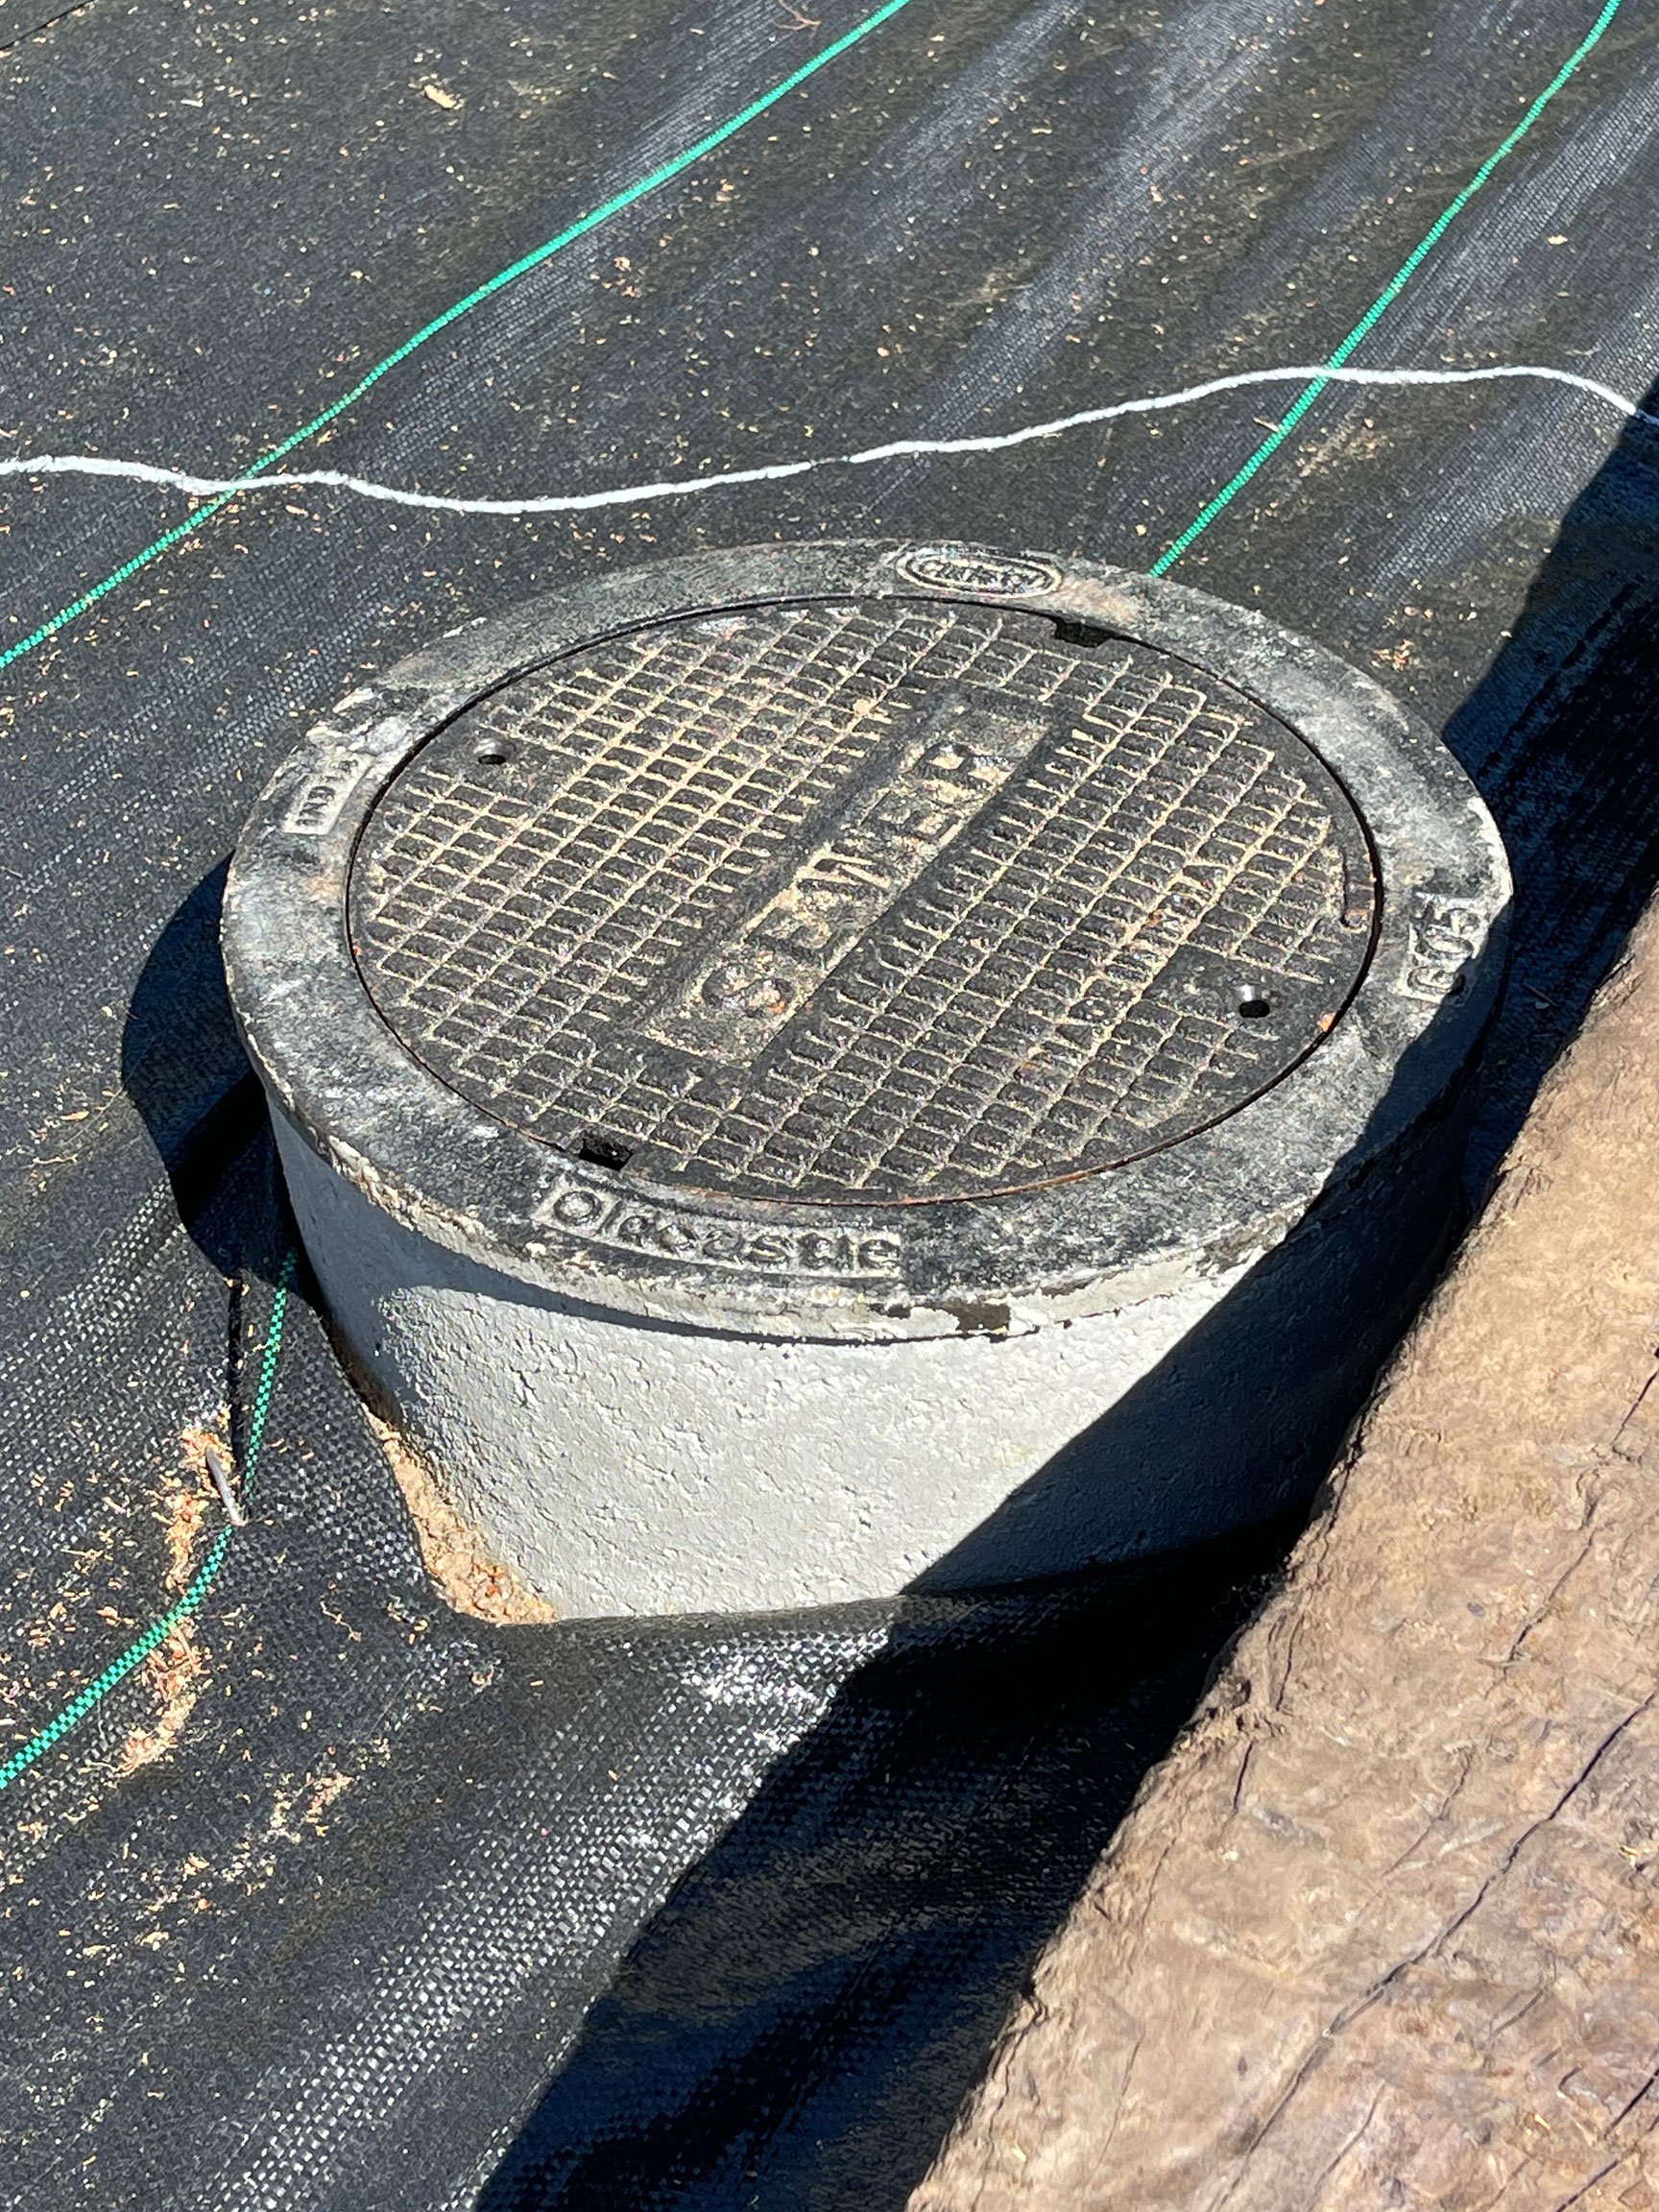
Knowing that the retaining wall would hold more dirt and rock than the previous ground level, I needed to have my existing sewer cleanout box raised. I was pleased to find out that only a simple call to our county sewer district was needed to have the cleanout modified. They visited the following day, and presented me with several options. I was able to upgrade the access point from a generic, green plastic box to a concrete riser with cast iron lid at no cost to me. The cleanout now sits about 10 inches higher, allowing for a more level bed of gravel and easy access to the cleanout without disrupting the landscape. Every detail matters.
Next up is a deep dive into the plants and all the design details that make up this soon-to-be enchanted space. You may have noticed a few plants already in place, but the best is yet to come. I’m looking forward to sharing these features with you in part 3!