Turning Japanese - Part 3
After an incredibly busy year filled with many exciting client projects, and even a little travel and leisure, I am back to continue on this front yard design journey. Thank you for all your kind notes, and for hanging in. I’ve been looking forward to reconnecting with you all. If you’ve not yet read part 1, or part 2, take a few minutes by starting there for the full picture.
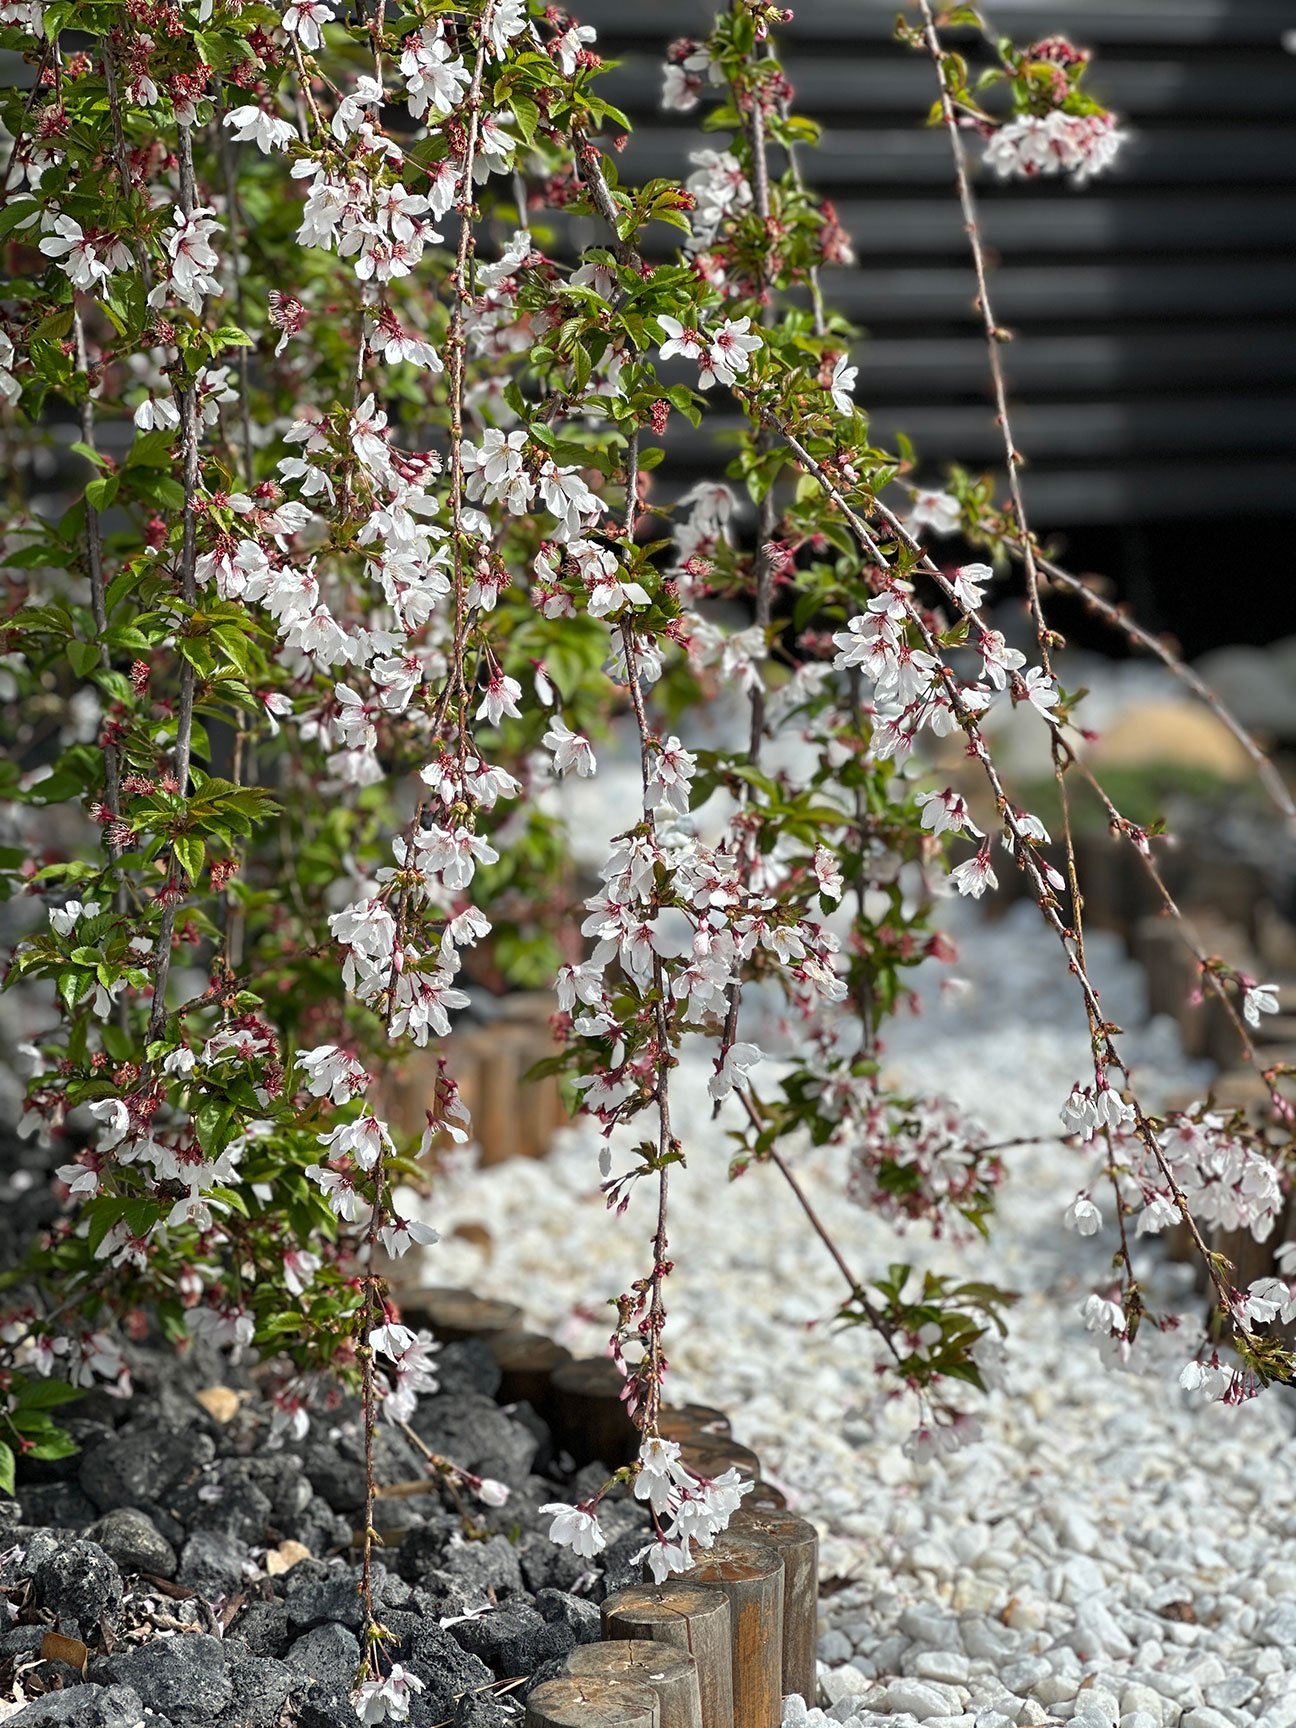
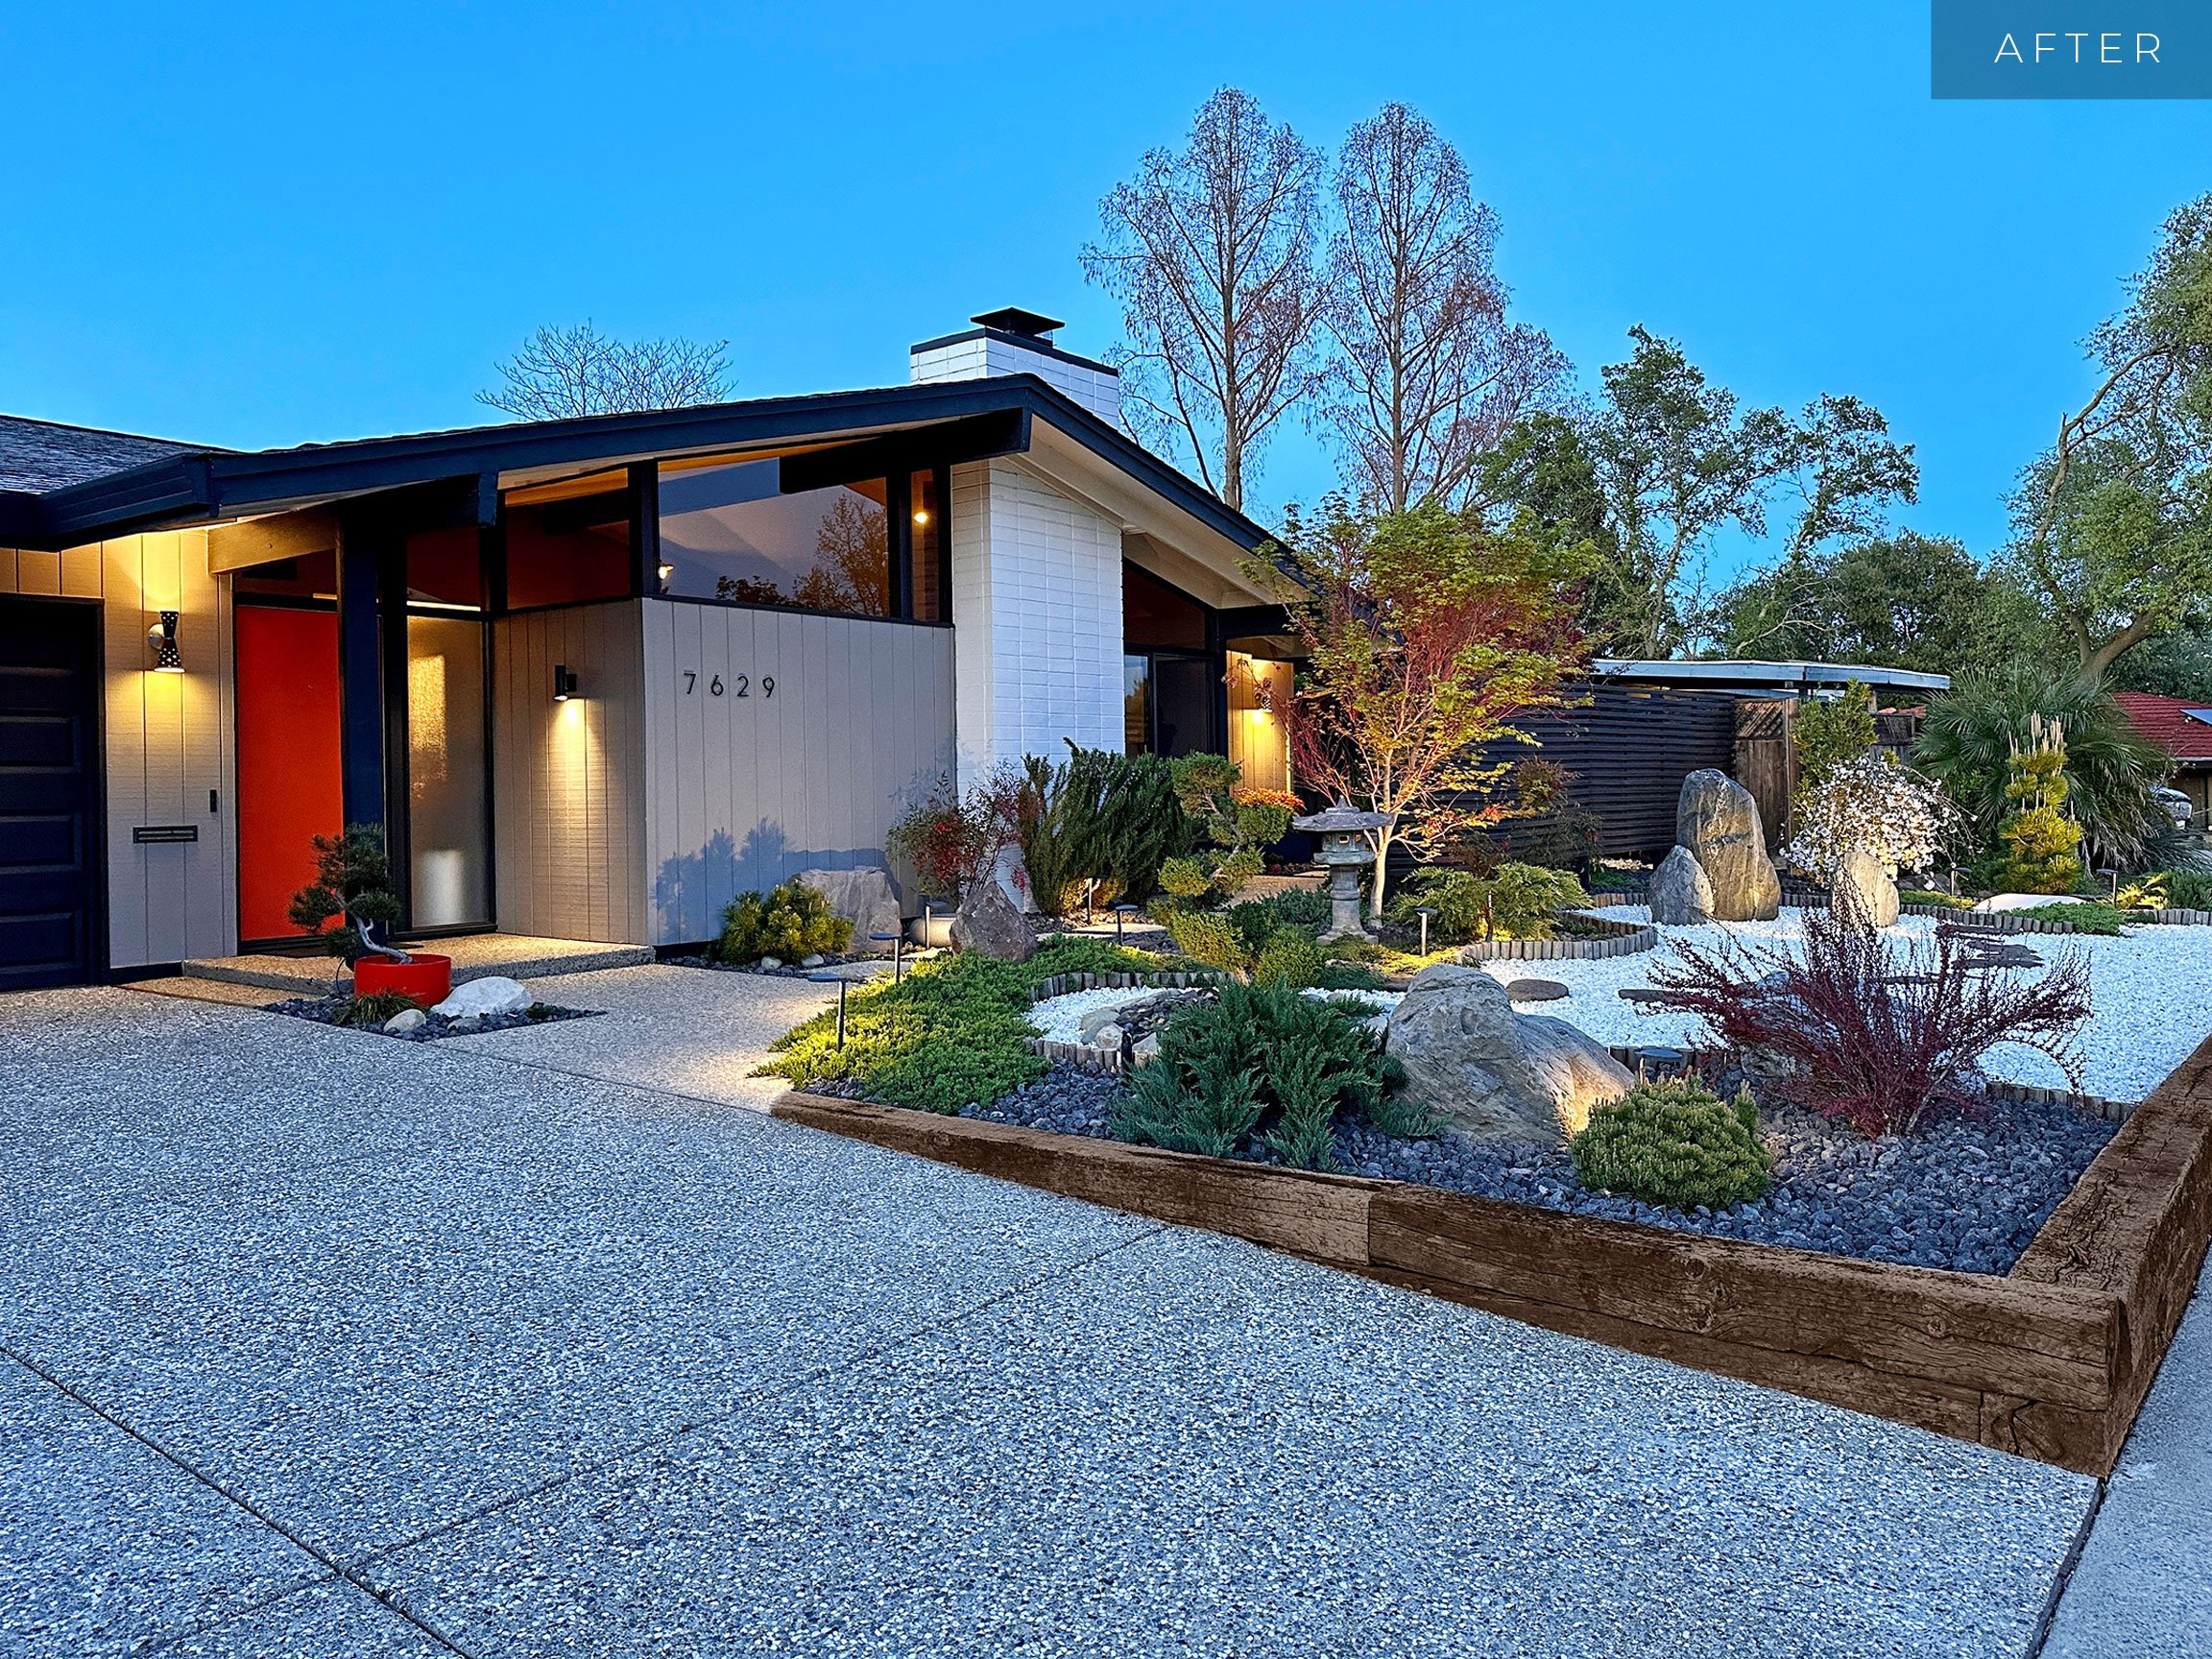
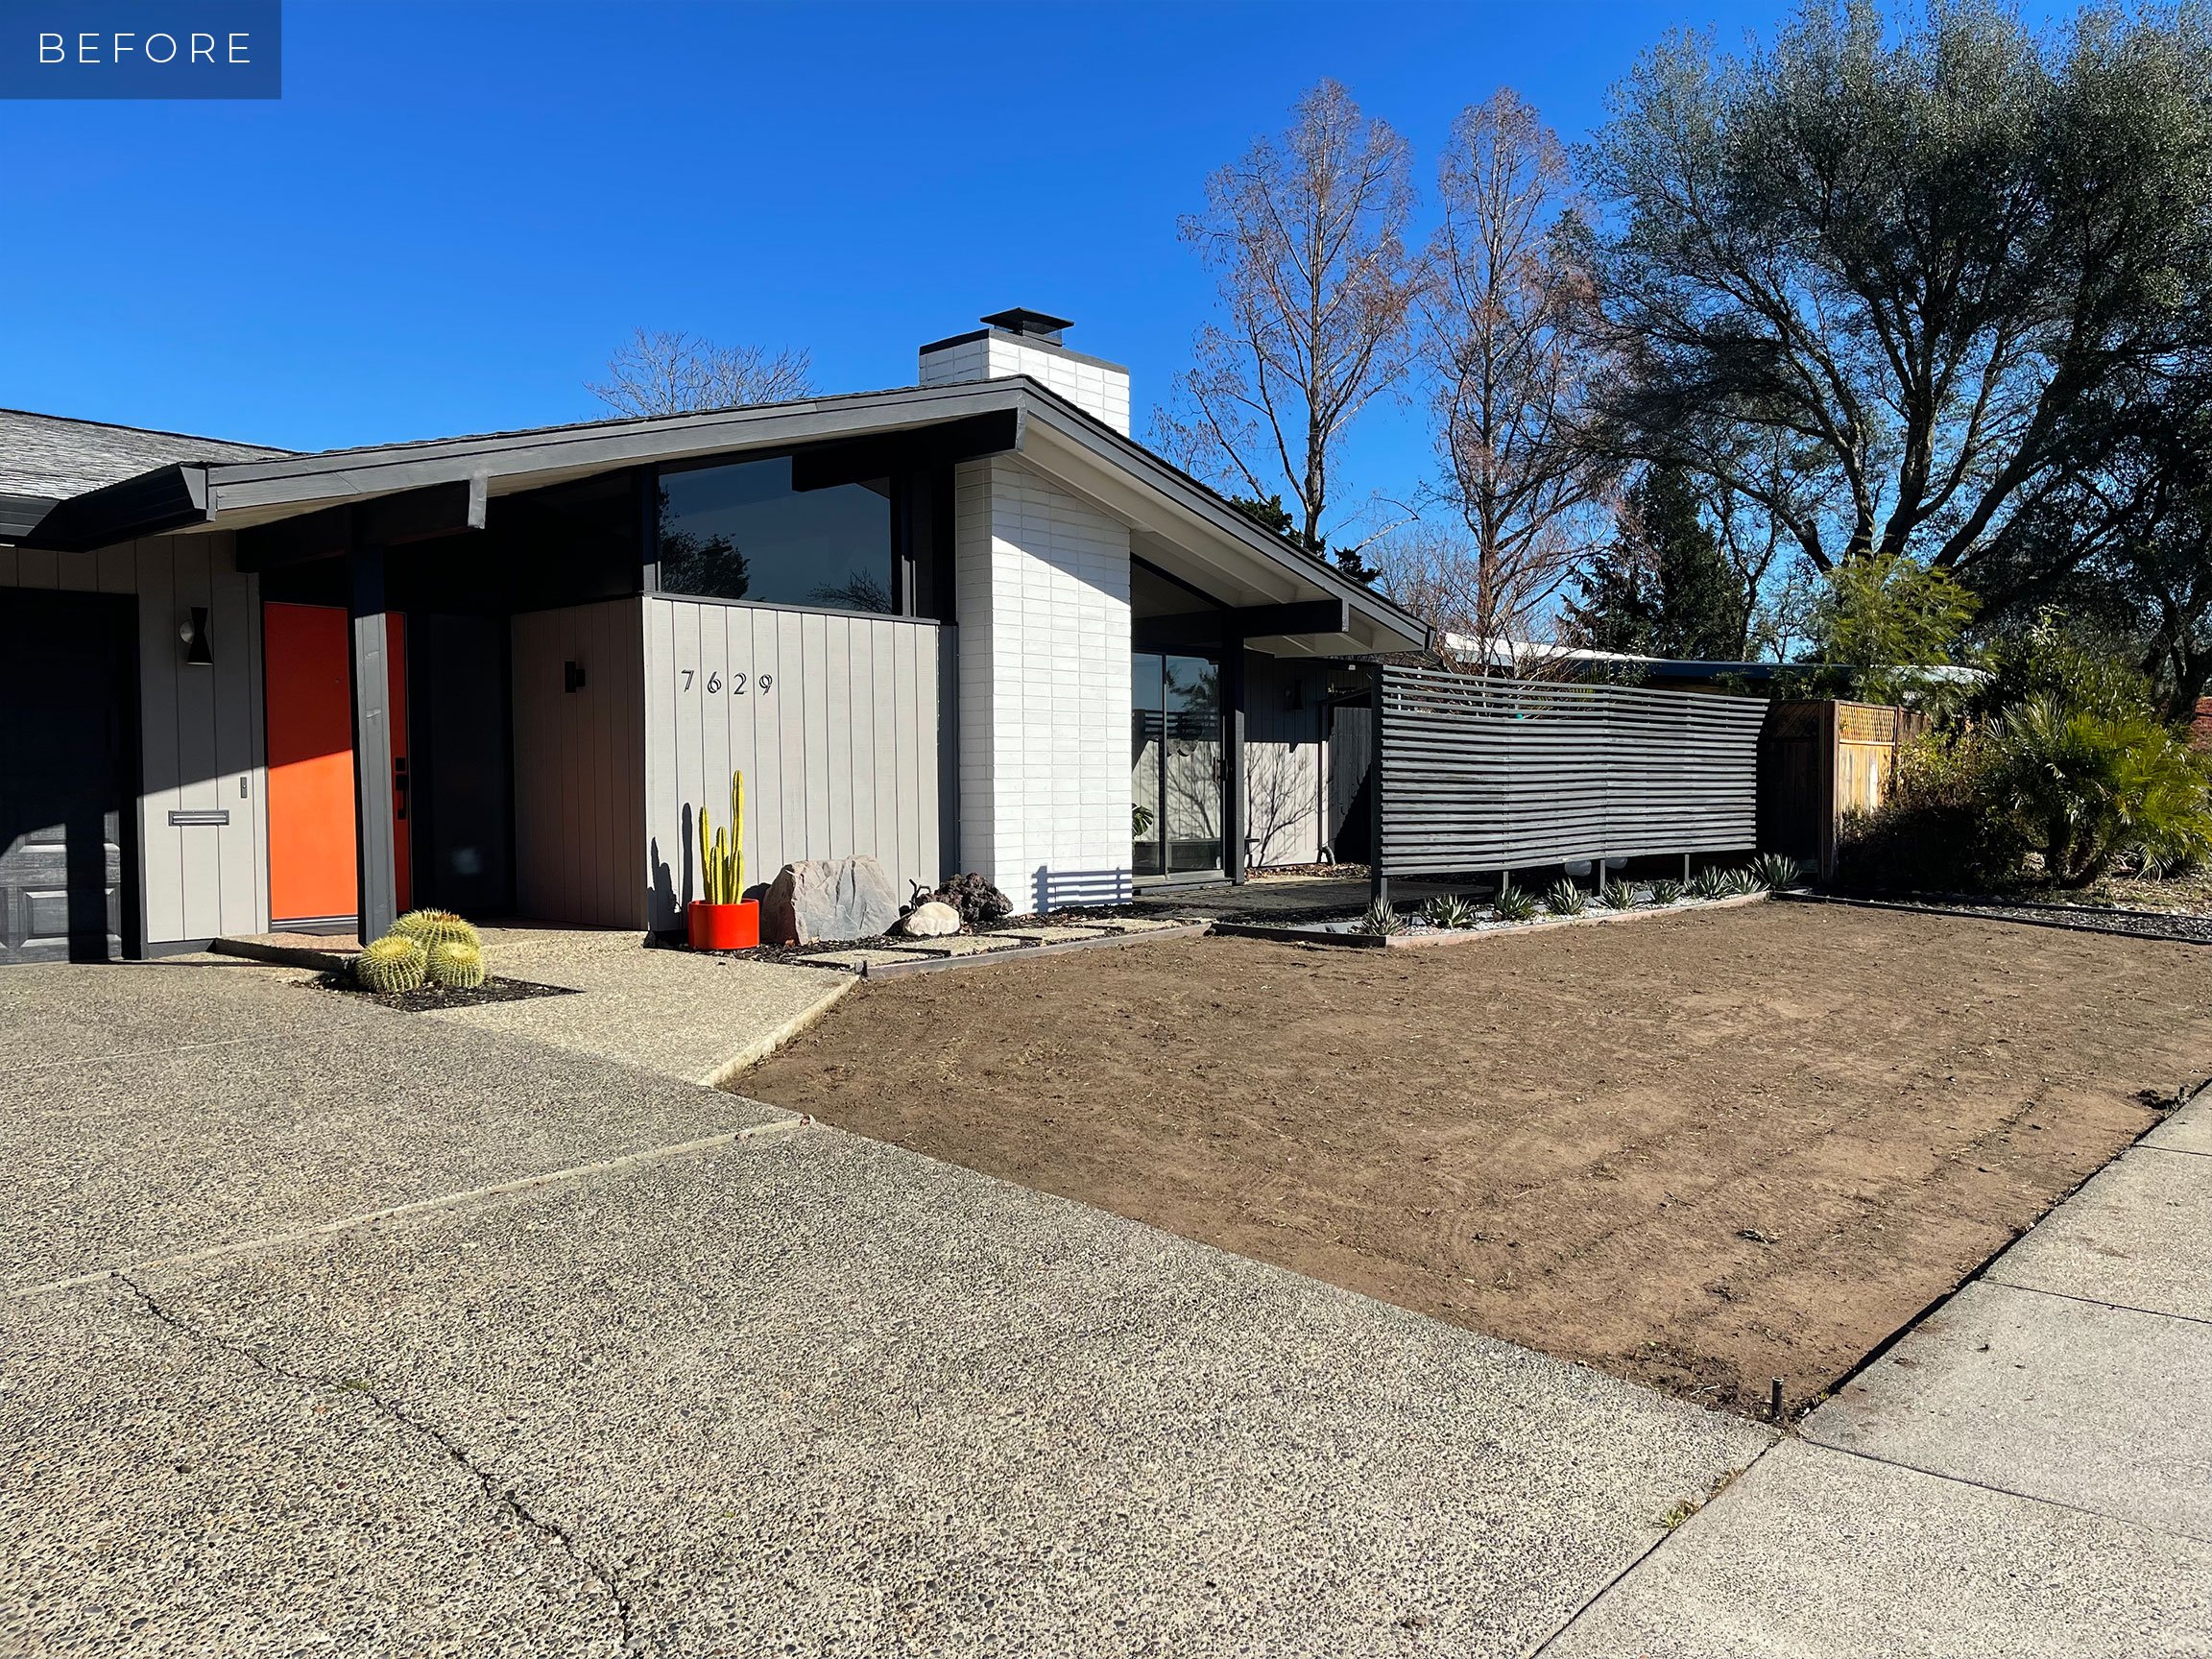
While I get you caught up on the project that was finished last year, the garden has come a long way, and has really flourished and grown quickly. Stay tuned to the end for a look at the beauty of the garden in full bloom this spring. Don’t cheat by skipping to the end. I’ll know.

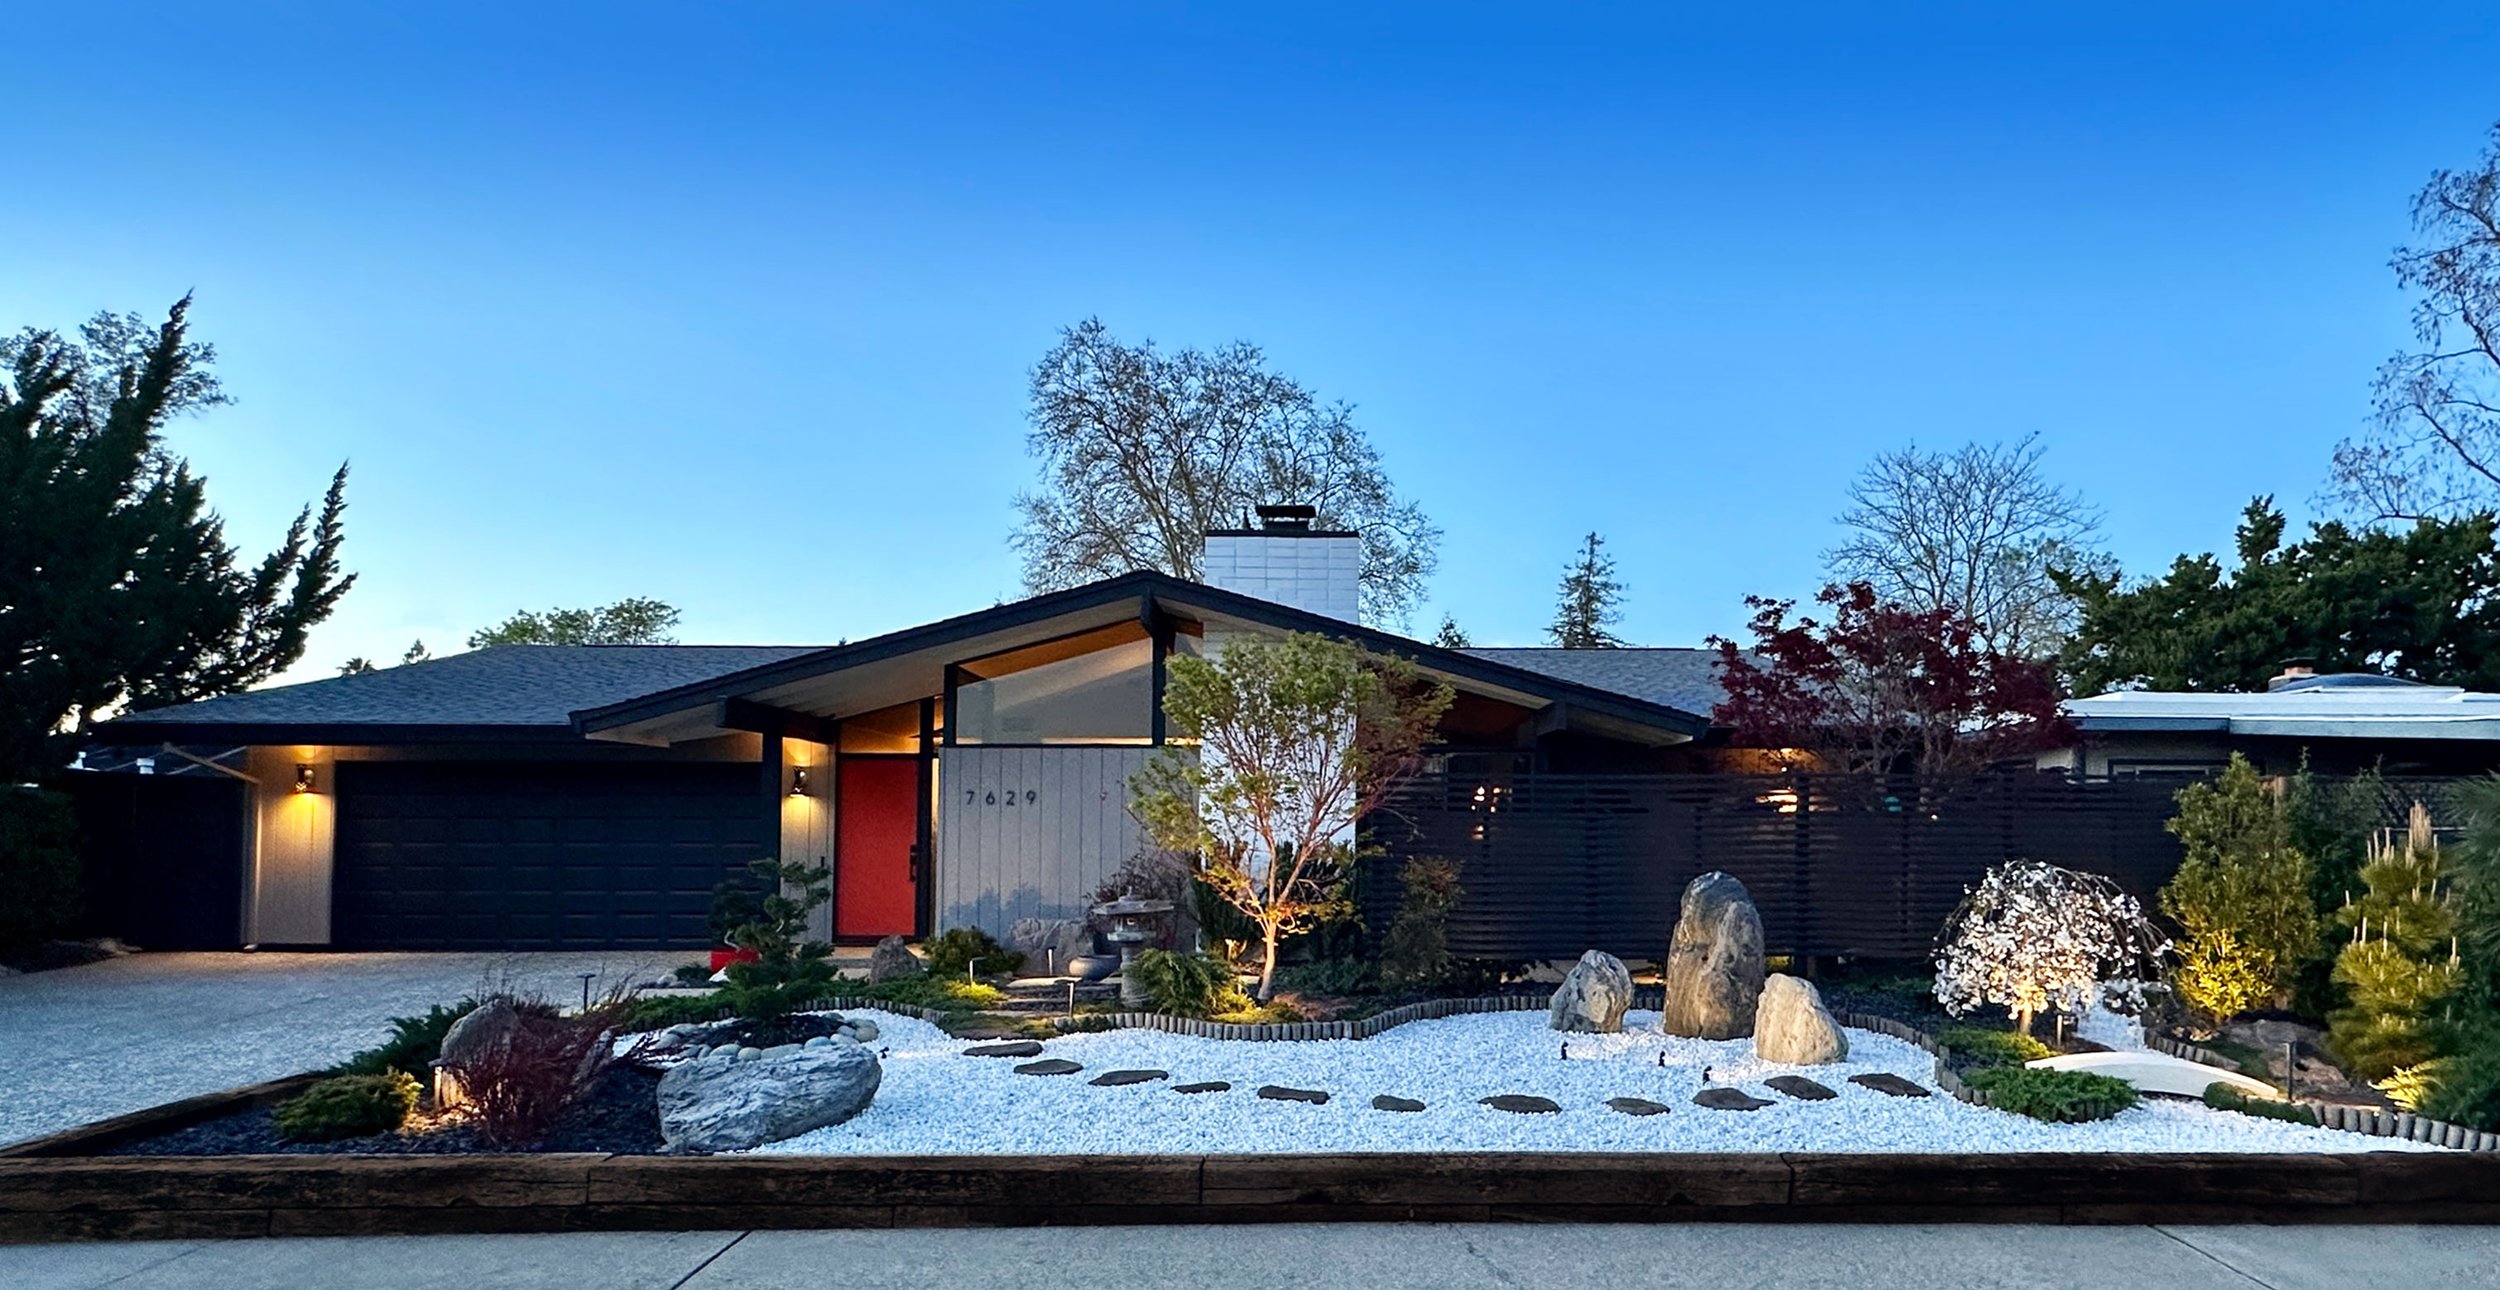
Top view of Japanese garden plan
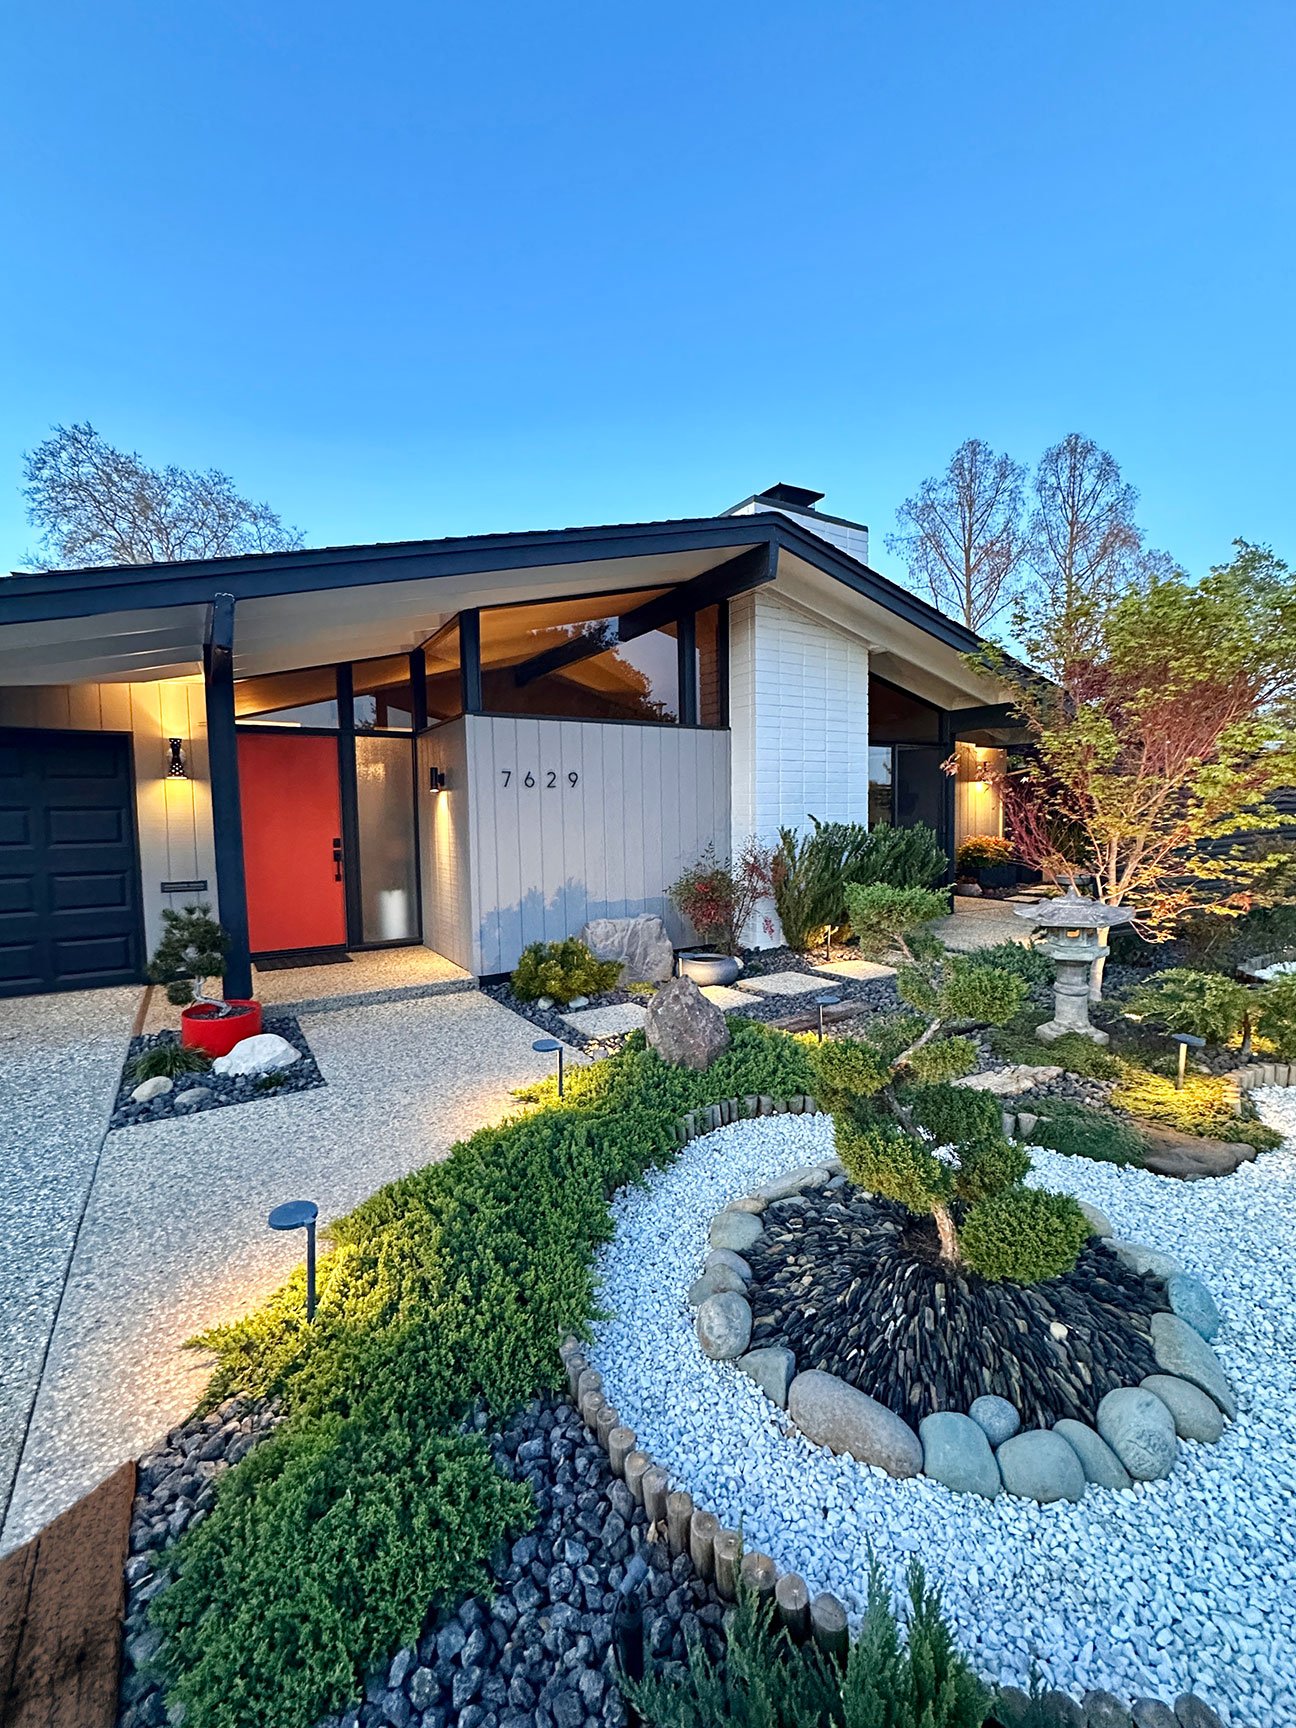
Borders and Boundaries
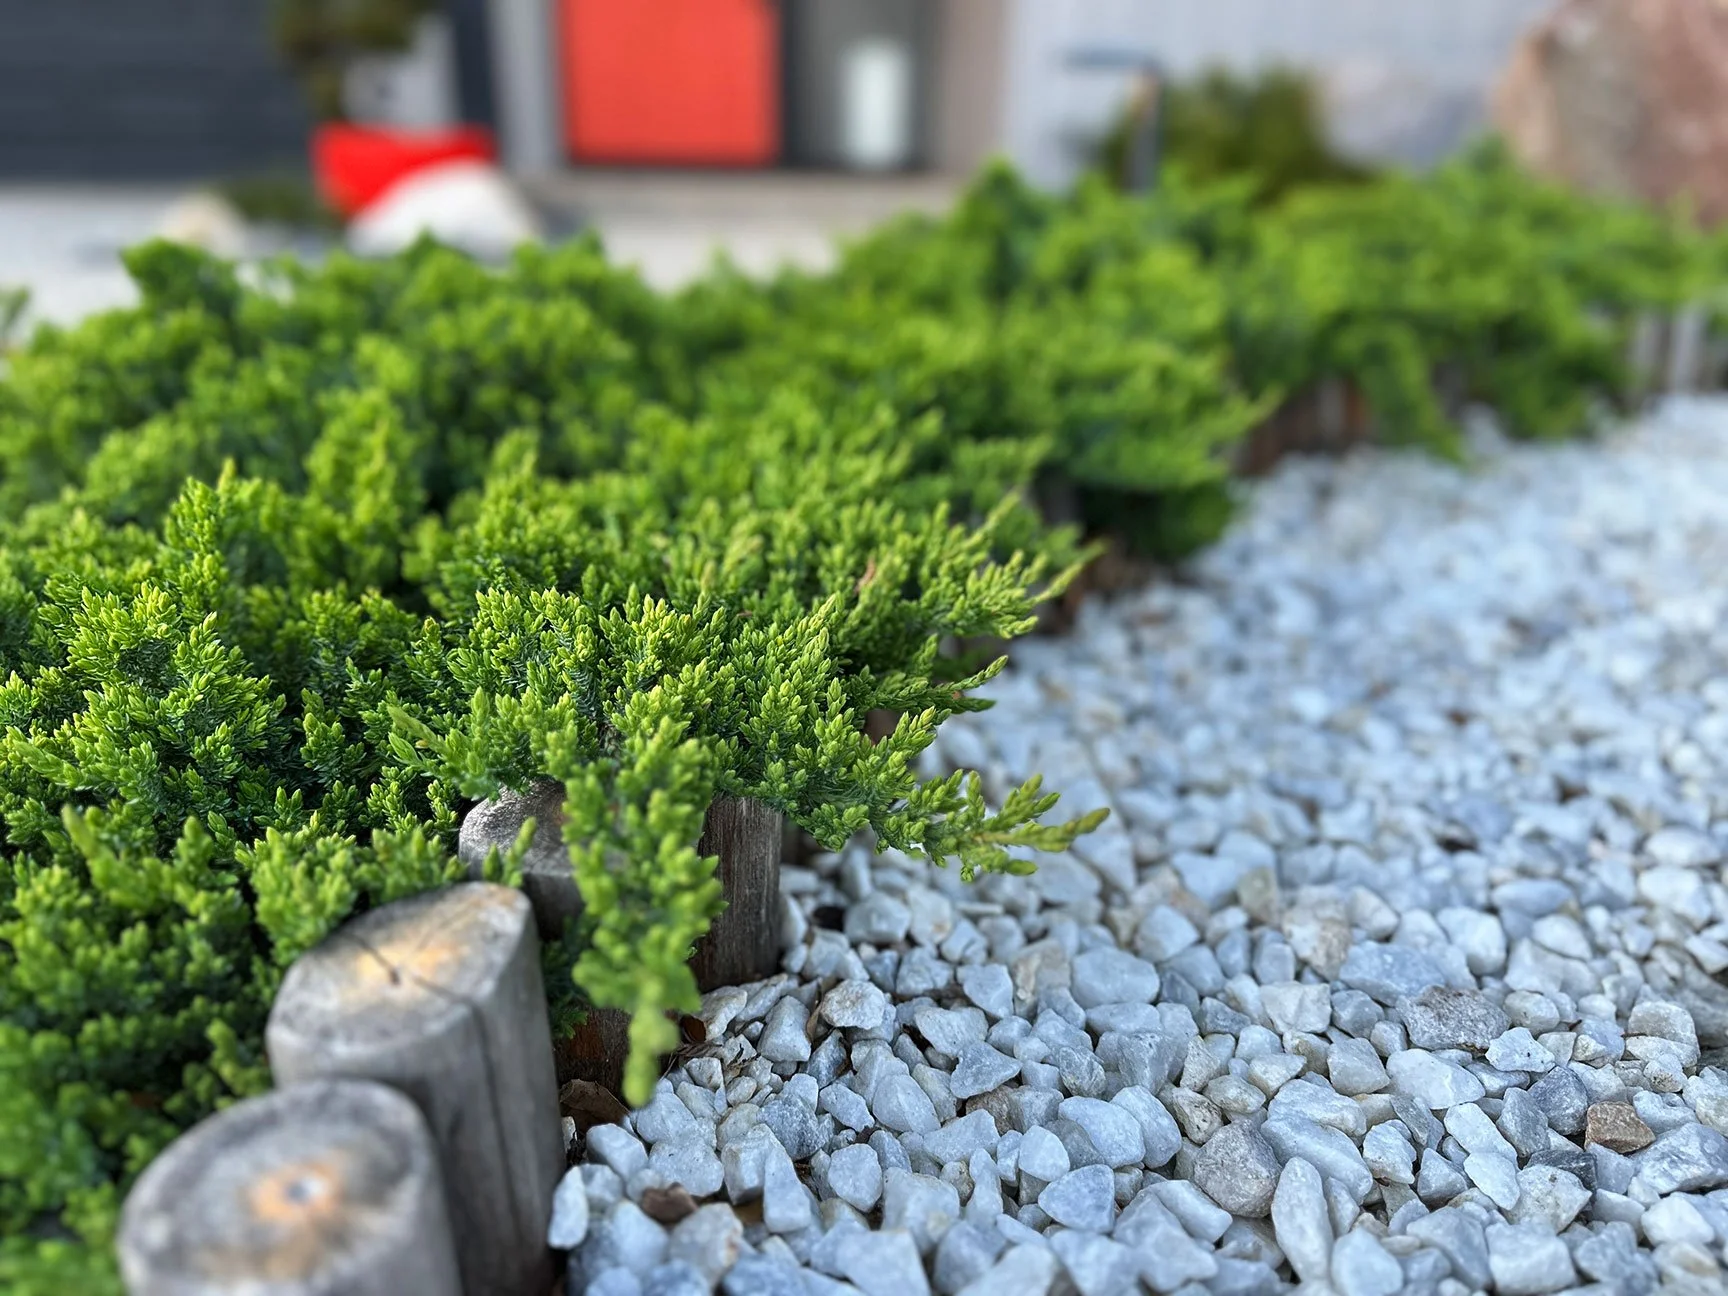
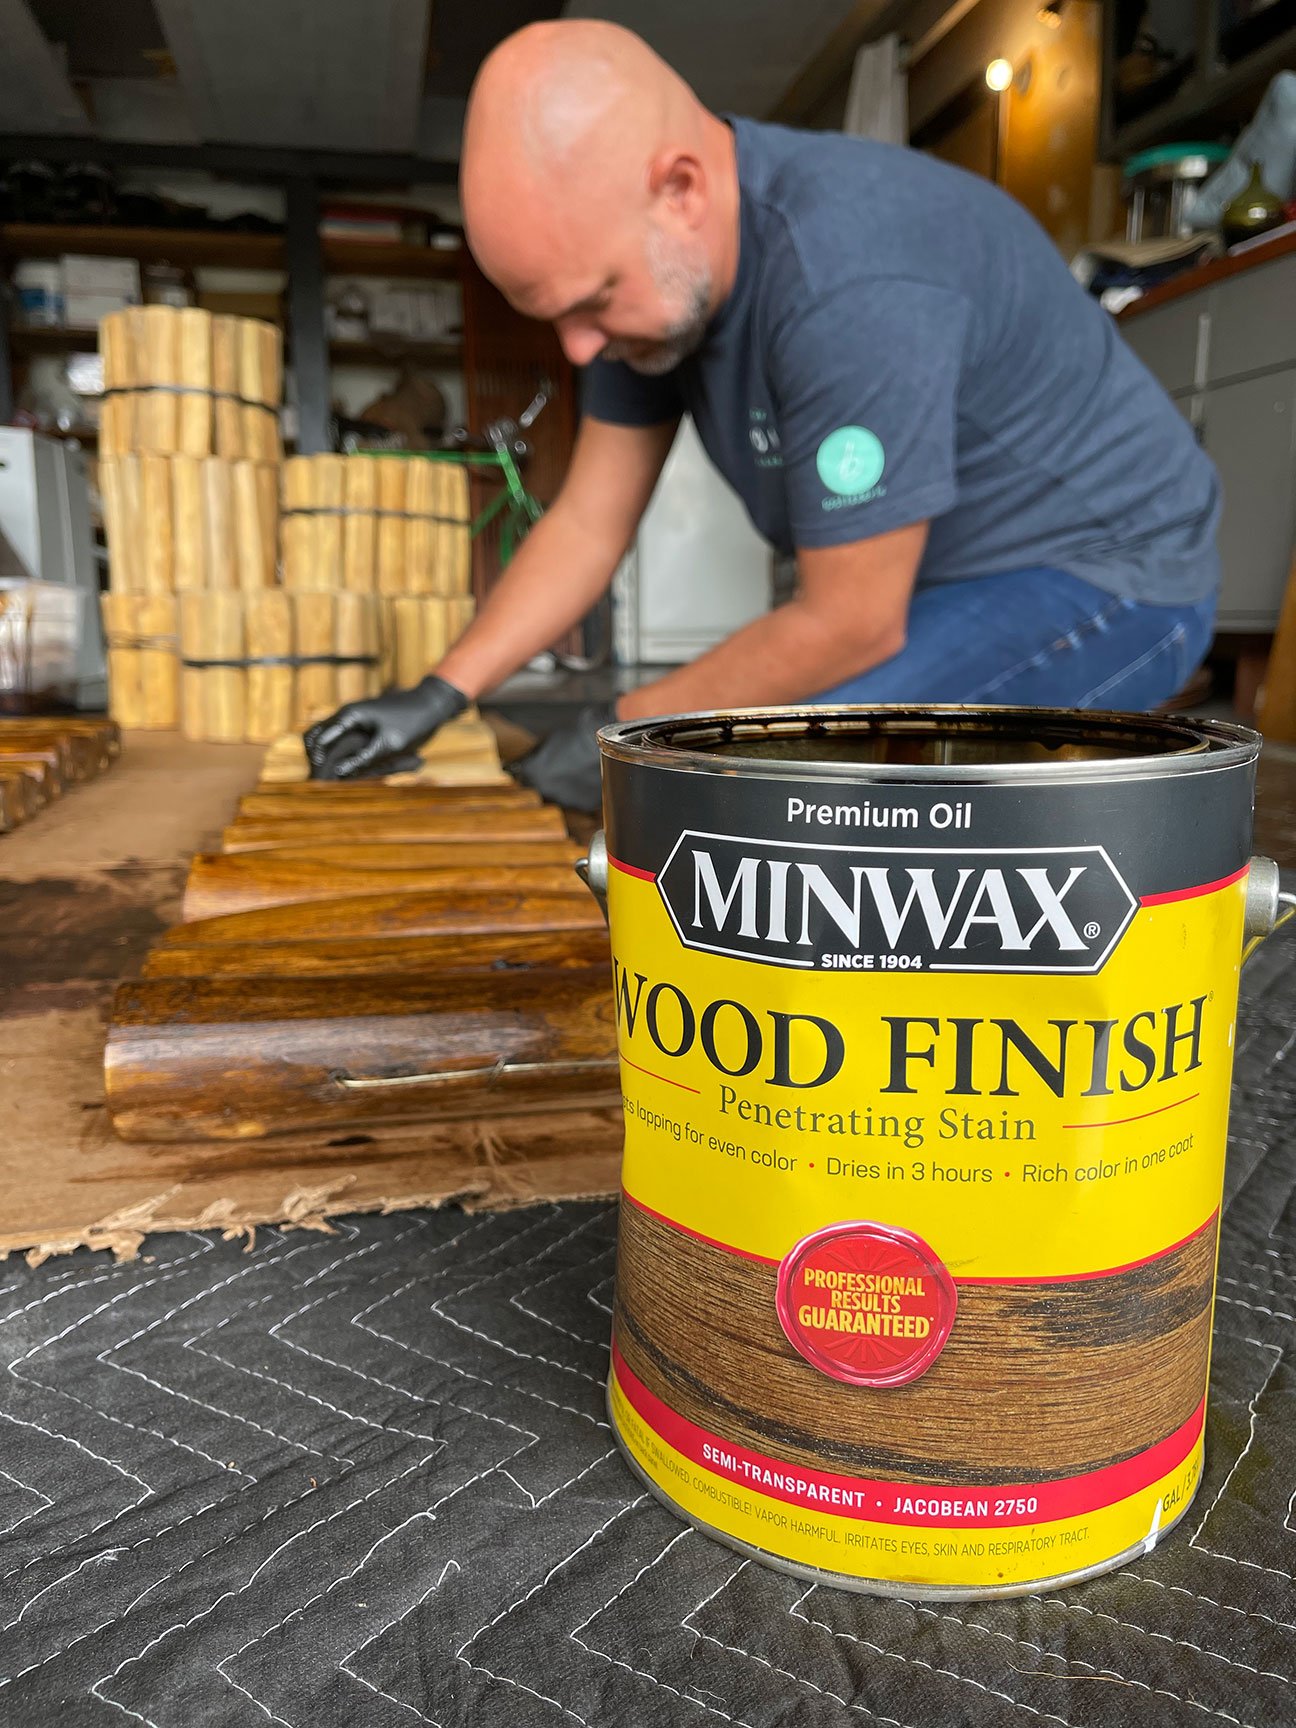
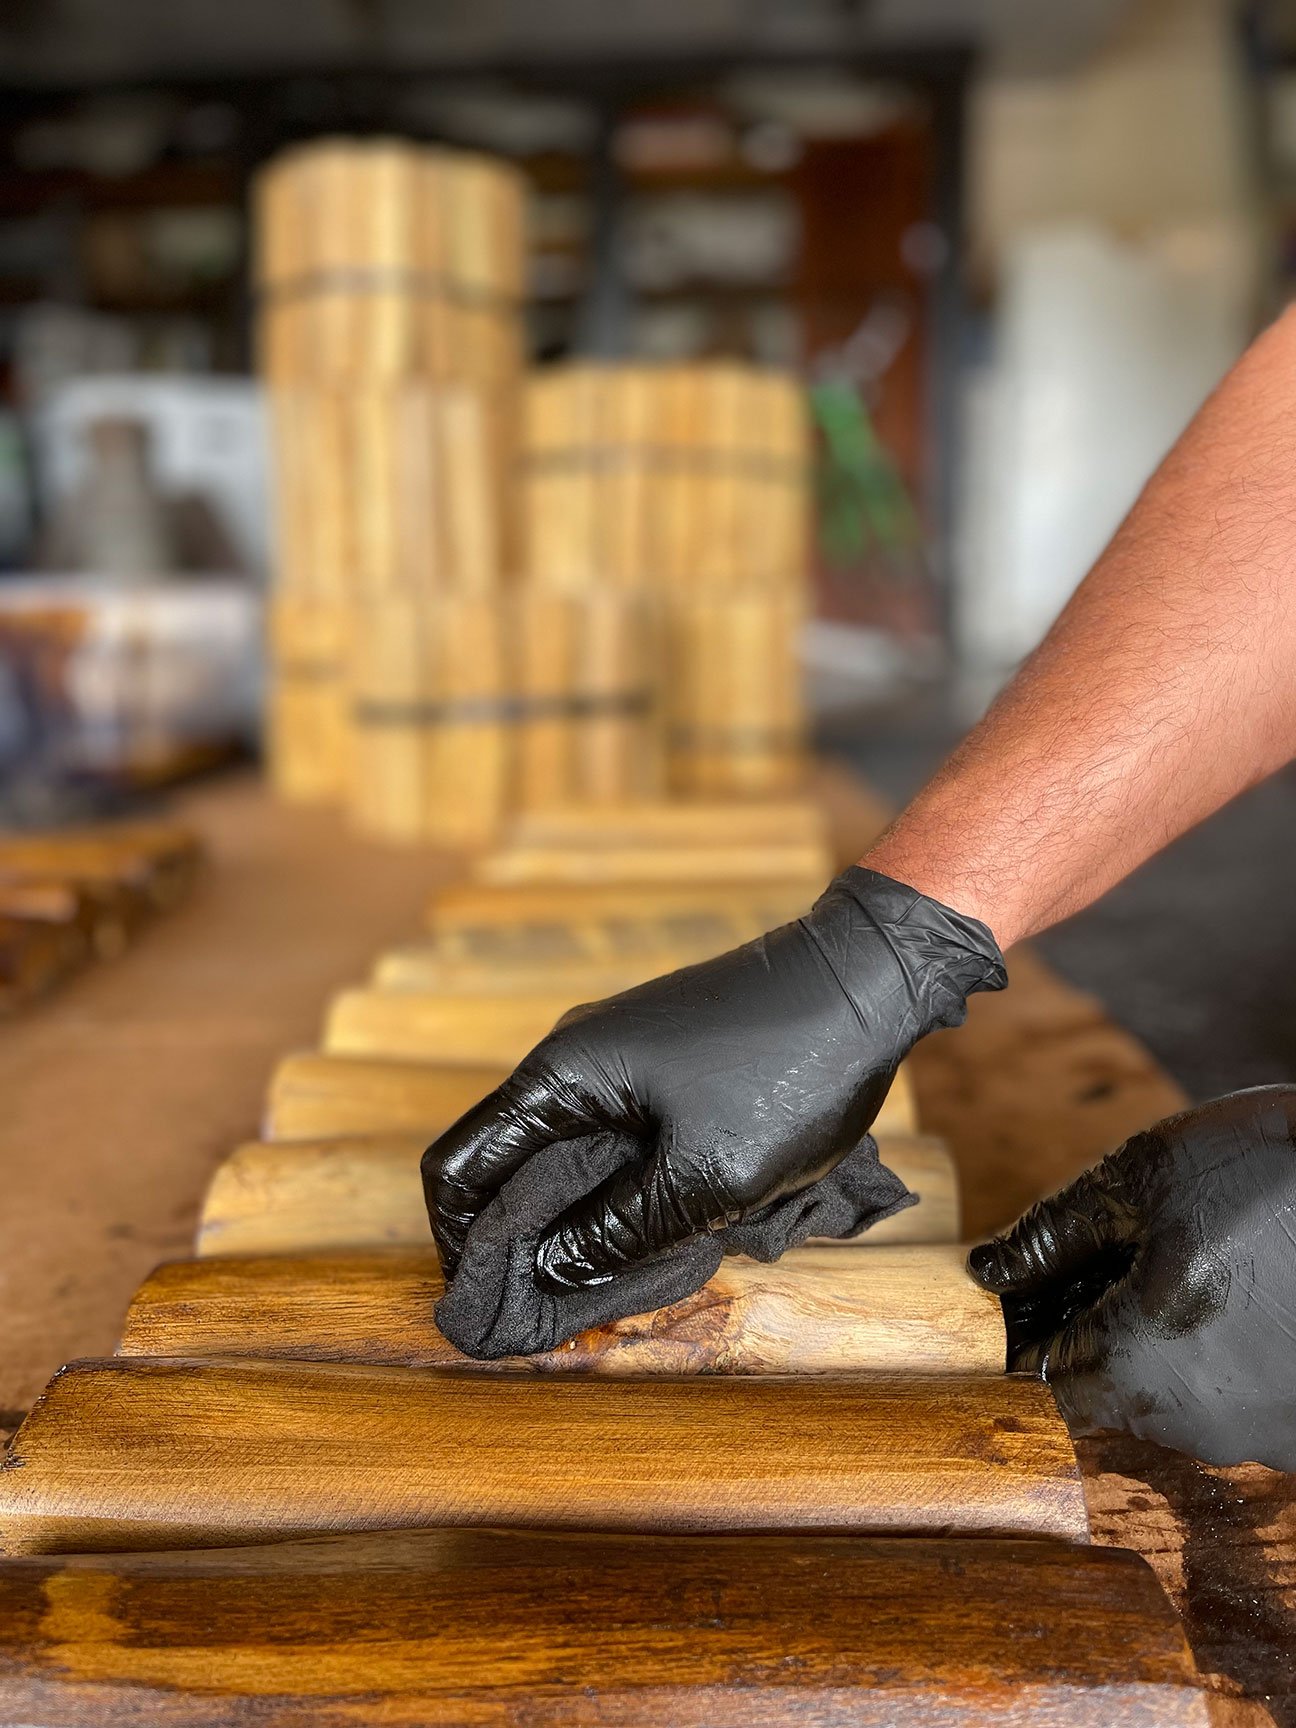
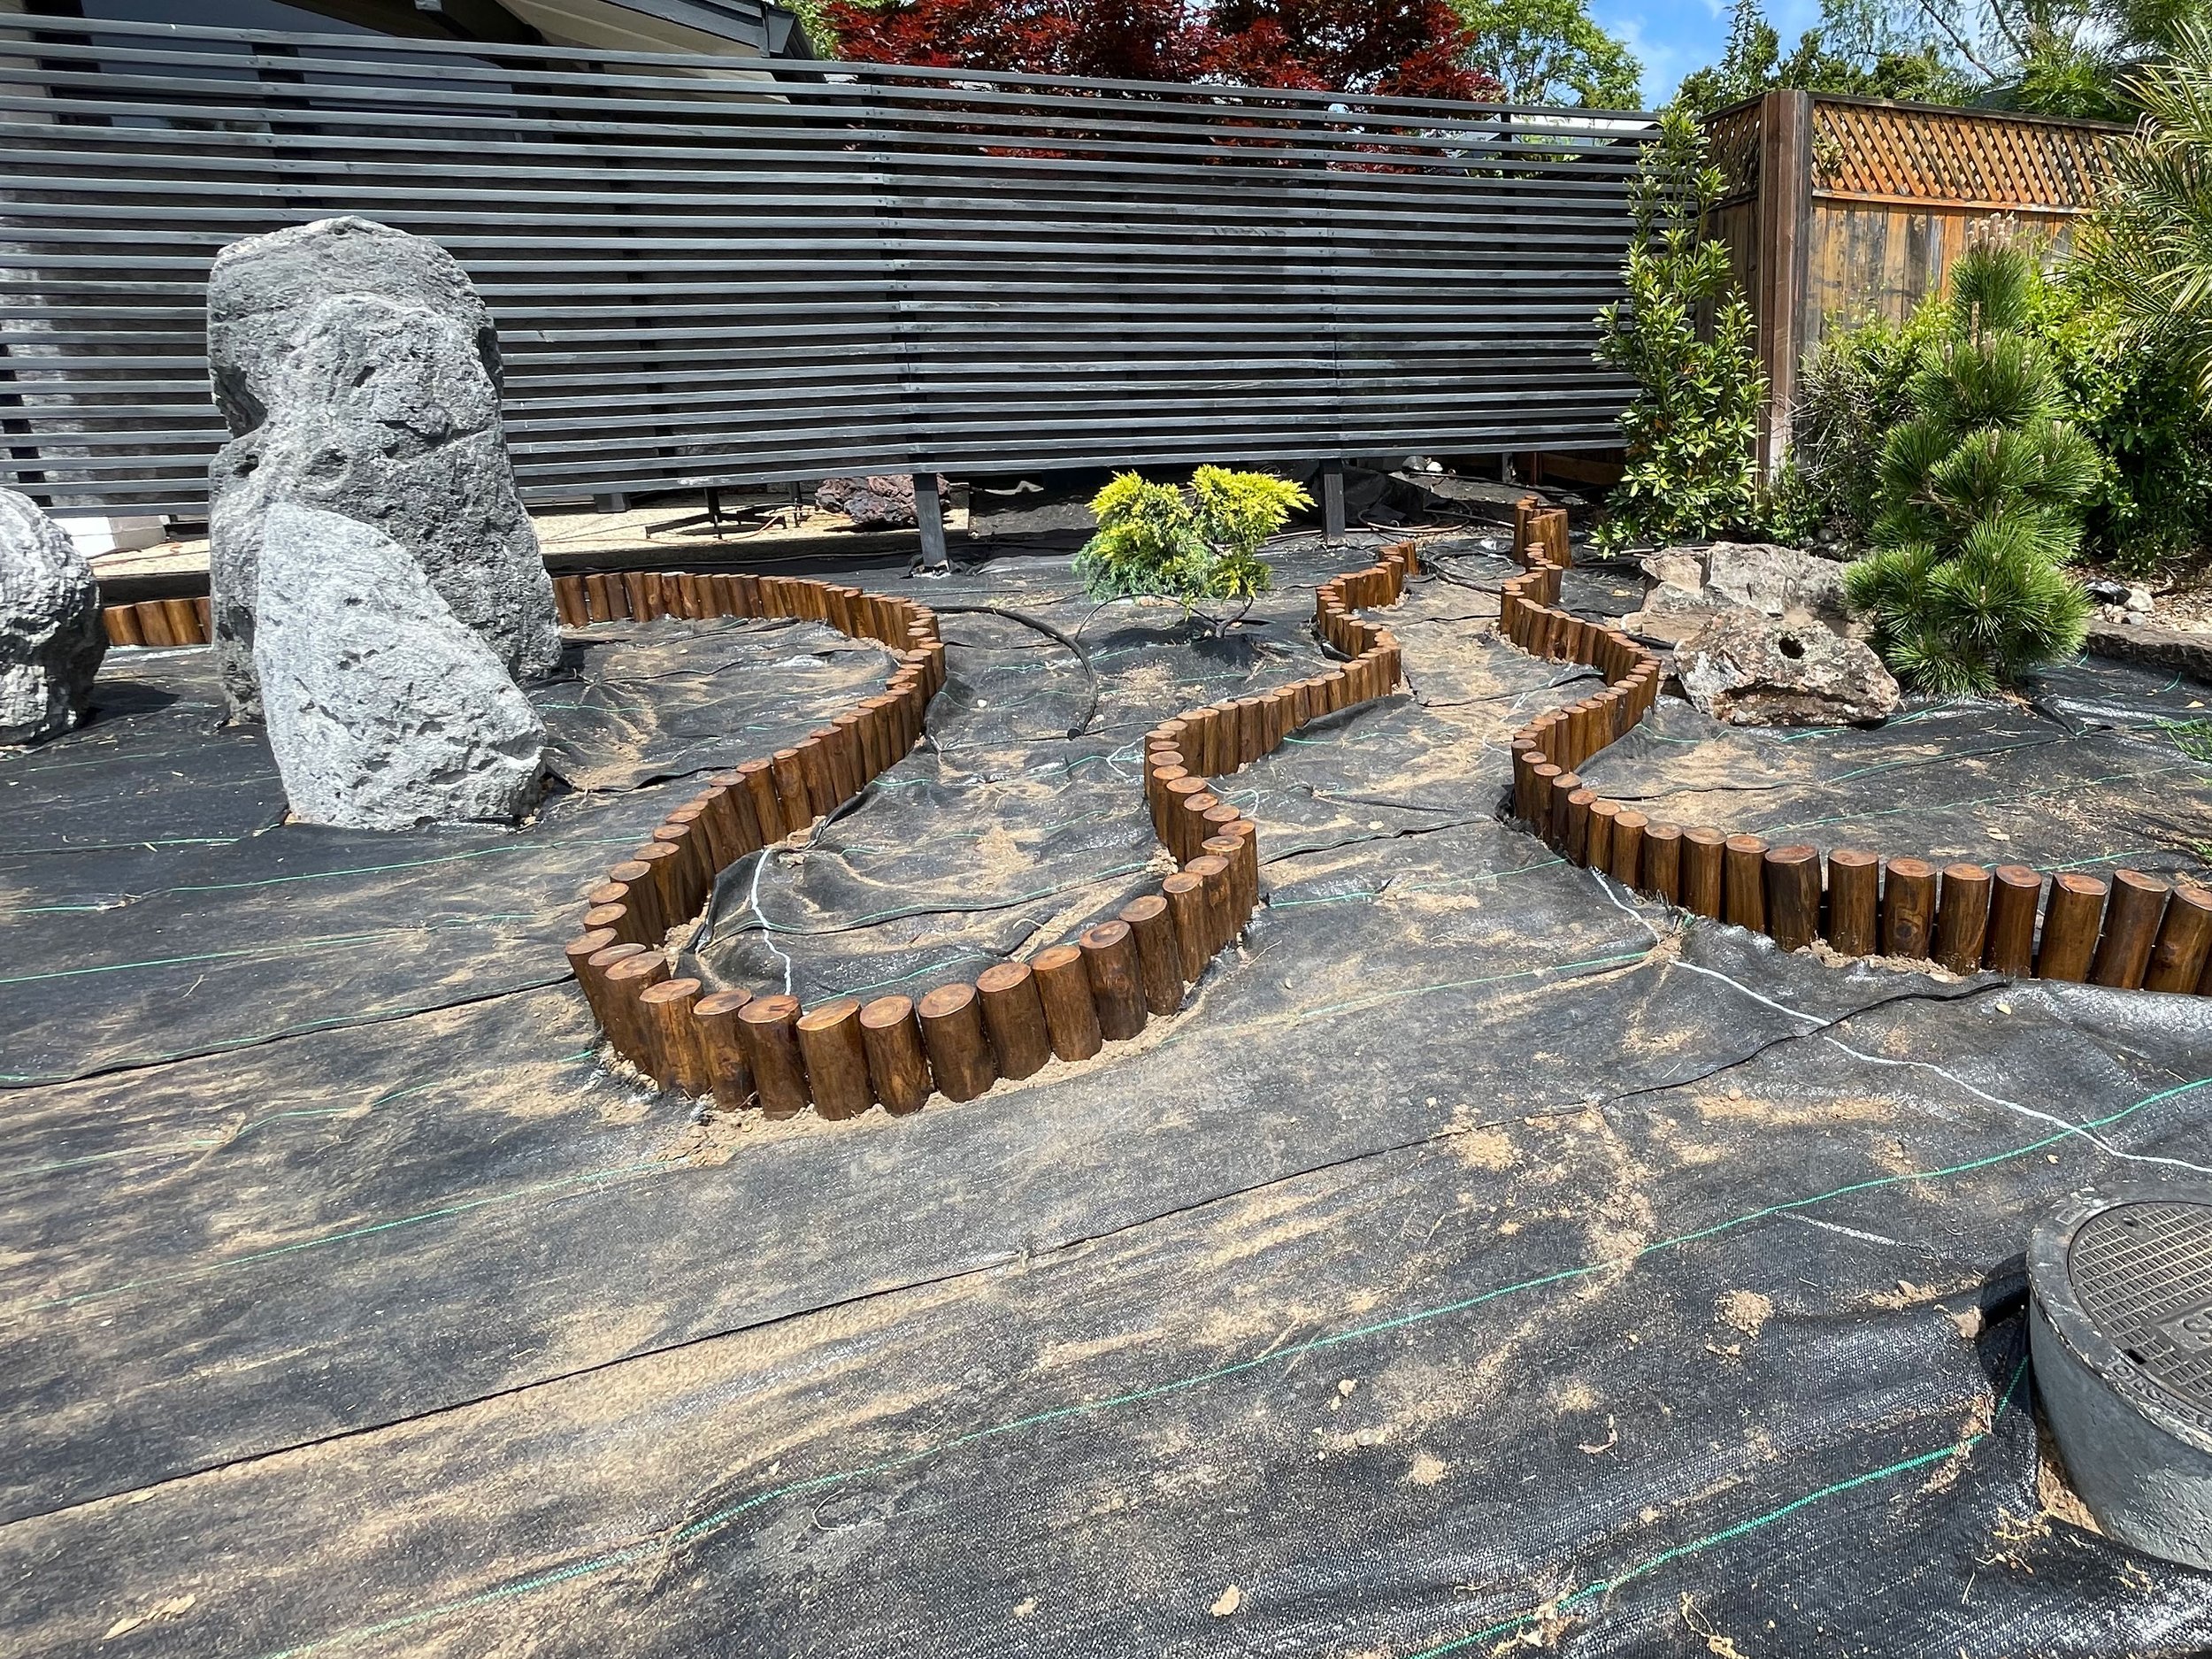
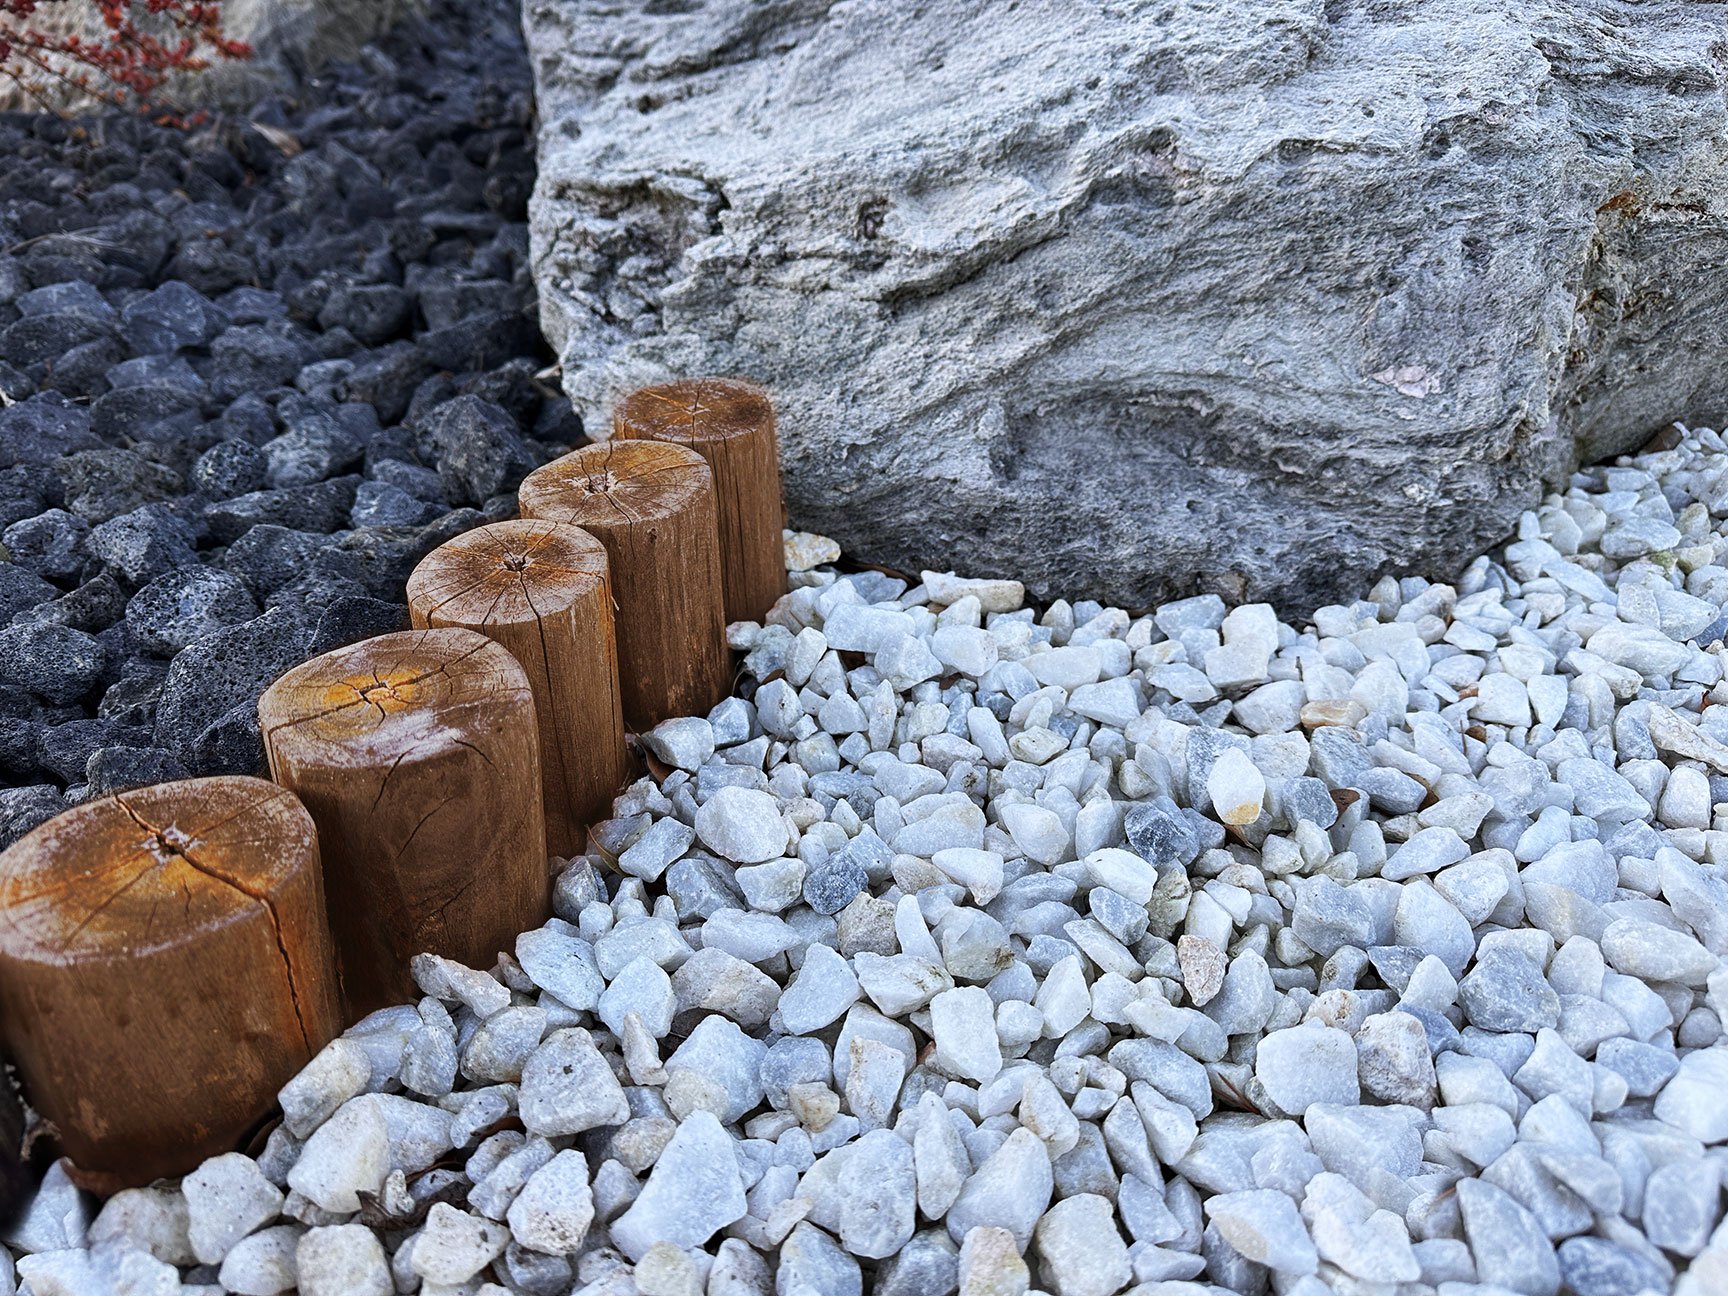
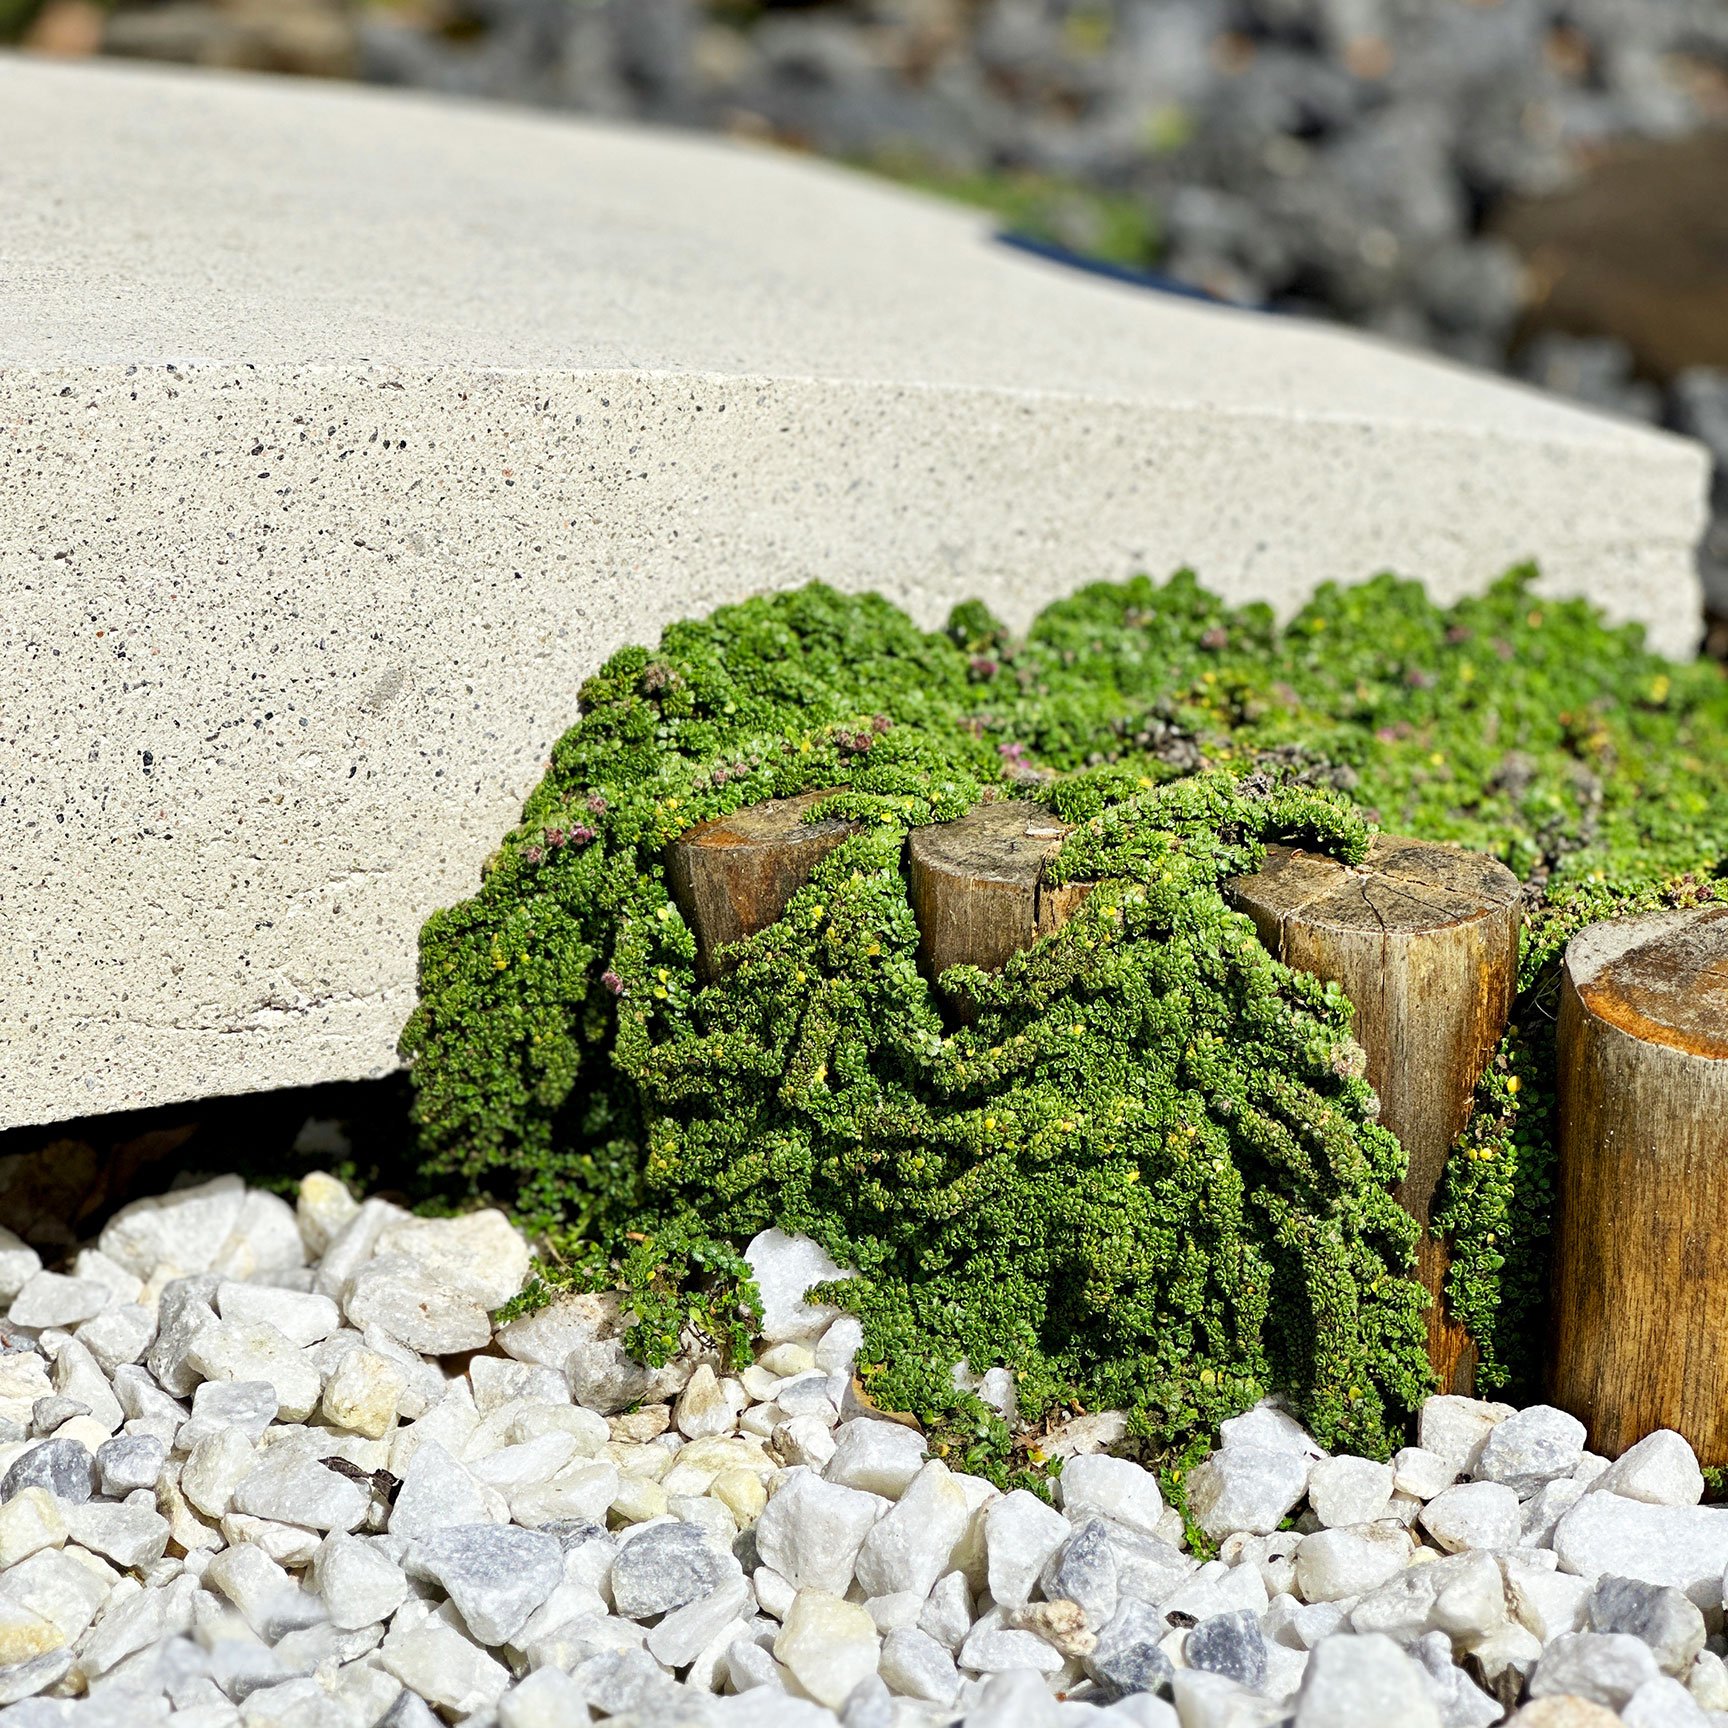
My garden plan consists of various areas that alternate from land to “sea.” While land is represented by black and gray, white is used to create the appearance of flowing waterways. In order to keep these elements from combining, I used a dividing barrier of teak logs that run along the perimeter of the sea. These 10-inch logs came of 5-foot strands, which are wired together for flexibility. The raw teak lacked character and richness, so I stained every piece and sealed them with spar varnish for deeper color and protection from the elements. A shallow trench was dug for the teak barrier, giving the logs a lower profile and greater stability.
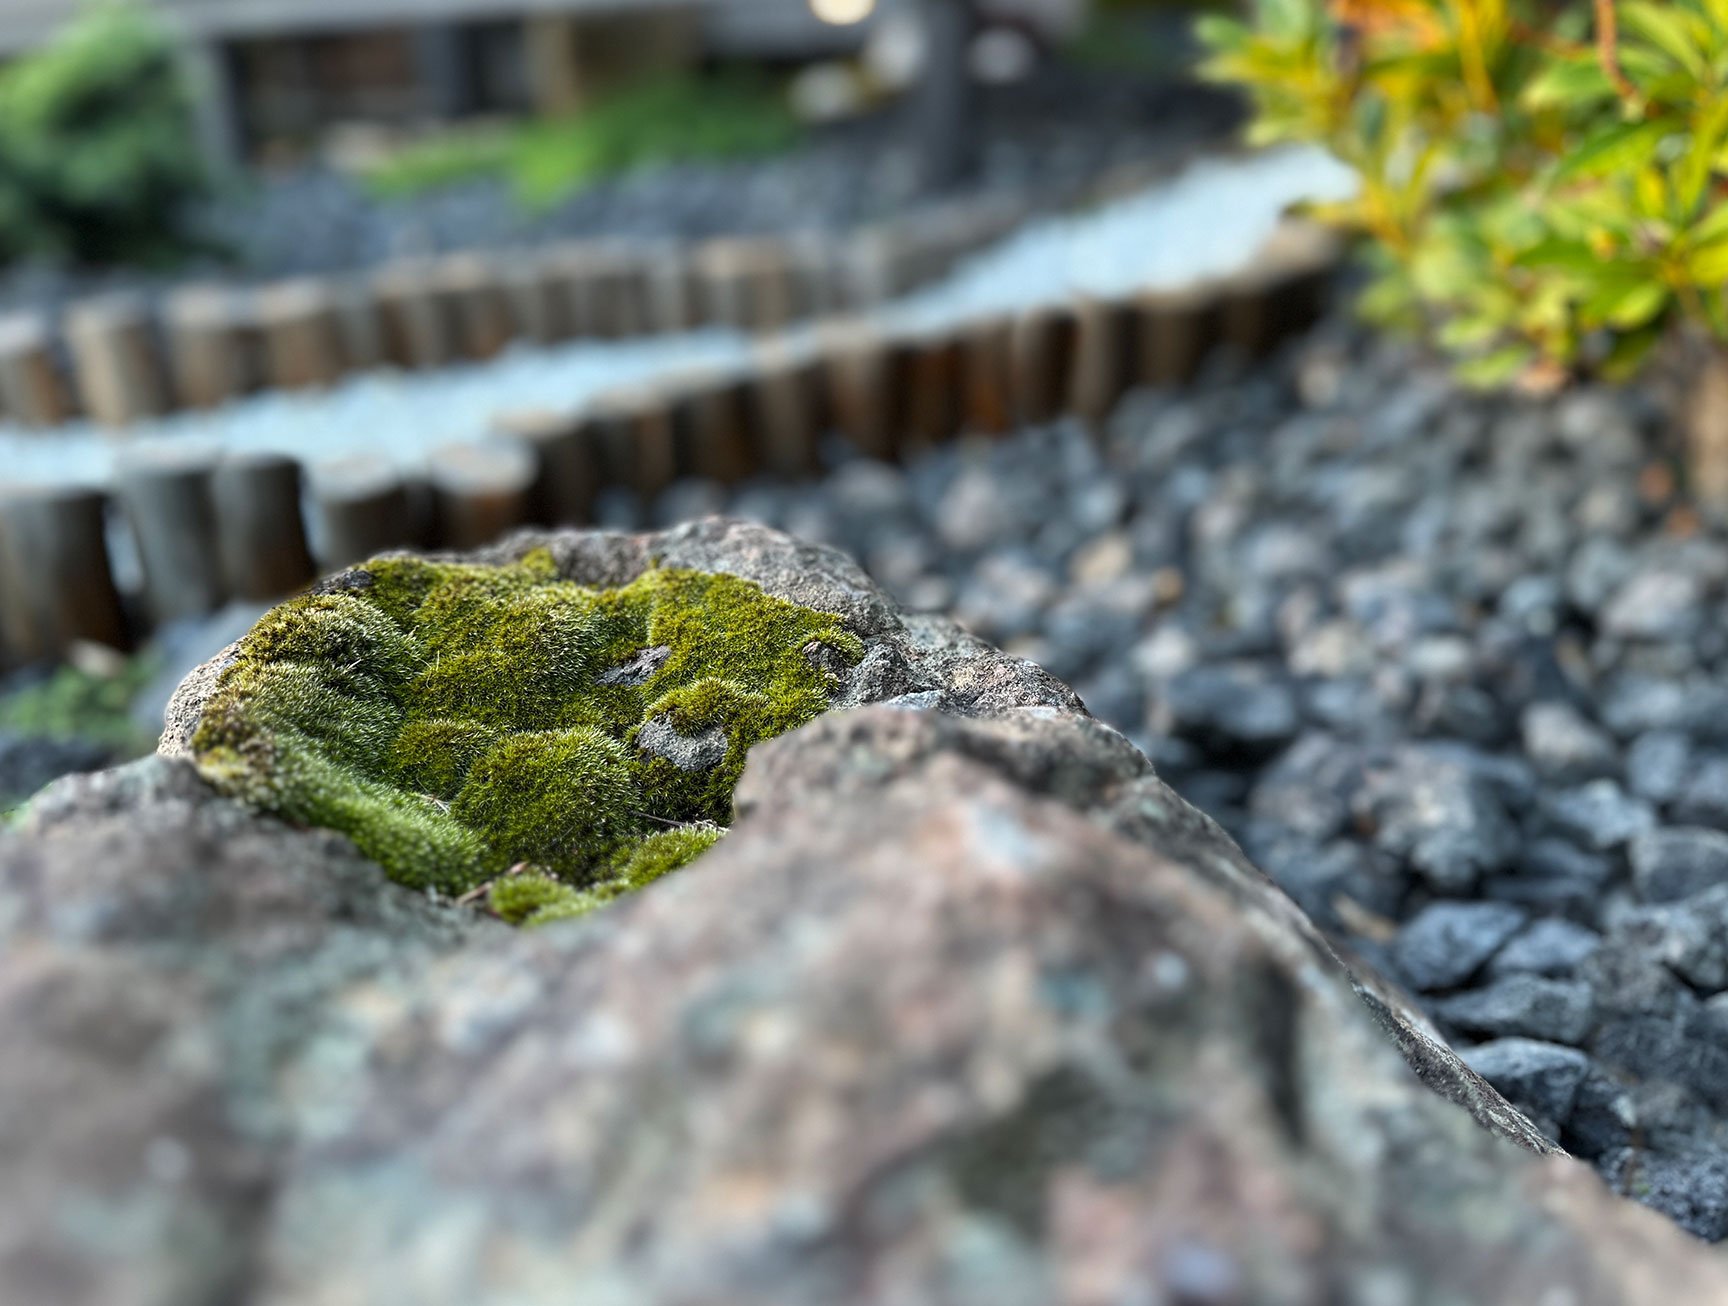
Some of the feather rock boulders were placed to intentionally intersect the two materials, giving an organic connection to land and sea. The teak border appears to pass through the boulders in these areas with a large, sweeping curve.

“I’ve gathered a lot of inspiration for this garden in my travels...”


Paths Well-Traveled
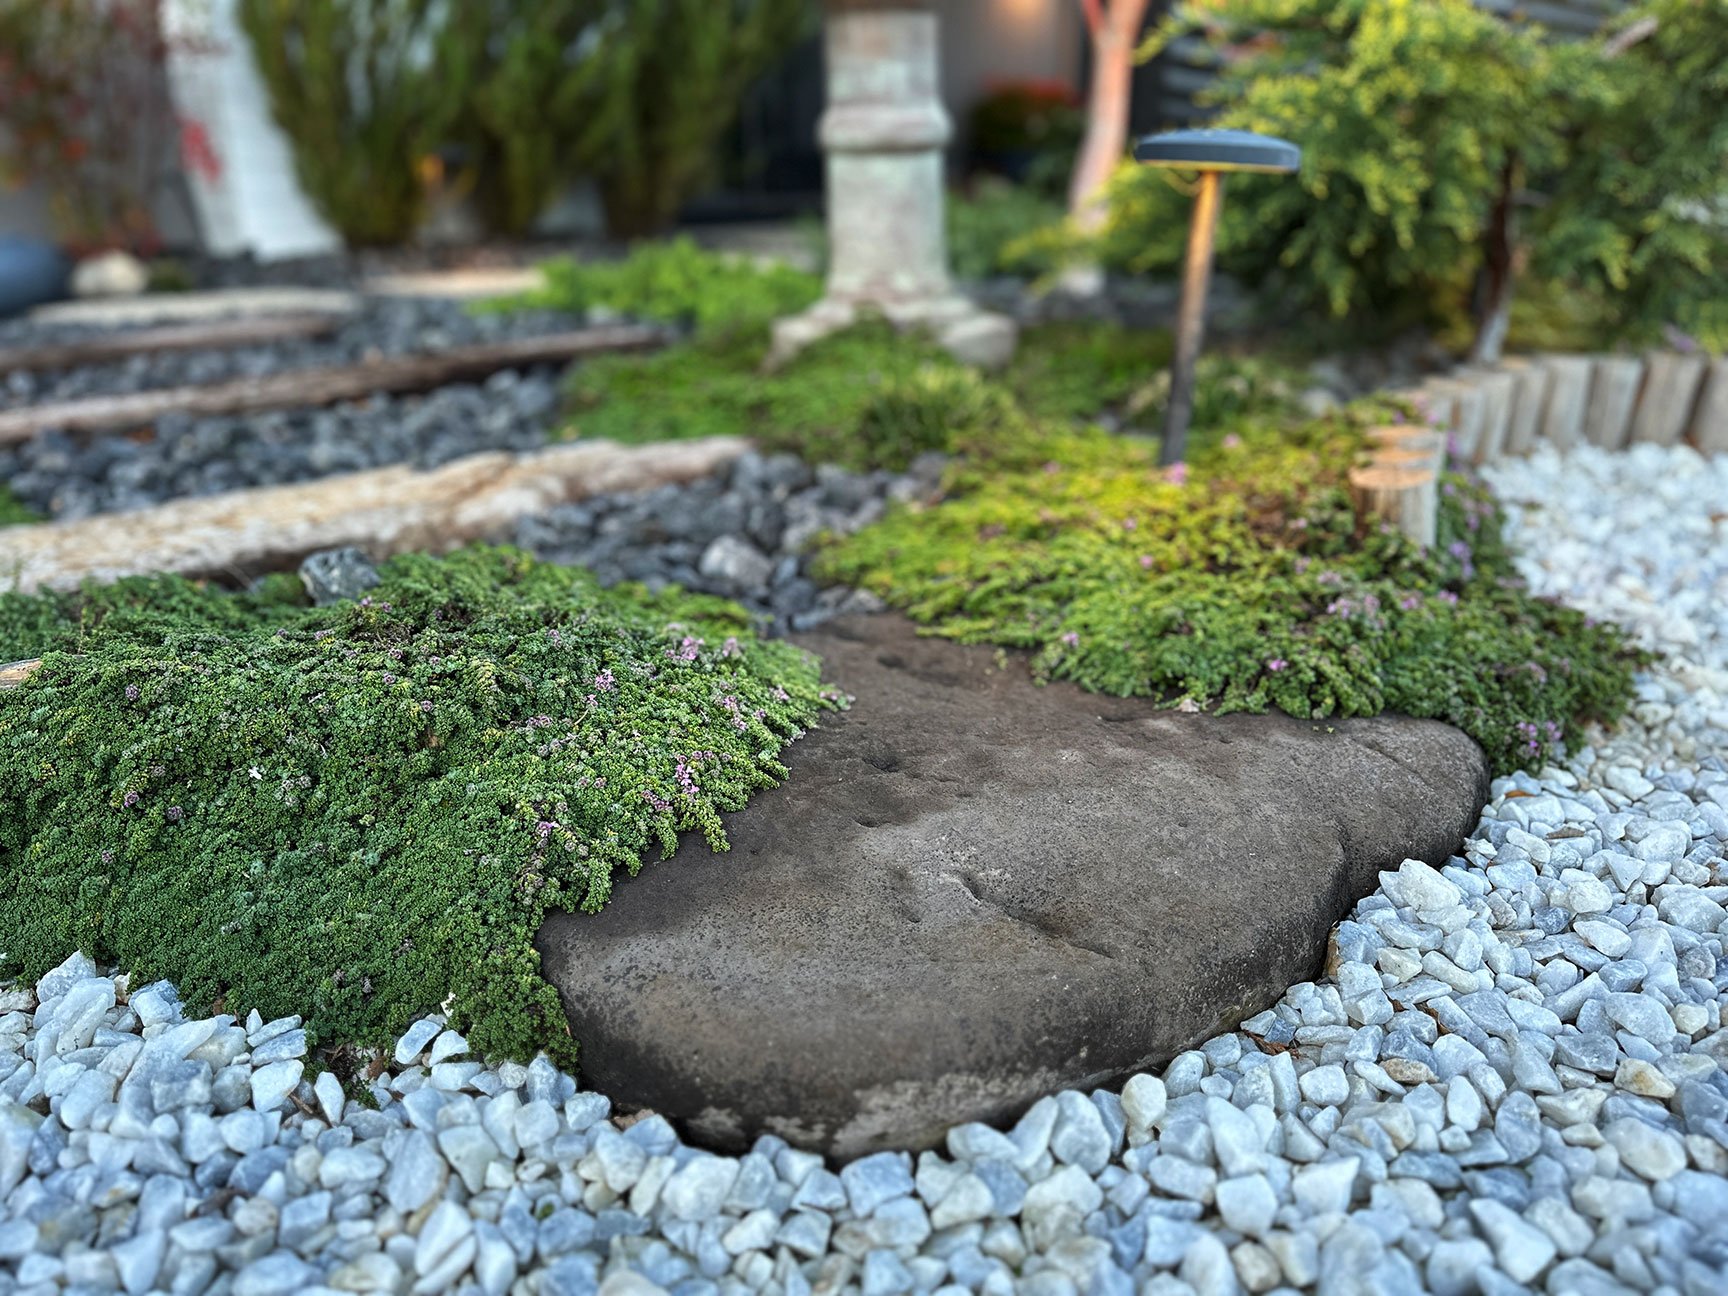
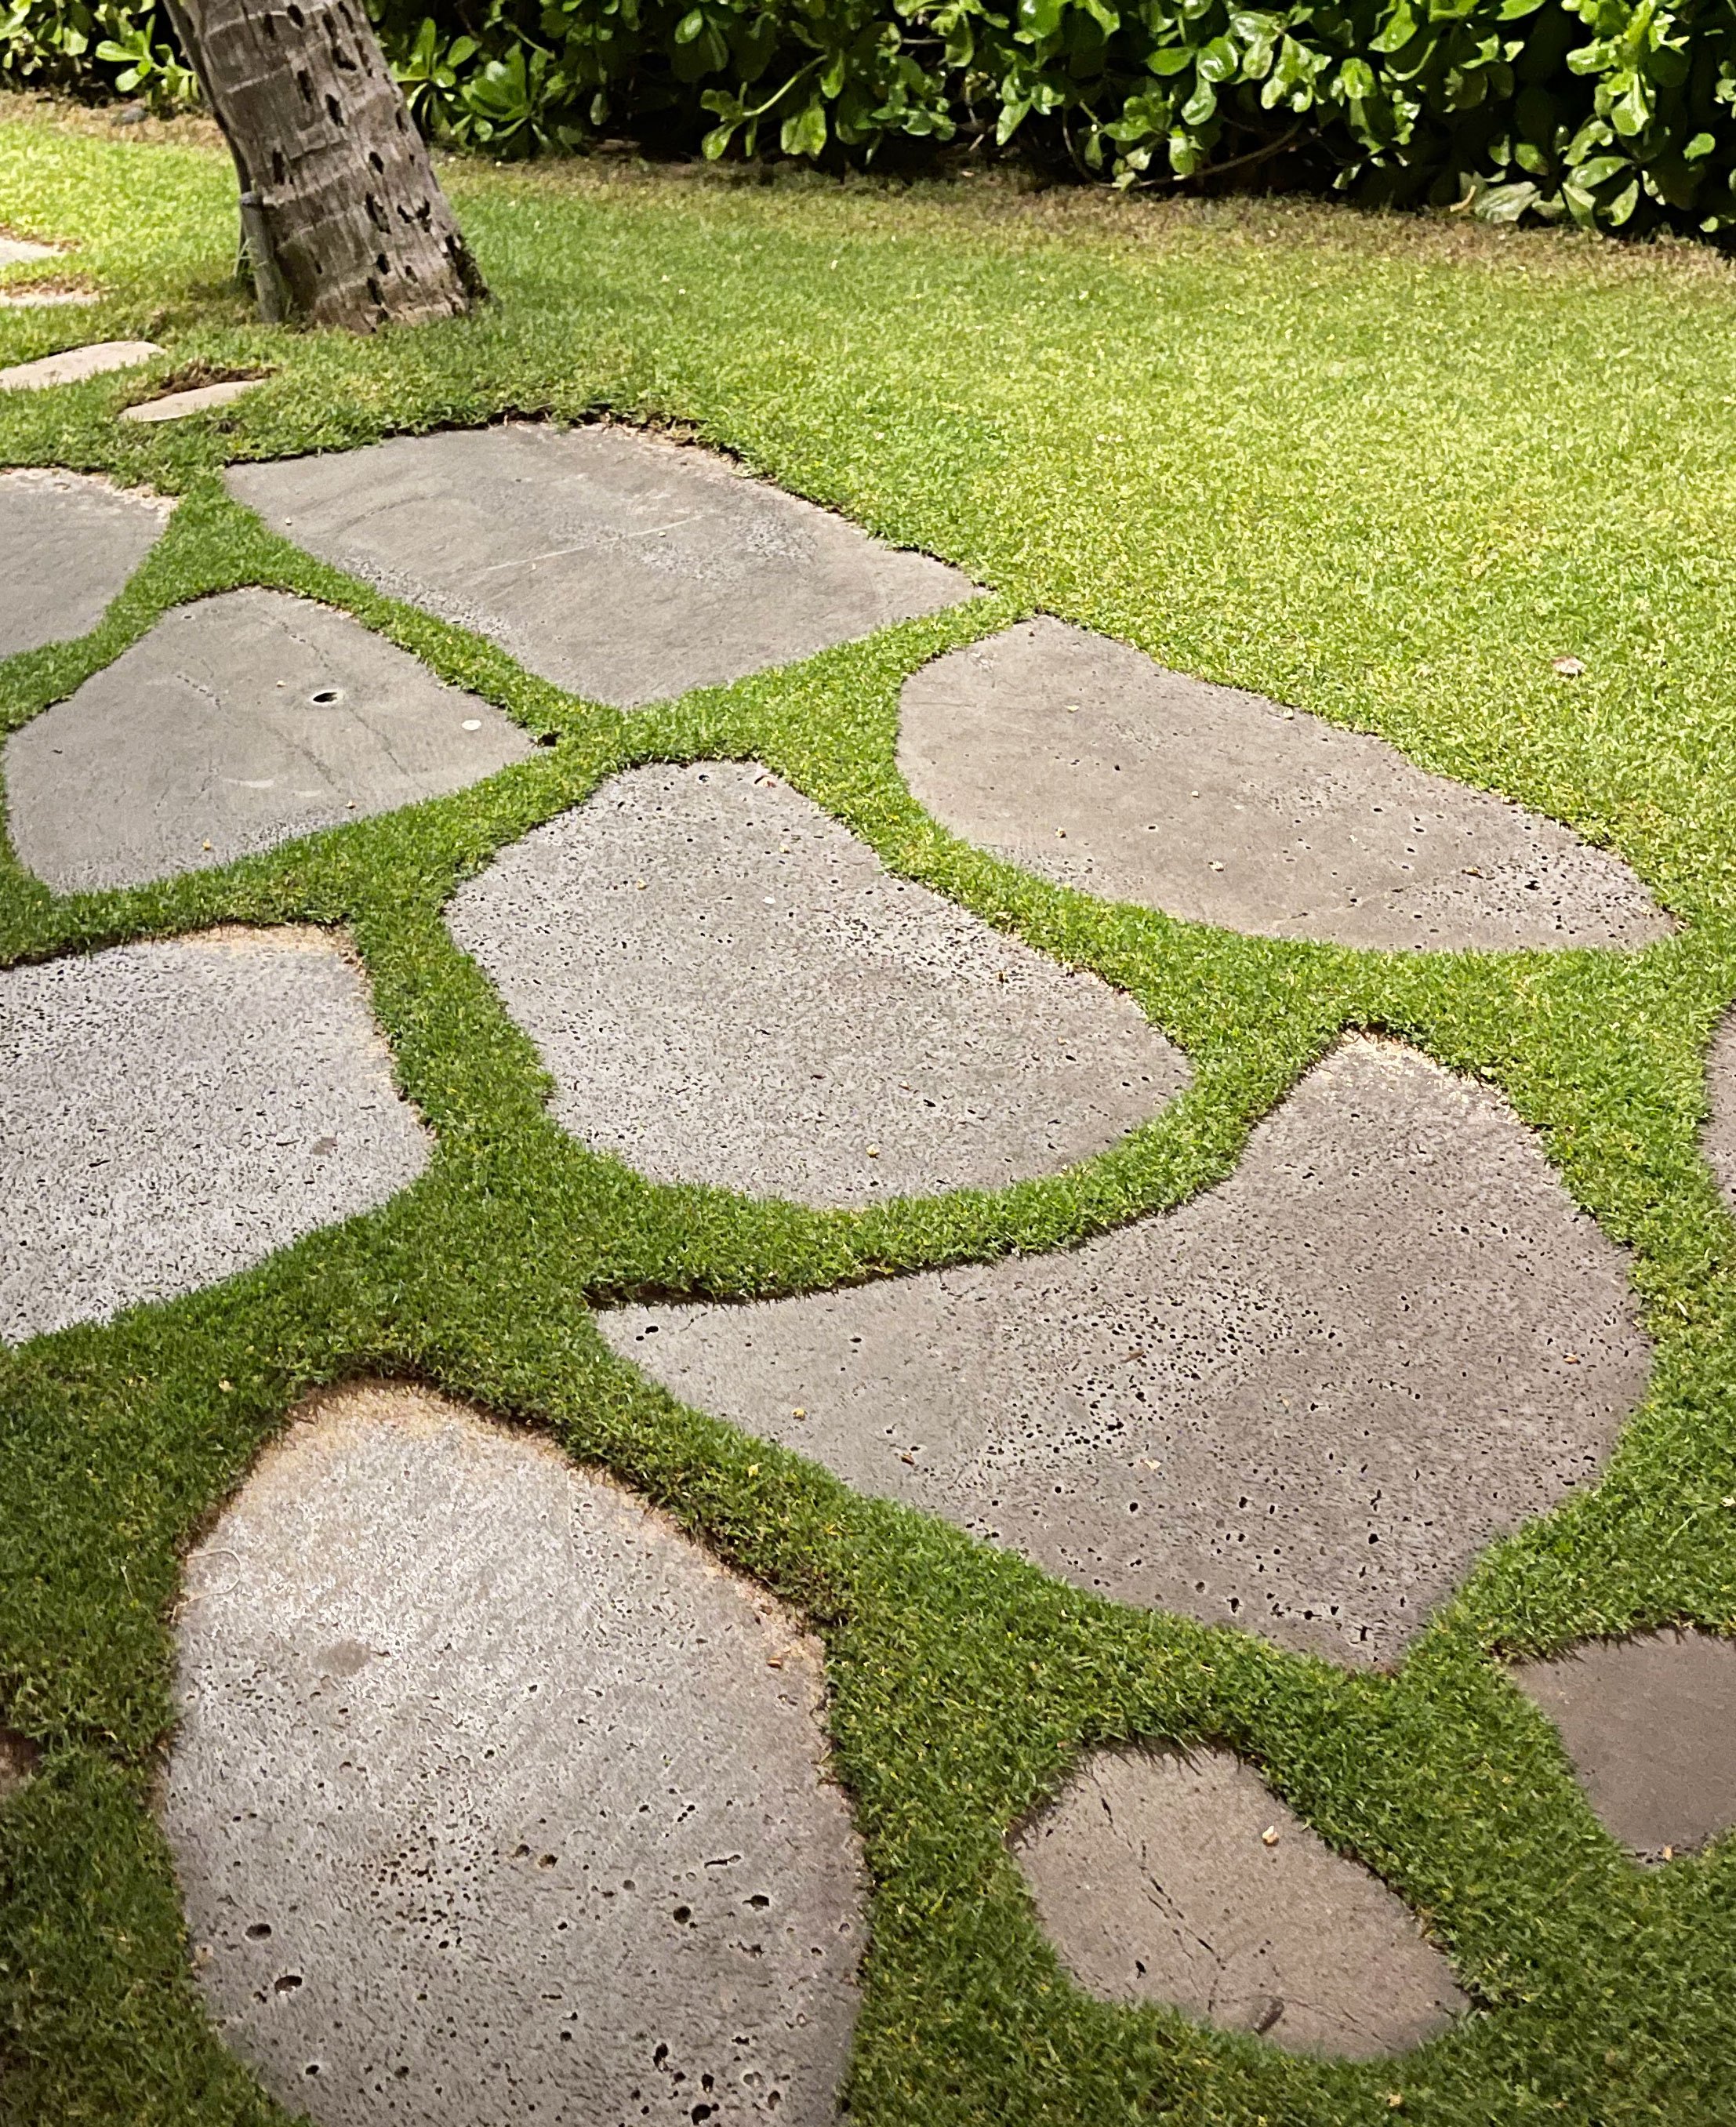
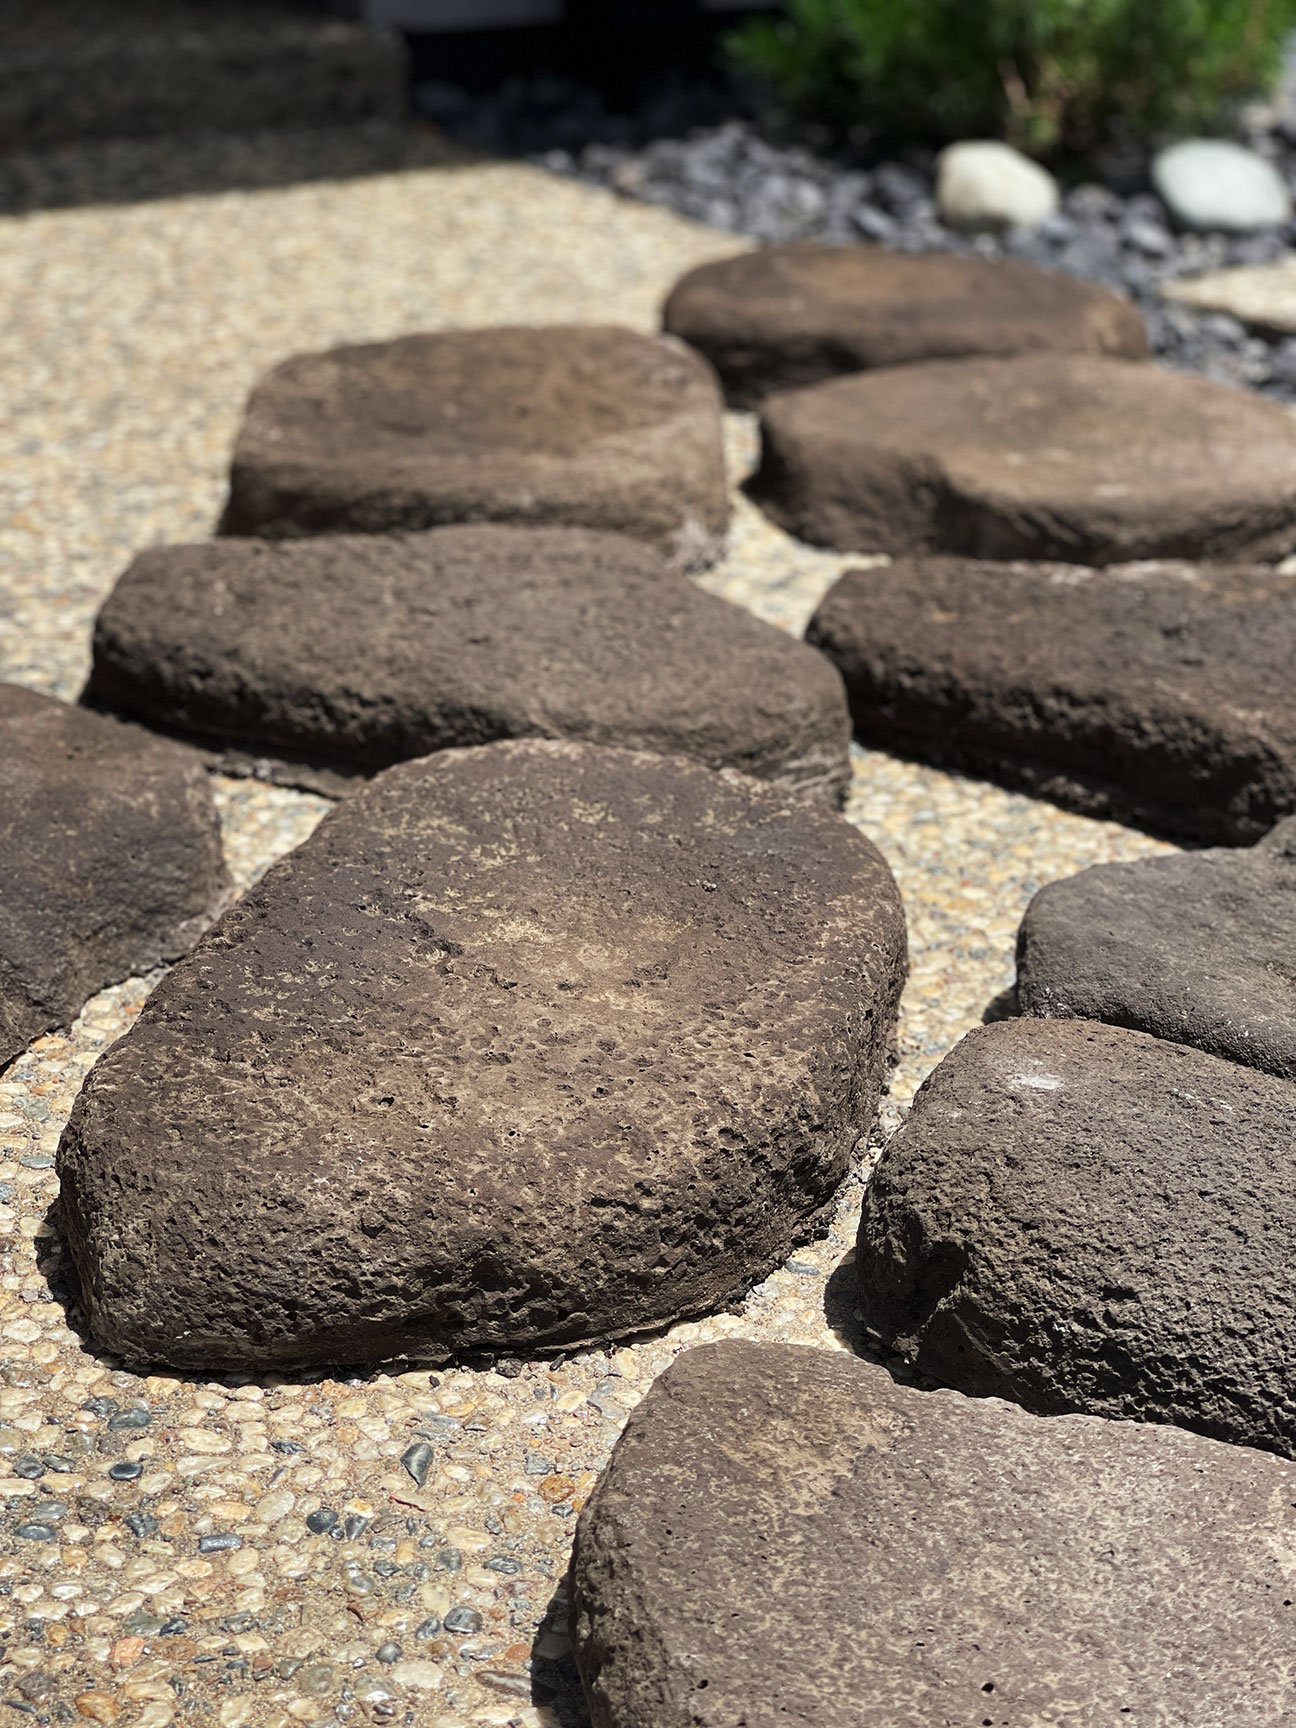
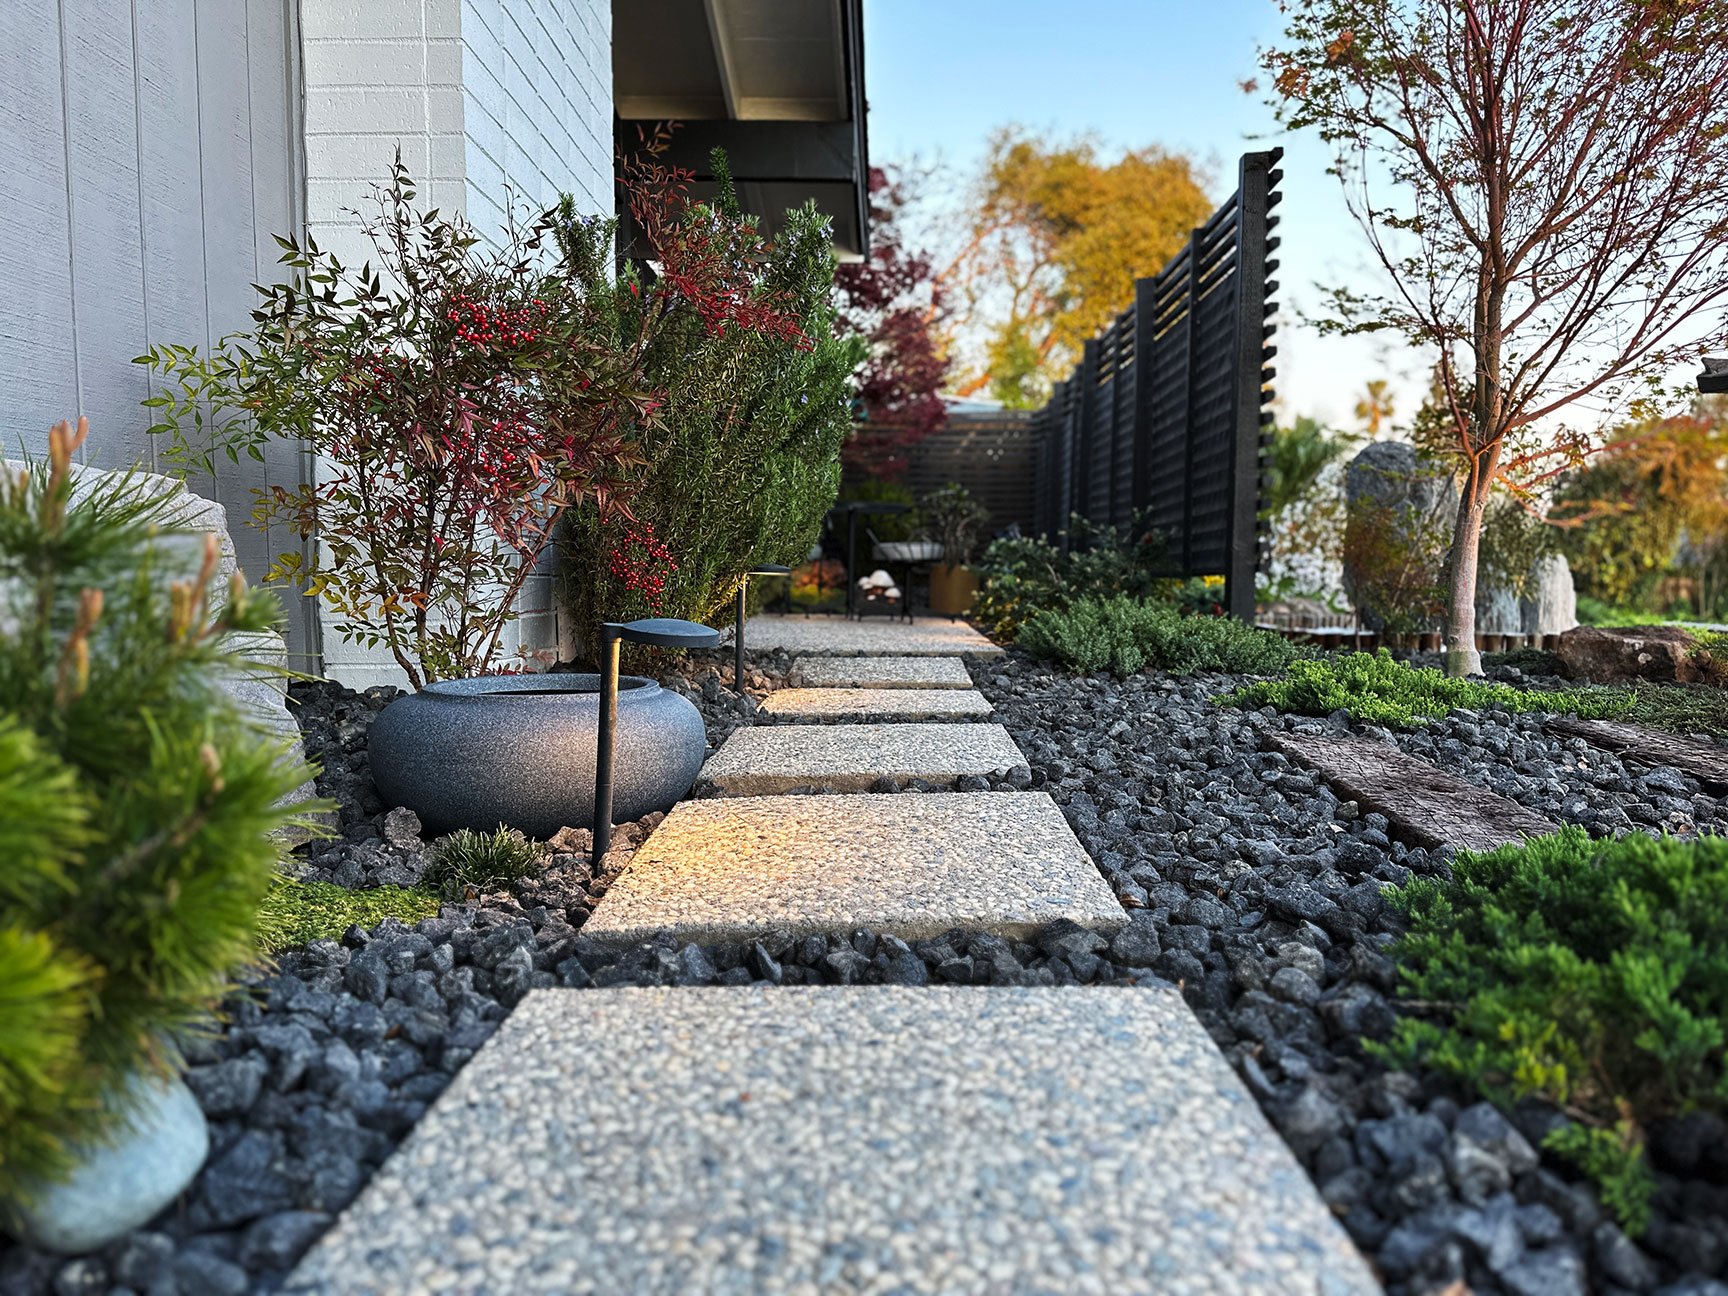
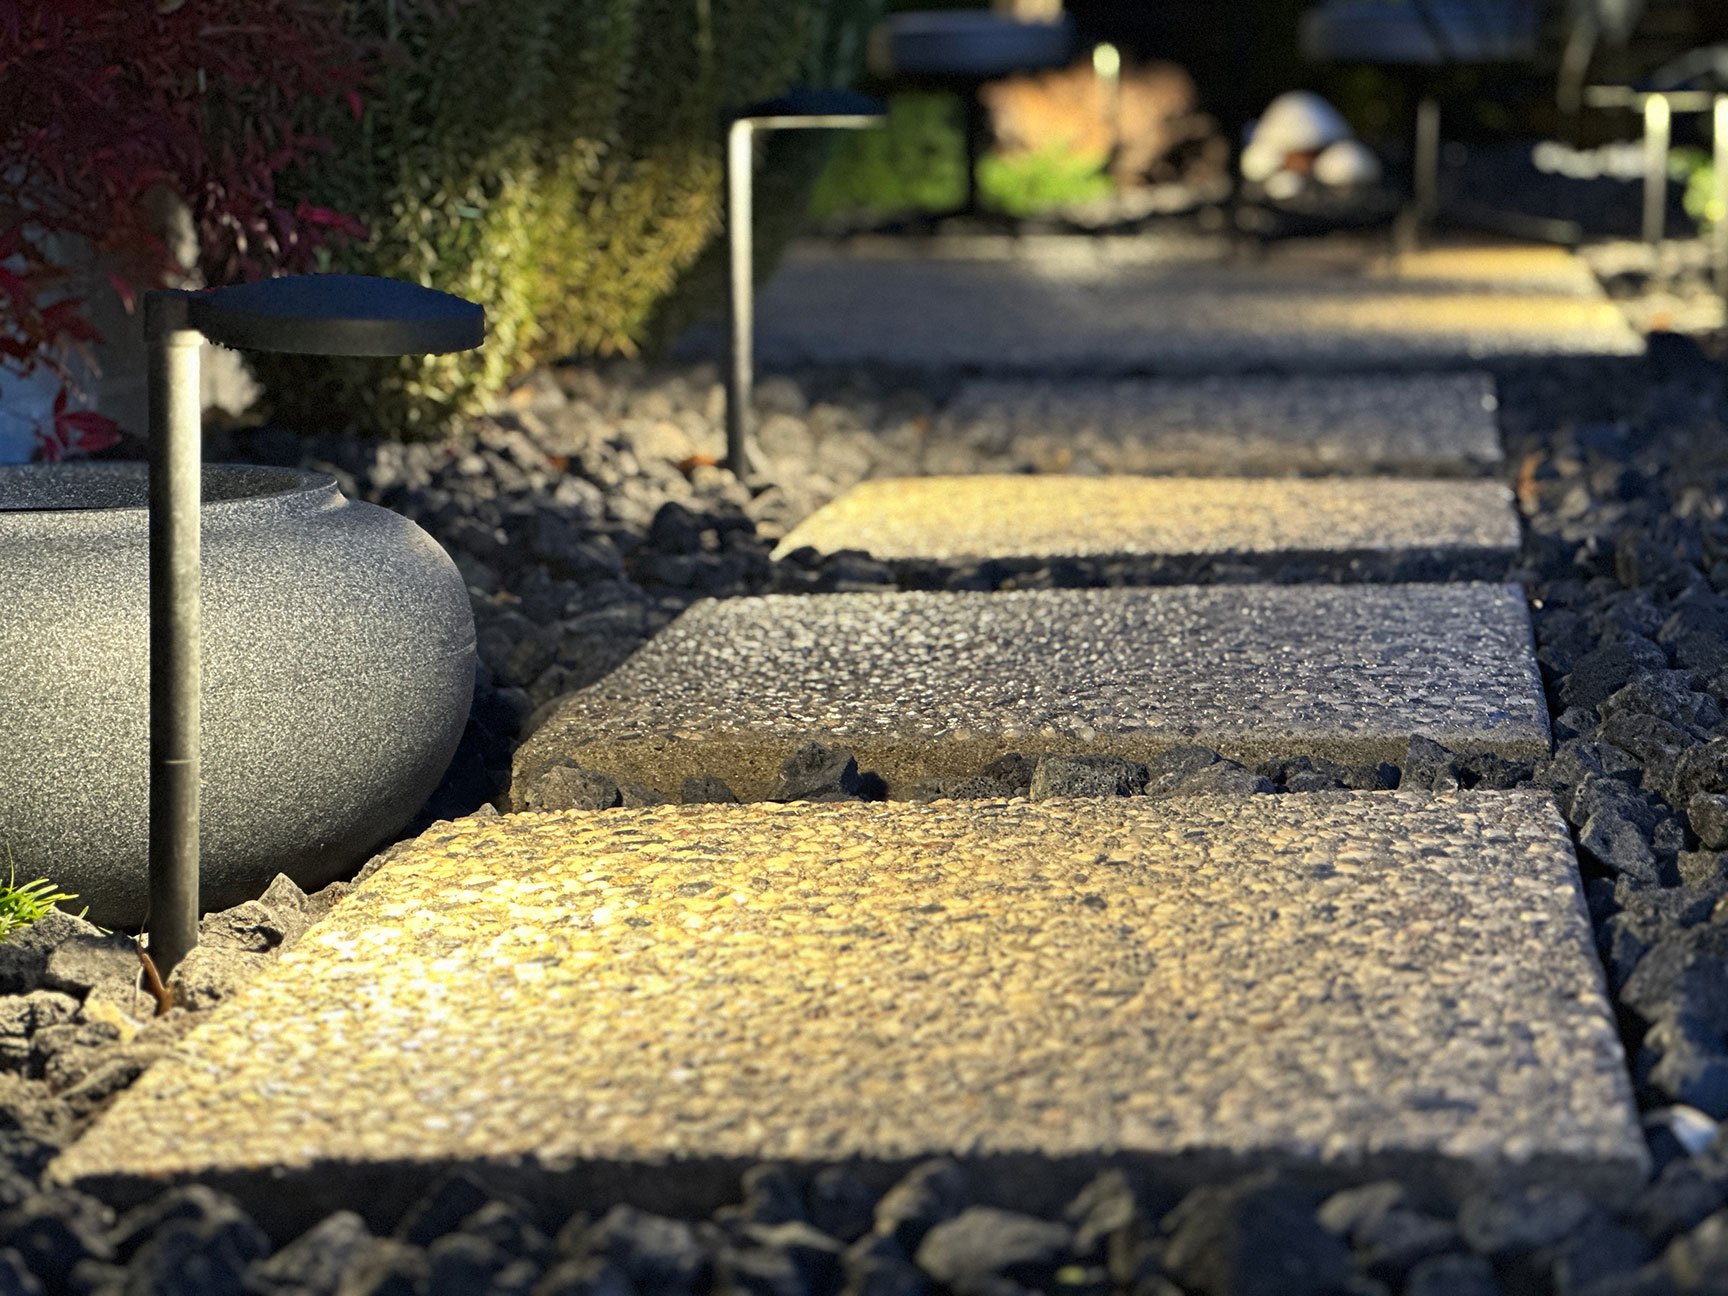
The design of this landscape is meant to be an adventure — a meandering trail through nature, reminiscent of travel to far away places — one with a history of collected memories. I’ve gathered a lot of inspiration for this garden in my travels, particularly in my visits to Hawai‘i. Throughout the islands, there are a number of places that have lava rock stepping stones — some with organic patterns, and some with incredible petroglyphs. In the more bustling parts of Honolulu and Waikiki, many of these stepping stones and pavers are fabricated elements created by Big Rock. With a little research, I was able to find the company and visit their O‘ahu showroom. Chelsea and Tanya were fantastic to work with, and talk story. Their process of casting real moss rock from the islands produces a natural-looking, fiber-reinforced concrete paver that weighs less than actual stone.
Not only was I able to select an assortment of stepping stones for my garden, but I was also able to browse their collection of sculpted garden enhancements. I was immediately drawn to one of their contemporary style bridges. I had planned for a bridge in the landscape design, but I wasn’t sure exactly what it would look like. Big Rock had the answer, so I added it to the pallet.
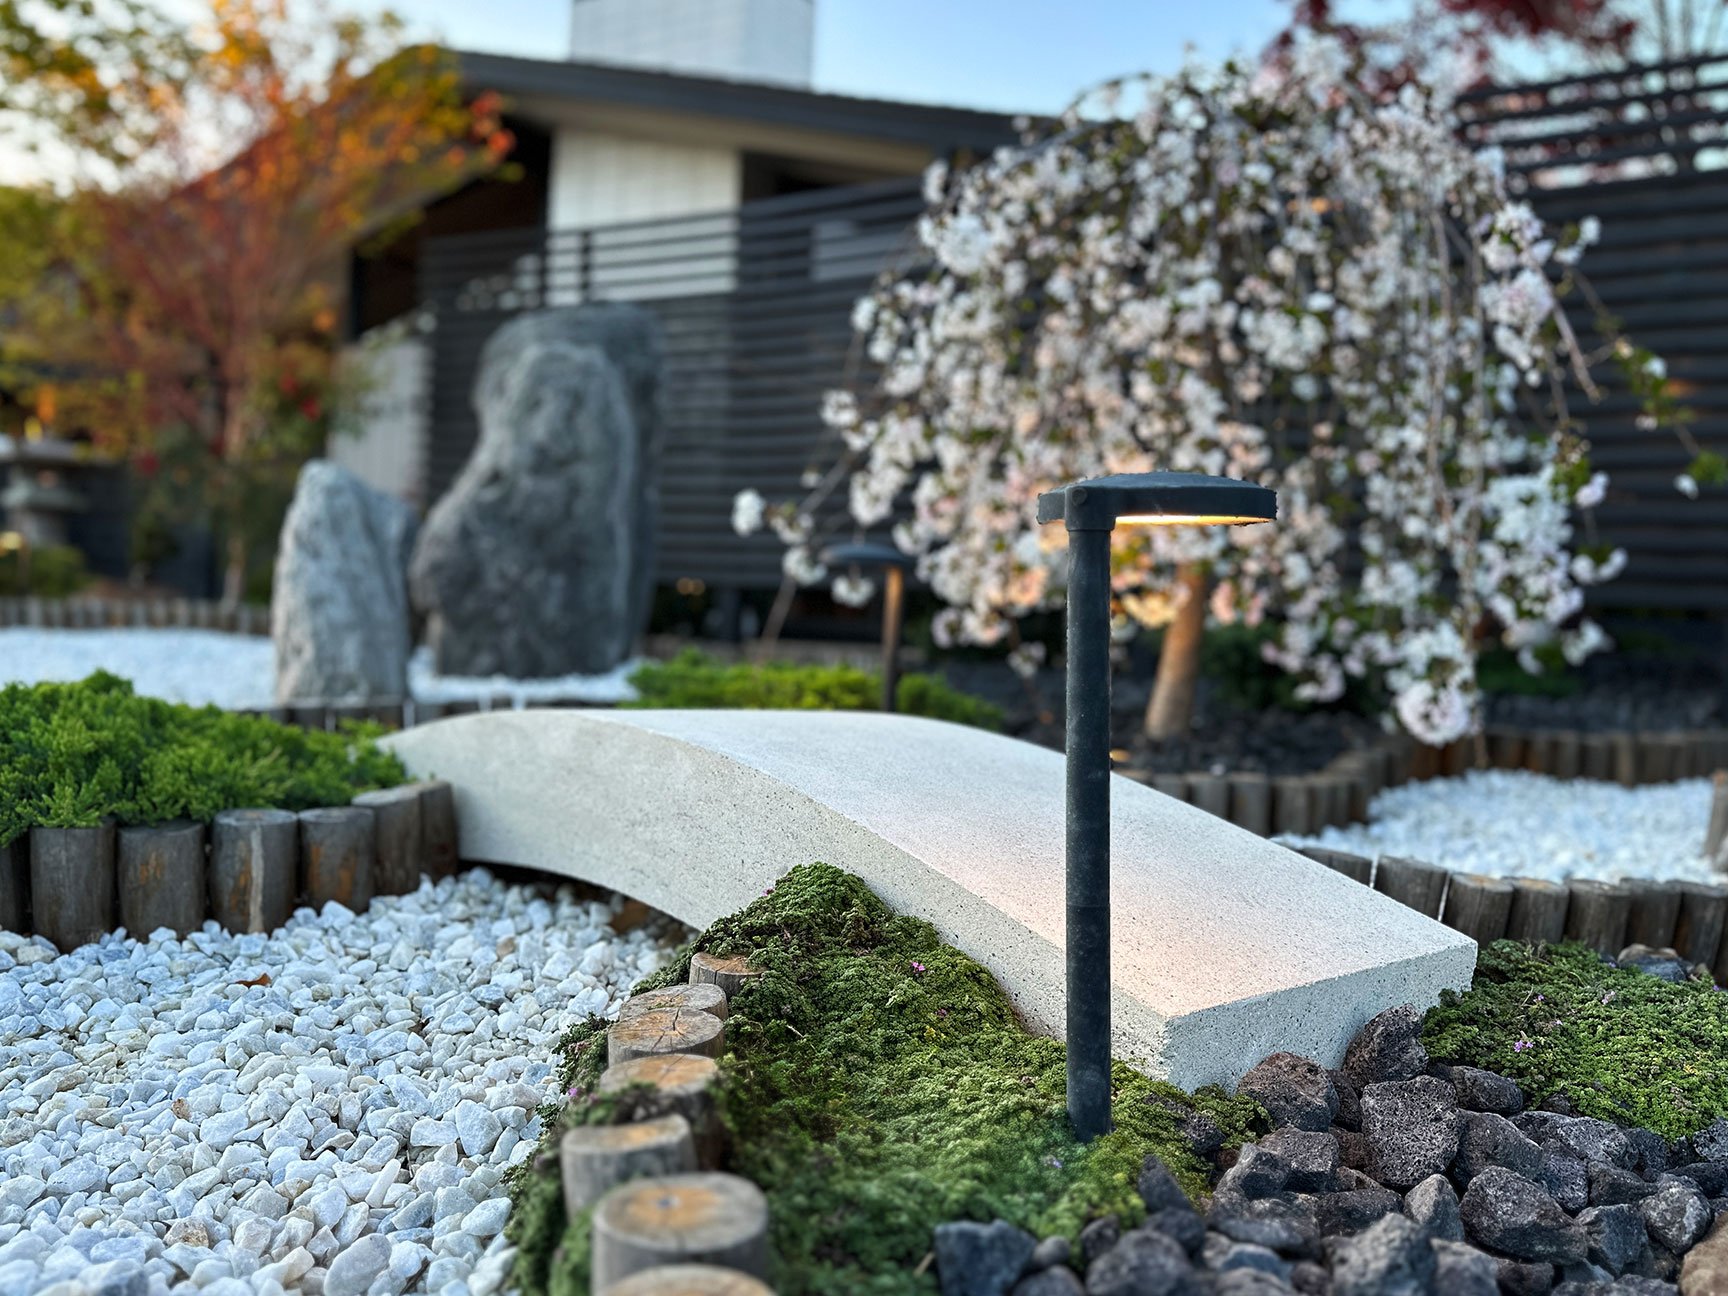
This weighty load traveled across the Pacific to my driveway, and everything was put into place according to plan. Maneuvering the bridge was no joke, but it really is the perfect piece in this setting, providing a welcoming route over the dry riverbed.
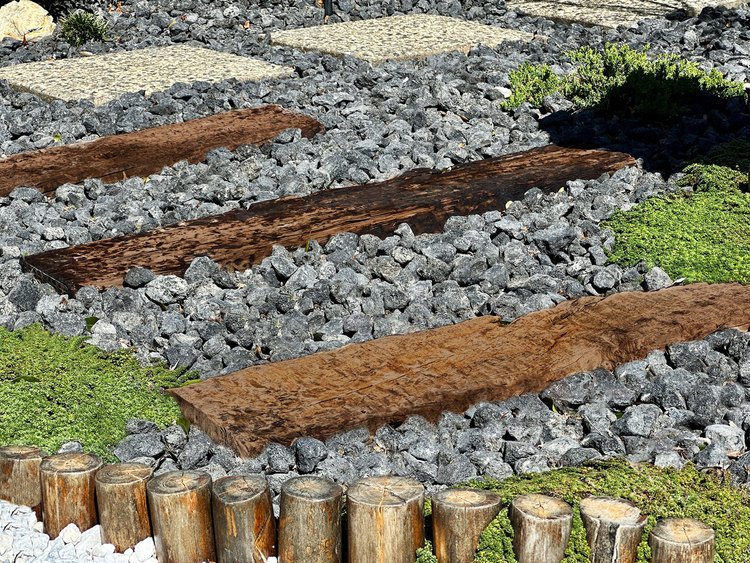
To connect the pathway to the existing exposed aggregate walkway, I utilized the remaining cut pieces of railroad ties in a staggered layout. I find this repetition of aged materials helps further unify the surrounding space while also adding the desired historical texture.
The Hard Facts
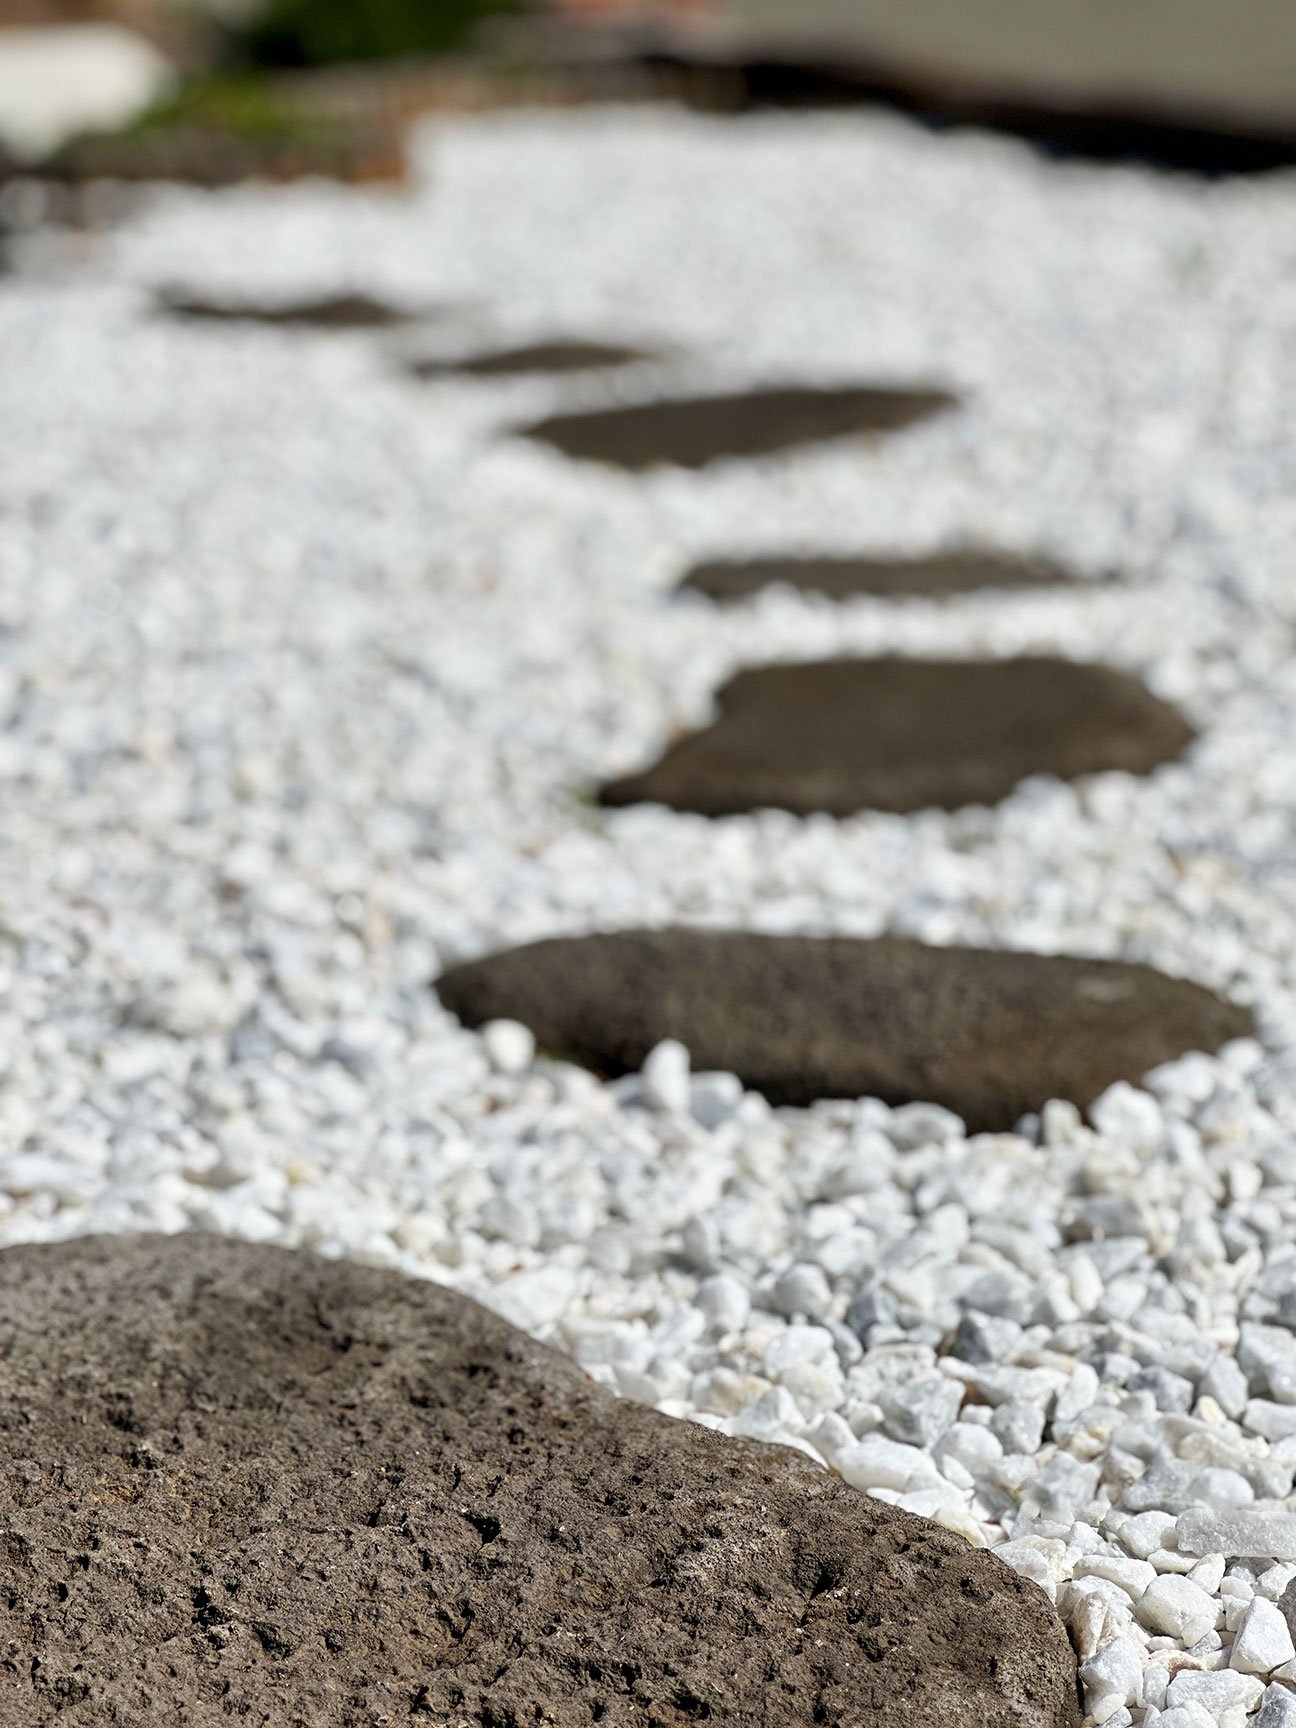
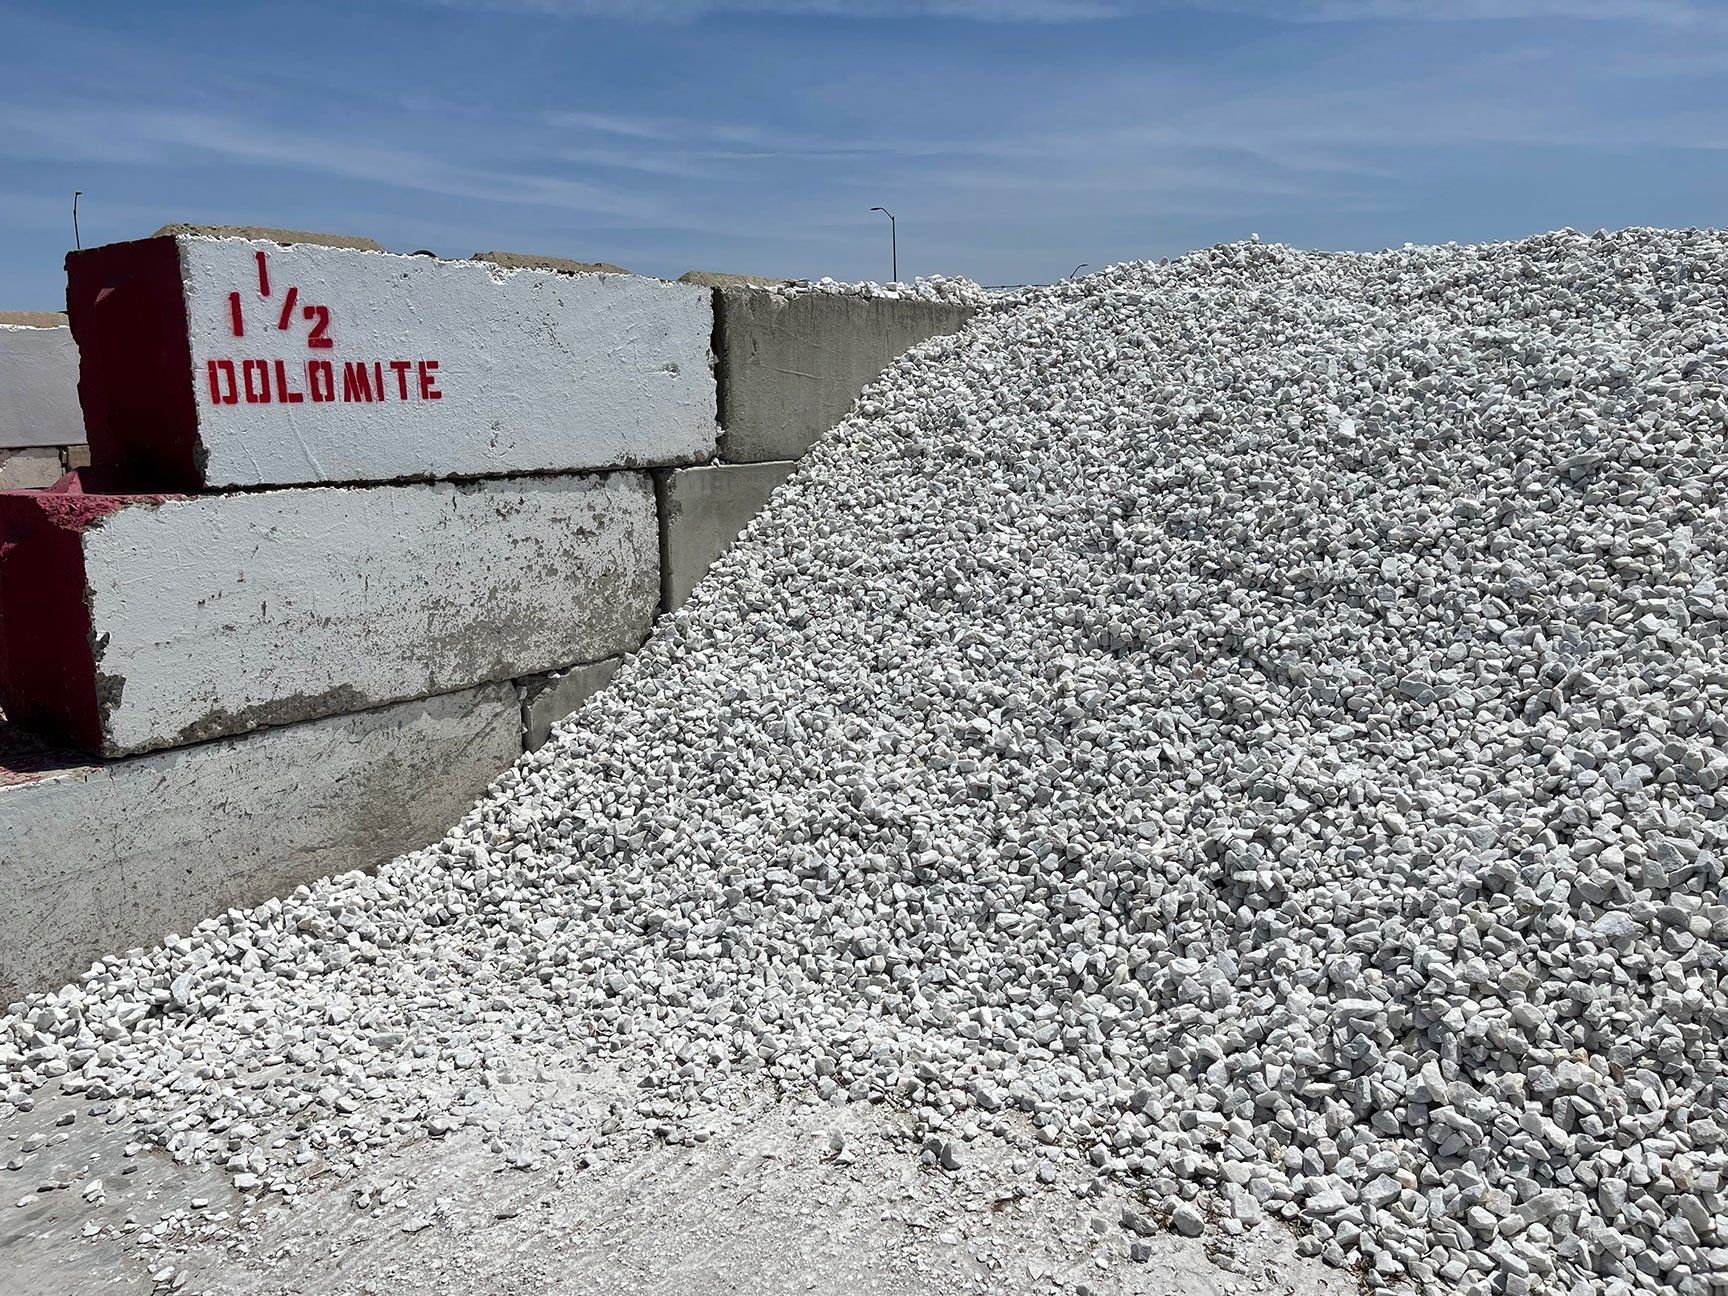
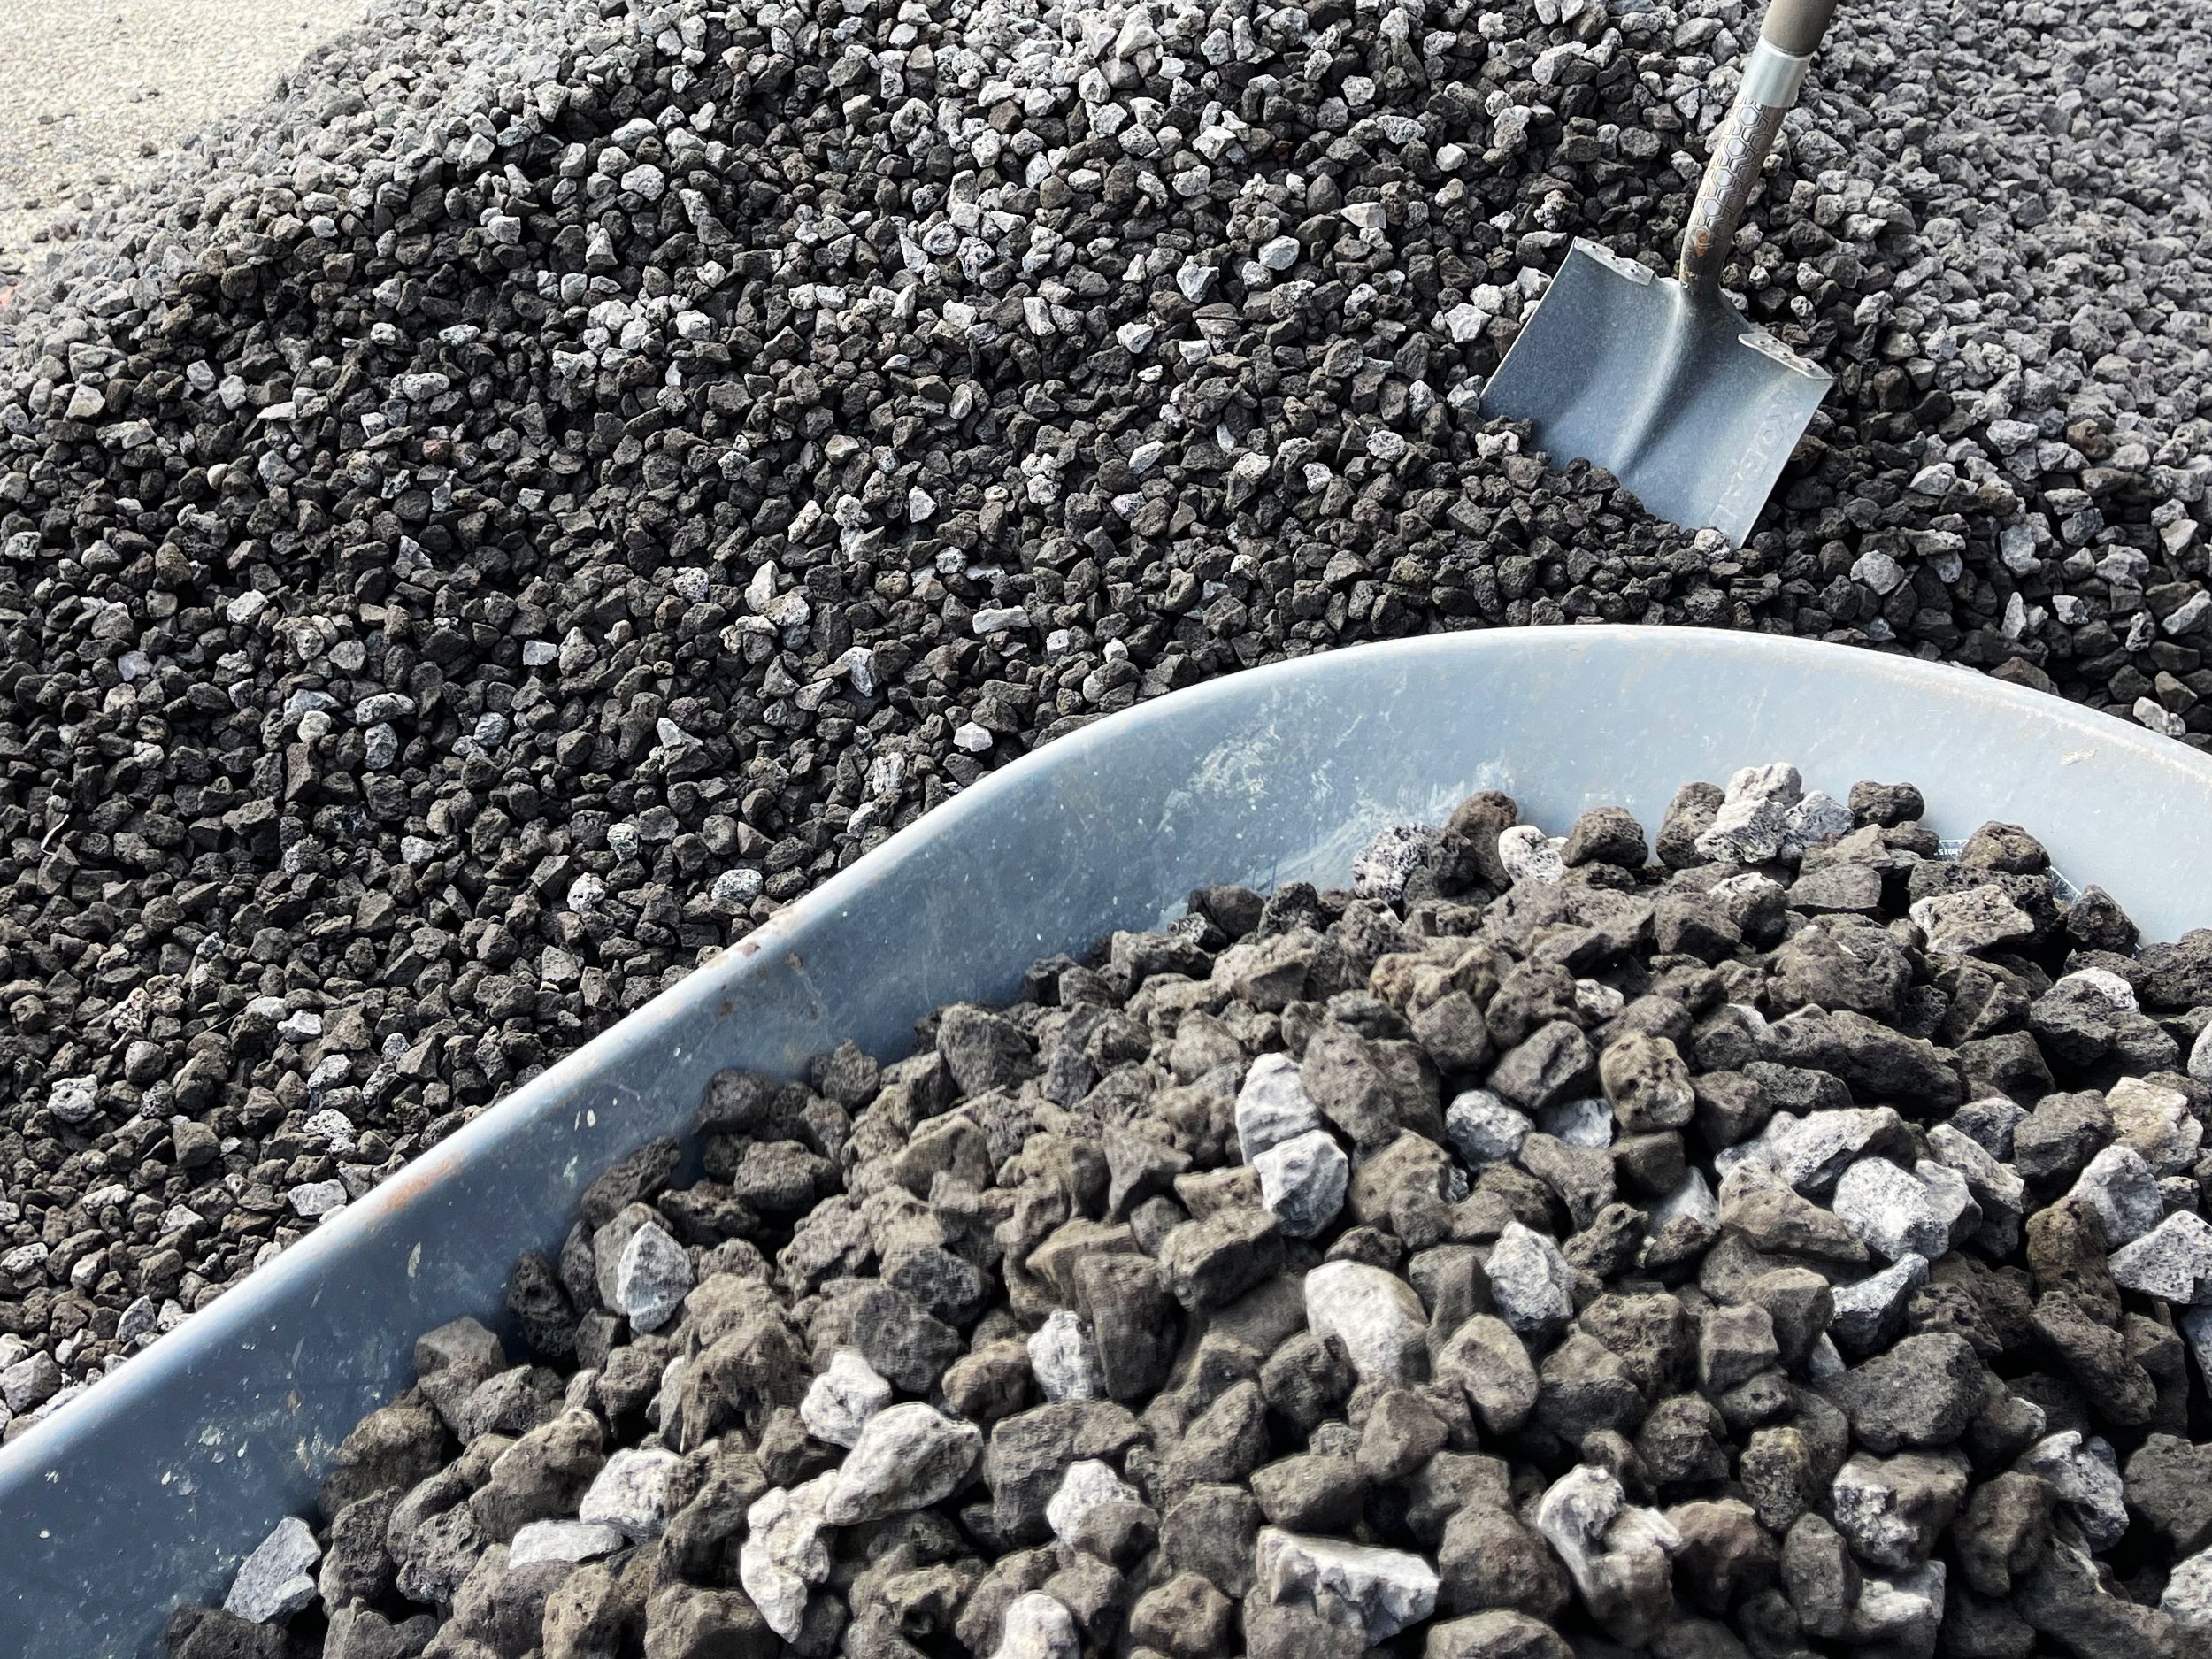
Inching ever closer to the finish line, it was time to begin filling in with hardscape materials. I selected 2-3” black lava rock for the majority of the landscape. A finer 1.5” dolomite was used to create the dry river bed and the sea. I moved a total of 8 cubic yards of material, all shoveled into wheelbarrows or placed by hand. The soreness cannot be explained. Though backbreaking work was required, the payoff is a high contrast foundation that achieves a Japanese-modern aesthetic.
“A lesson in patience was the key to making this area shine as each slate chip was placed by hand.”
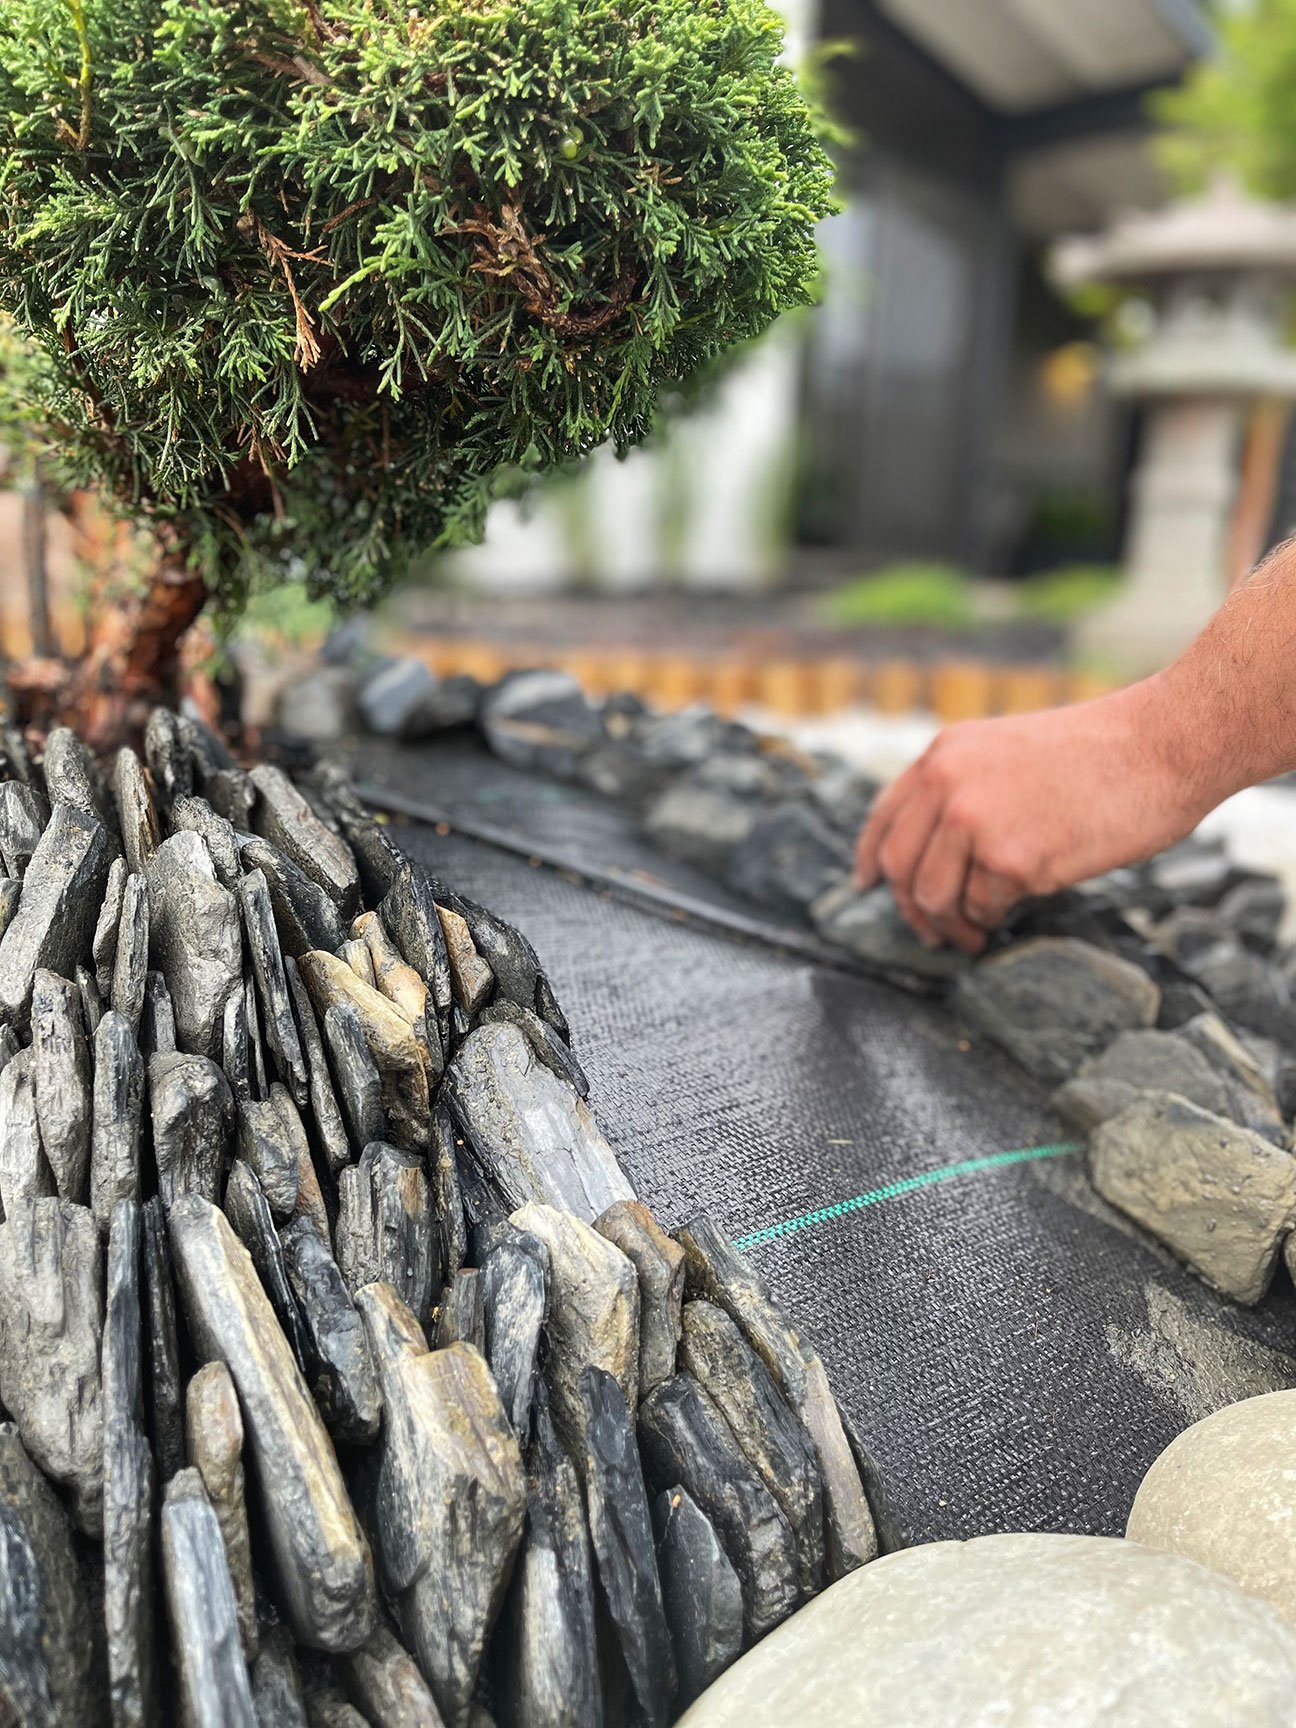
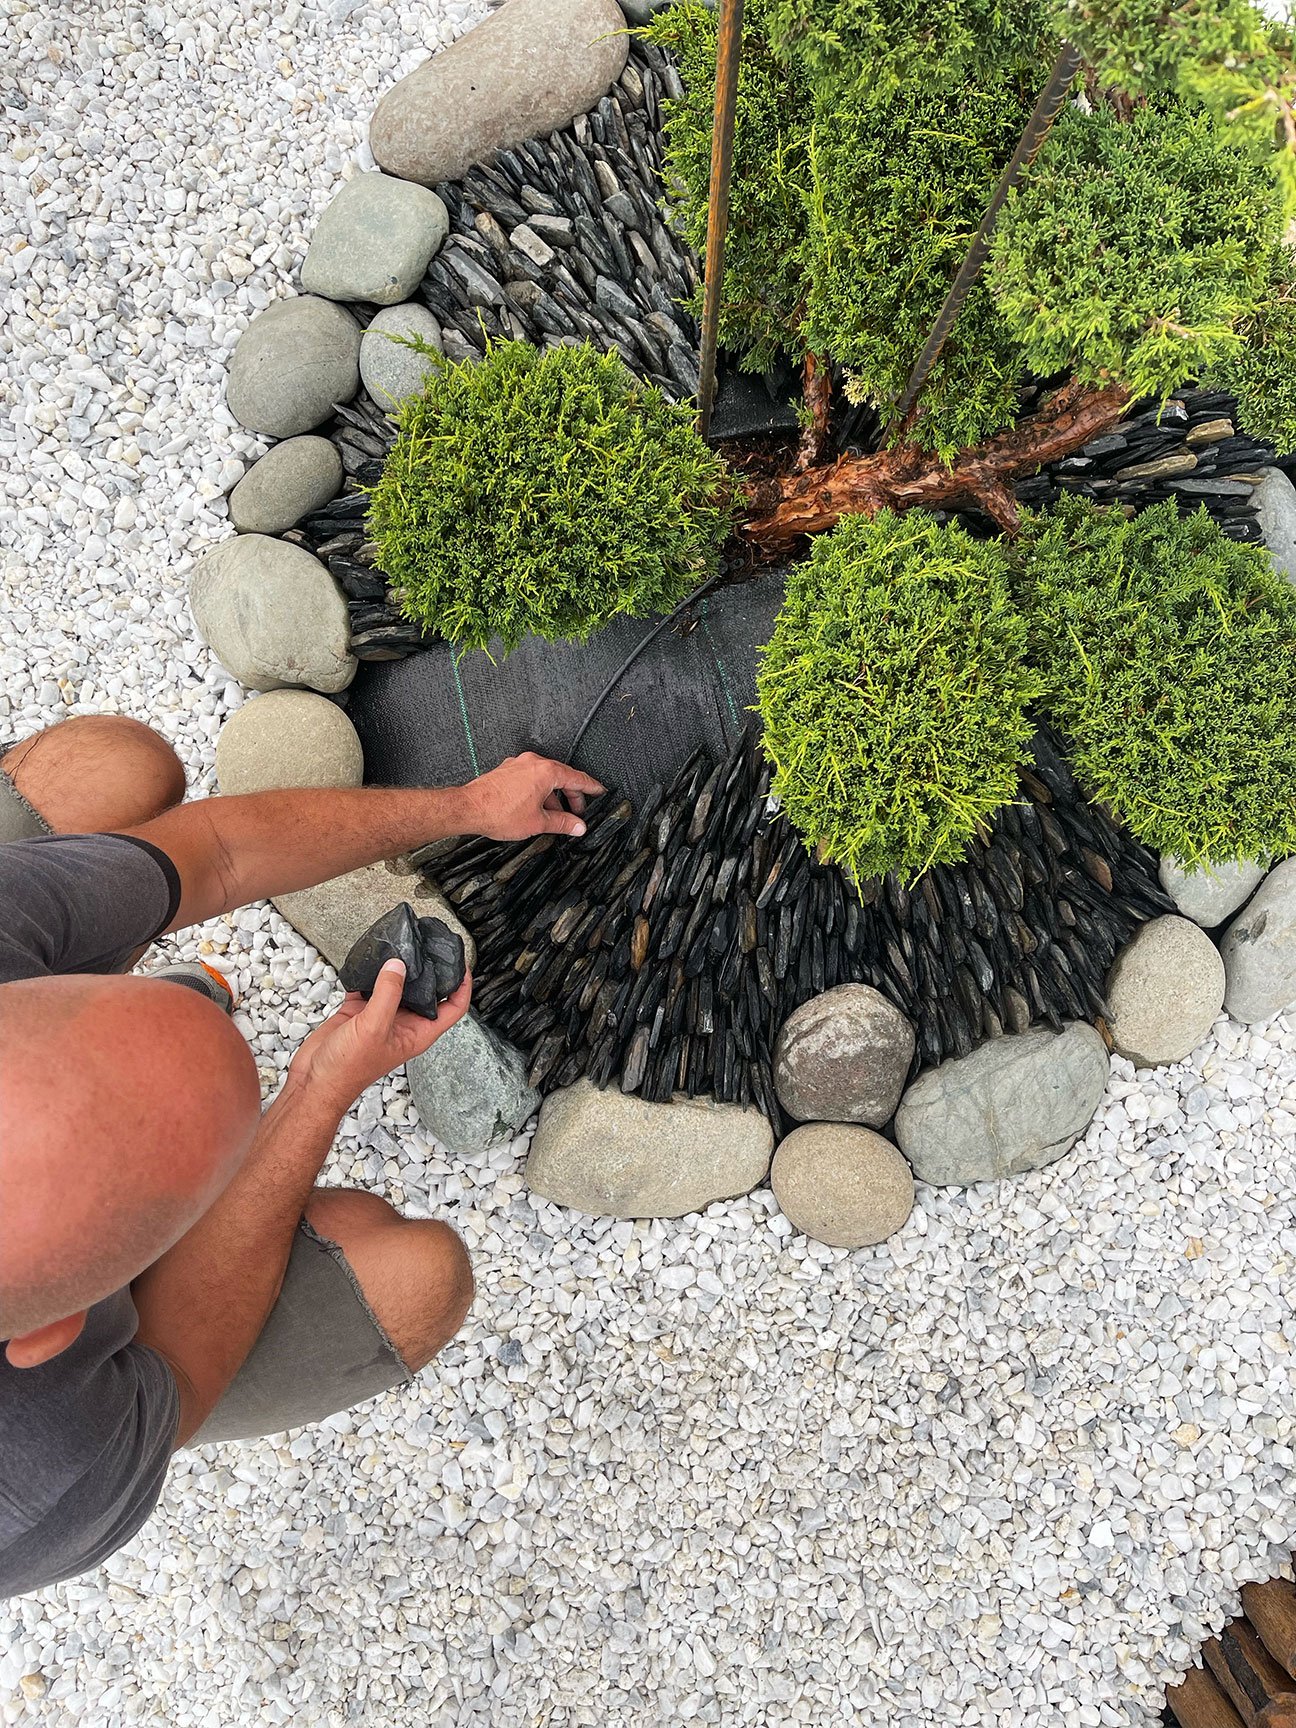
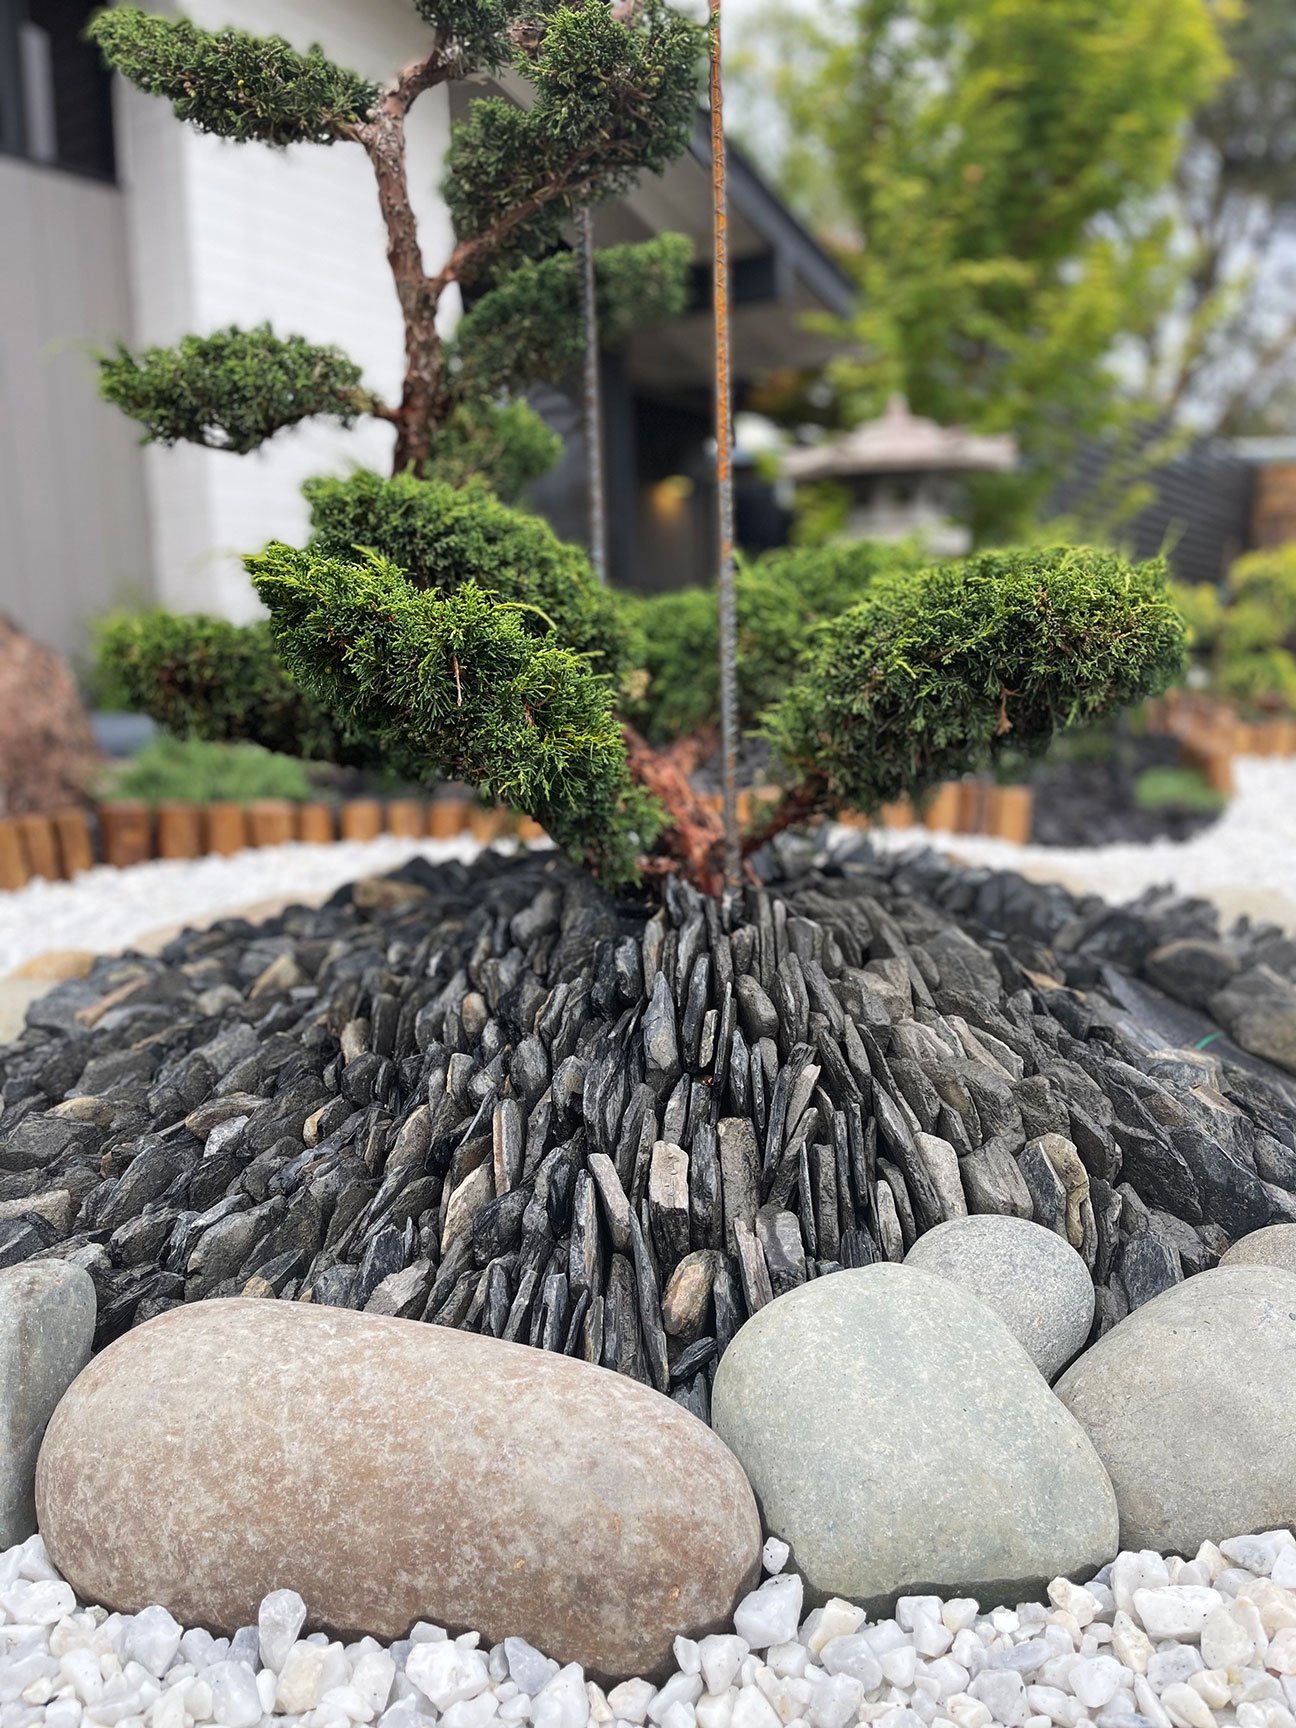
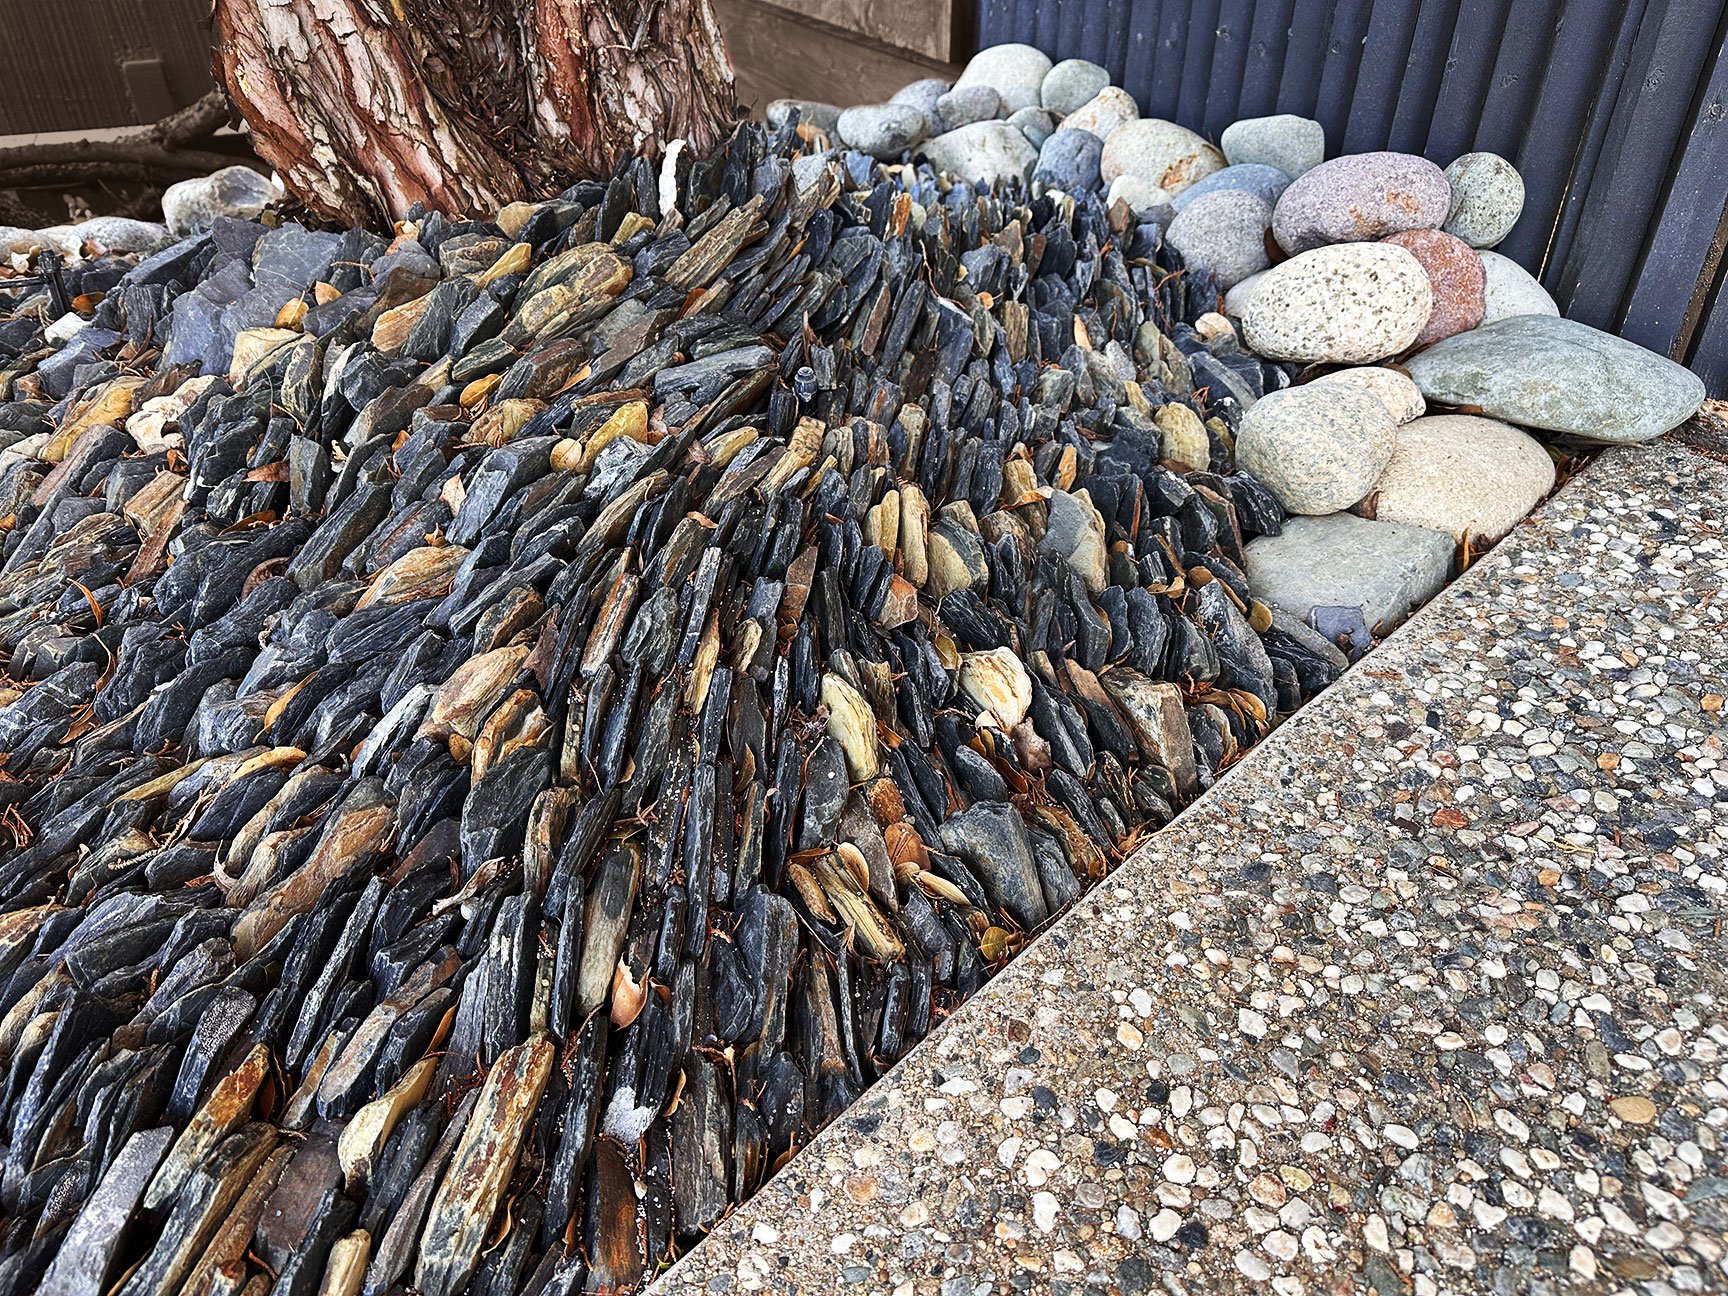
I wanted to give special attention to the feature specimen bonsai in the northwest corner. To make this little island in the sea feel celebrated, I mounded soil about 1 foot high, and surrounded it with a cobblestone ring barrier. I then stacked 3” slate pieces on their sides, tightly packing them in vertical rows along the mound. Patience was the key to making this area shine as each slate chip was placed by hand. A tedious task for some, and therapeutic for others, this is one of my favorite features of the entire garden. This method of stone stacking creates the interpretation of a craggy mountaintop with windswept formations.
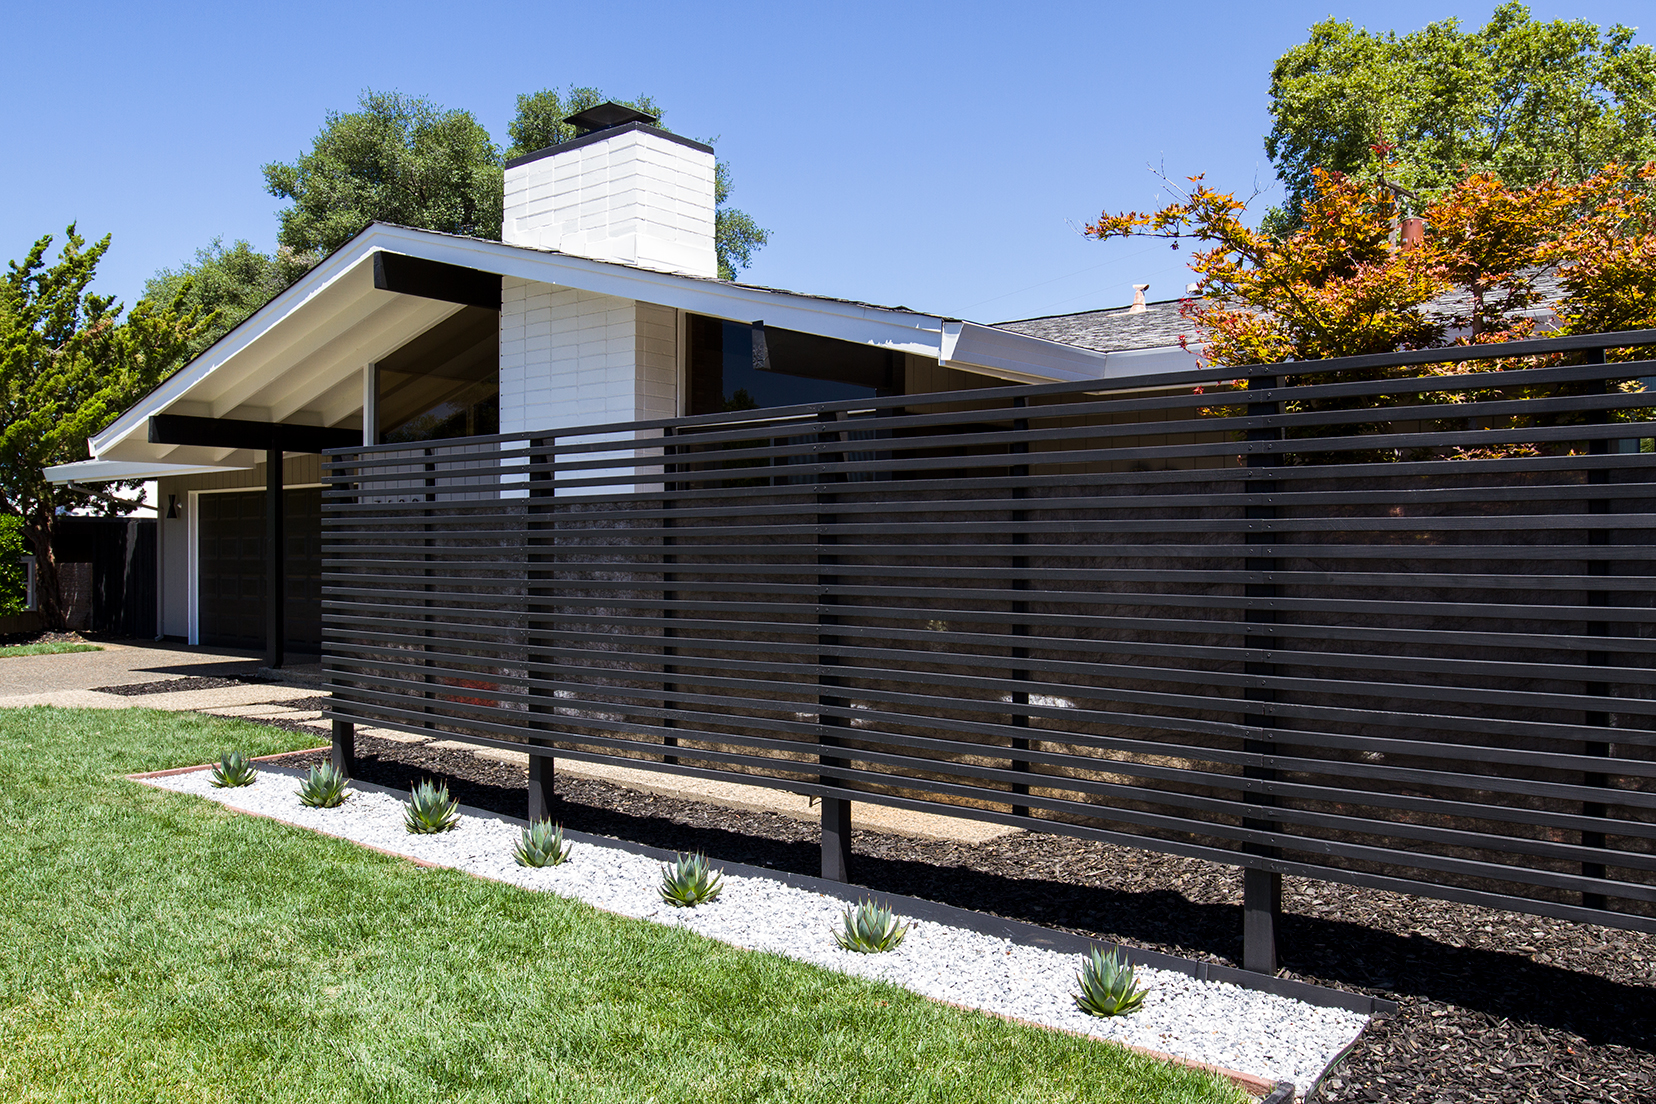
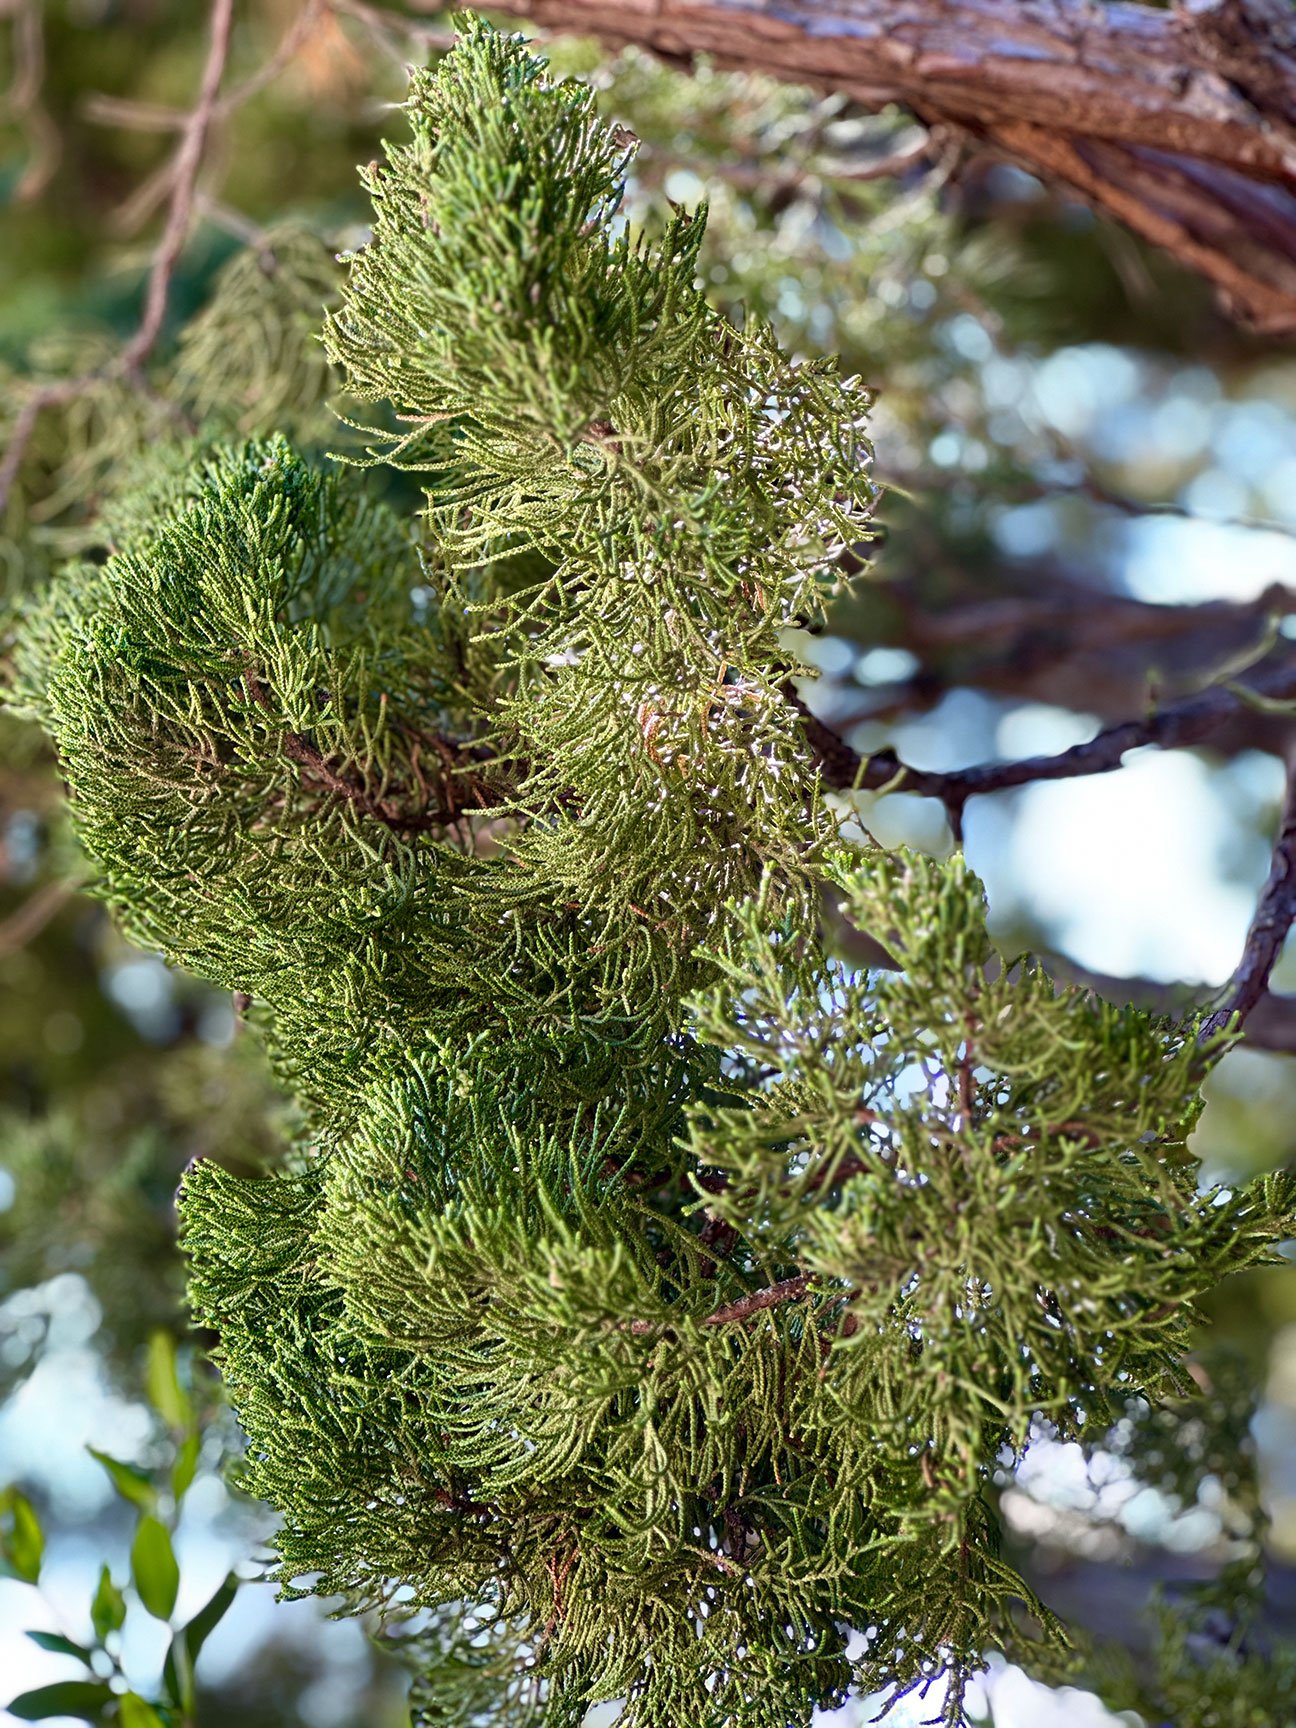
This treatment was also applied to the base of the large juniper on the opposite side of the home. The winding, linear pattern of the rocks mimics the wavy bark and twisting limbs, which gives the tree greater connection to the land beneath it. Larger cobblestones were used to transition from the stacked slate to the adjacent fence.


Plants! Plants at Last!
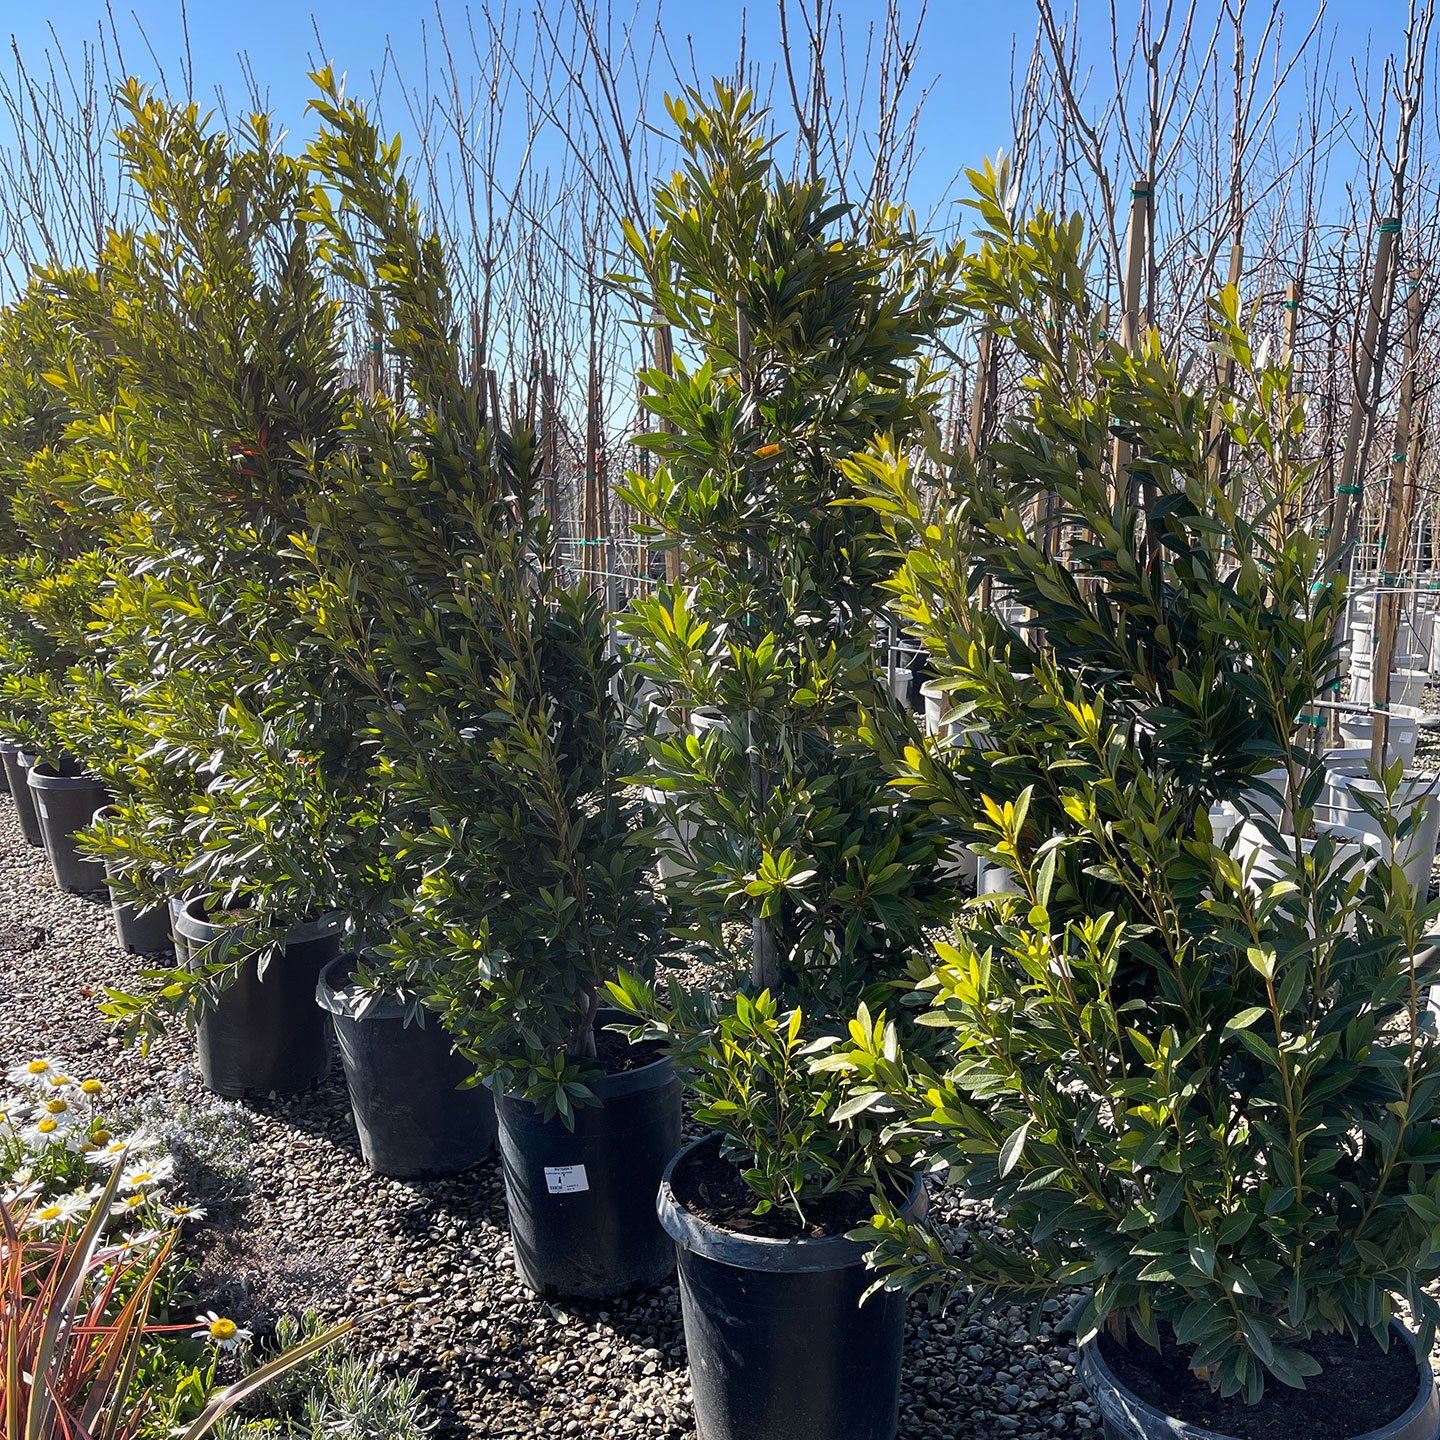
Plants are perhaps the first thing that come to mind when approaching a landscape design, but they’re certainly not the first part of building a garden. Selecting the right options, and putting them in the ground are processes that can’t be rushed.
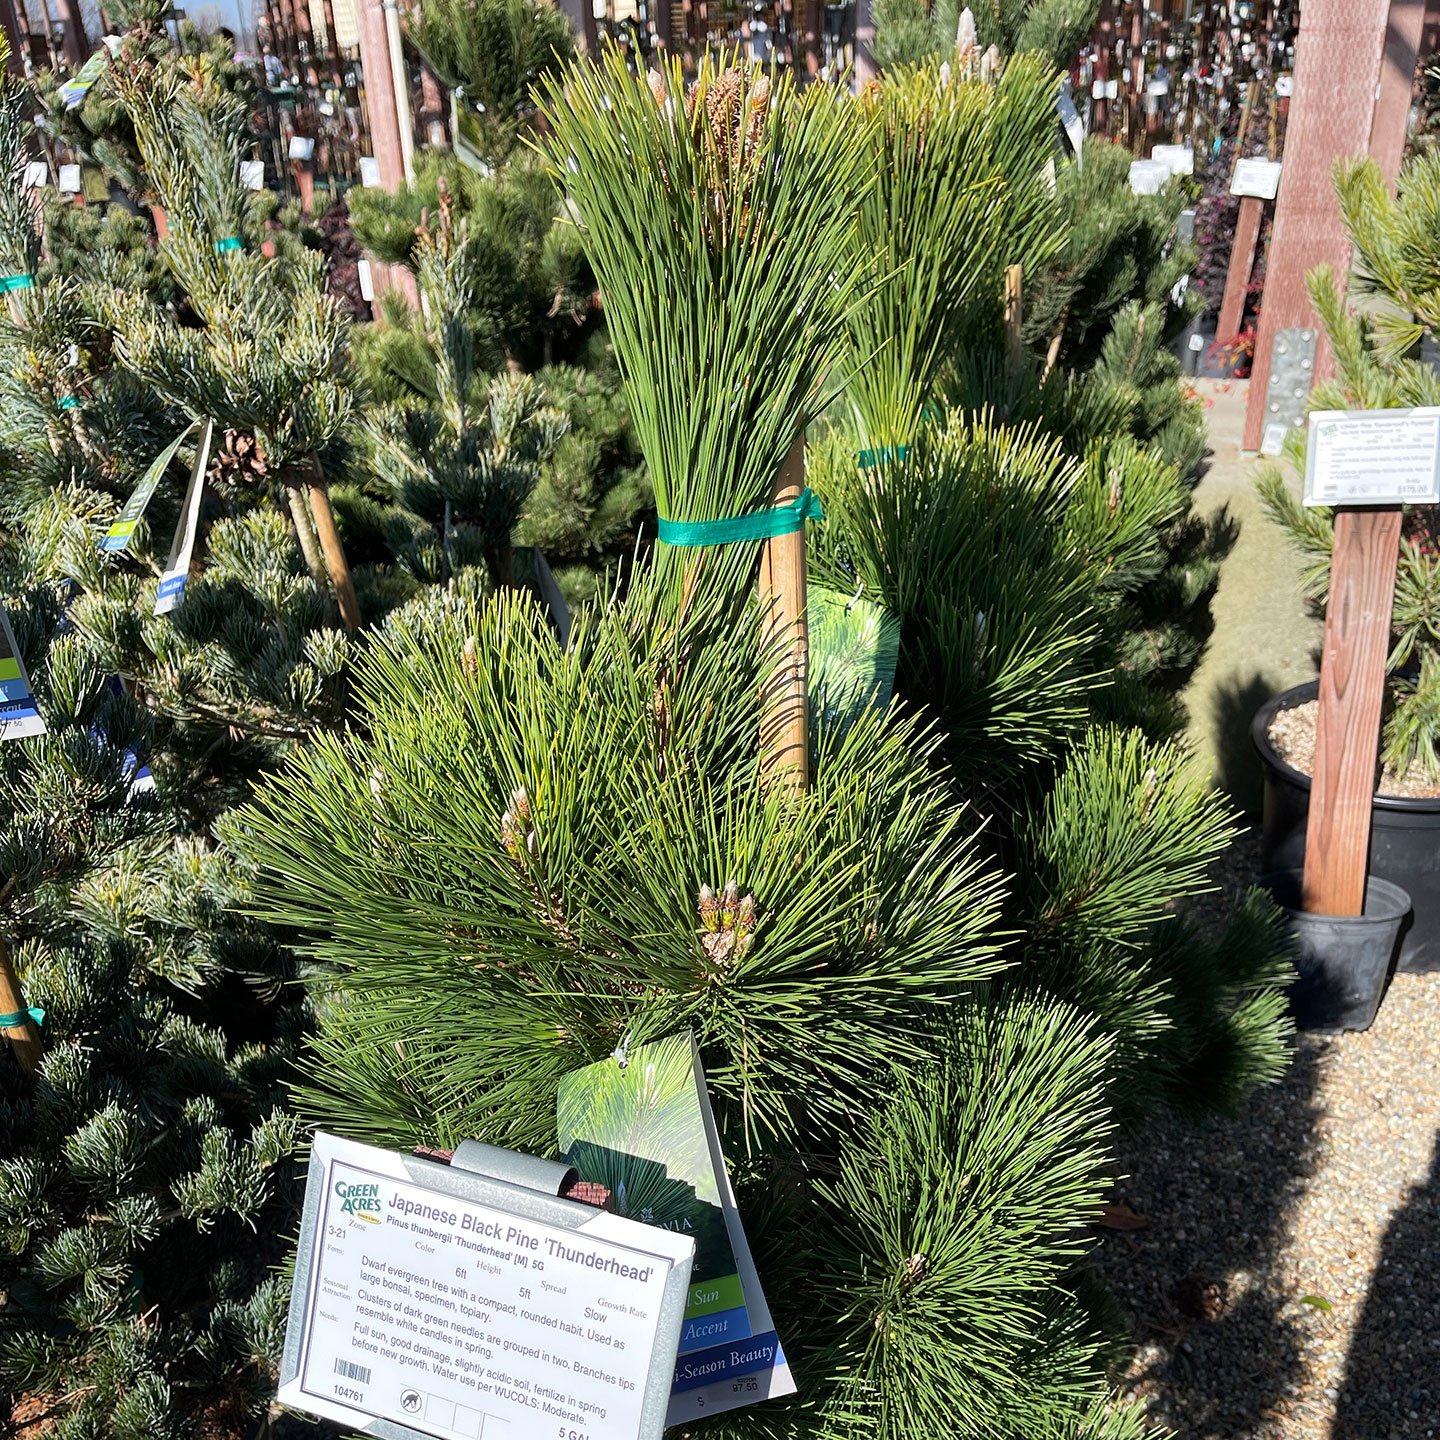
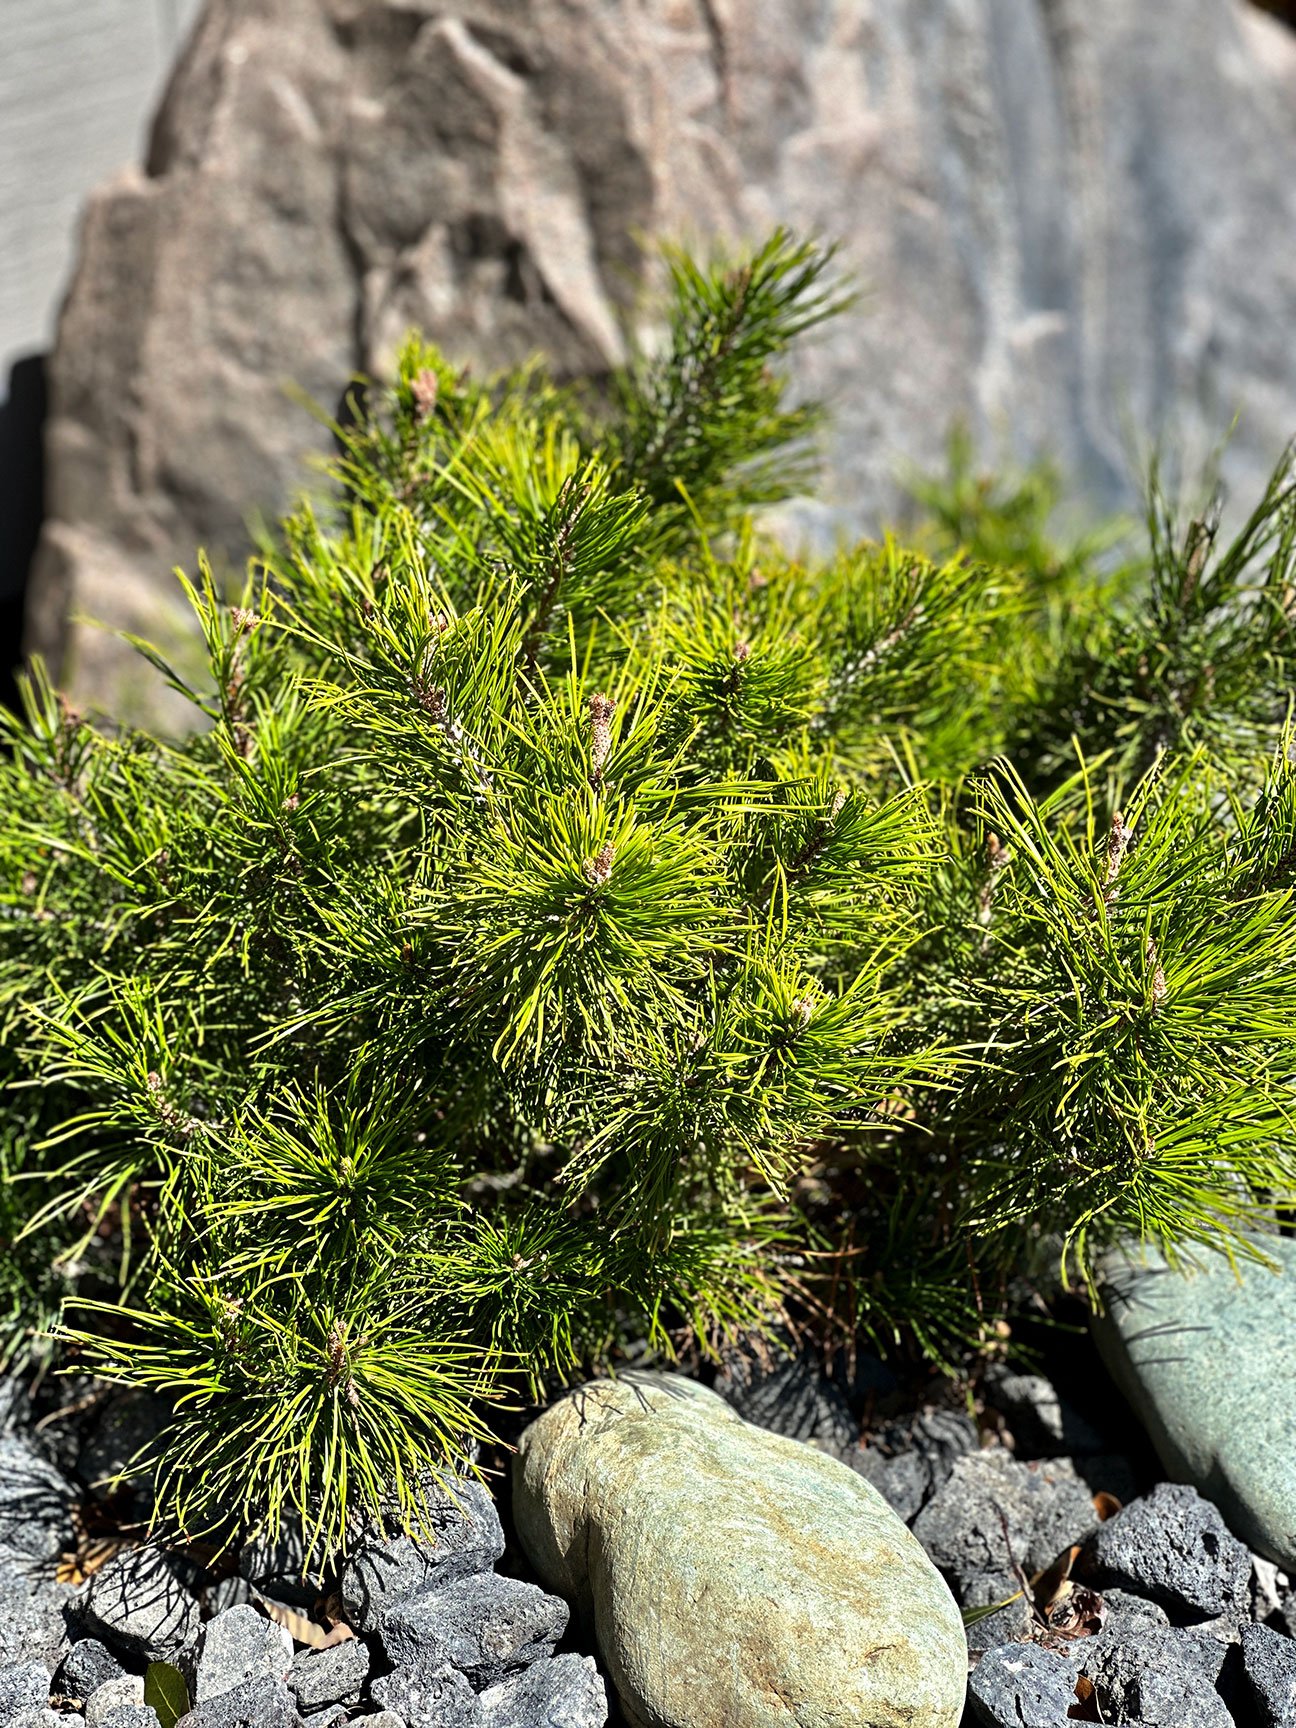
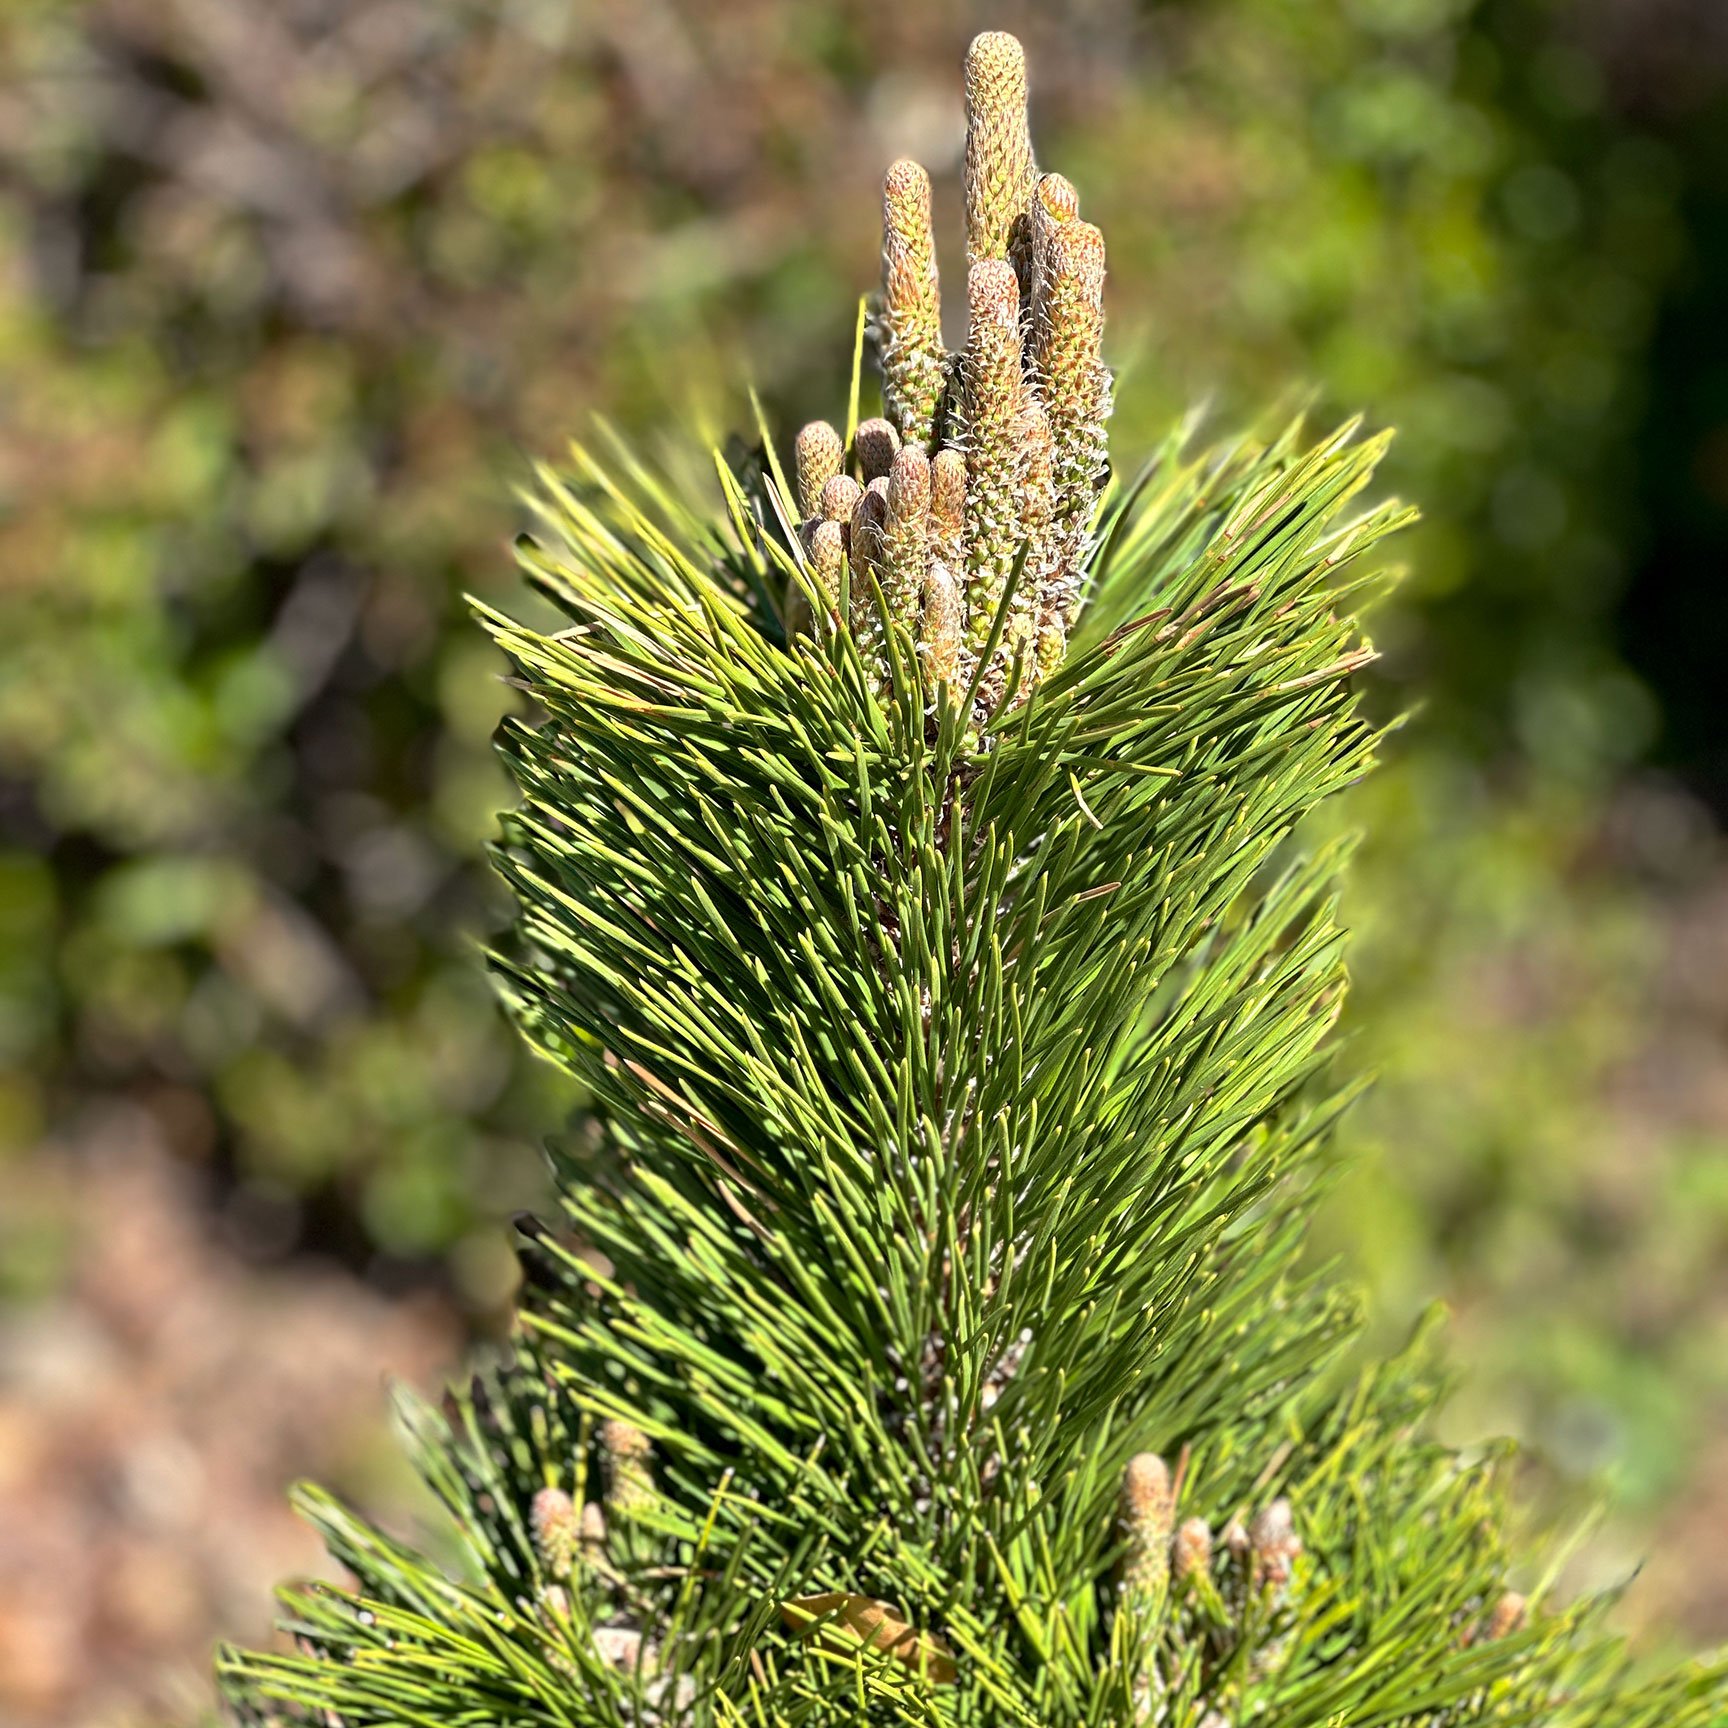
For months, I visited nurseries near and far to browse the aisles of trees and shrubs, admiring greenery and taking in all the good plant energy. As I made a plan for my Japanese-inspired garden, I was often tempted to purchase plants long before the ground was prepared. When a cute Thunderhead pine catches your eye, you may be tempted to bring it home. However, I resisted that urge as there would be no point in having plants sit in their containers, awaiting planting when they would be under more attentive care at a nursery. To stave off that desire to buy, I found it helpful to start a collection of photos of the plants that resonated with me so they could be considered for the garden at a later date. Ultimately, waiting made for the greatest success as I was certain about every purchase when the ground was prepared, and temperatures were right for planting.
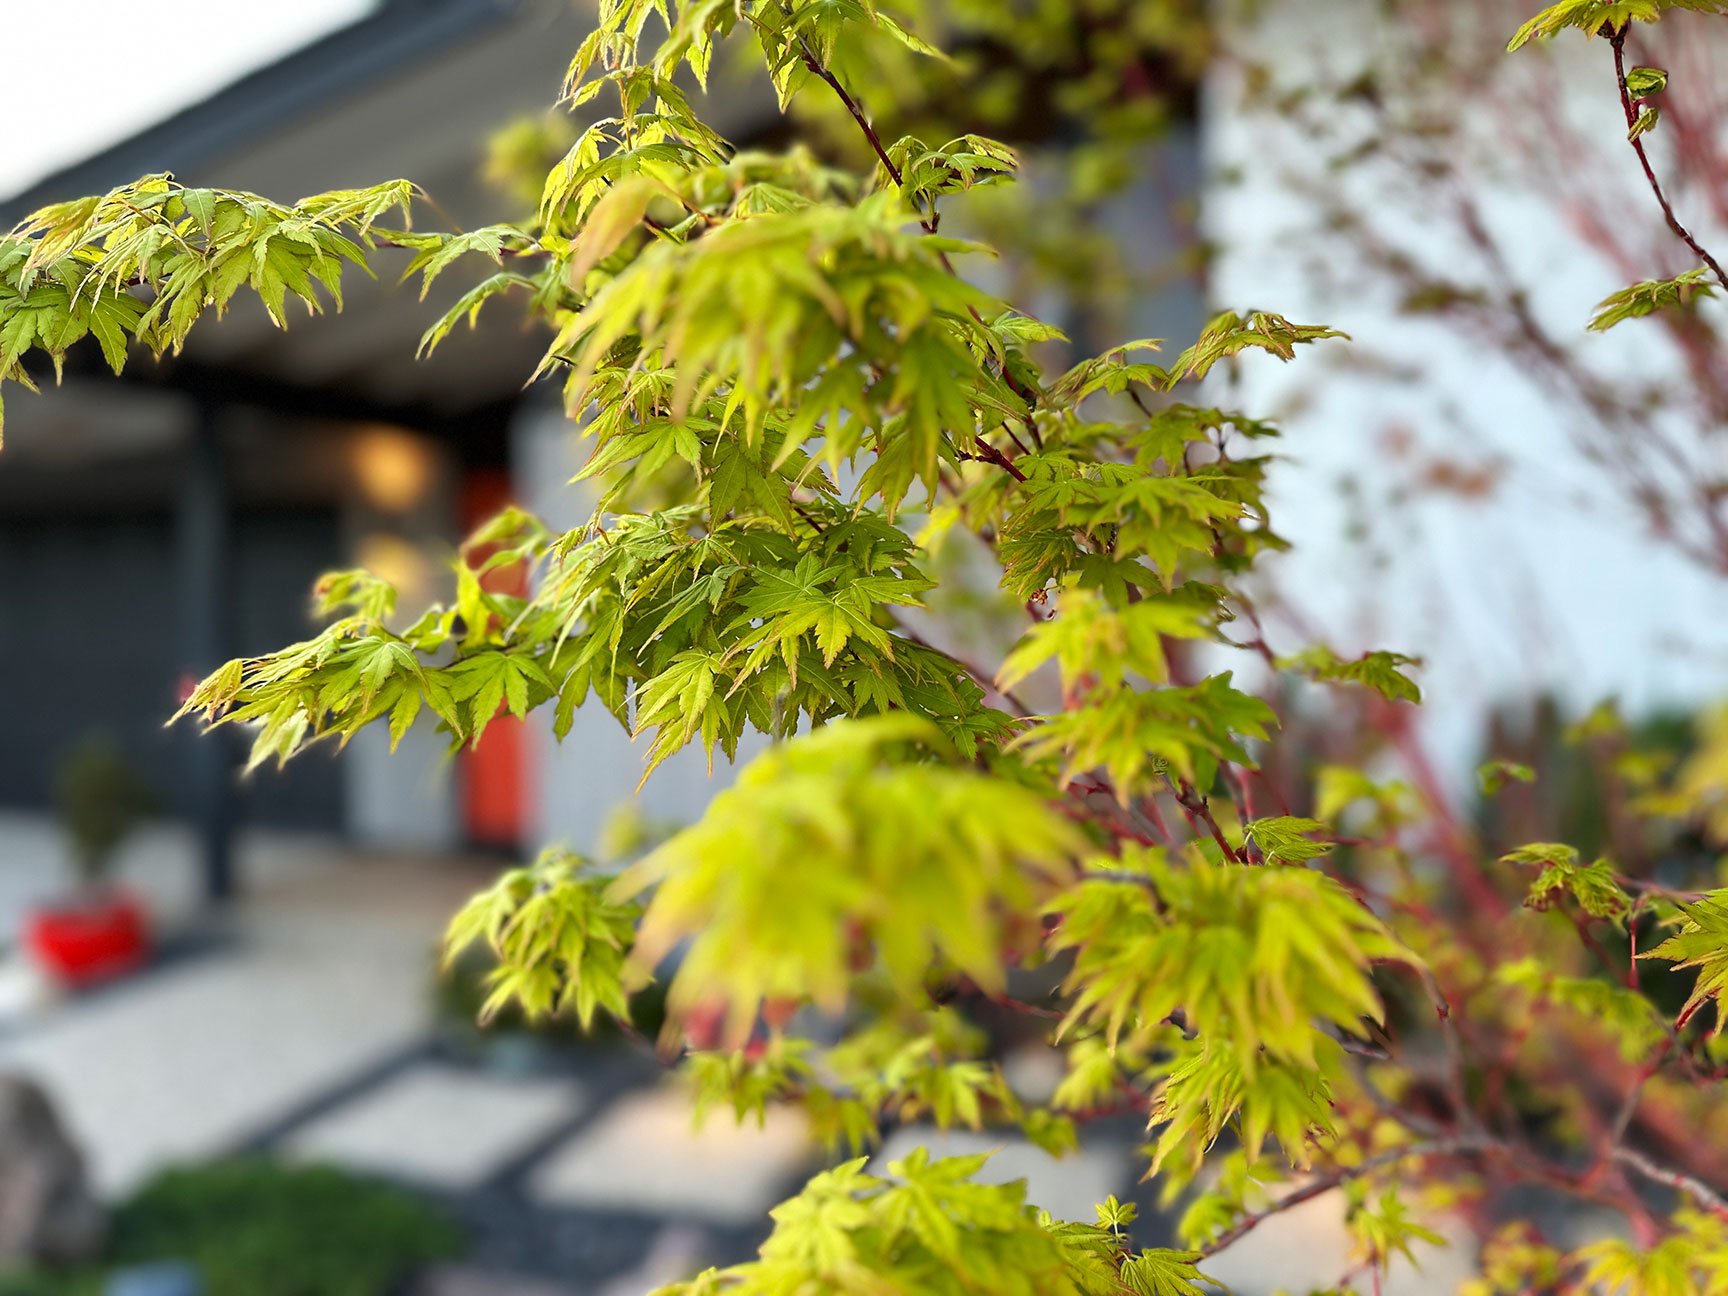
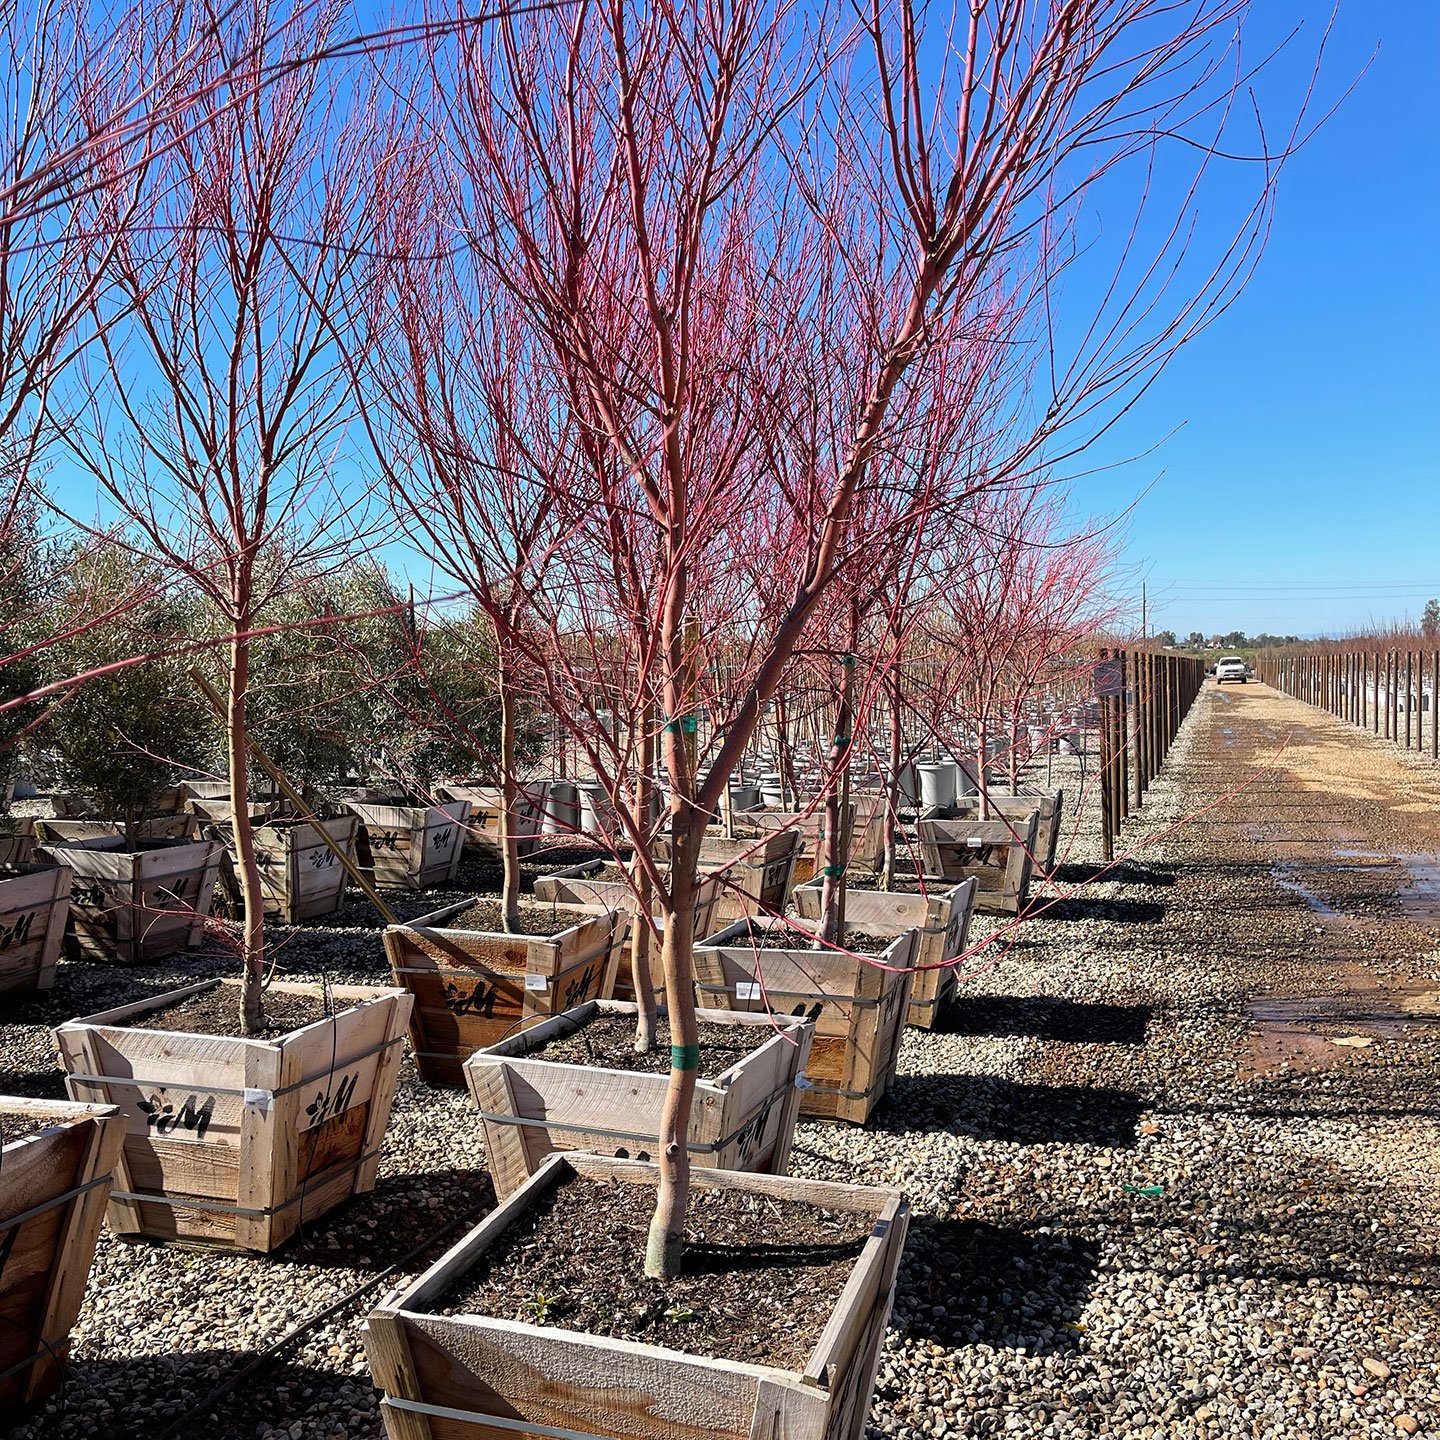
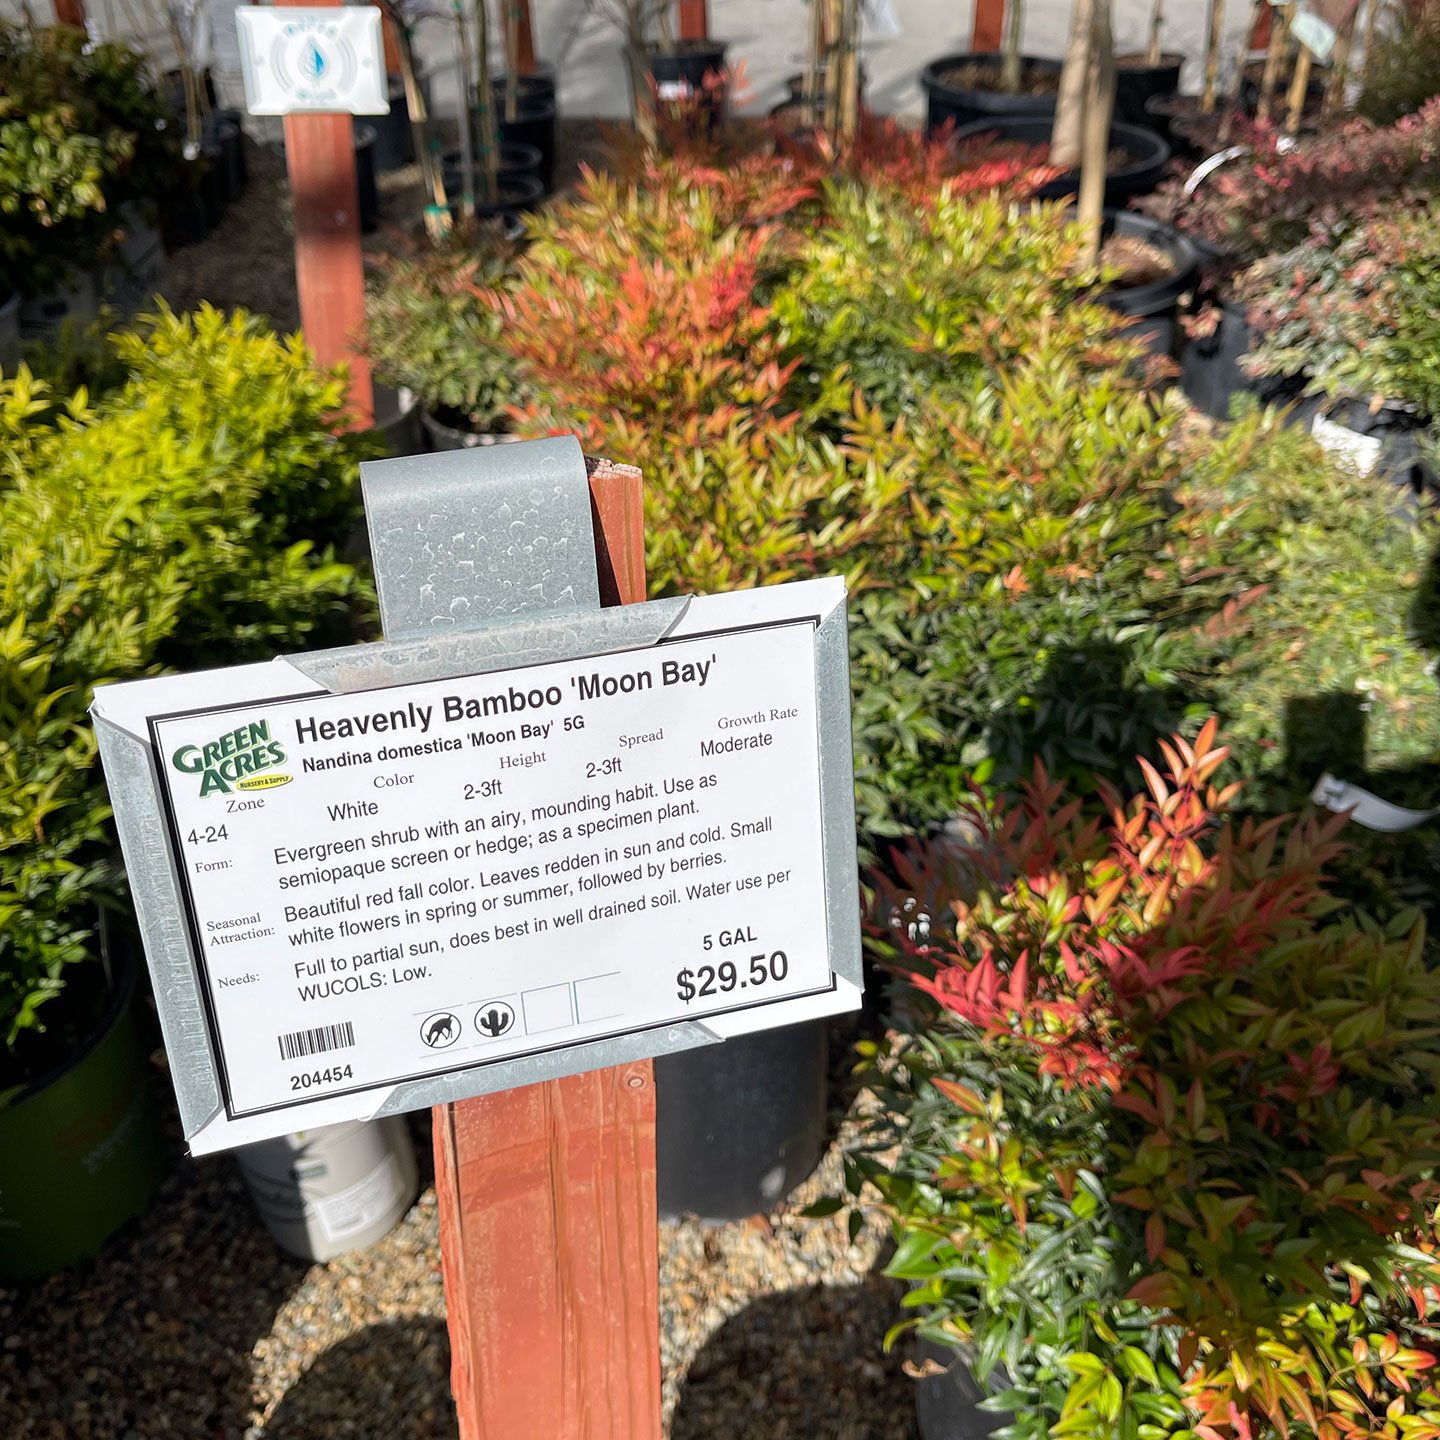
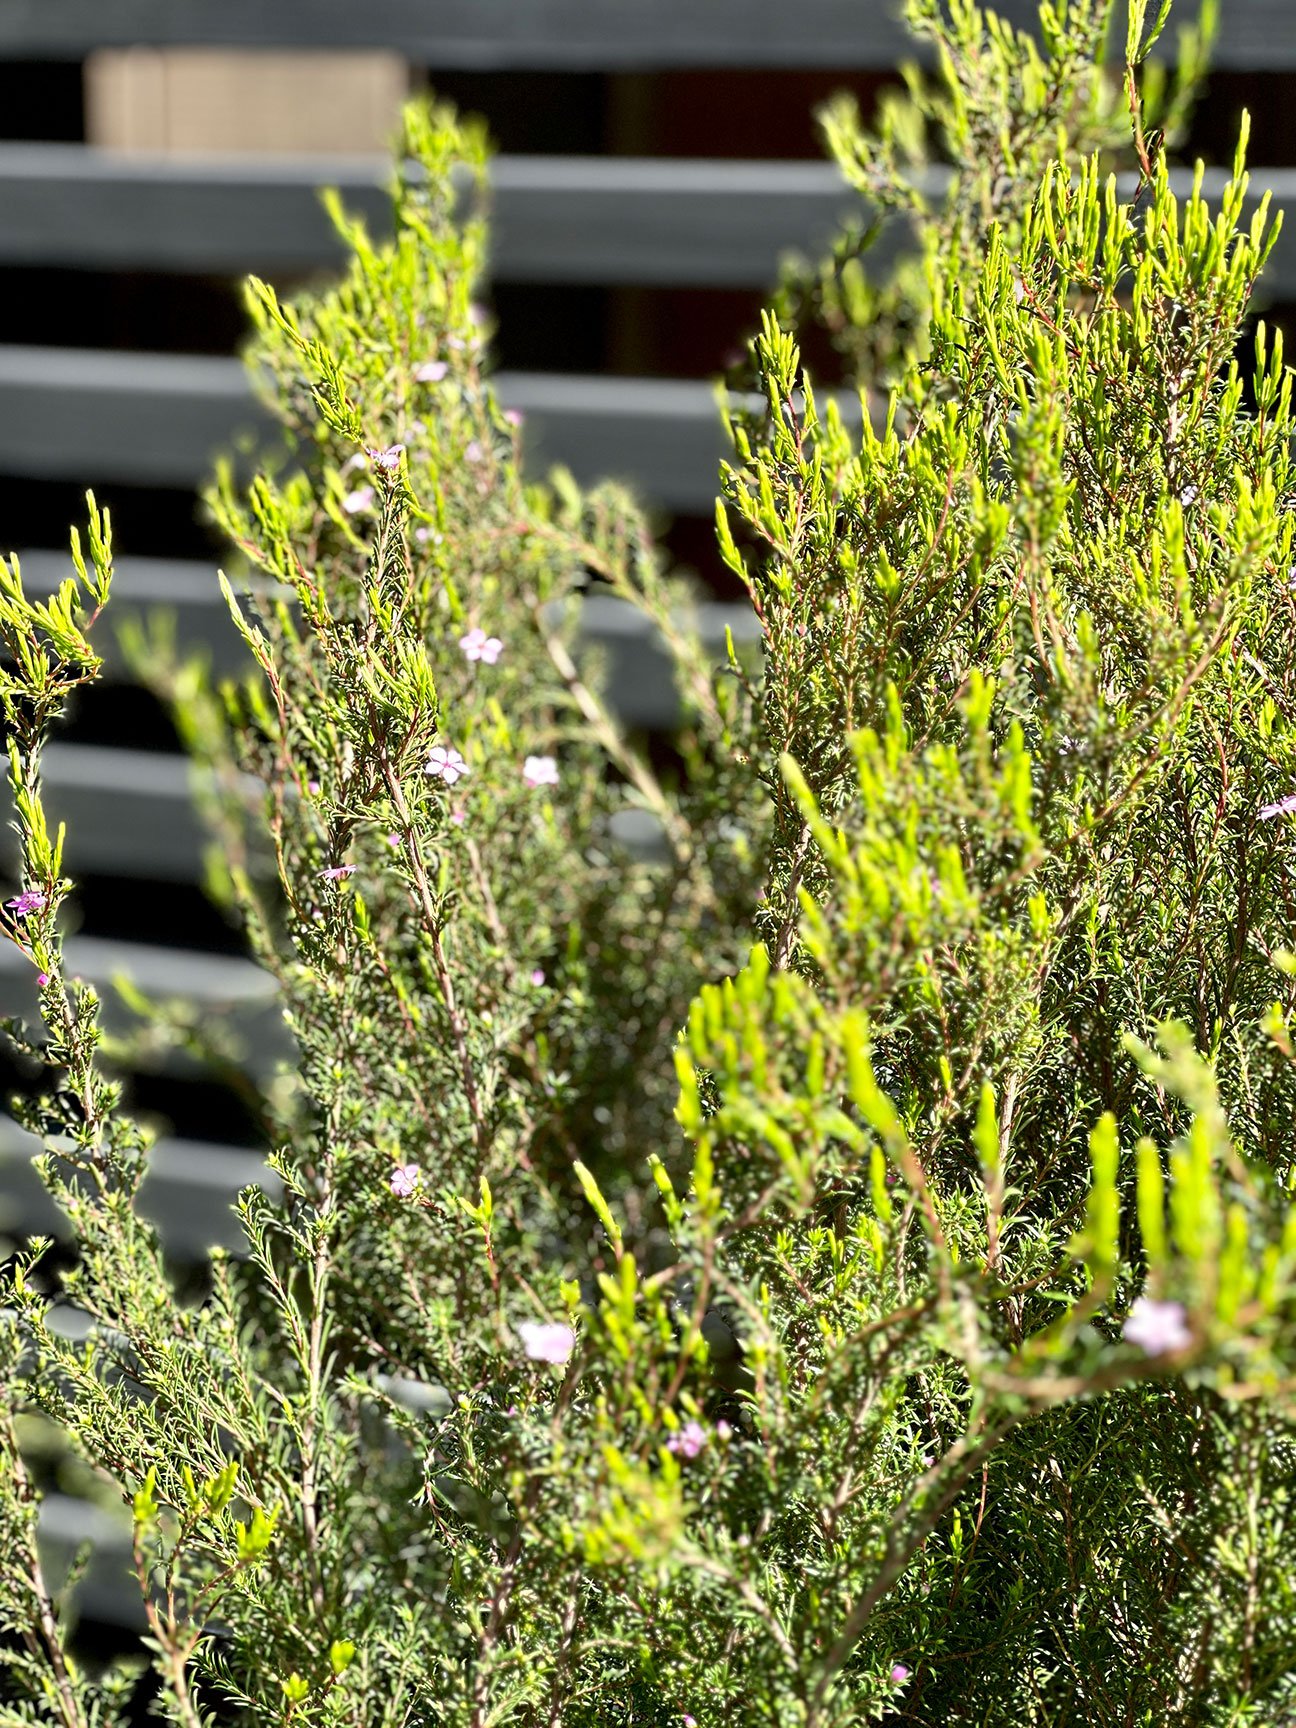
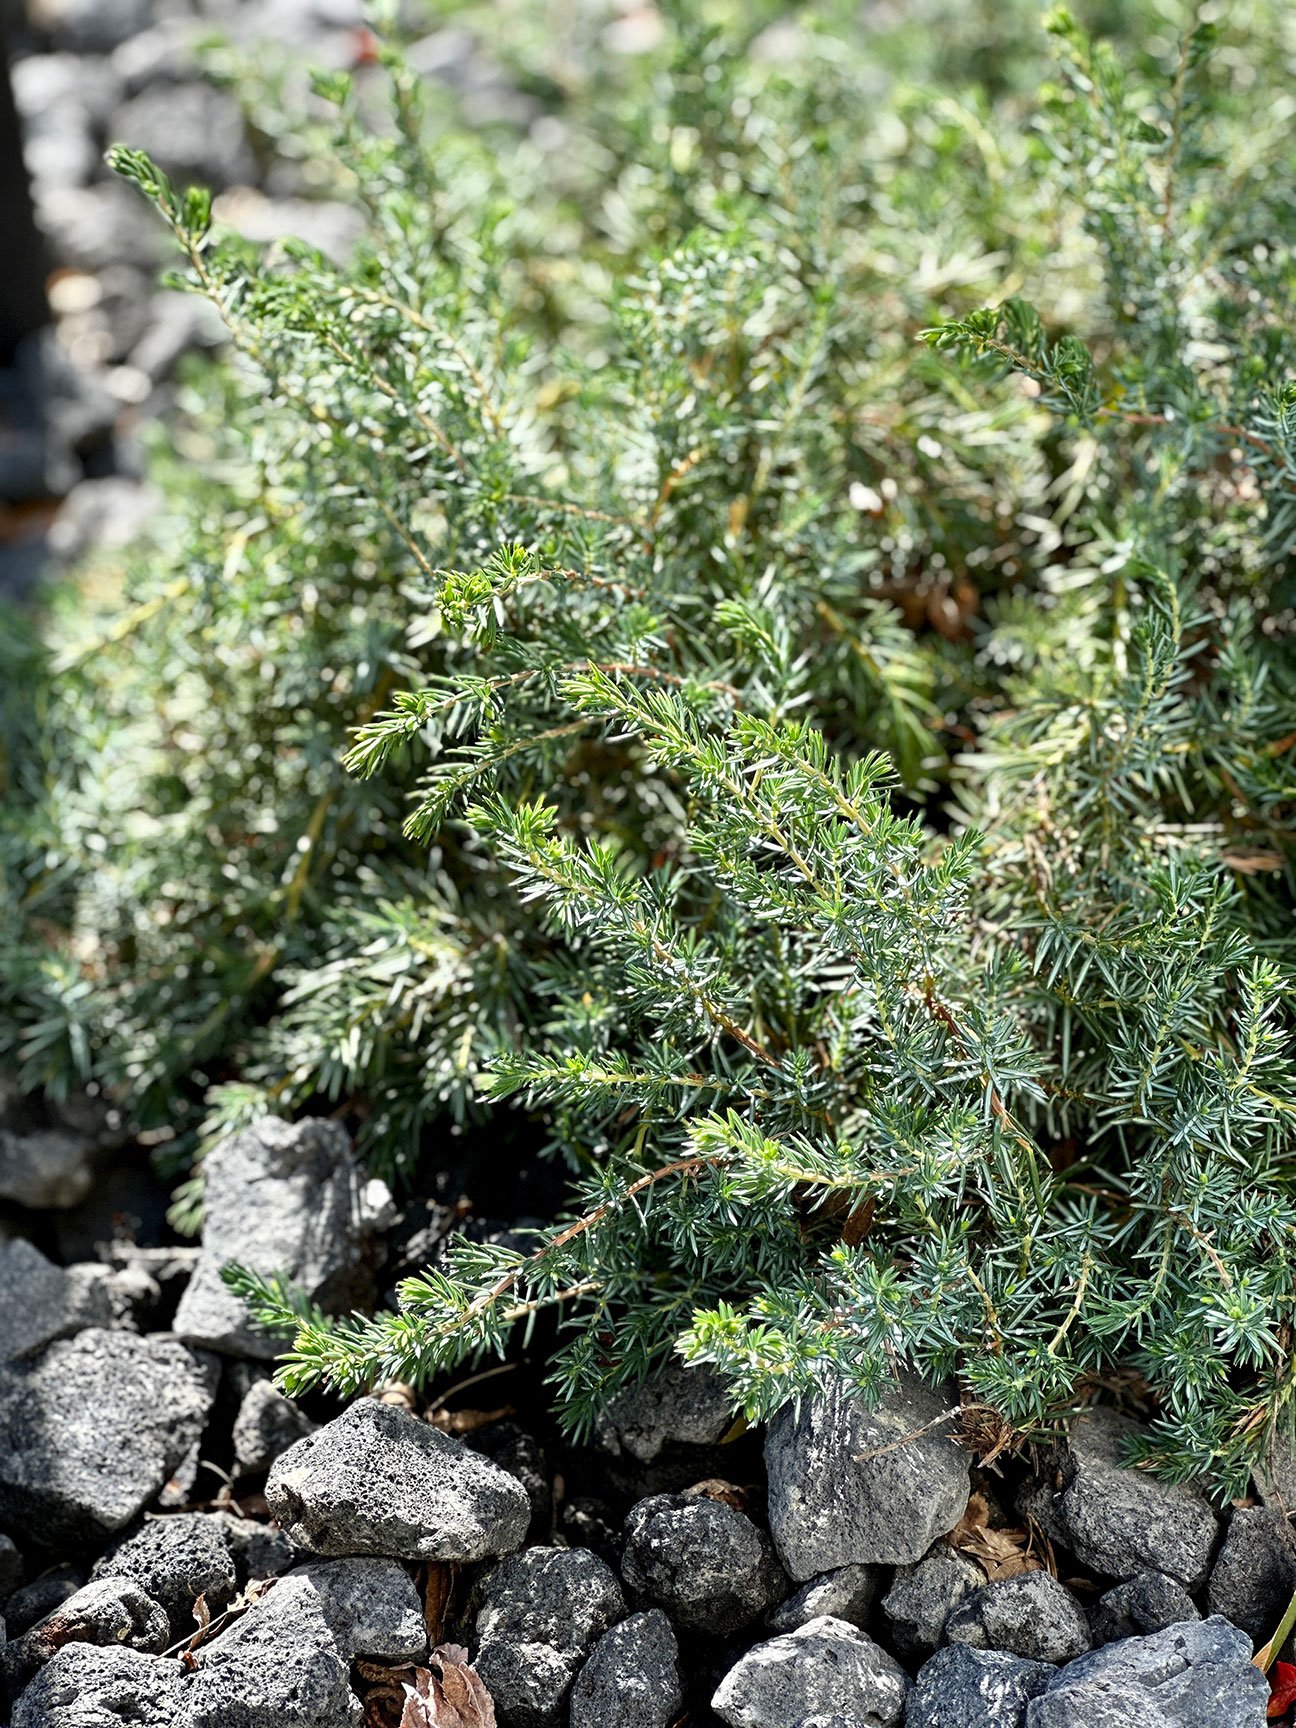
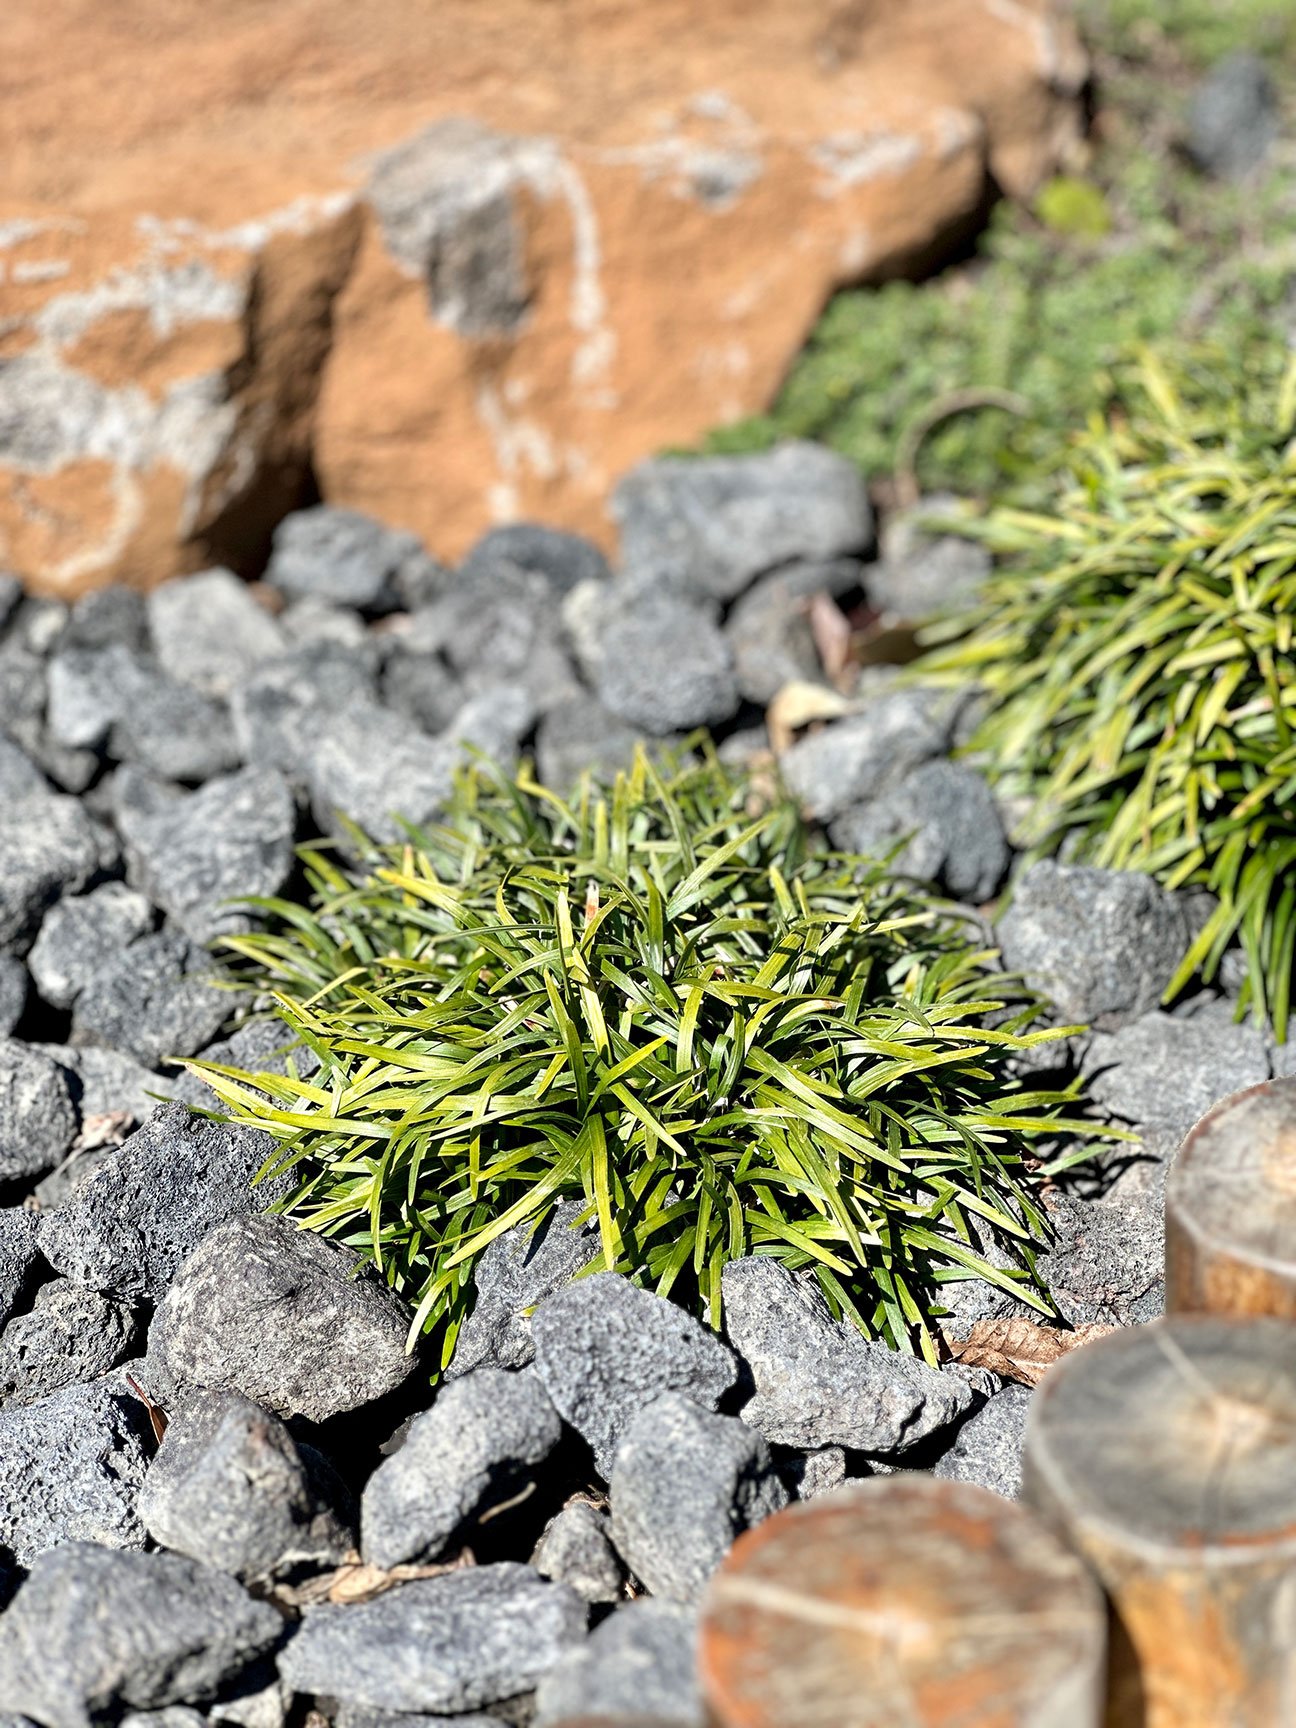
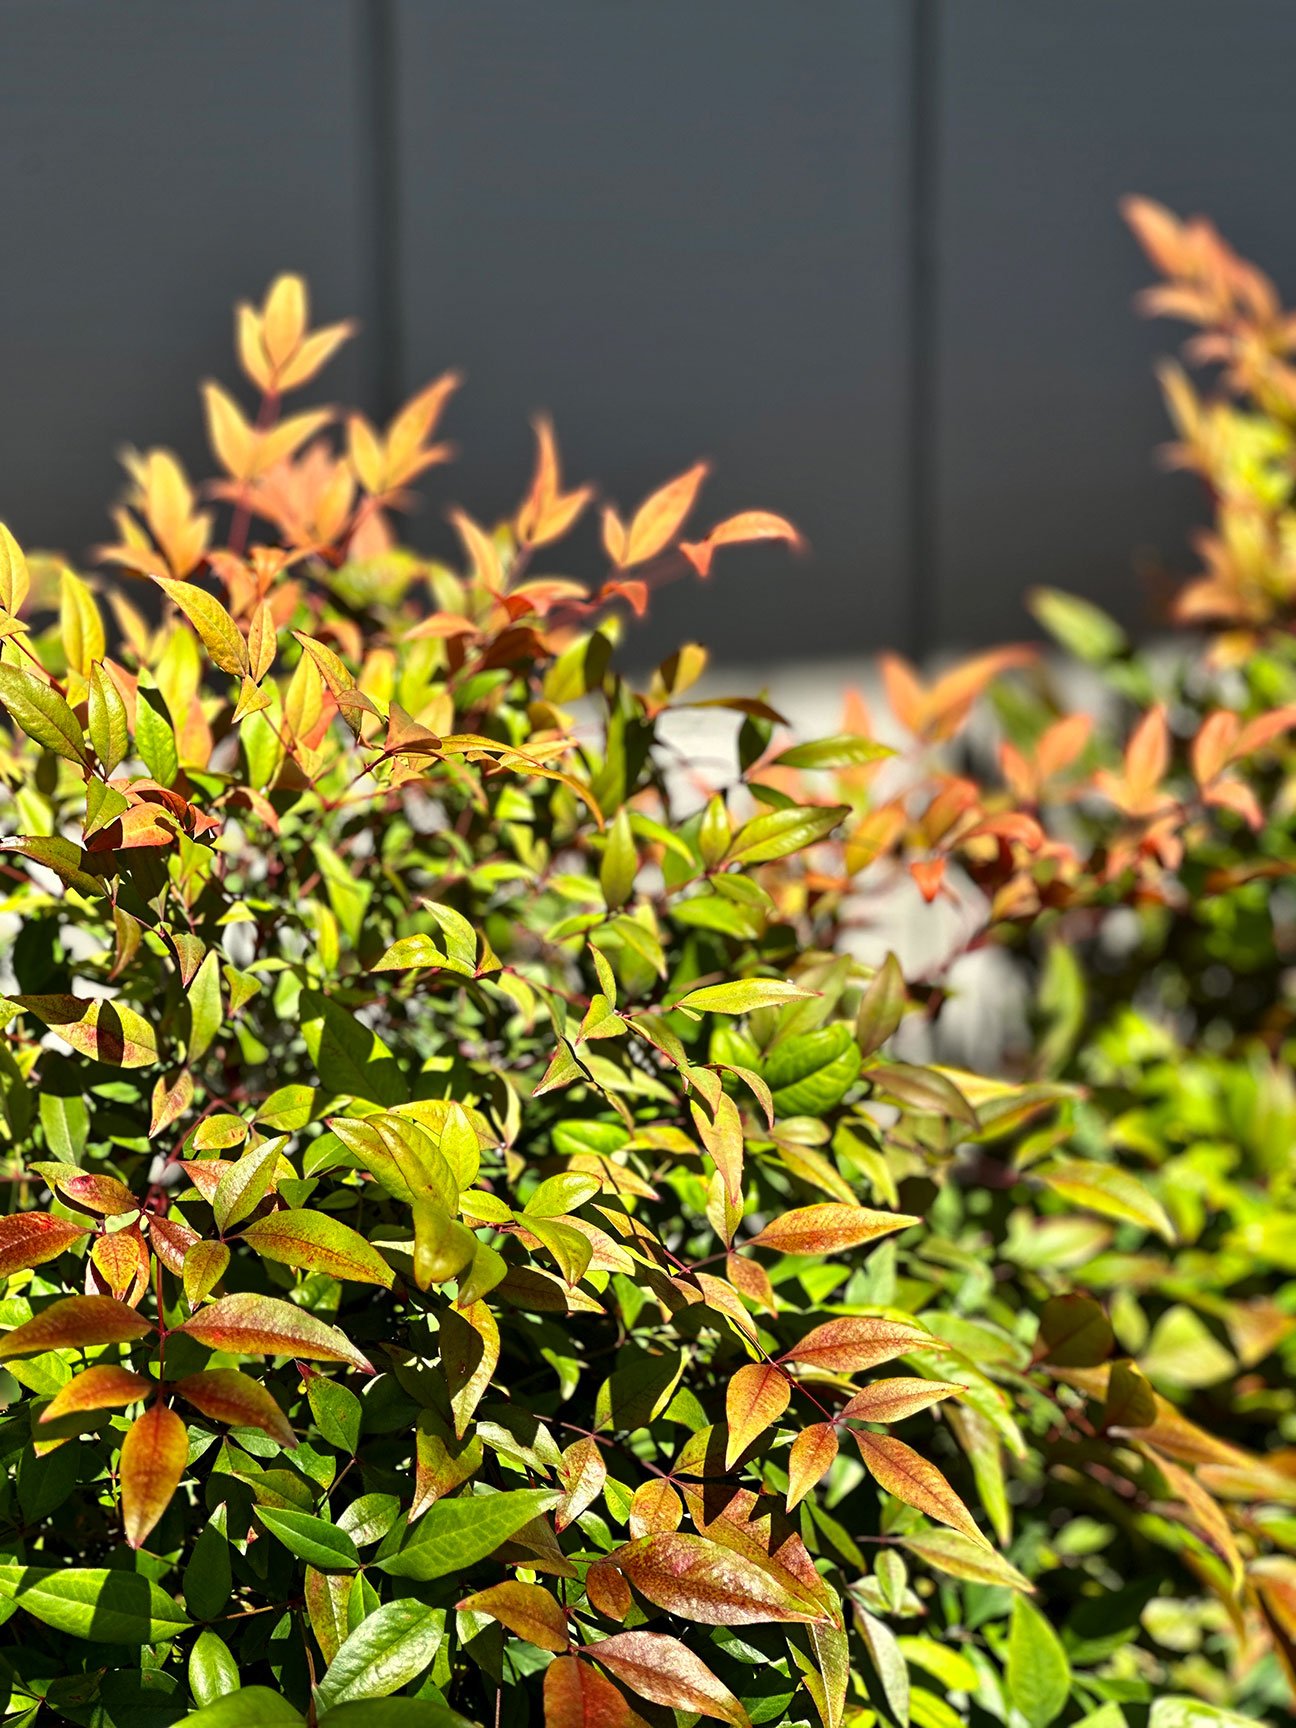
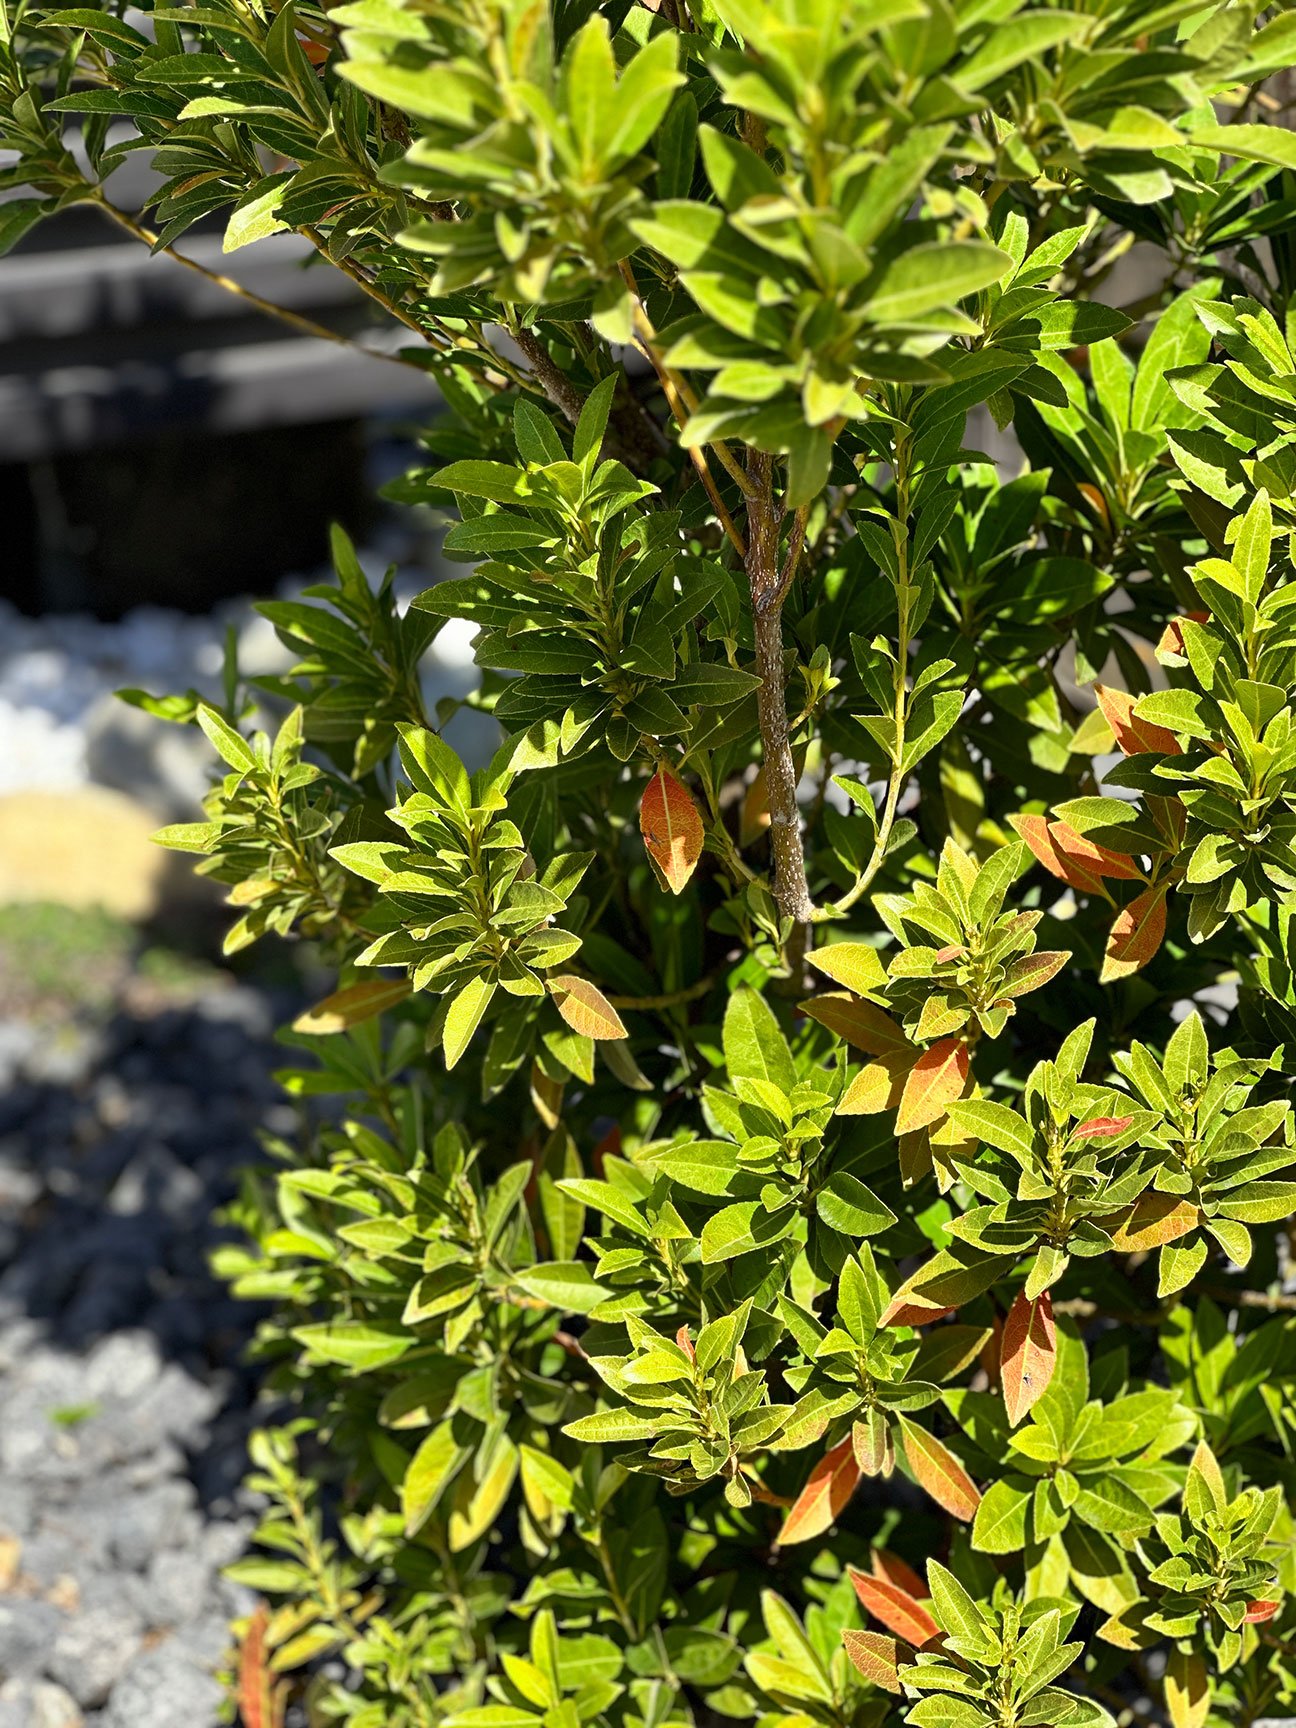
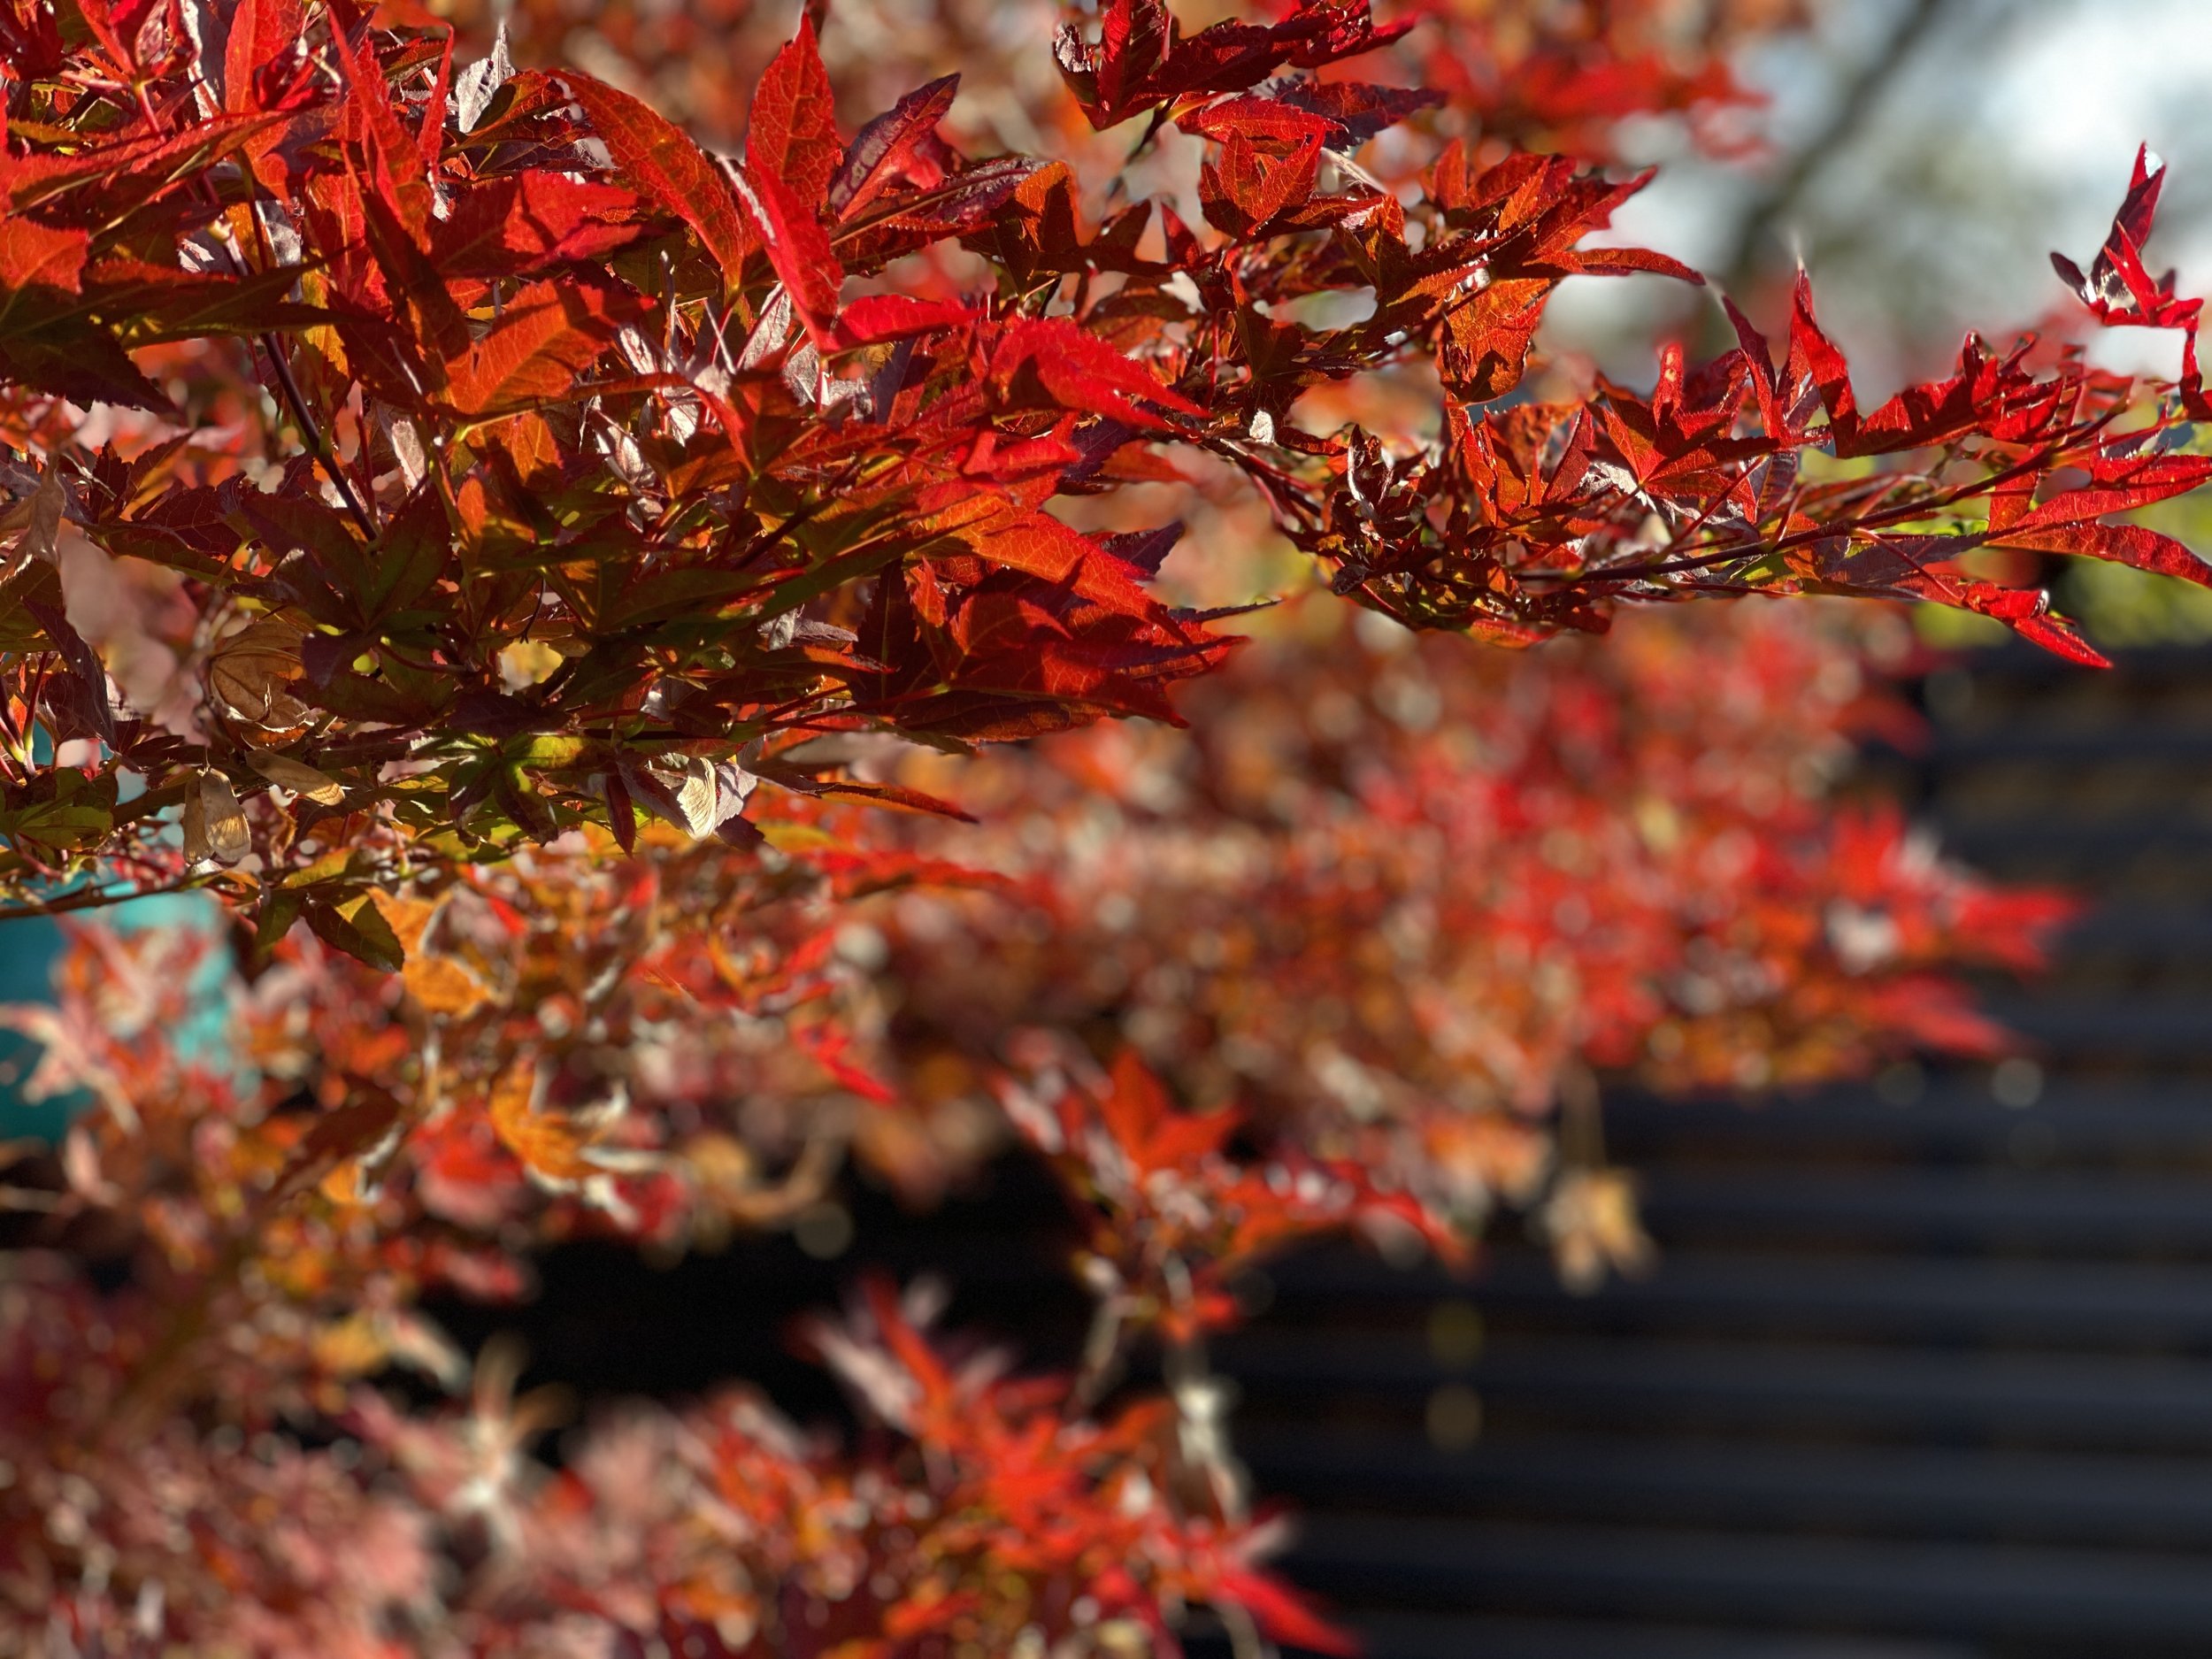
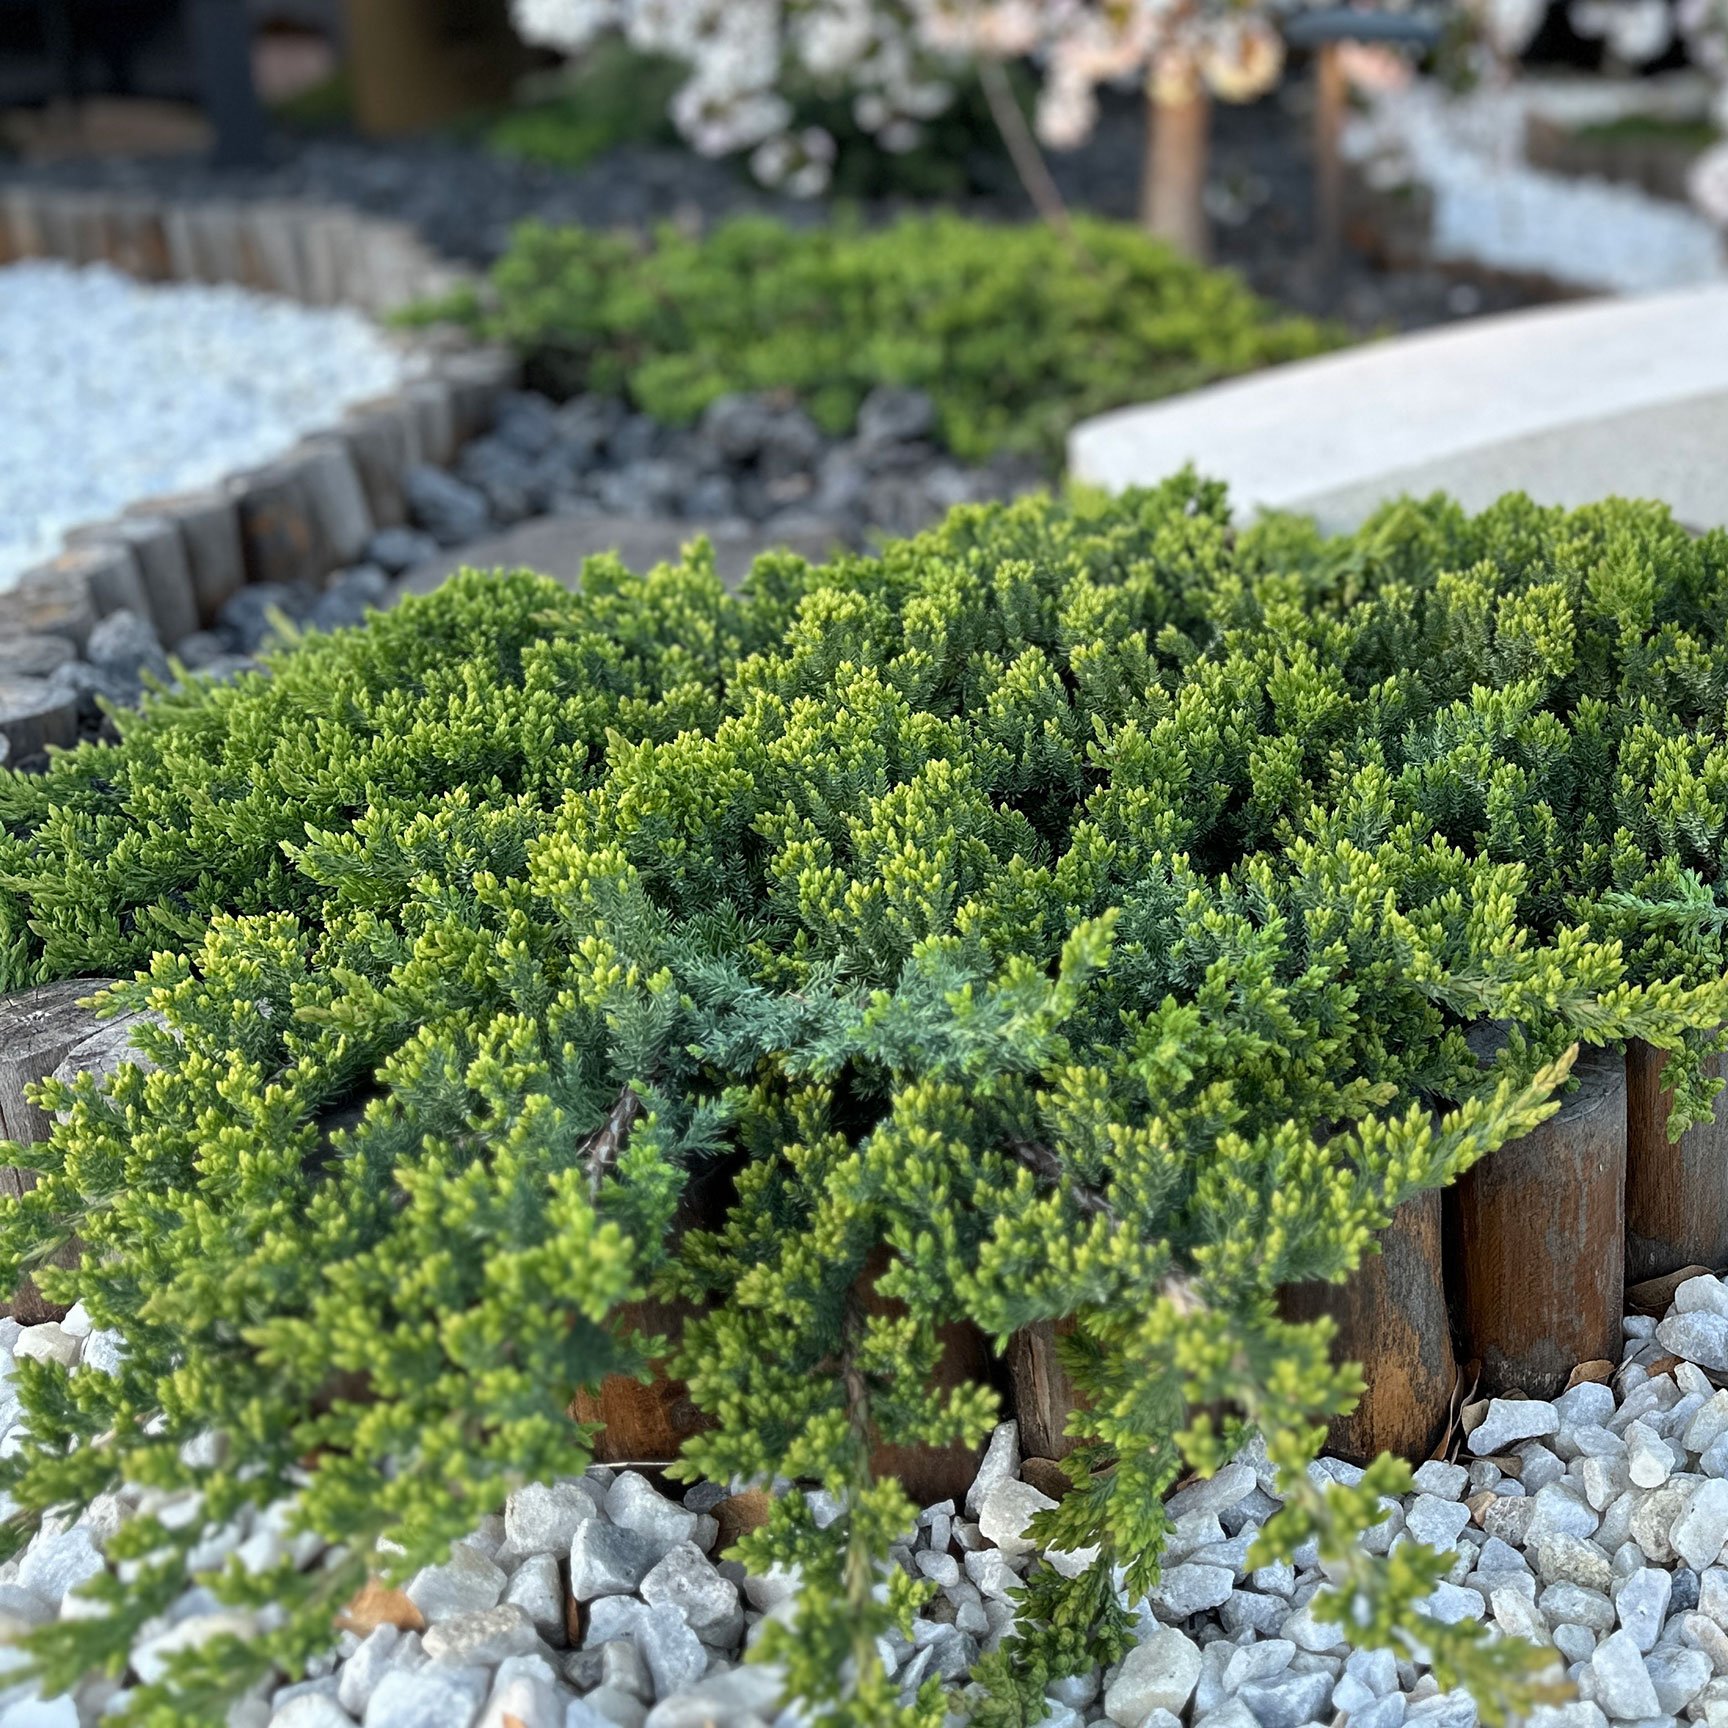
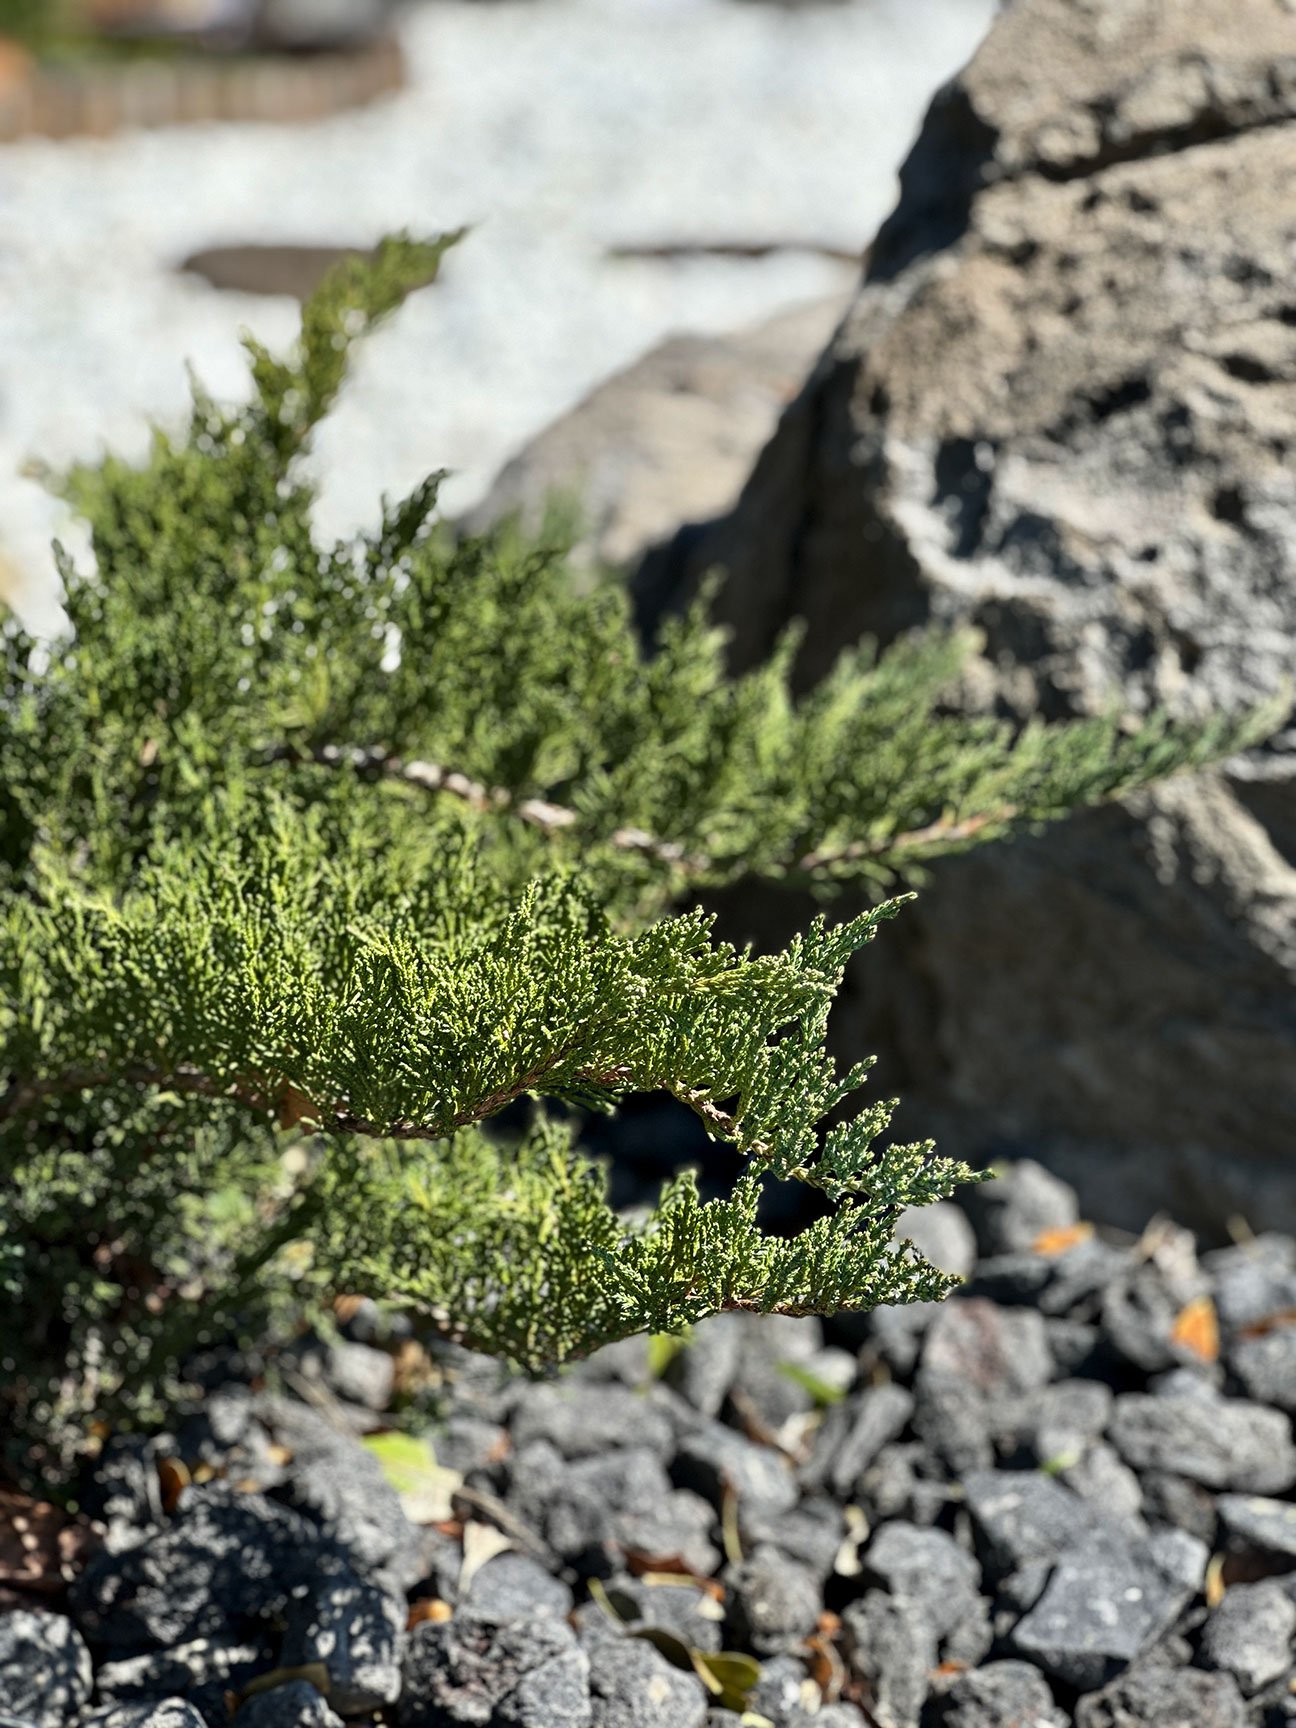
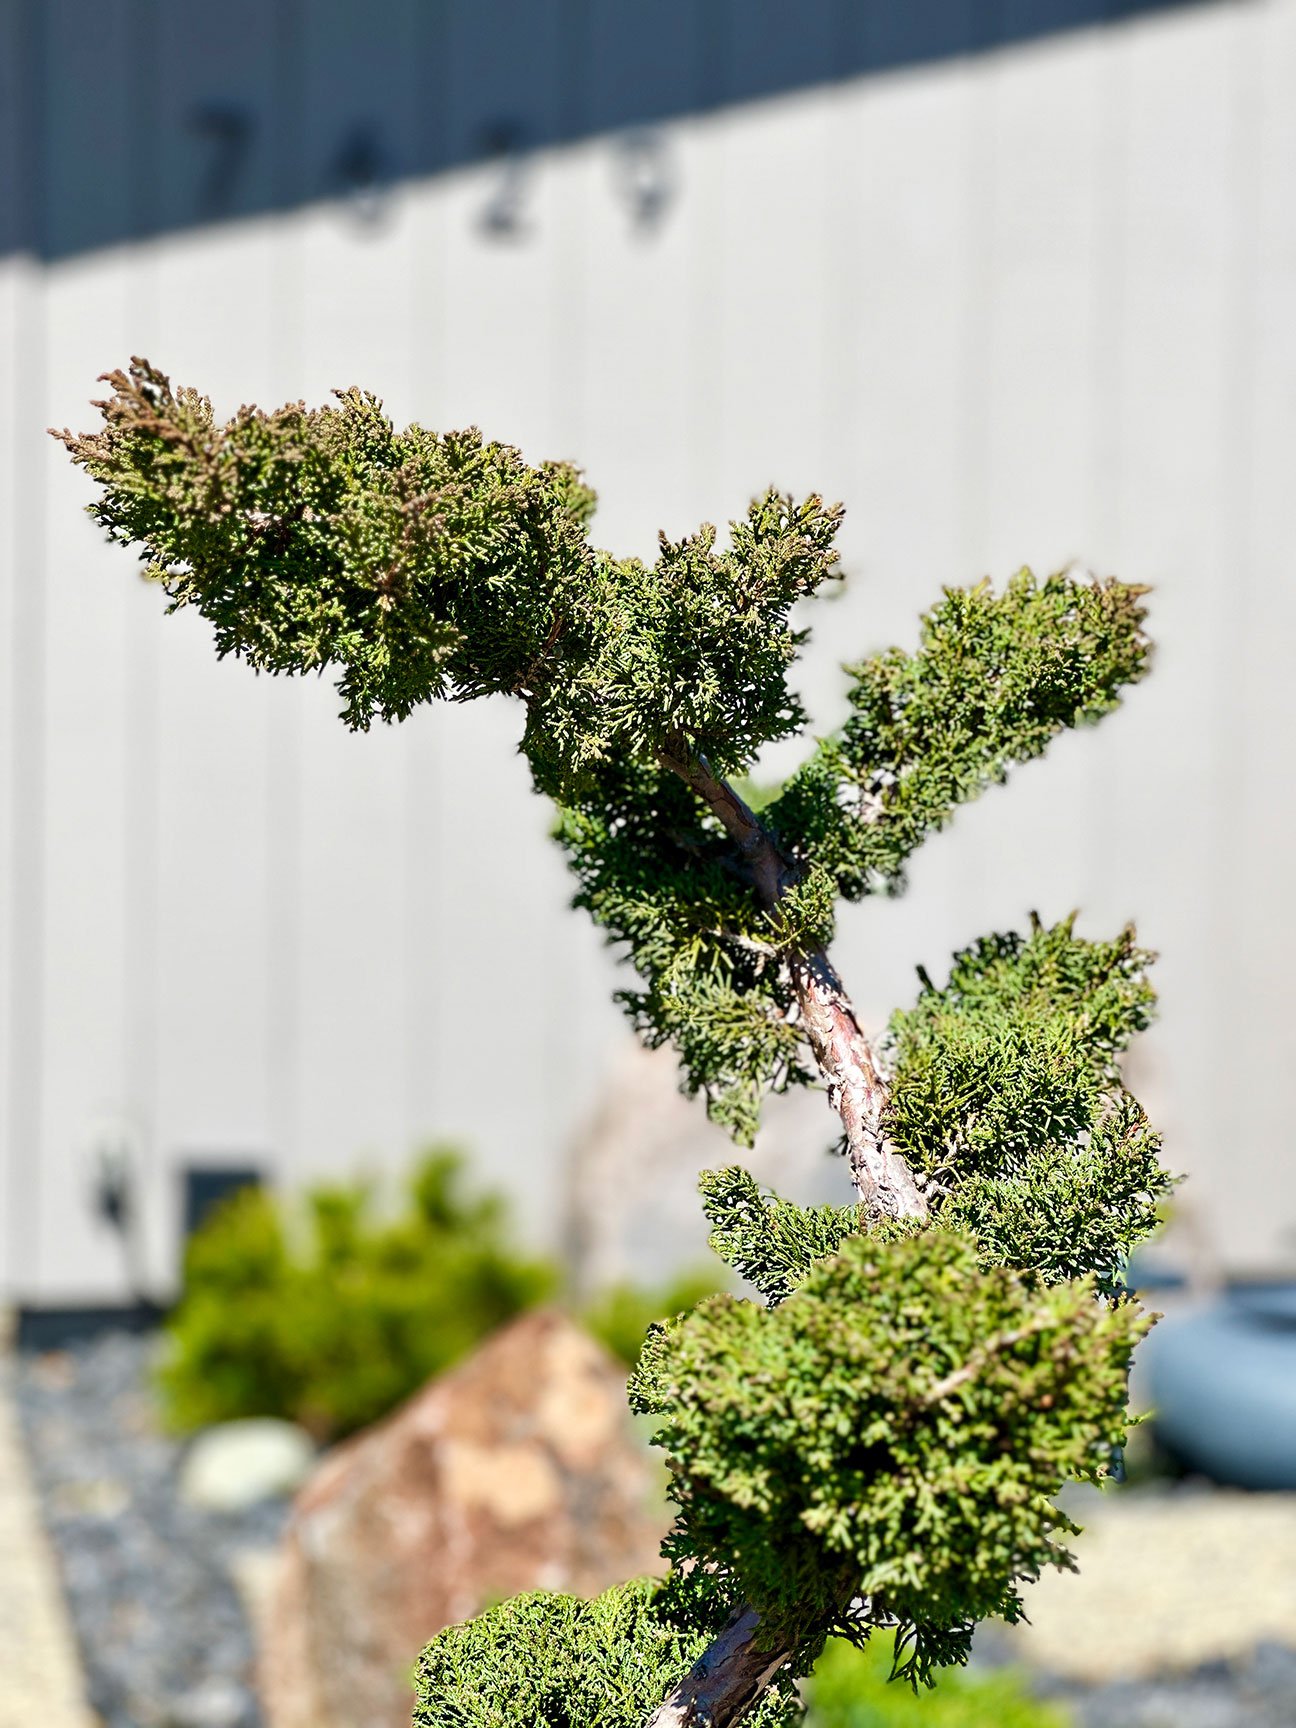
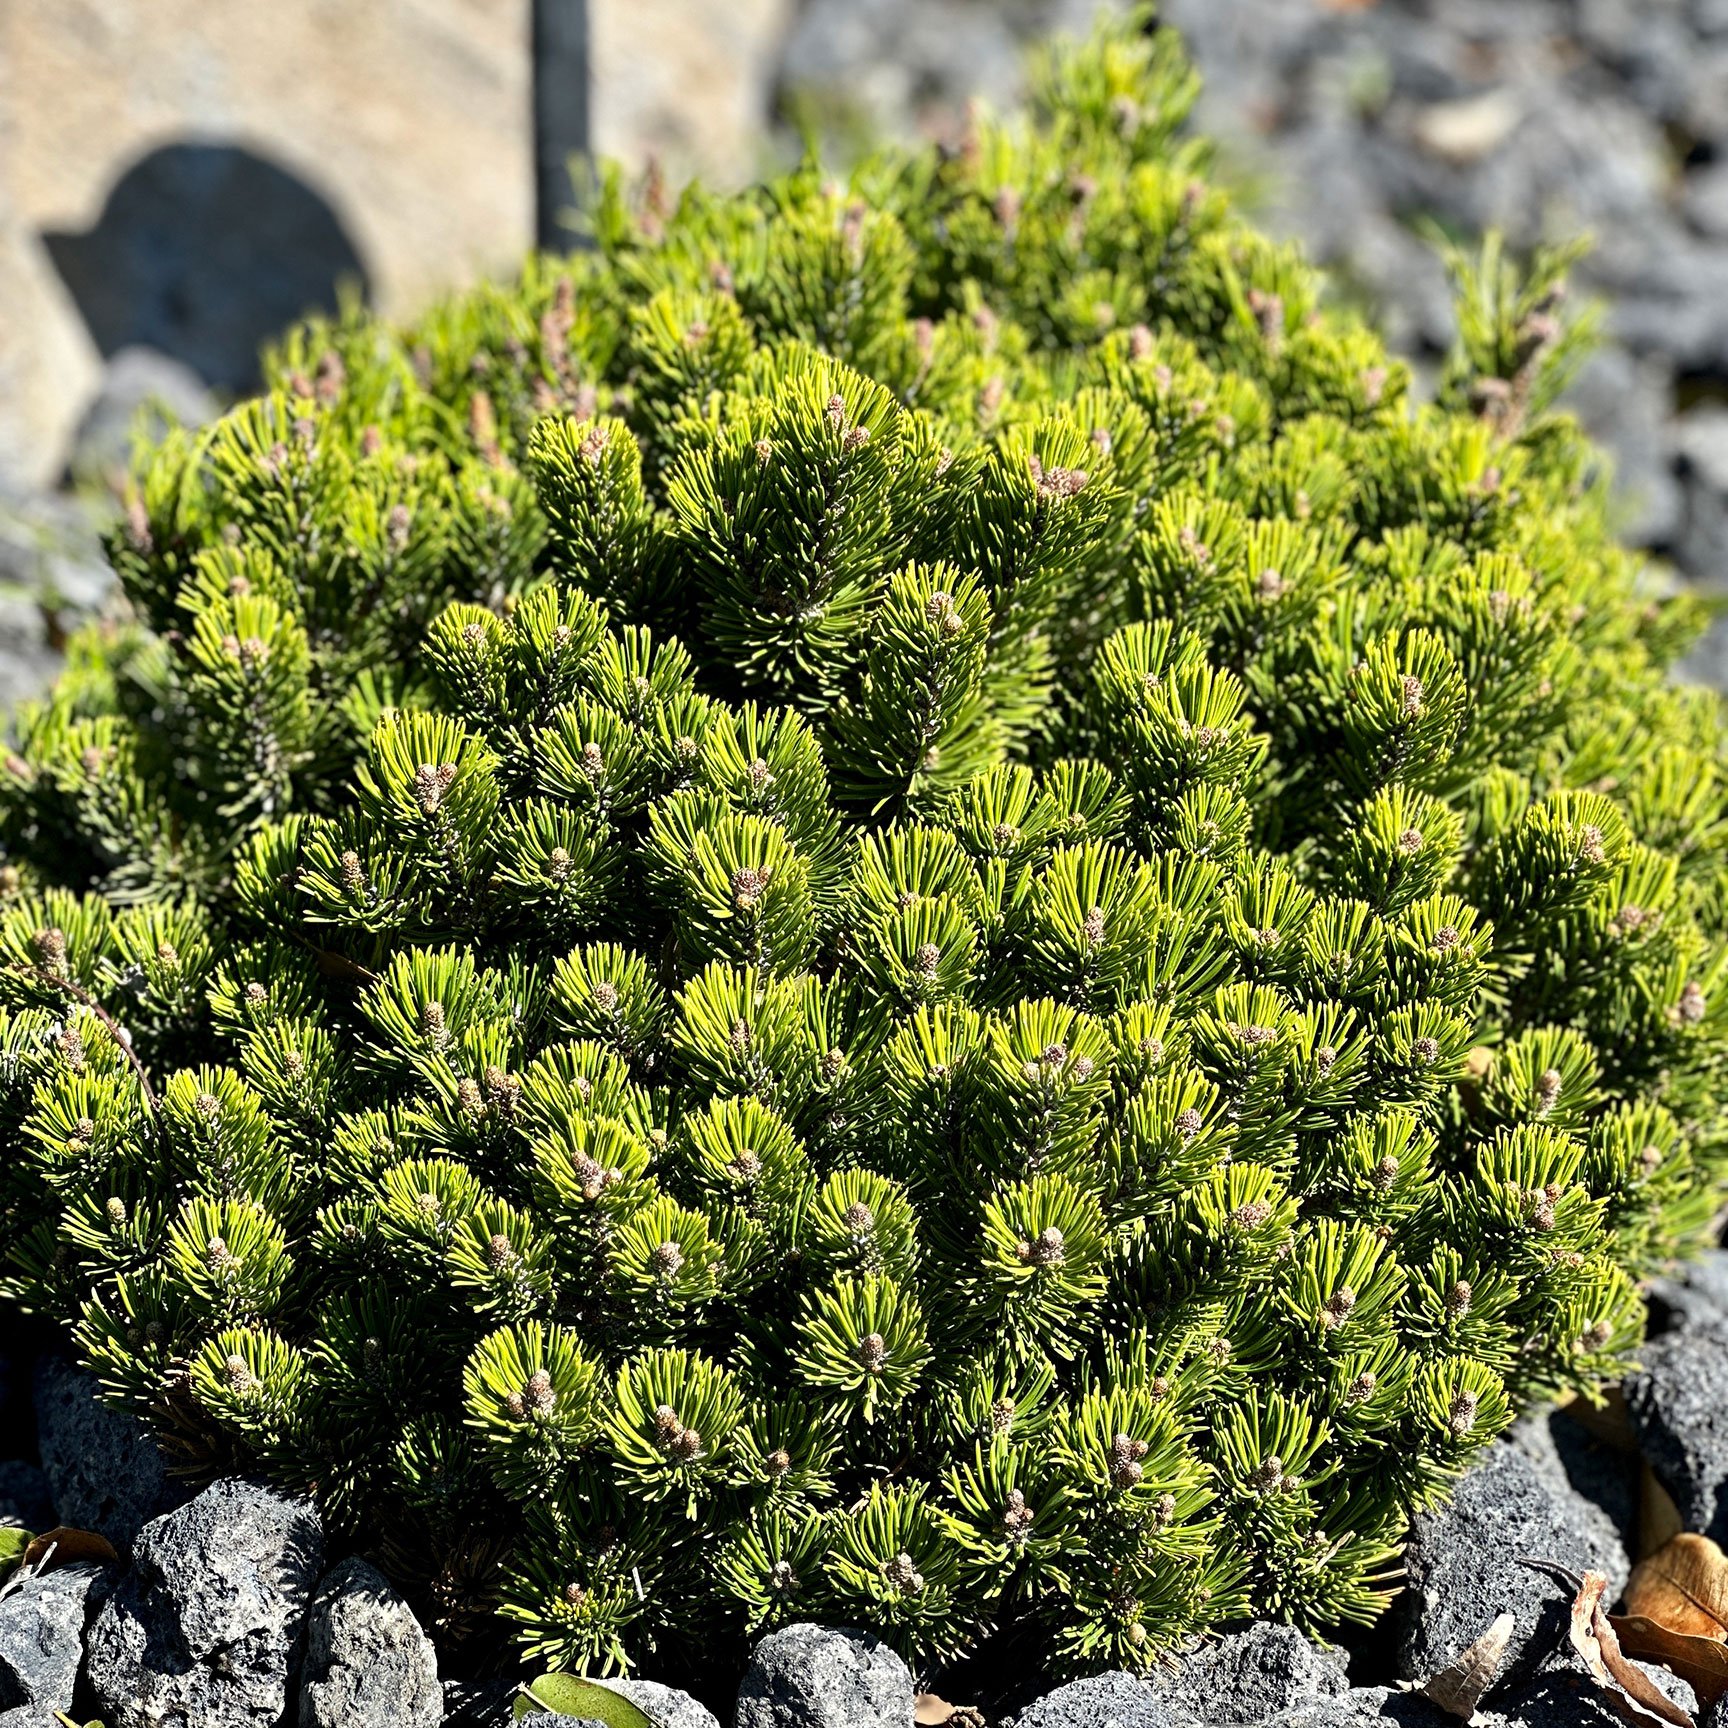
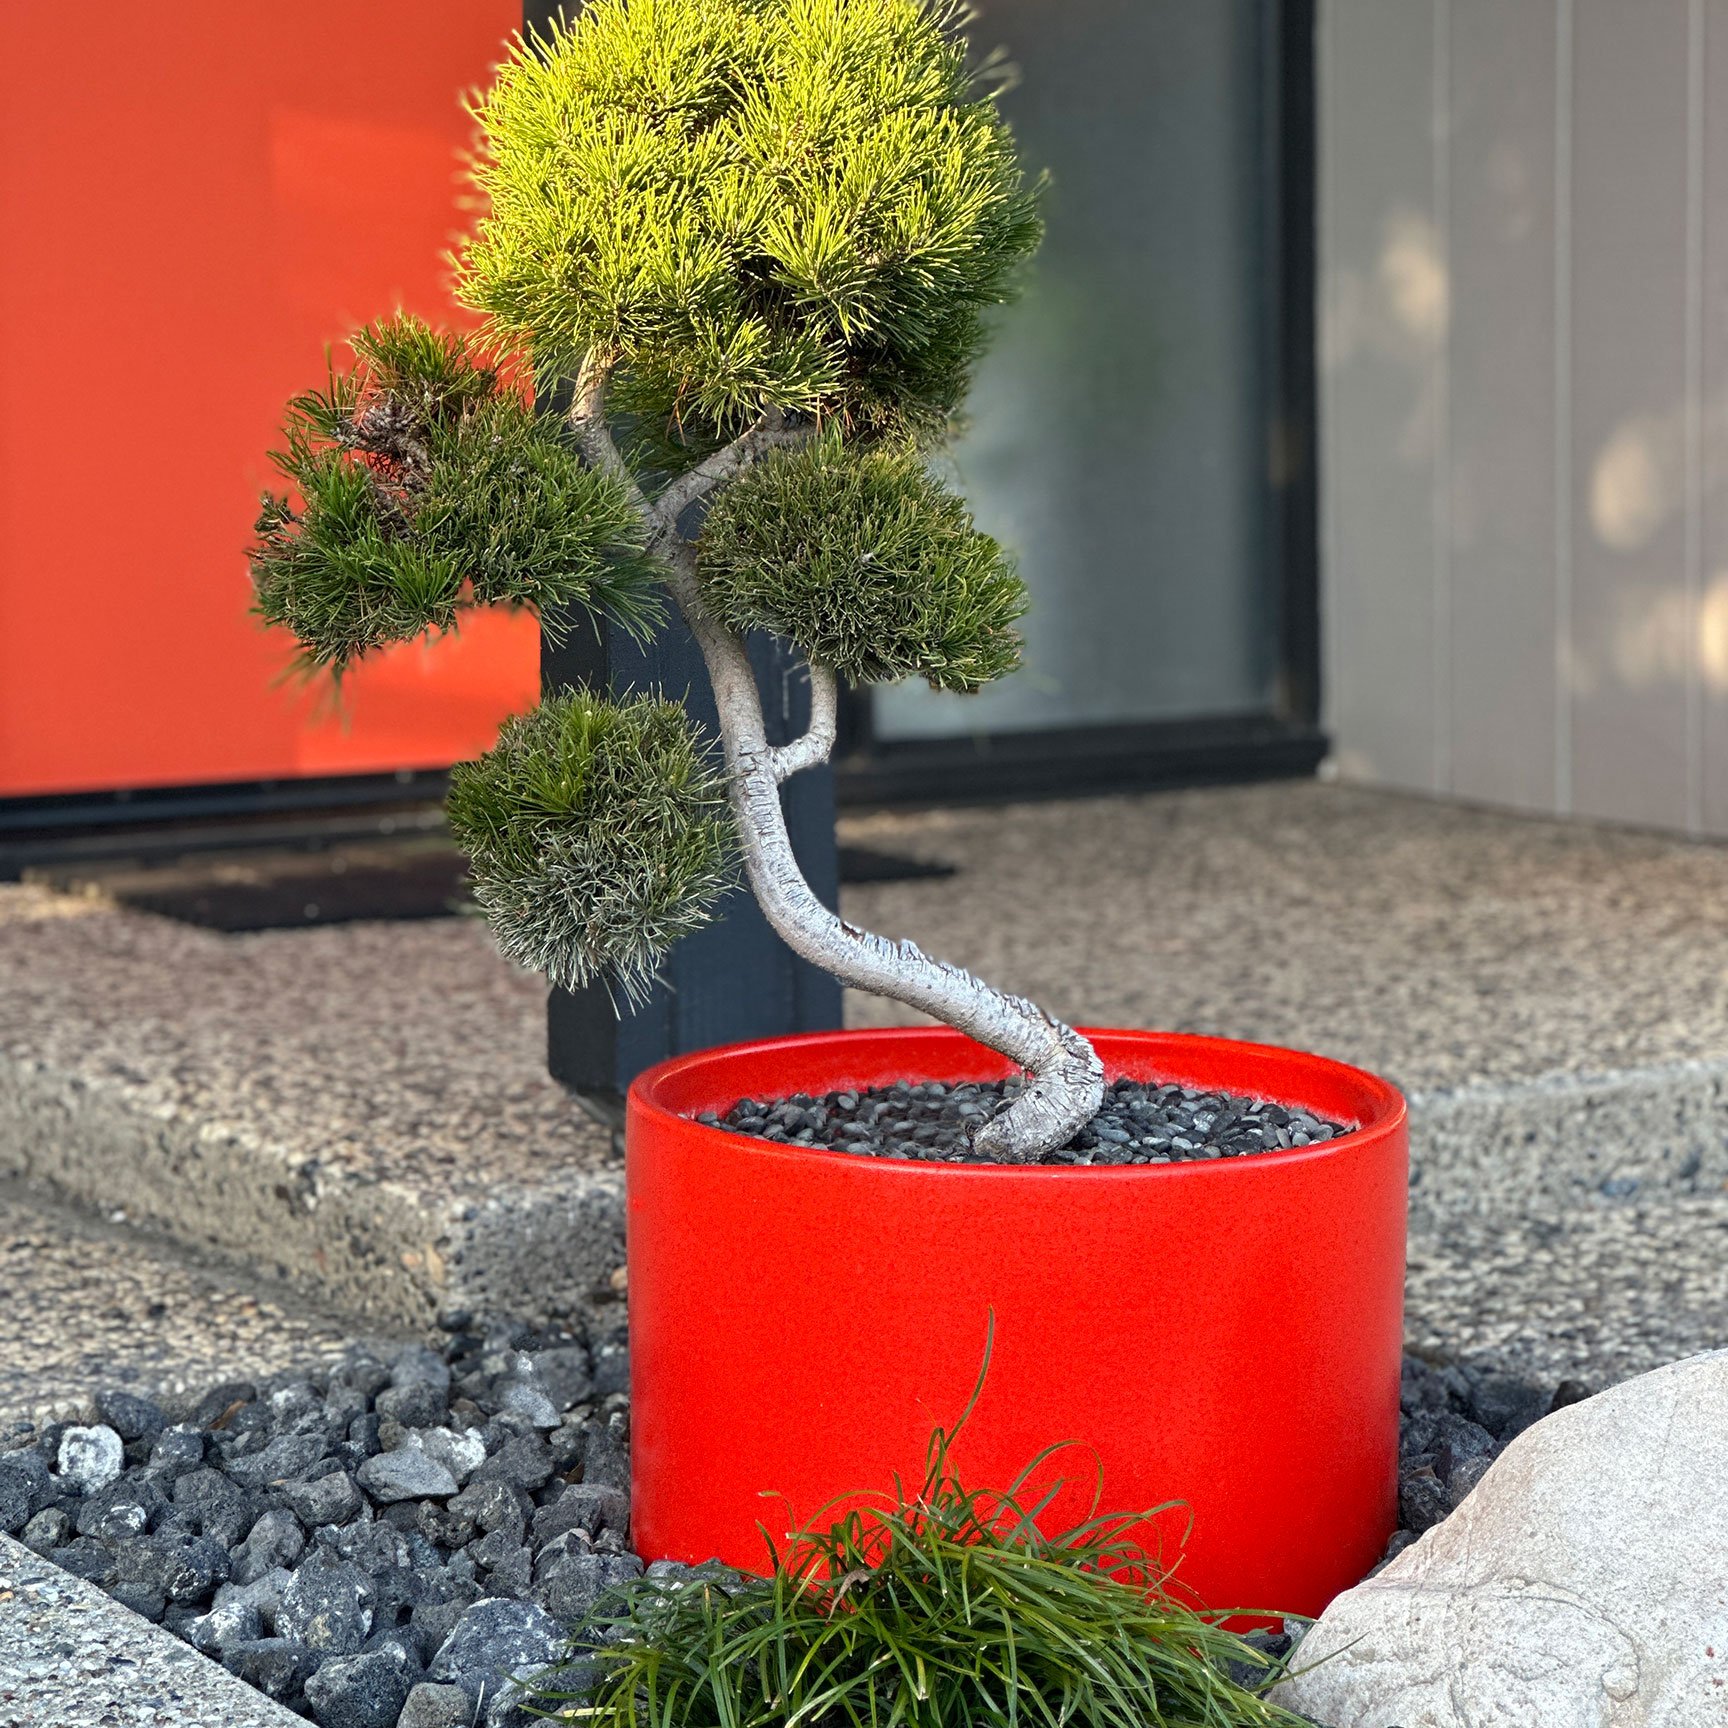
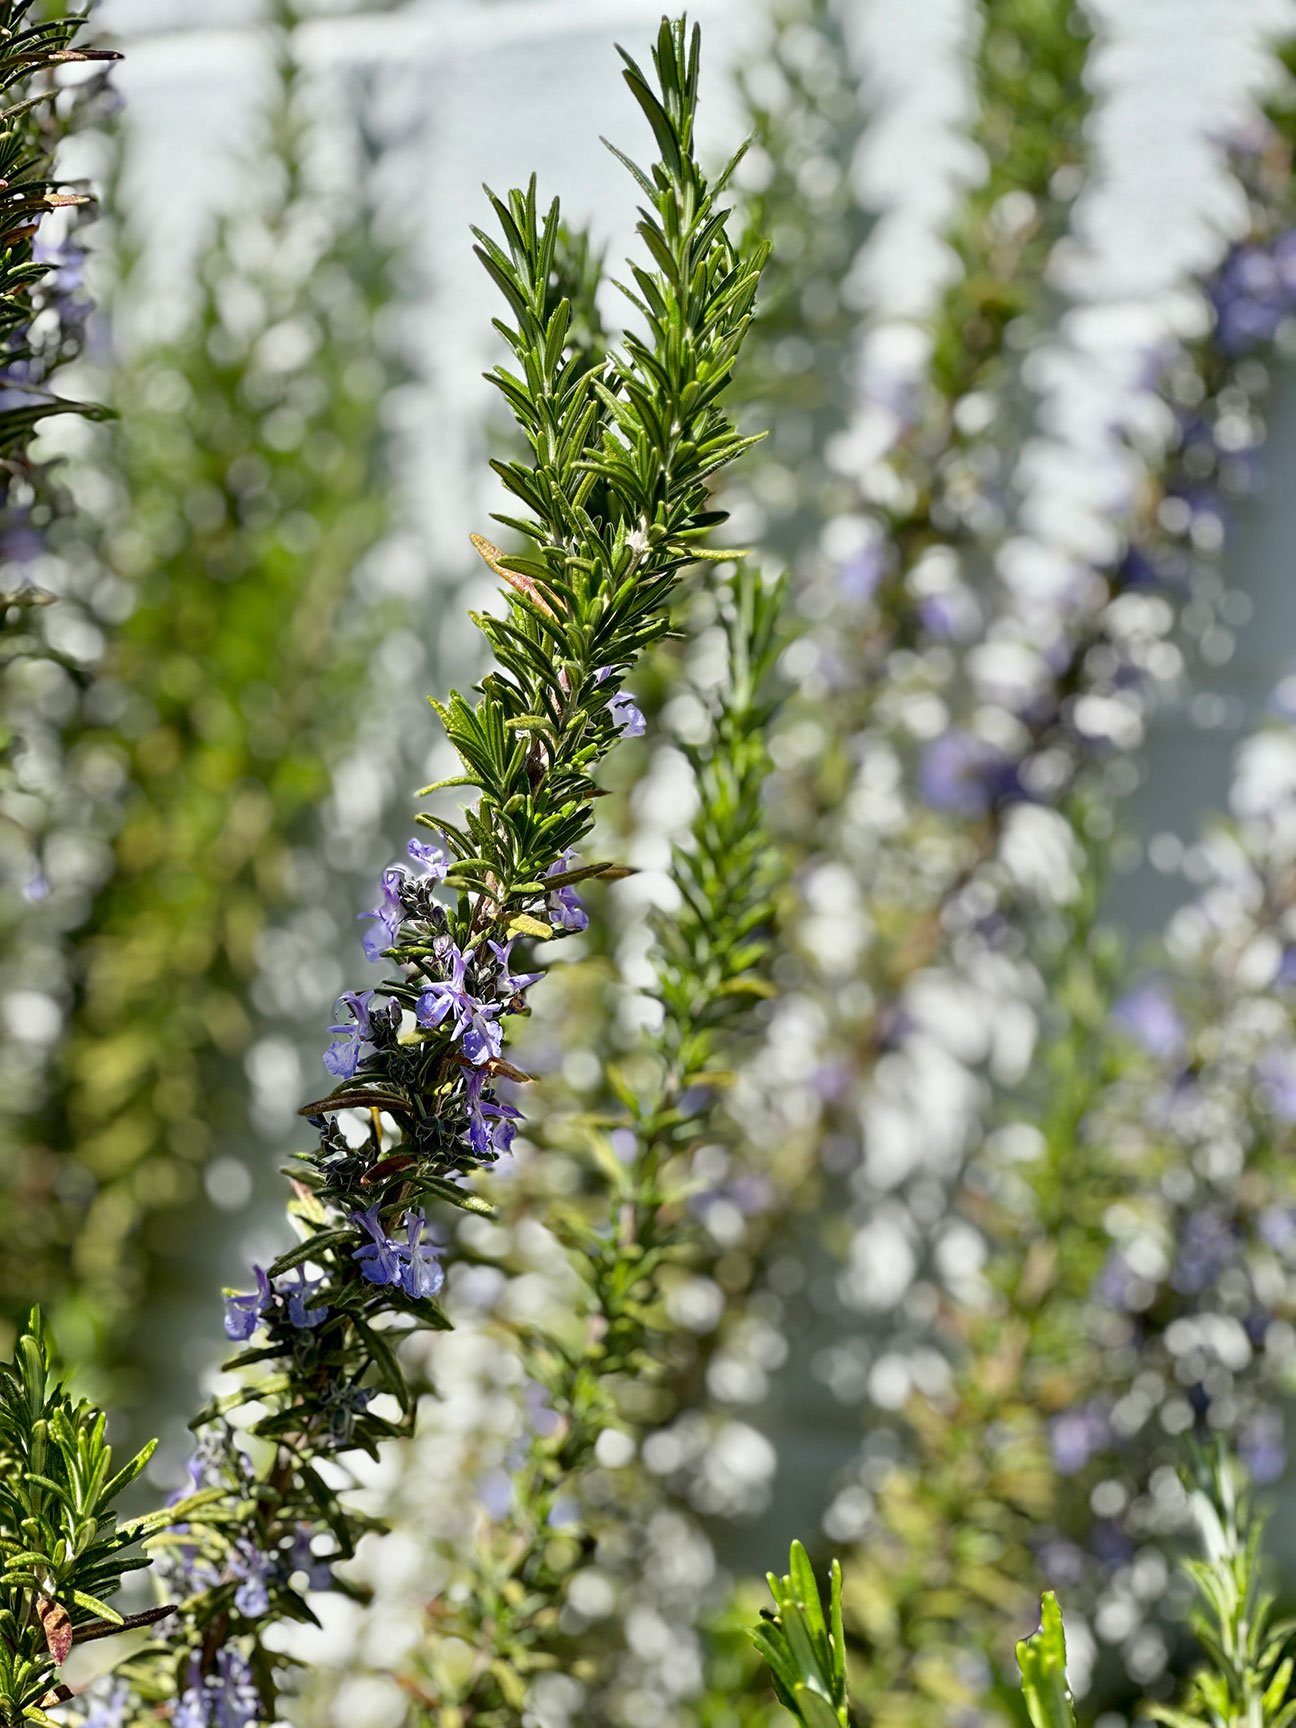
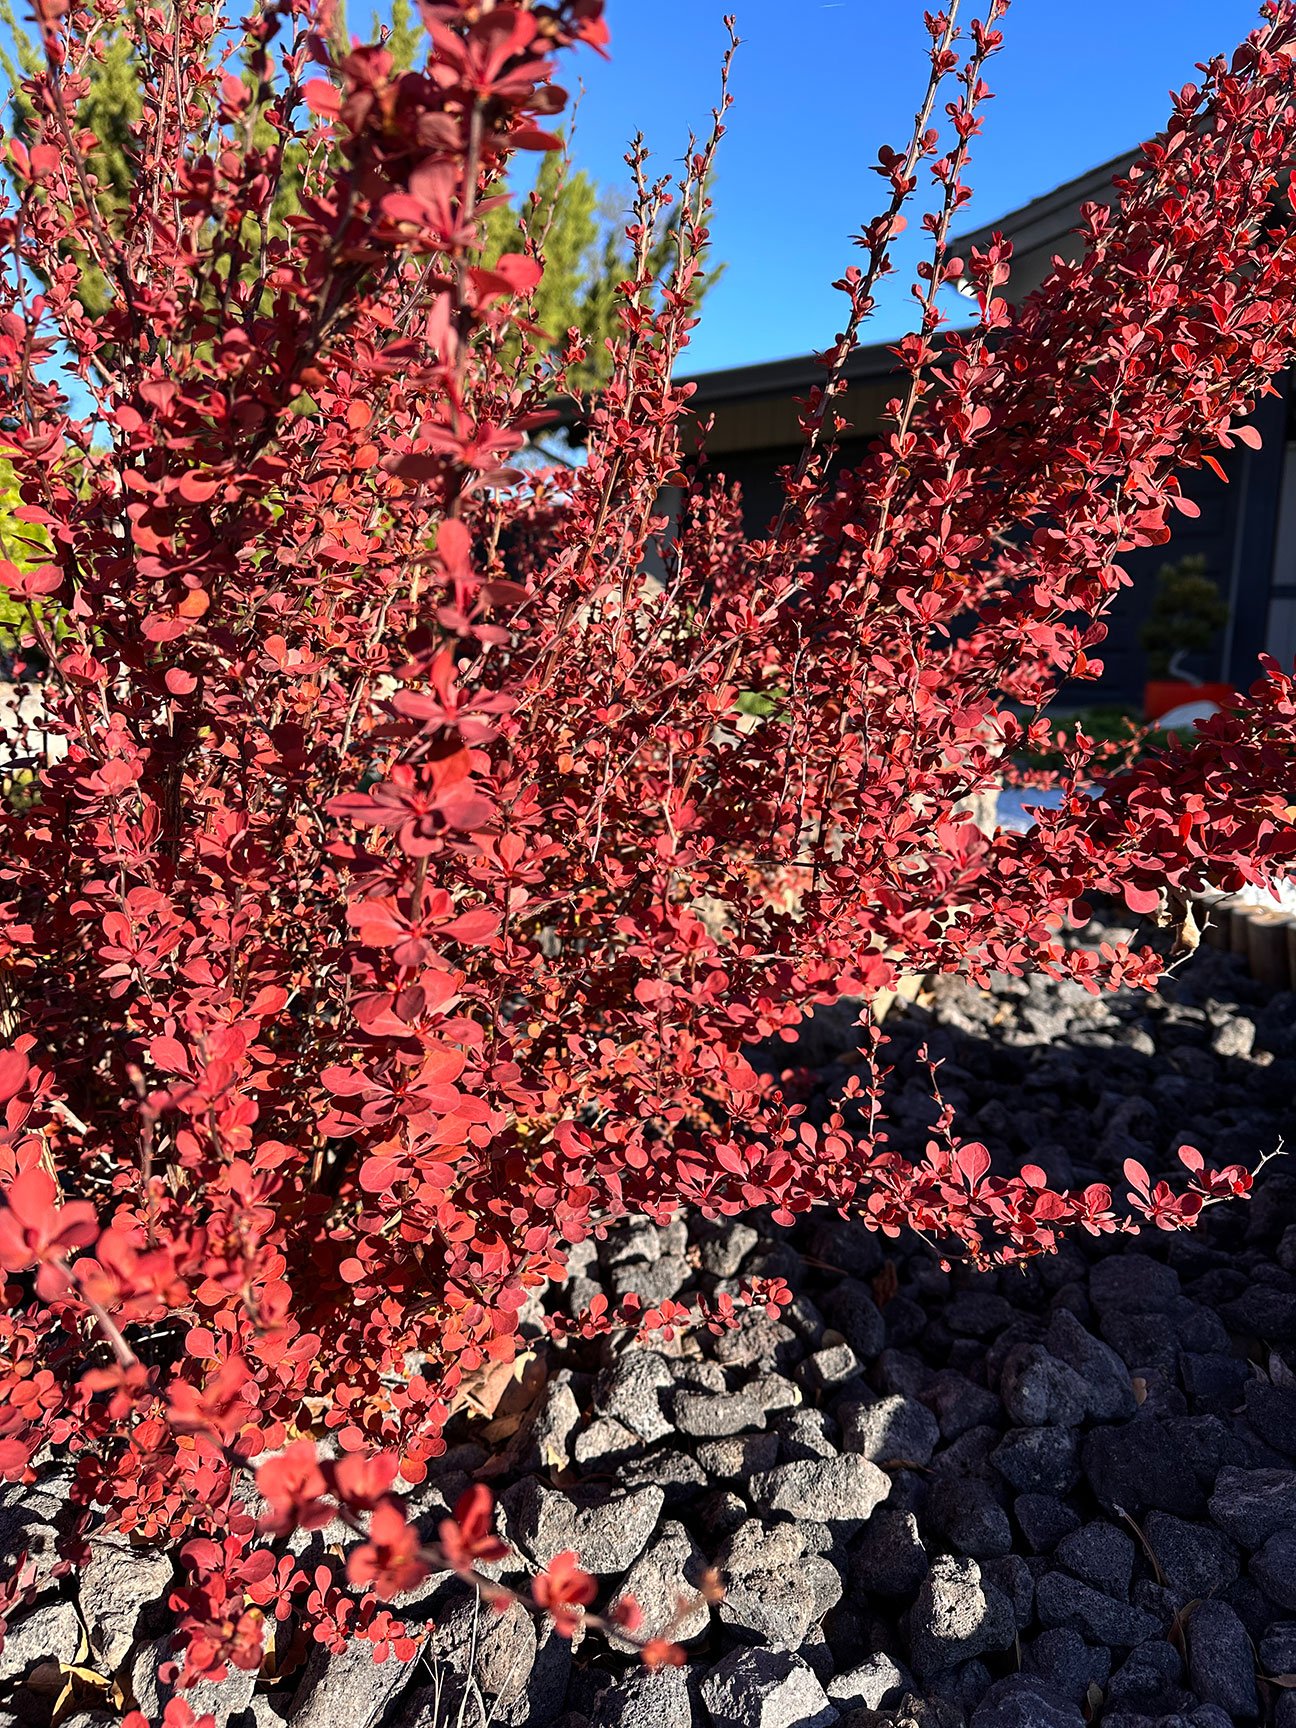
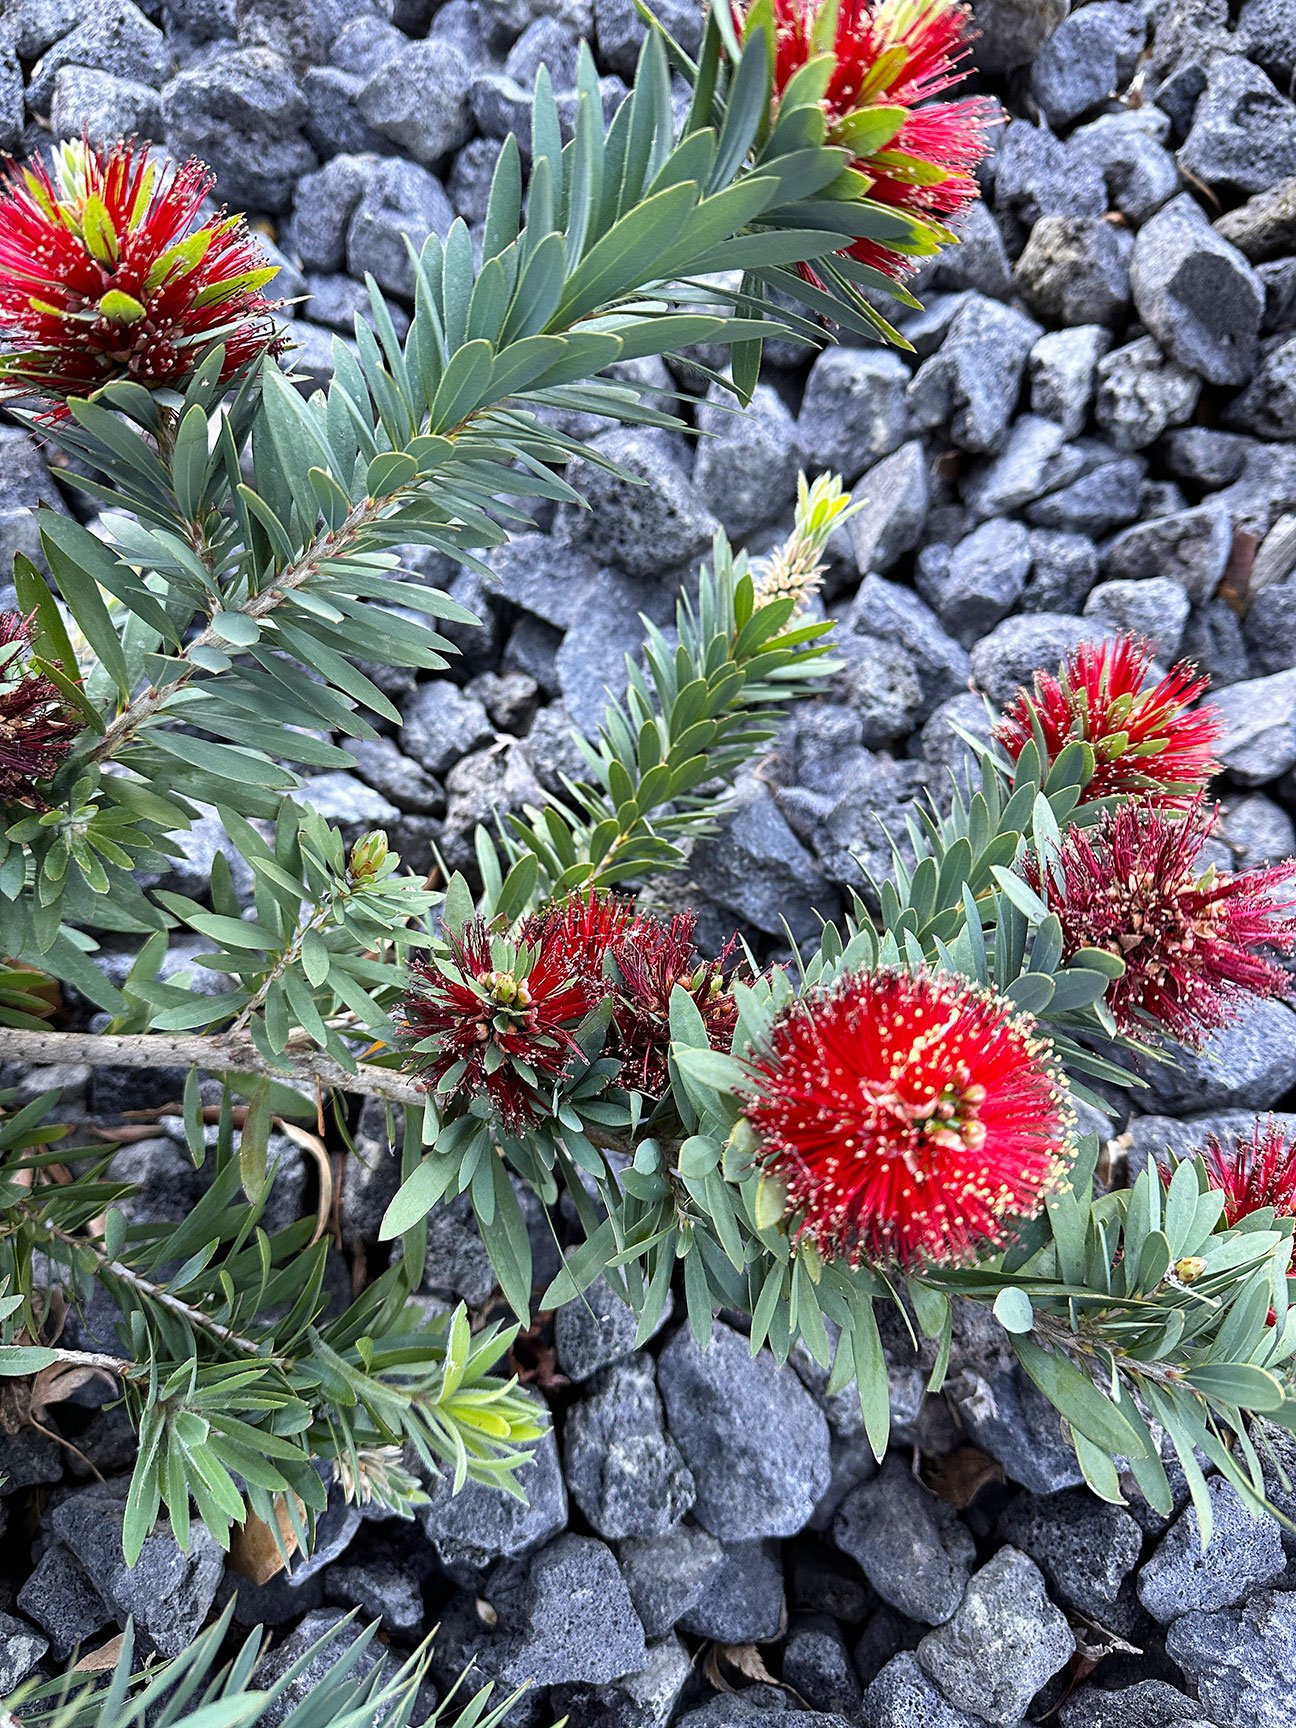
All that said, let’s take a look at the gorgeous collection of plants that are featured in this garden. The majority of these selections are full-sun, and require little water — ideal for the amount of sun exposure in my front yard.
Finishing Touches
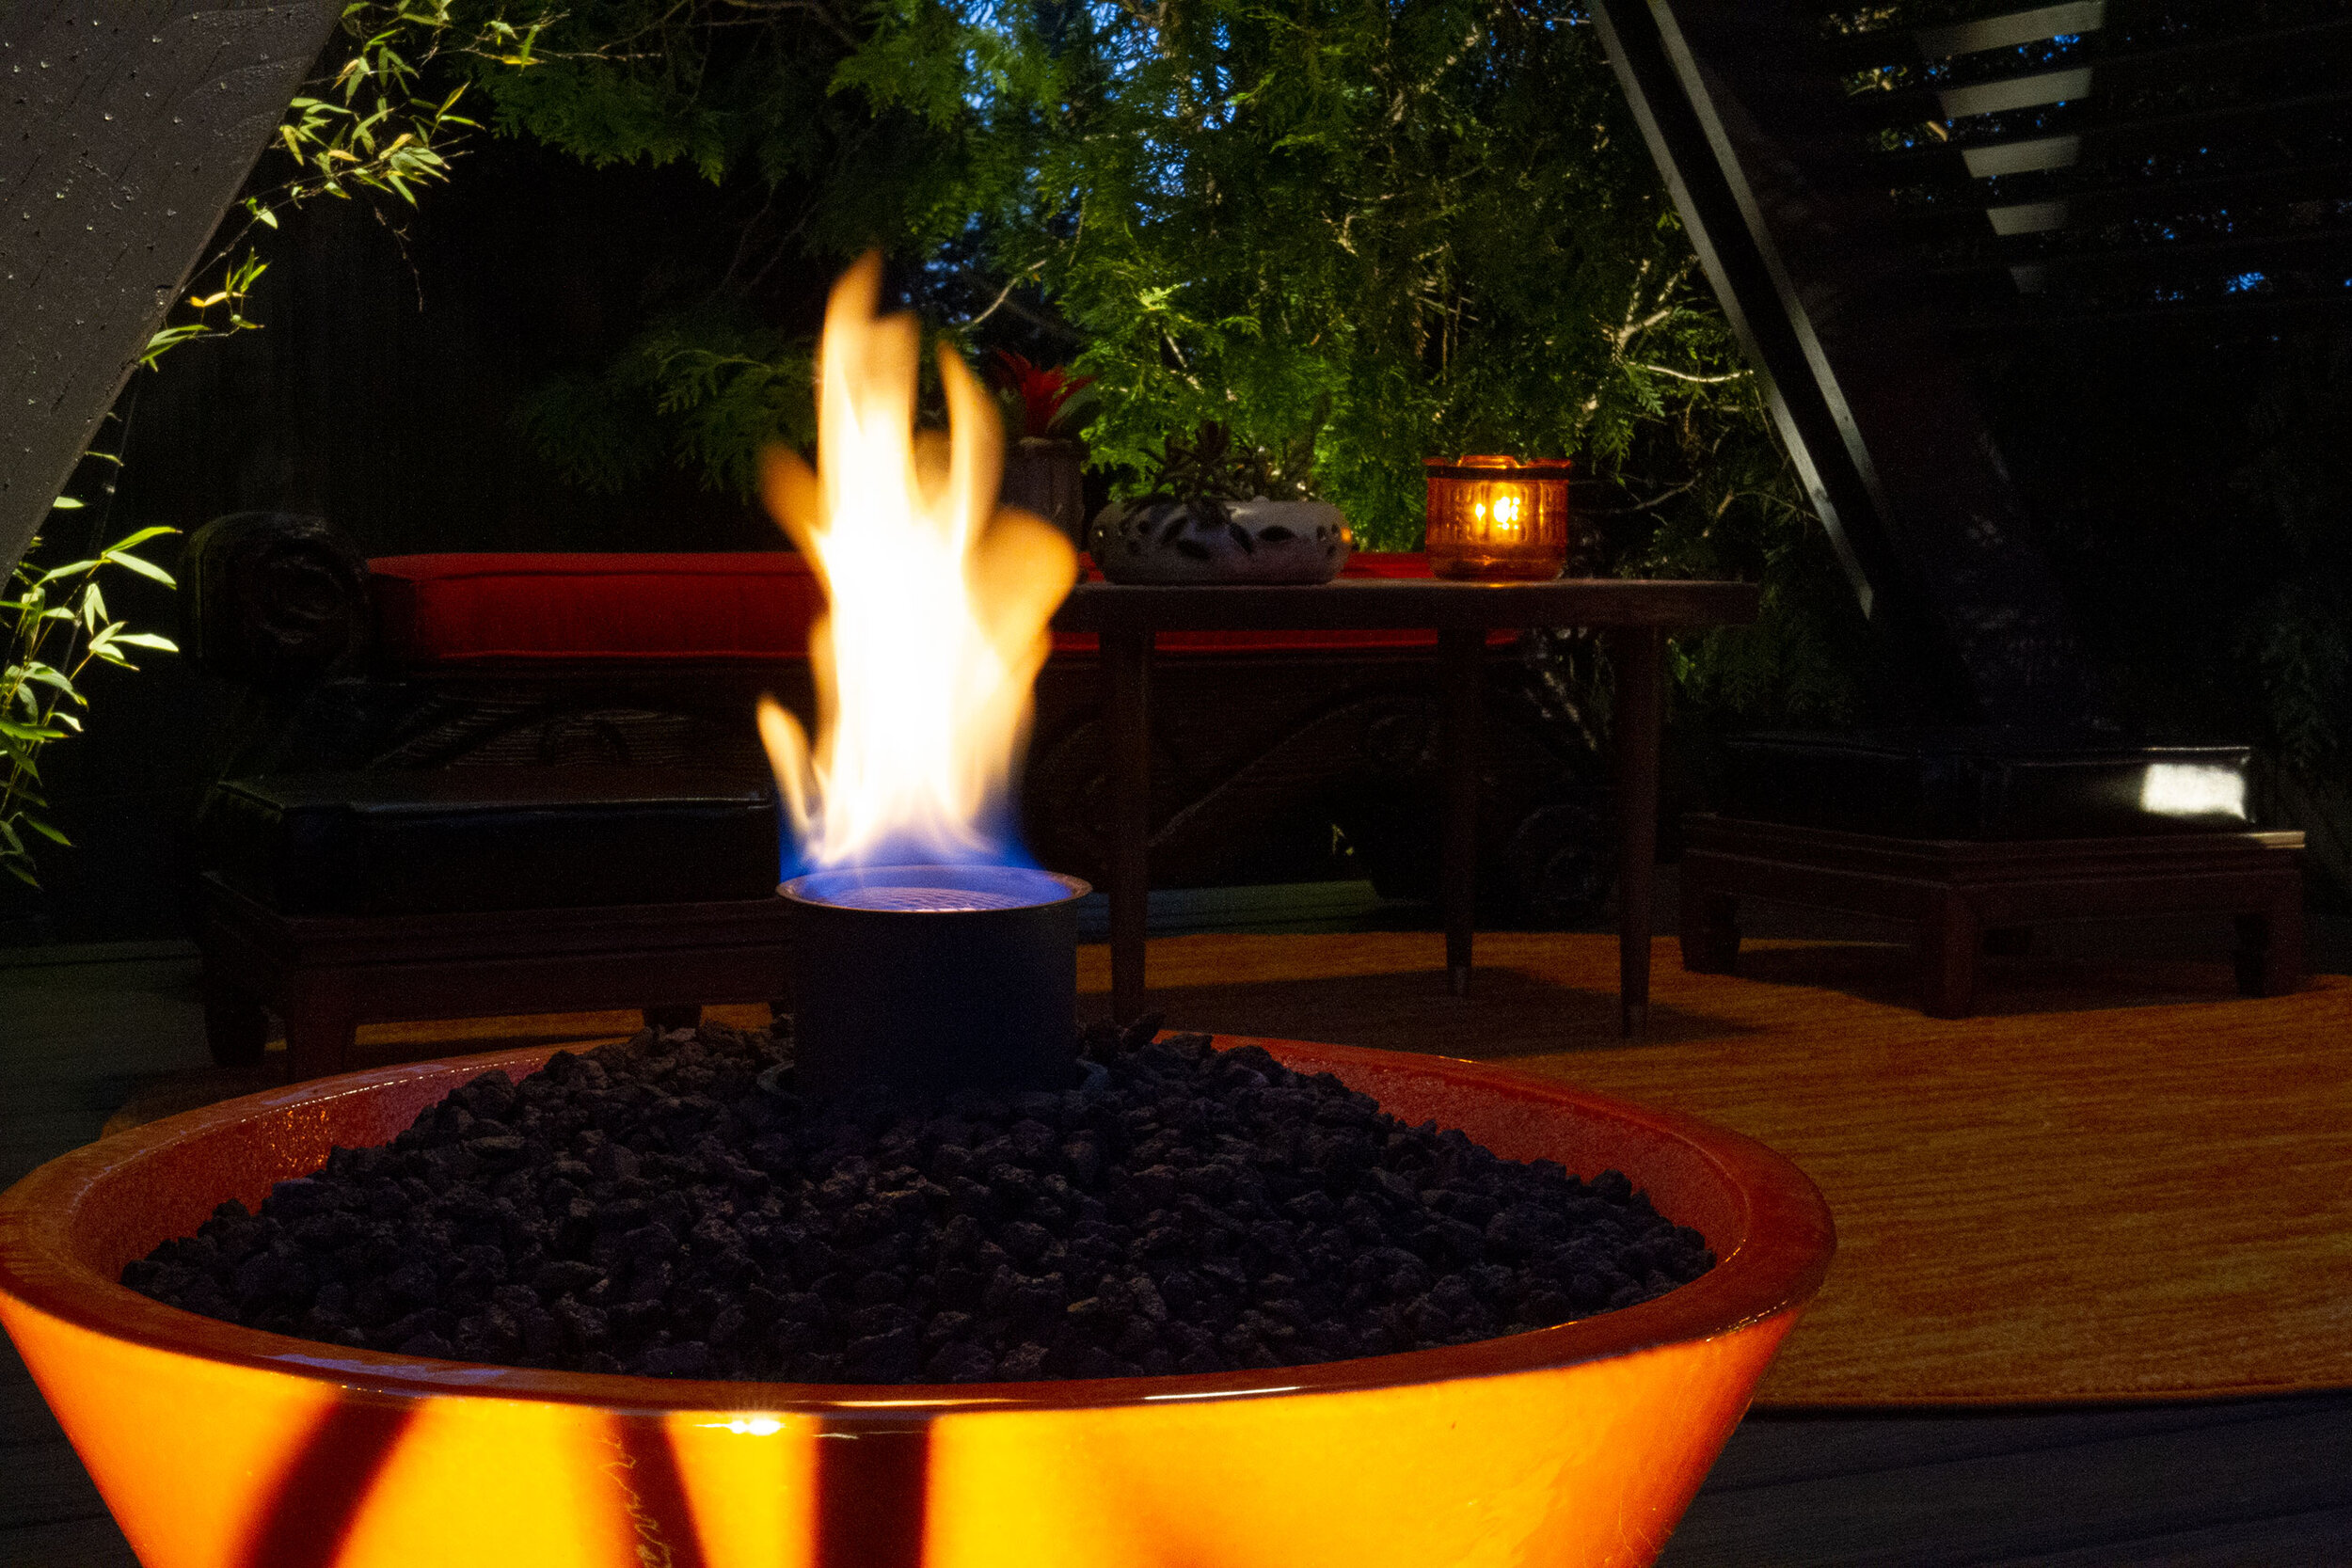
Last but not least, a few final installations that really make this garden sing. While a significant portion of the garden is dedicated to dry river beds and hardscapes, I very much wanted to incorporate the sound of running water. In Japan, a garden water basin is known as the tsukubai. This symbol of water is meant to relax the mind, body, and spirit as you enter the garden from the main house.
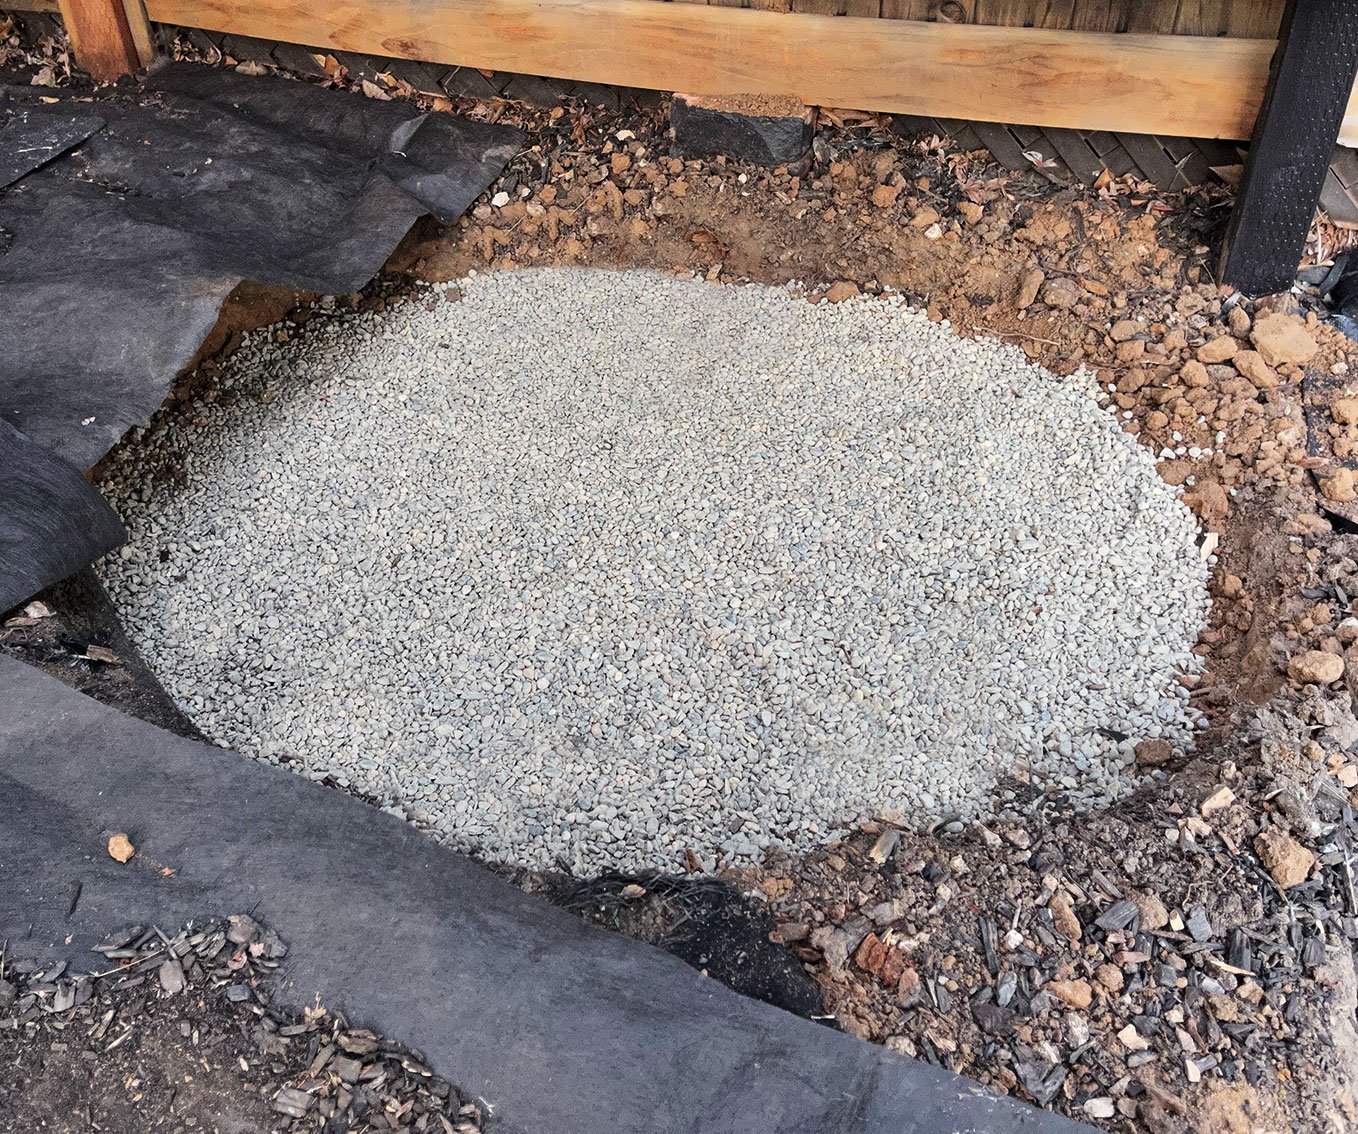
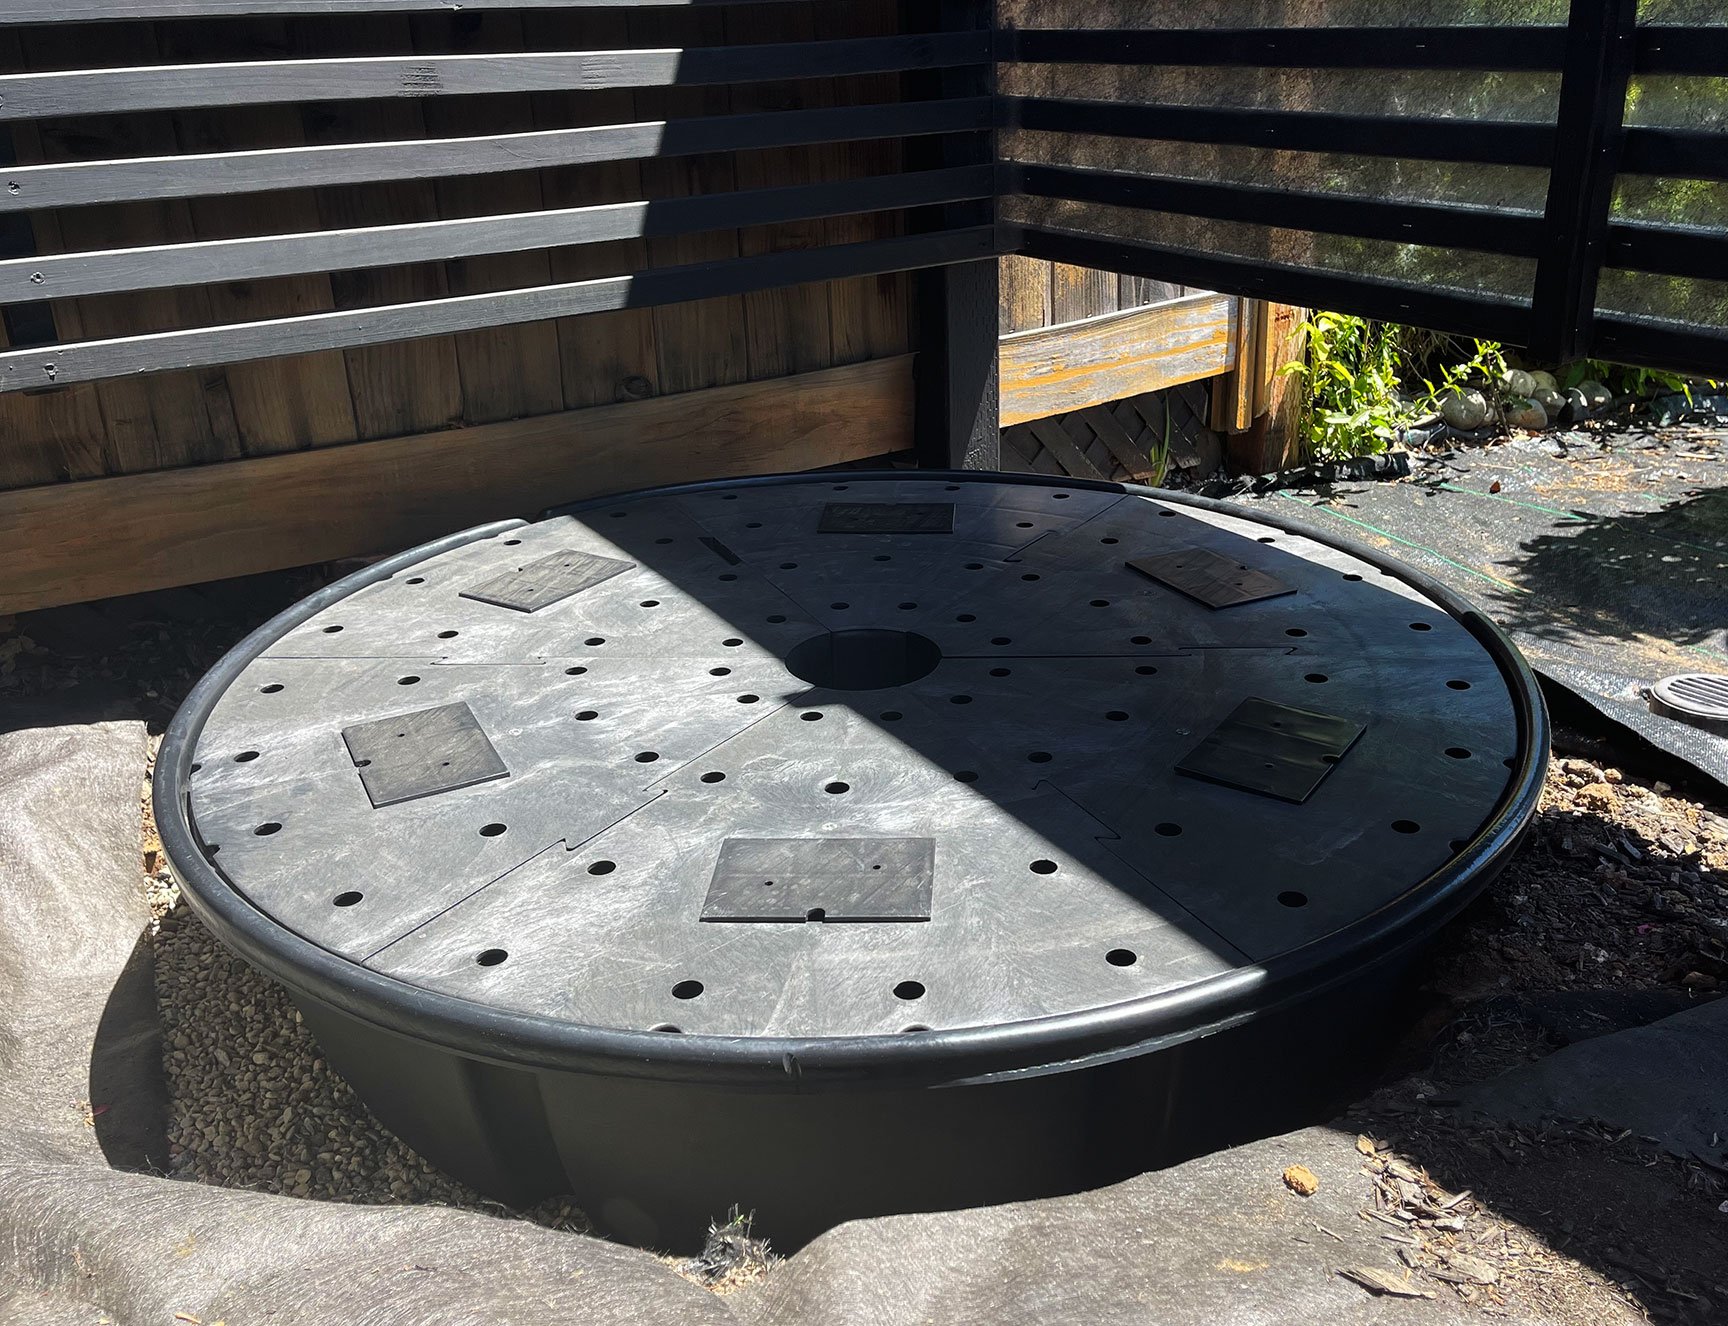
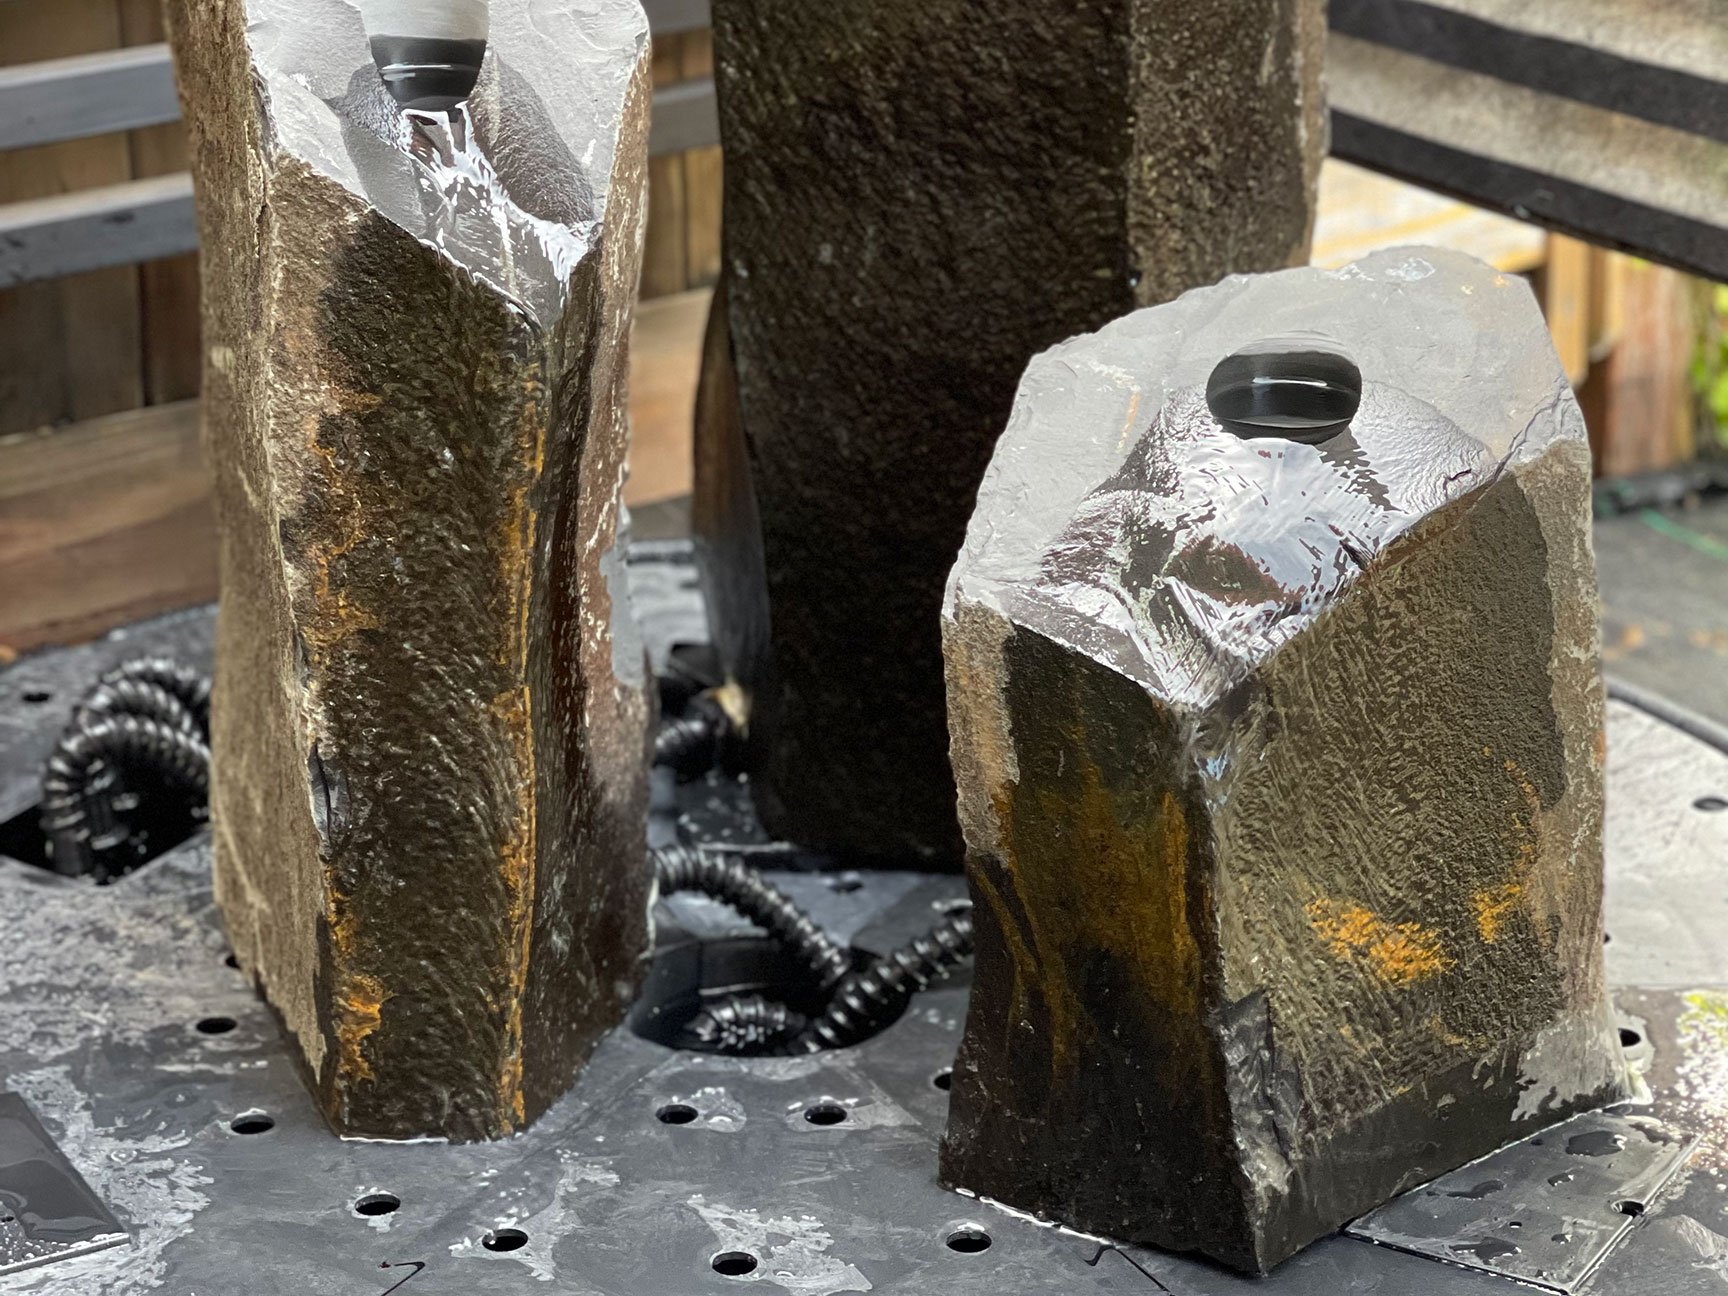
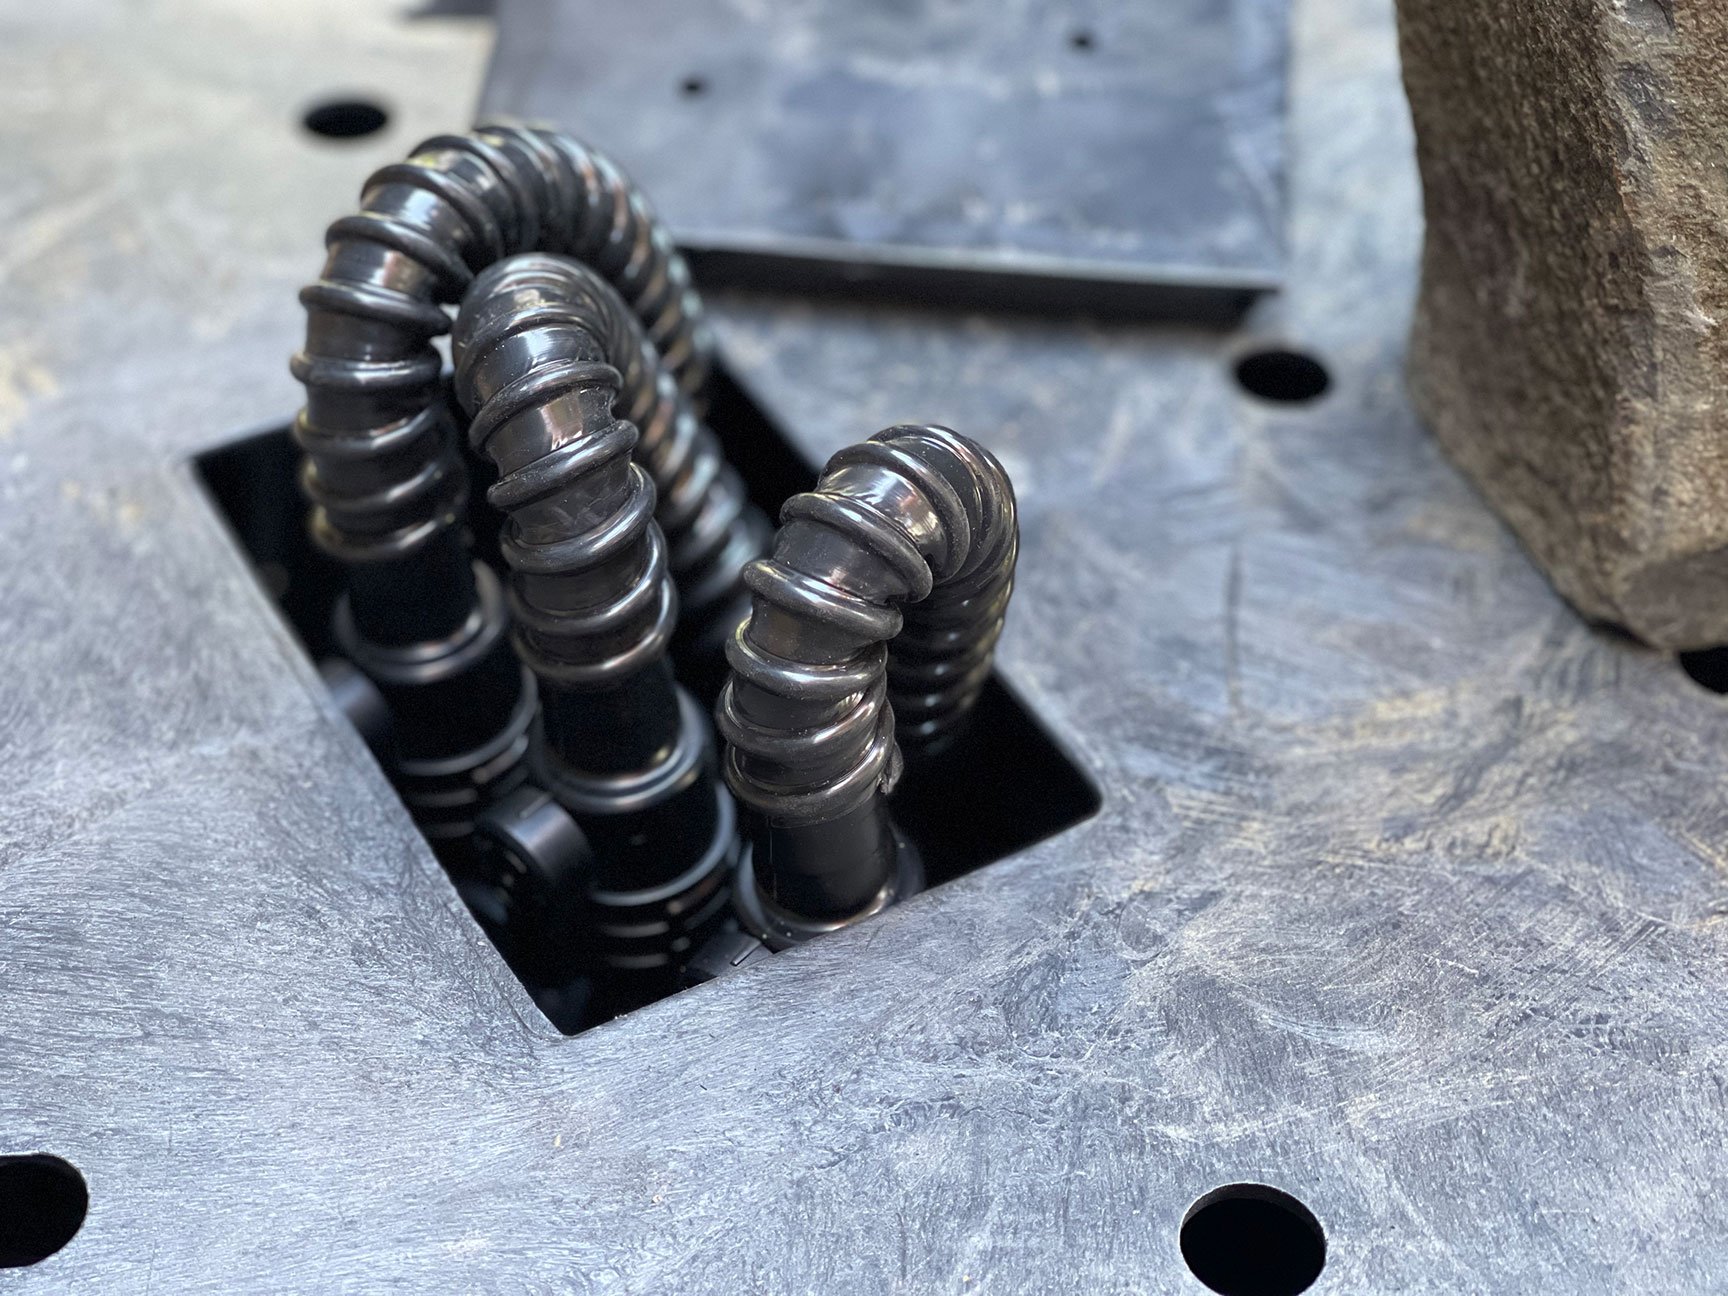
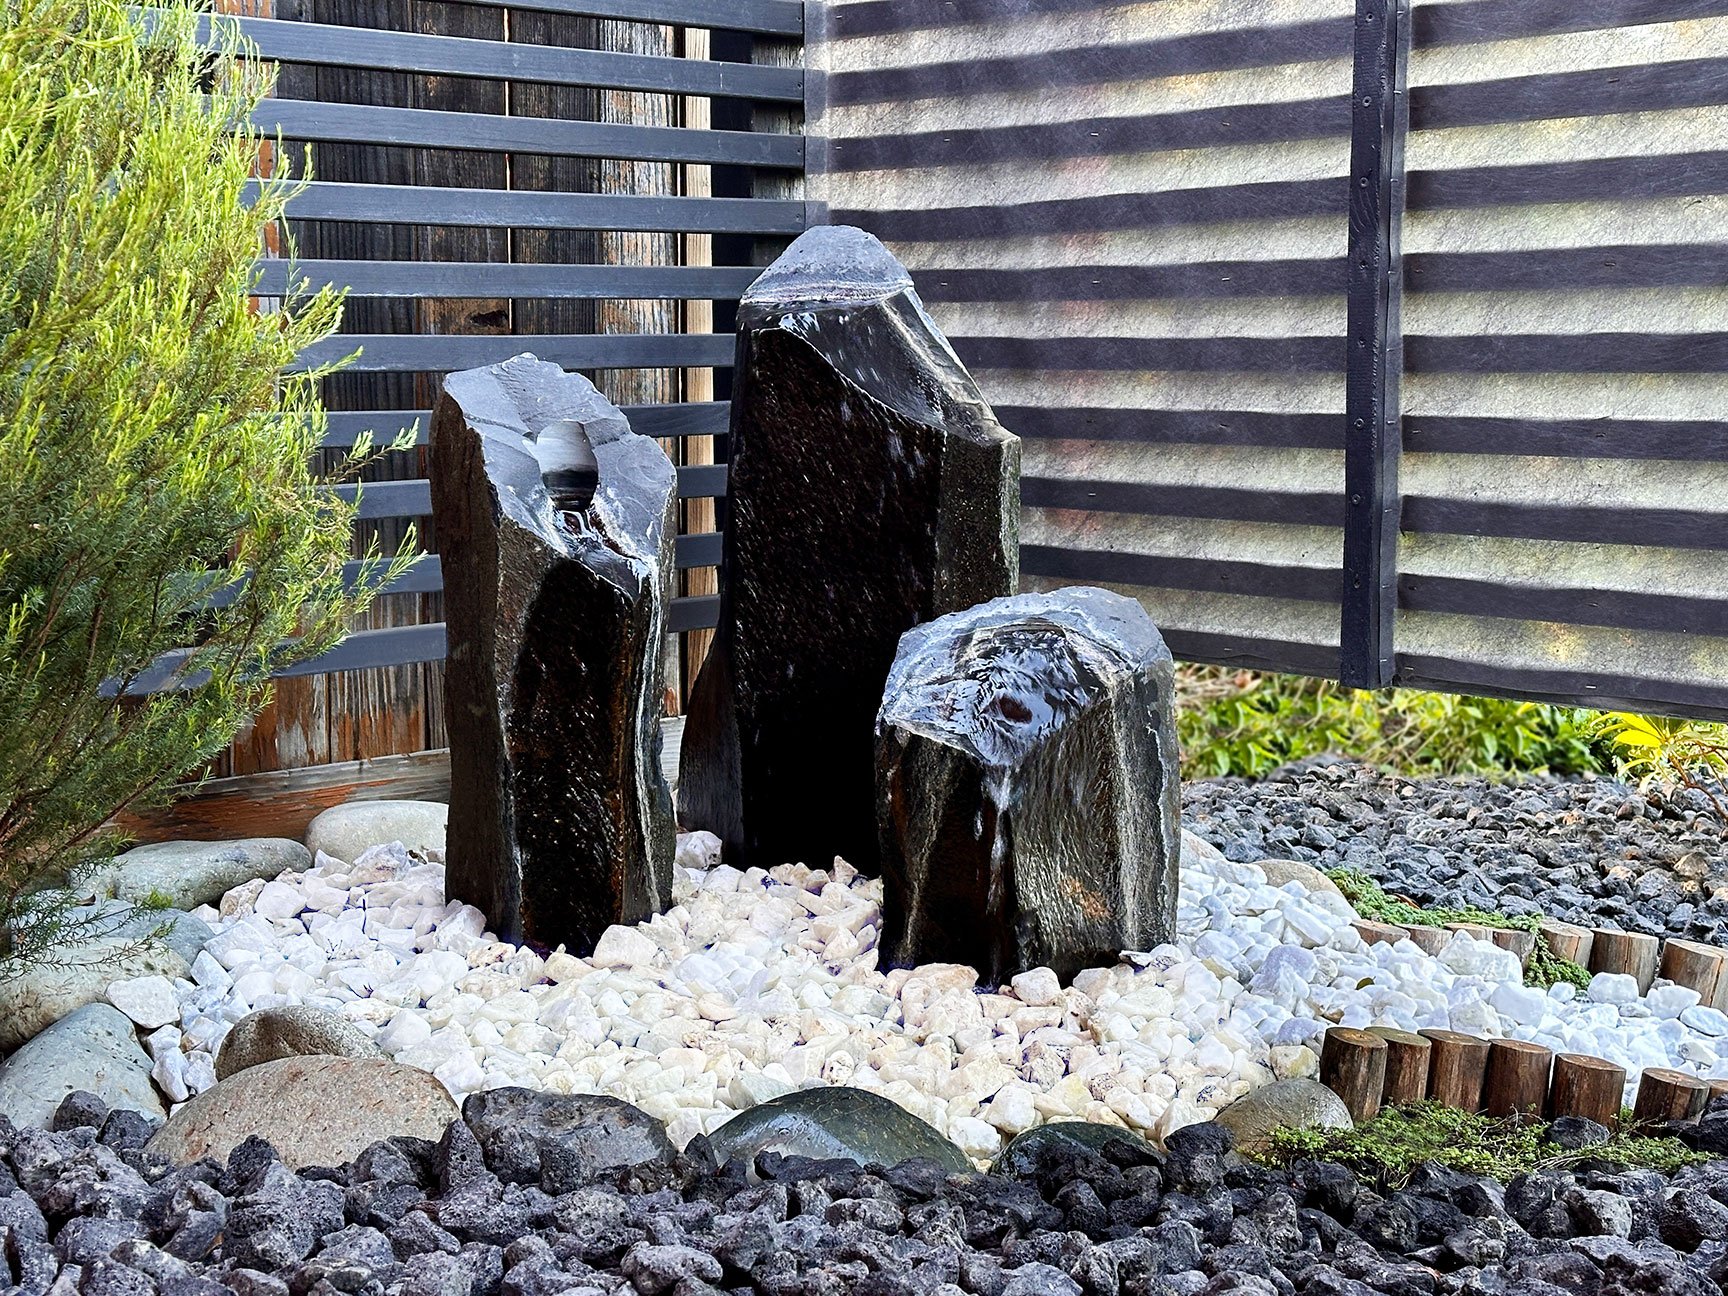
I shopped a variety of water features over the course of a couple months, and ended up finding that a grouping of 3 basalt columns would best suit the aesthetic I was going for. What I found at Thompson Building Materials was pre-drilled and fitted with plumbing. I opted for a 36” diameter basin, which offered the most stability, and easy access to the pump and hoses after installation.
Once I had the recessed trench dug out, I laid a bed of pea gravel to level the surface, and ran the electrical line. I arranged the basalt columns in the desired configuration, mirroring that of the sanzon stone grouping, then connected hoses to the pump inside the basin. The basin was filled with water for testing, at which time I set the valve flow on each nozzle. I opted for an Aquascape Ultra 1100 pump, which offered quiet operation and greater control for each fountain.
With the fountain running smoothly, I surrounded the basin with various cobbles to match the Shimpaku juniper, and covered it with white dolomite. Larger white stones gradually transition to finer pieces in the winding dry river. This connects tranquil sounds from the patio area to the vast sea beyond the privacy screen.
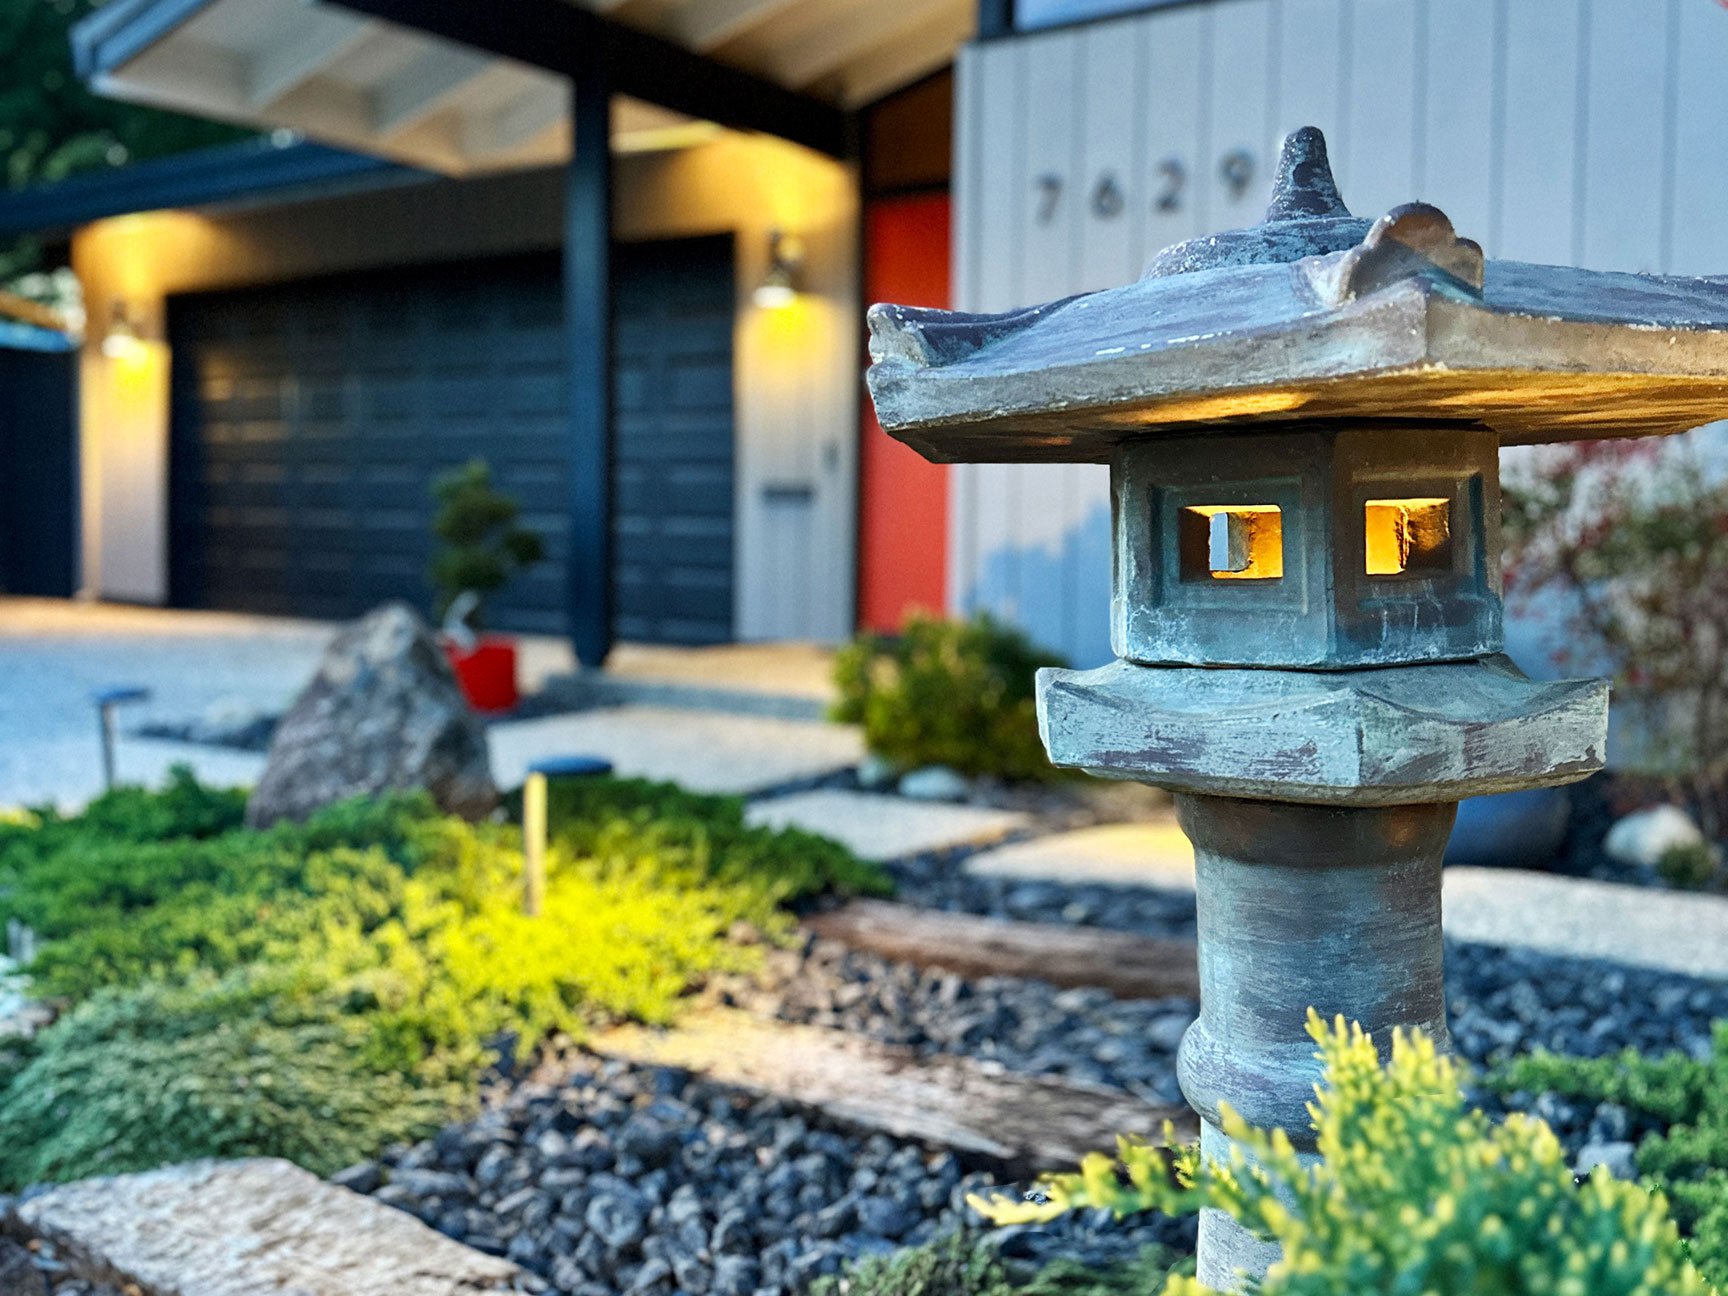
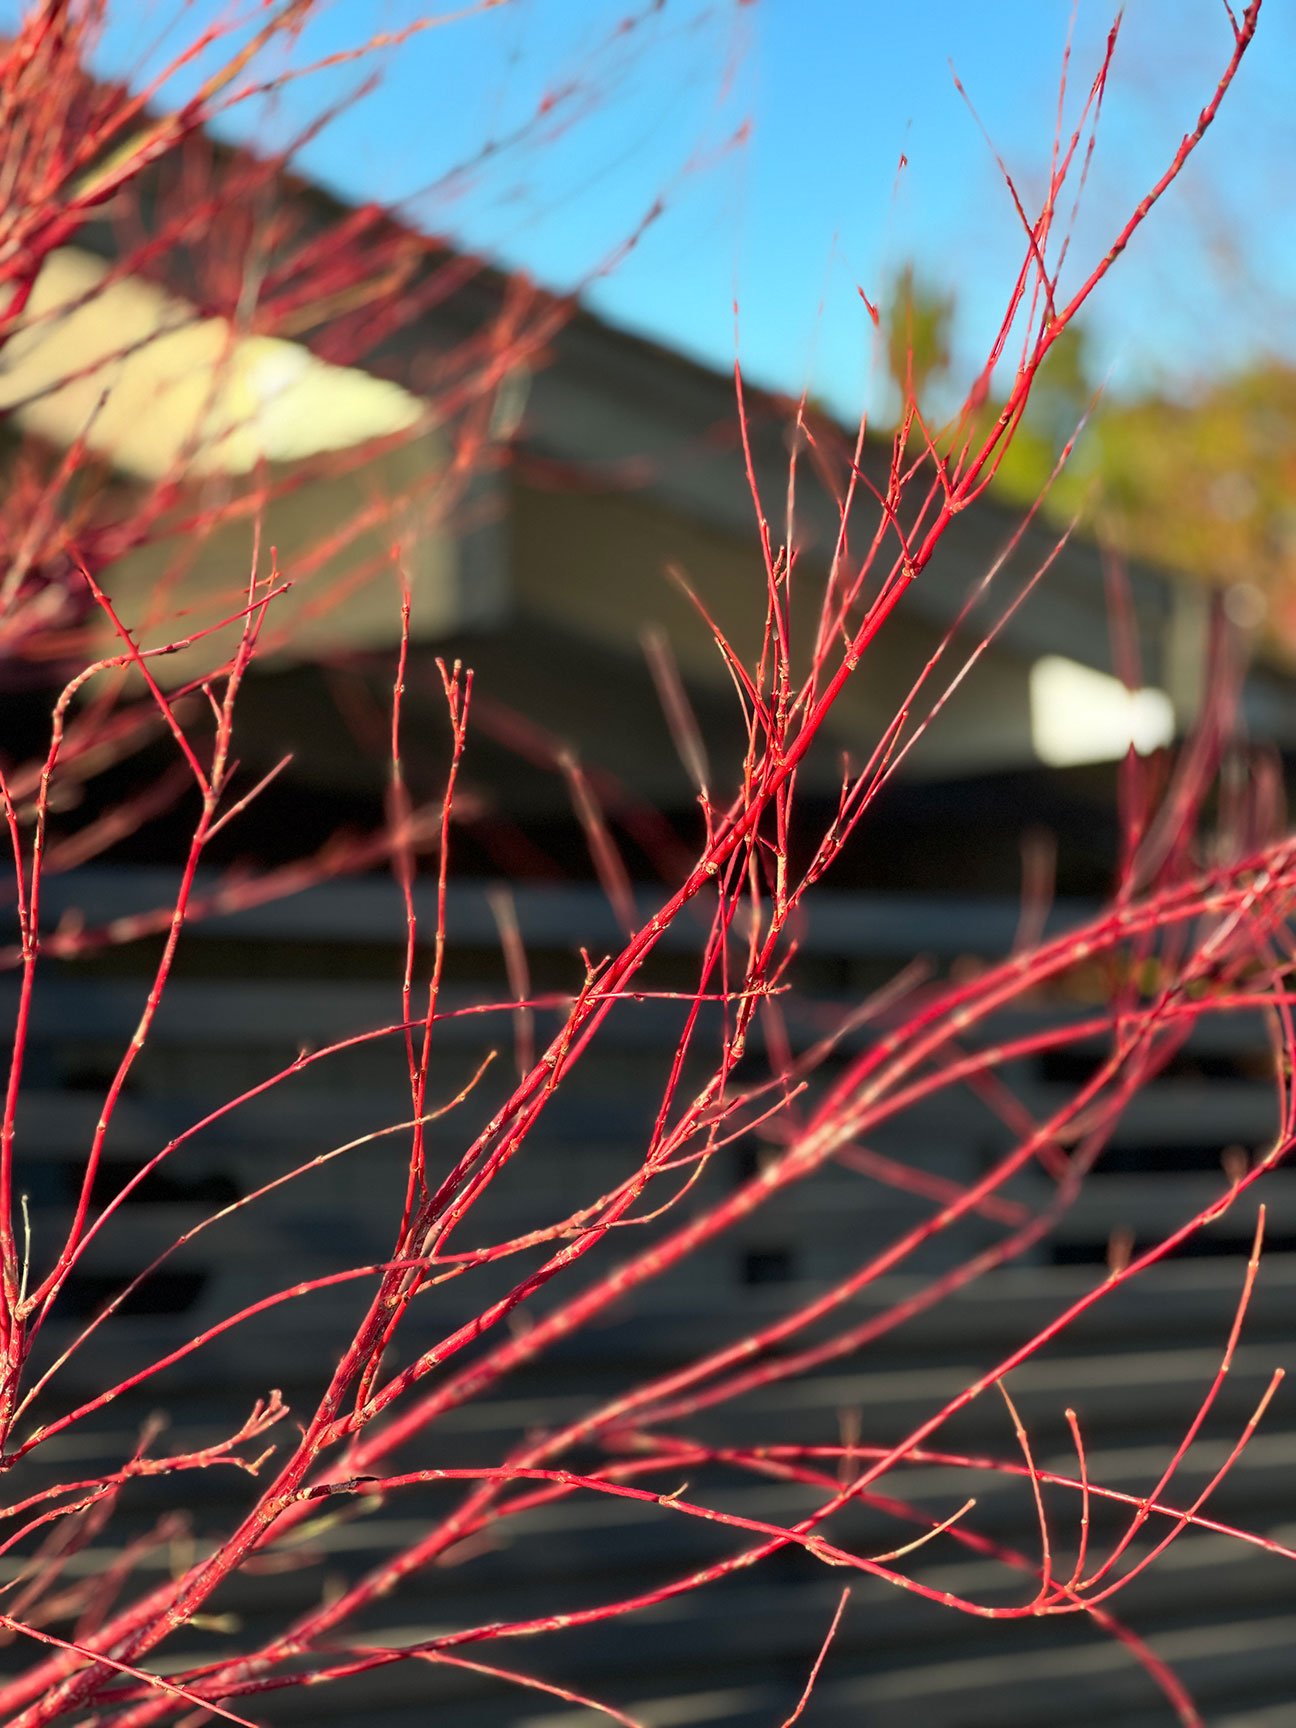
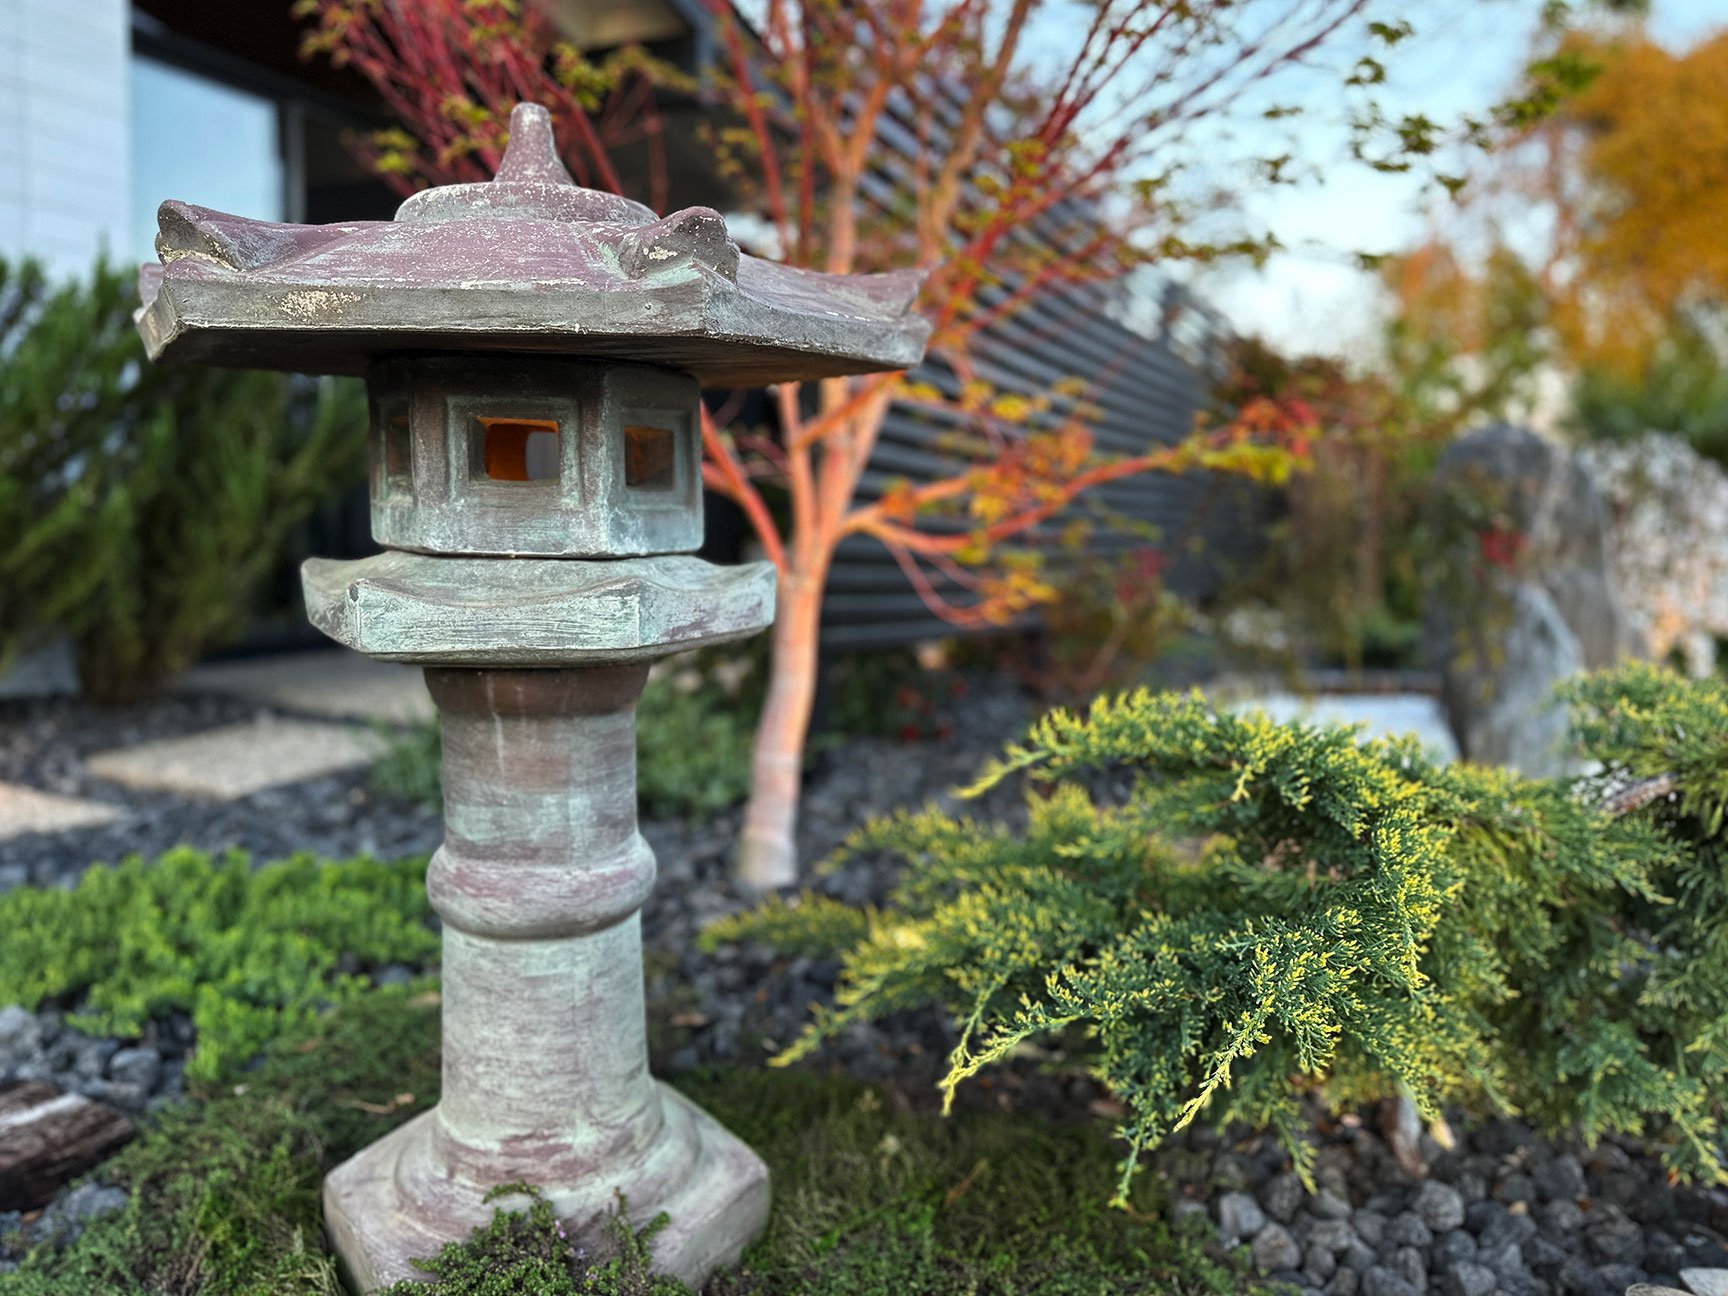
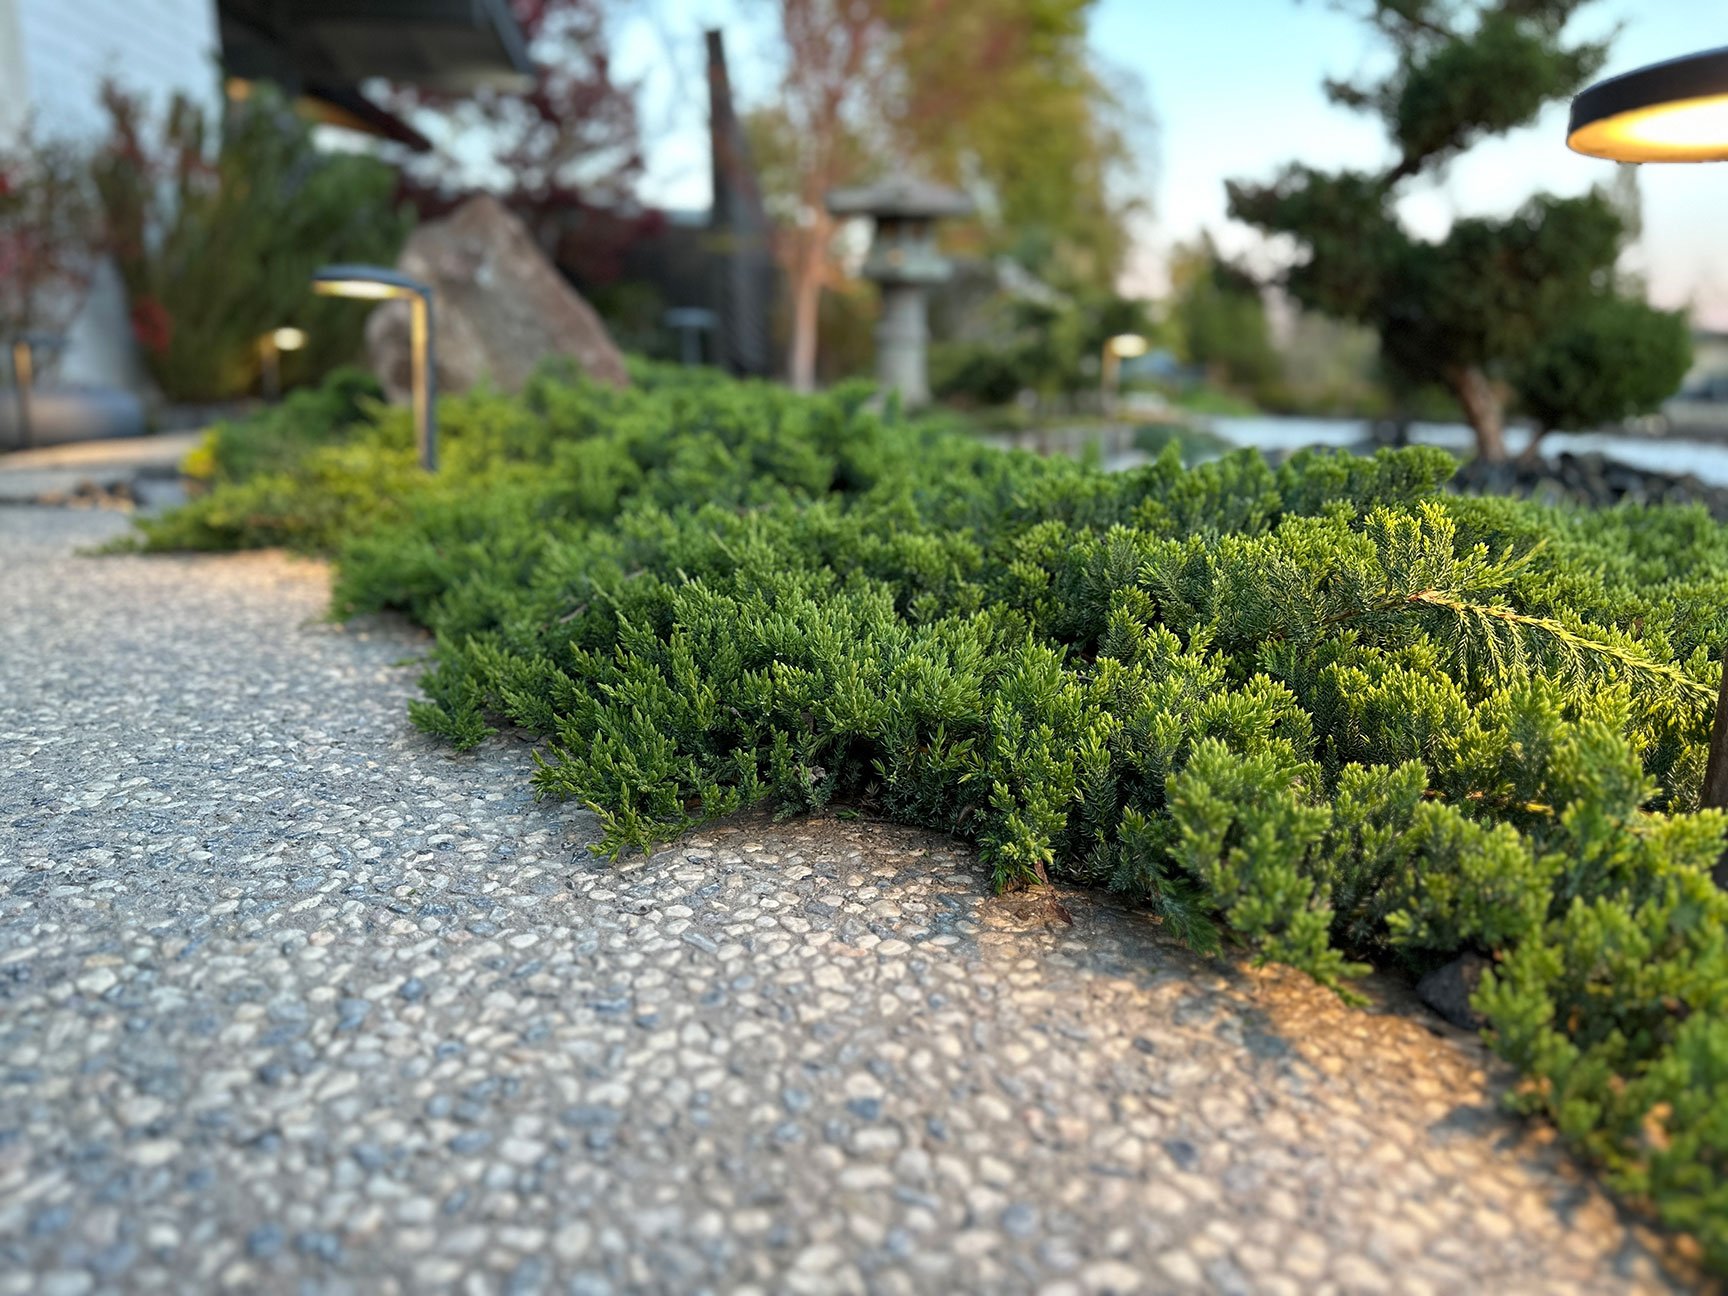
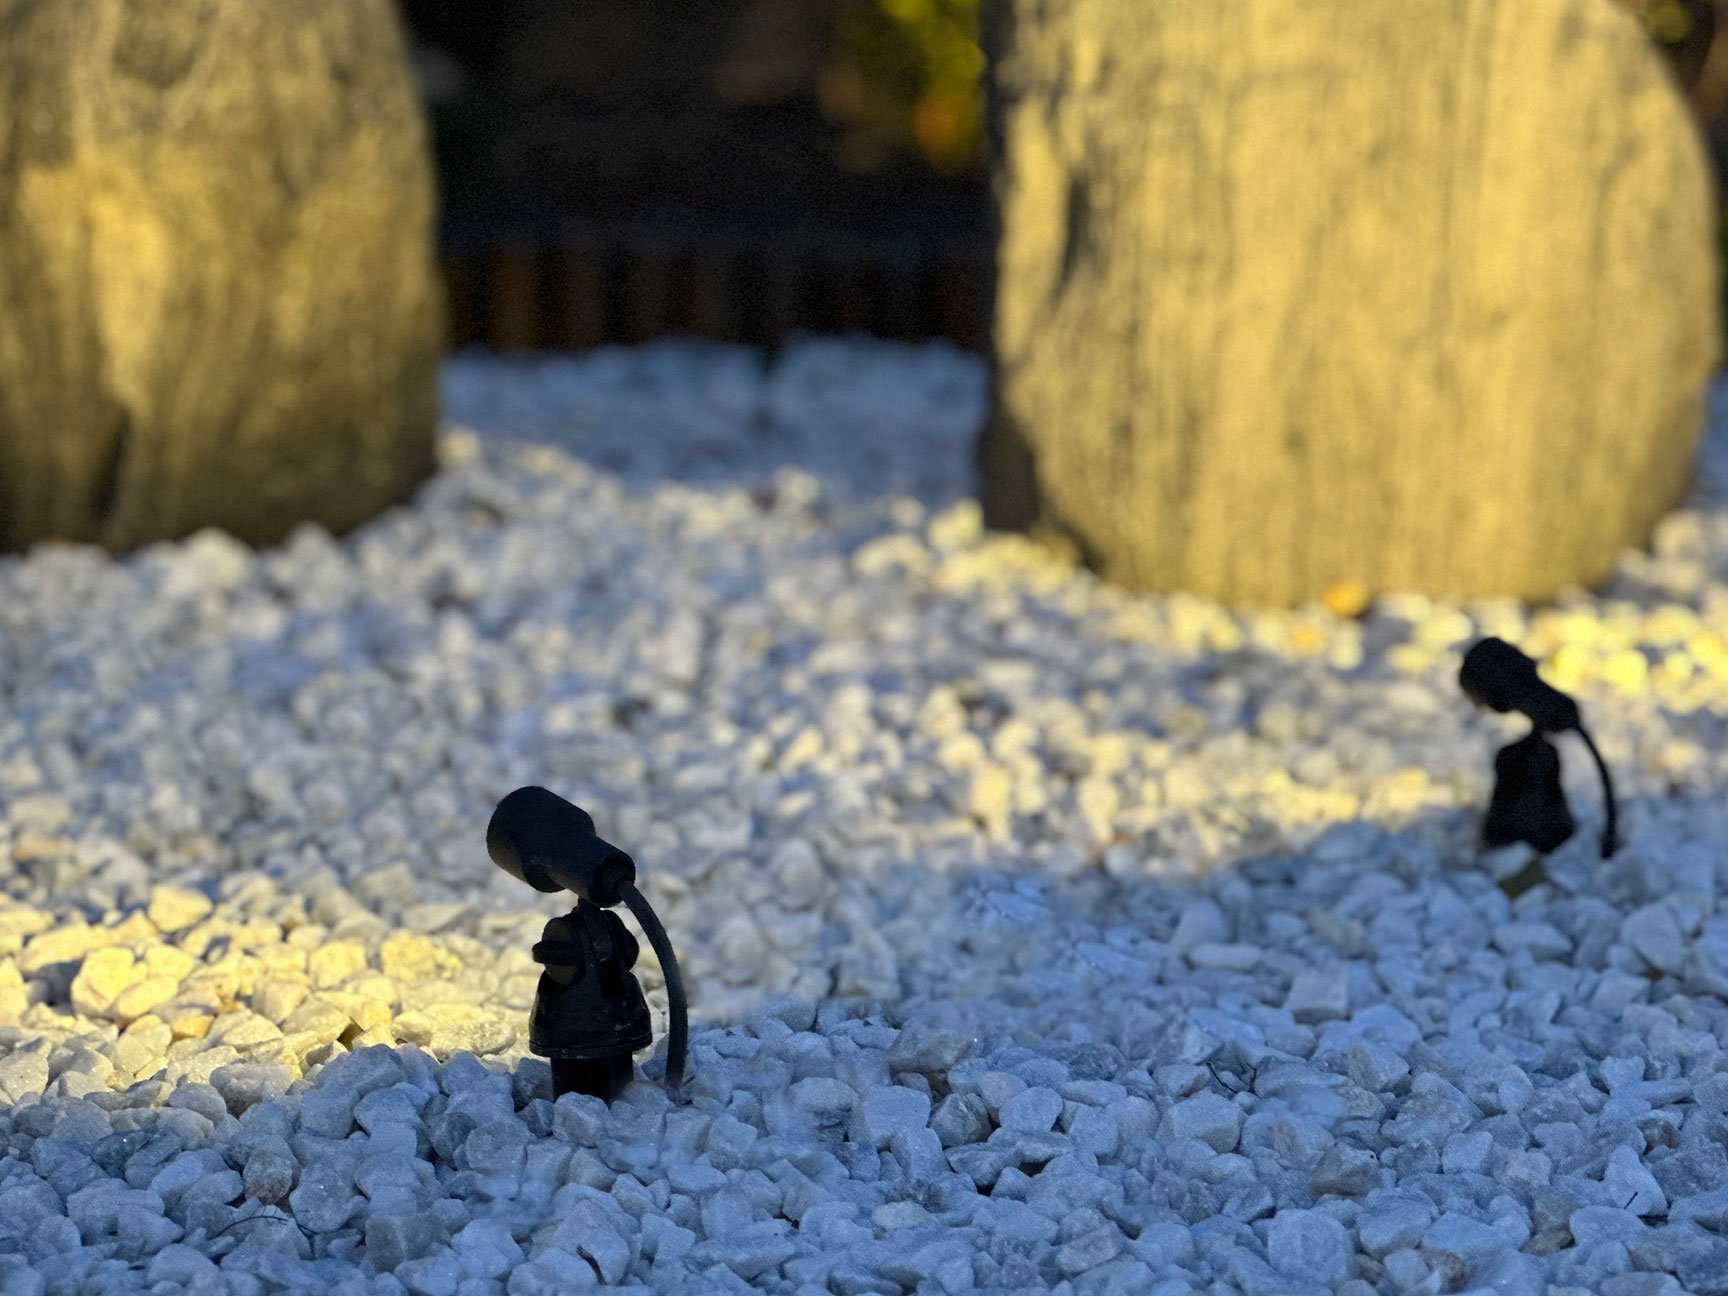
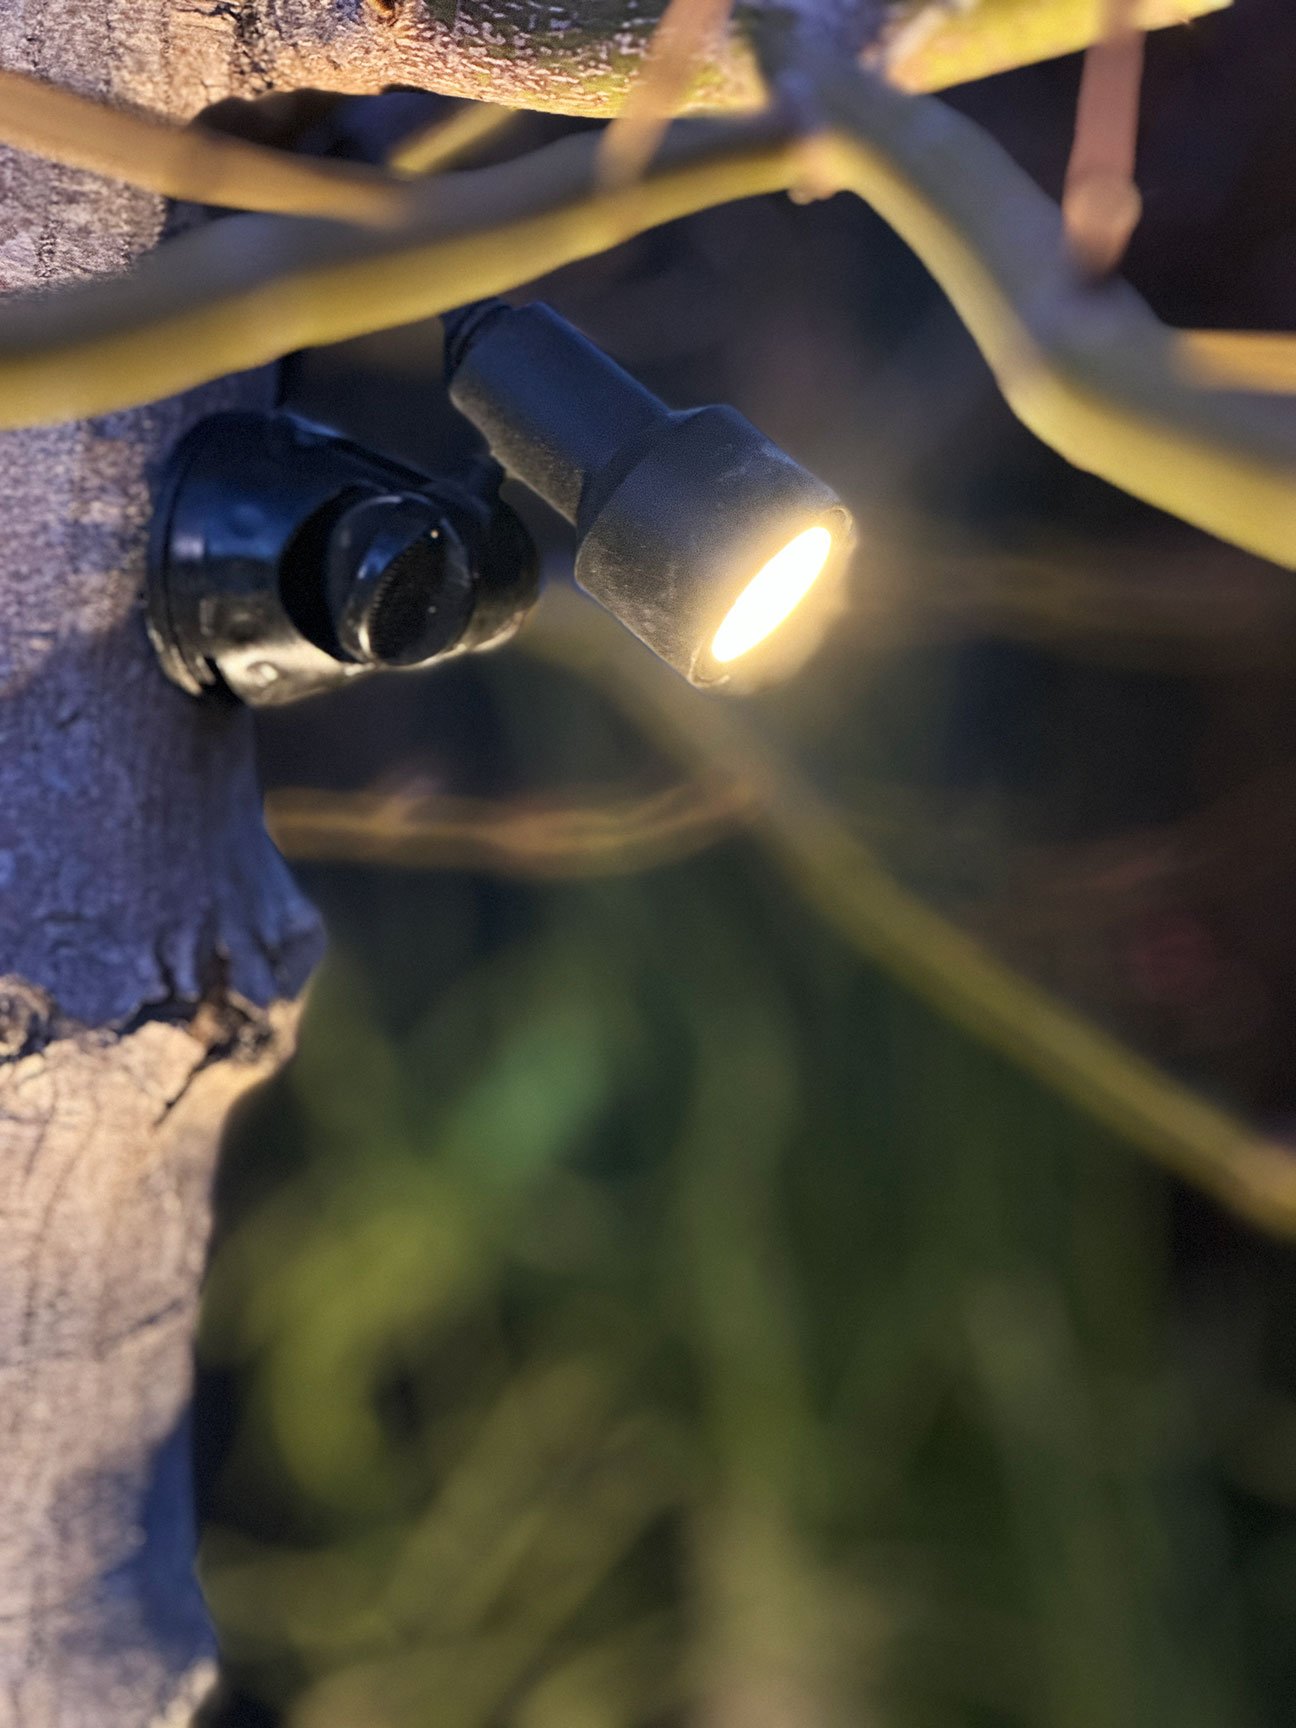
Of course, lighting plays a crucial role in setting the tone for this garden, so I incorporated a variety of fixtures to help tell that story of a calm, far away place. A tachi-gata (pedestal lantern) is placed at the corner of the pathway leading to the sea. The soft jade and warm rust vintage patina is balanced by the nearby coral bark Japanese maple. A carpet of creeping thyme softens the lantern base, making it feel grounded to the landscape. I wired the tachi-gata with a low voltage line that connects to the landscape lighting transformer, and used a 1W LED bulb for a subtle warm glow. A series of path lights were used to illuminate walkways, and 1W spotlights were used to highlight key features such as the Shimpaku juniper, basalt fountain, and sanzon boulders.
The Big Reveal
You have waited long enough! This passion project is finally complete, but the story is far from over. As this composed landscape continues to thrive and unfold, so does this home design journey. Thank you for being along for the ride, and for your enthusiastic support along the way. May you continue to find peace, tranquility, and inspiration from this blog and beyond.
“This passion project is finally complete, but the story is far from over.”