Indoor Recess

A designer’s job is never done! Upon moving into my home in 2016, I was on a mission to get baseboards installed after having my concrete floors finished. I was on the hunt for flat, low profile baseboards with sharp corners. I figured this would be a basic standby at any hardware store or lumber yard. However, It turns out that most baseboards have some form of gingerbread, scalloped edge, ornate nonsense going on. I ended up sourcing a 2 1/4” high option that had one slightly bullnose edge. I was able to flip the baseboard with the bullnose toward the floor, and facing the wall to hide this annoying detail. They were clean, crisp perfection…and they lasted all of 3 months.

Out with the New
It wasn’t long before I was touring homes at Modernism Week in Palm Springs when I stepped into a newly constructed modern home and noticed this wonderful recessed baseboard treatment. The finished drywall came down to about 1 inch of the floor, then cut inward. Upon inspection of this super clean and modern feature, I found that a piece of z-metal trim was installed along the base of the wall, giving it a tailored, finished look. Immediately, my head went to doing this treatment in my own home despite the many hours of sawing, measuring, mitering corners, caulking, and painting. Every. Single. Room. I had to have this look, and I was on a new mission to apply it to my space.
The process started with prying away the baseboards I had put down. I will tell you, it was a little heartbreaking cutting into finished caulking and hauling brand new baseboards out to the curb for junk pickup. As painfully wasteful as that process was, I knew the end result would be worthwhile.
Cutting In

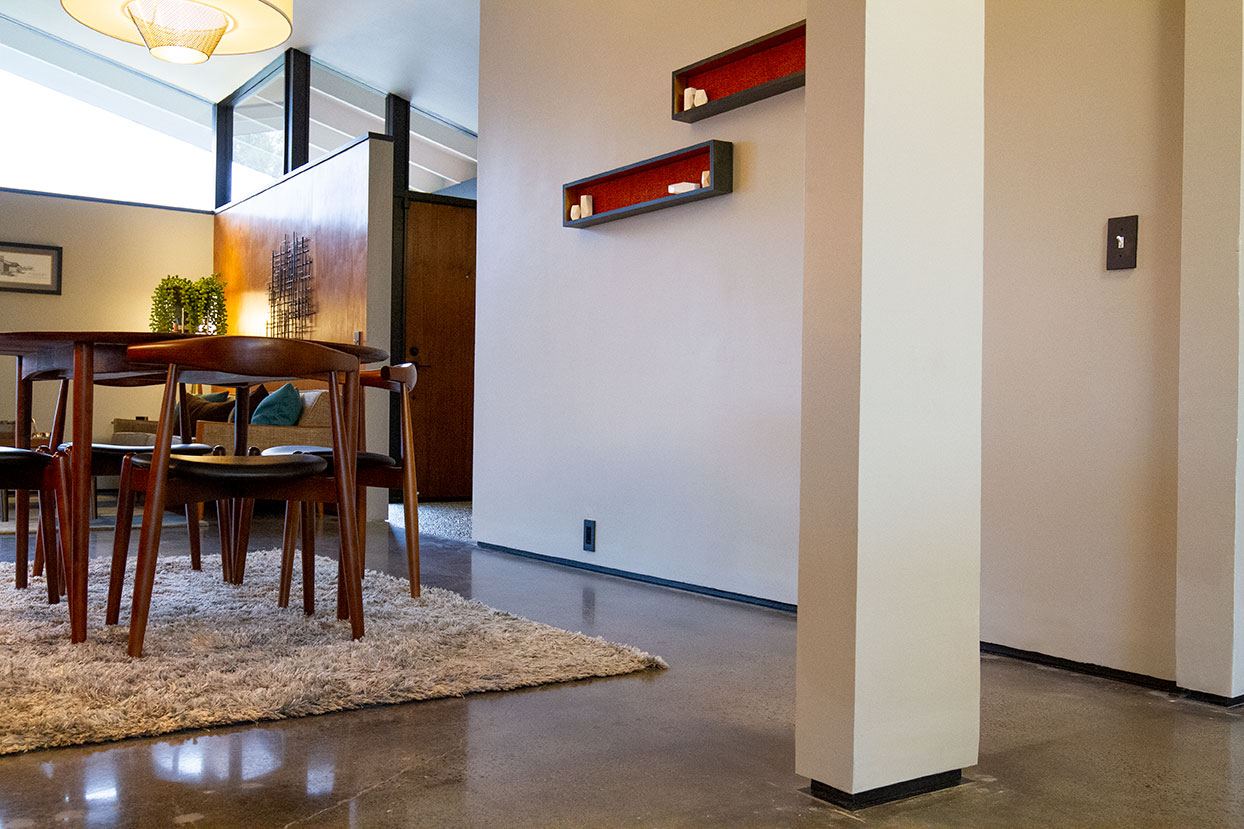
Typically, this “baseless” look would be done at the time of construction — installing a z-metal channel, then finishing with joint tape, compound, and paint. However, I was not about to demo all my newly smoothed drywall. Full disclosure, I had no idea what I was doing, but I knew there must be a way other than starting from scratch, so I was willing to experiment. After much deliberation, I felt confident that I could use a Dremel circular saw to cut away the drywall about 1” from the floor. Naturally, I decided to start by cutting into one of the most visible walls in my entire home — the wall that adjoins the dining room to the living room and kitchen. Genius, no? To keep the saw level, I crafted a plank out of an old (er, umm…new) baseboard and applied a few felt feet to keep it gliding smoothly across the concrete. I didn’t throw all the baseboards to the curb!

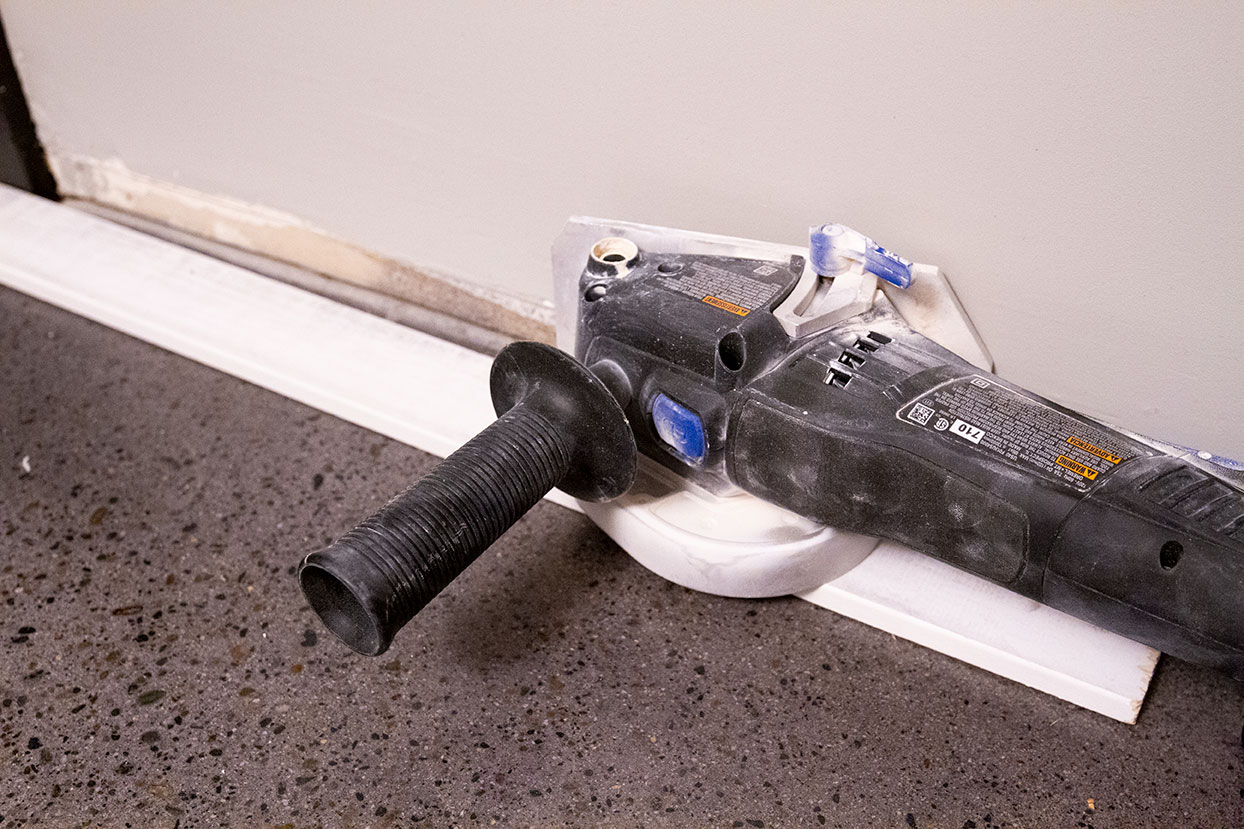

I must also note that this was absolutely a 2-person job. Glen made several trips from LA as his help was required. One of us would run the saw while the other hovered over with the vacuum to reduce the spreading of drywall dust. And even still, there was dust for days. A Dremel tool with diamond wheel attachment was used to cut away stray nails and corner bead. Sparks flew as we ripped through 1970s metal, and though we remained uncertain as to what we were doing, we forged ahead. The first complete cut was done, and it was a clean break. Nervous looks were exchanged as a neat little 3/4” thick block of drywall came detached, and a crisp 2x4 bottom plate was revealed. Brief pause for a sigh of relief.
Unfinished Business
We were half way to success, but now needed to figure out a way to cap off the raw edge of drywall. I had intended to use metal corner bead to run beneath the drywall and flush with the bottom plate. However, the height was too great and wouldn’t fit into the newly sawn 1” rise. I considered attaching the bead to the outer drywall edge, but the thought of completely re-mudding every wall in the house felt overwhelming and unnecessary. As I inspected the wall closer, the cut was so clean and precise, I began to think there may not be a need for metal at all.
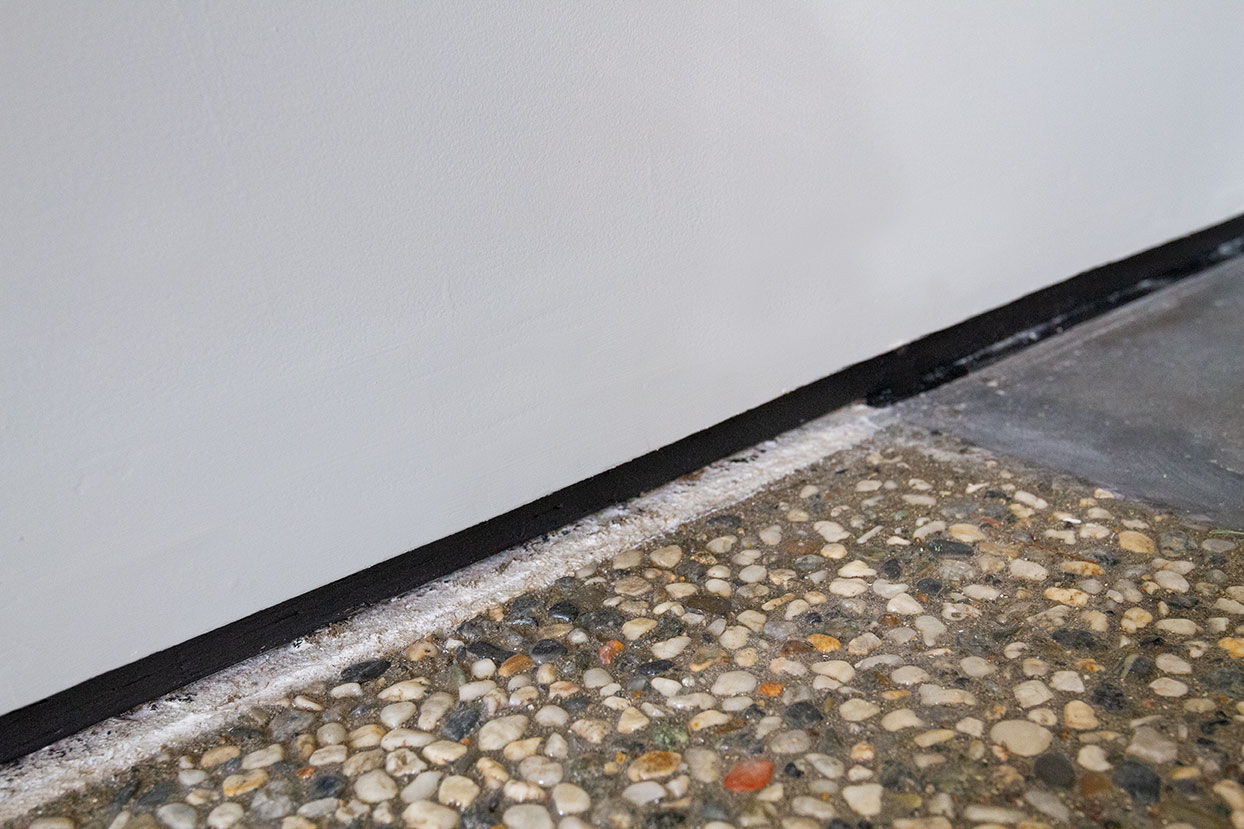
Meanwhile, I was looking over the concrete floors. The perimeter of the floors had been finished, but not into the recessed area as the drywall had previously gone very close to the floor. Because of this, I was left with a 1” inset of raw, unstained, unpolished concrete. Leaving it raw was not going to be an option, so I decided to paint this strip black to match the exterior trim of the house. I taped off a 1” border at the base of the wall using a low-tack craft tape. I tested a small, inconspicuous area with blue painter’s tape first, but found that it discolored the concrete with its high-acetate content, so this low-tack tape was very important. Then, I applied 2 coats of paint to the raw concrete, bottom plate, and underside of the raw drywall. This treatment was dual purpose as it sealed in any stray drywall dust above and masked the unfinished concrete below. The black satin finish provides a crisp, cohesive line that carries throughout each room.
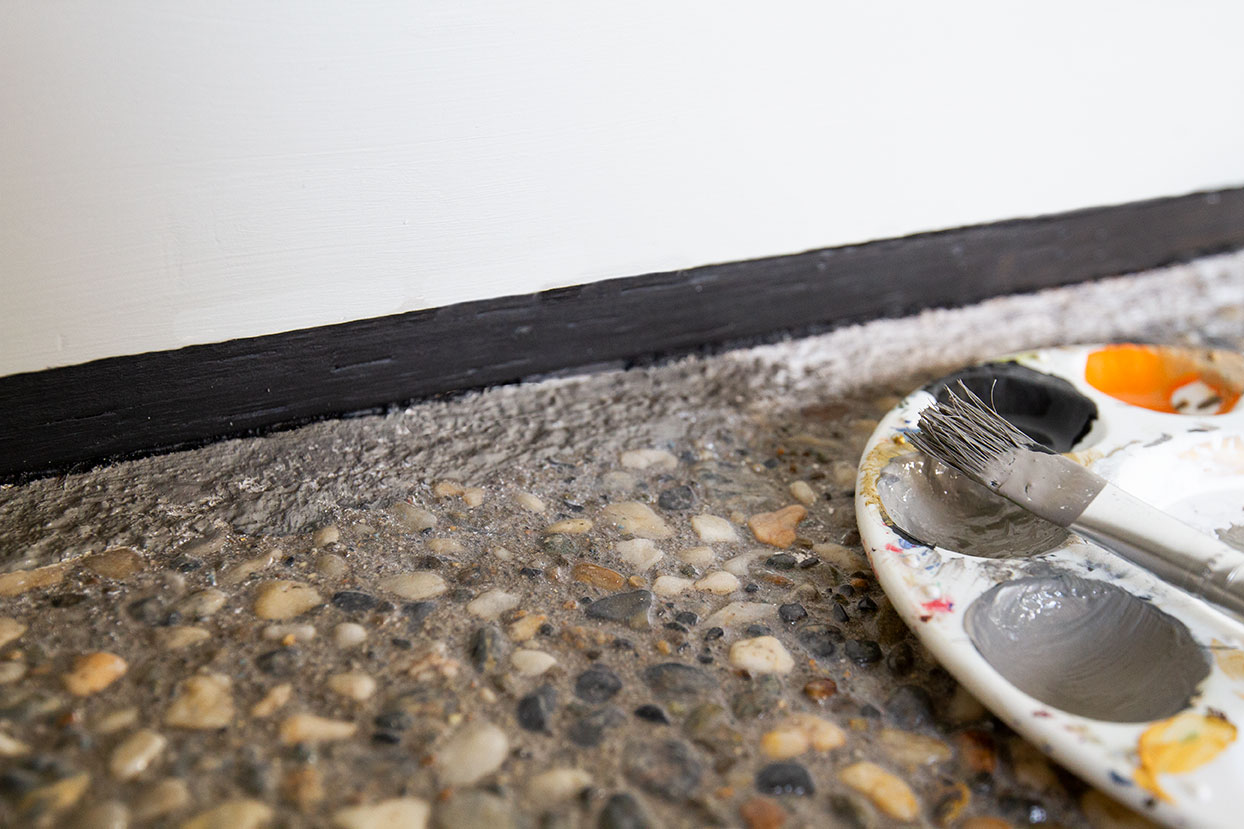
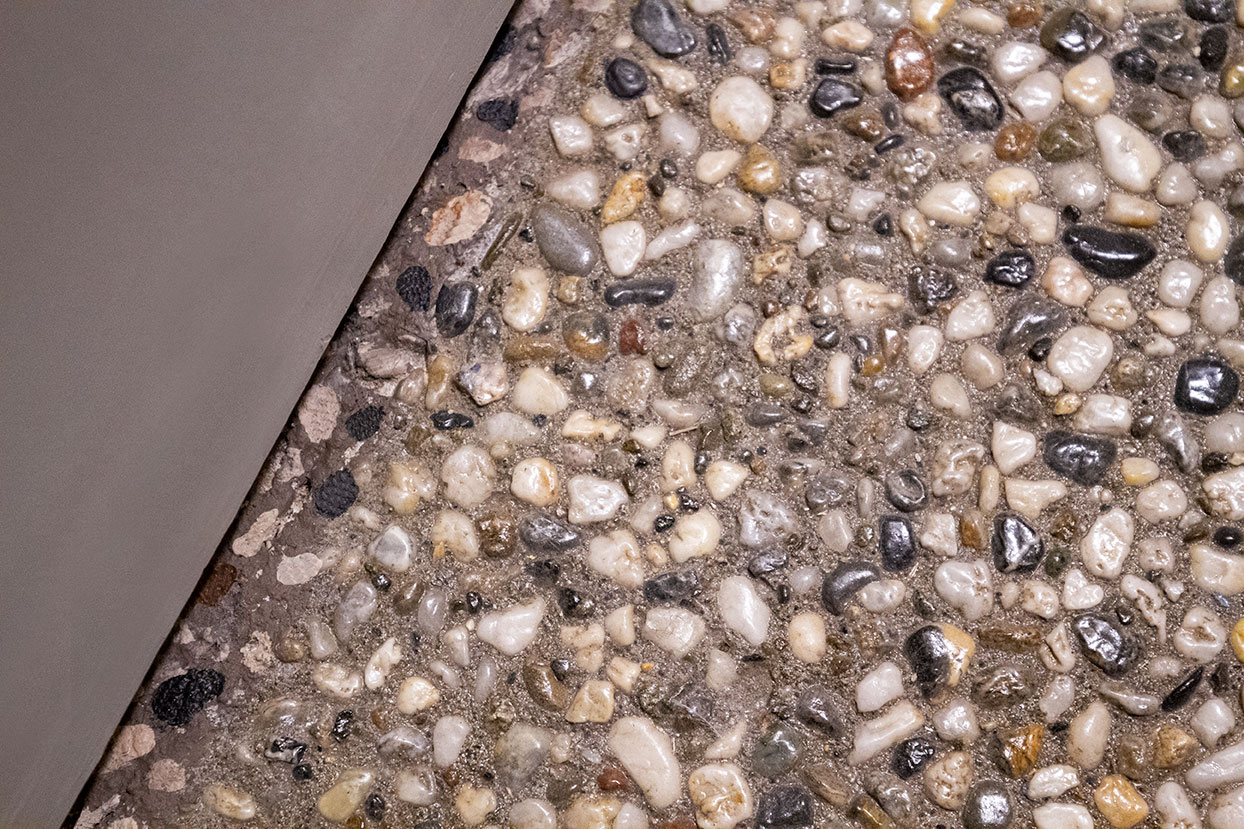
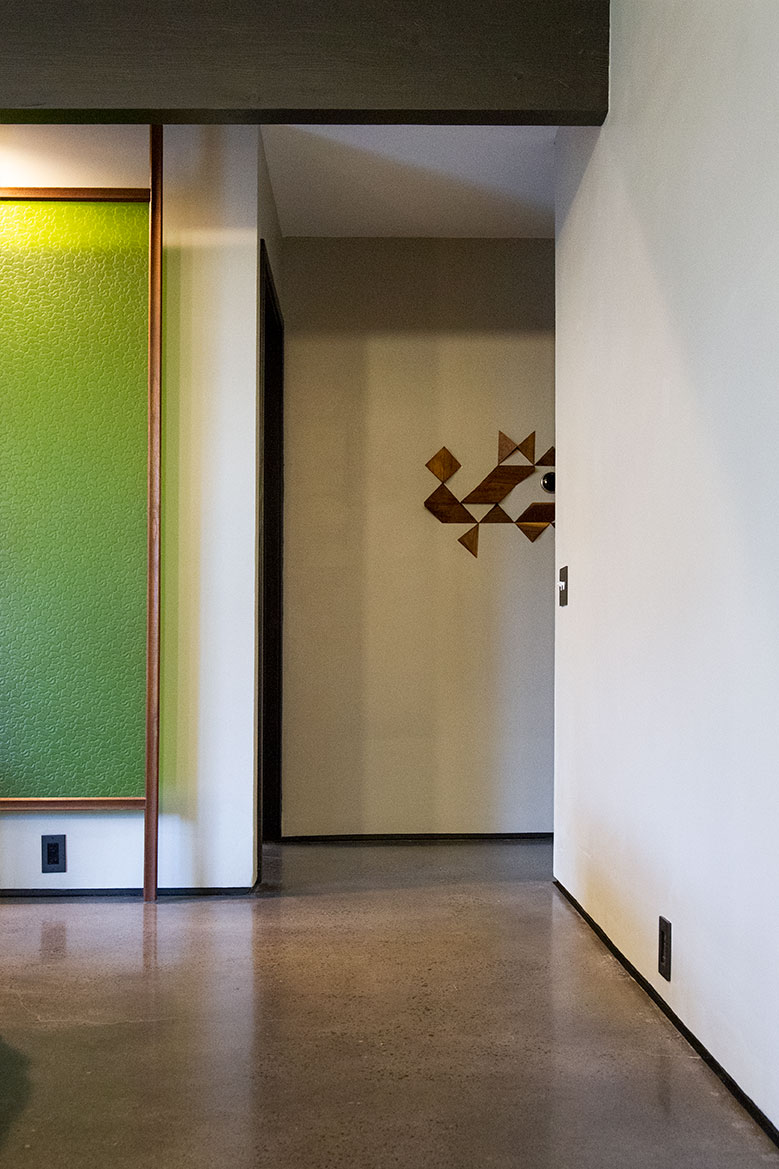
The signature Sparks/Streng aggregate in the foyer had long been covered by baseboards as well, which meant it, too needed some attention. To get rid of the discolored perimeter, I broke out a variety of paint colors, and mixed a palette of custom blends to match surrounding stones. Several hours were spent filling in with a base concrete color, then delicately hand-painting individual stones. It was a necessary step as this portion of the aggregate could not be revived to match otherwise.
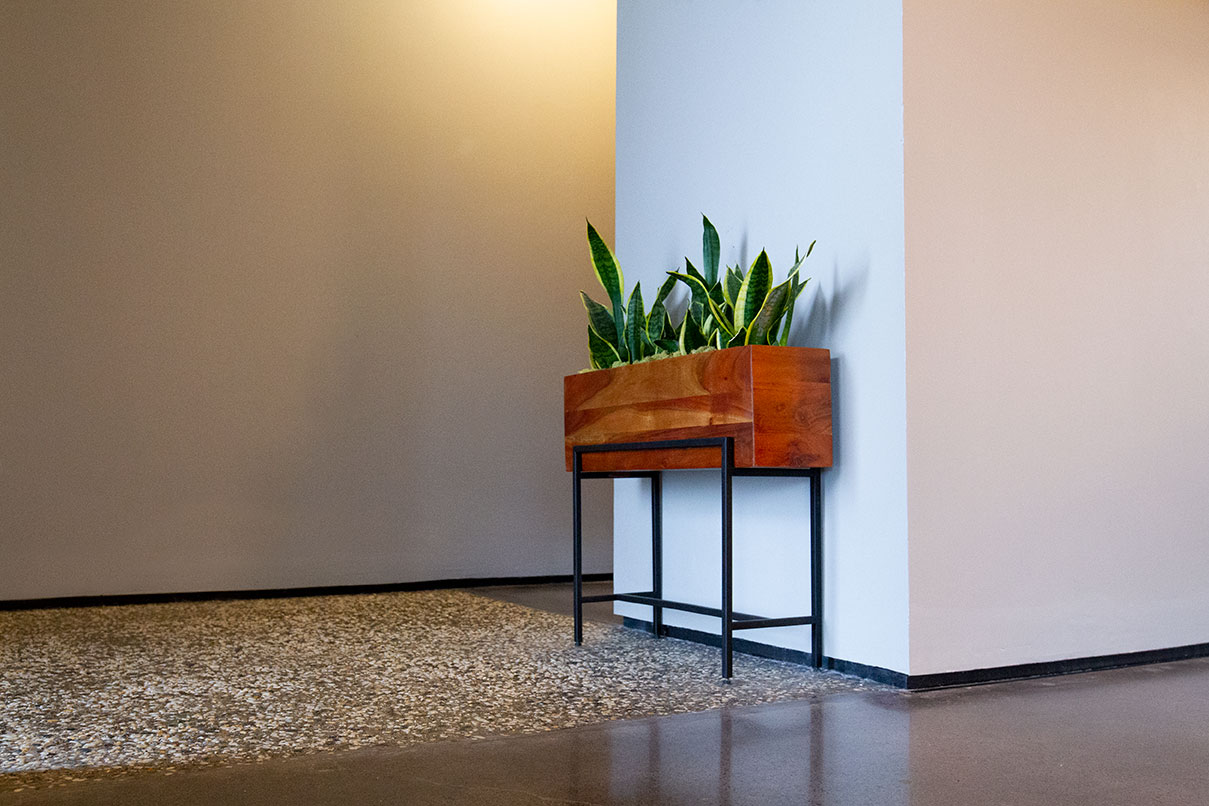
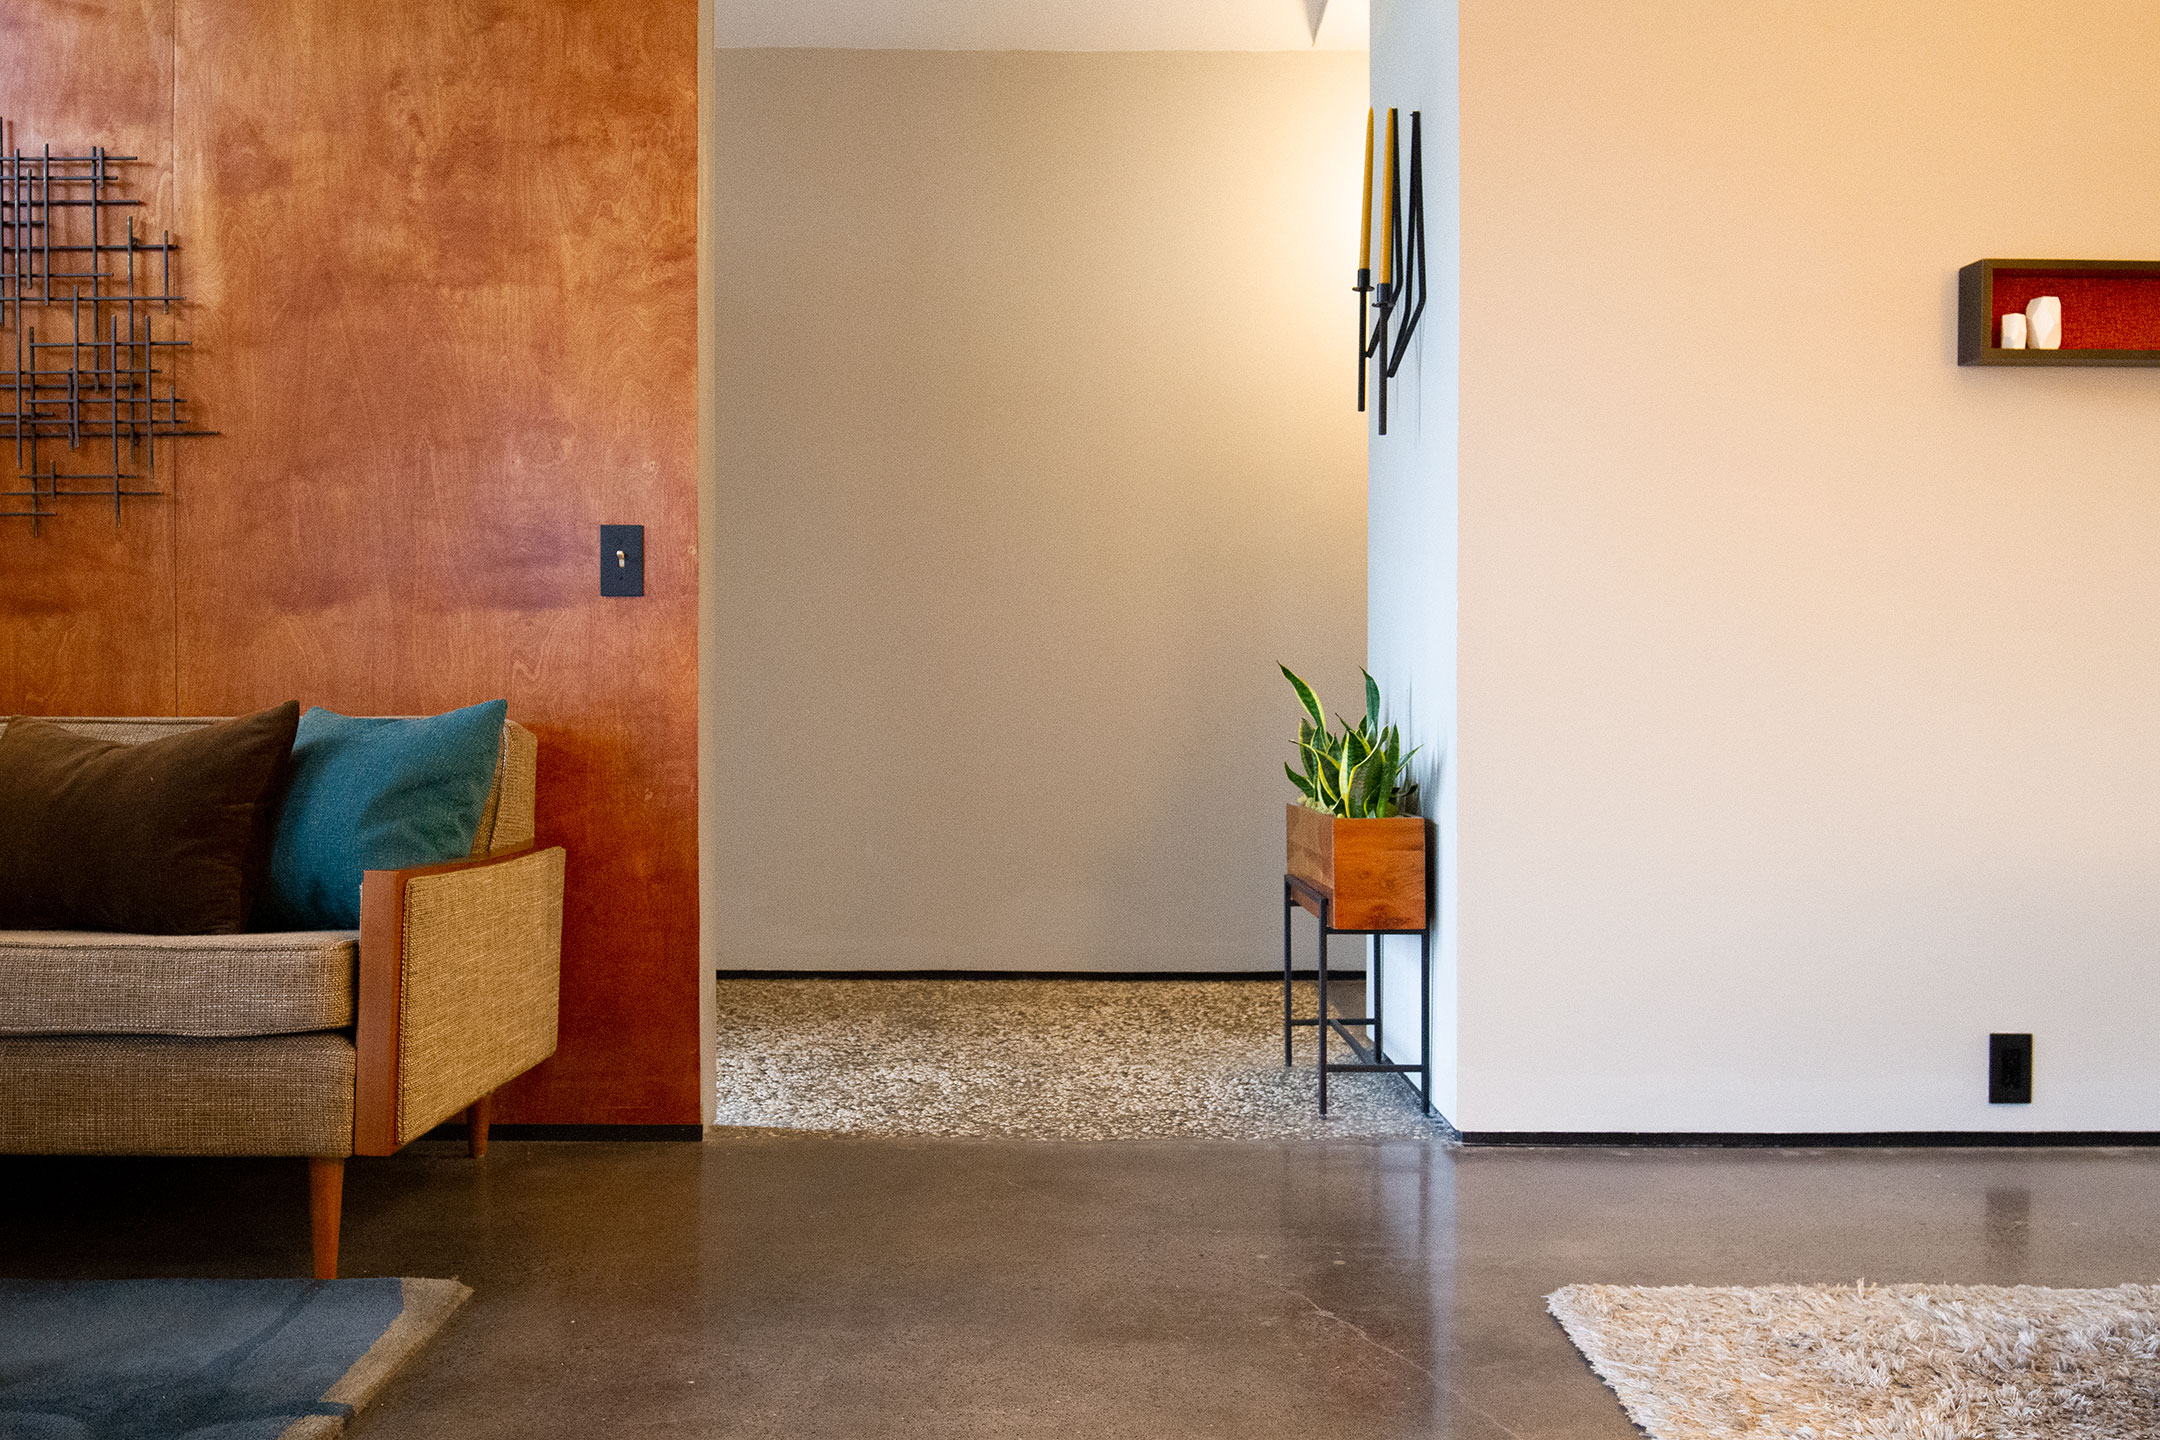
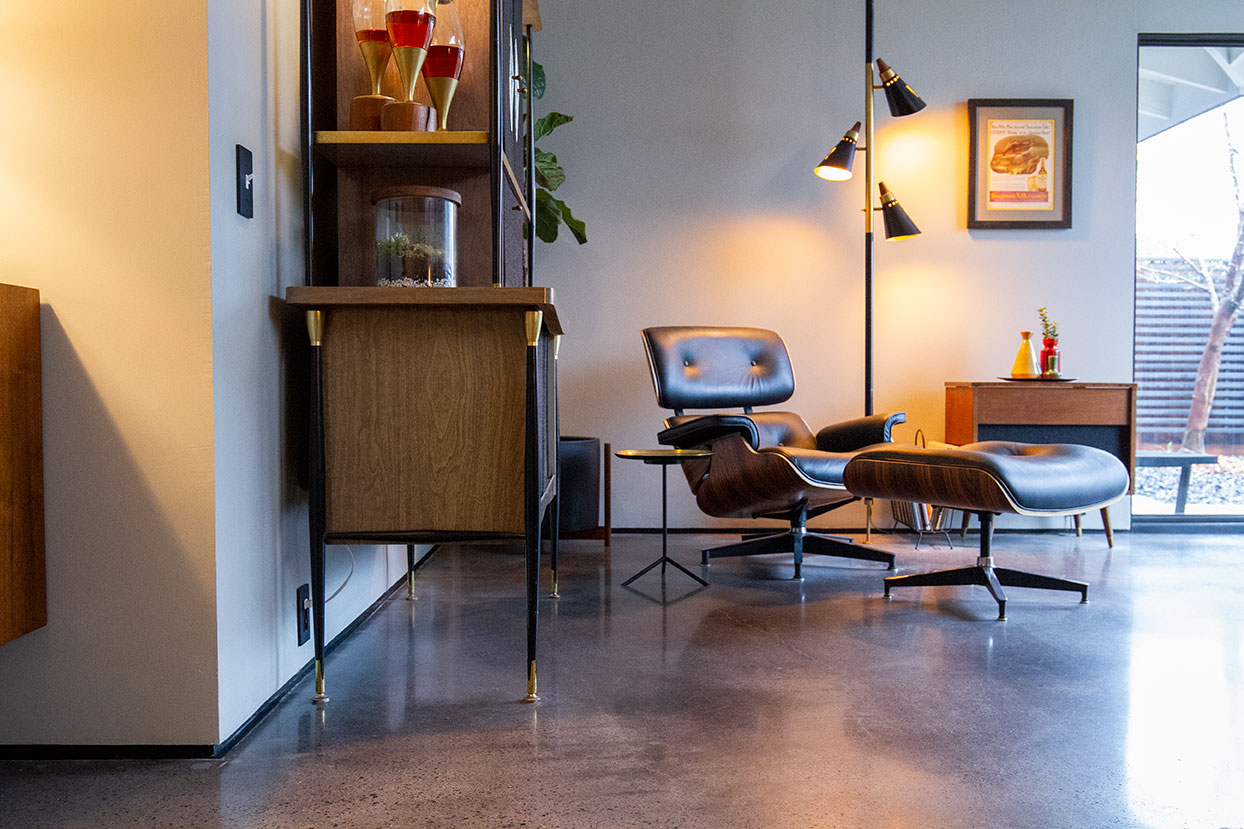
Room by room, I’ve made my way through the entire house, and I’m pleased to say the dust has finally settled. Dusting baseboards is also a thing of the past, and I couldn’t be happier about that! The baseless look is typically found in commercial or industrial spaces, but I find that it works incredibly well in residential settings as well — especially in spaces with concrete flooring. While this project was very much unknown territory for me, I found that diving in and putting my creativity to work was a labor-intensive, yet exciting adventure. The results are unique and design-forward with a distinct gallery feel that keeps the focus on furniture, art, architecture and above all, modernism.


