En Suite Dreams - Part 3
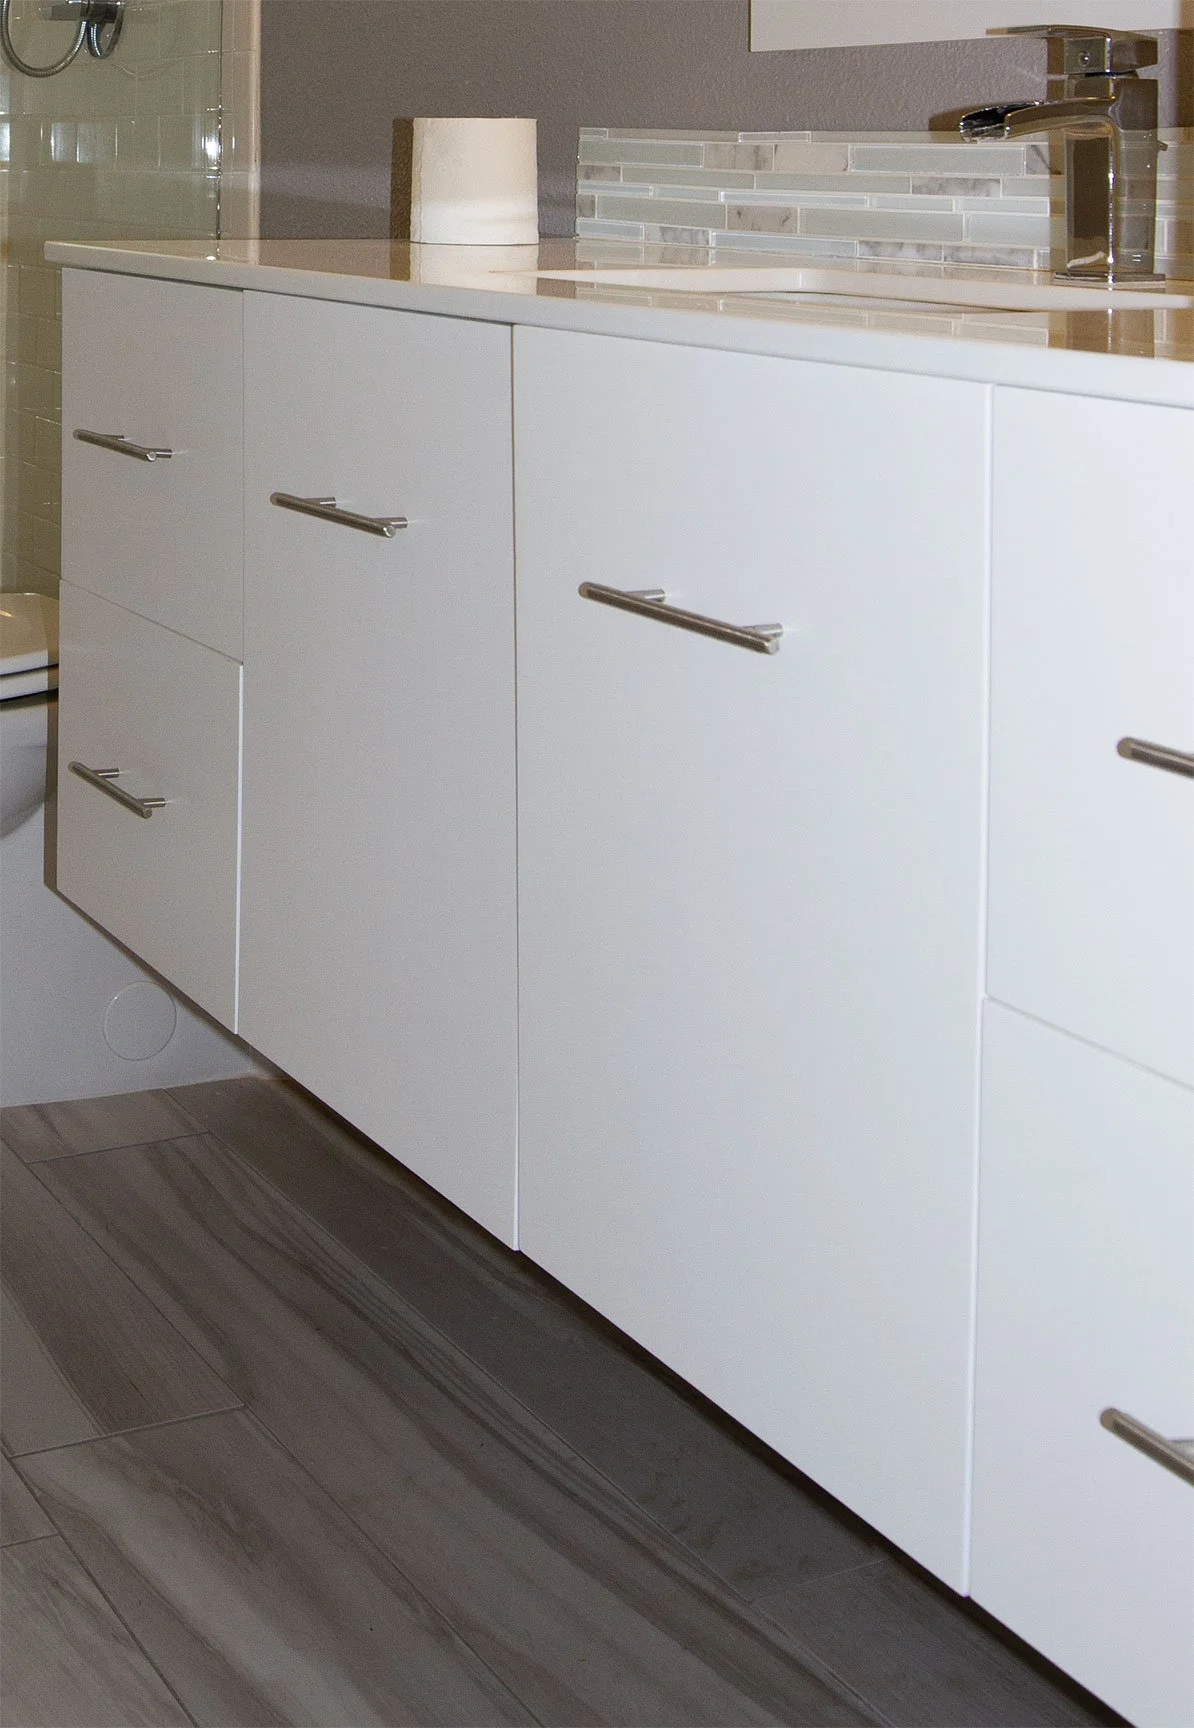
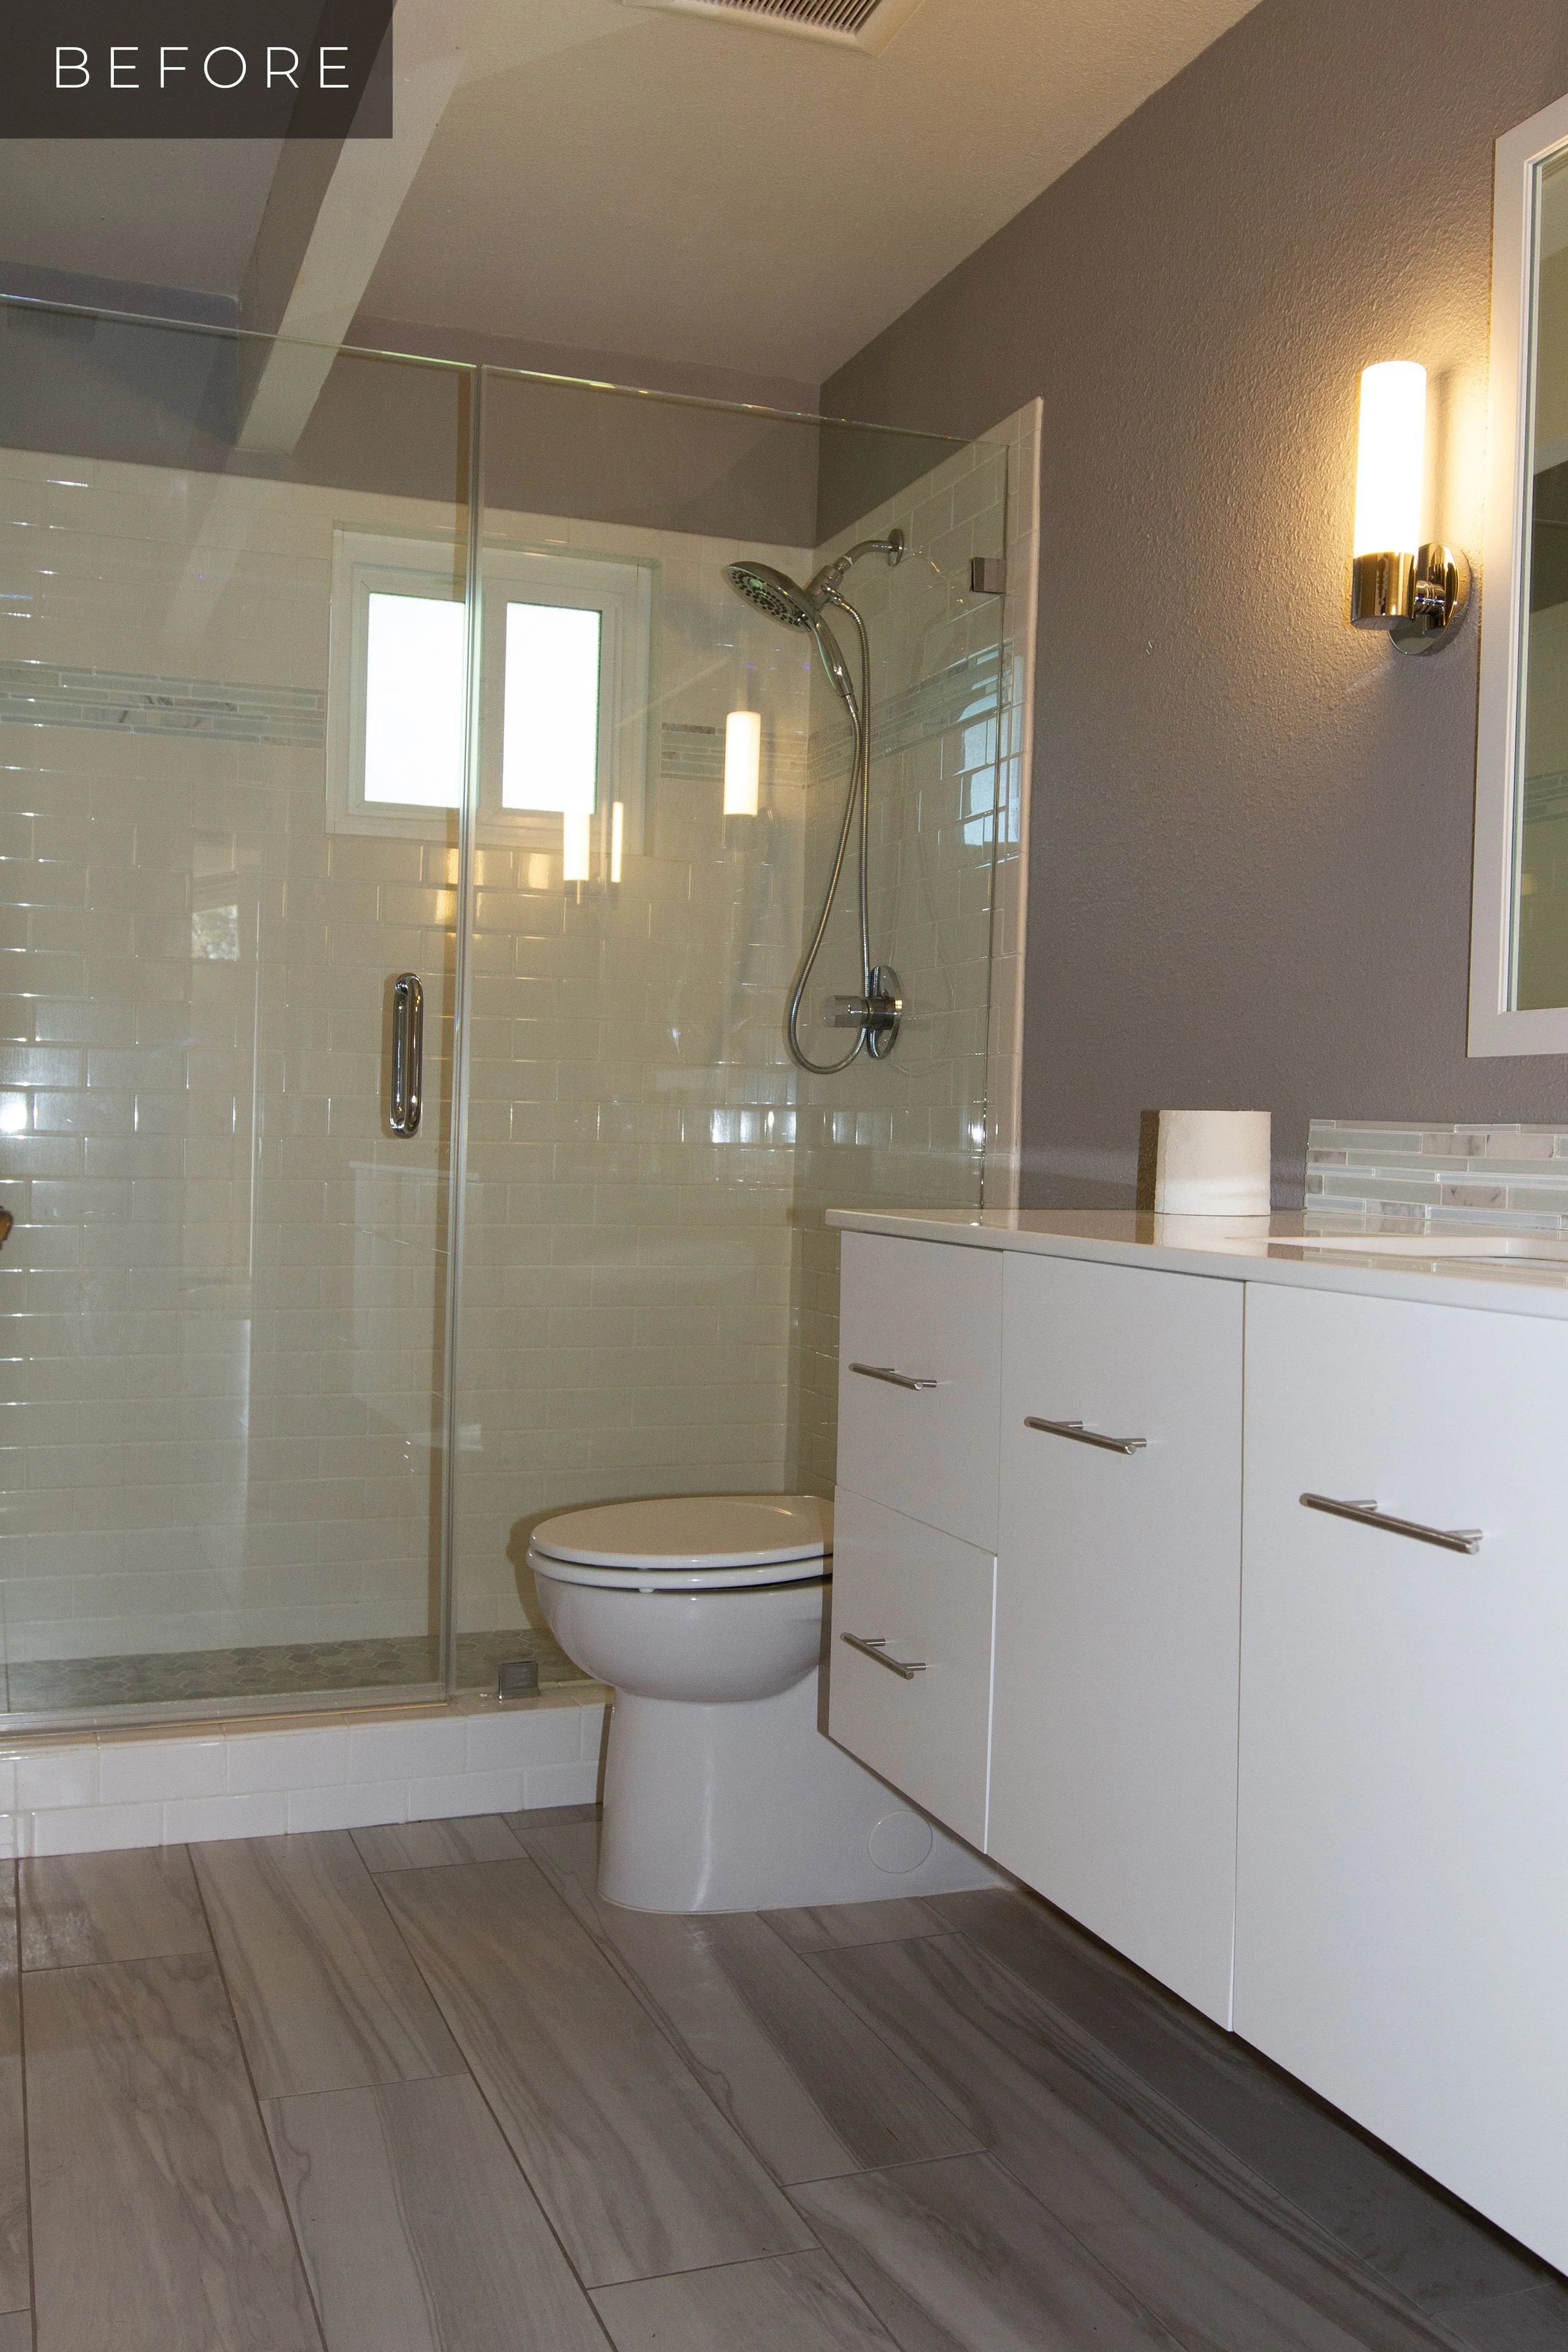
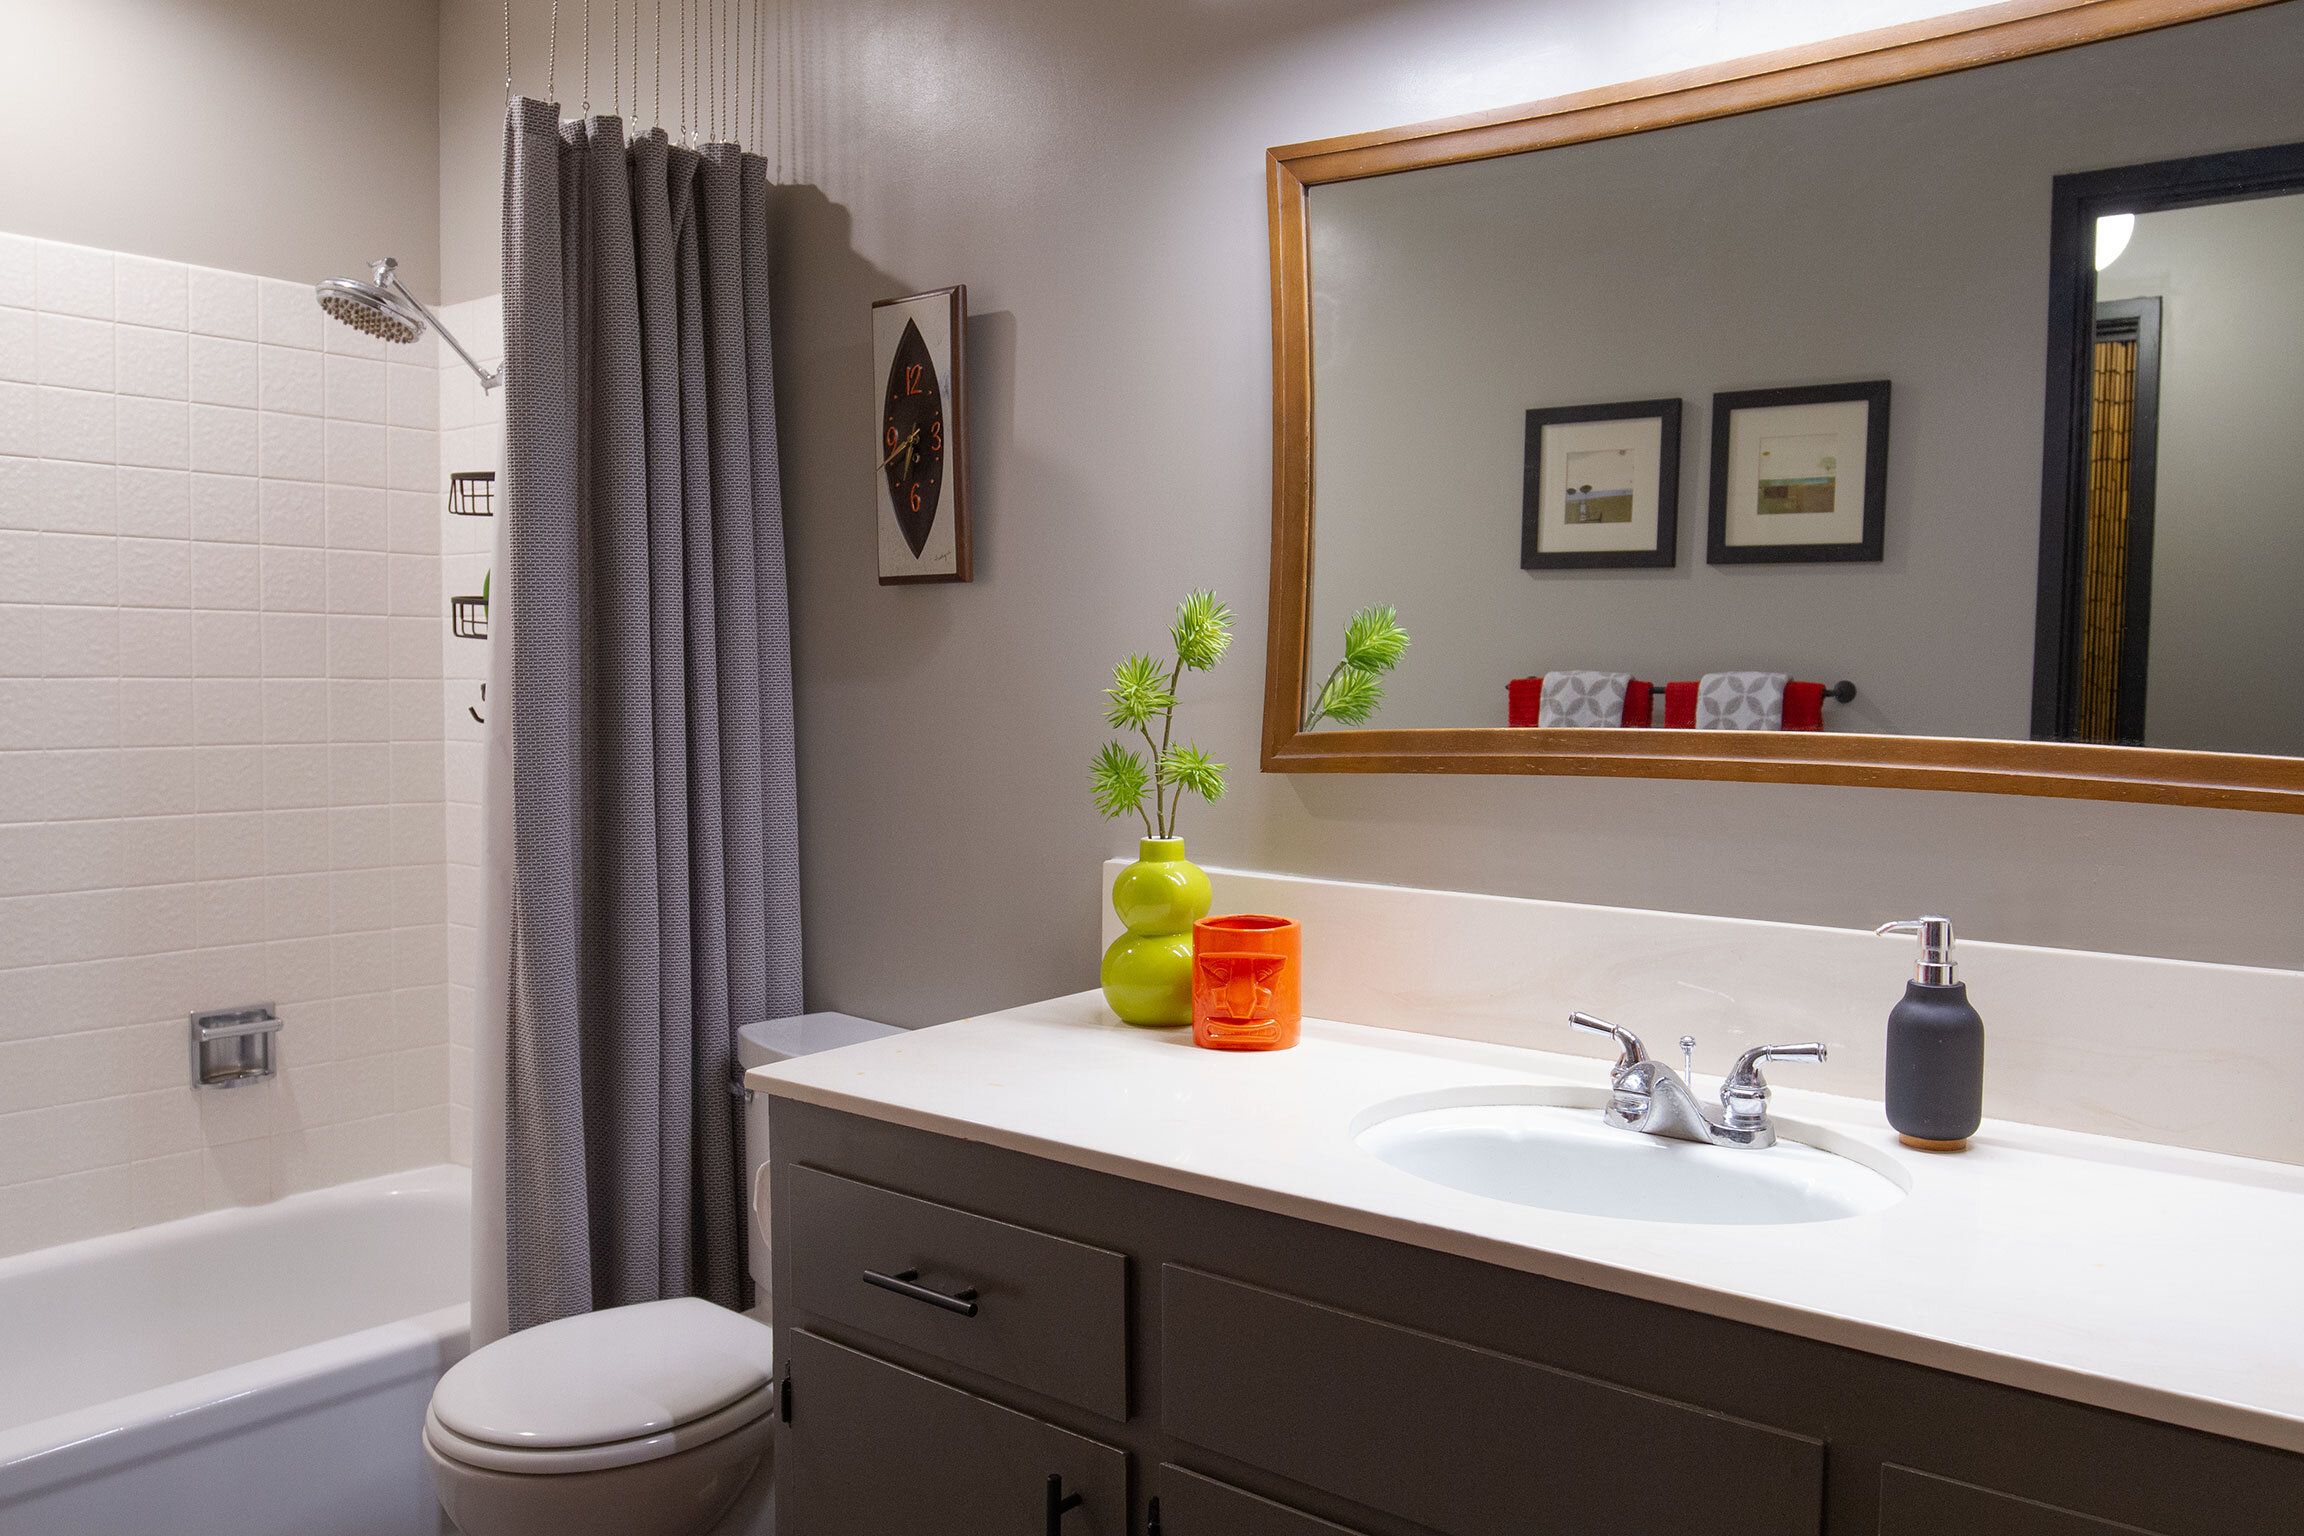
Existing floating white MDF vanity from early 2000s bathroom remodel.
The road to the finish line has been long, but we made it! Thank you for being along with me on this arduous journey to bathroom completion. Should you need a refresher, Part 1 and Part 2 will get you up to speed.
Vivified Vanity
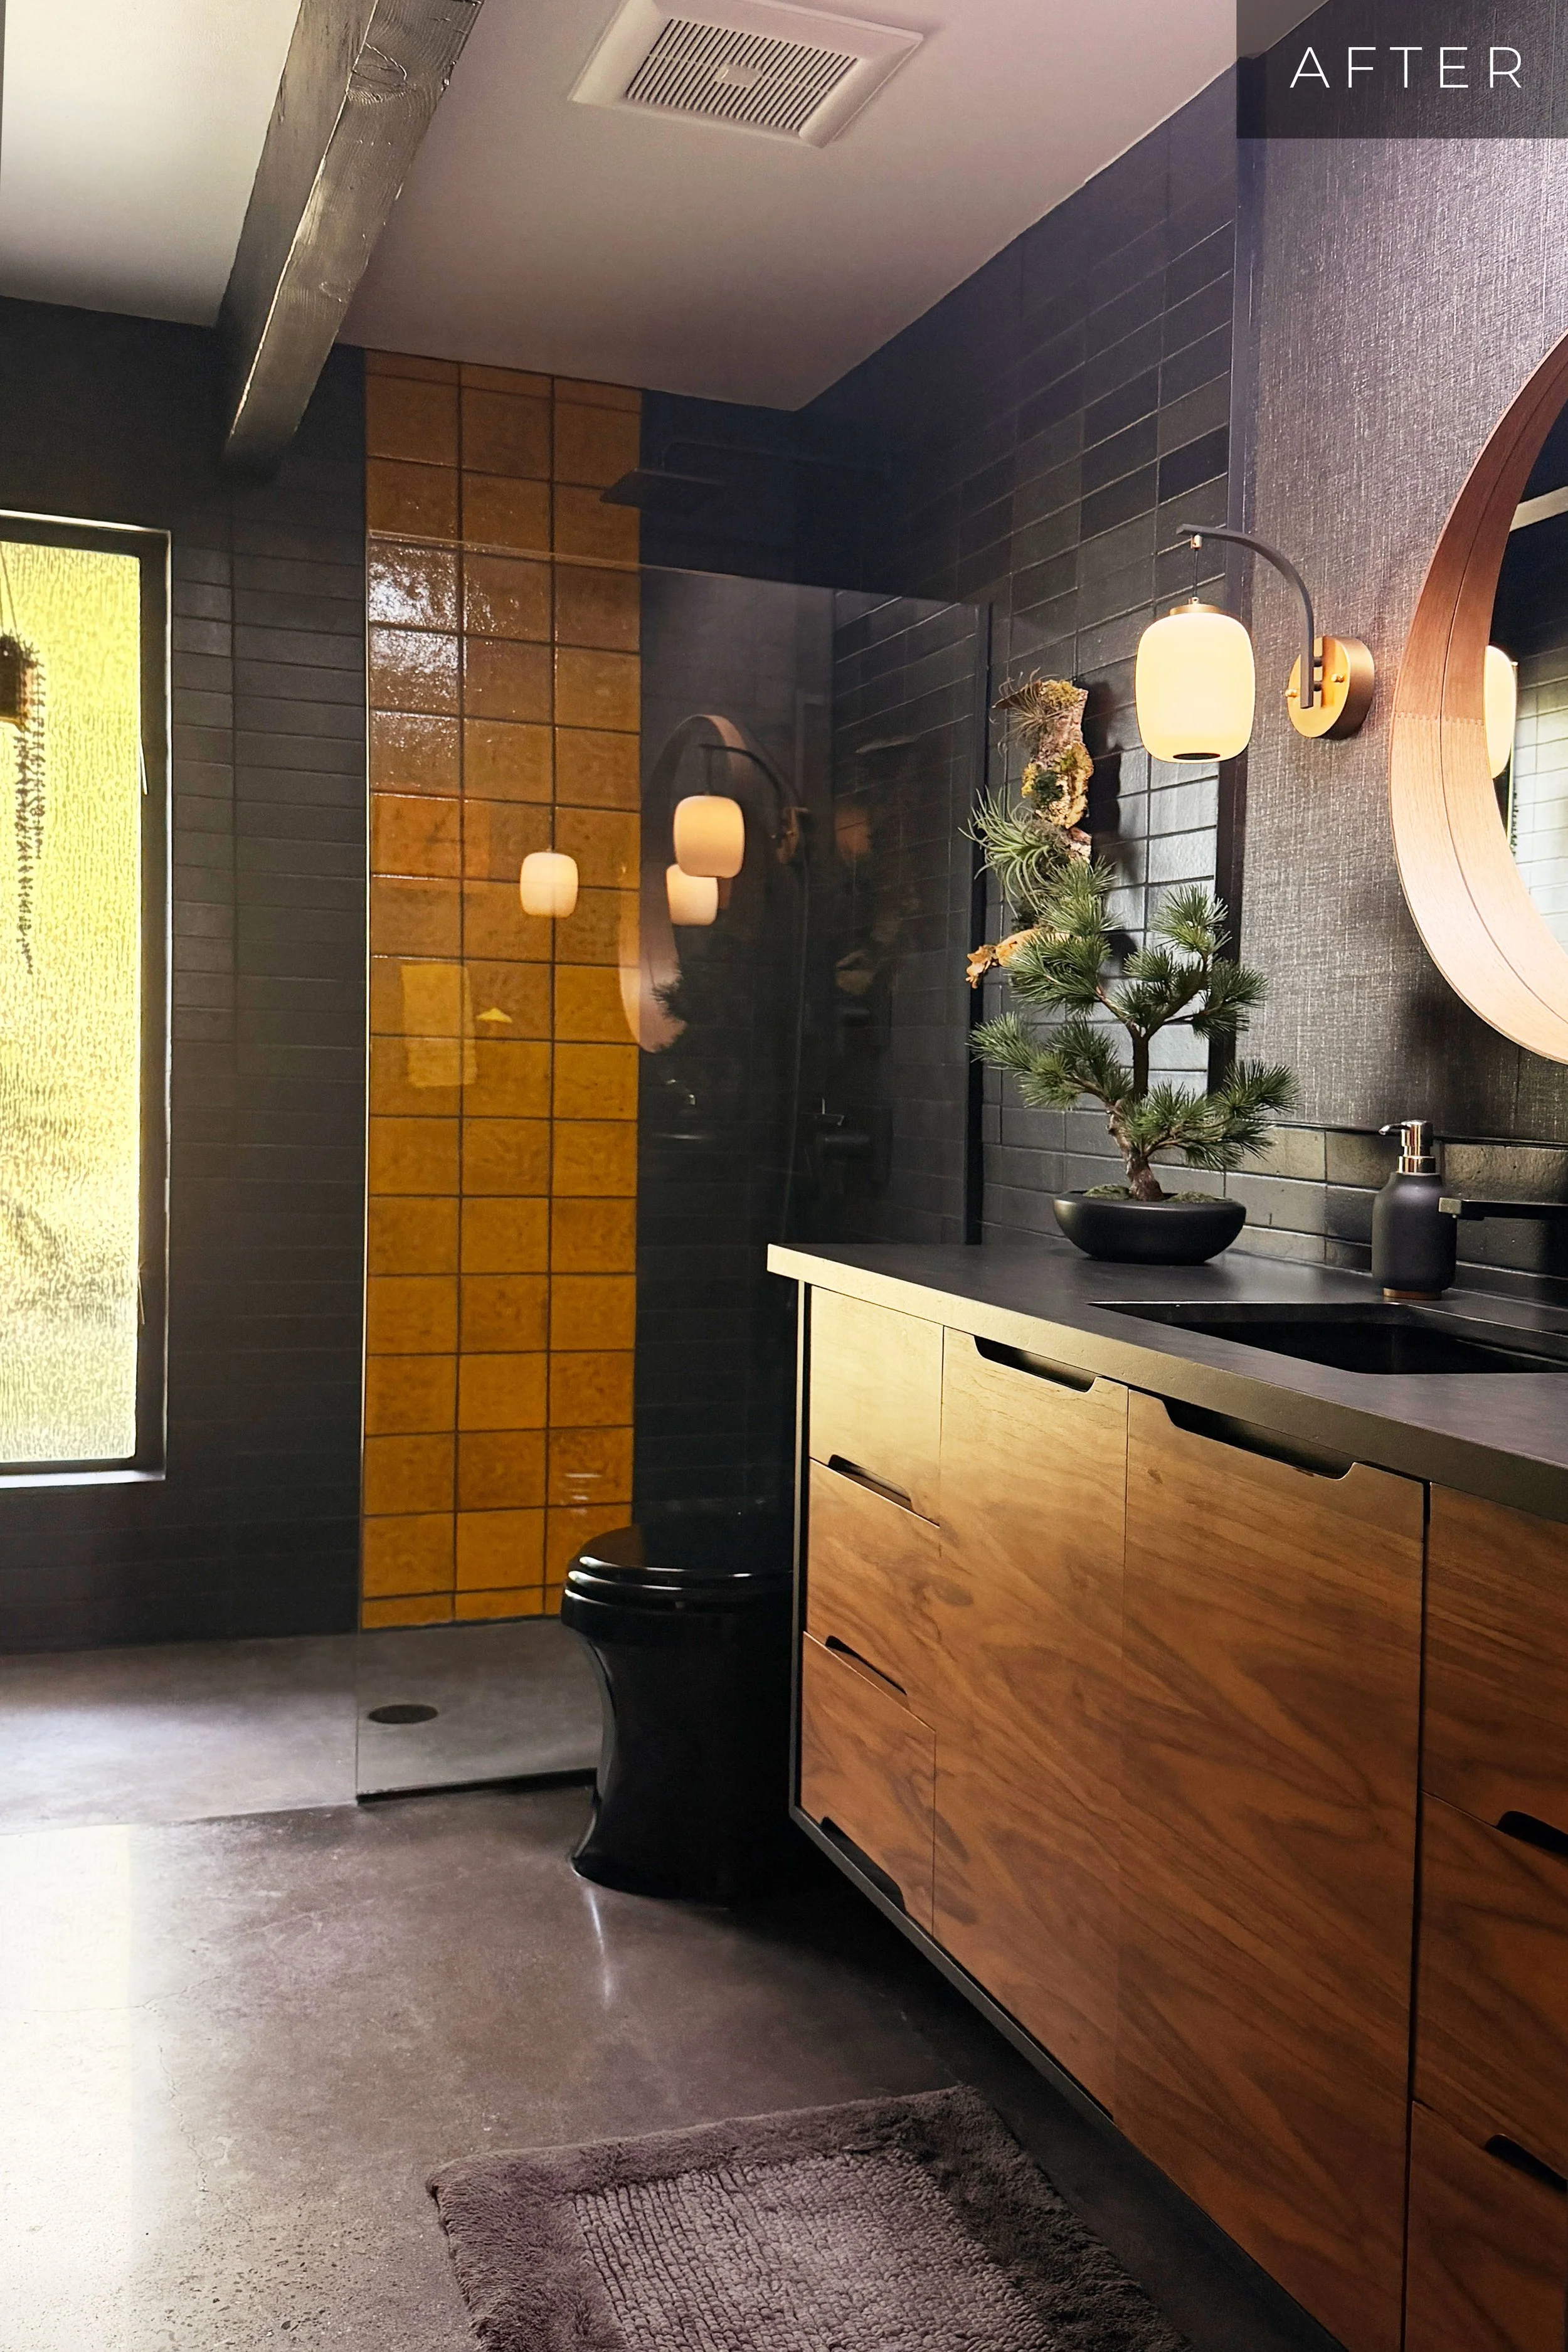
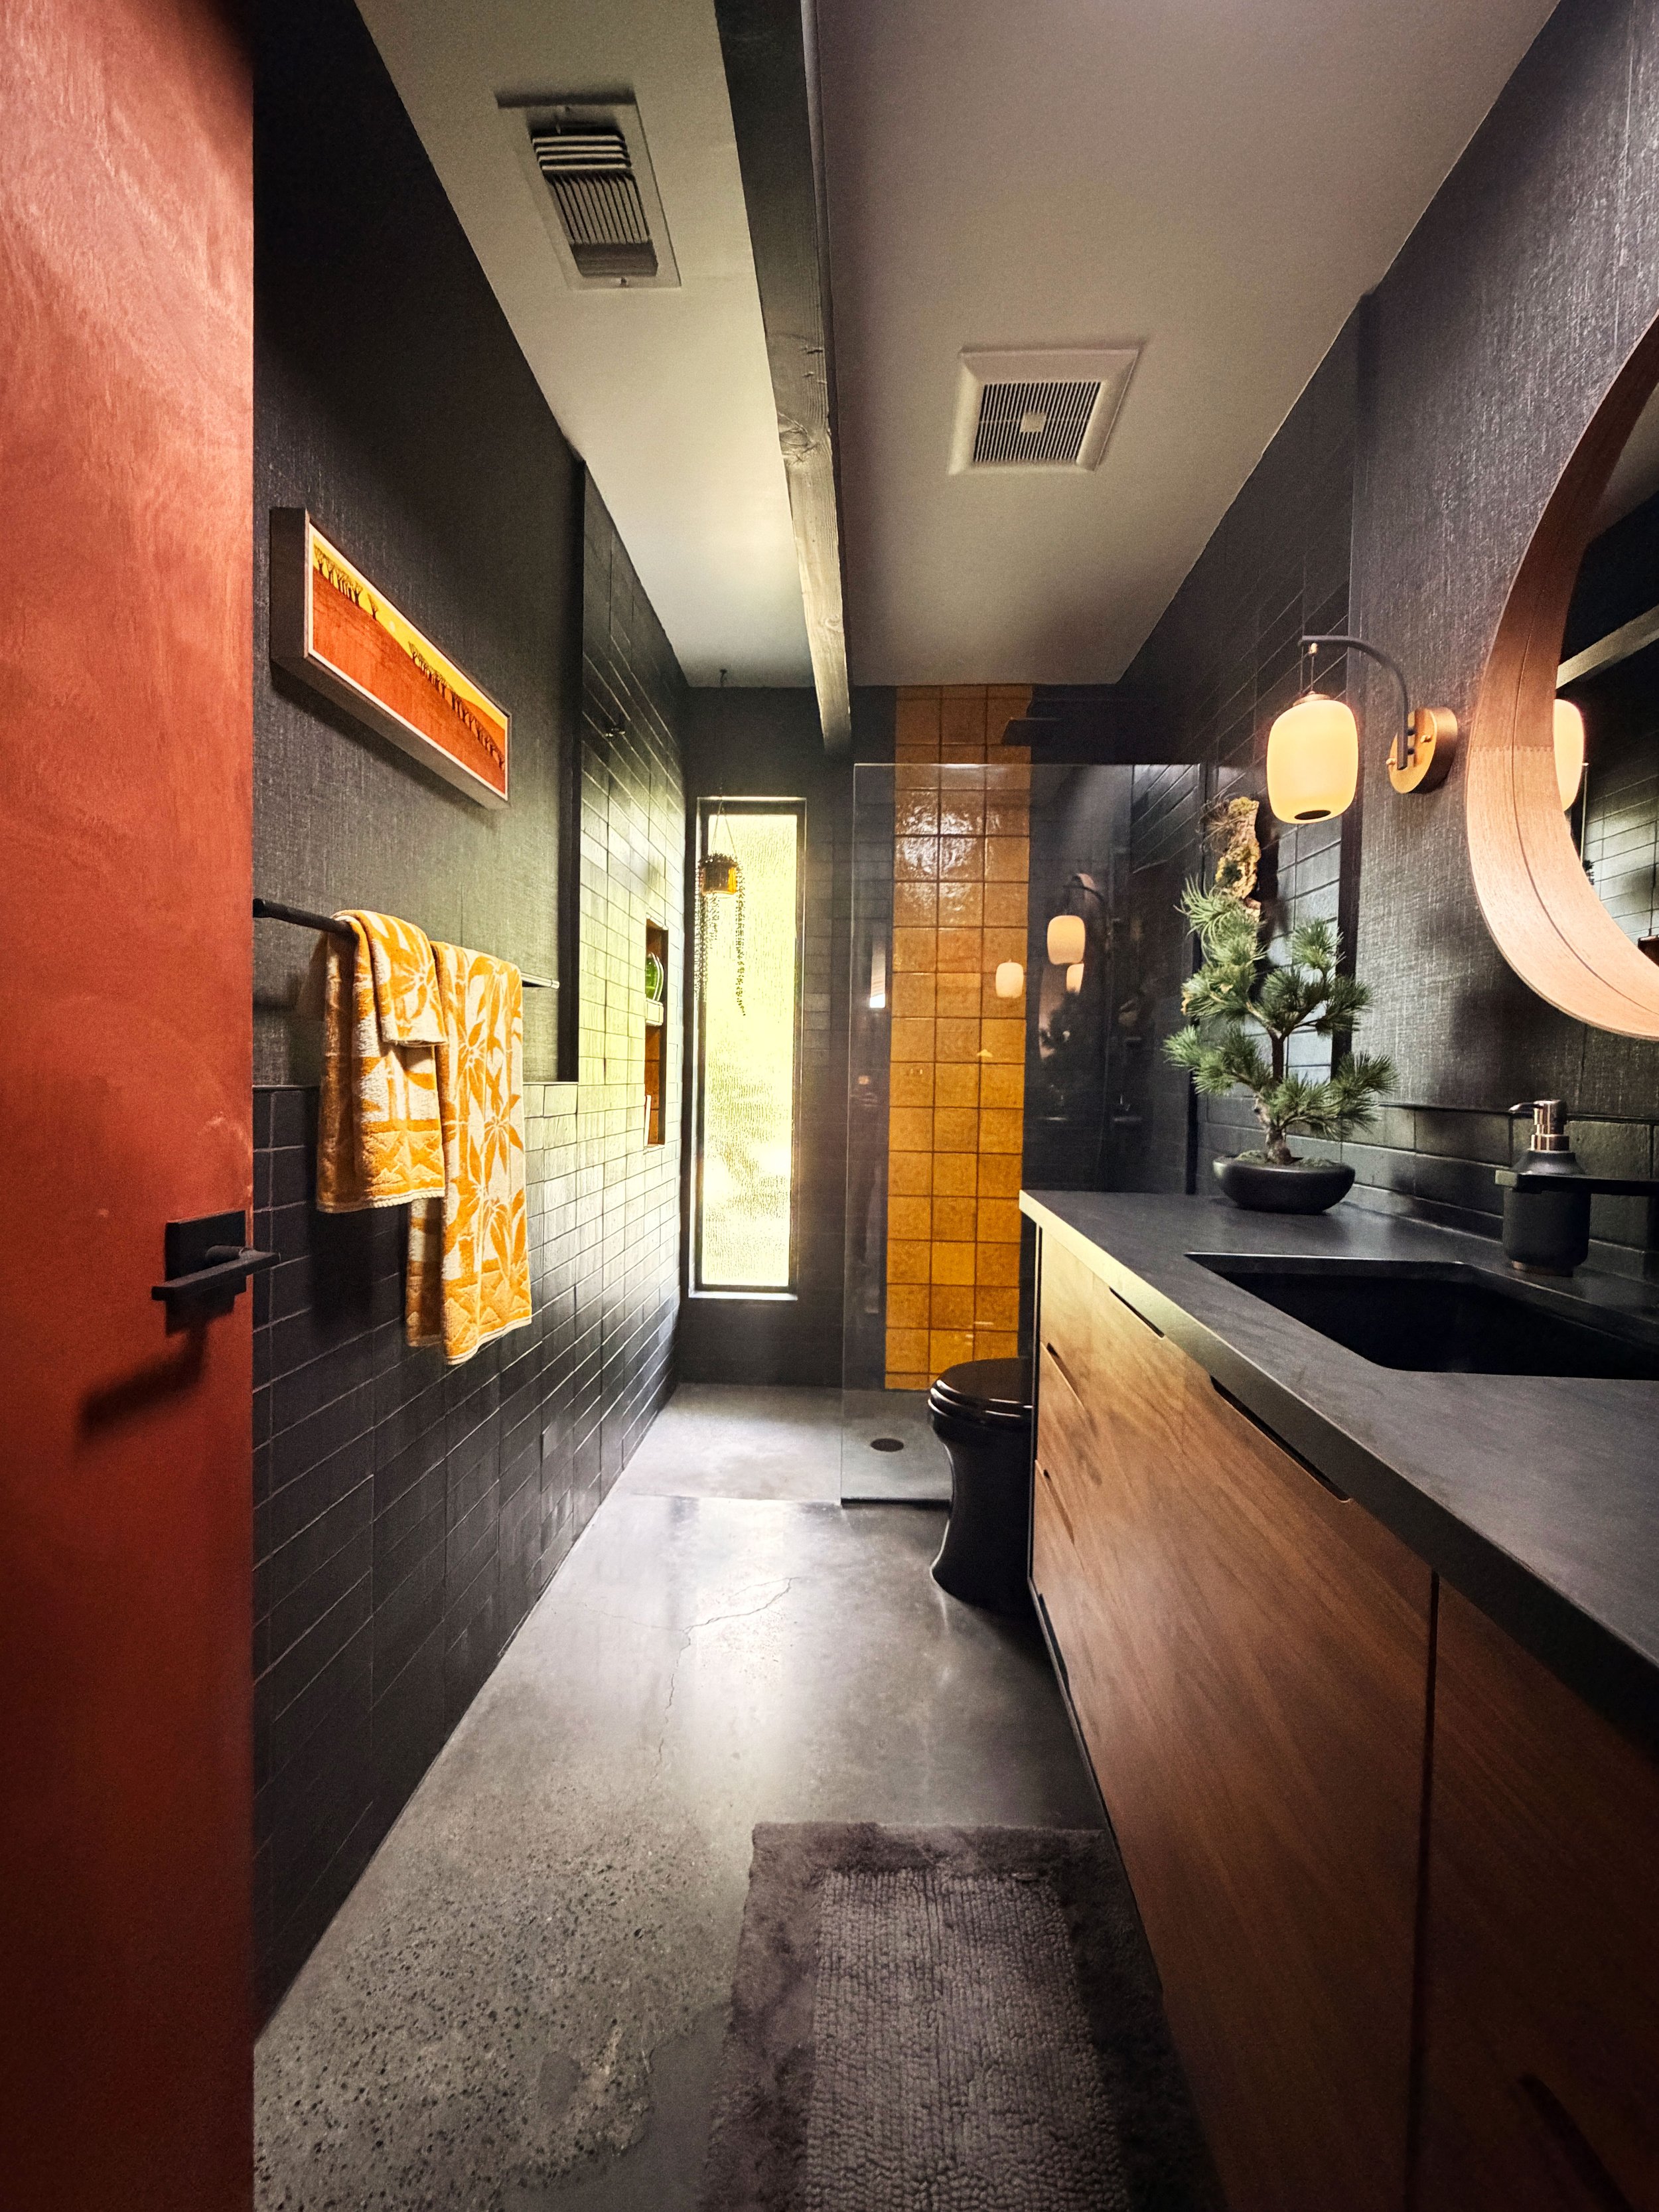
Maintaining a floating style vanity was the goal with the bathroom refresh. Having a completely open space beneath the cabinet makes for easy cleaning, and an open, airy look. However, the previous white MDF cabinet and thin, white cultured marble top would have to go in order to keep with the vintage-Japanese aesthetic of the bathroom.
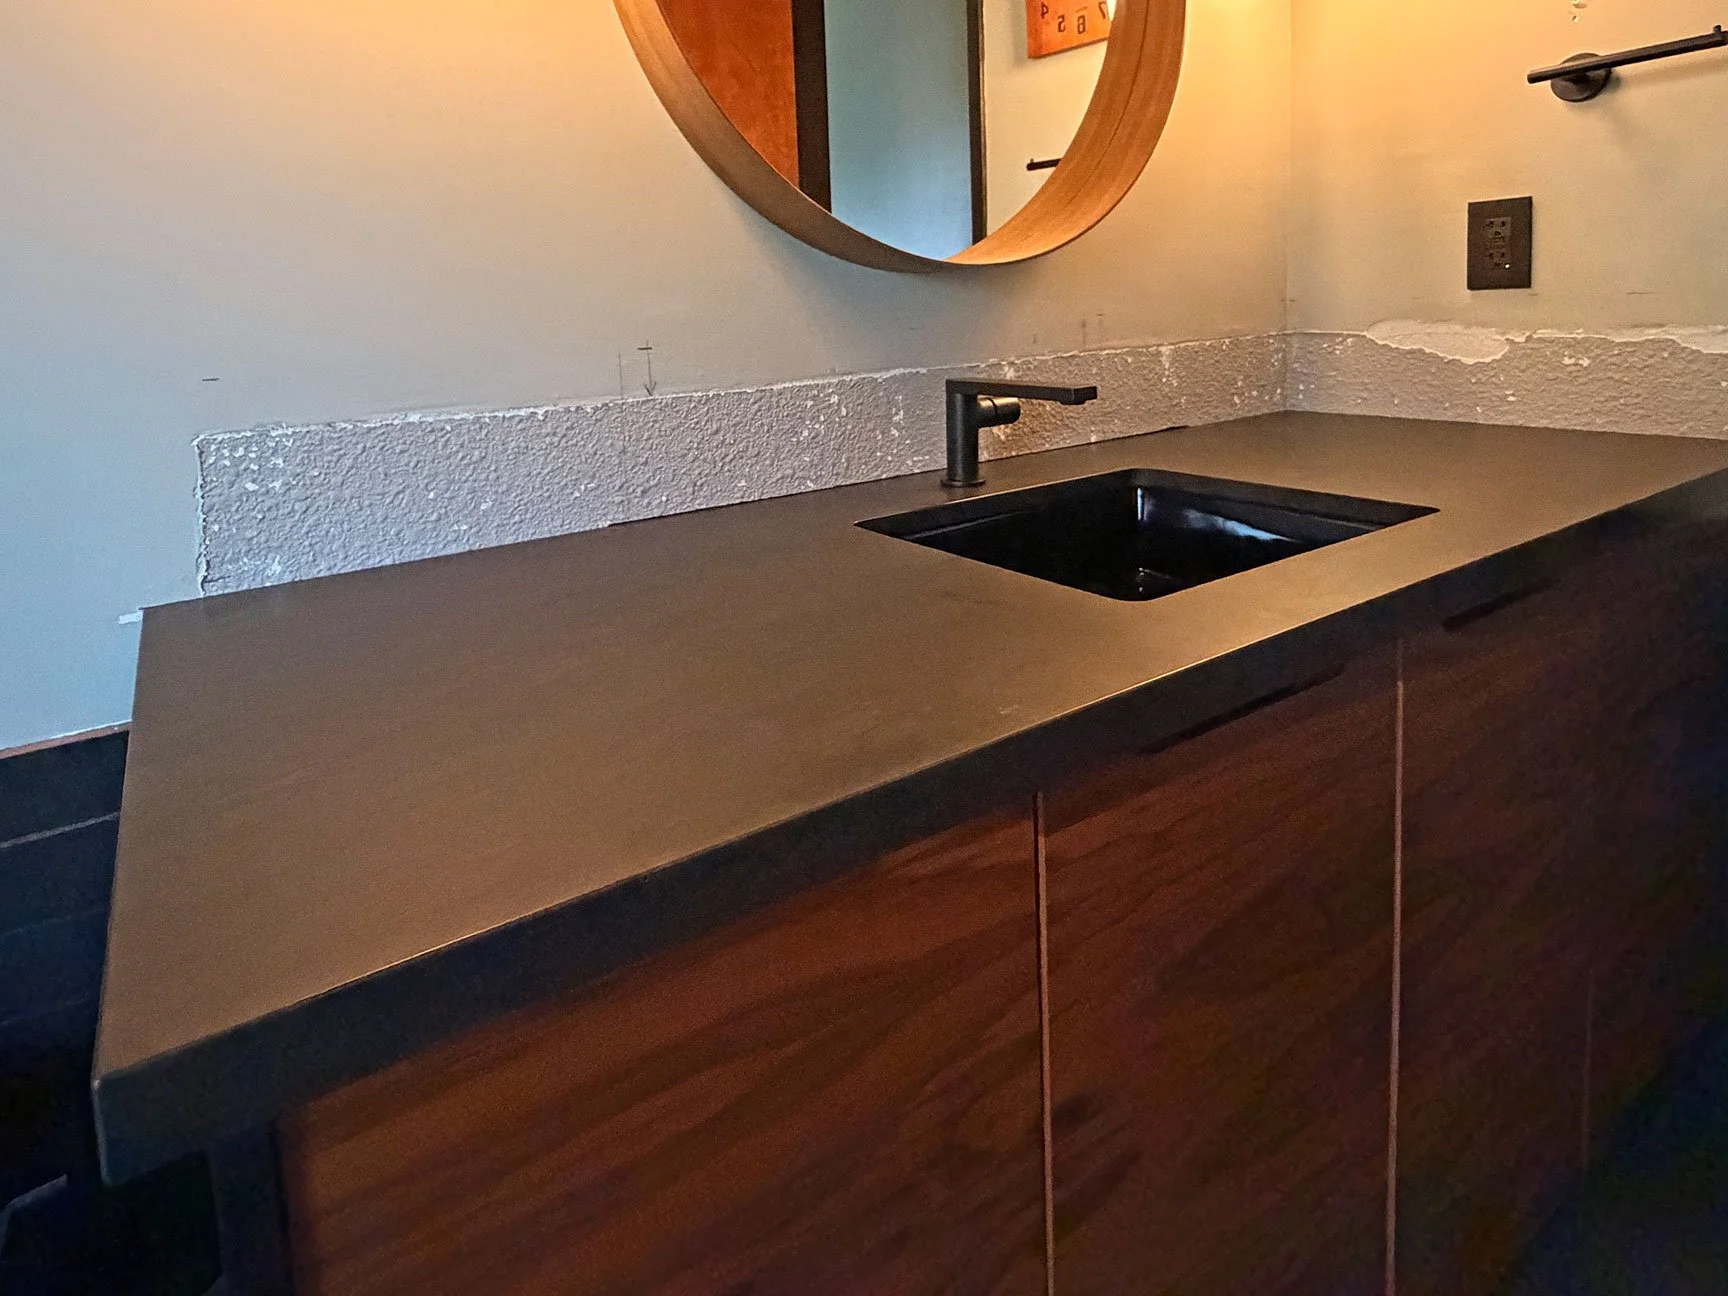
I reached out to Mat and Katie at North Coast Modern to build a 60” wide vanity with a few custom modifications. Instead of a walnut veneer frame, I went with an ebonized finish. The doors were book matched in walnut veneer with ebonized face frames. Soft close drawers and doors were constructed with integrated finger pulls for a minimal look. The lead time on this piece was approximately 5 months, and shipped quickly and safely all the way from Tennessee. North Coast Modern did a fantastic job constructing the vanity, and I would gladly work with them again.
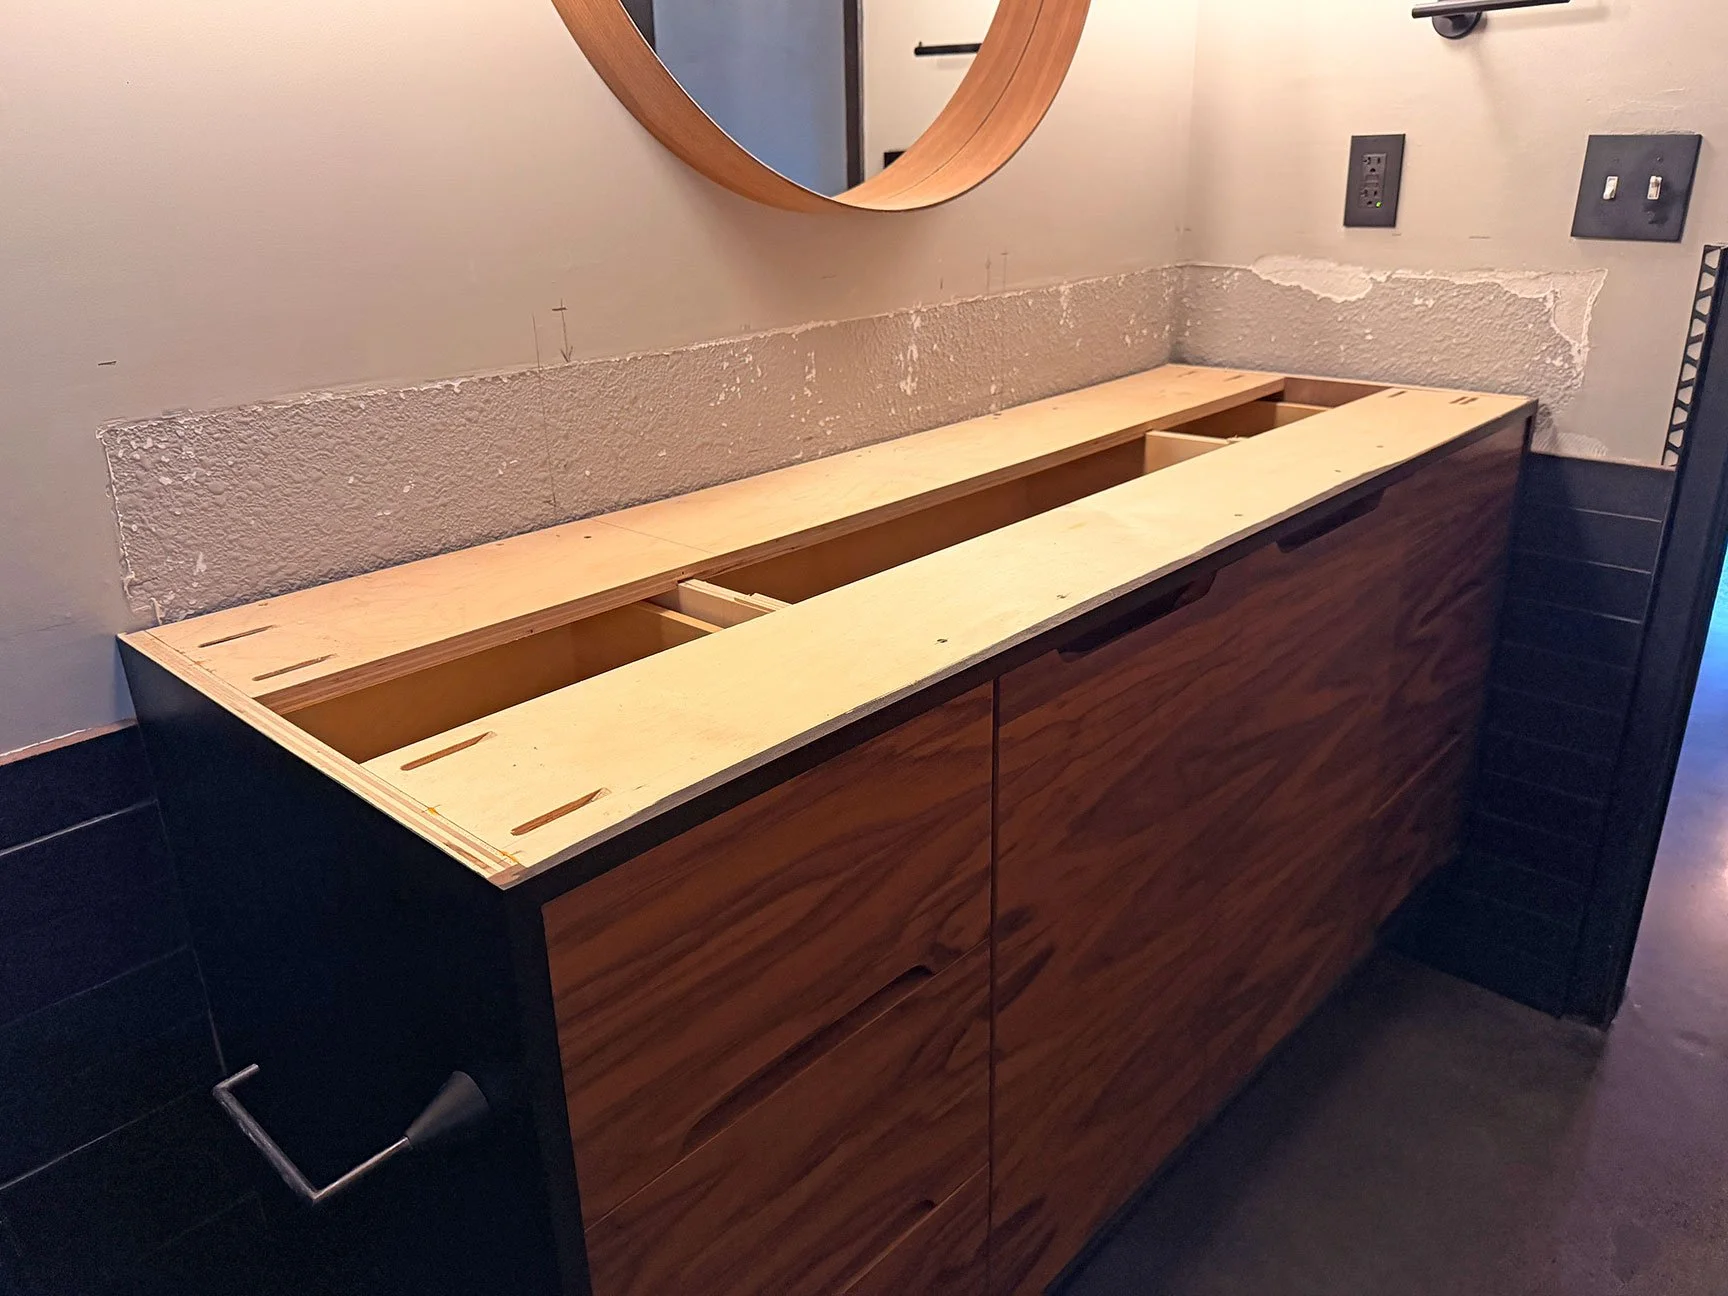
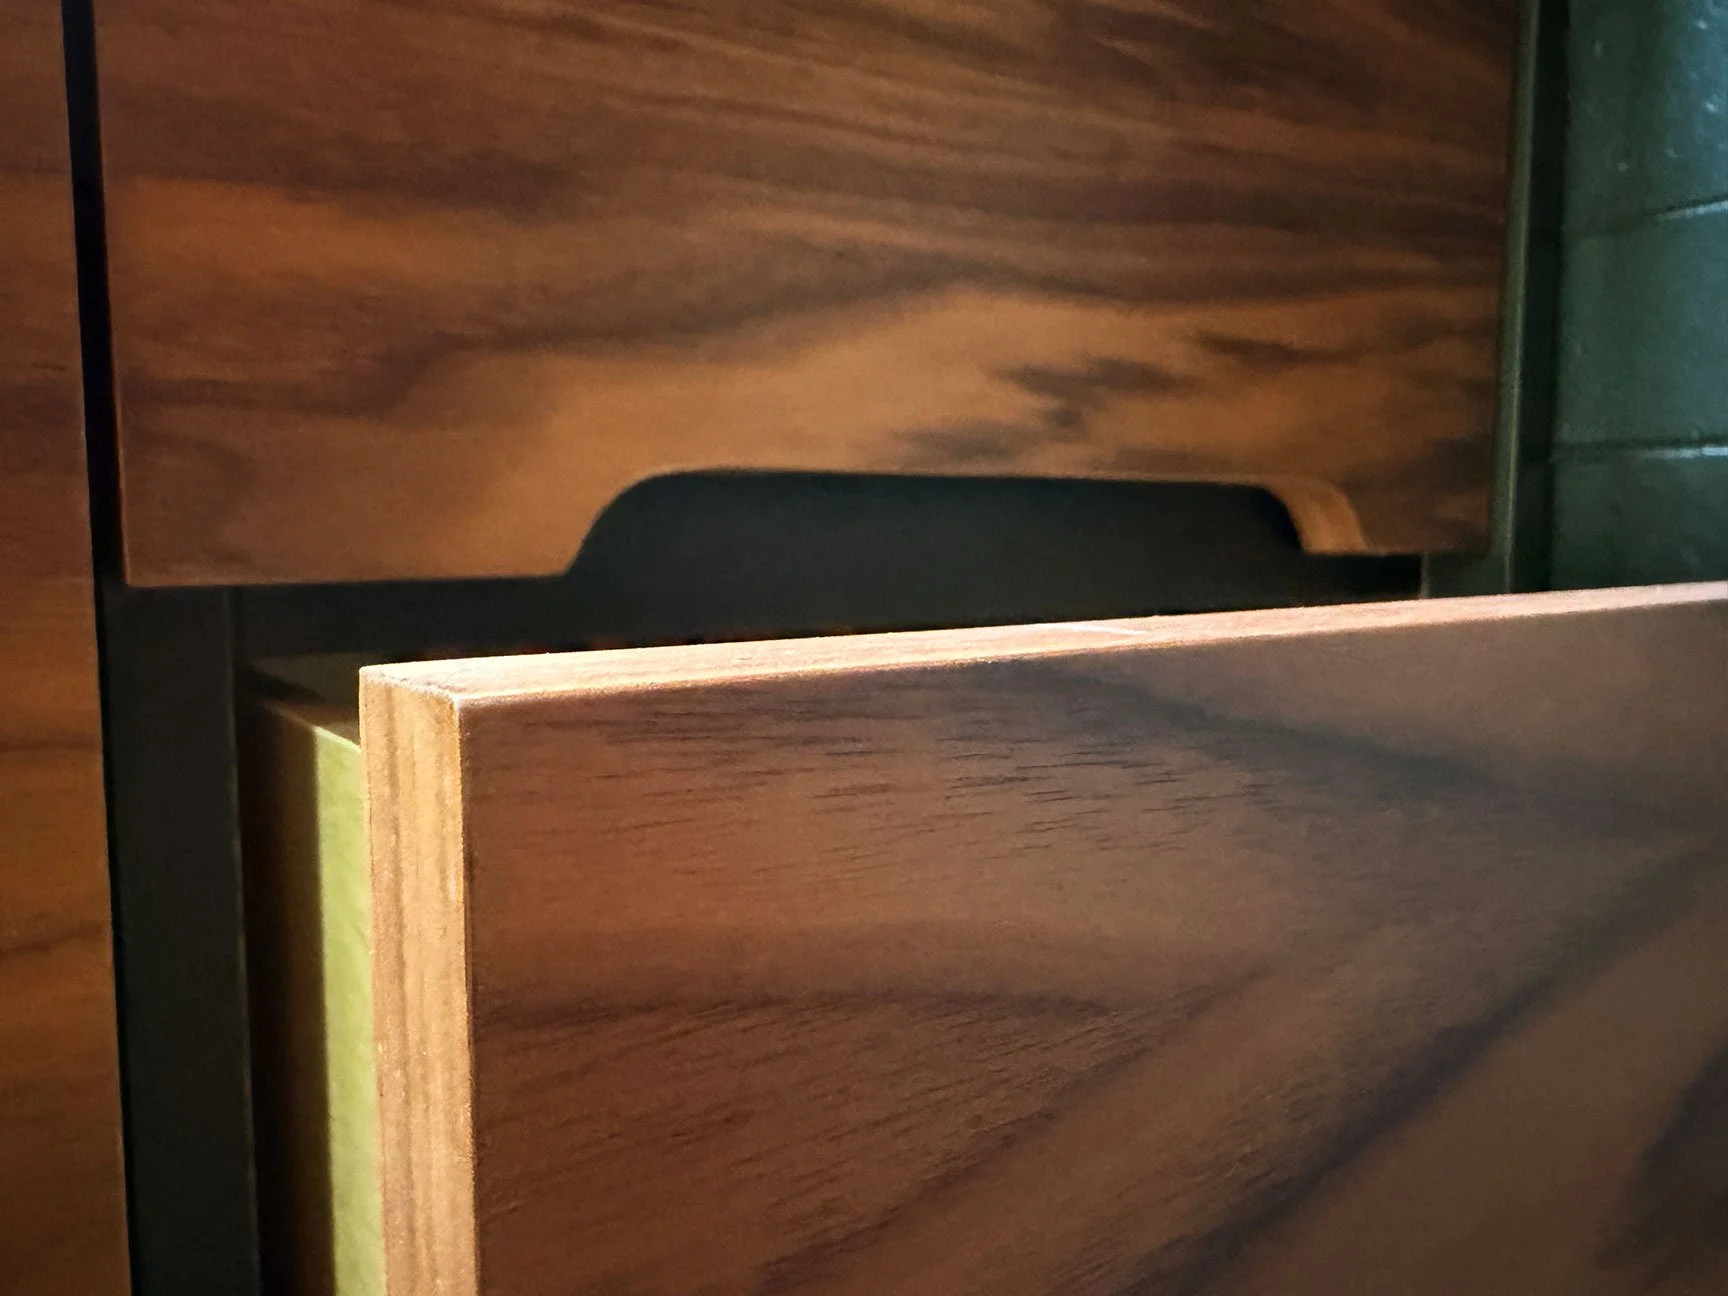
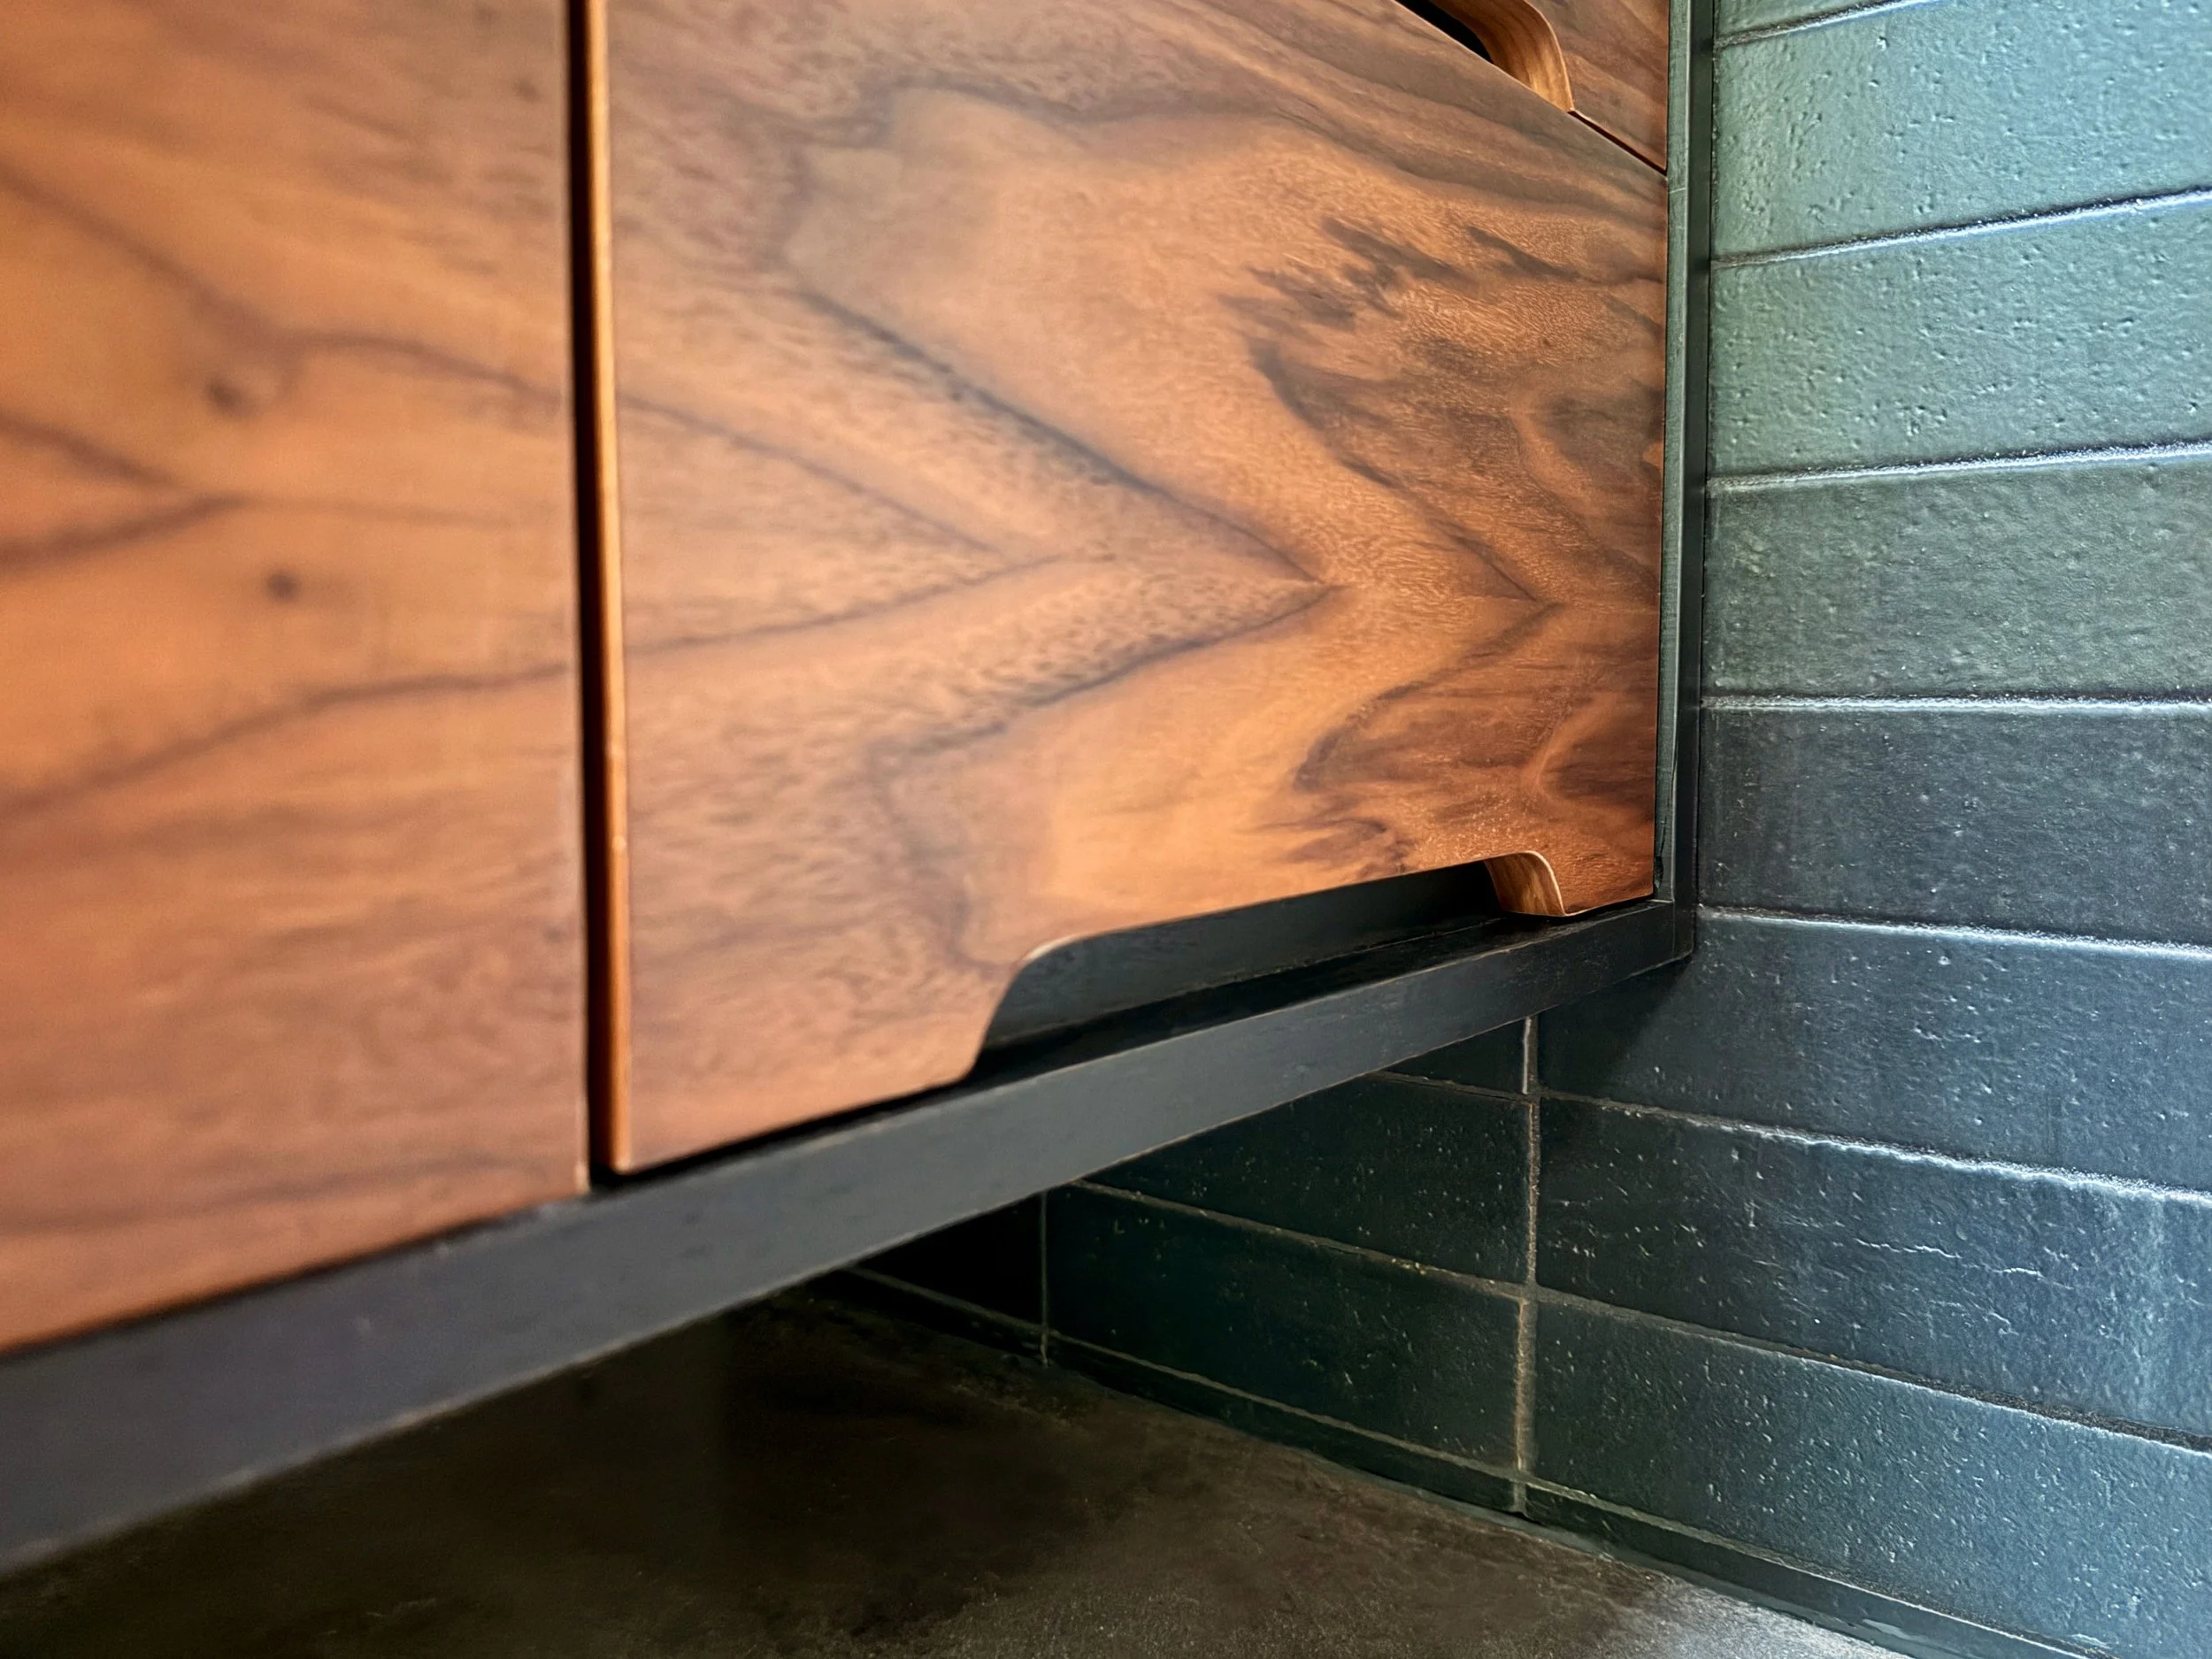
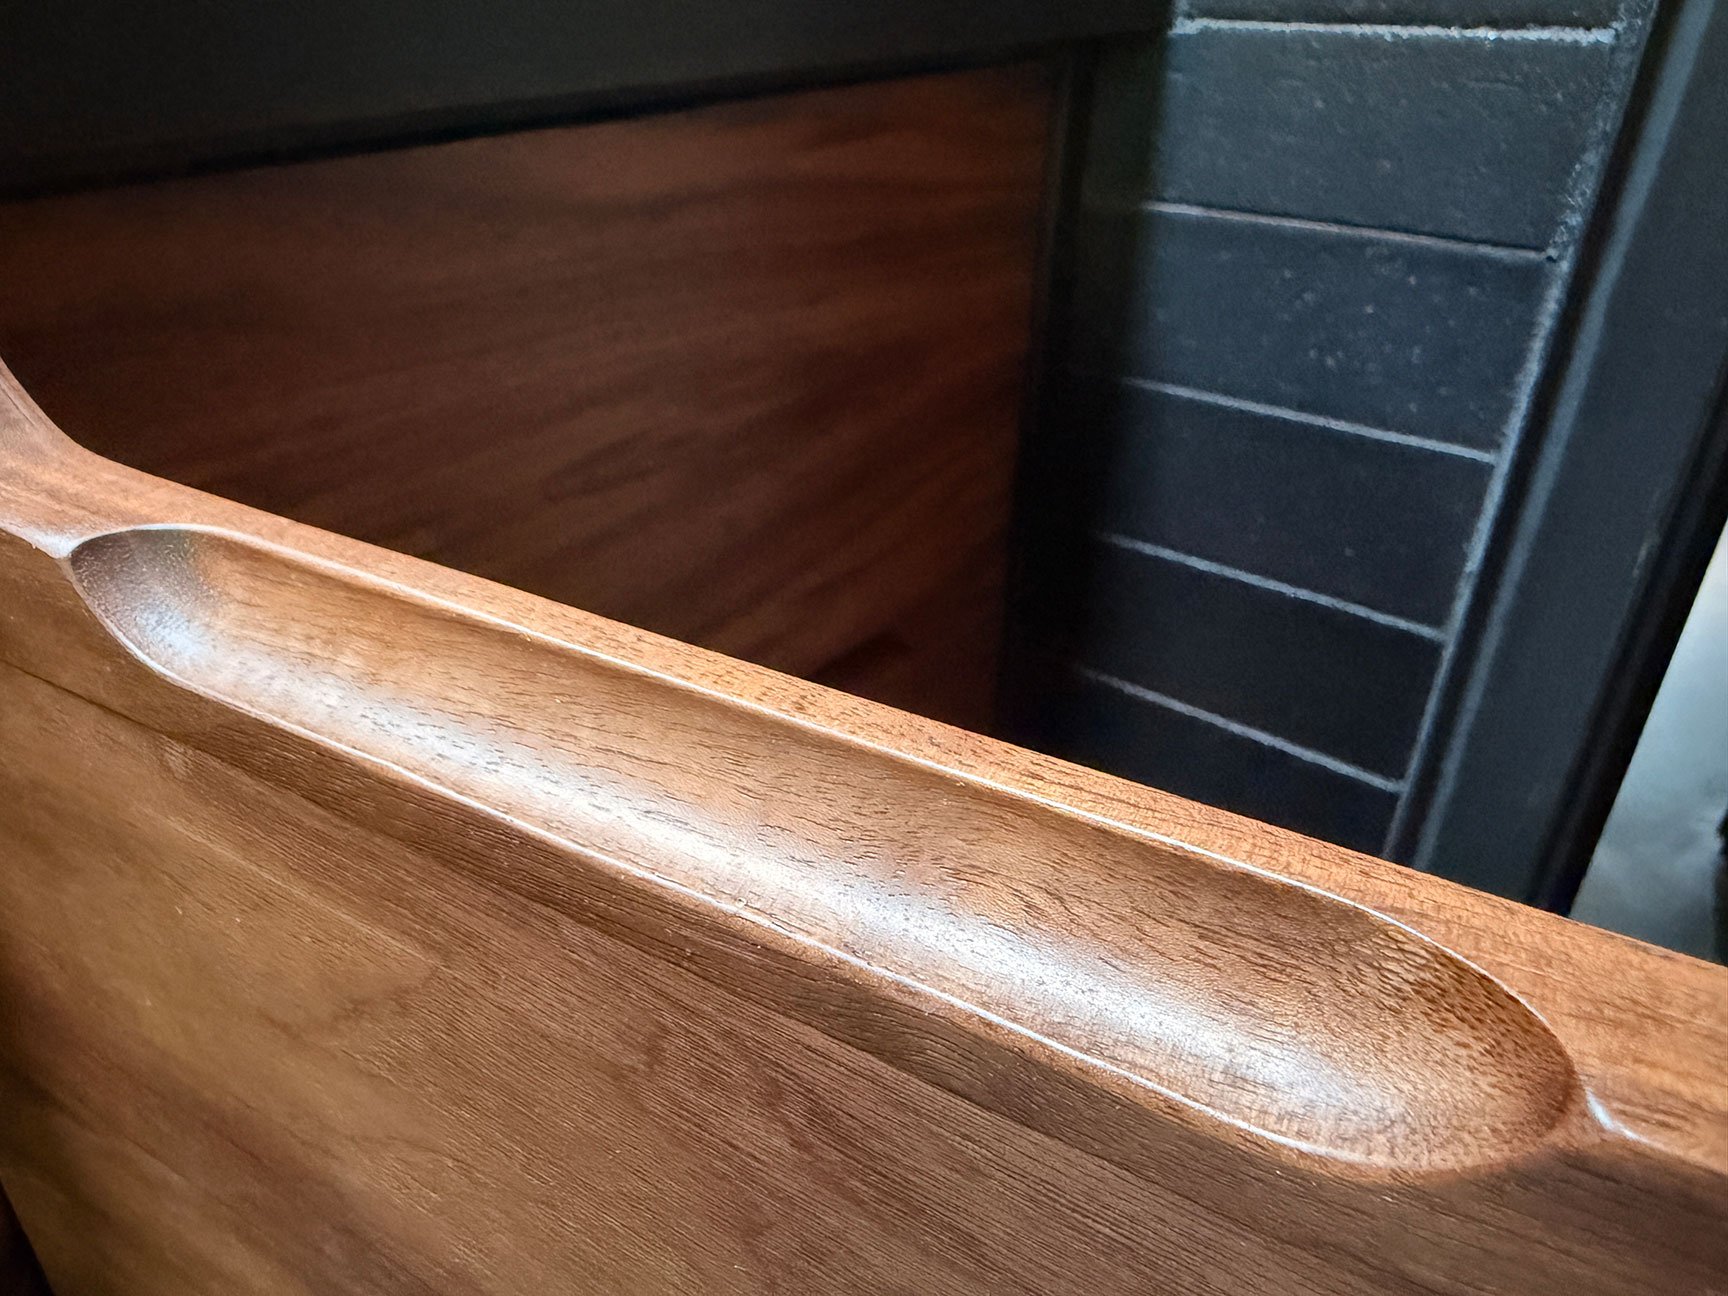
Installing the vanity was a 2-person job. Various scrap wood blocks were used to temporarily support the cabinet base, and we used shims and a laser level to ensure the cabinet was plumb and level. Once in place, the cabinet was secured to 4 studs through the 3/4” plywood backing.
I also took this opportunity to replace the cheap (and scary) push-to-connect supply valves with traditional angle stop valves. I know that push-to-connect is designed for easy install, but the potential for catastrophic leaking is much too risky for my liking. Do it once, and do it right. The cheap and easy route is never the right way to improve the home you live in.
“The cheap and easy route is never the right way to improve the home you live in.”
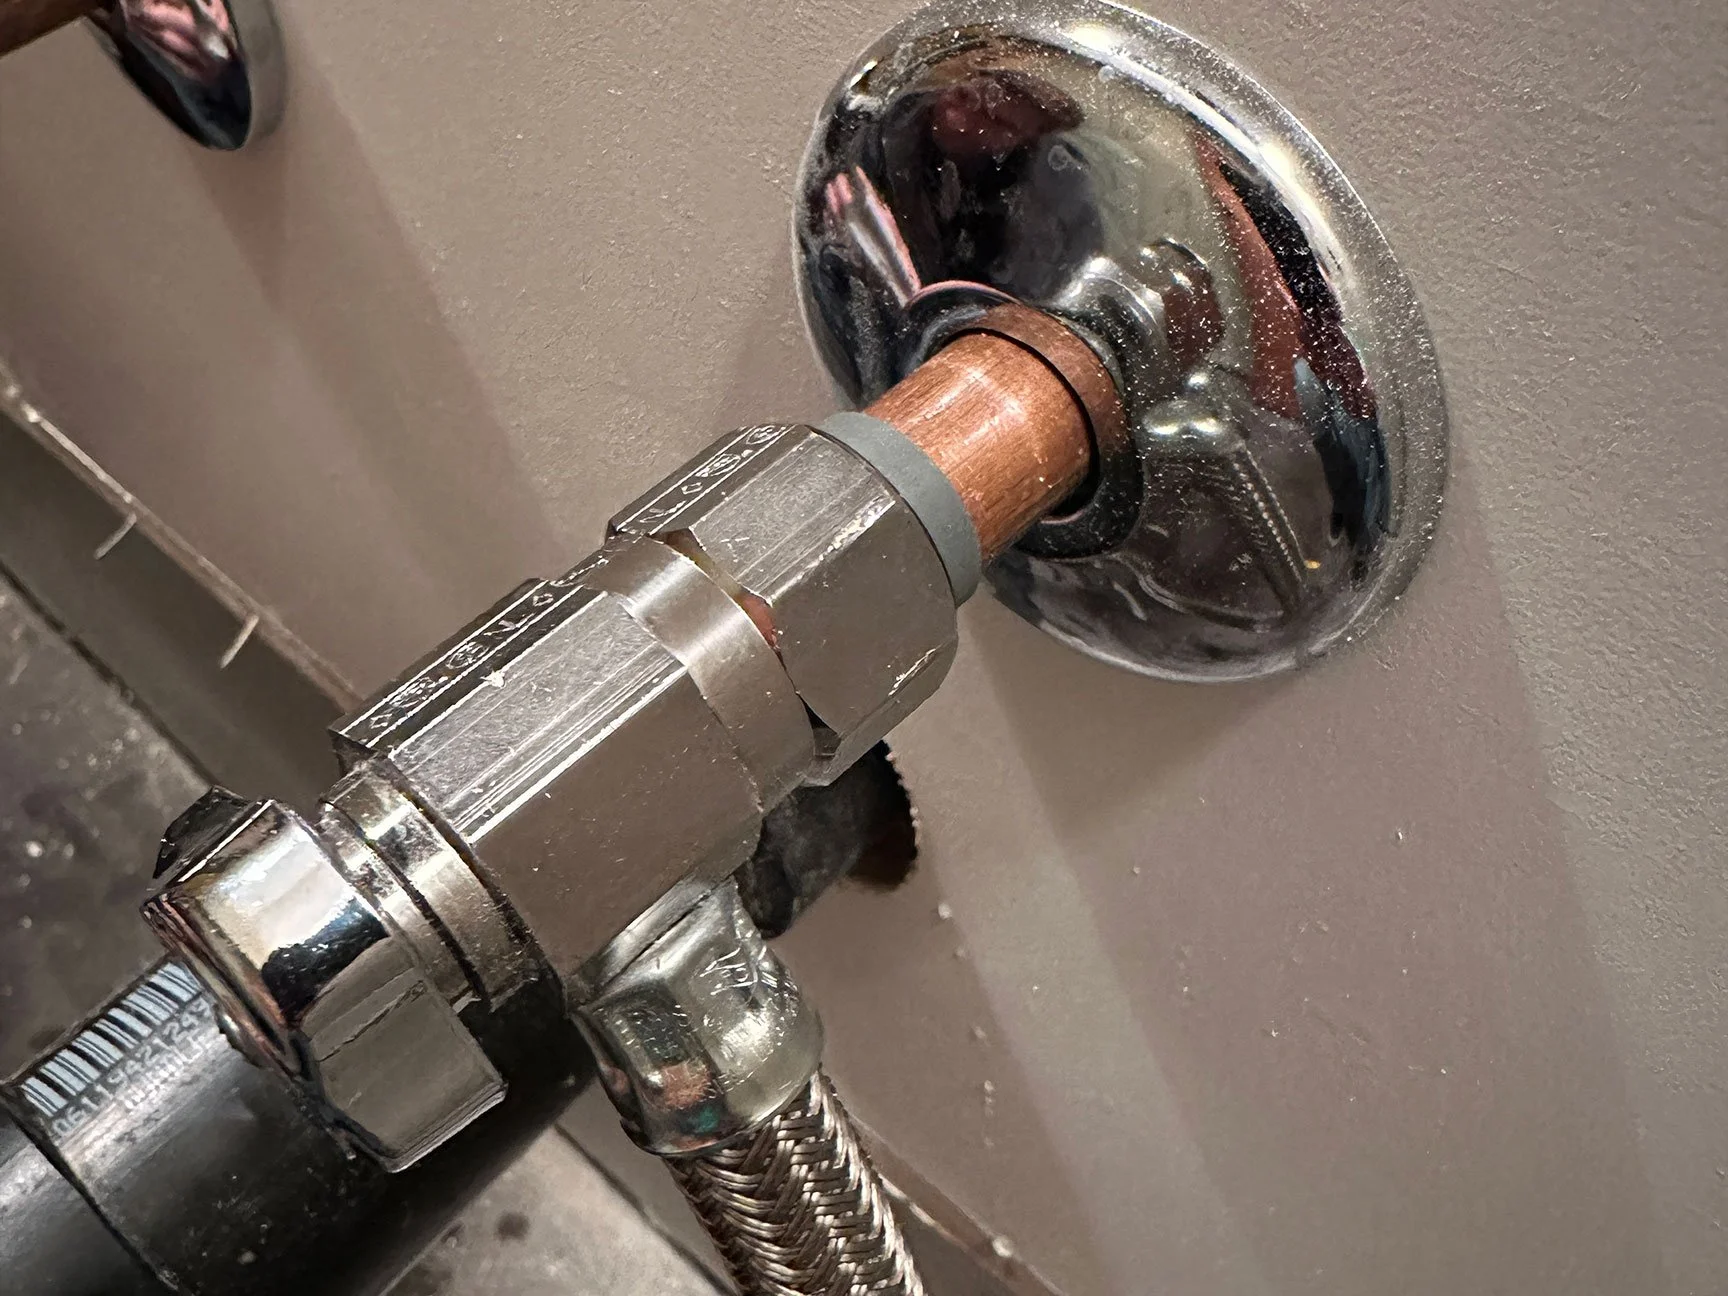
Generic push-to-connect valves have always made me nervous due to their potential for failure..
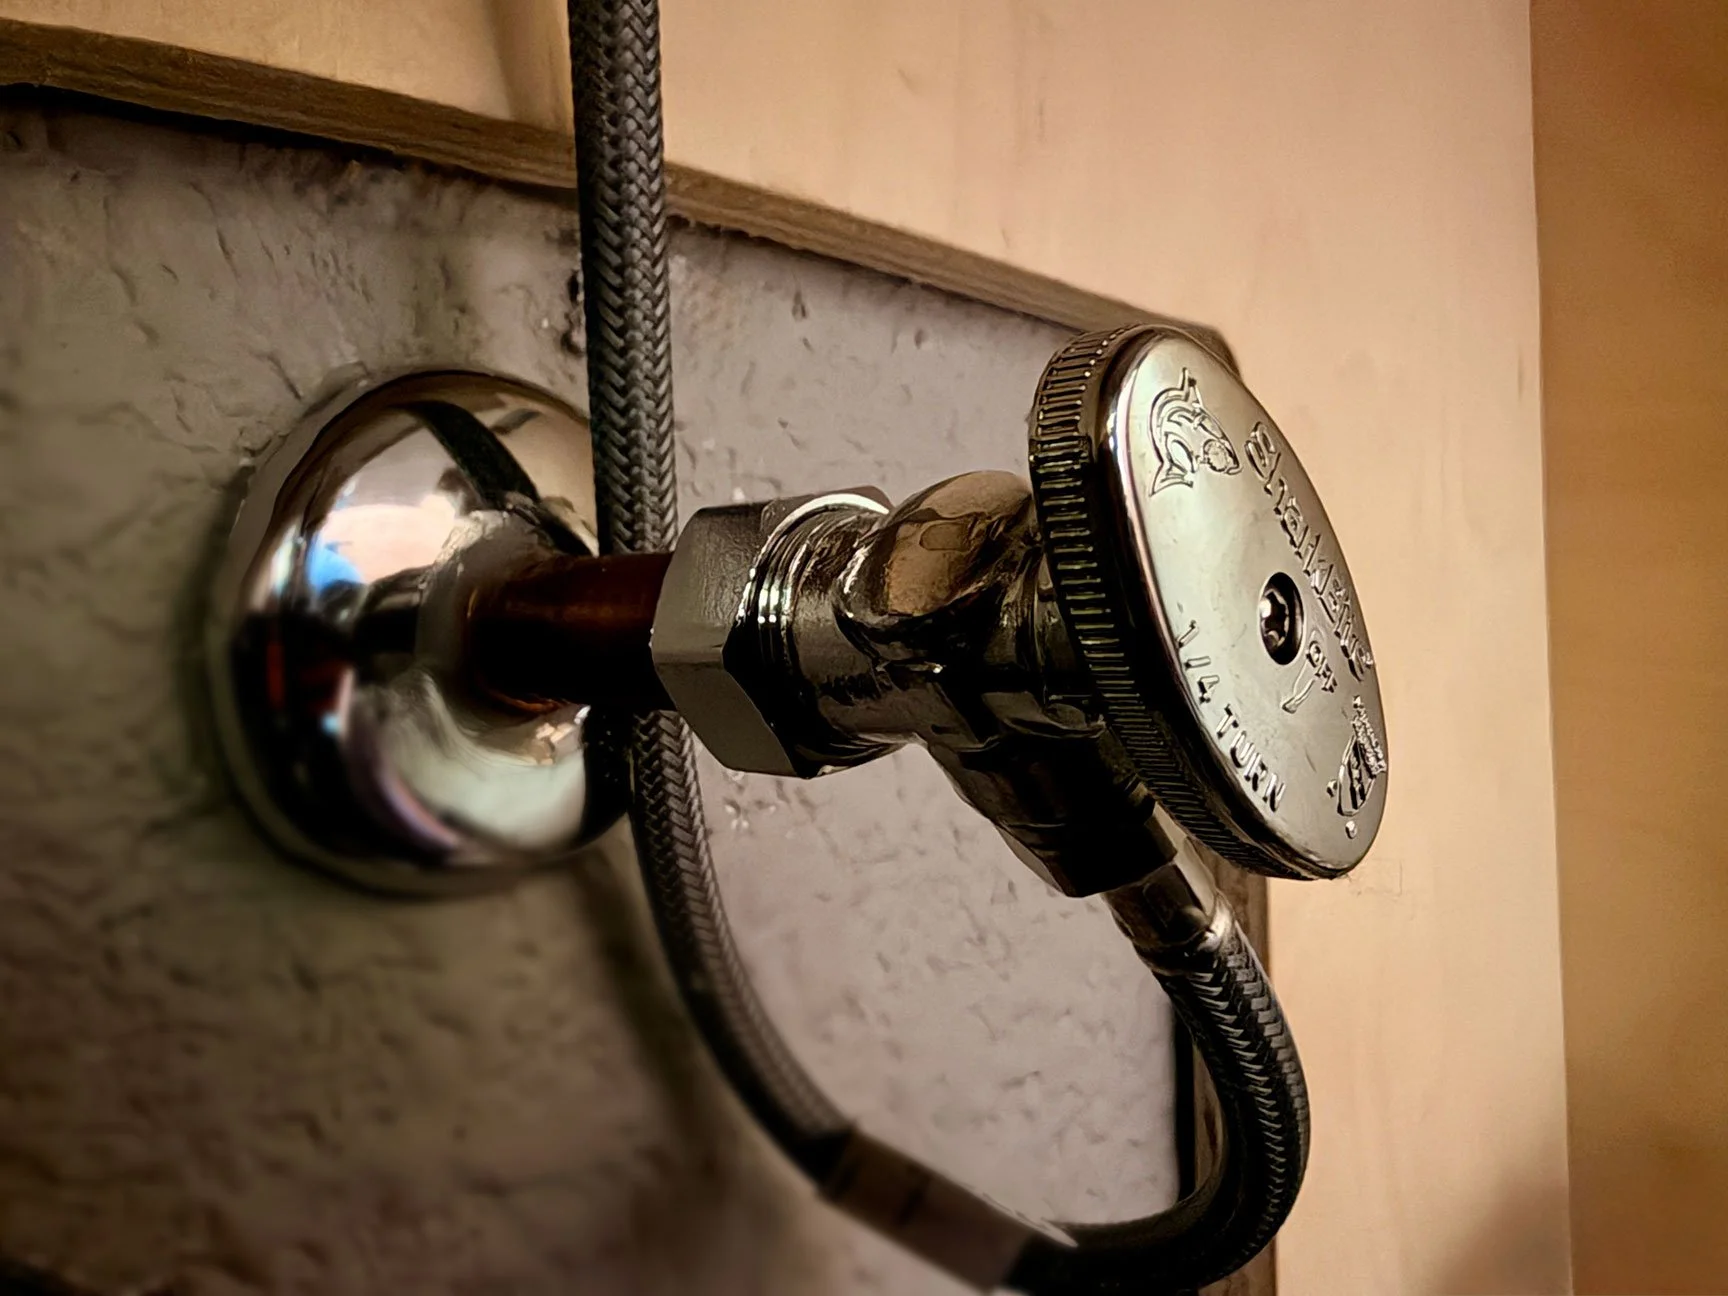
An angle stop supply valve is a more traditional installation that provides a more secure connection and peace of mind.
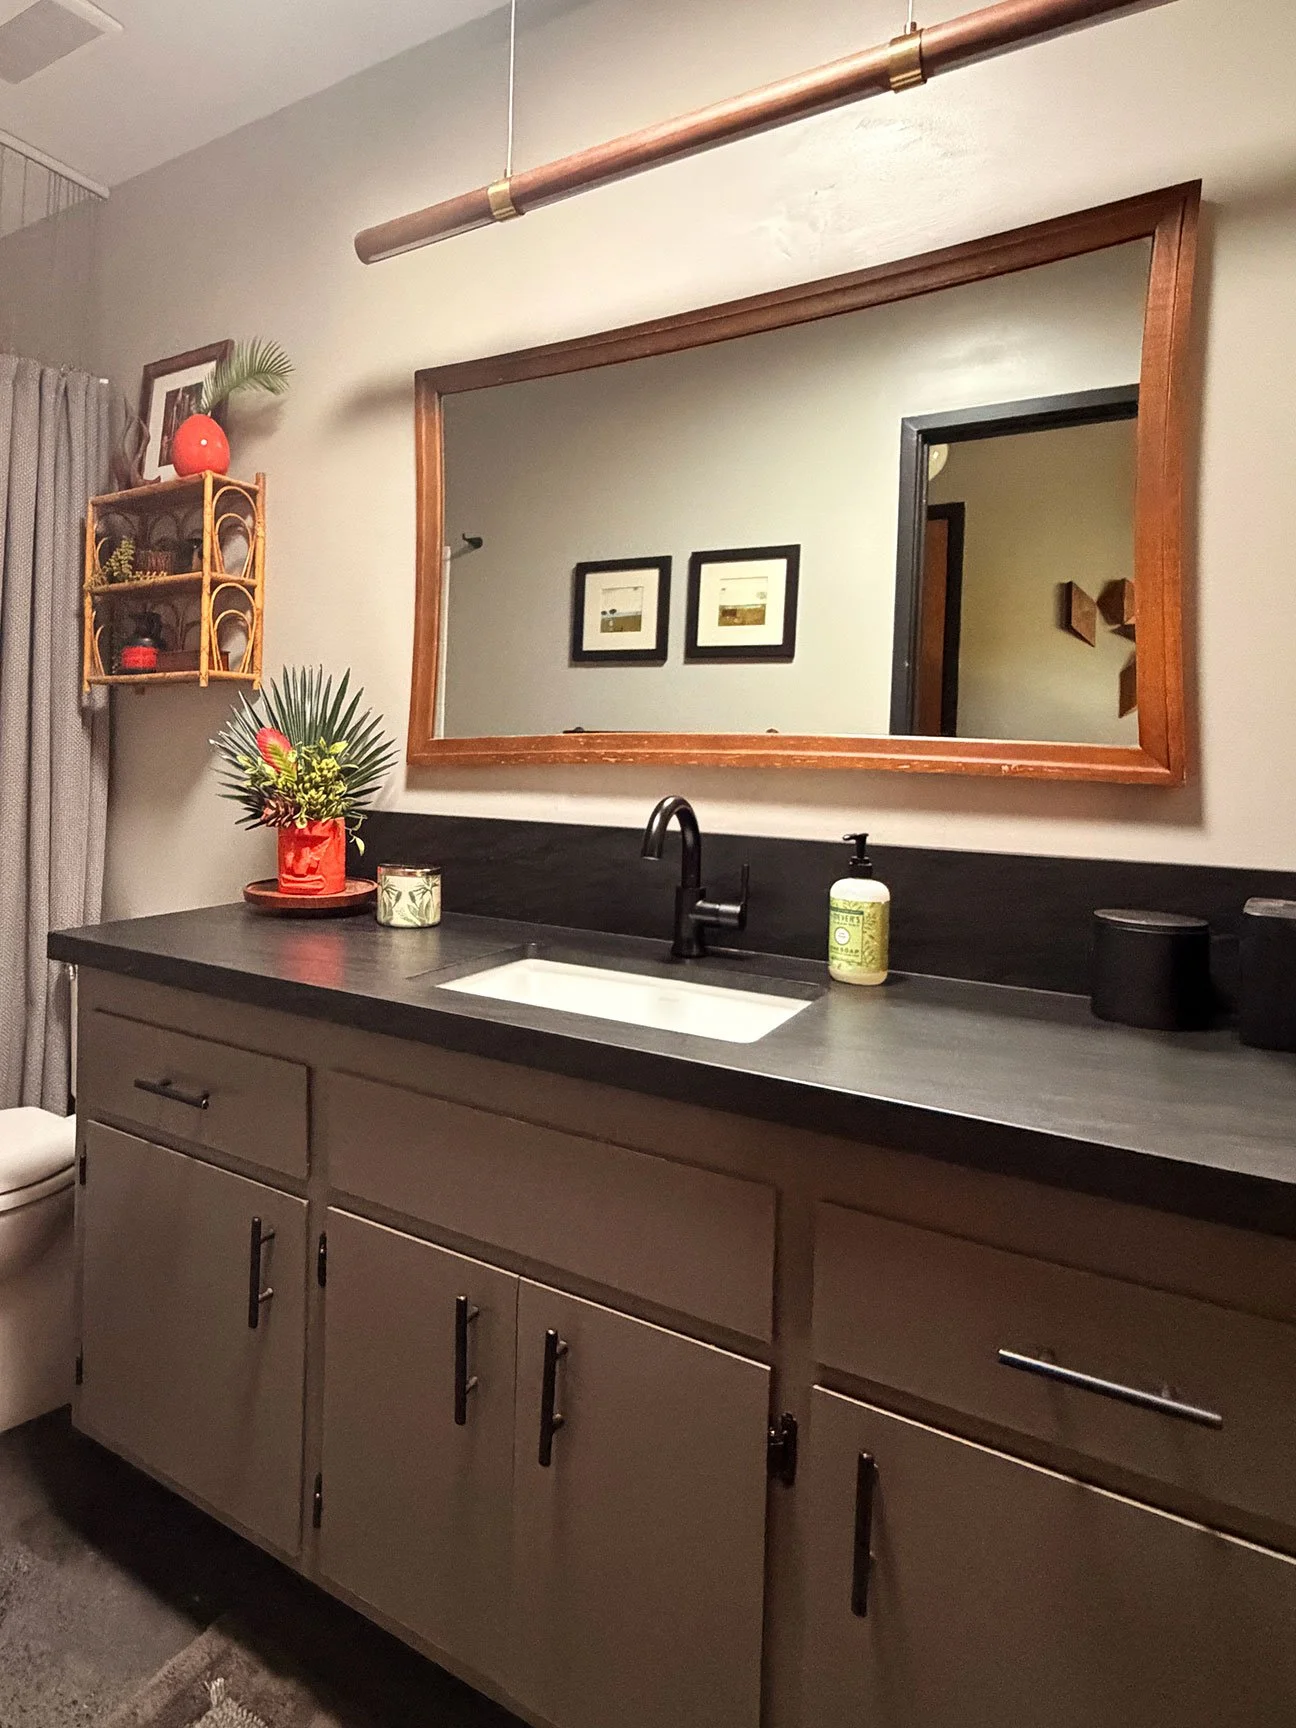
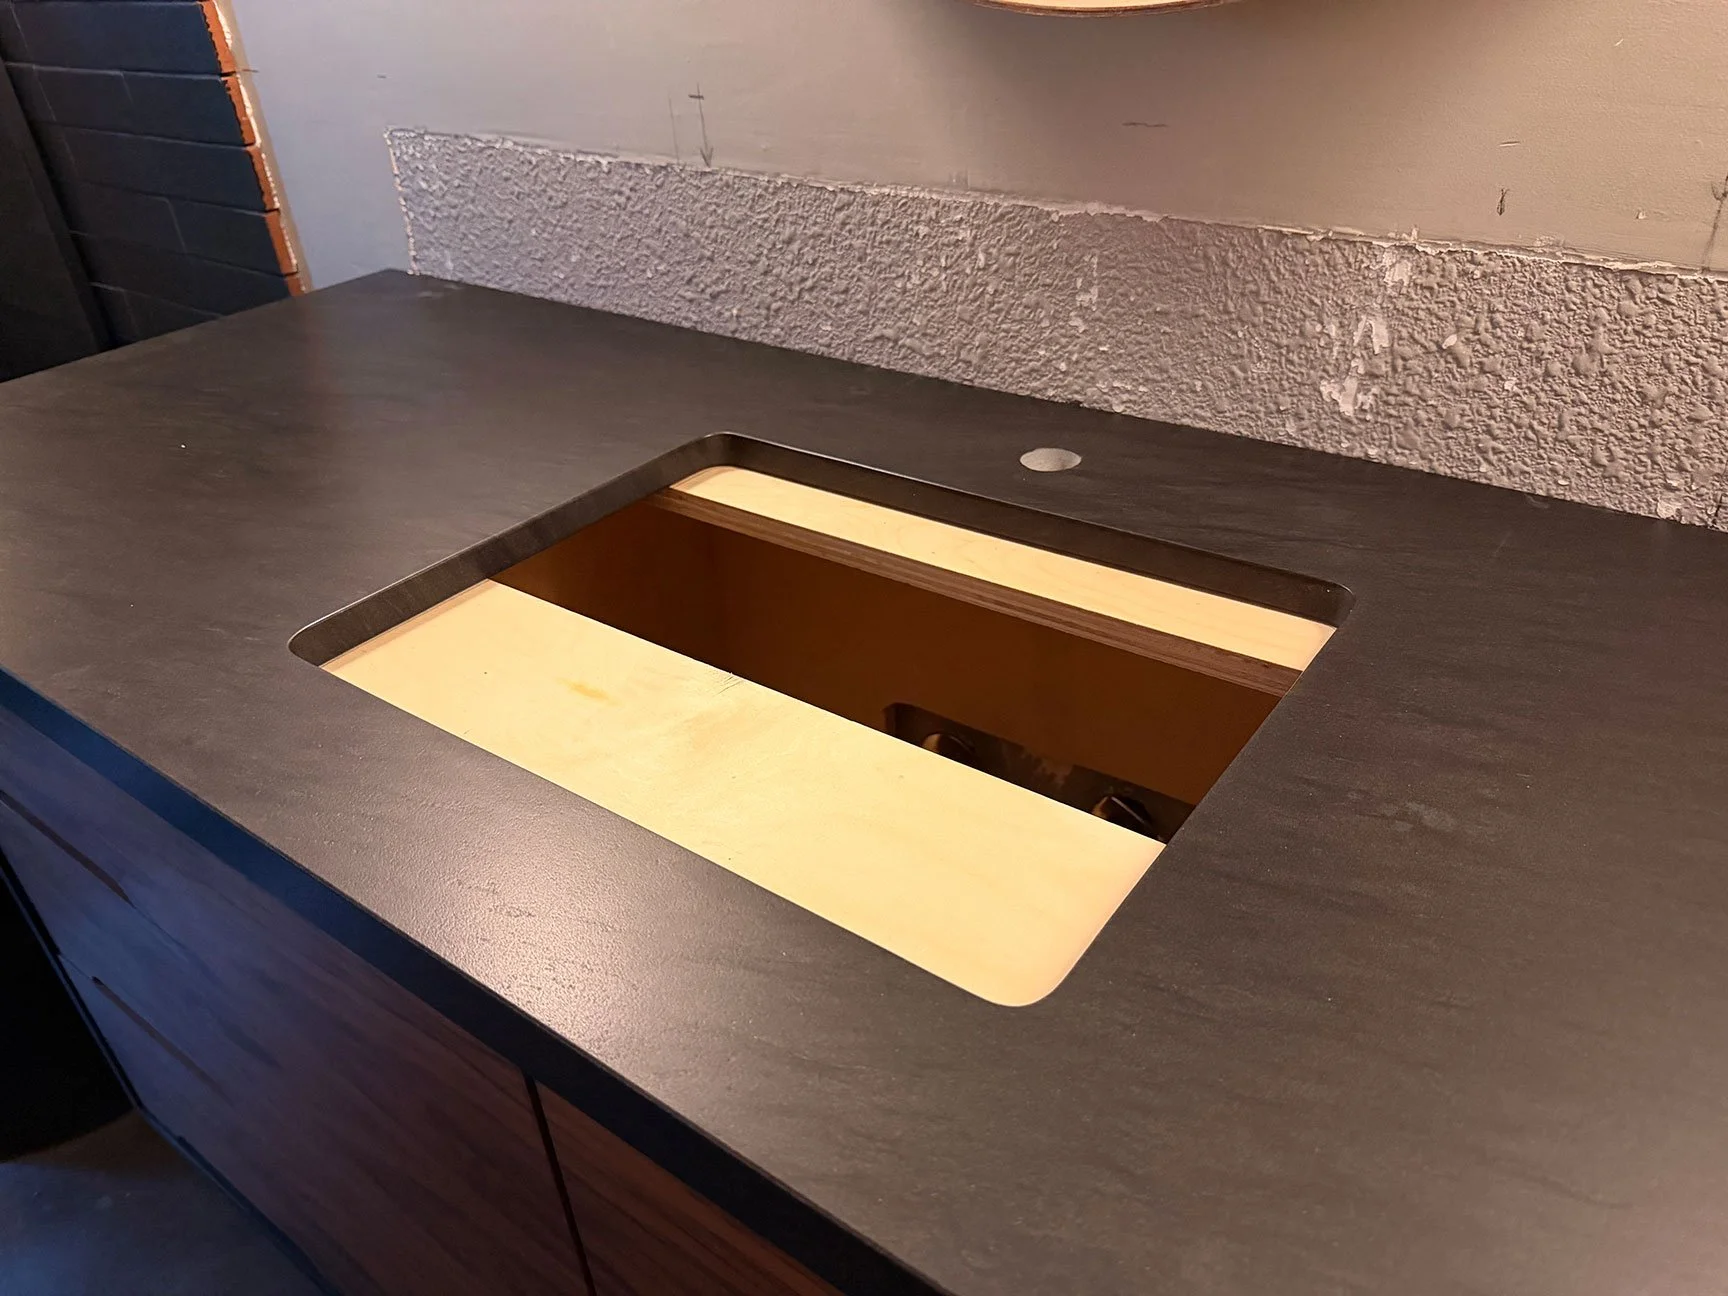
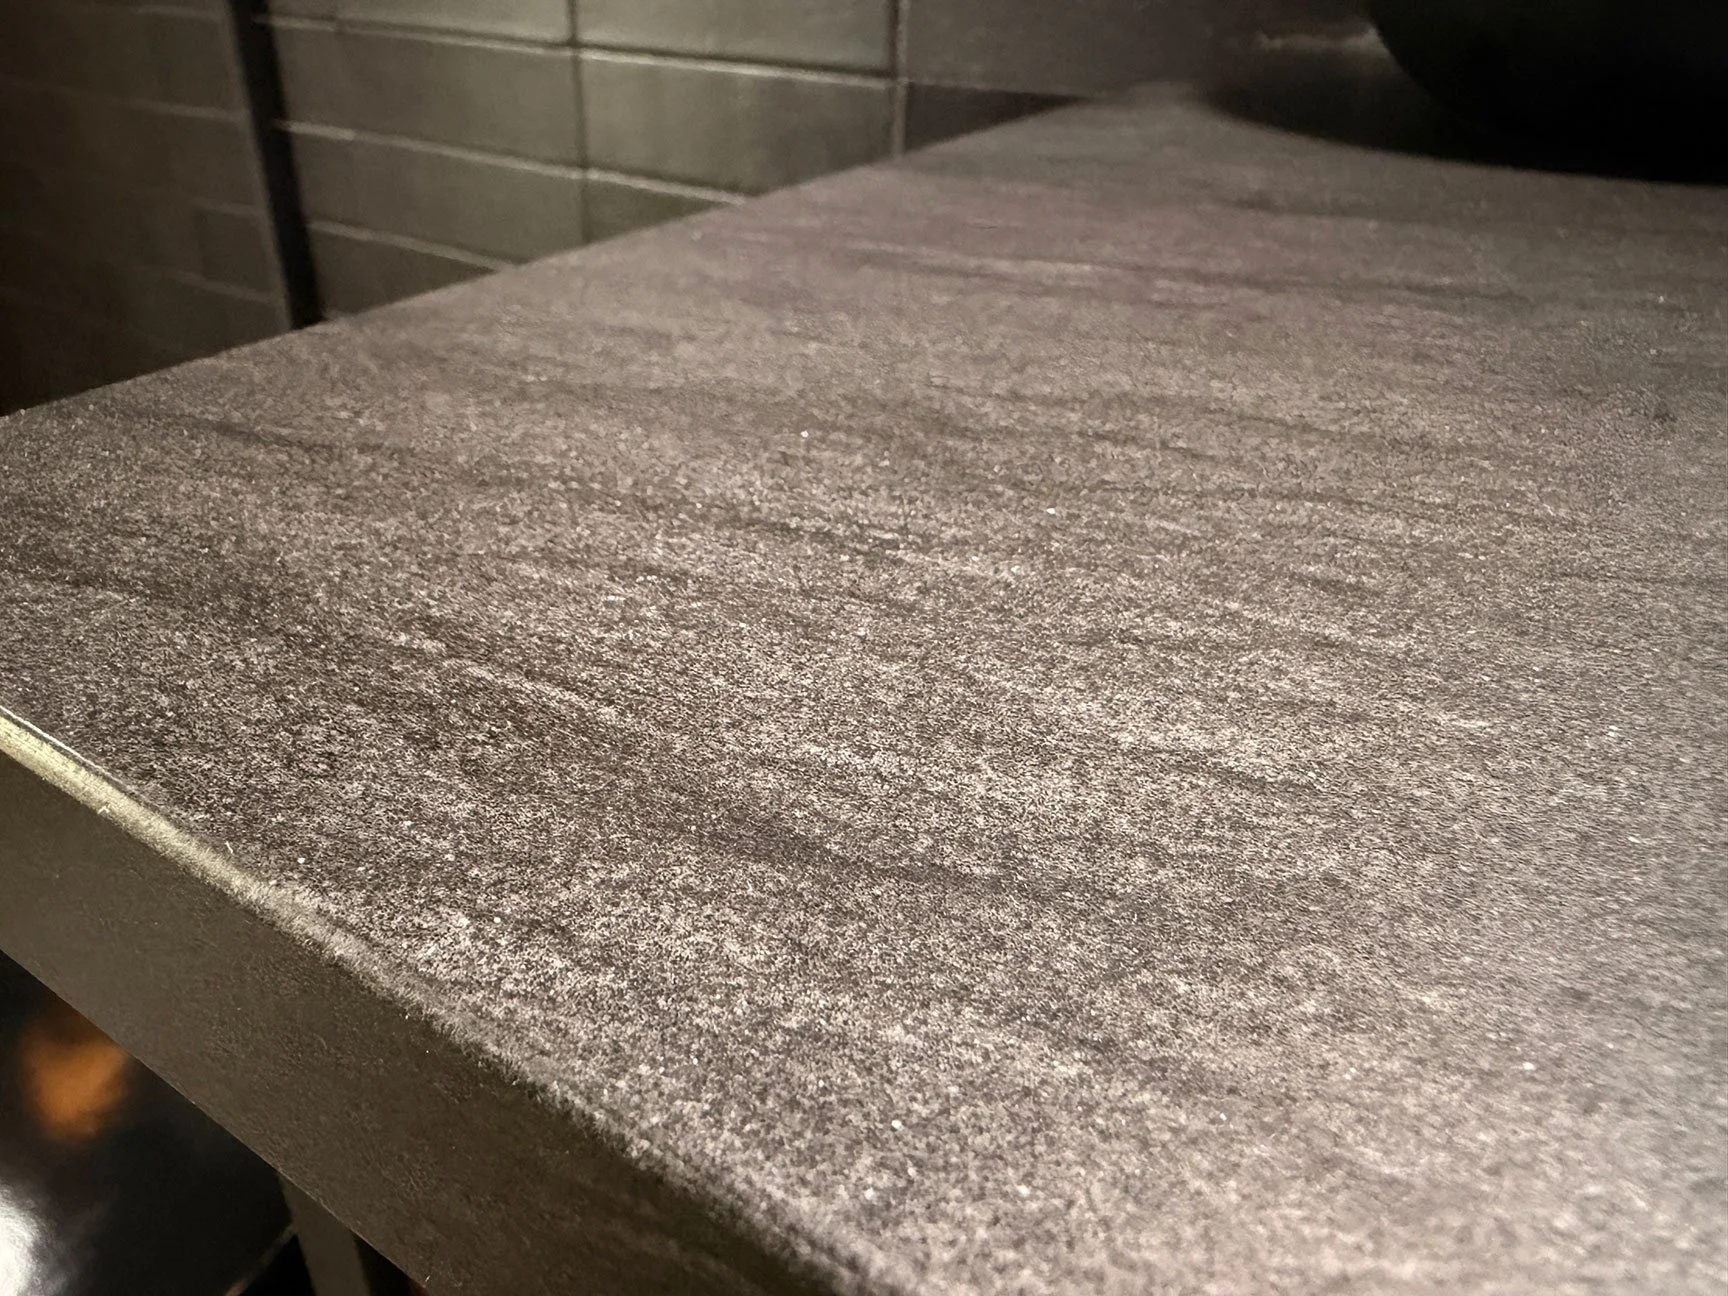
An extra long remnant of black quartzite was put to use with an unexpected upgrade to the guest bathroom.
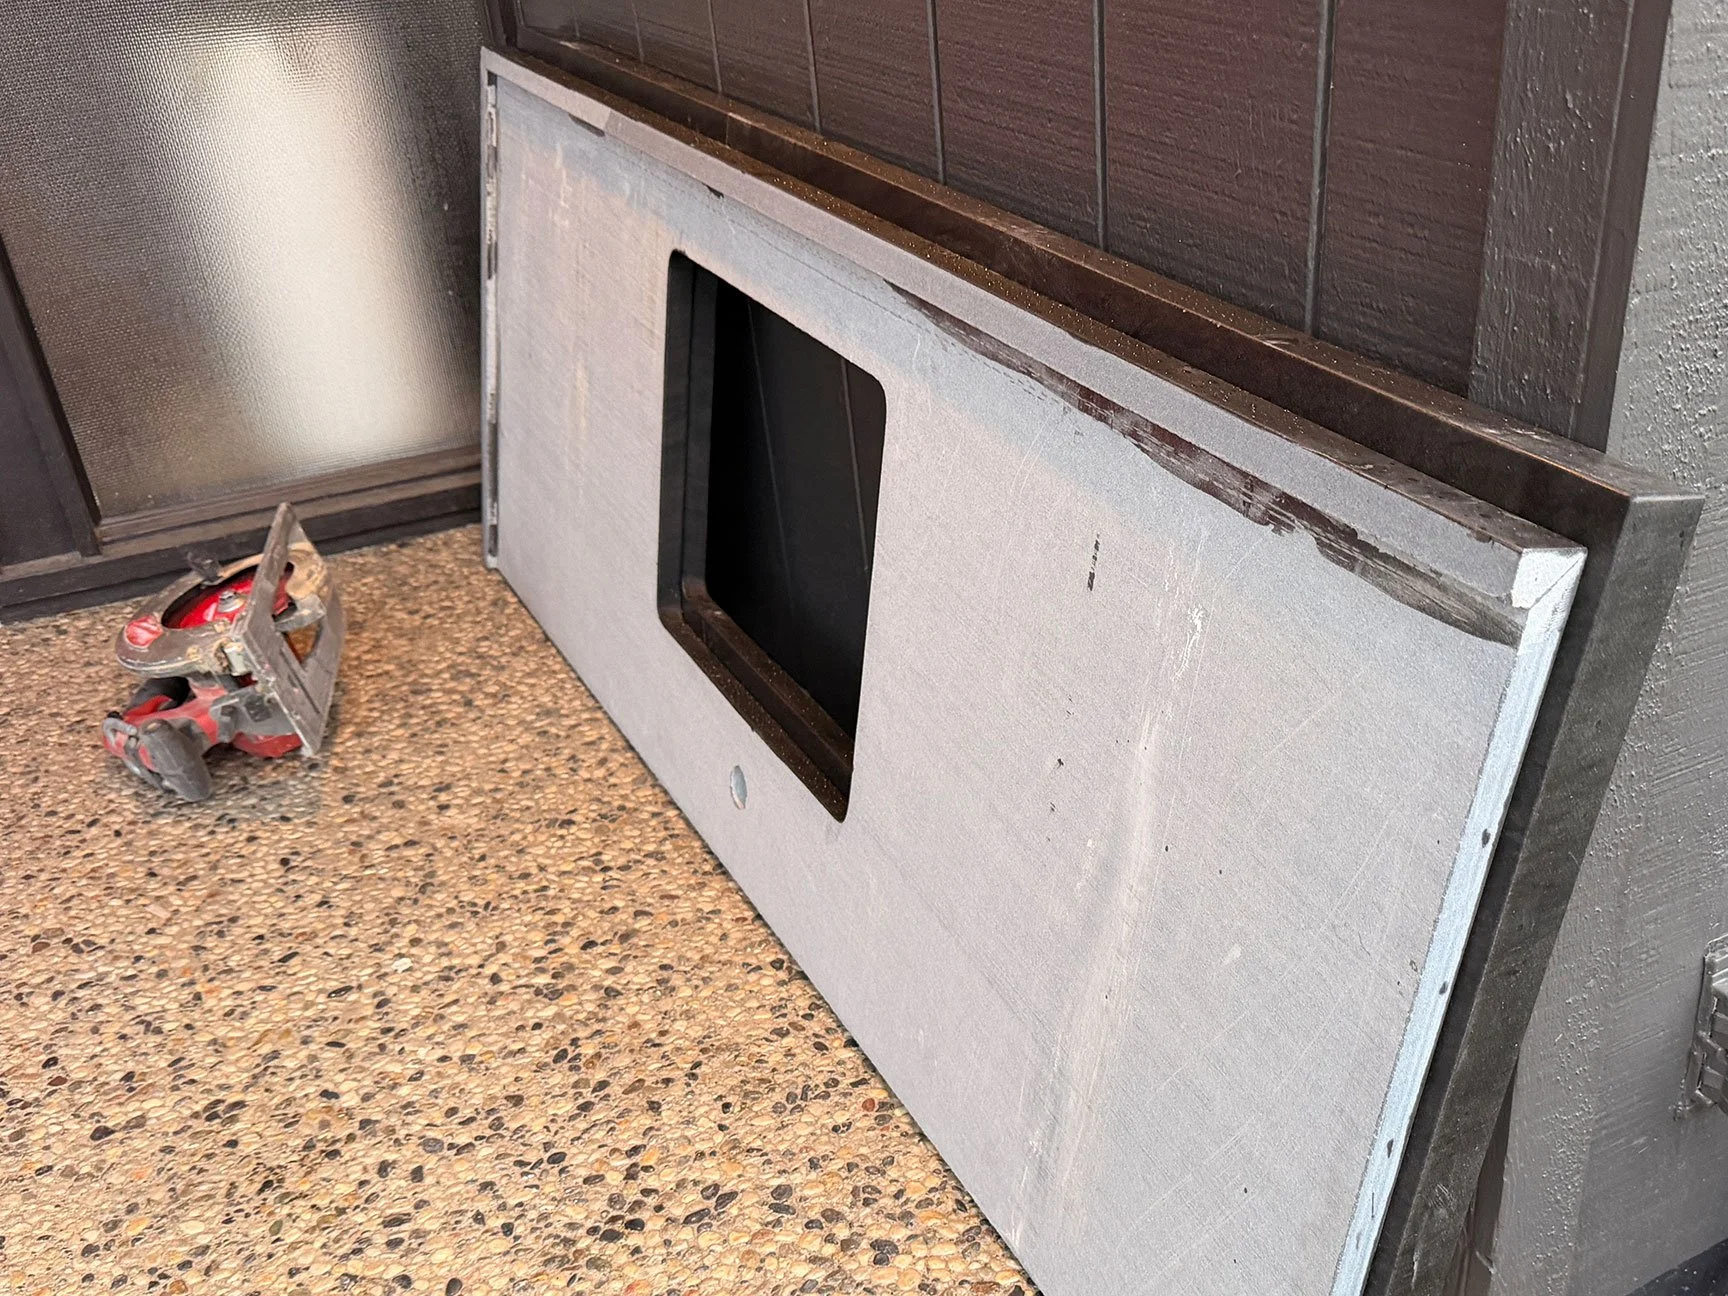
I had set out to use the same black quartz material for the vanity as I used in the kitchen. However, the textured, natural brick wall tile needed a more organic surface to feel connected. I was able to source a remnant of black quartzite by searching the inventory at a local supplier. Quartzite is an engineered stone that offers unique patterns and textures similar to that of natural stone. Additionally, it is ideal for UV resistance — a big plus with the newly installed window, and an eventual plan for a skylight over the vanity. I really lucked out with this remnant piece as it had an unusual length of 130” giving me enough leftover for a new counter and backsplash in the guest bathroom as well! Not a single inch of the slab went to waste!
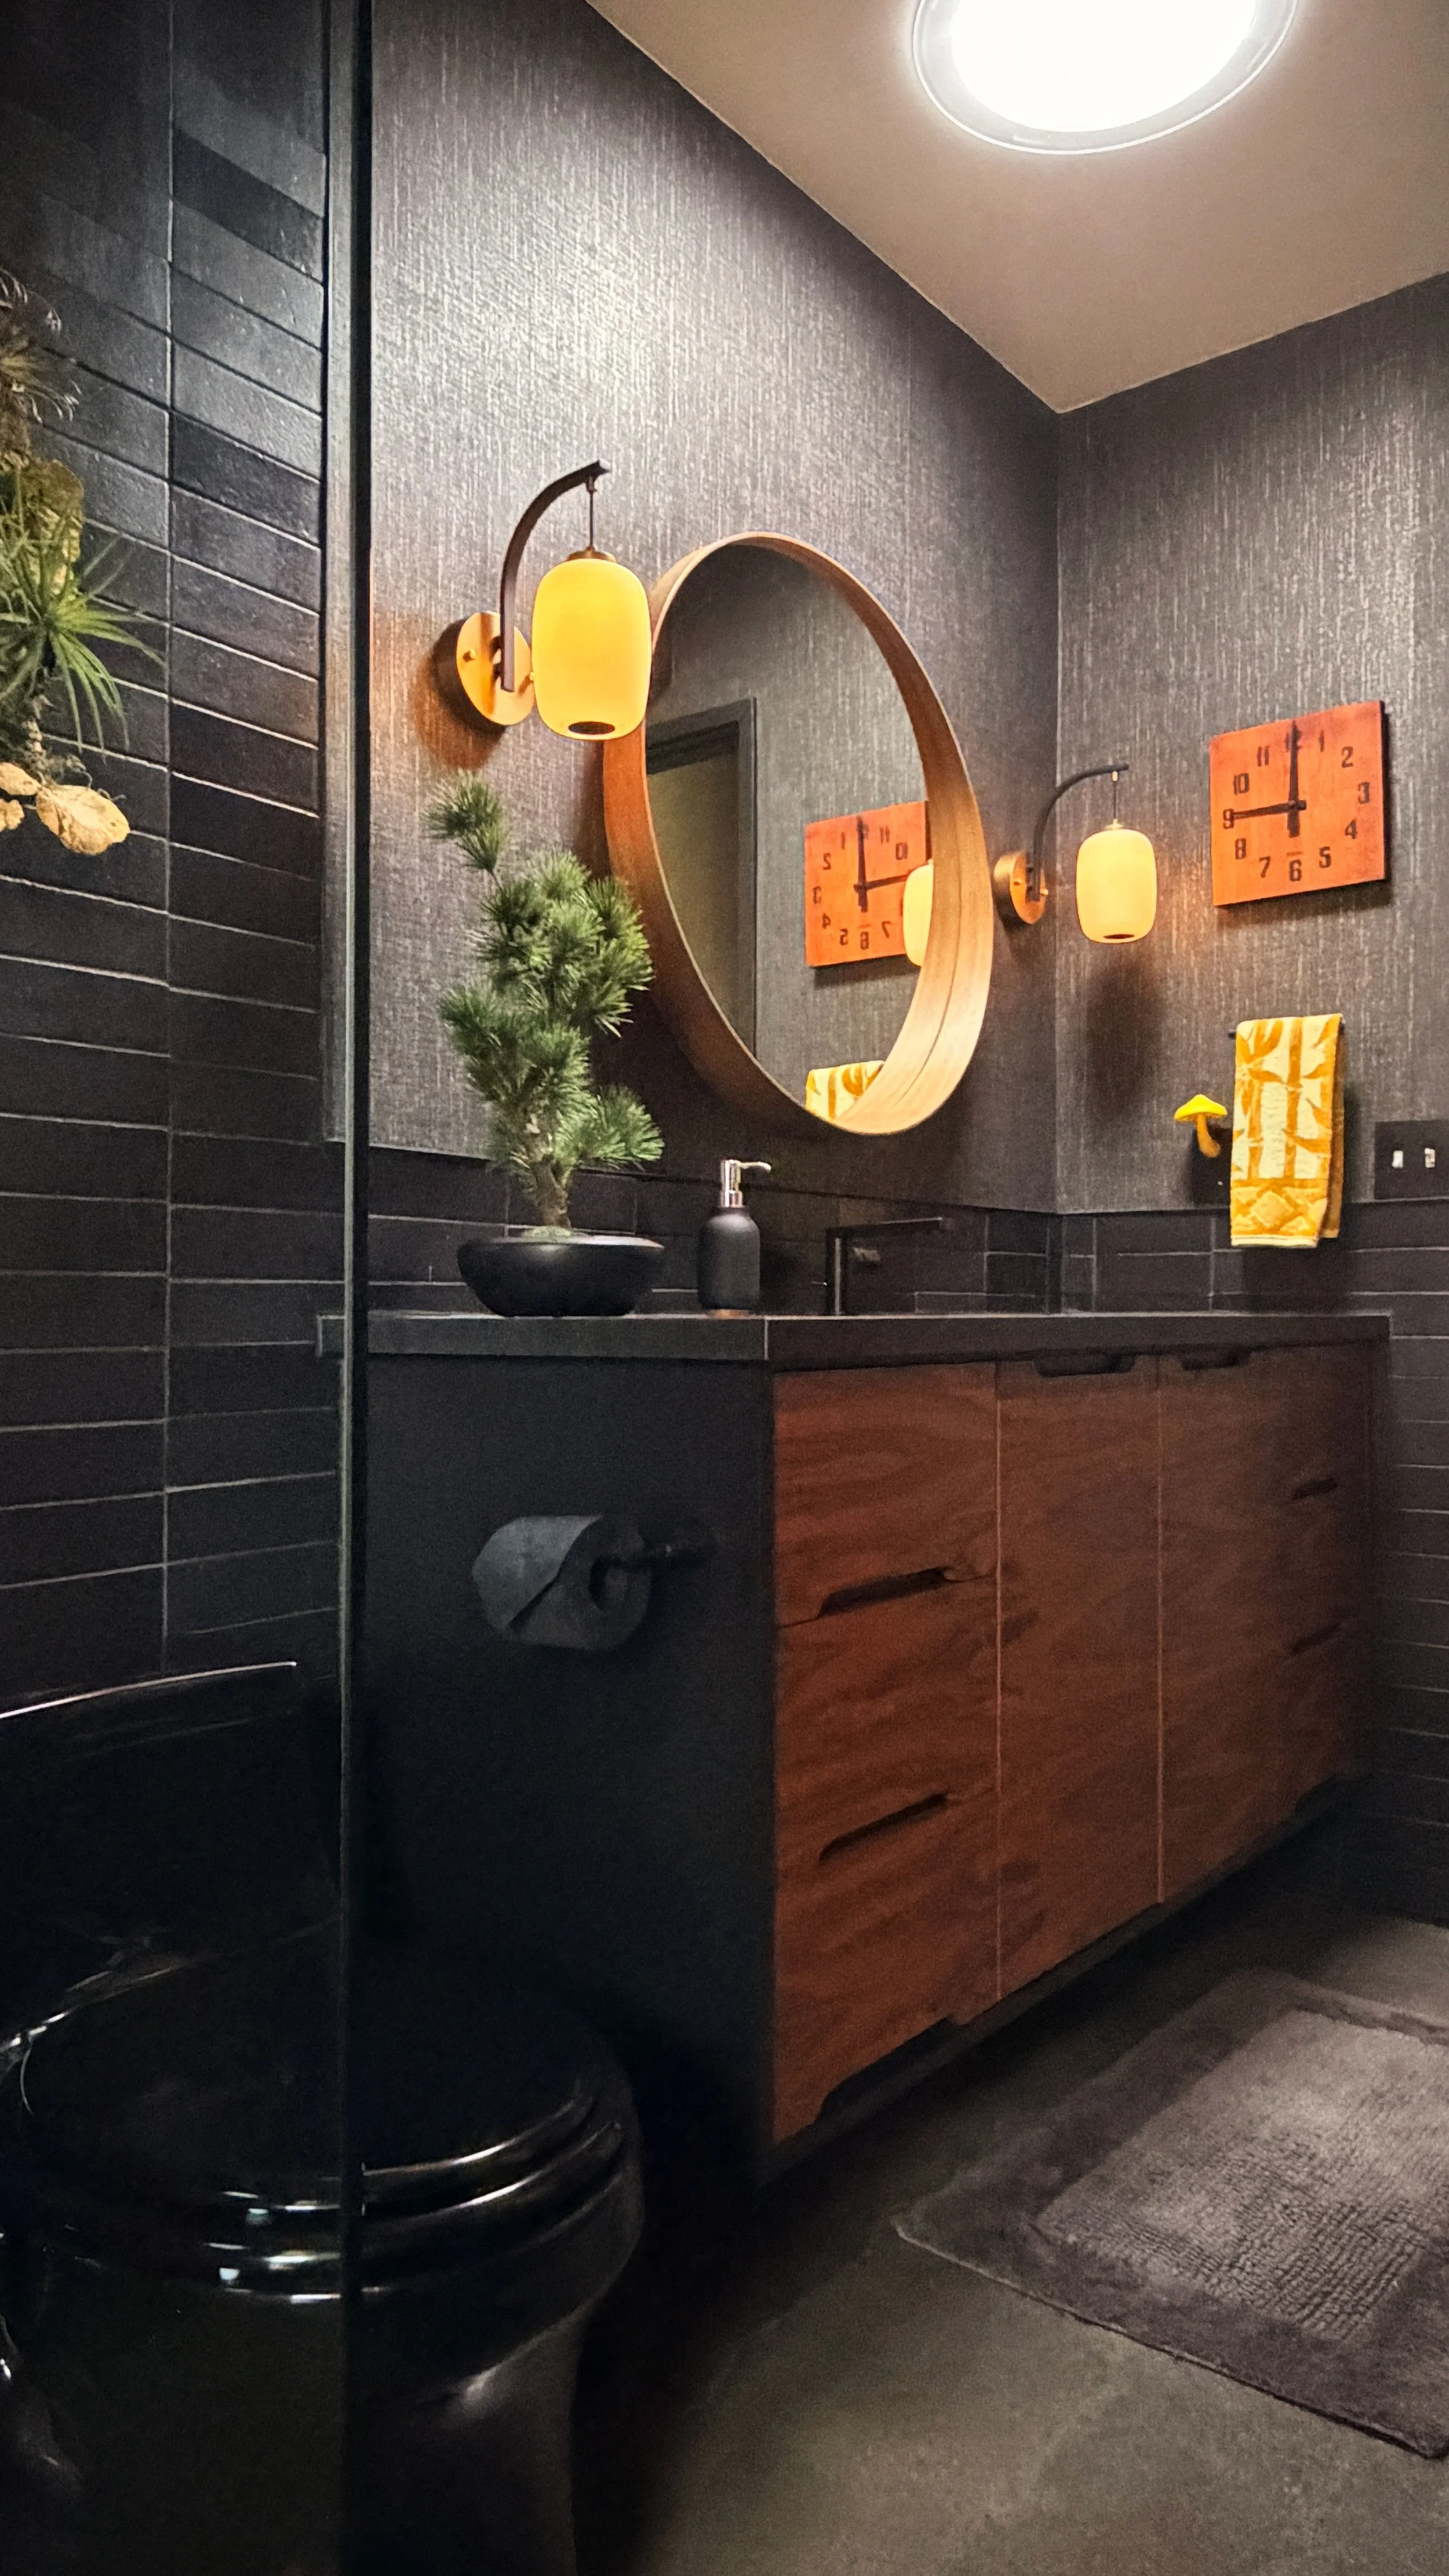
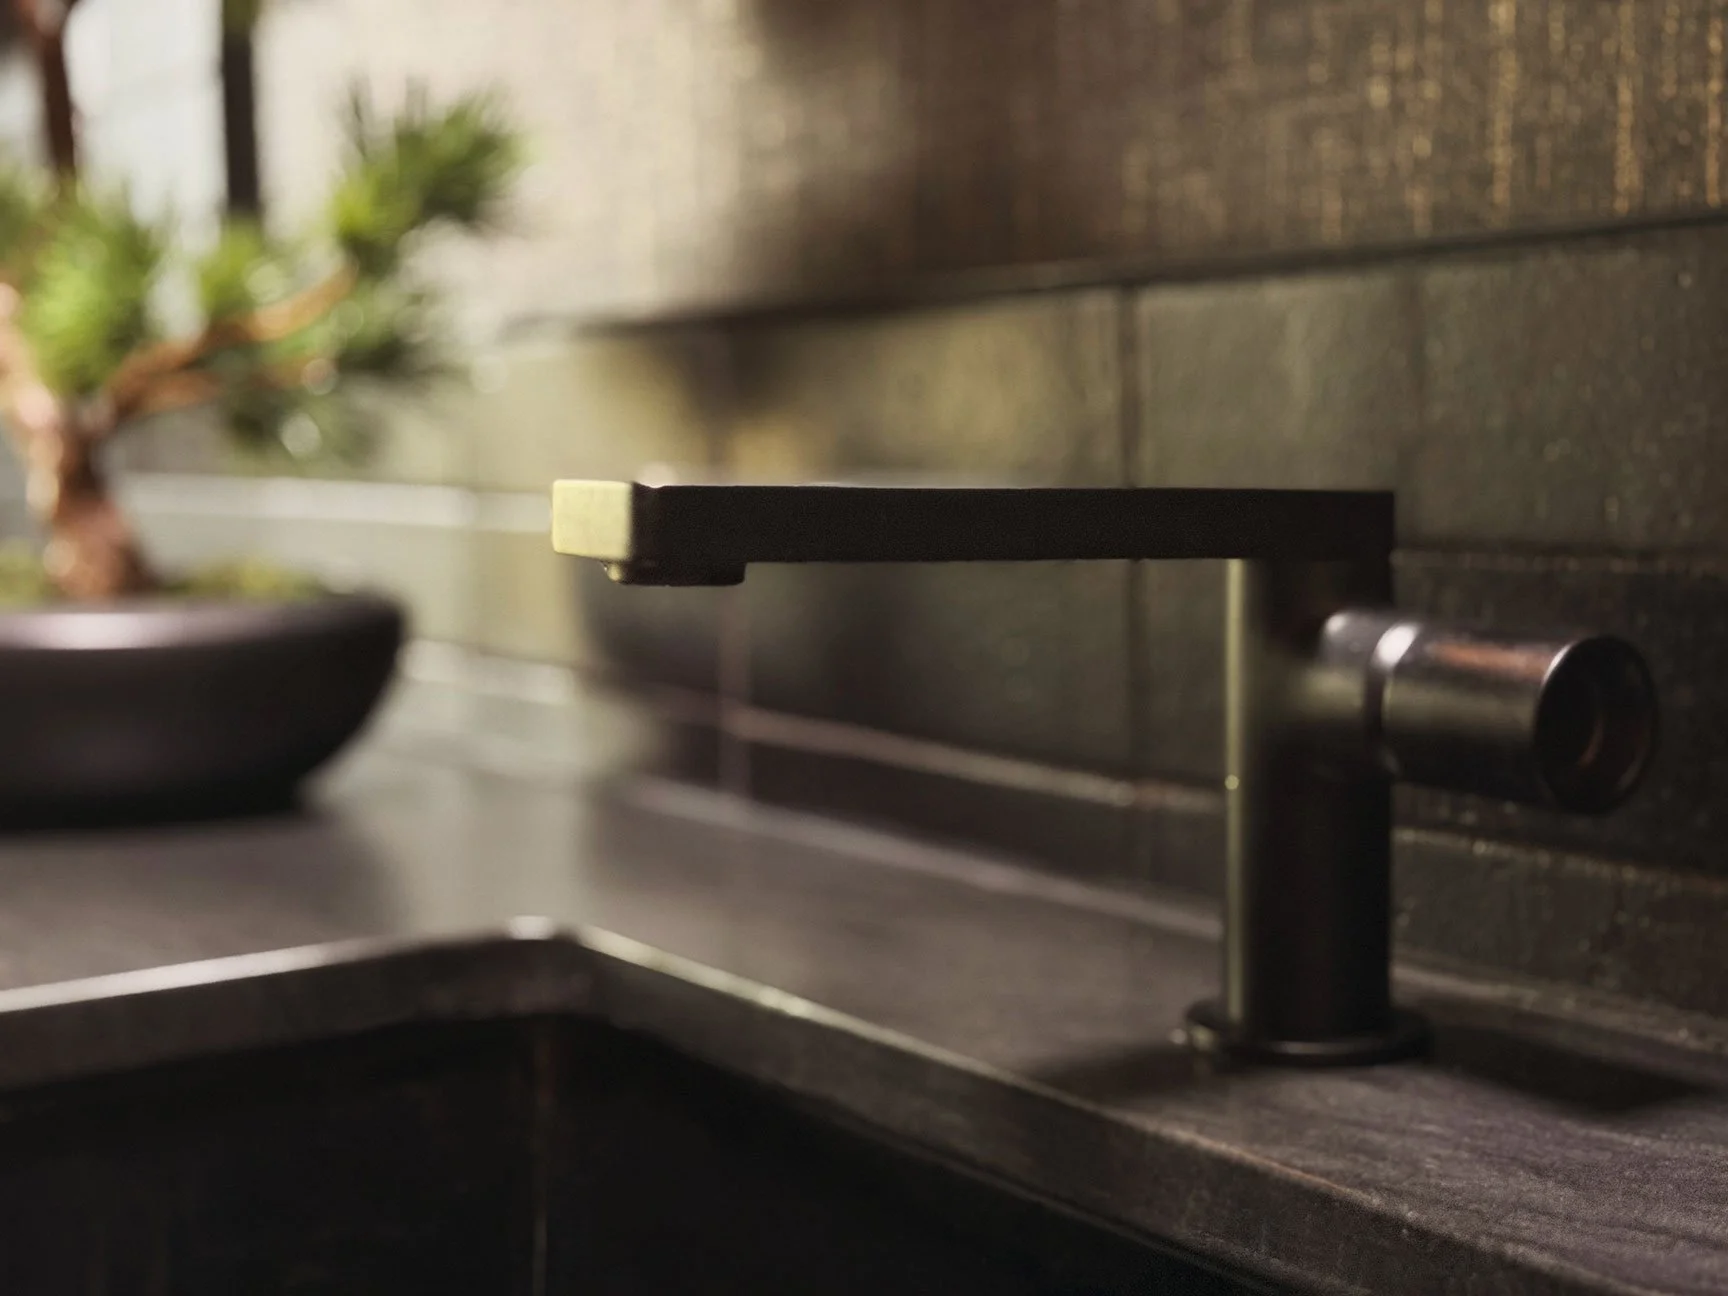
The master vanity counter was cut to fit a Kohler Verticyl sink in gloss black. I chose a Kohler Composed faucet for its sleek. minimal features, and low-profile to clear a low-hung, framed, round mirror that was in a bathroom at my previous home.
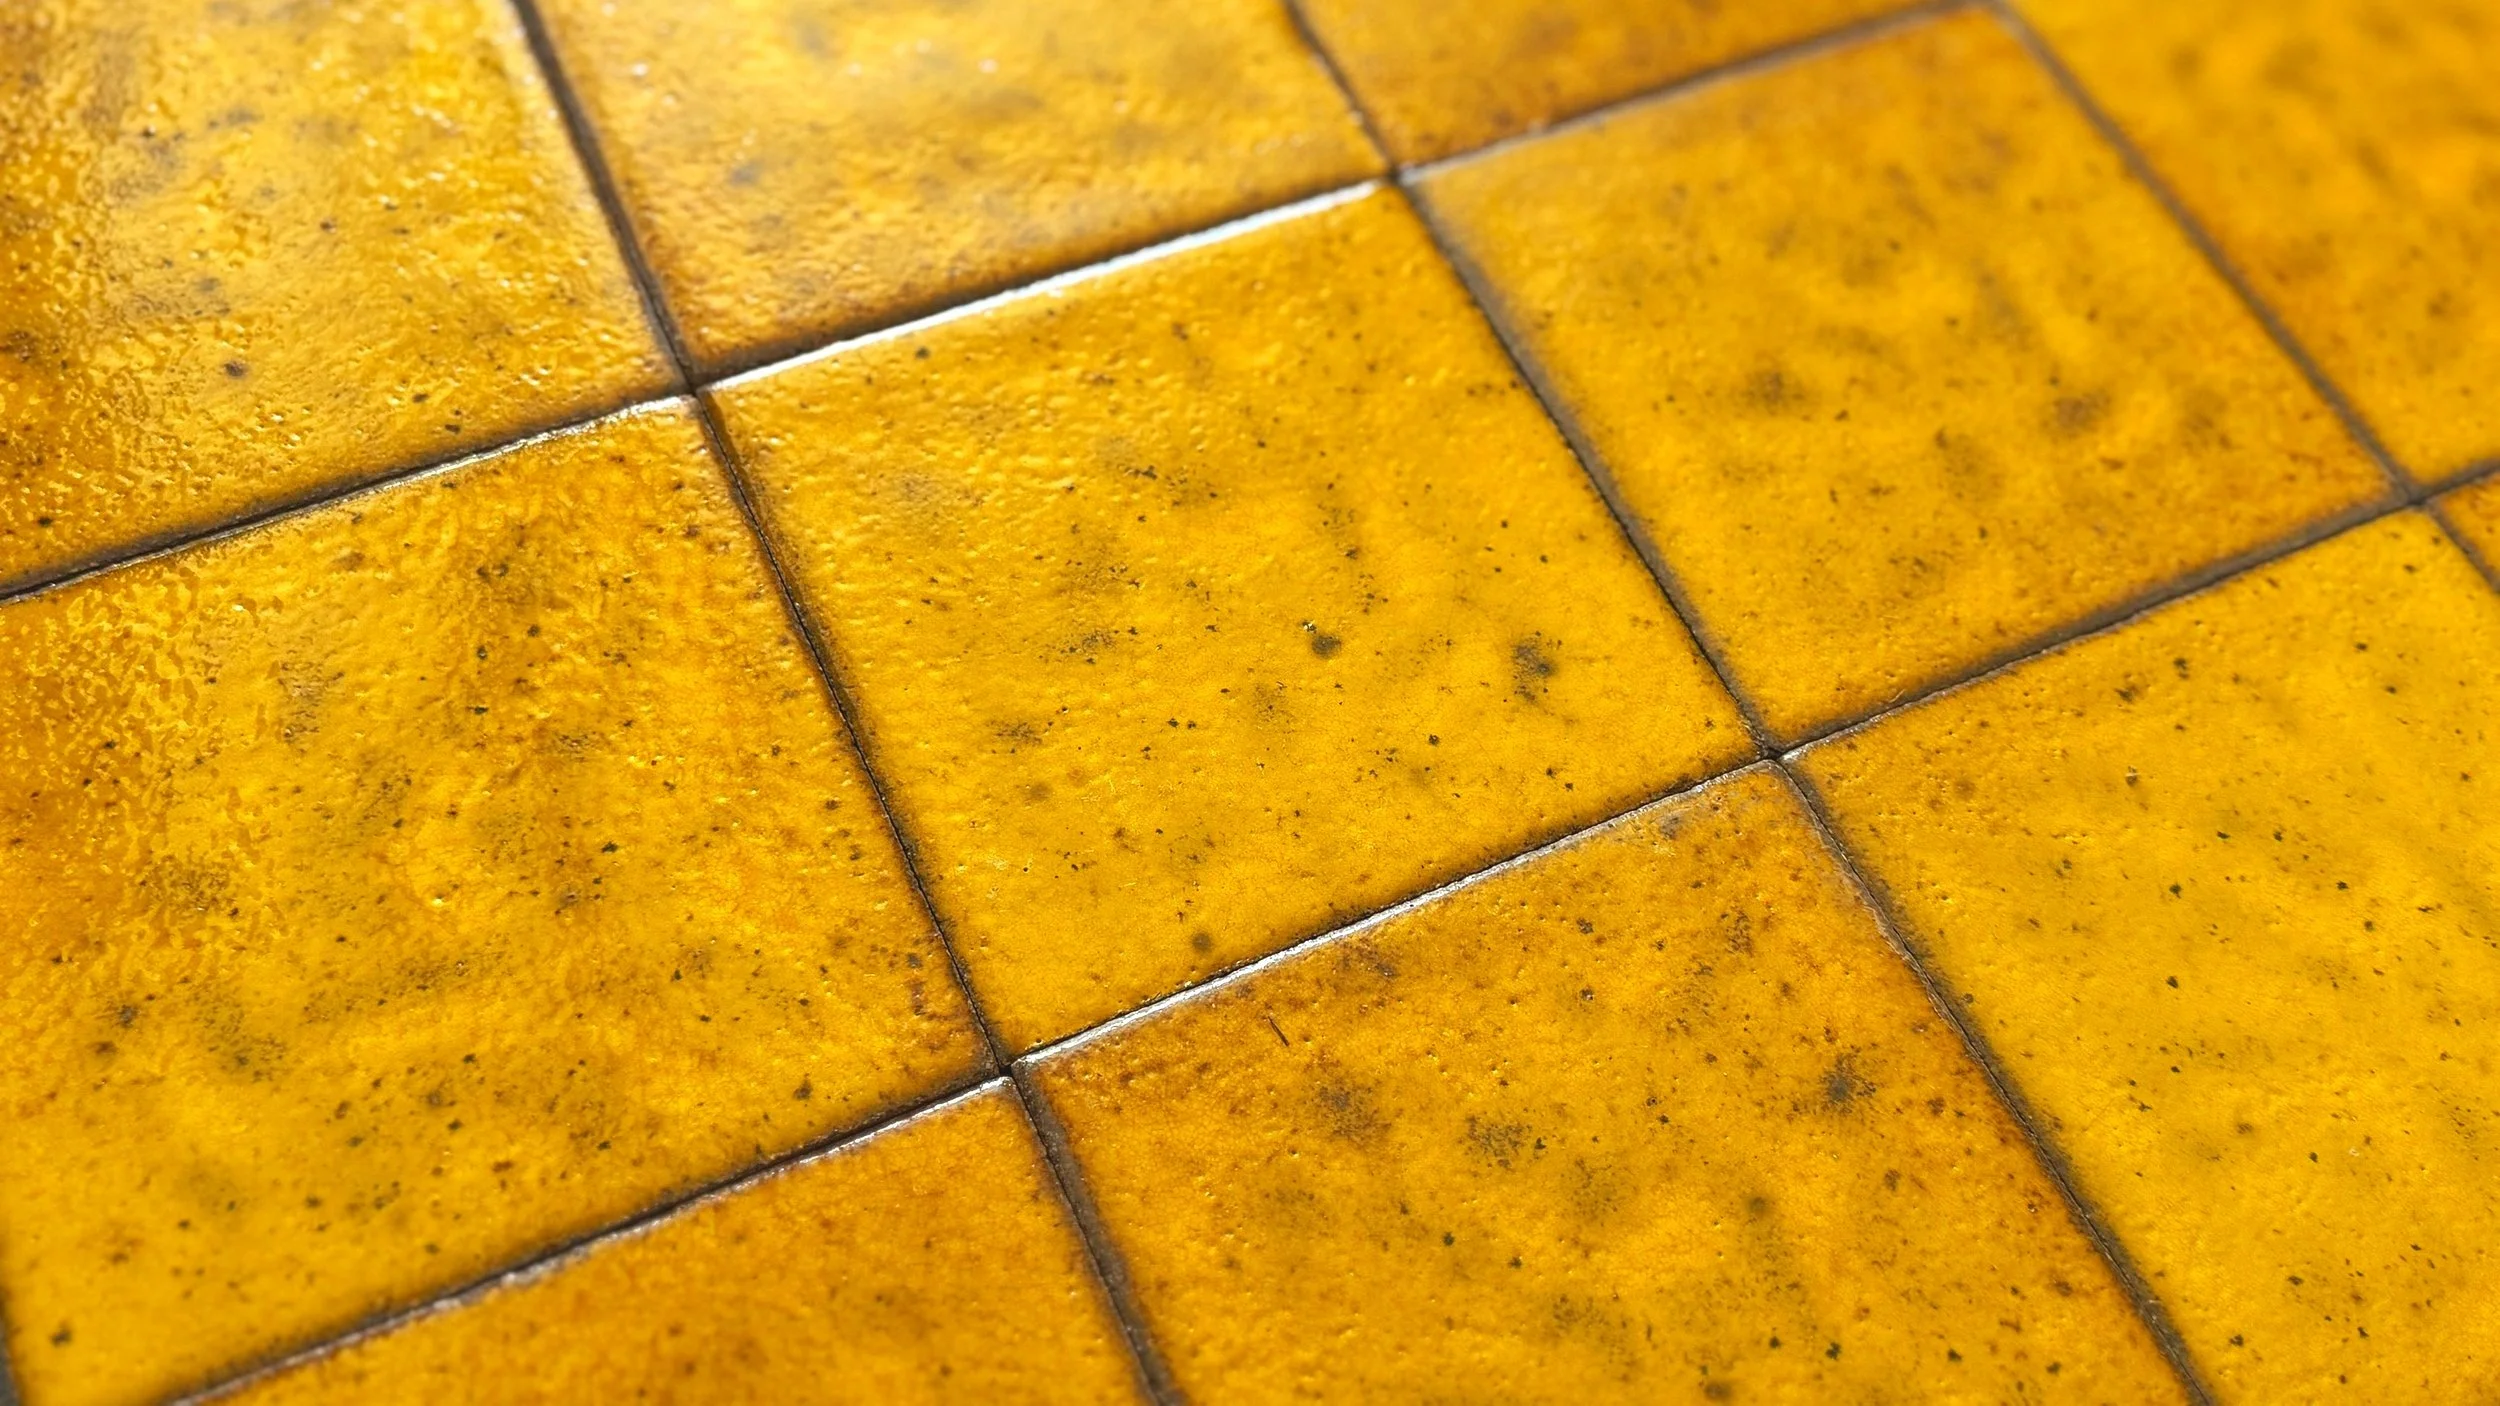
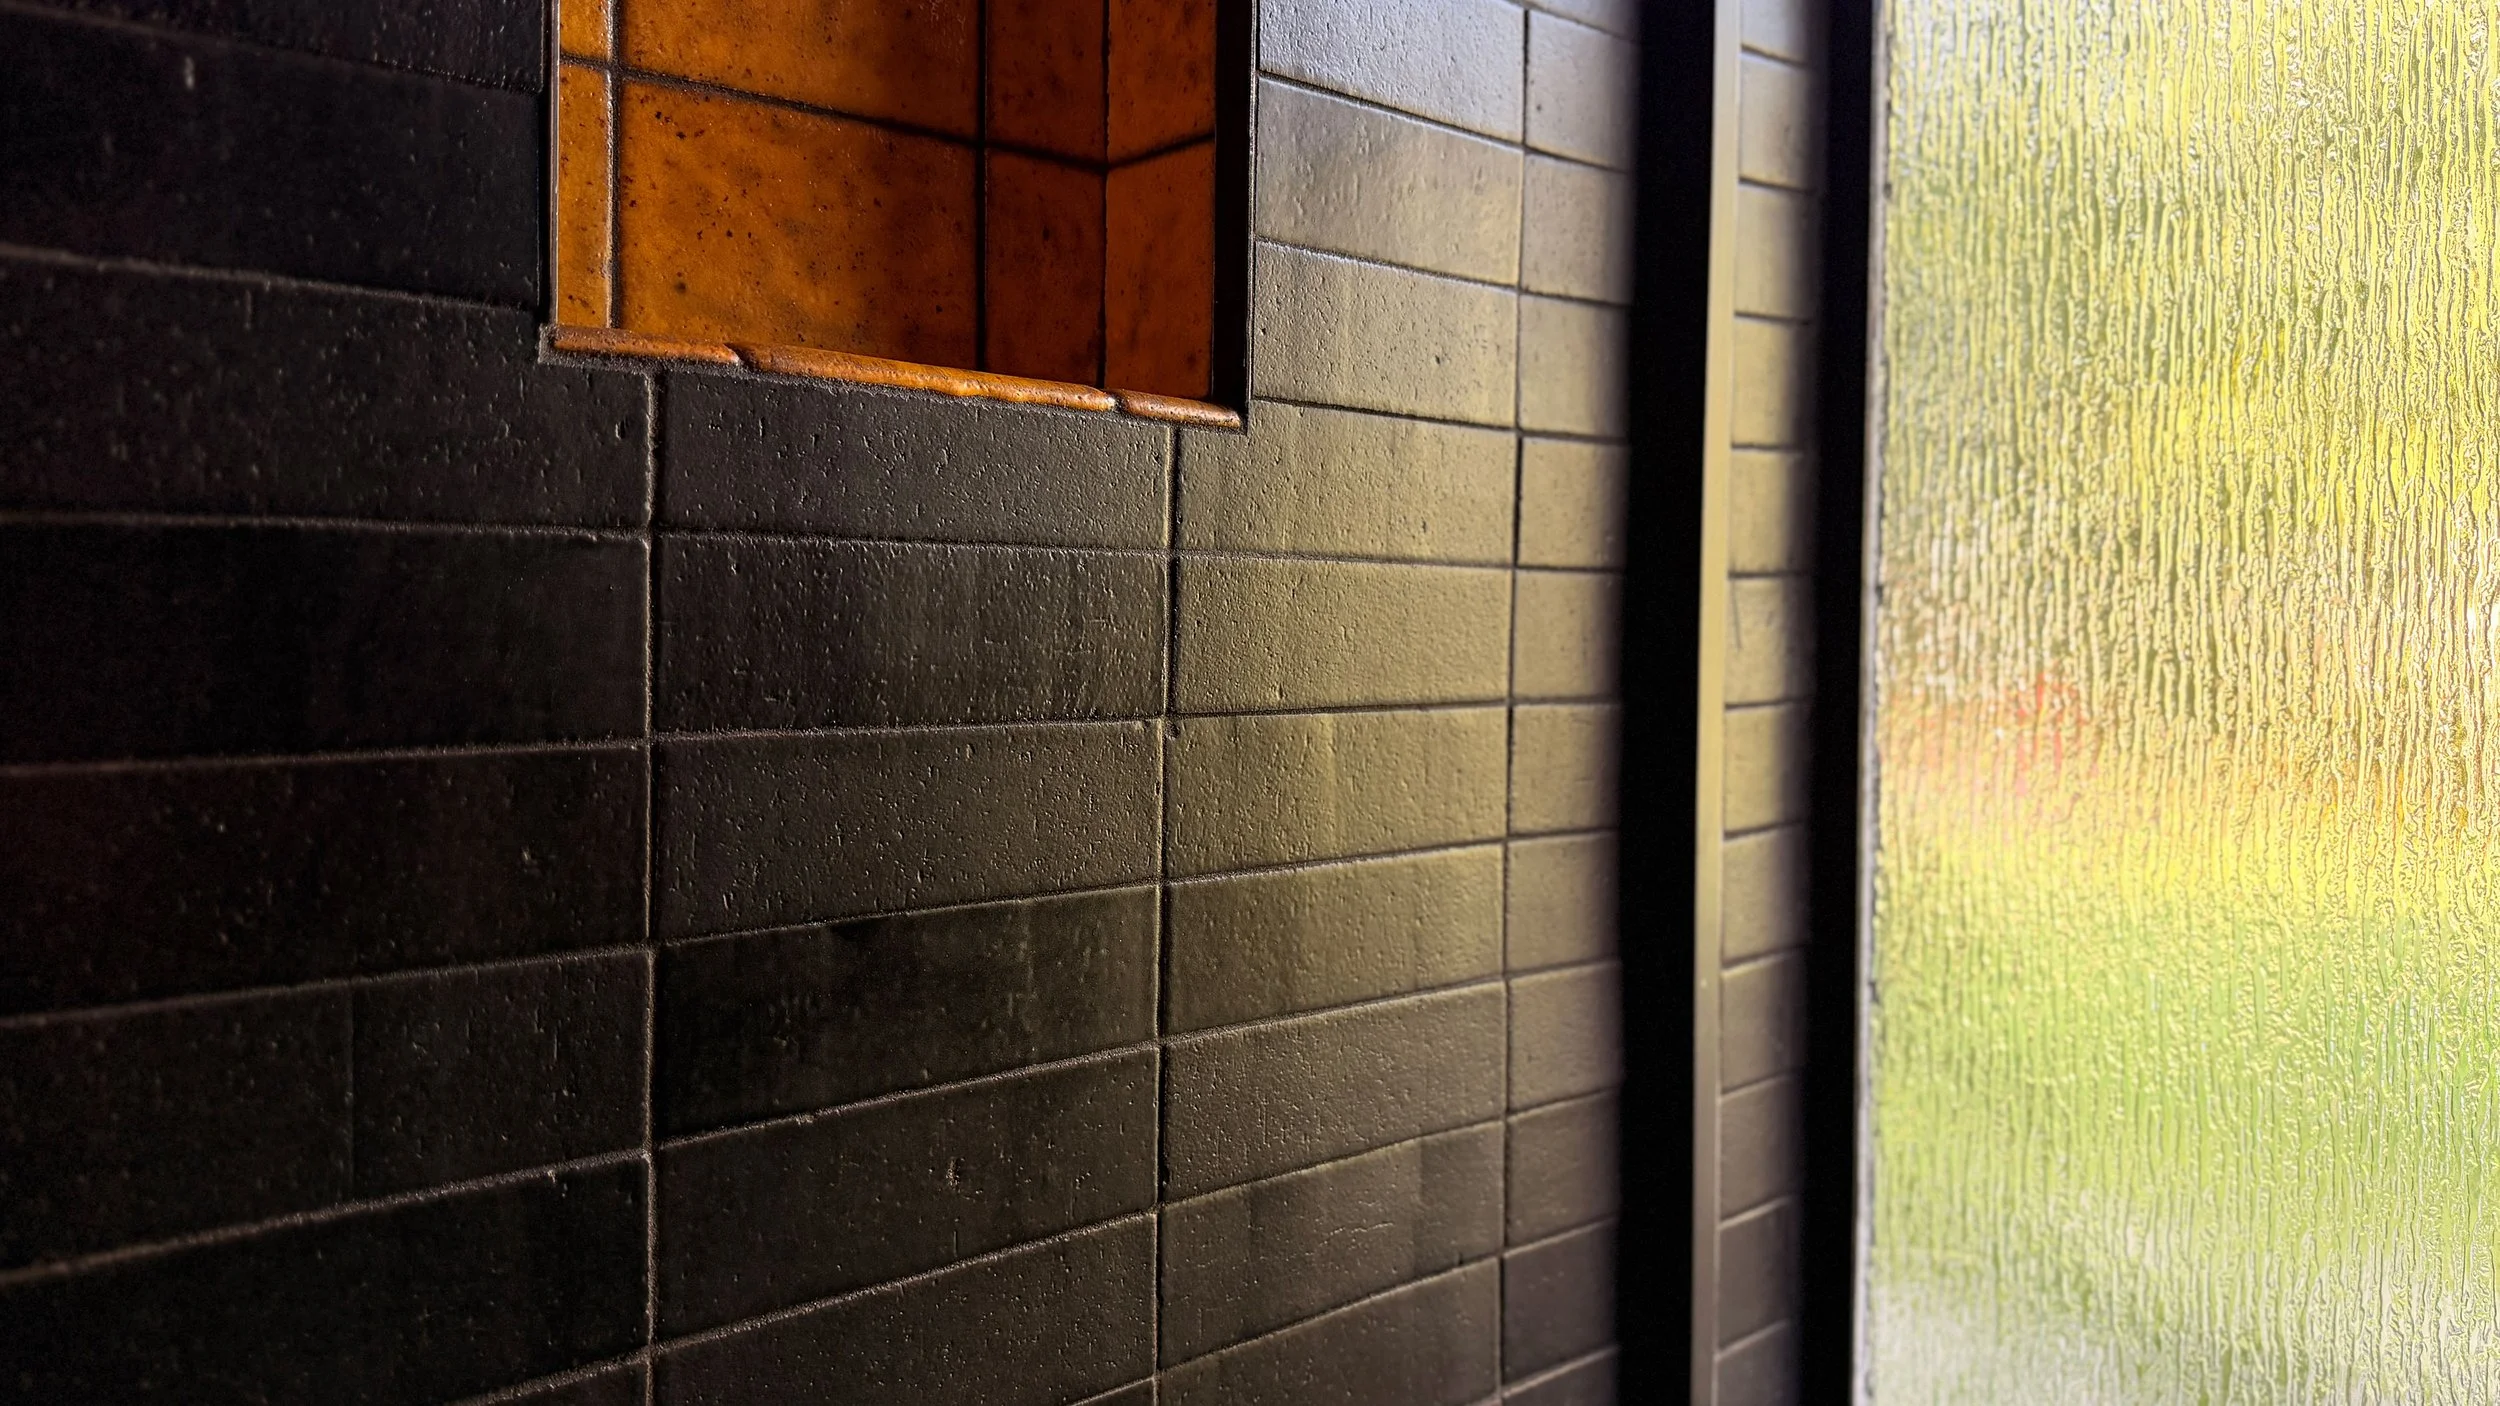
Once the counter was fully installed, I was able to complete the surrounding Fireclay brick wall tiles and backsplash.
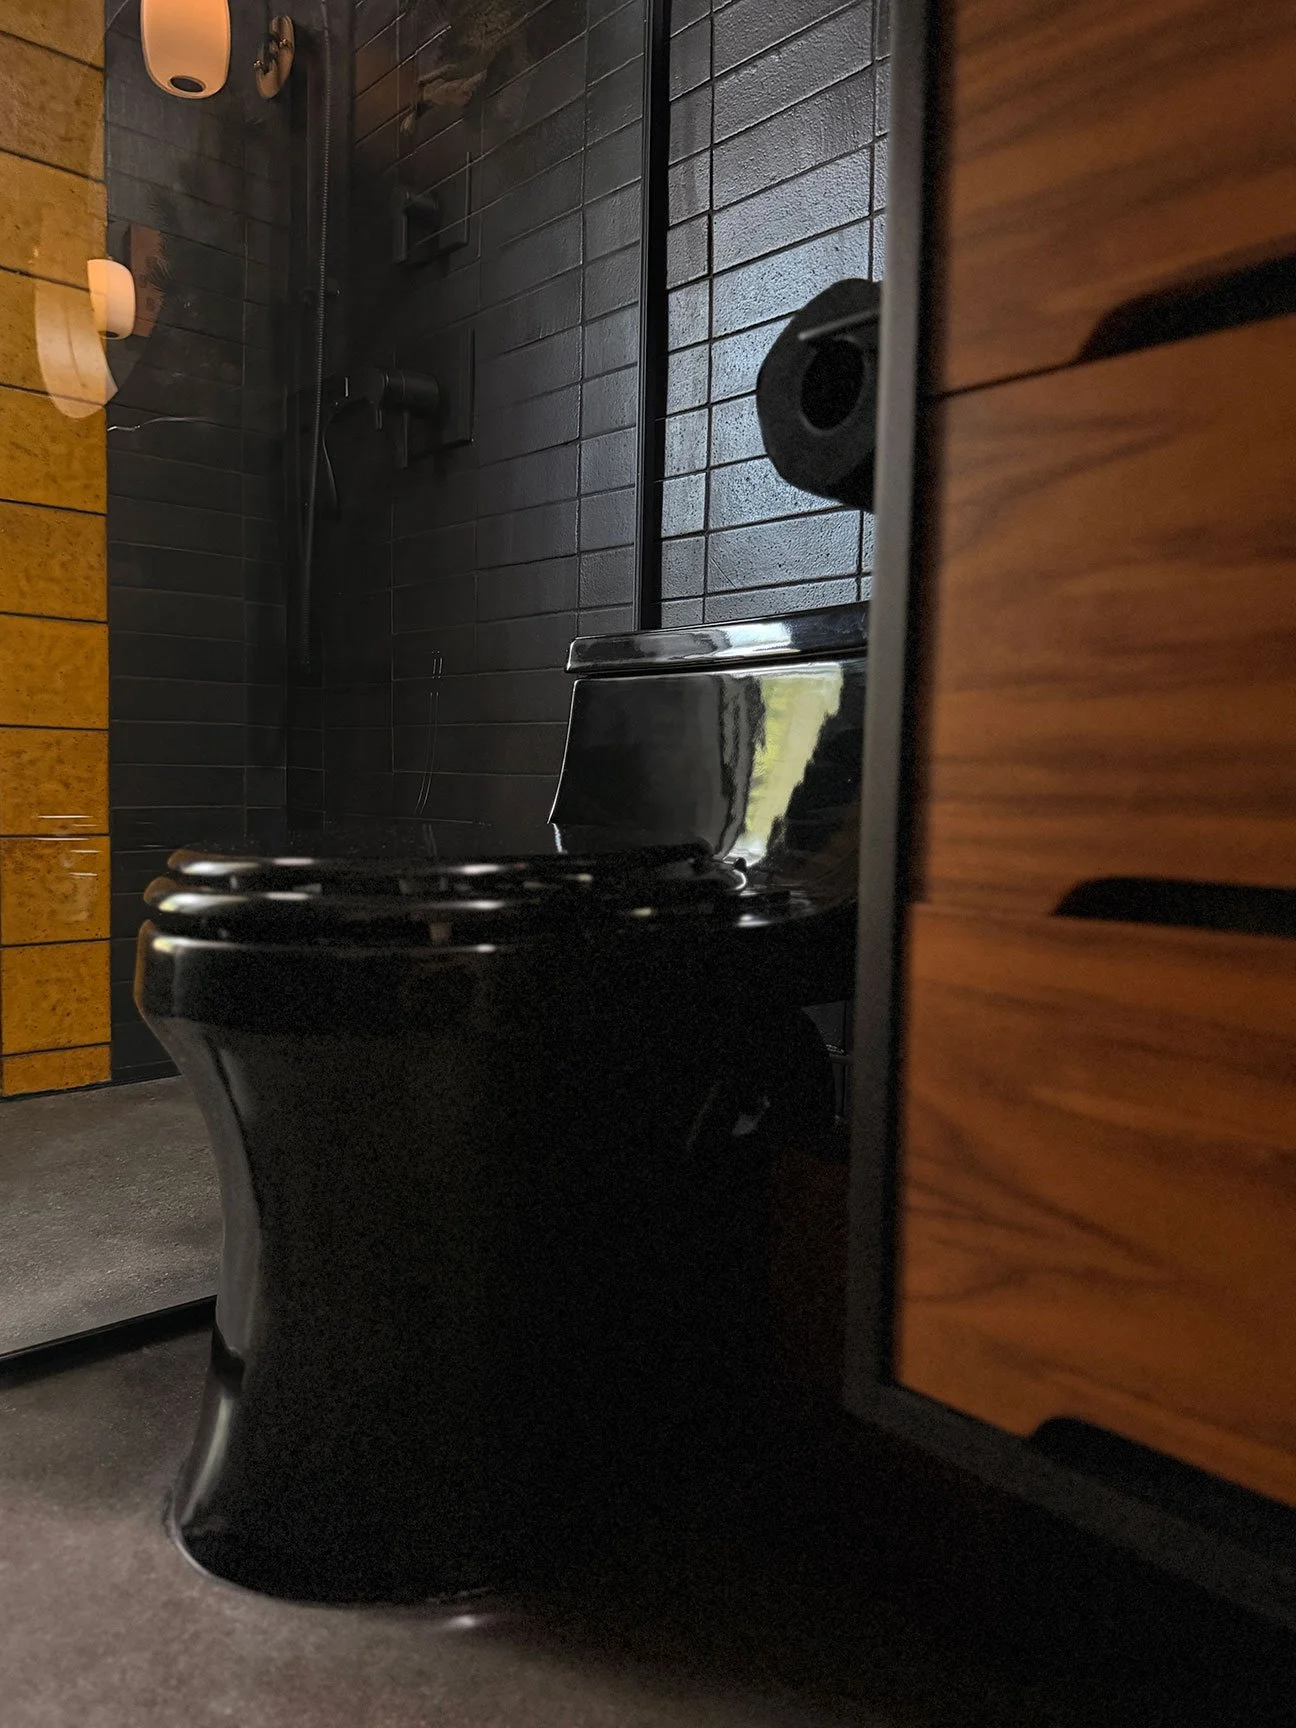
One-Piece Wonder
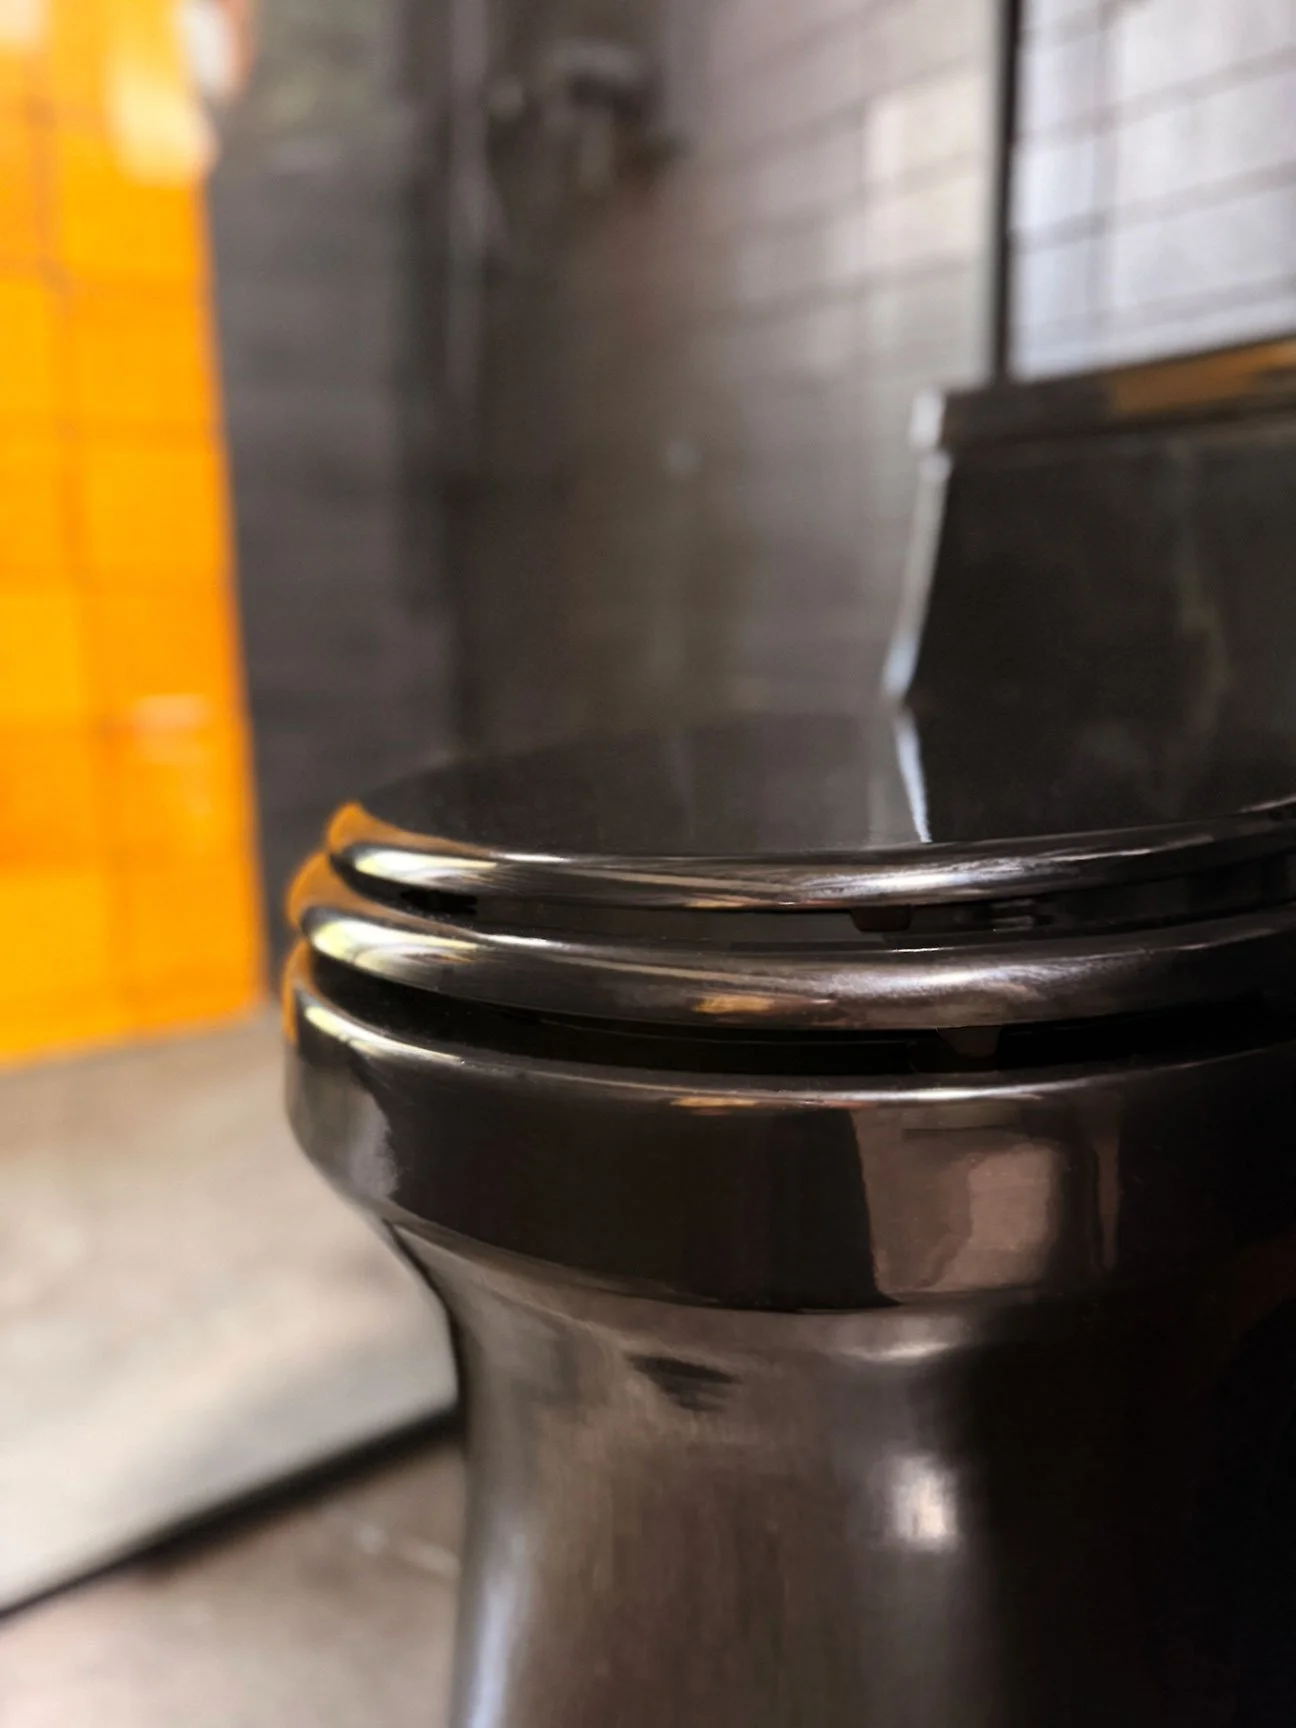
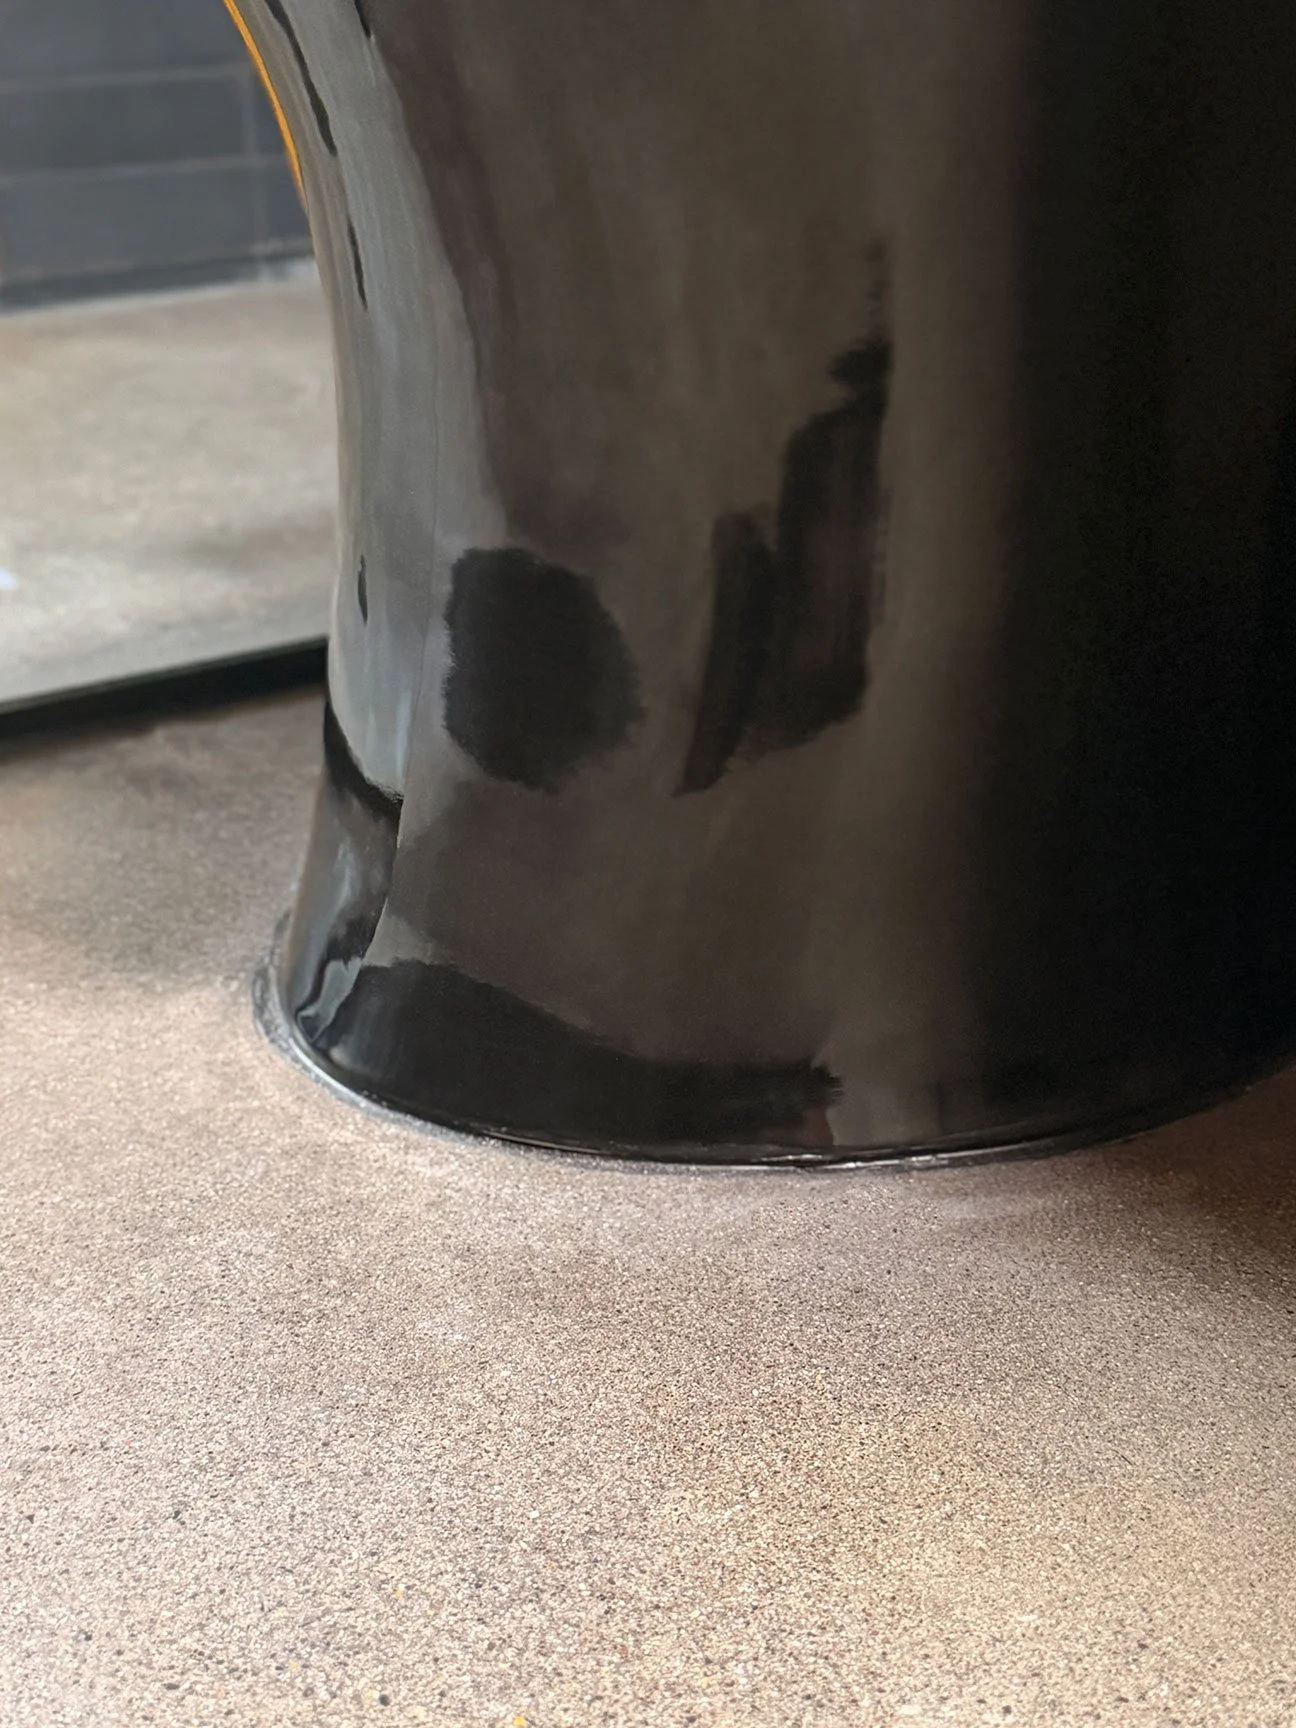
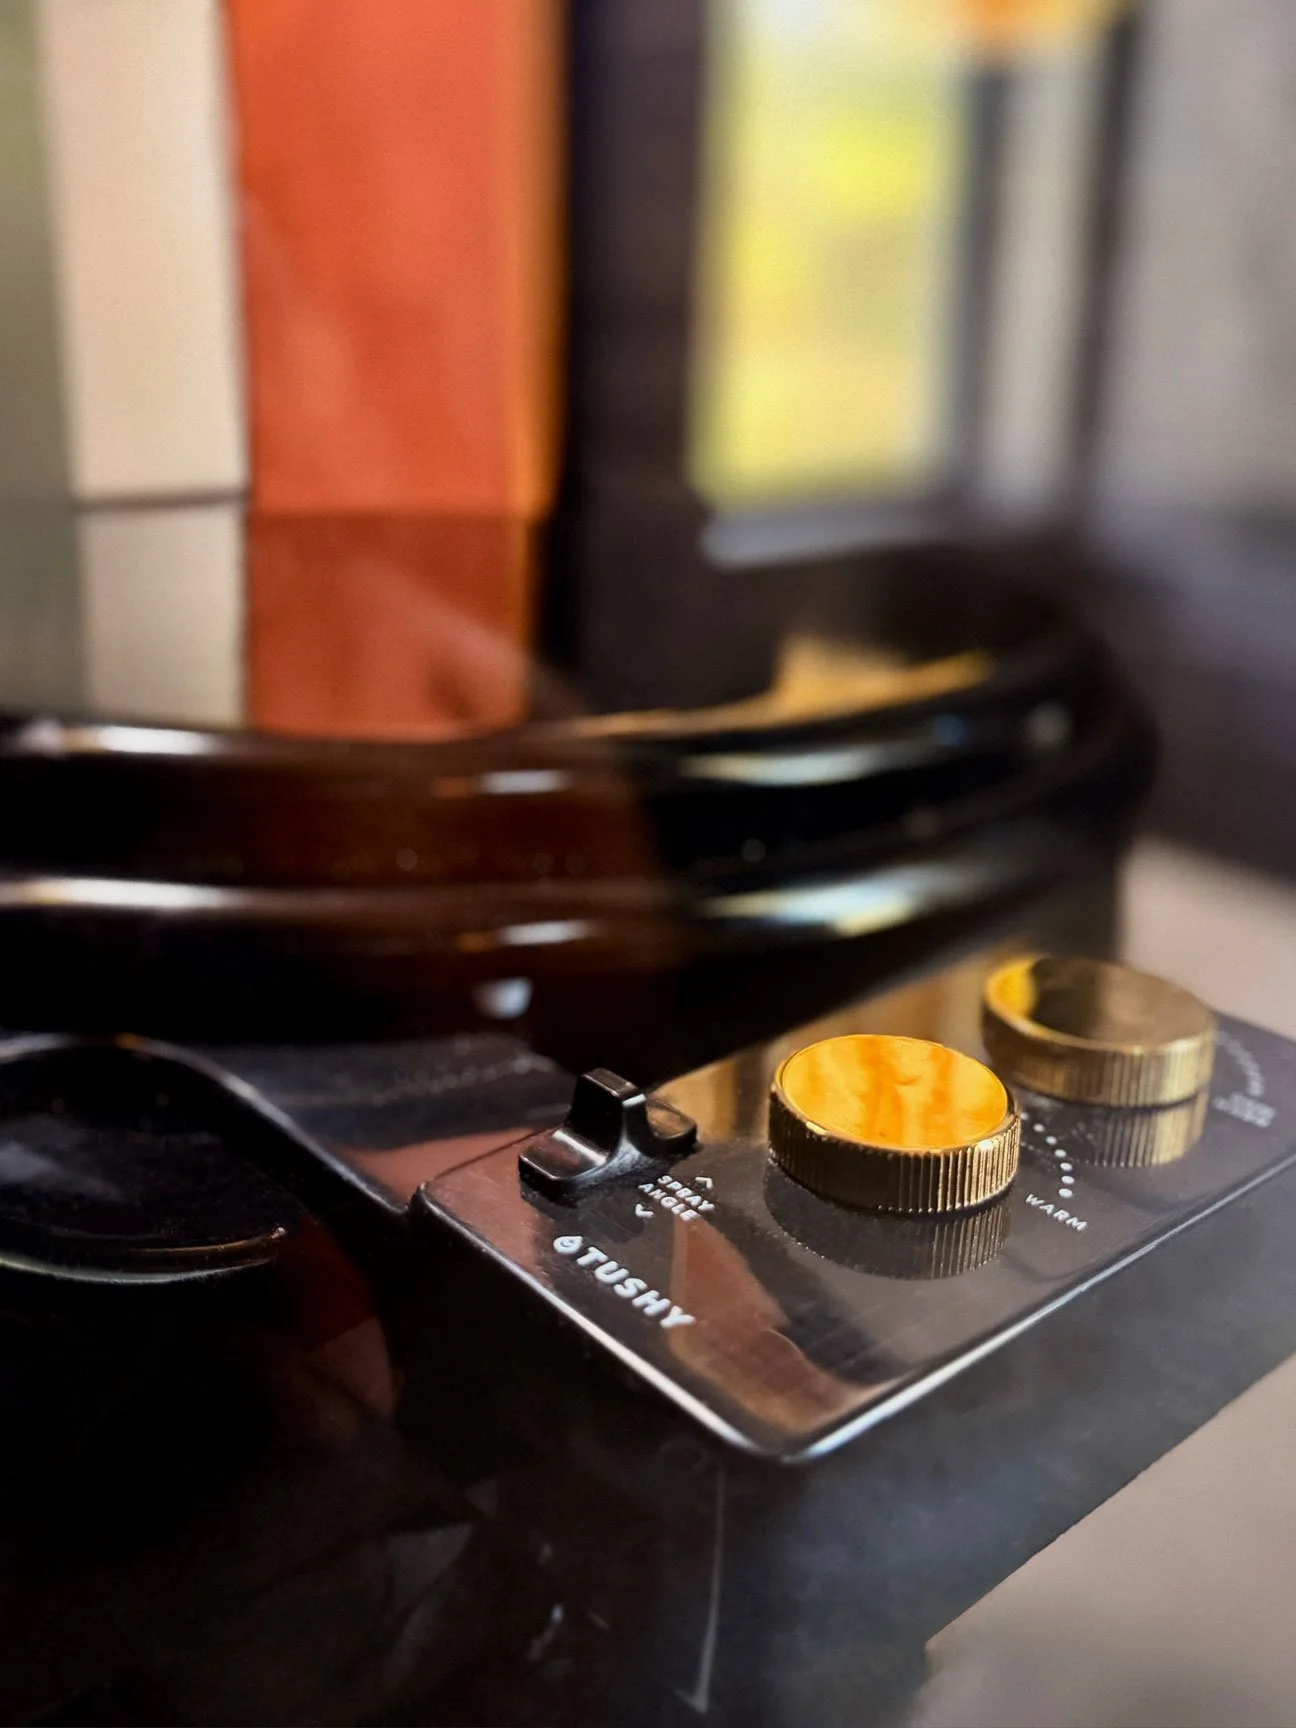
When shopping for a toilet, I was seeking something low-profile, easy to clean, and black. These criteria instantly limited the options, but in the best way possible. I chose the Kohler San Souci for its single piece construction and modern lines. I did not like the included plastic seat as it felt somewhat flimsy, so I upgraded that to a black piano finish wood seat. Installation of the toilet was pretty straightforward, and made easier with 2 people. Edges were finished with a black silicone sealant. I also installed an aftermarket bidet/warm water spa. Though not intended for one piece, French curve toilets, this particular model fit the San Souci model.
Great Divide
Mid-century bathrooms are notoriously small, so keeping the space feeling unobstructed was essential to the shower area. This simple tempered glass divider was wide enough to trap water, but with a minimal profile. Two frameless sides allow for an unobstructed view to the accent tile back wall, creating an optical illusion that the shower area is open to the rest of the room.
Beautiful Backdrop
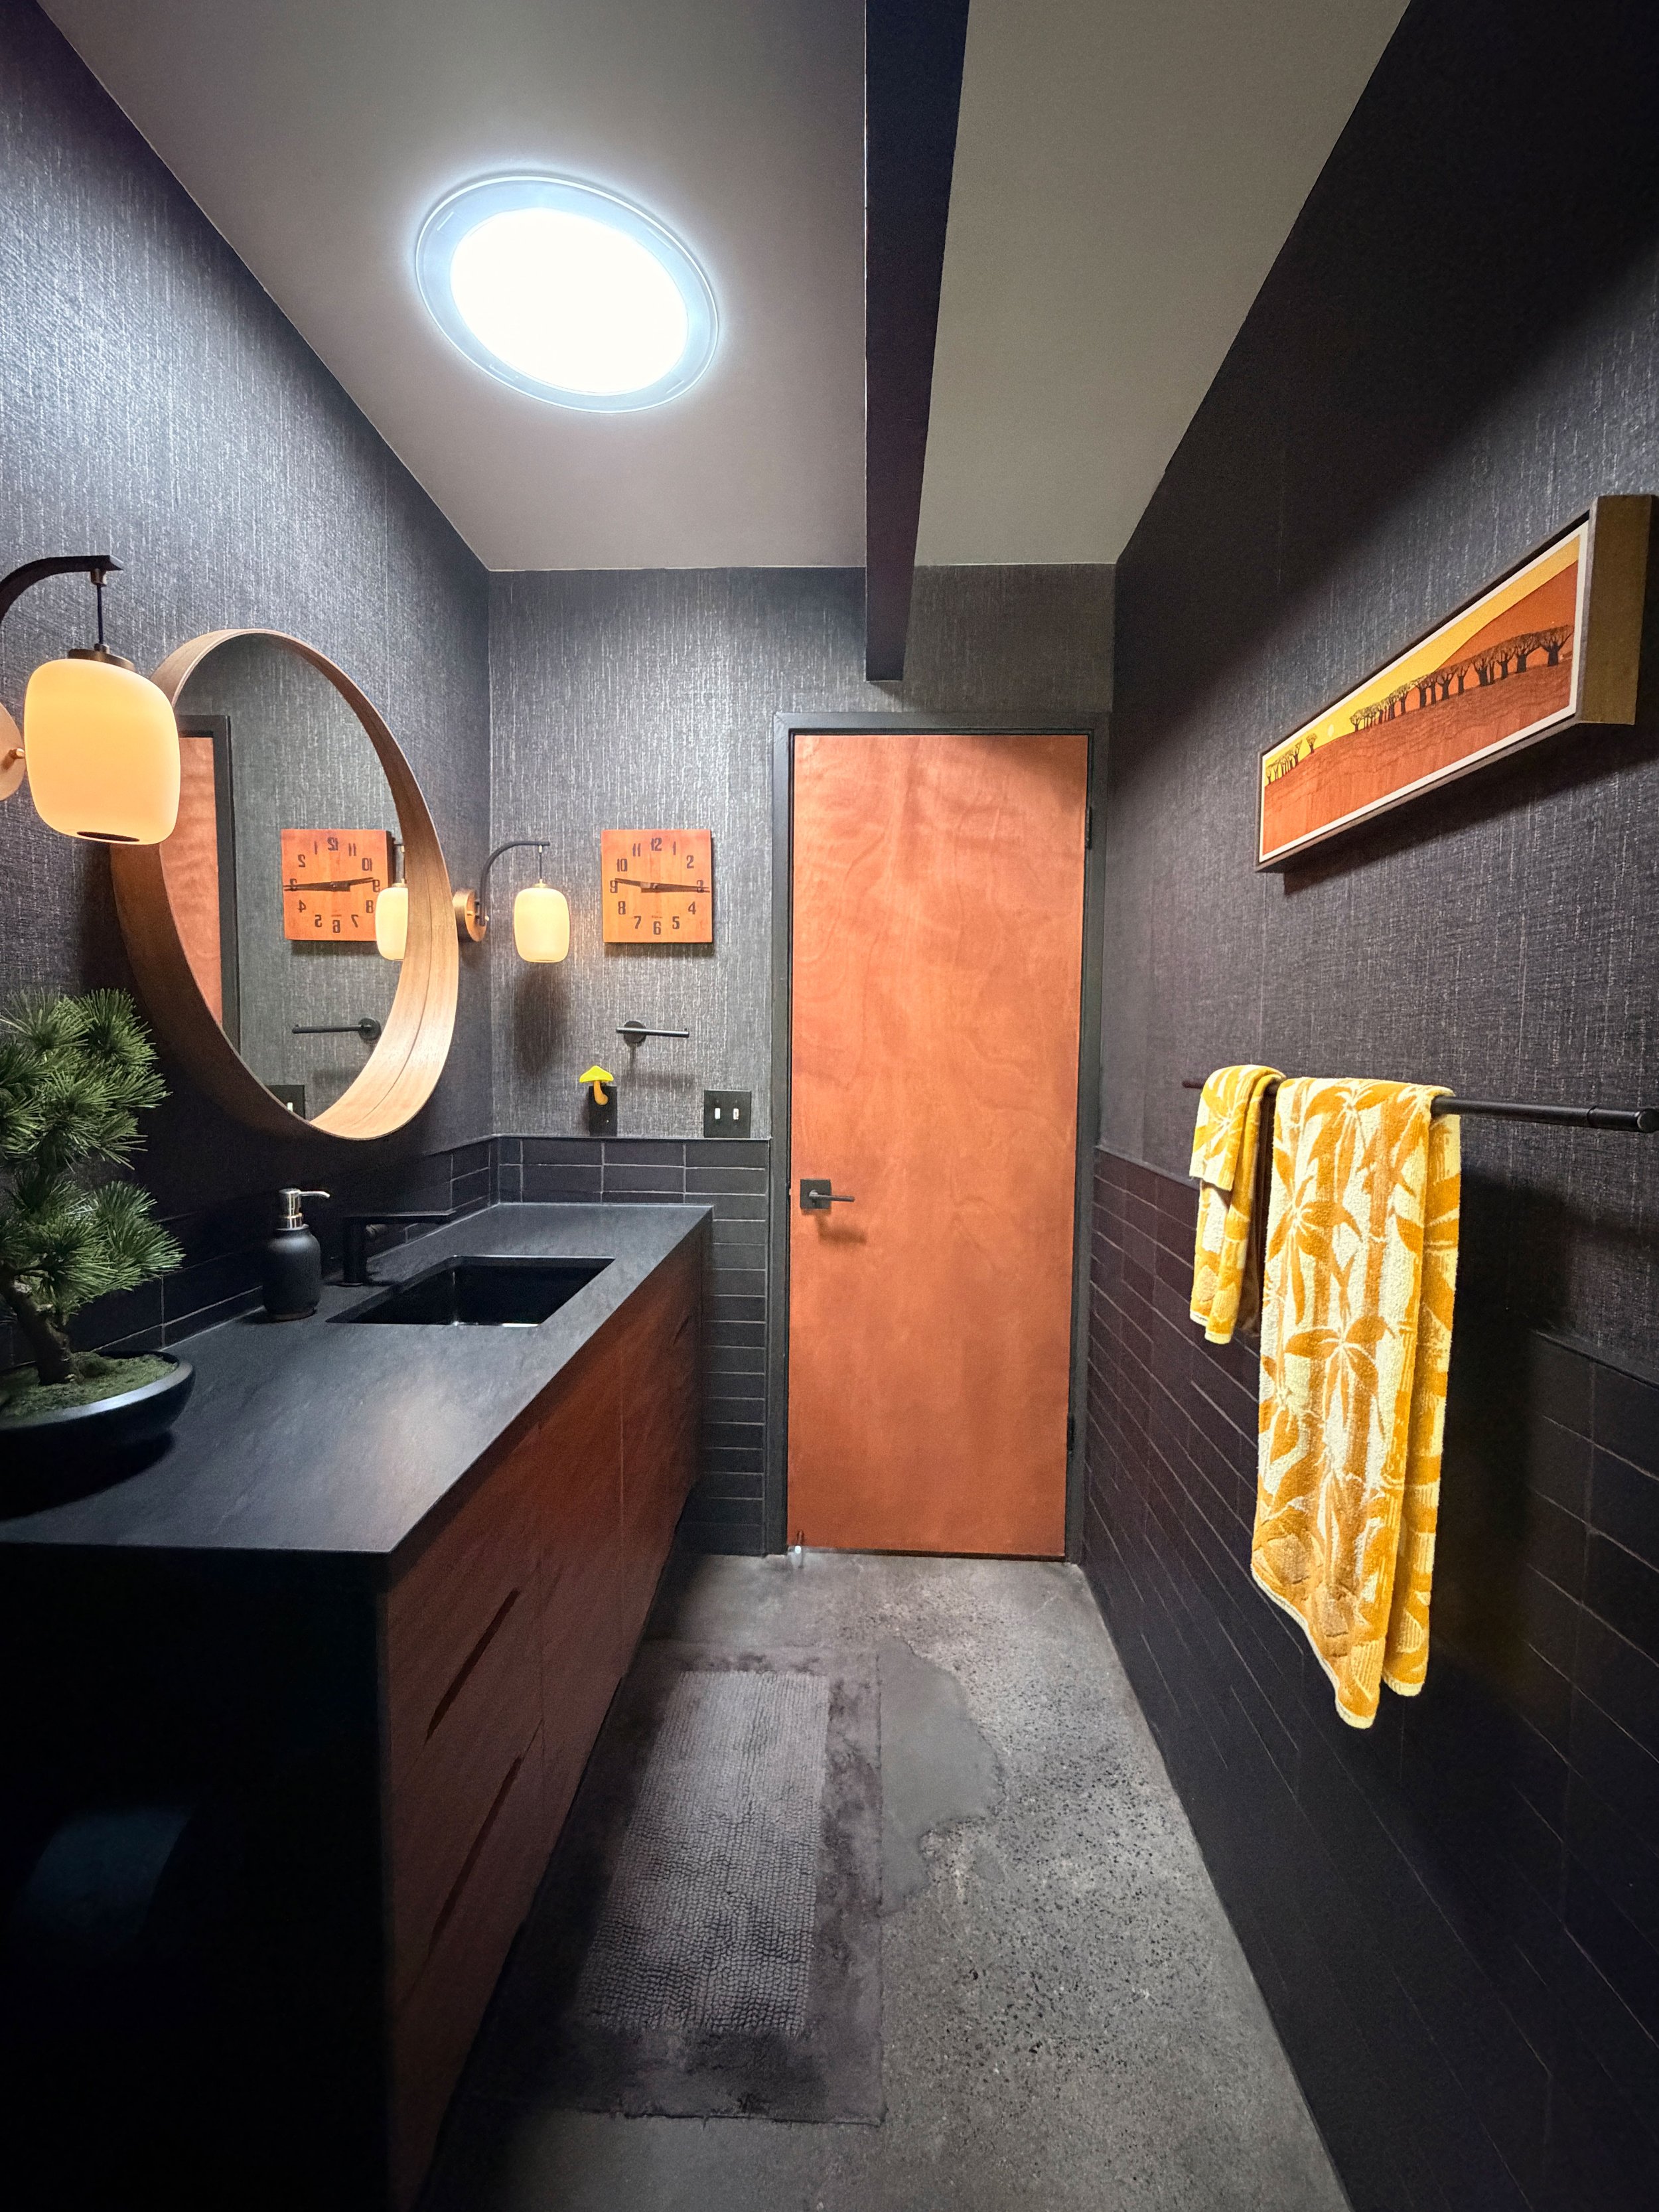
In considering the finishes for the bathroom, I originally thought I wanted to tile all surrounding walls. However, I reconsidered as I thought the space might to feel more like a bunker than a bathroom. To break up the monotony of tile, I reserved space for wallpaper on both sides of the room — over and opposite the vanity.
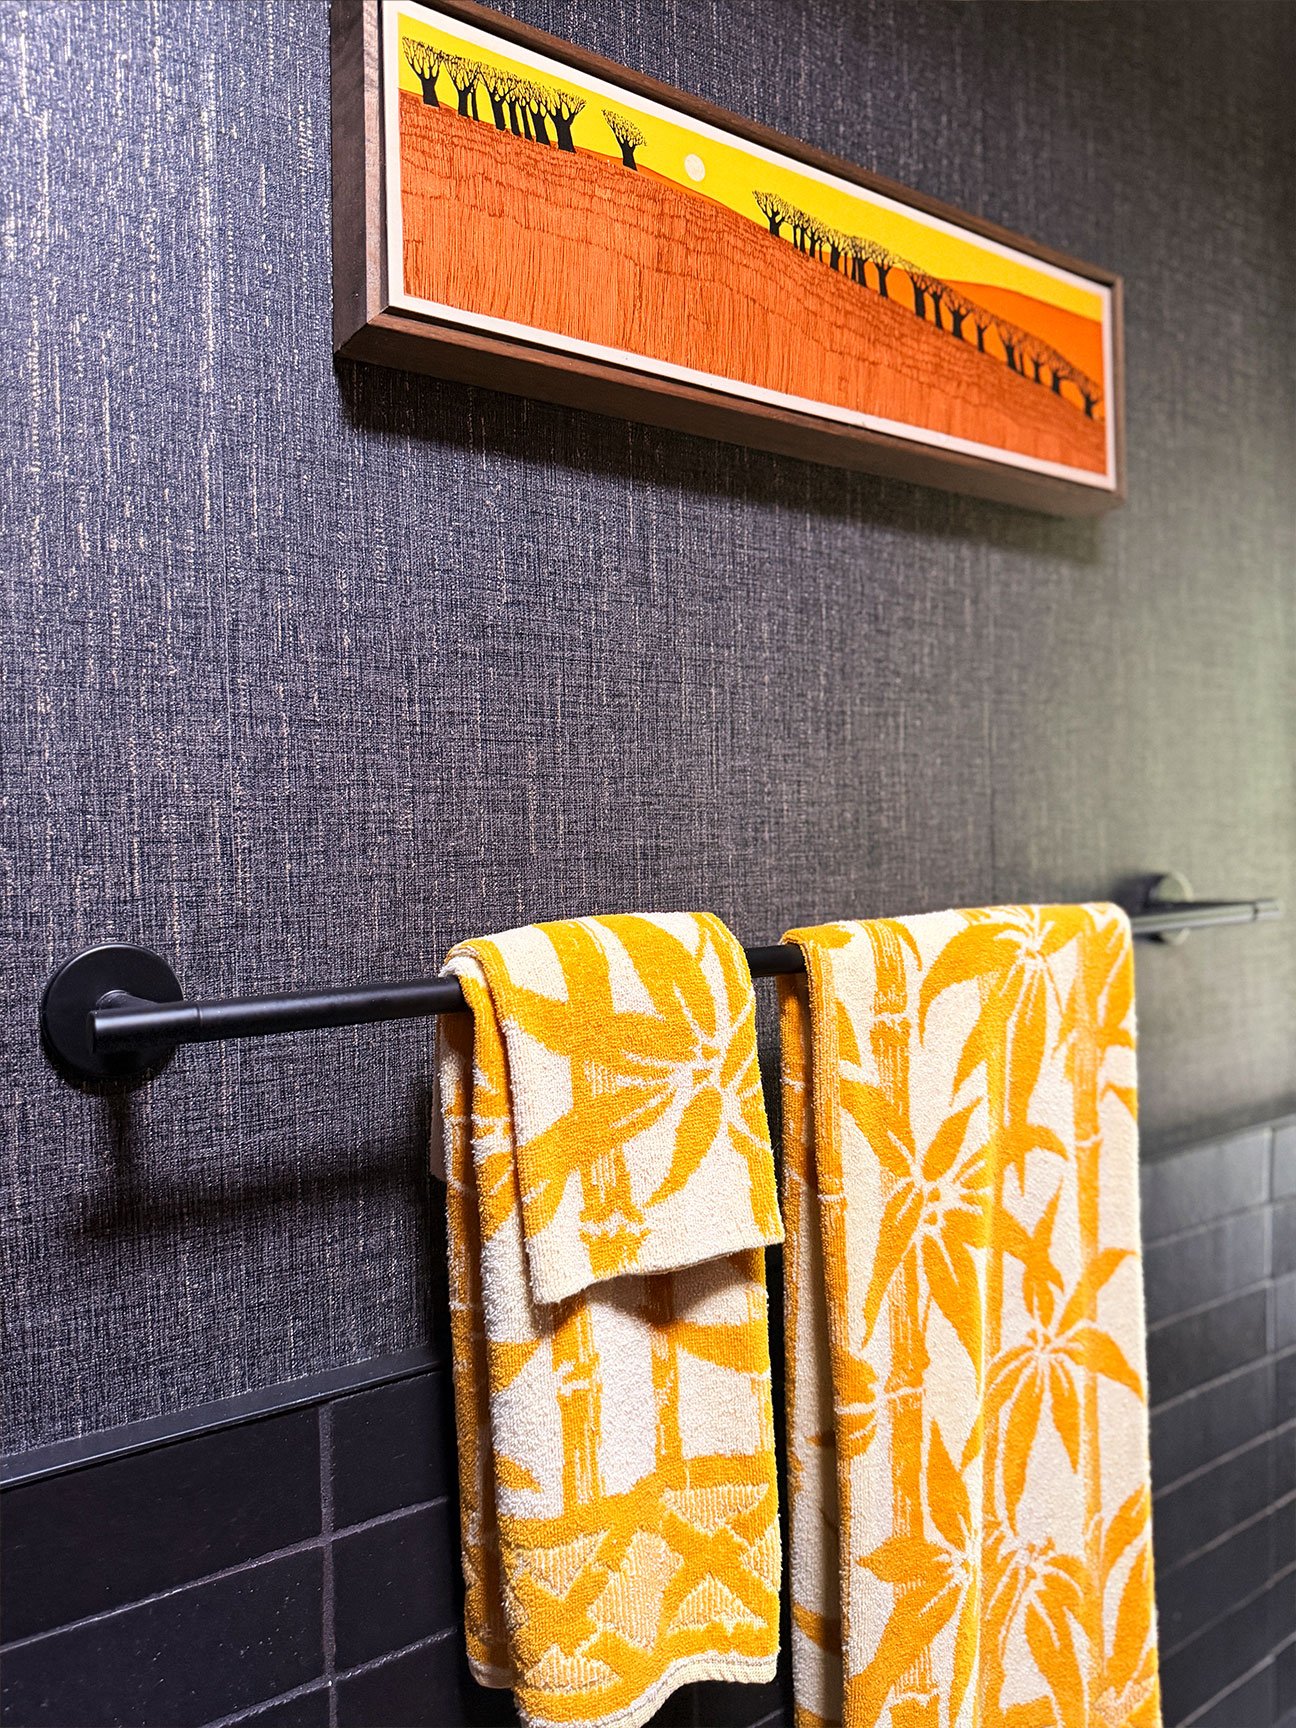
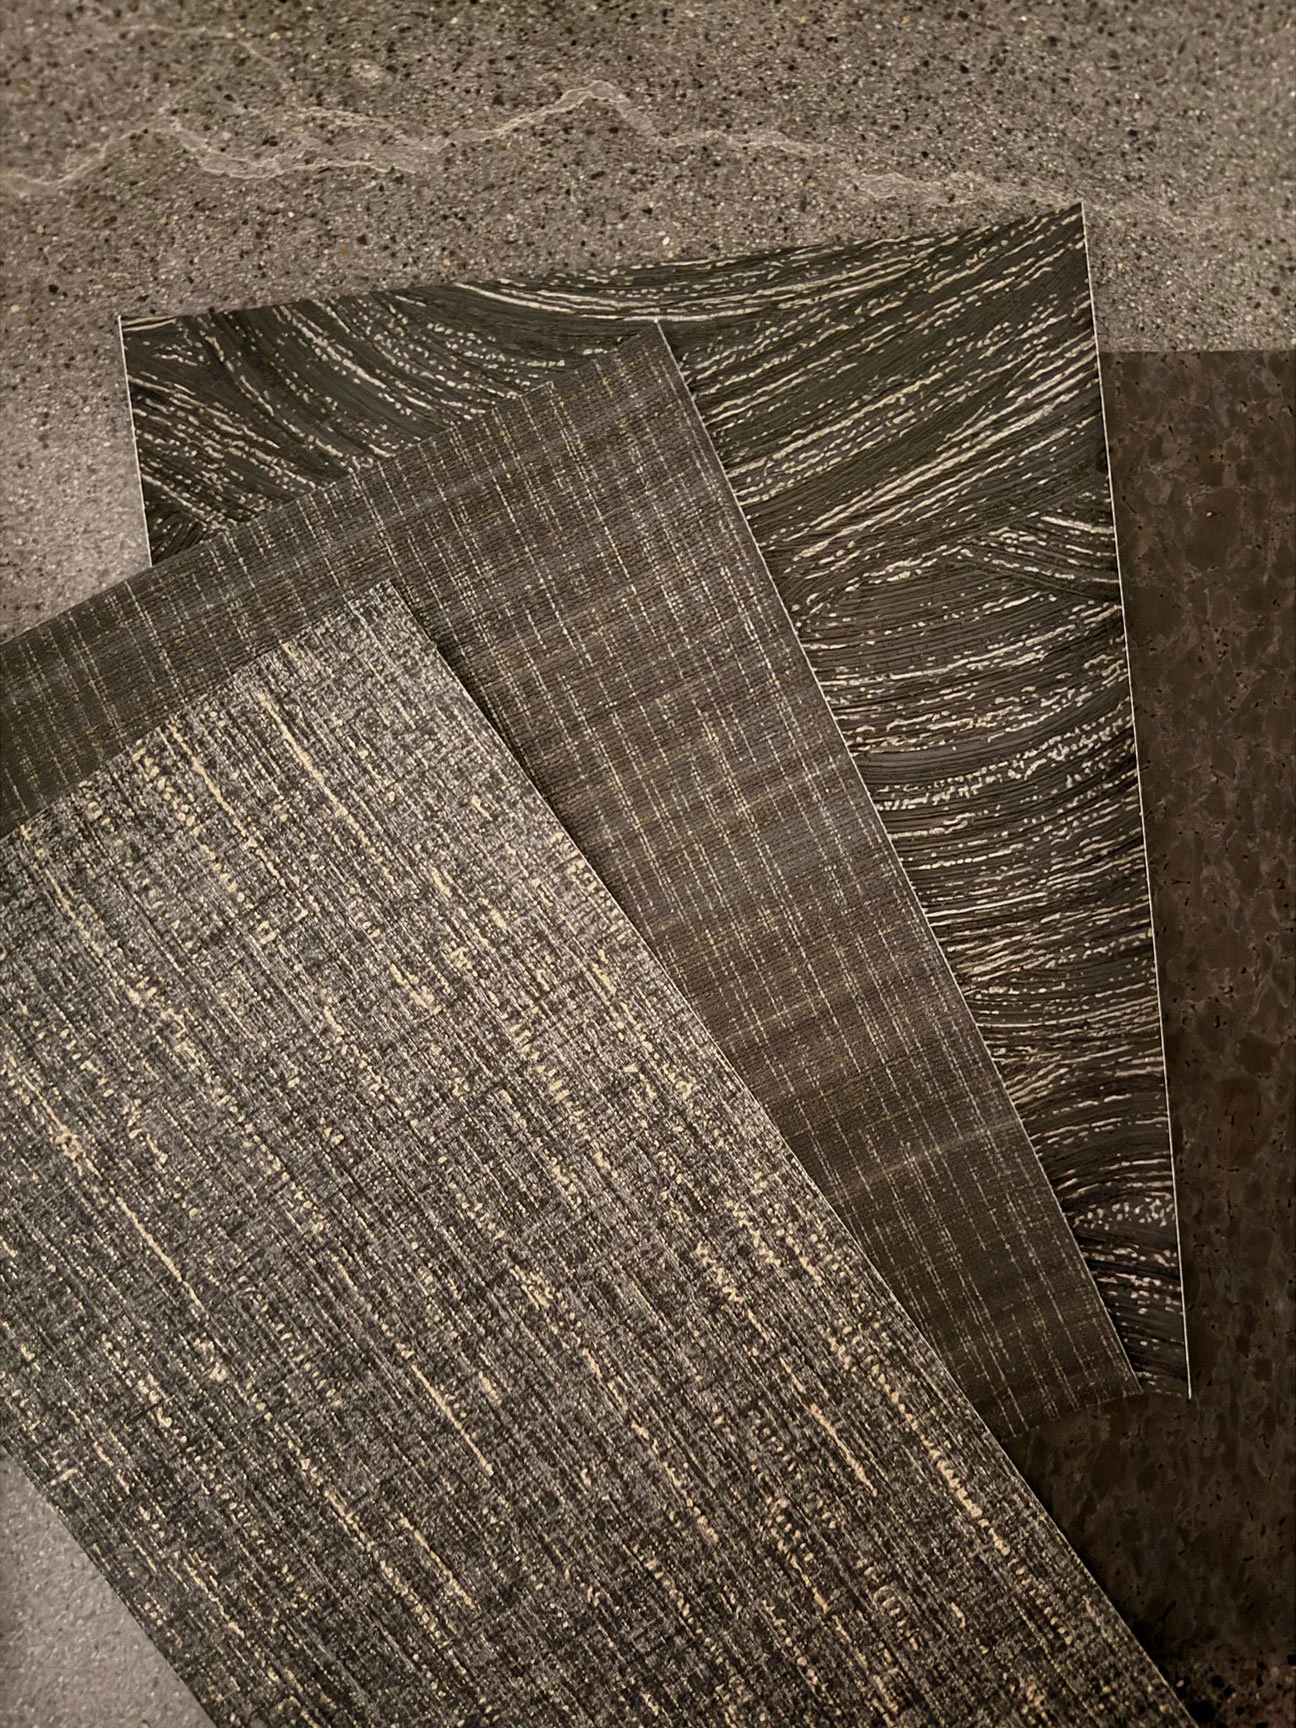
I ordered many samples from York Wallcoverings, and ultimately decided on a fabric look vinyl (since discontinued), which is safe for damp locations. The overall black-gray palette pairs with the black brick tile, offering varied texture and depth to the room. Thin crosshatchings of metallic gold pick up on the vintage yellow tile, and brass accents in the room.
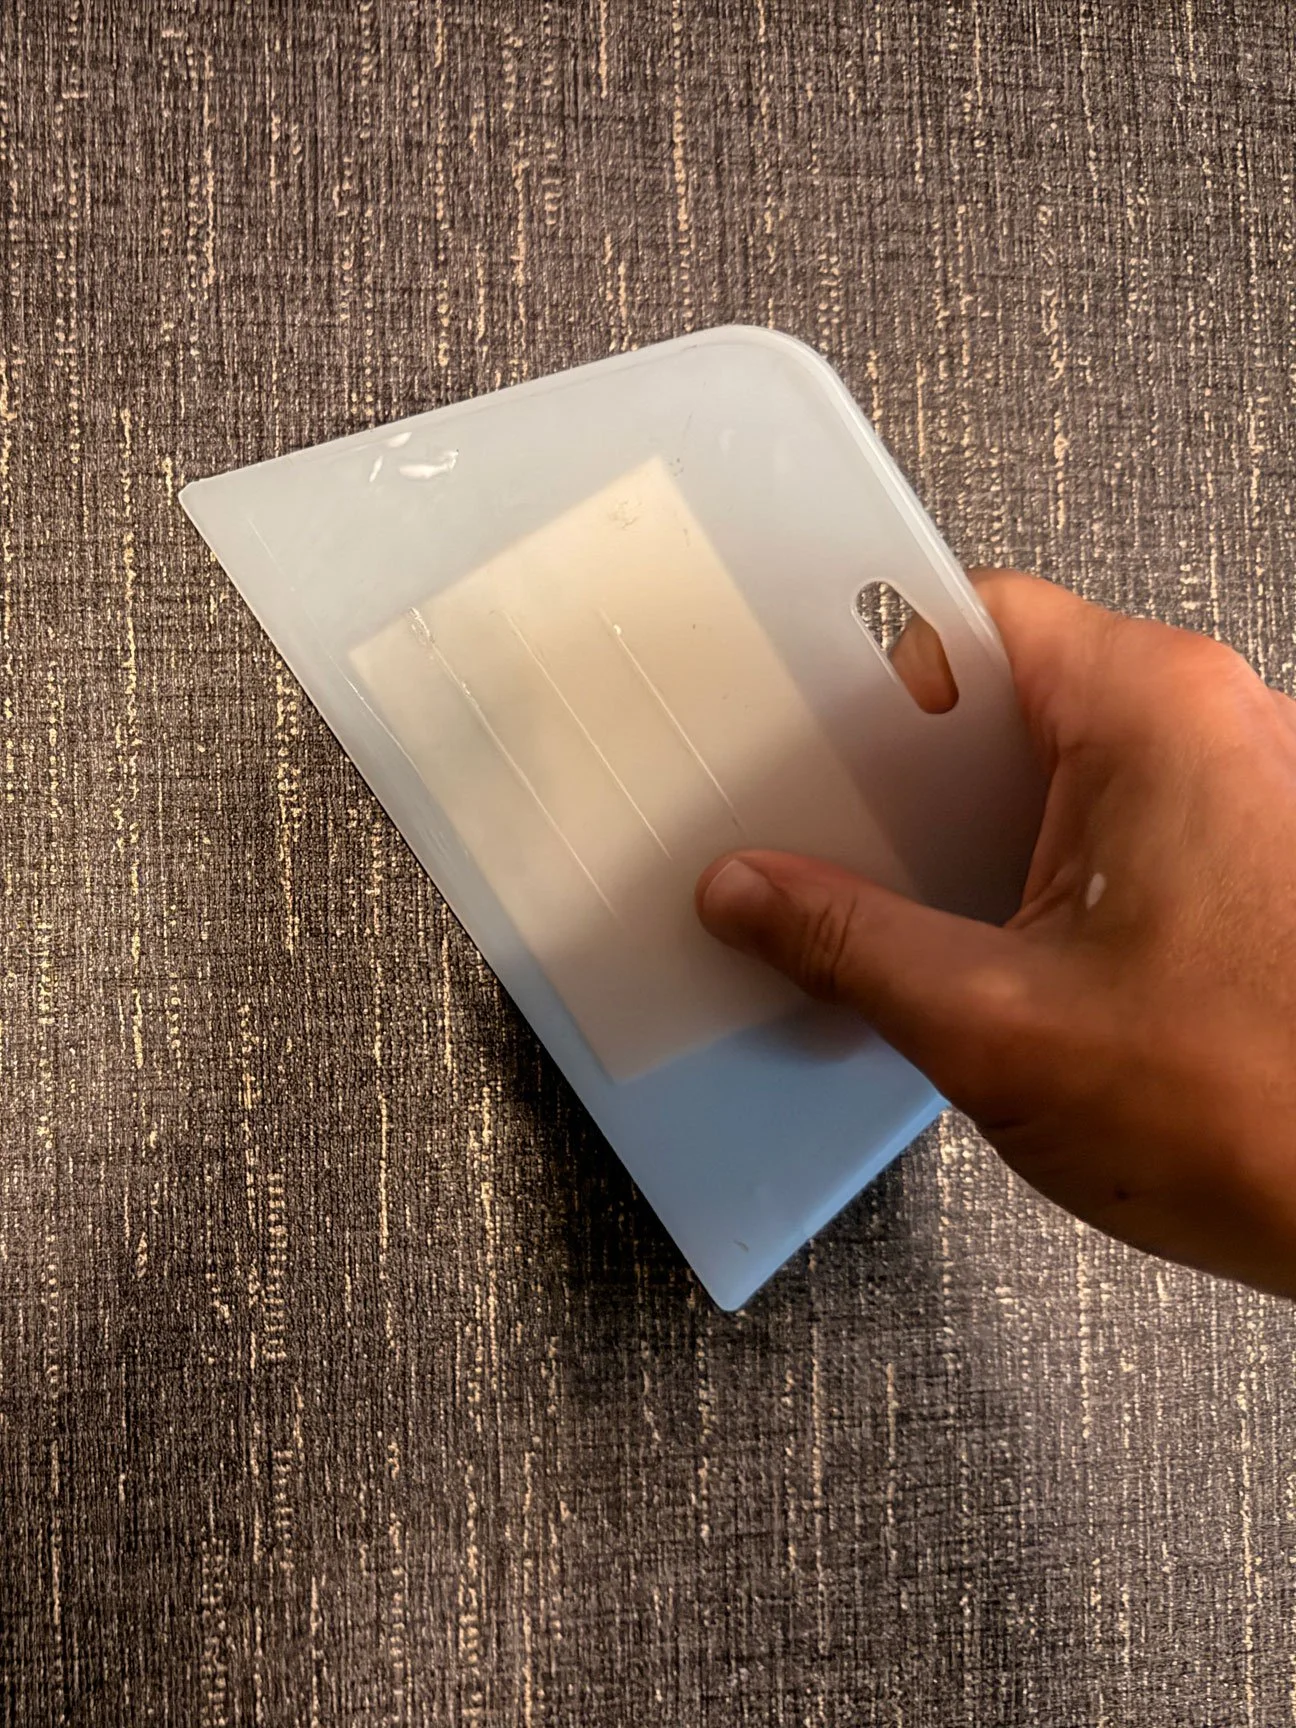
Installation of this material was similar to what I applied to the dining room, though far easier to work with than traditional grasscloth. Another benefit of this particular paper was that it did not require a pattern match.
Let there be light
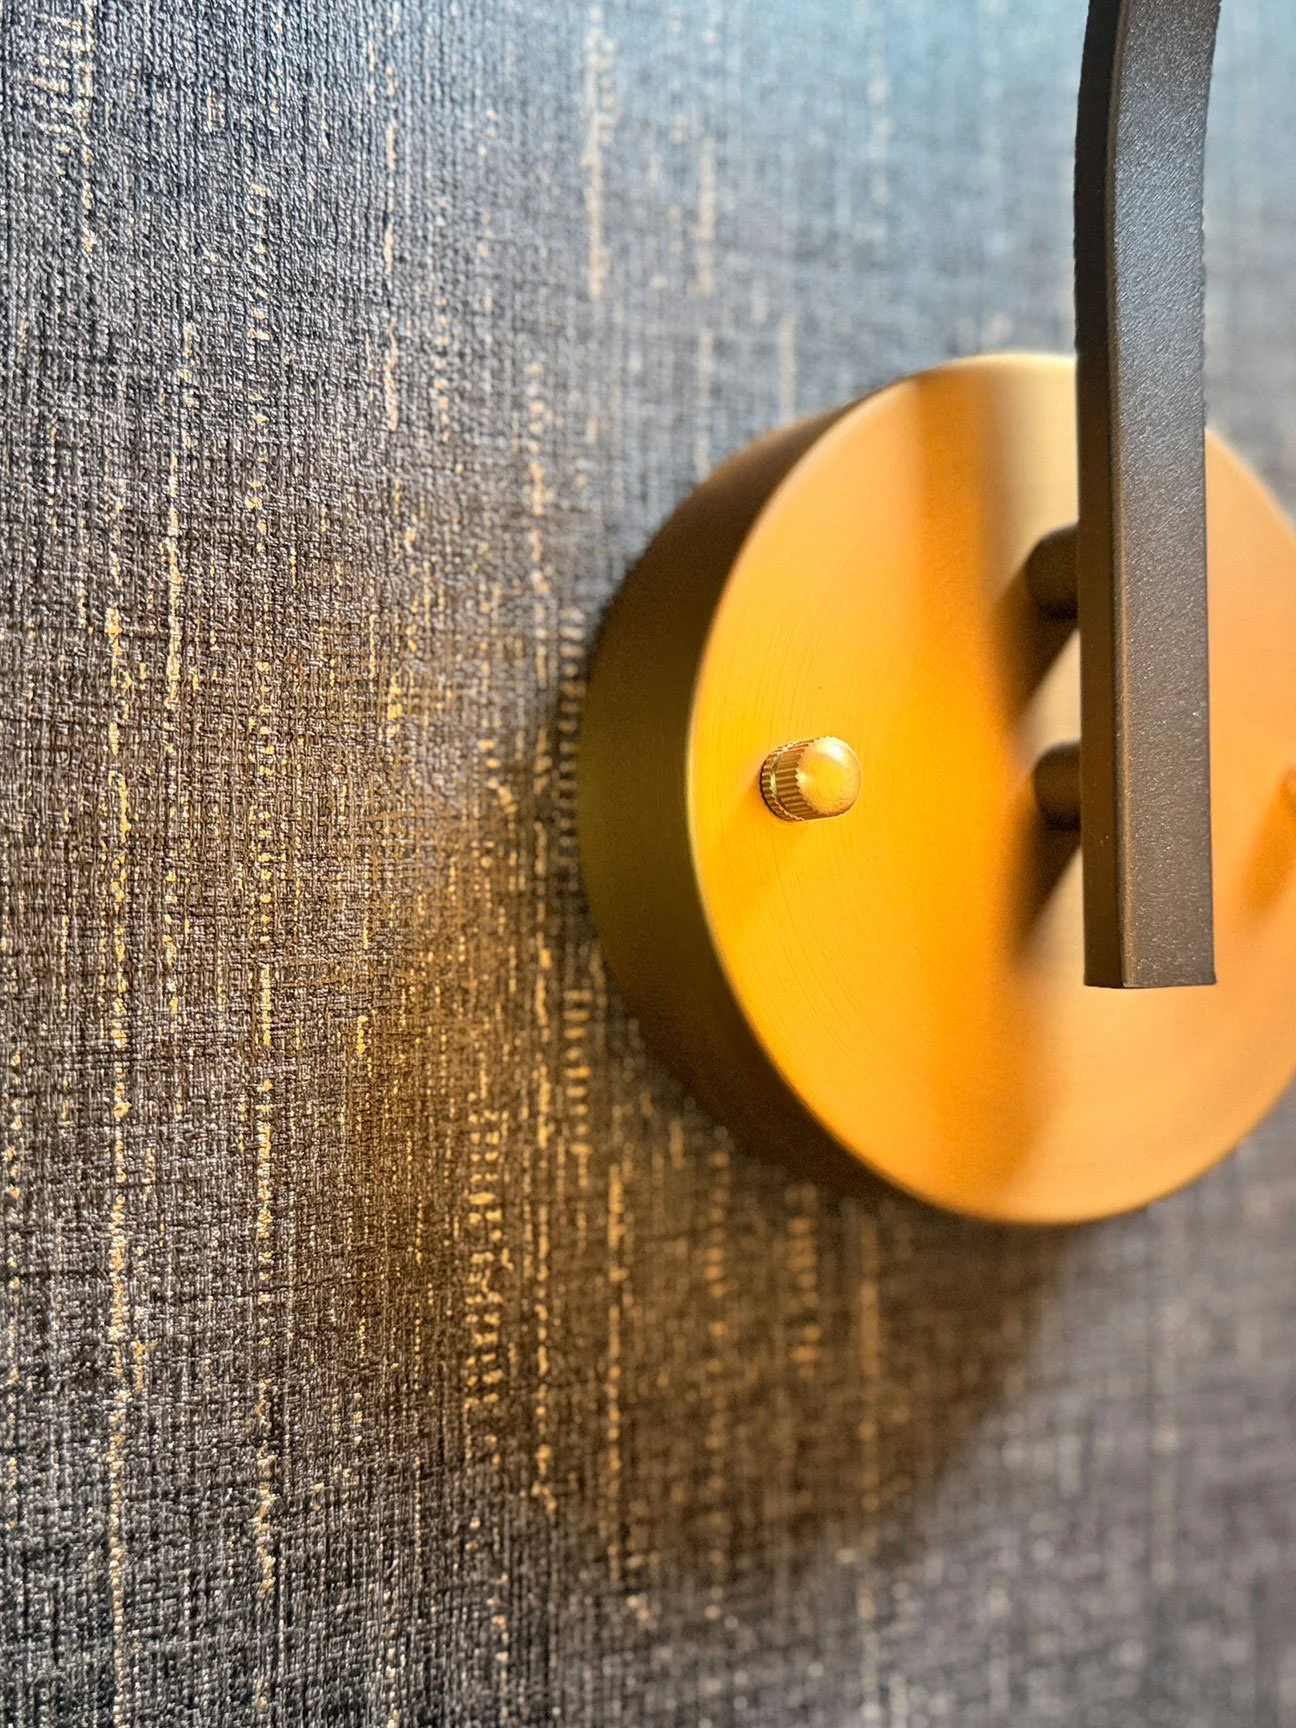
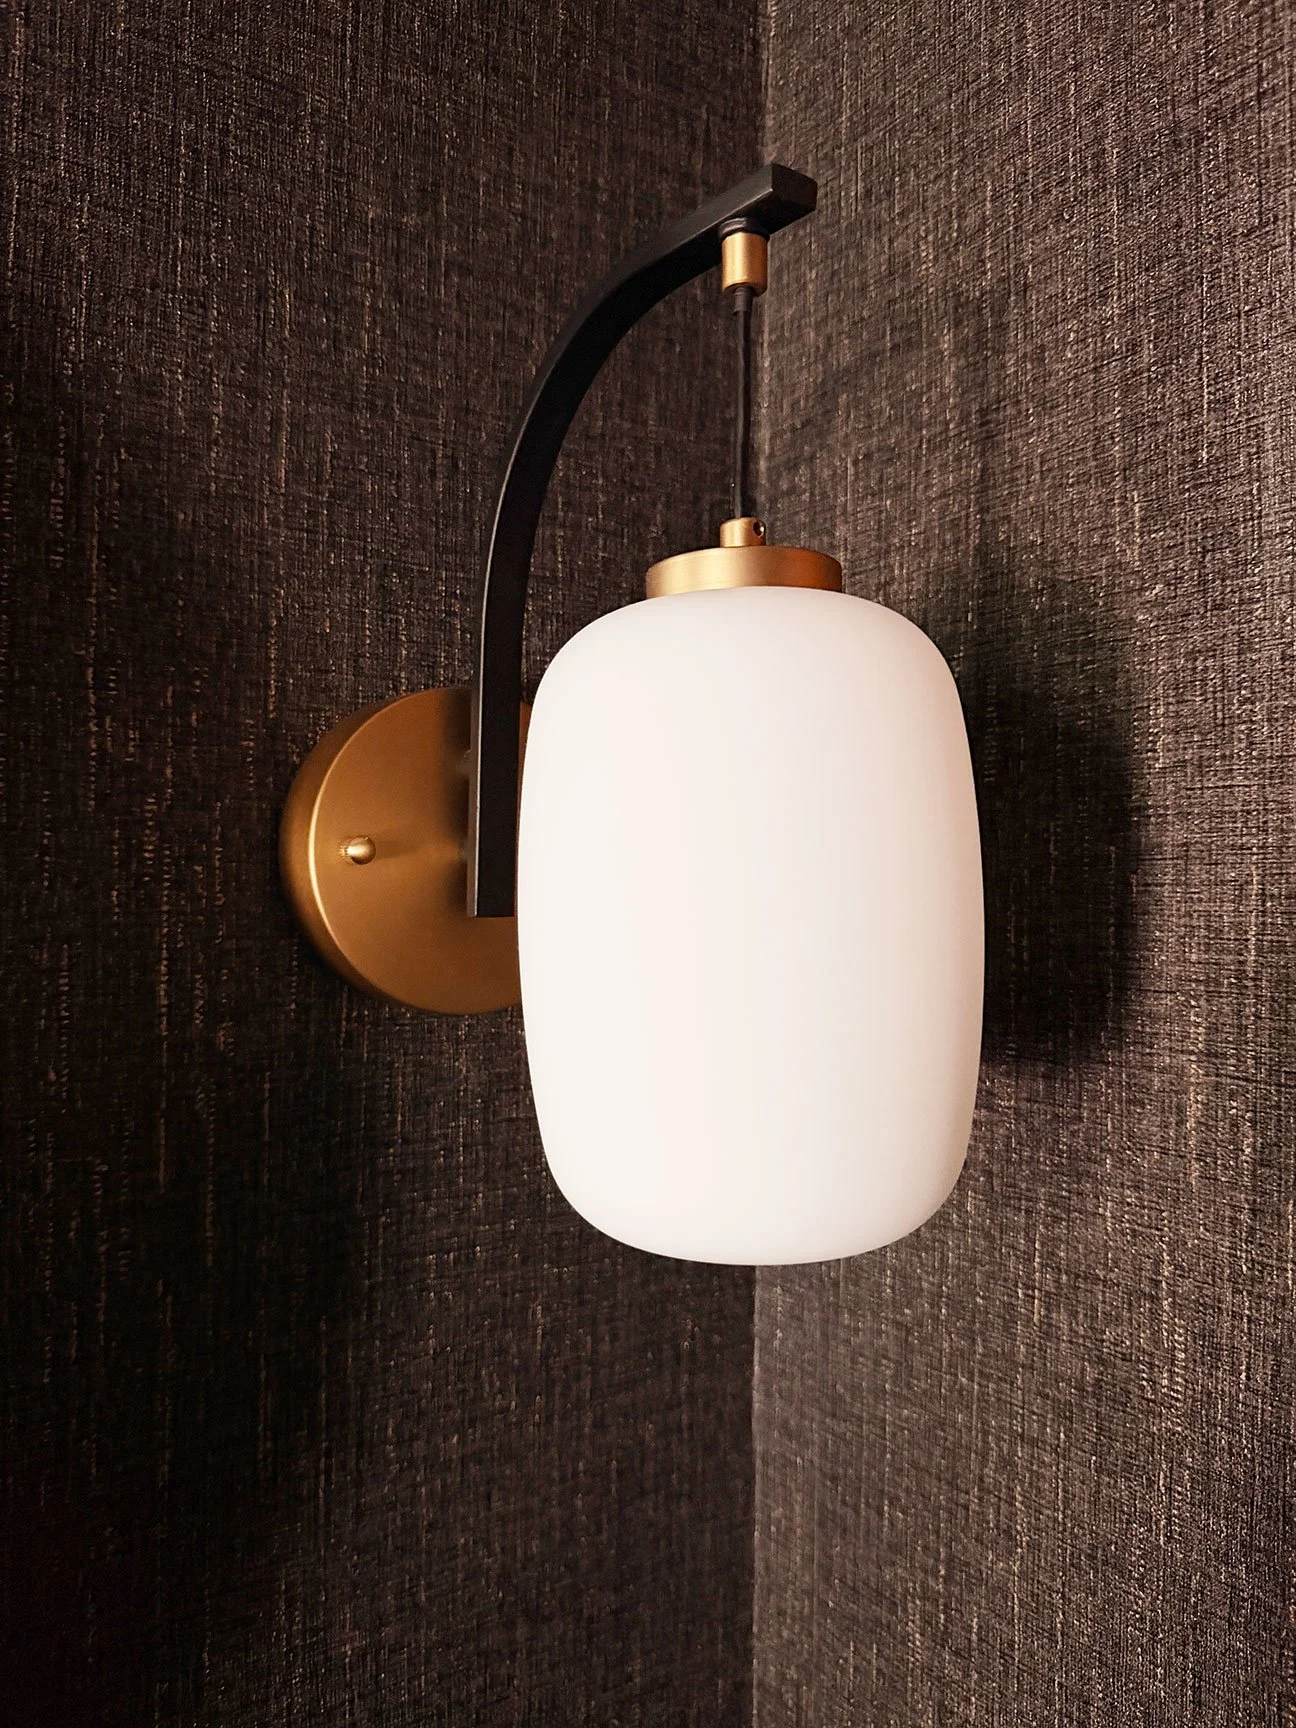
I knew early on that I wanted to incorporate the style of Japanese lanterns into the vanity, so when I found these sconces with elongated, hanging glass shades, I snagged them right away. They had just the right amount of simplicity, softness, and elegance. I use a lot of brass accents in my home, so this was also a nice way to relate the bathroom to those pieces. Having these sconces on a dimmer allows for a range of control from bright task lighting to dim, moody vibes.
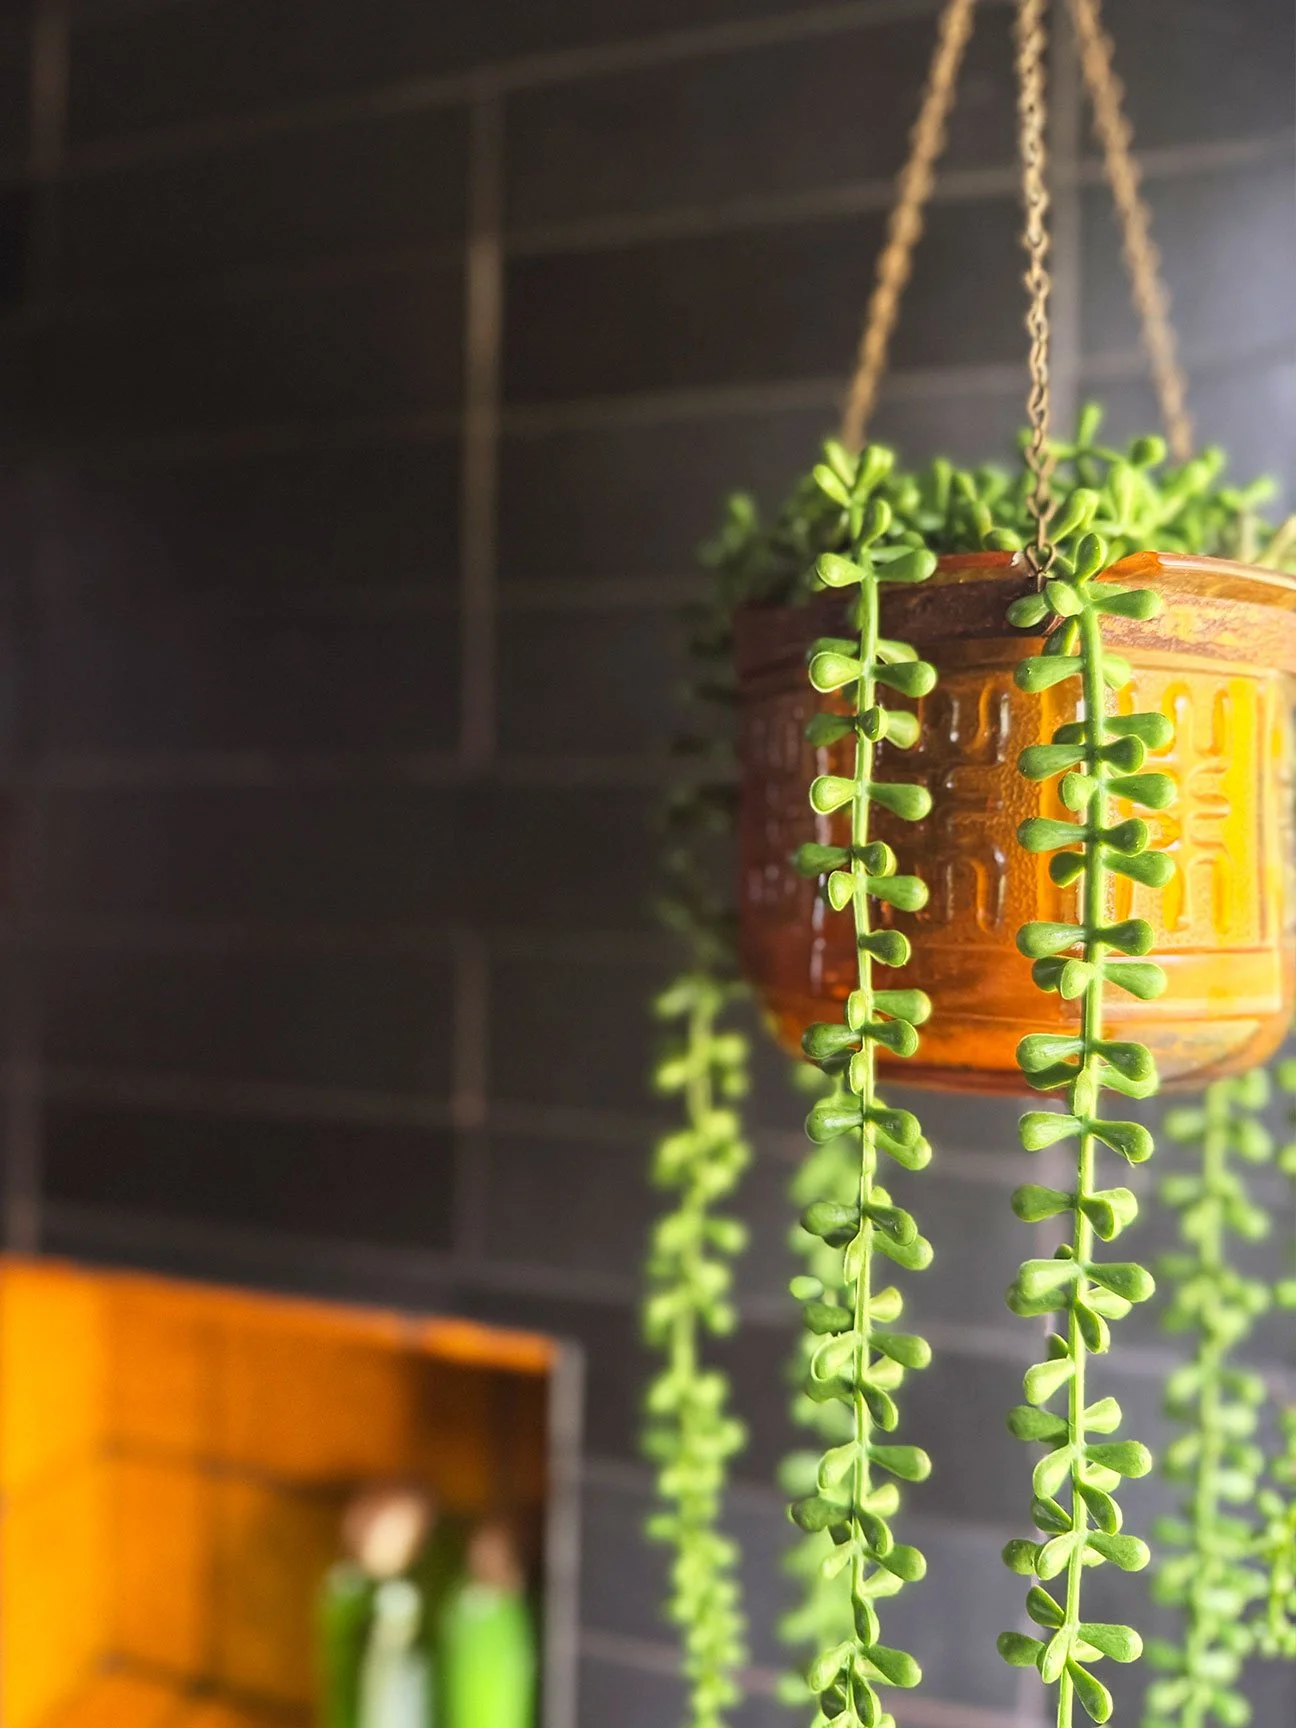
For nighttime navigation (and a touch of the ‘70s), I found a whimsical mushroom nightlight, in yellow, of course.
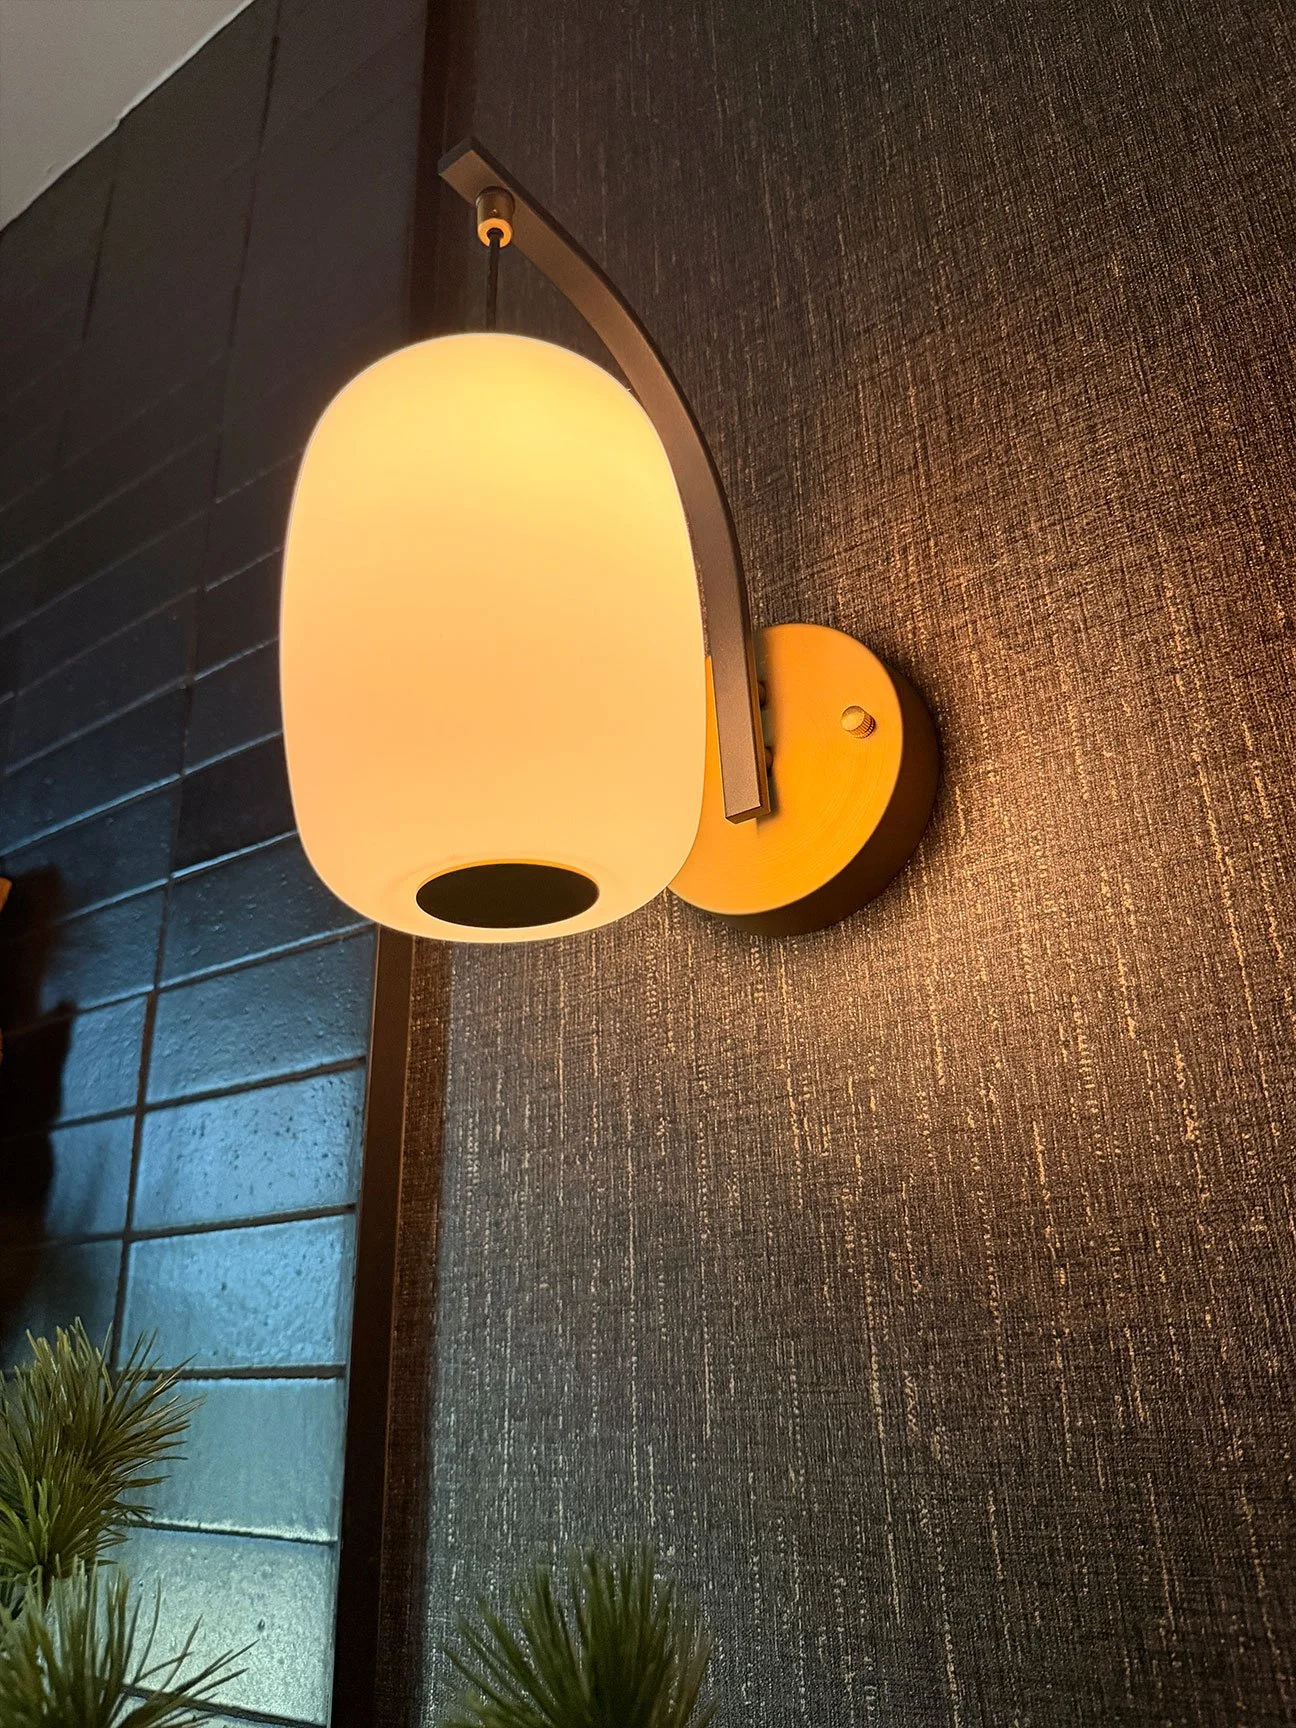
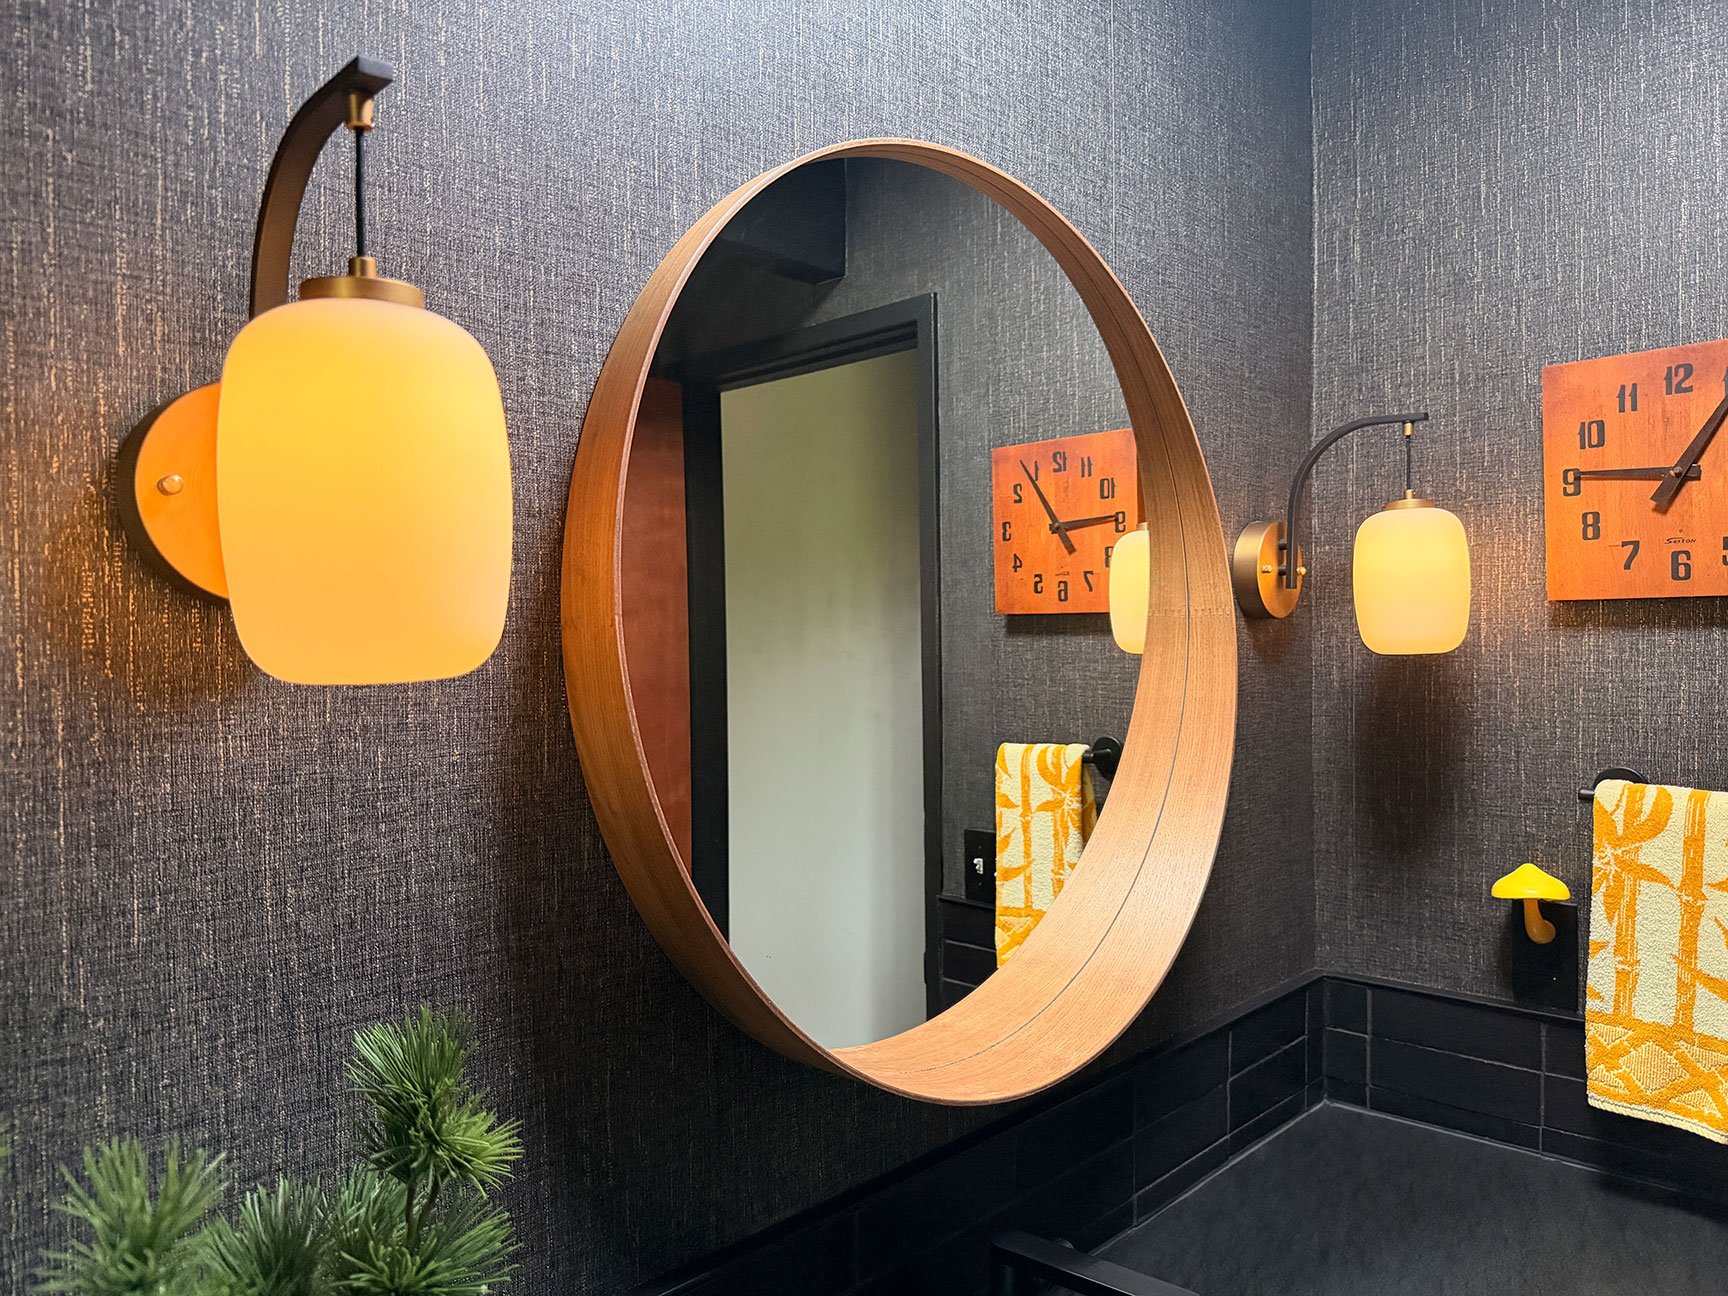
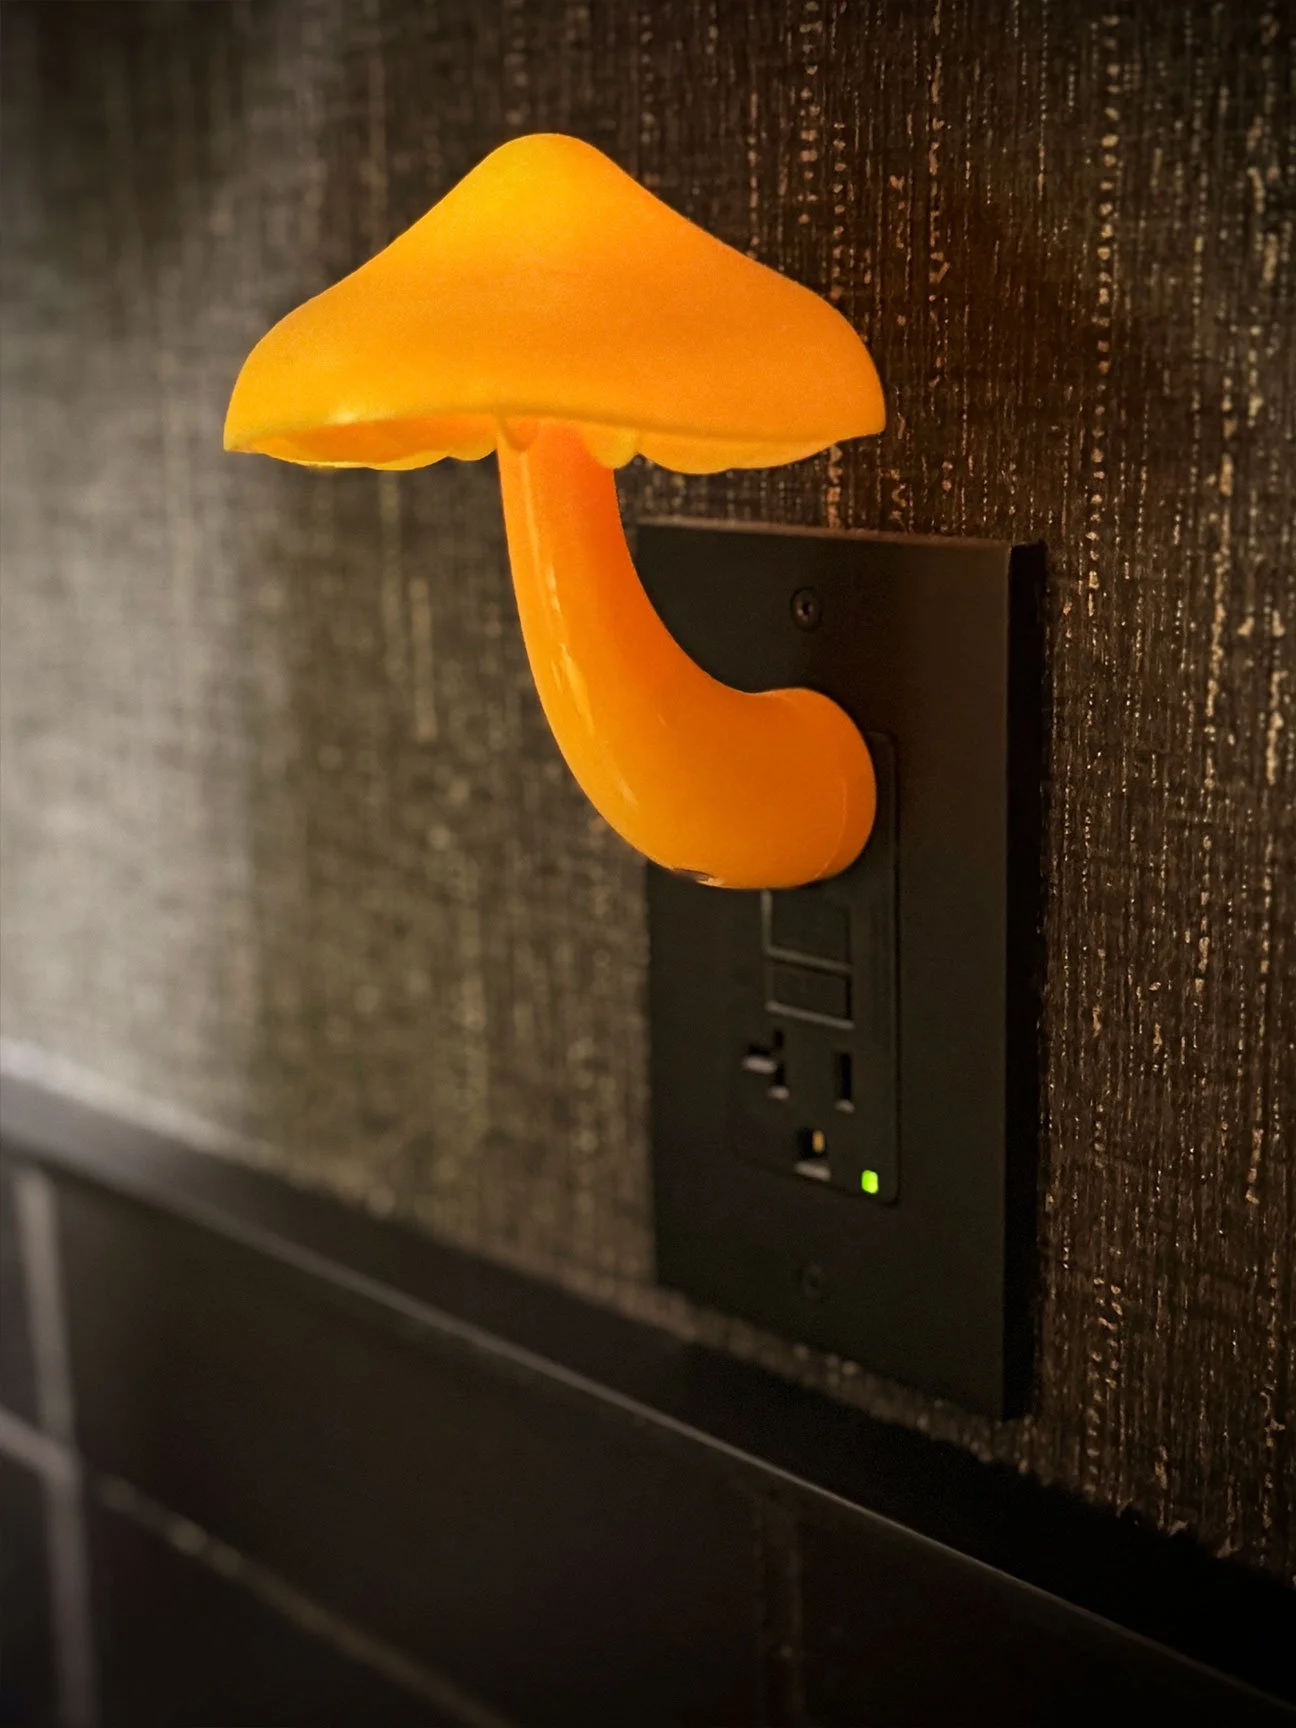
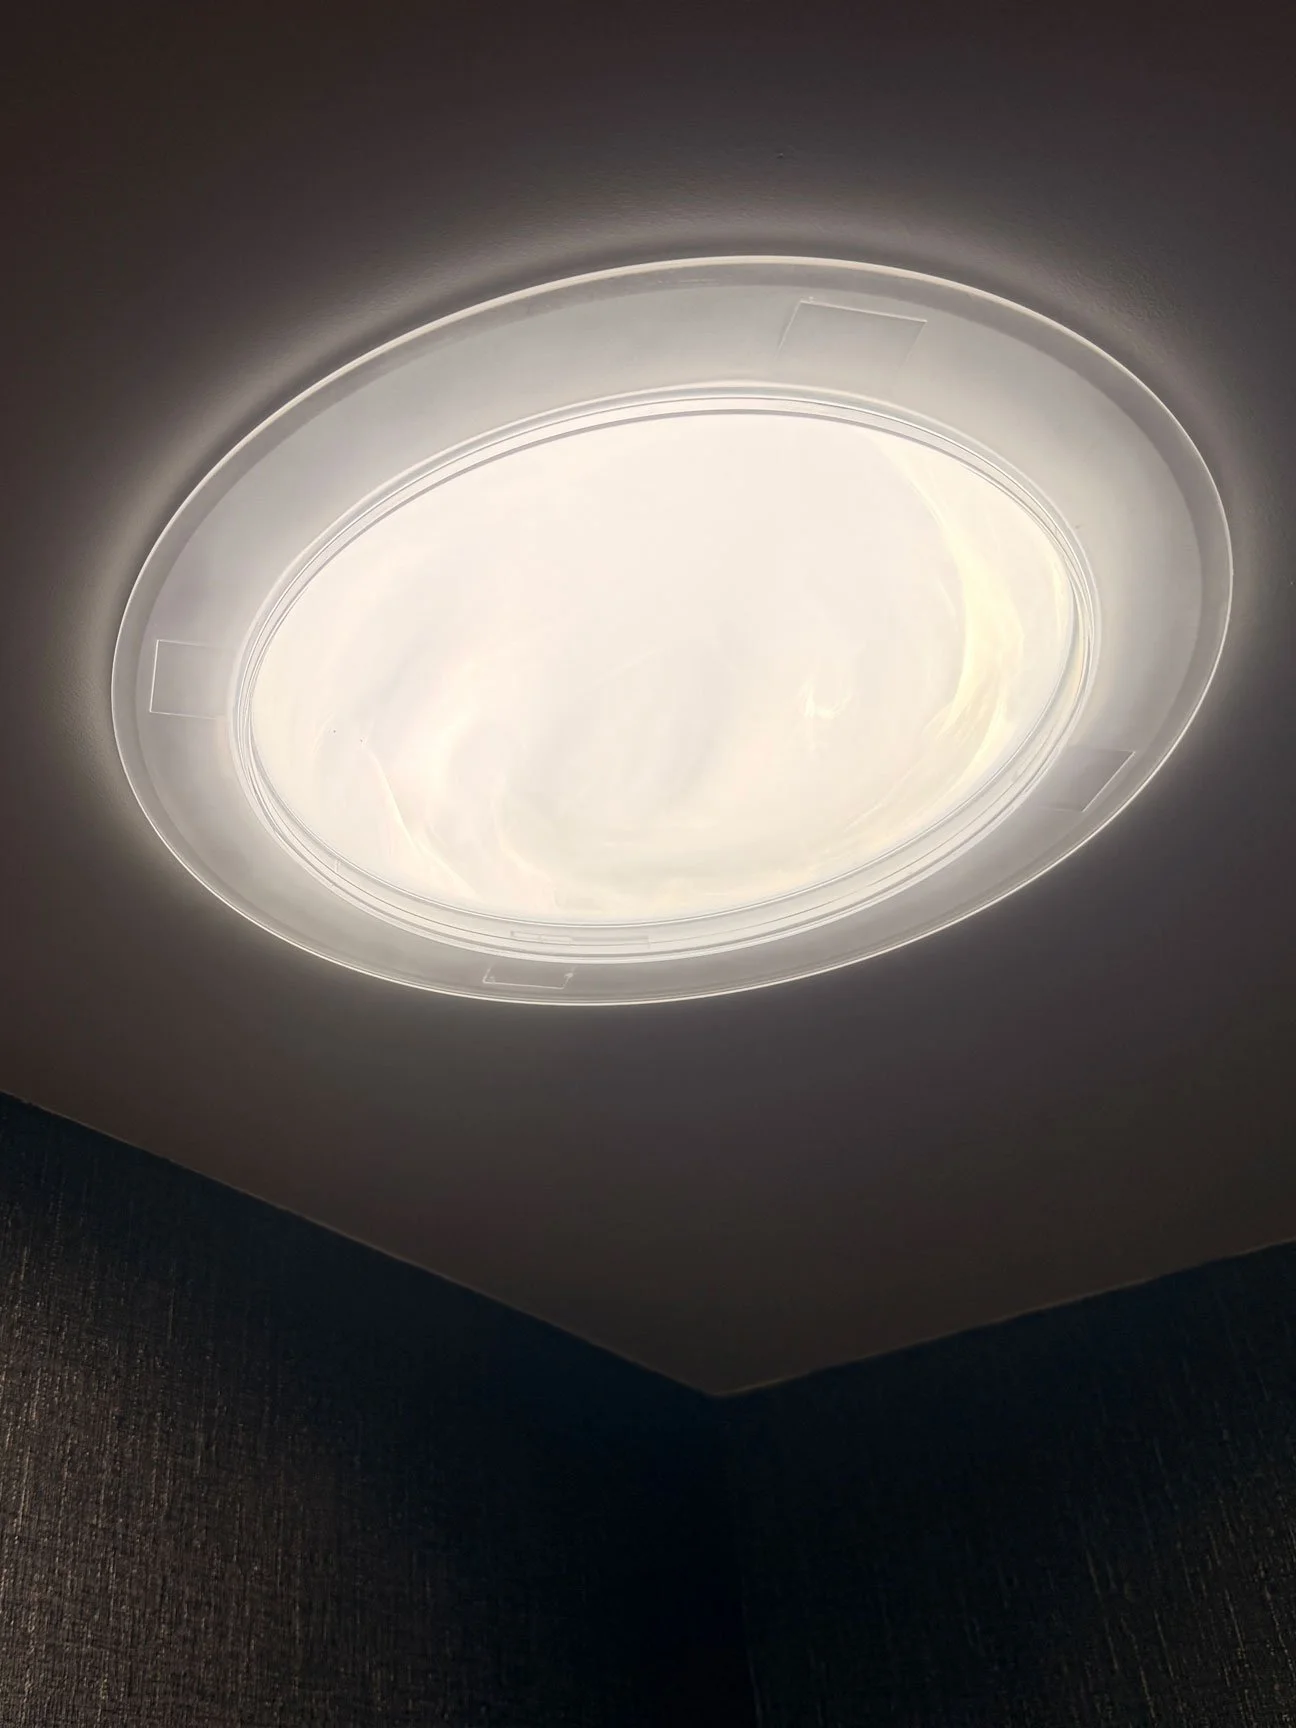
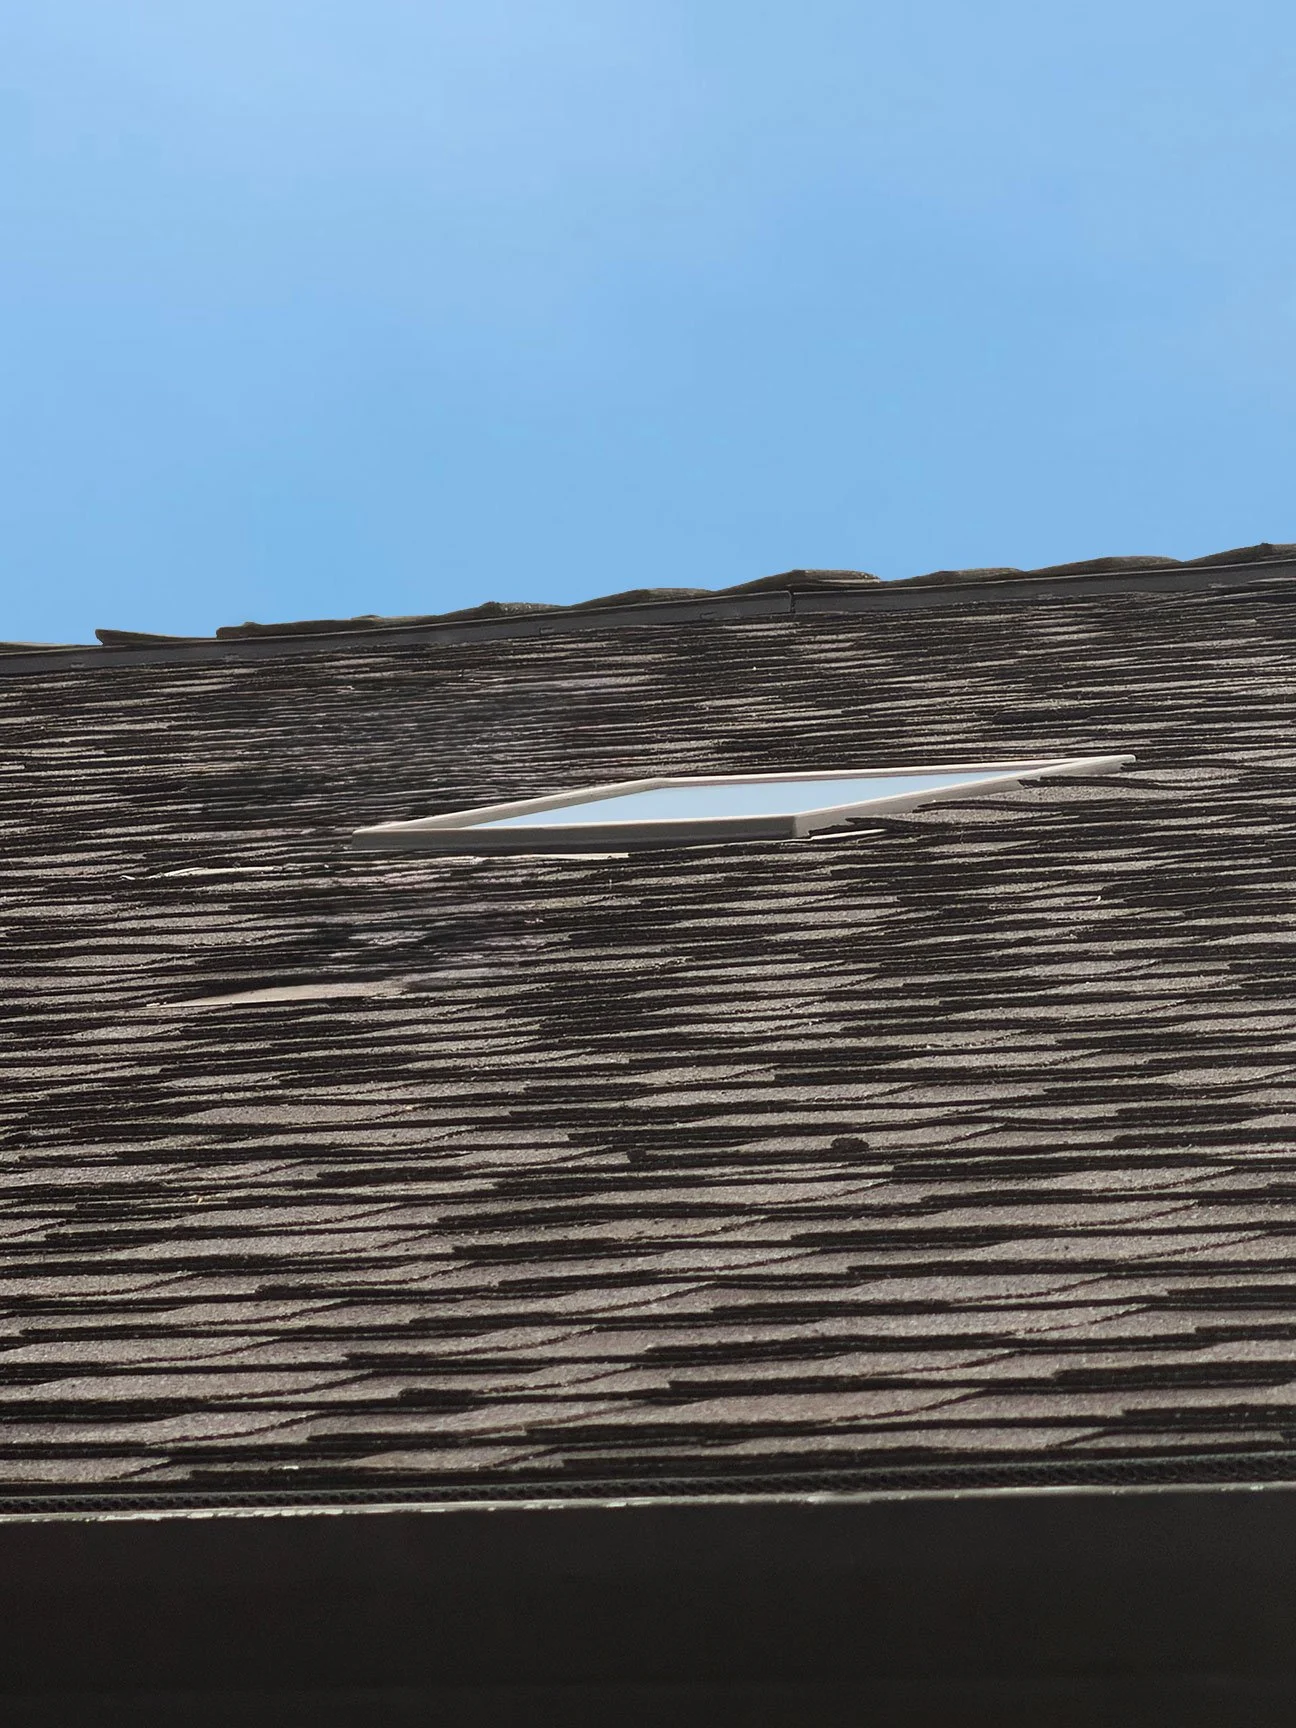
“The skylight provides functional light that furthers the mid-century design concept of indoor/outdoor living.”
Let there be another light
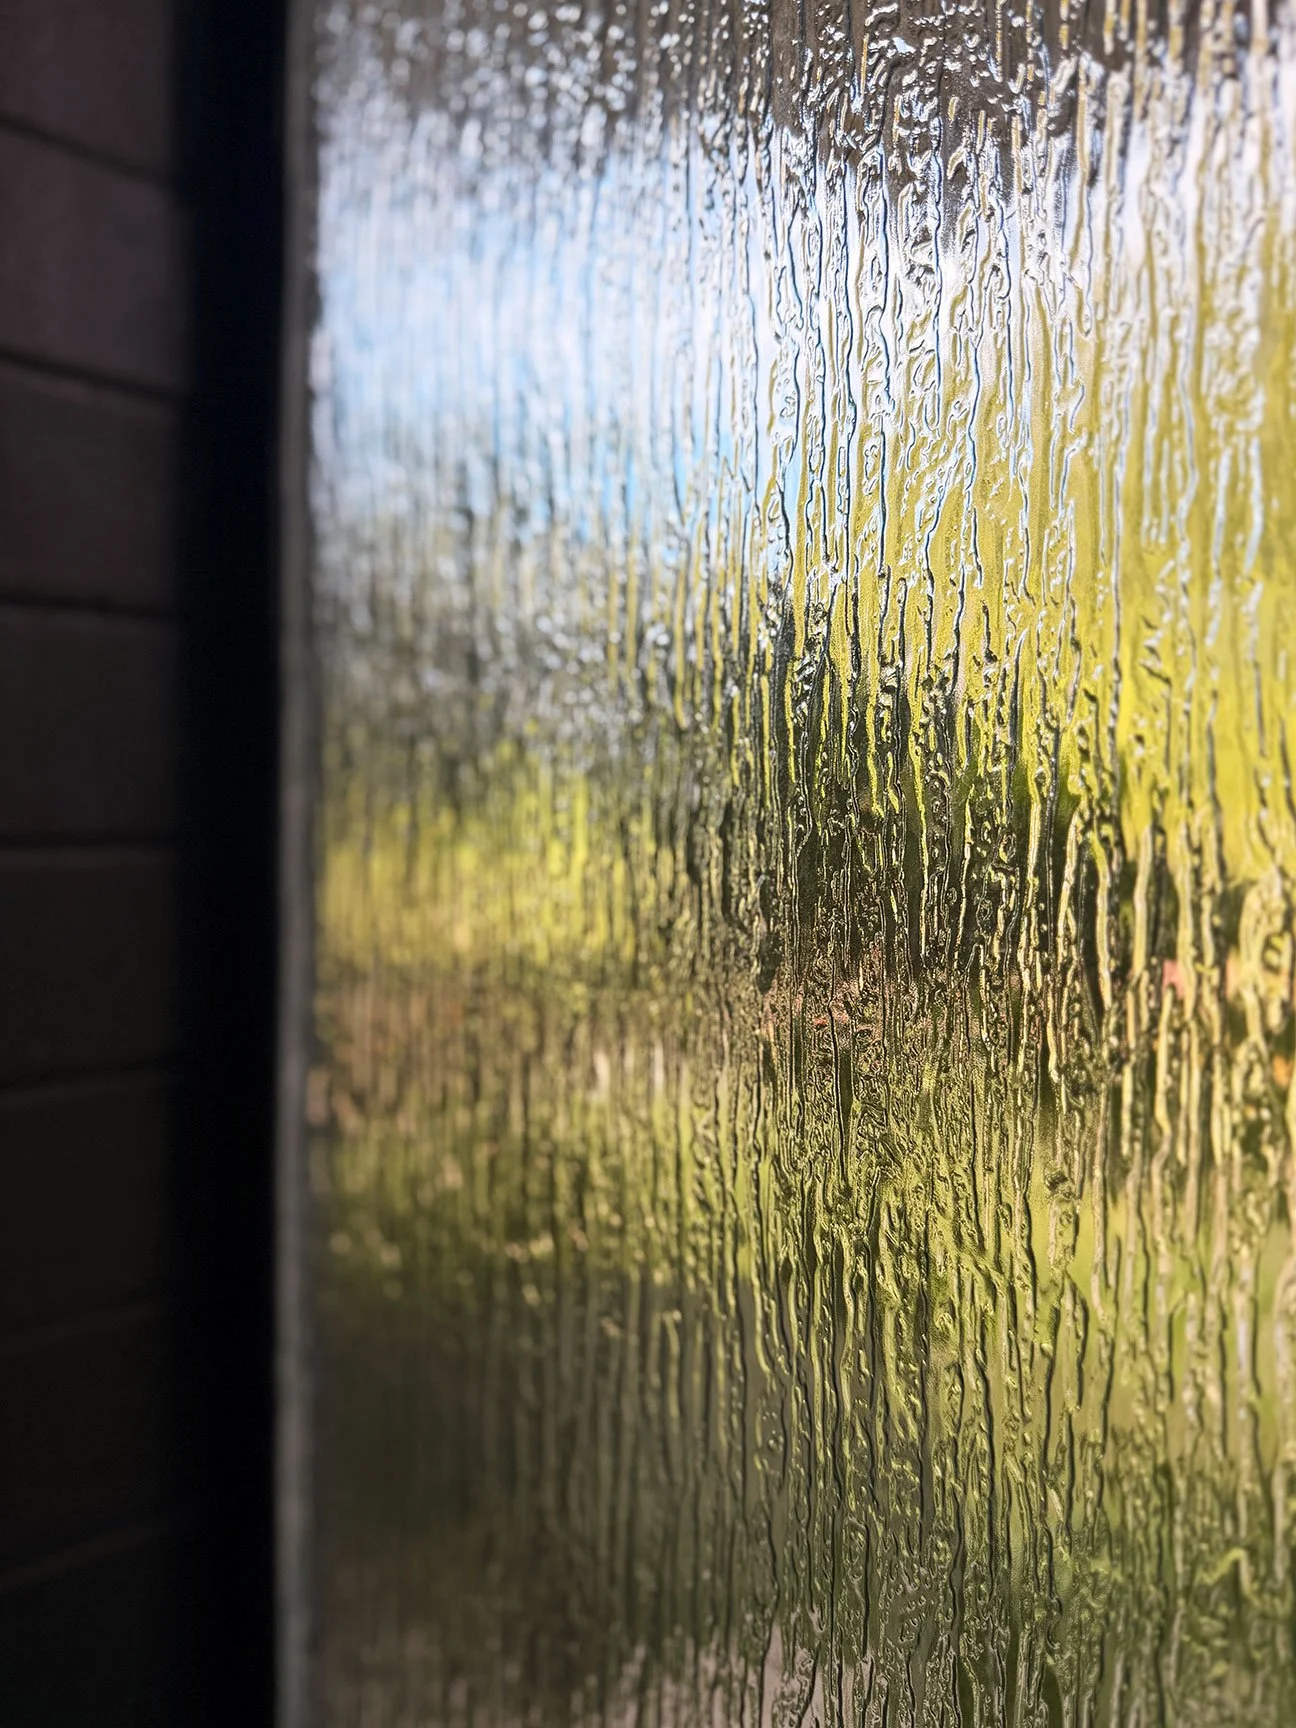
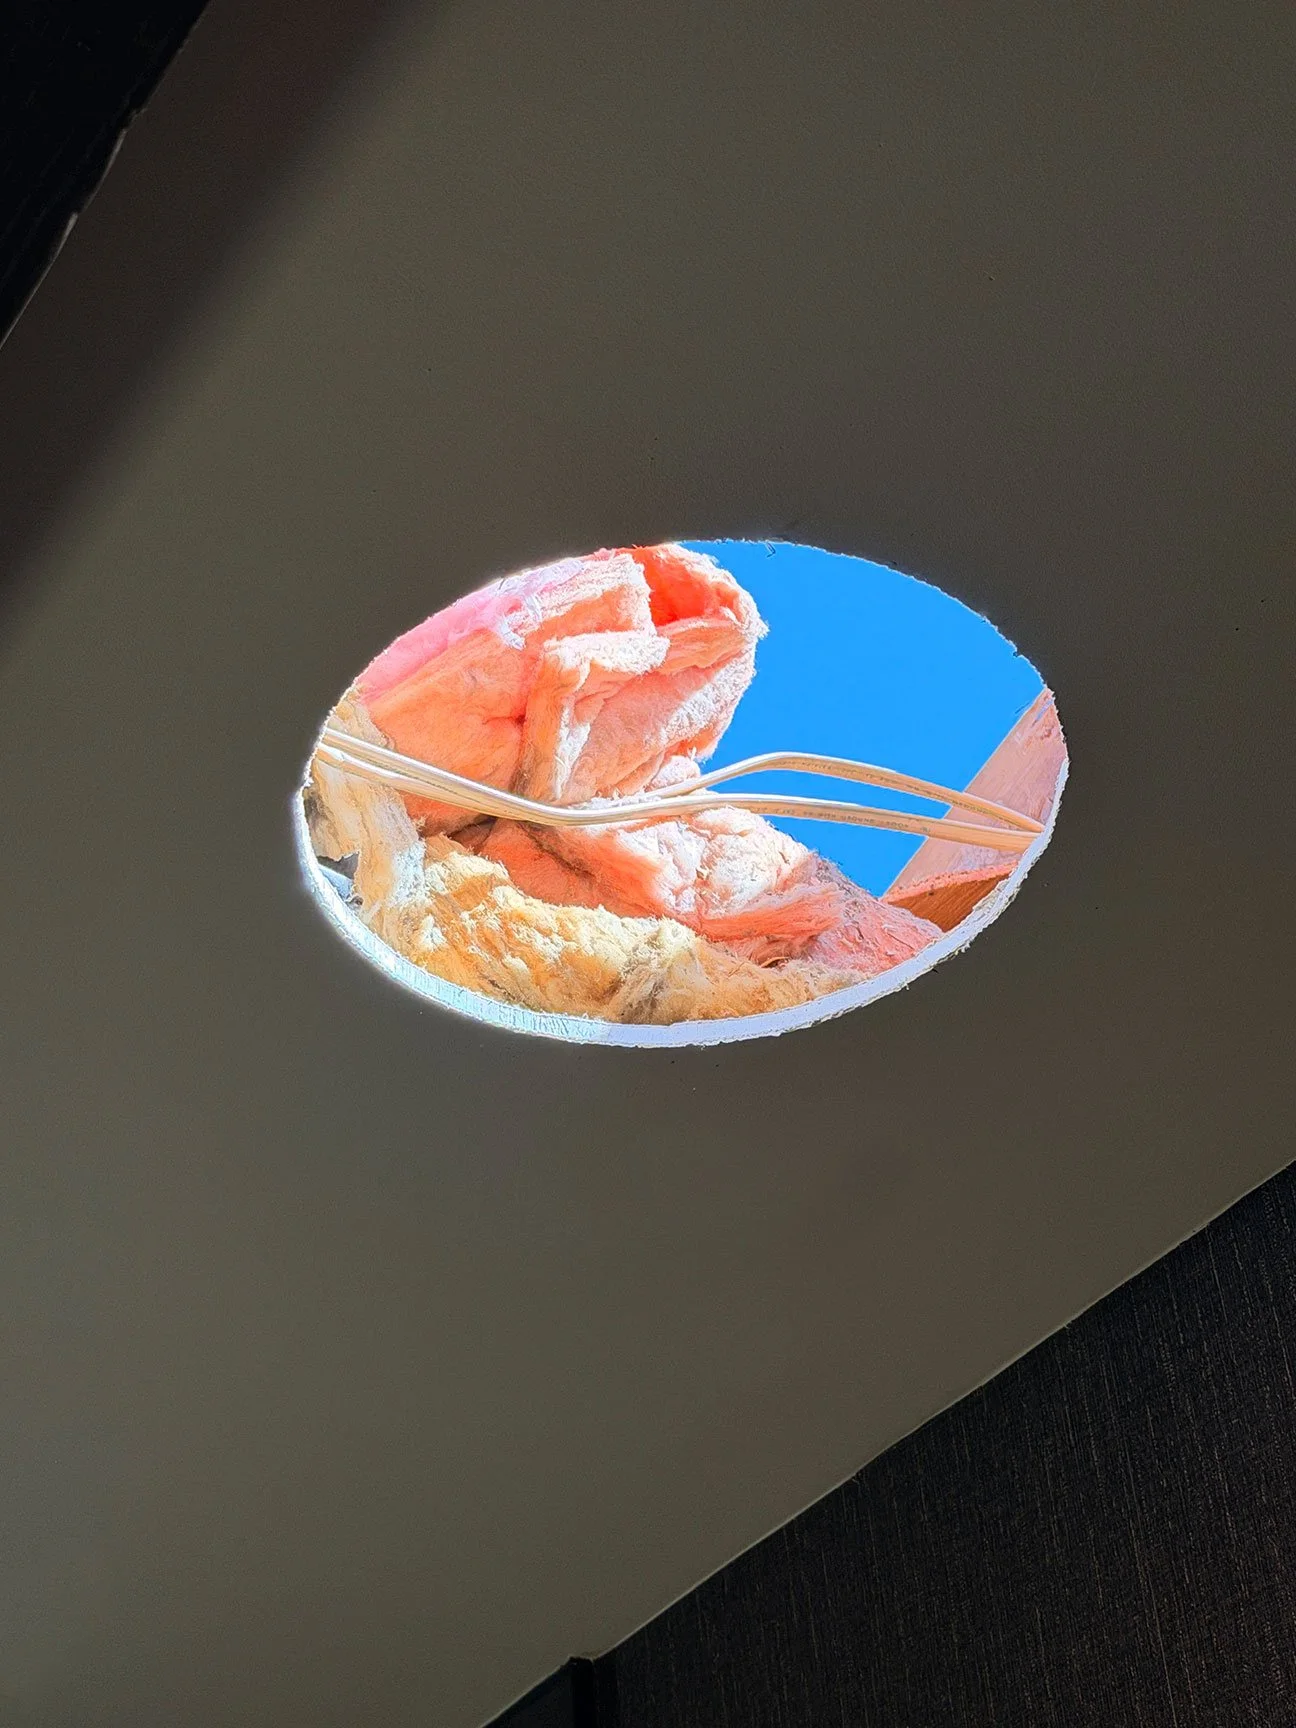
This bathroom had always felt dark and cavernous with the tiny, chunky-framed vinyl window as the single source of natural light. Going with a room mostly comprised of black tones could certainly compound that cave-like feeling. However, the new rain glass vertical window gave far more light to the space. Still I wanted more. I chose a flat glass sun tunnel, which was a nice fit for low-sloped roof Streng Bros. homes (Plans 103, 104, and similar.). It also keeps the exterior roofline visually unaltered. The 14” diameter skylight provides functional light that furthers the mid-century design concept of indoor/outdoor living.
The Impossible Dream
When I first dove into this design, I was nothing short of nervous, afraid, intimidated, and overwhelmed. I had only performed cosmetic updates to bathrooms, never a down-to-the-studs endeavor. Despite studying, creating drawings, and researching methods and materials, nothing could have prepared me for the challenges I would encounter throughout this project. It was one of those get in there, and figure it out as you go scenarios. That may not be the most sound approach for everyone doing their own bathroom renovation. However, I’ve come to the end of this project realizing what once felt impossible was indeed achievable through determination, patience, and time…so much time.
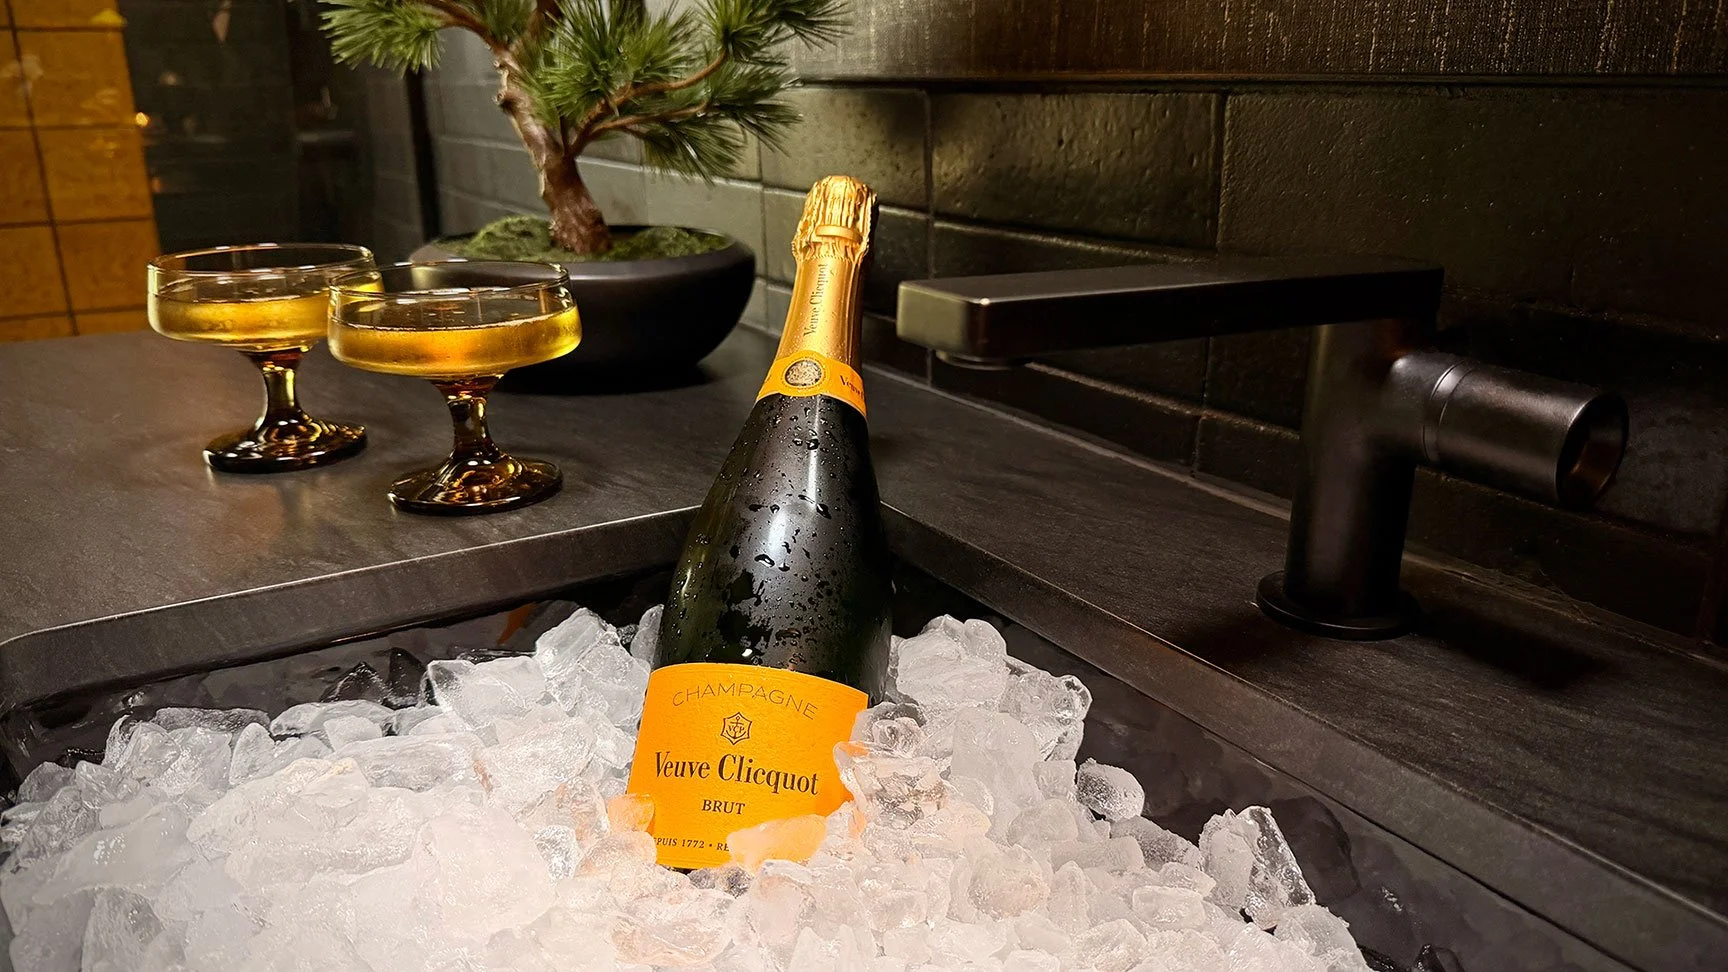
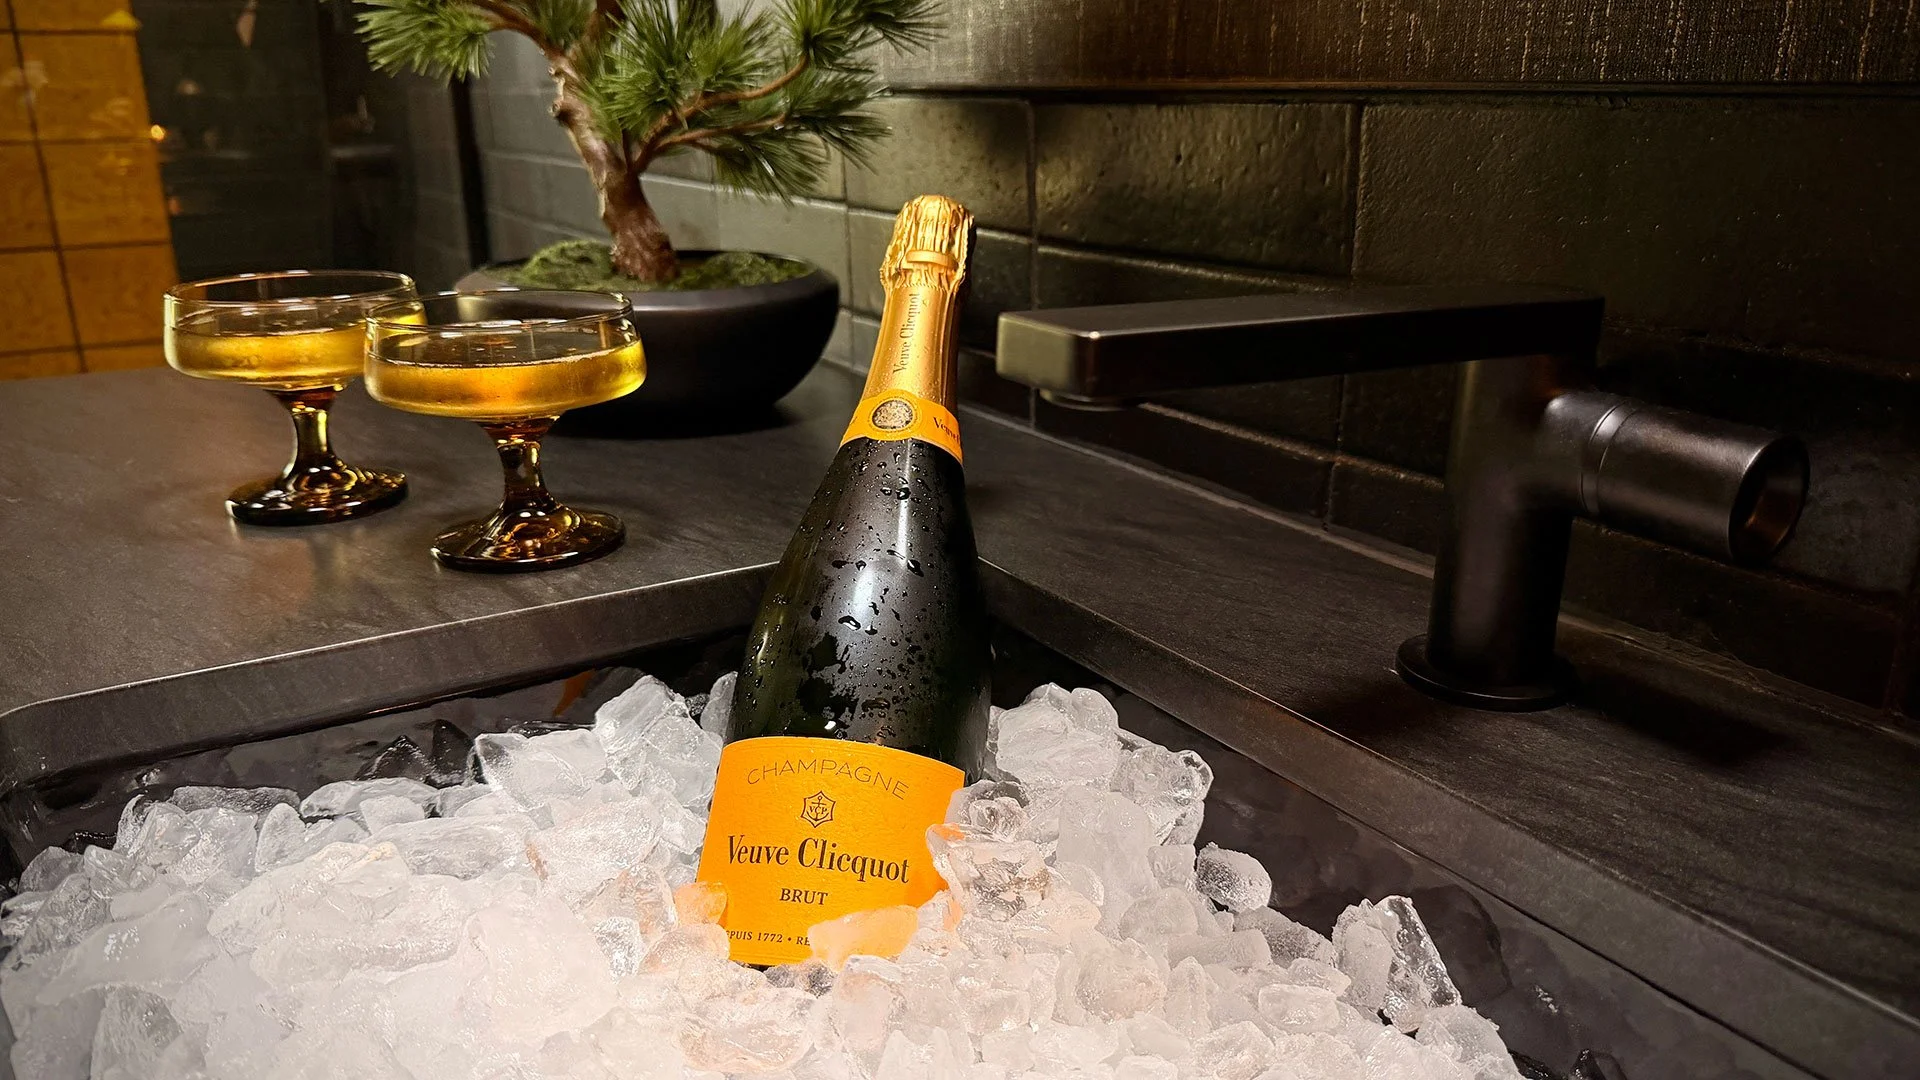
Bloggin’ ain’t easy, but I’m grateful you’ve stuck around and offered up your own degree of patience while this bathroom redesign finally came to be. Join me for a party in the bathroom as we pop the Veuve and enjoy these visual spoils. Cheers indeed, all!